Forum Replies Created
-
AuthorPosts
-
 toys-n-yotasKeymaster
Total bummer man. But on the positive side you’ve already got the plans, skills and partner, just gotta wait for the green light.
toys-n-yotasKeymasterSpent a couple hours researching through my Electrical Schematics, the interweb and Redee’s engine bay to figure out what I need to wire up the OEM gauge cluster. I’ve got 4 unresponsive gauges of interest in the SR5 cluster.
- Water temp
- Oil pressure
- 4WD indicator
- Tachometer
Turns out most of what I need I already have, and I think #4 is gonna give me the most grief.
1: Water temp. I bought an OEM sender off Rock Auto a few months back. The only wire I need to run is from the sender (one I thread it into the block) to Connector N3 in the passenger side footwell. I’ve actually located this connector, the other half was connected to the 22RE, but now it’s just a lonely female connector waiting to be tapped. Not worried about the “lesser gauge” in the cluster, the EFI has very accurate readout.
2: Oil pressure. I bought the OEM sender from RockAuto with the water temp. All I have to do is uninstall my mechanical gauge, and replace it with a thread adapter and run a wire back to my favourite lonely female connector N3, and tap that yo. I’ll actually run a tee off the block, and keep the mechanical gauge installed too.
3: 4wd indicator. I found the LG (light green) wire under the hood, just gotta connect it with N3, and tap that. Yea yo!! Three-peat!!
4: Tach. Crimp on an eye connector to one wire that I already ran to the negative side of the coil. Then pay my buddy James to solder in a resistor on the back of the gauge cluster that will 1/2 the signal voltage. RPM will read double because the coil puts out twice as many sparks per Rev. Hardest part of this job will be outsourced by my wiring buddy.
-
This reply was modified 6 years, 2 months ago by
 toys-n-yotas.
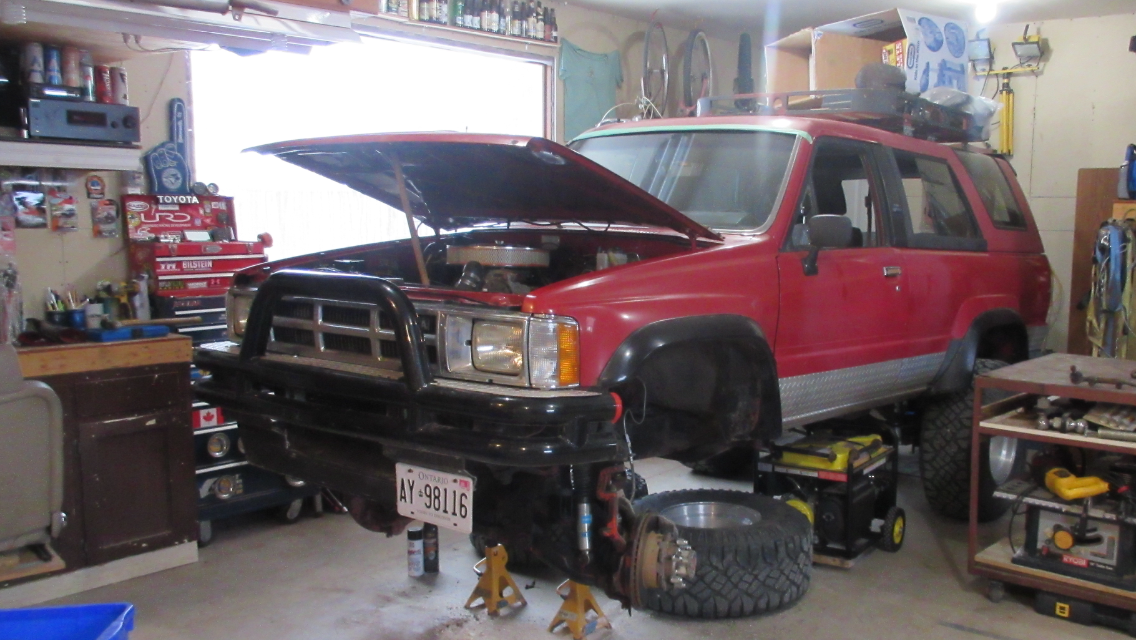
toys-n-yotasKeymasterHaha such a common sight in our shops. 4Runner on stands, with a pile of Choice A tools (socket, wrenches), Choice B (breaker bars, sprays of sorts) and finally the Effective tools of the primal sorts (bigger hammers and heat)…..all encrusted with weight reduction.
Glad to see your assortment of tools and perseverance paid off!
Those Chevy leafs look super FLEXXY…a mod I’ve had on my list for years but never attempted
Those hood louvers look neat, but I agree on the factory hood for the win. I had to cut out one of the strengthening ridges under the hood to clear my air cleaner, and that hurt a little.
-
This reply was modified 6 years, 2 months ago by toys-n-yotas.
toys-n-yotasKeymasterThat’s too funny, and hideously true.
It’s not a build until you spend hours doing something and then realize later it was a waste of time. LOL
toys-n-yotasKeymasterThanks Tom, and you’re right about sense of satisfaction. I enjoy just about every cruise I have cause last winter was so busy. The HVAC was pretty nerve wracking, especially separating the plastic tabs/joints. It still isn’t perfect, but works well enough for now. The vent selector has lots of resistance, maybe needs some Jig-A-Loo, and the Hot/Cold temp slider isn’t attached to anything. I’ve got some parts laying around to rig up that cable.
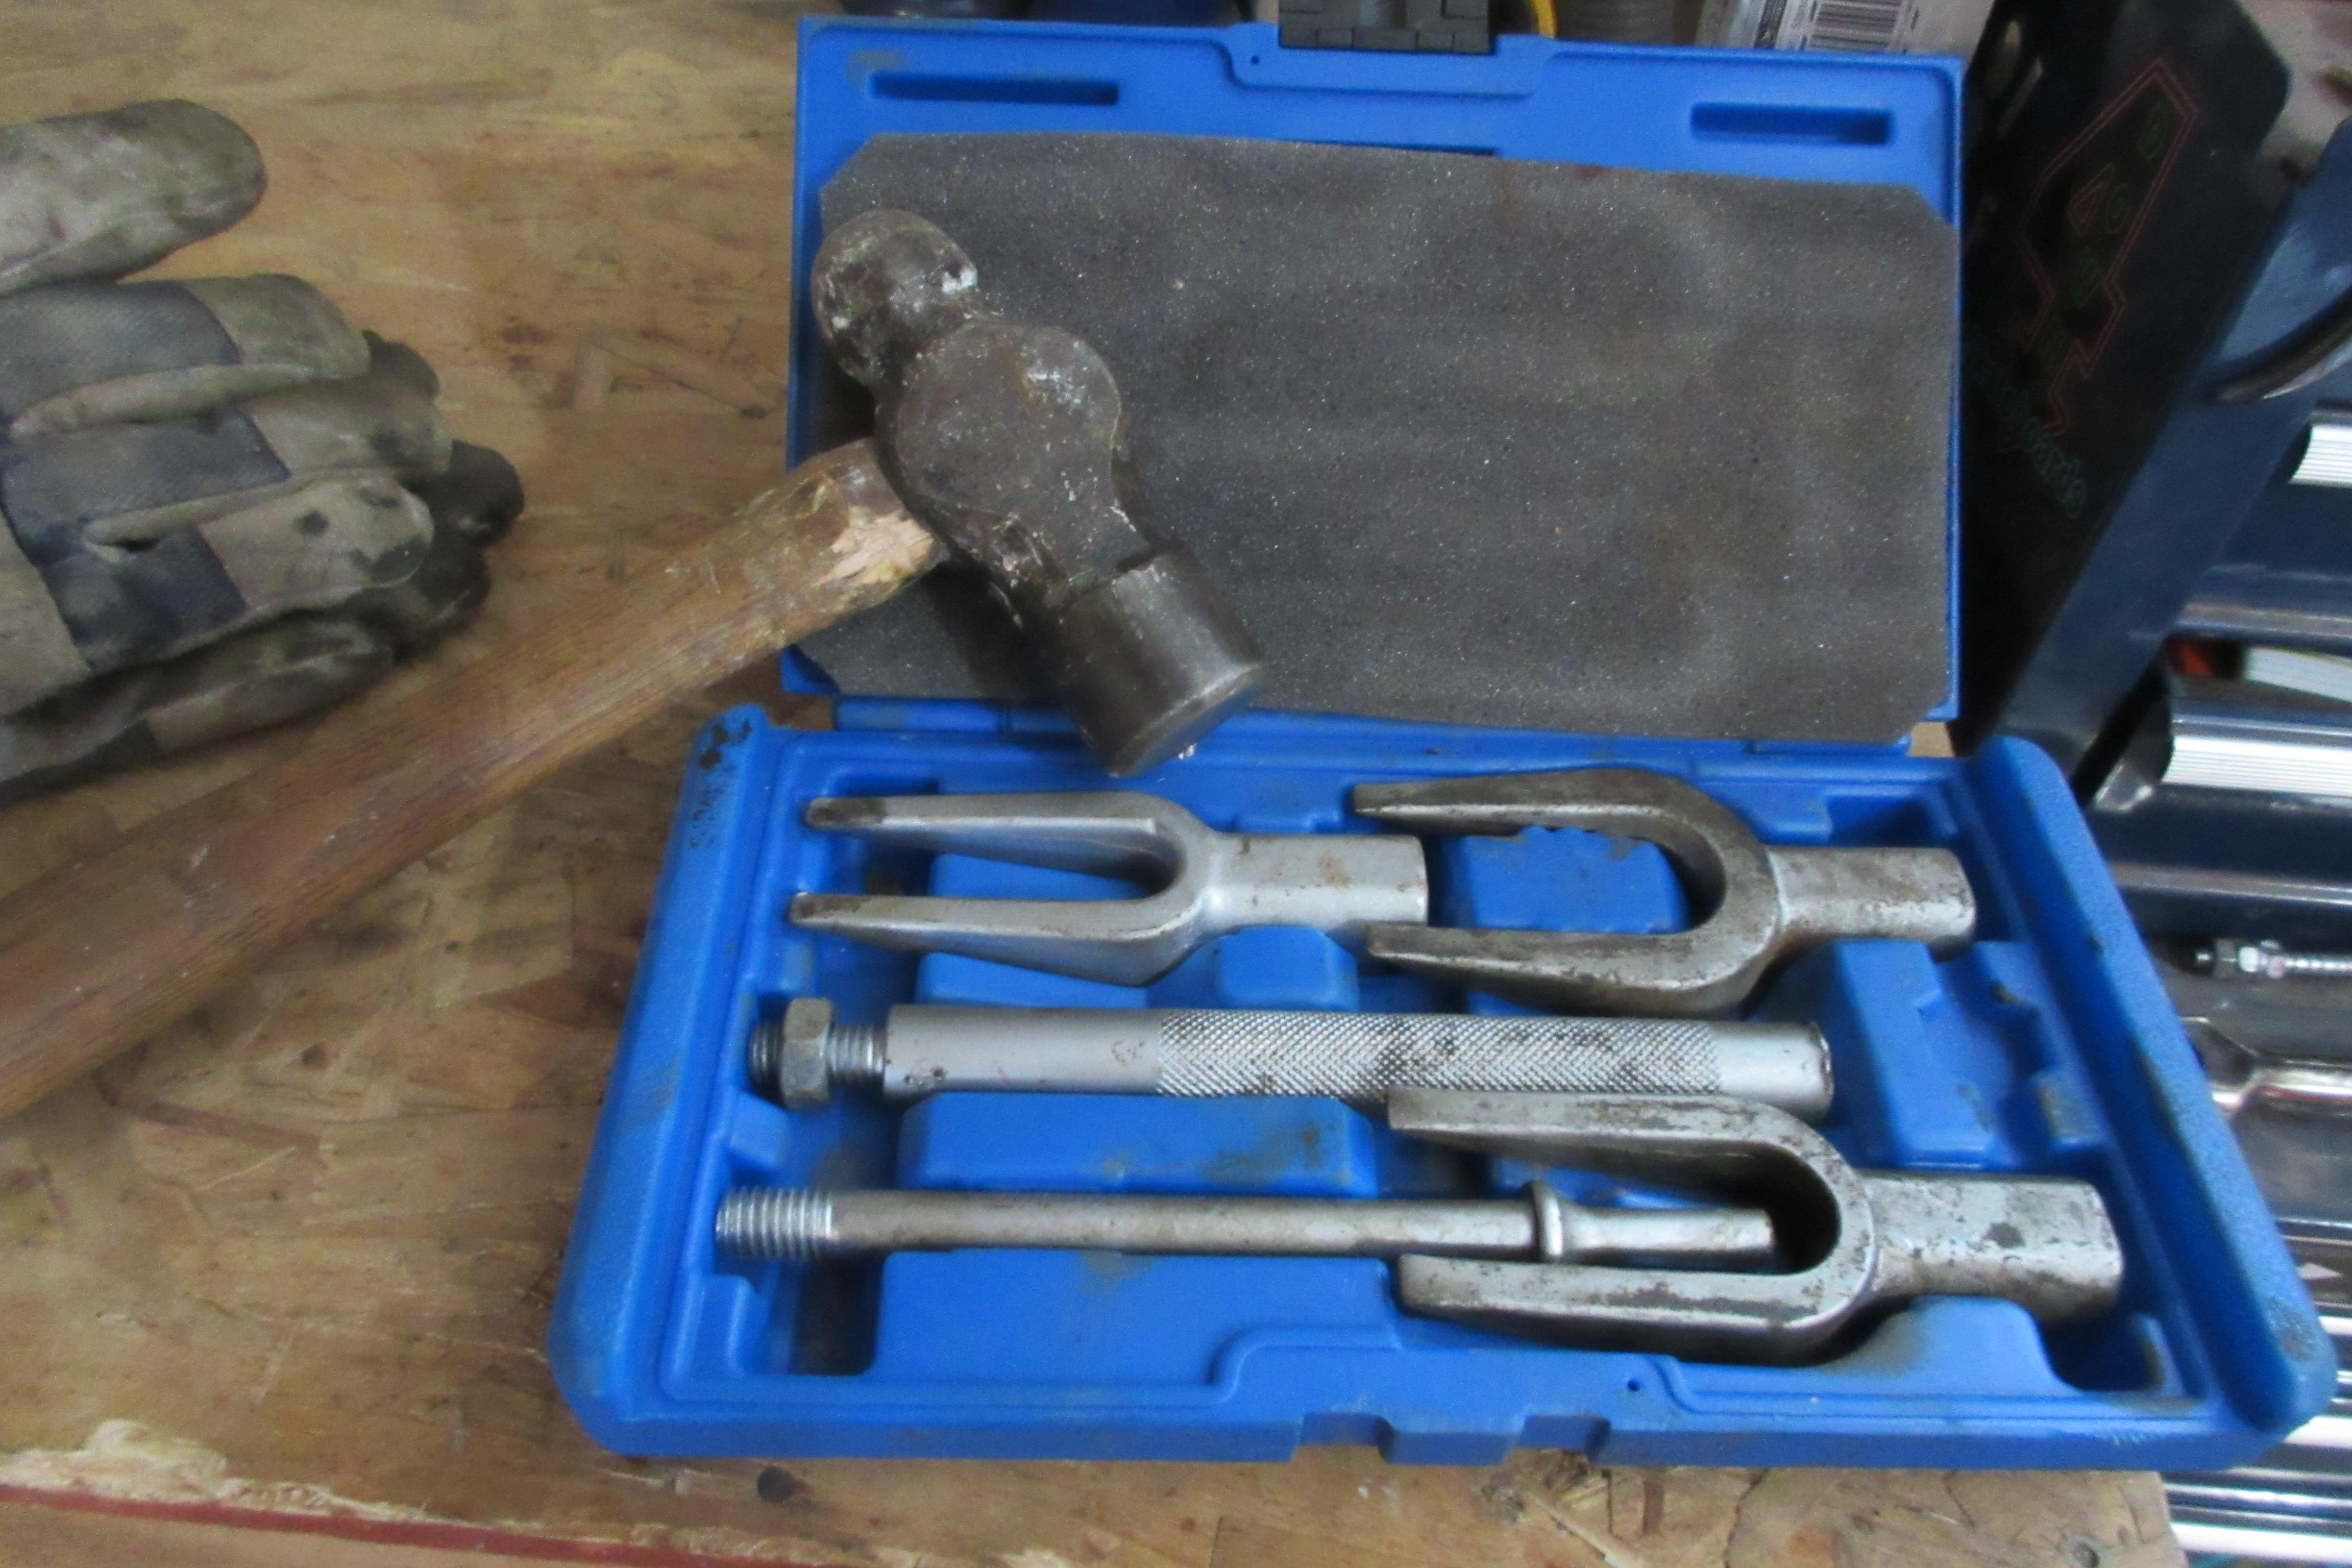
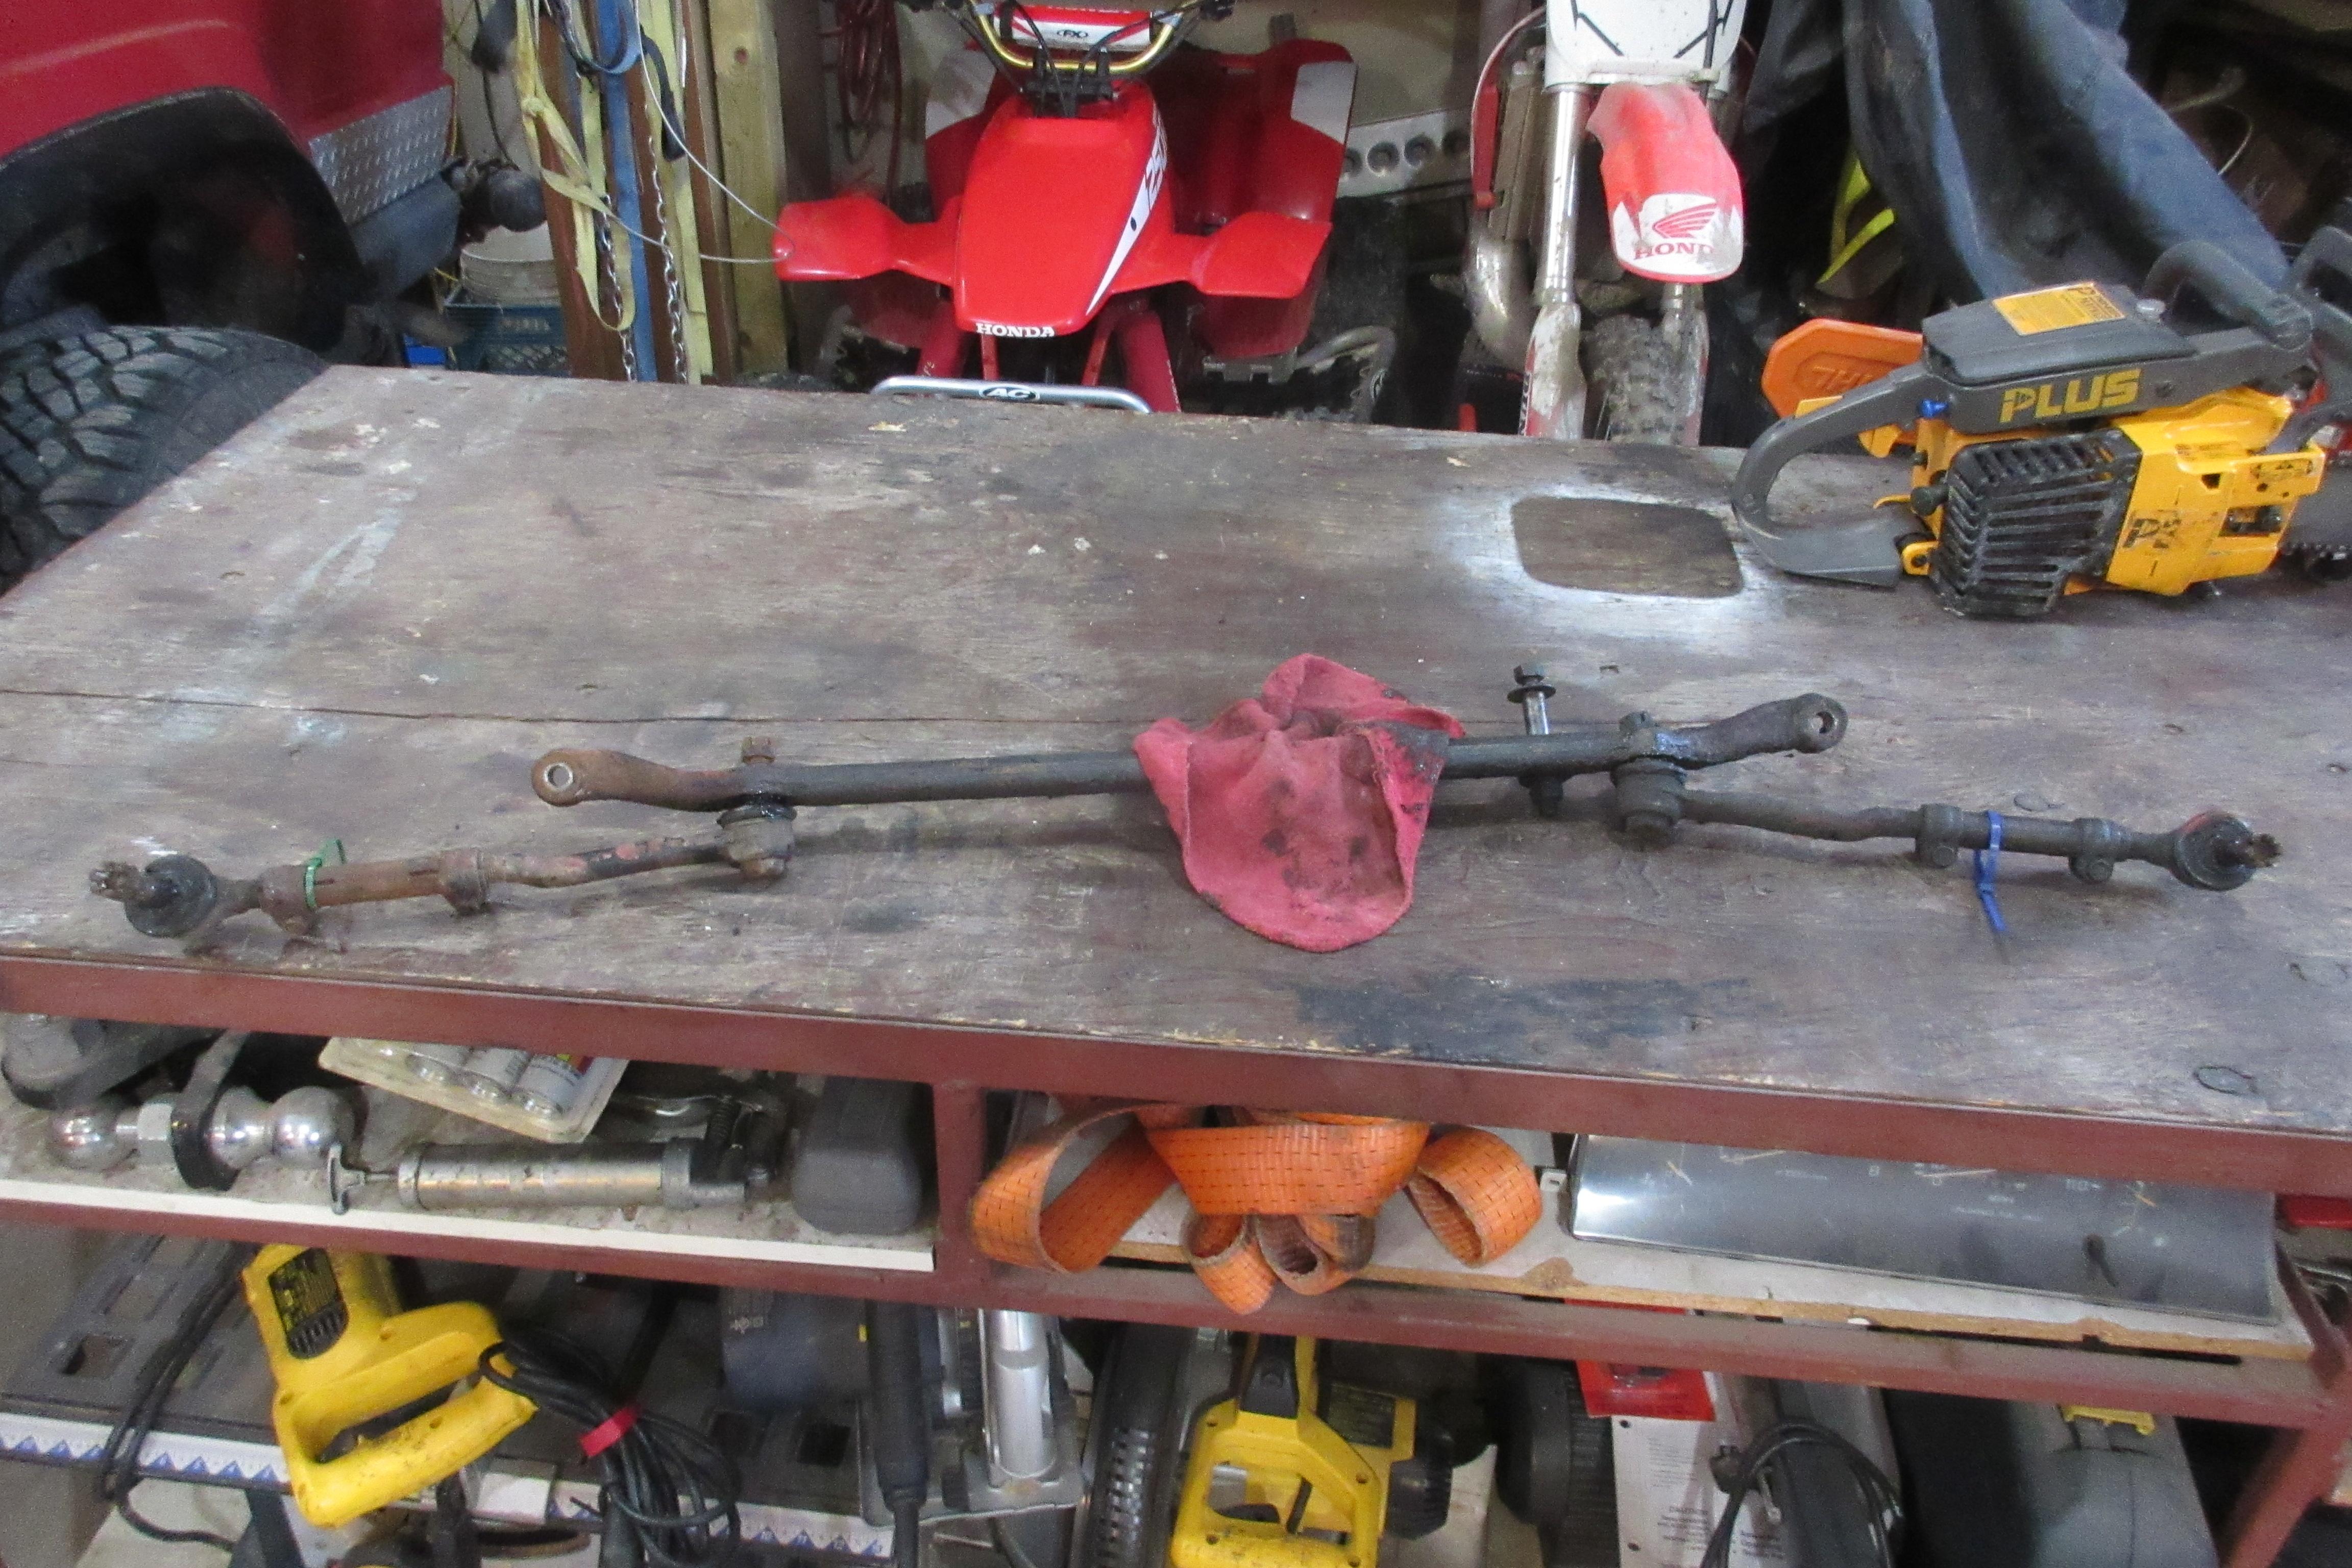
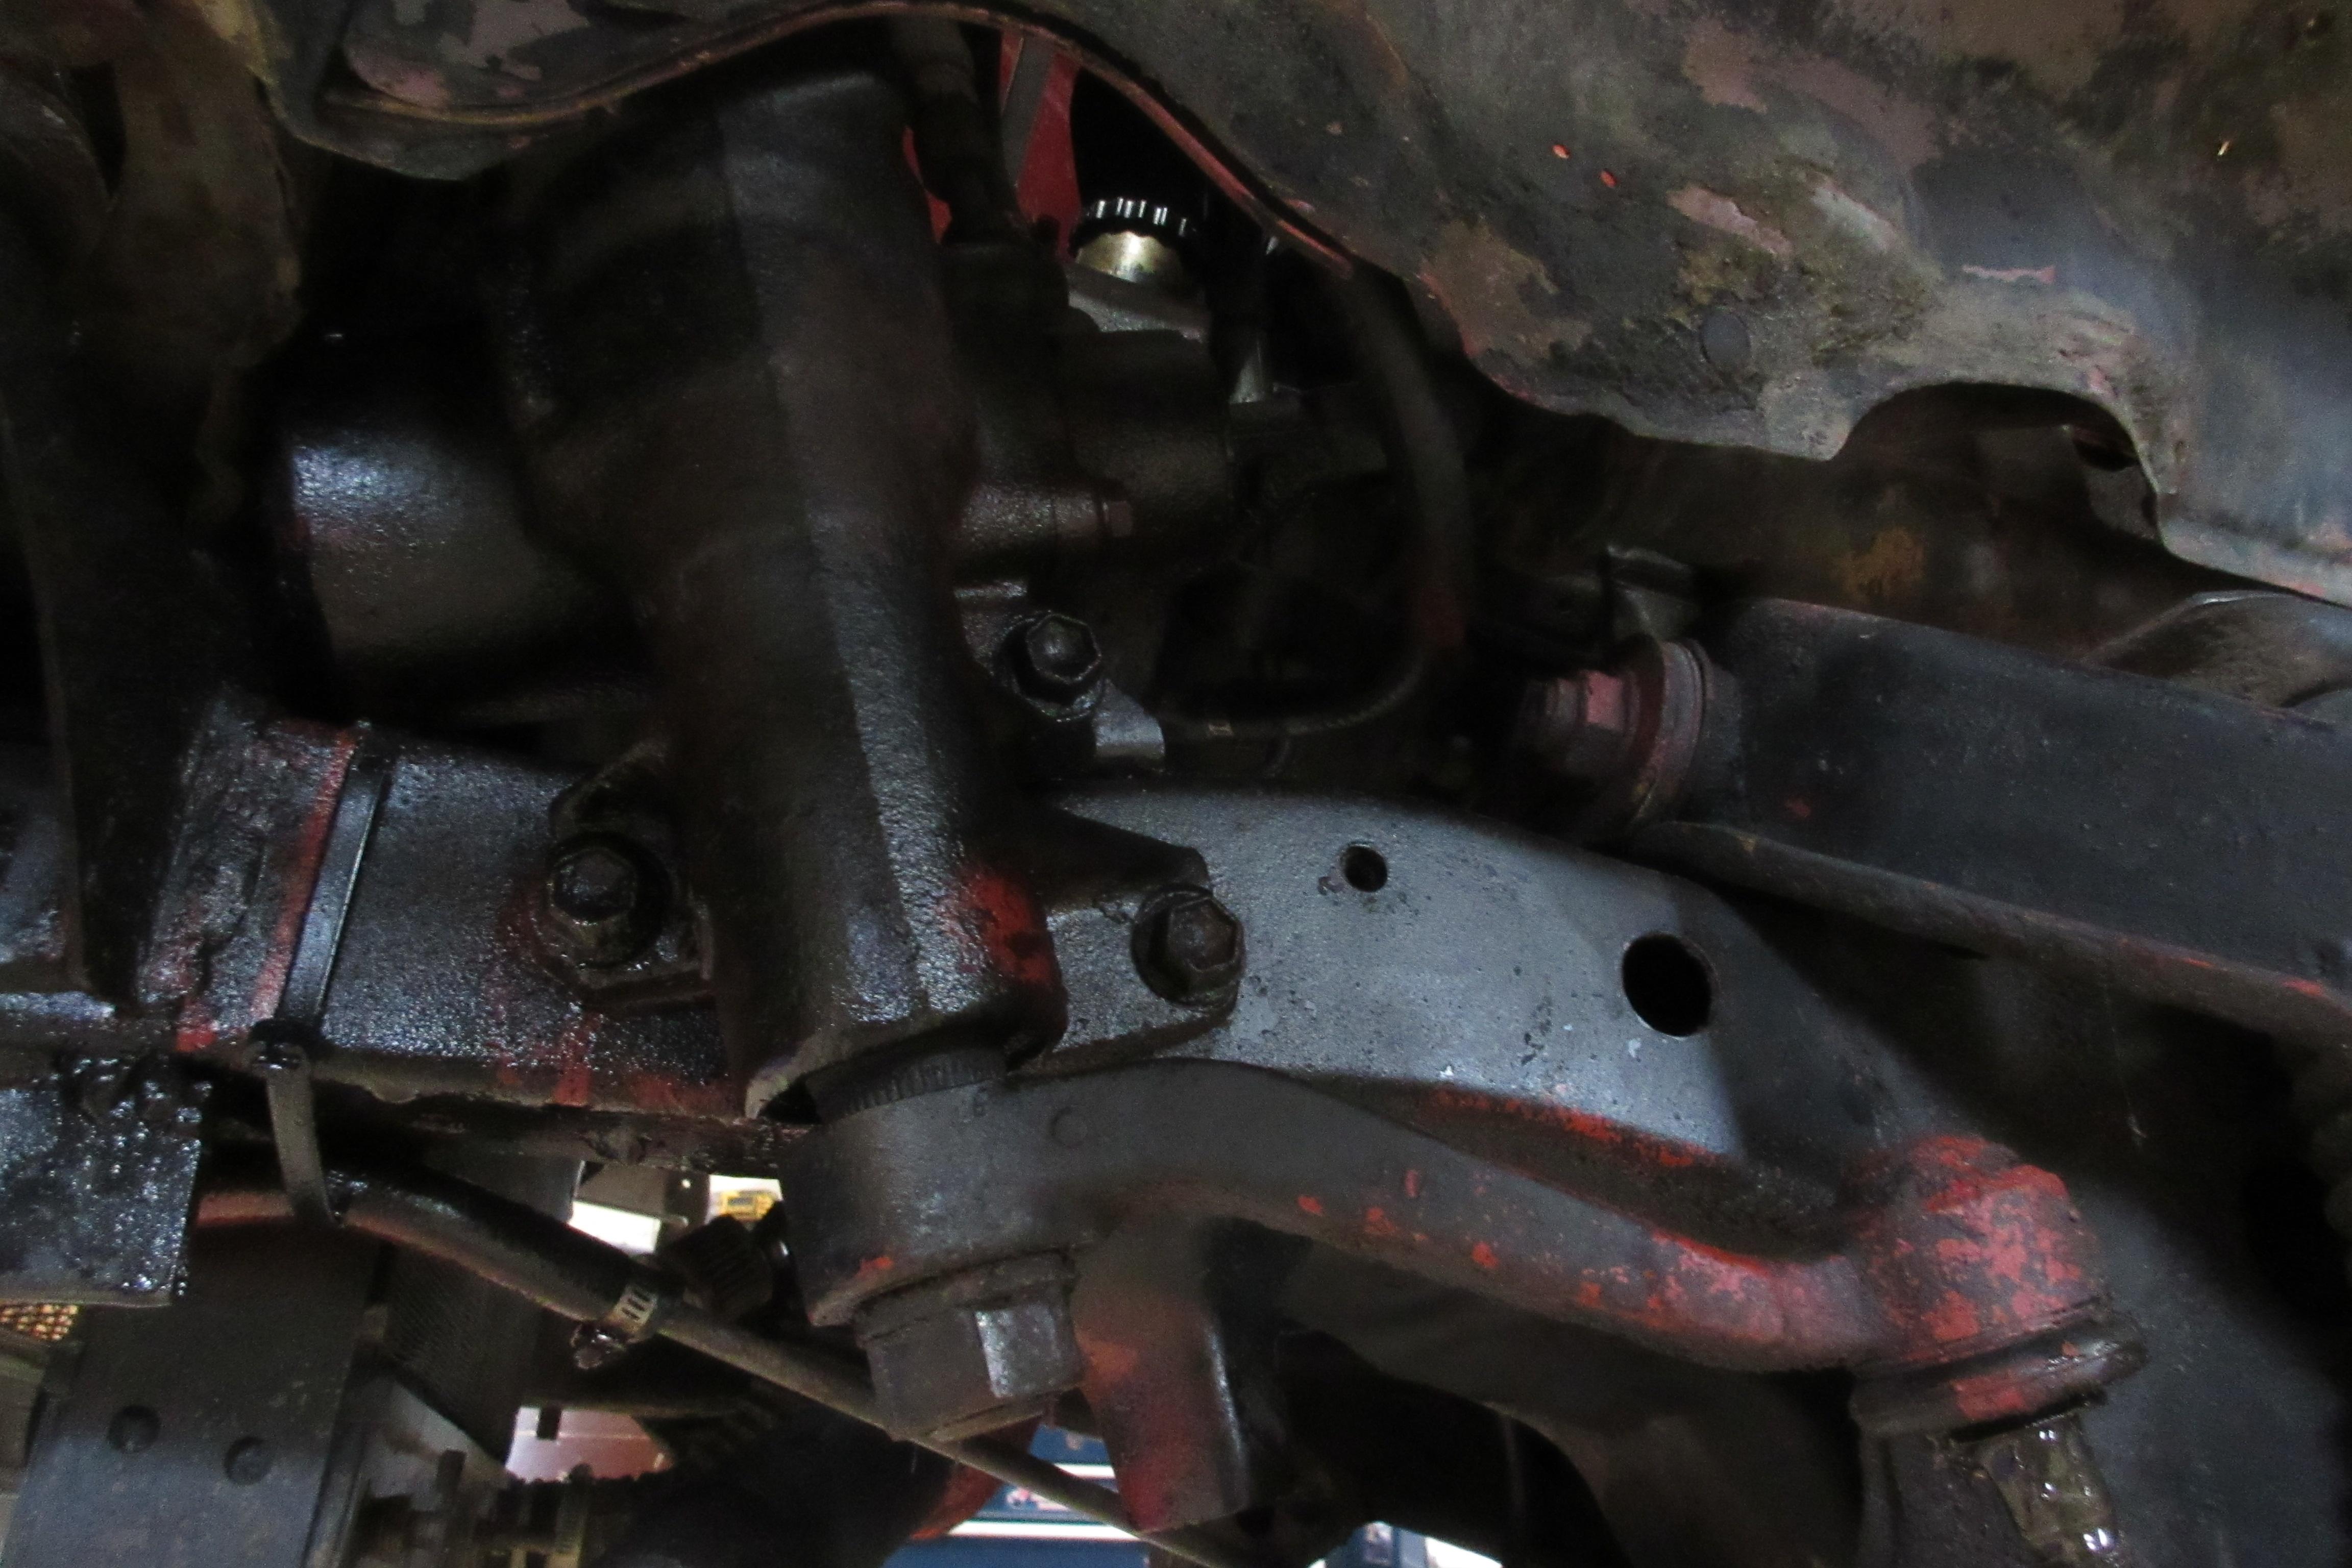
I may not enjoy eating pickles, but My pickle fork set sure got a workout yesterday. Split 4 ball joints, 4 tie rod ends, the pitman arm and idler arm. Well underway to replacing the entire front end steering system. I also found the steering gear seal kit that I bought 5-years ago for Purple-ee but never installed. Redee is leaking pretty good out the GM resevoir, the rigged high-pressure lines, and the bottom of steering box.
 toys-n-yotasKeymaster
Hey Evan that bumper looks great! Can’t believe how quick you got that together.
toys-n-yotasKeymaster@Toyota Tom great build and writeup! Your 4Runner and my first one had the exact same rust spots. Glad to see you fixed yours rather than part with it.
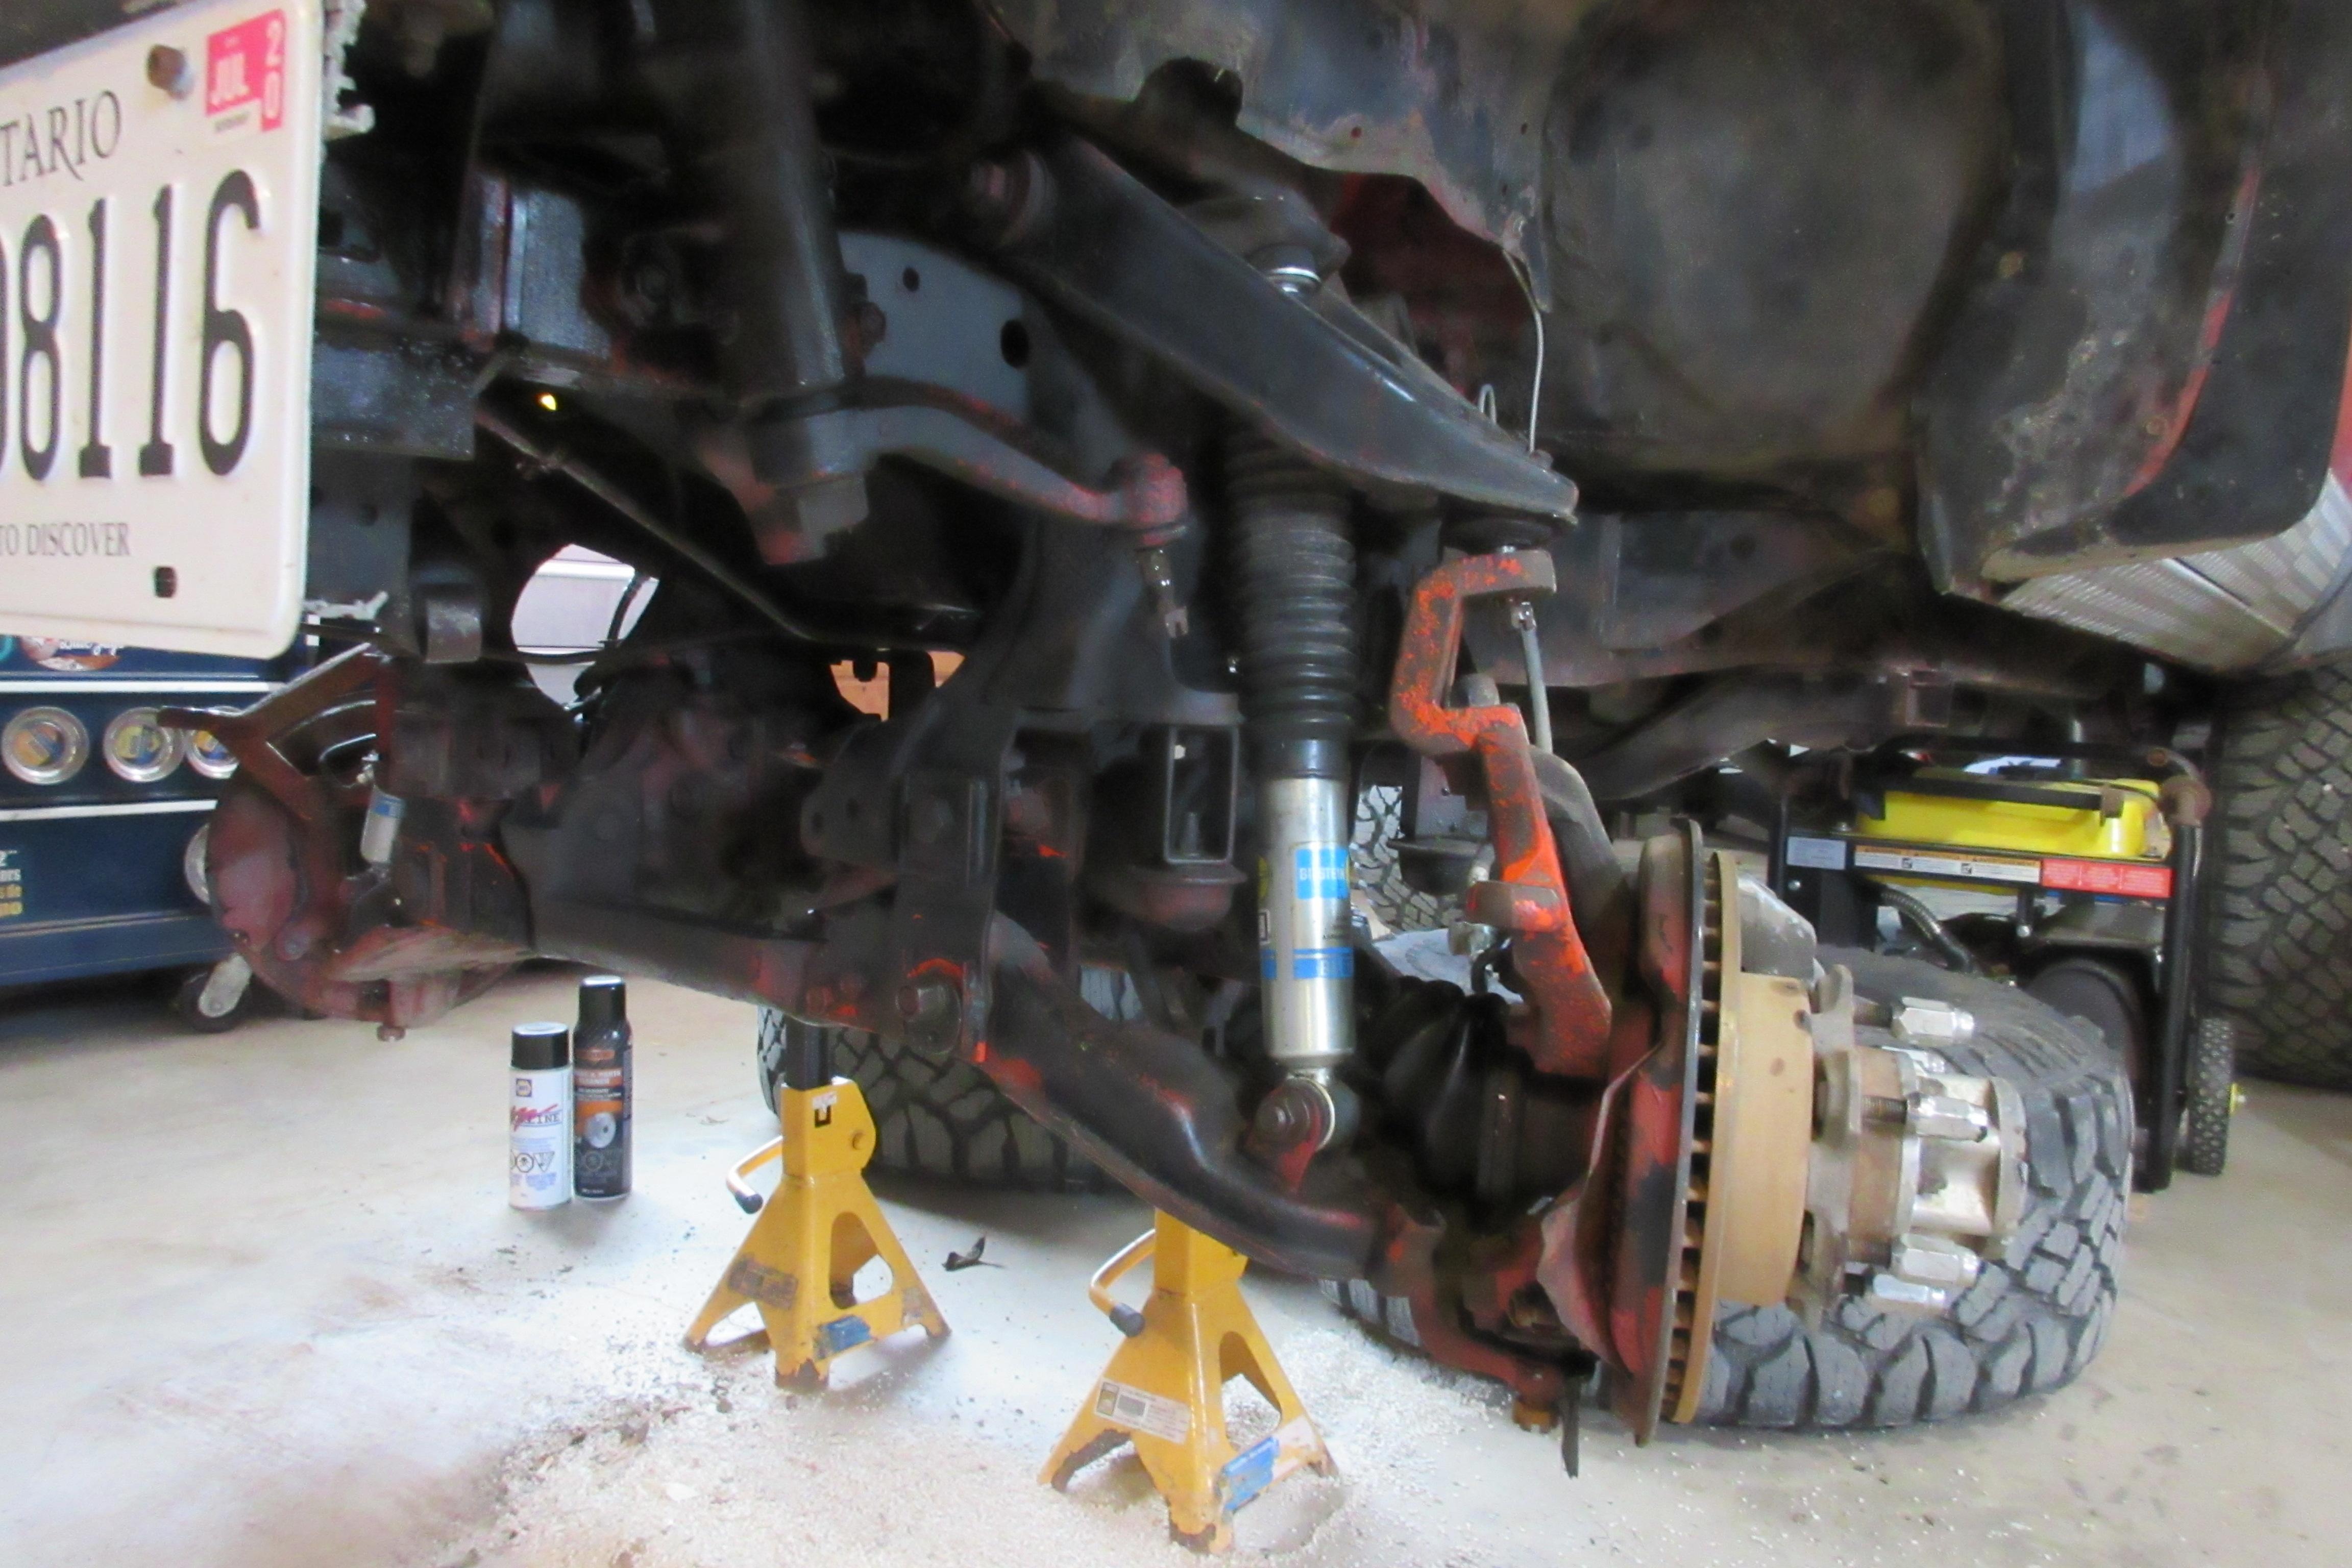
toys-n-yotasKeymasterIt’s that time of year again….time to pack the toys away for winter wrenching.
Last year’s setup had one flaw where I could only fit the Taco in the shop if it was ACTUALLY TOUCHING Redee, and even then the door needed help to close. So a new floor plan this winter to give me tons of exposure to Redee’s front end.
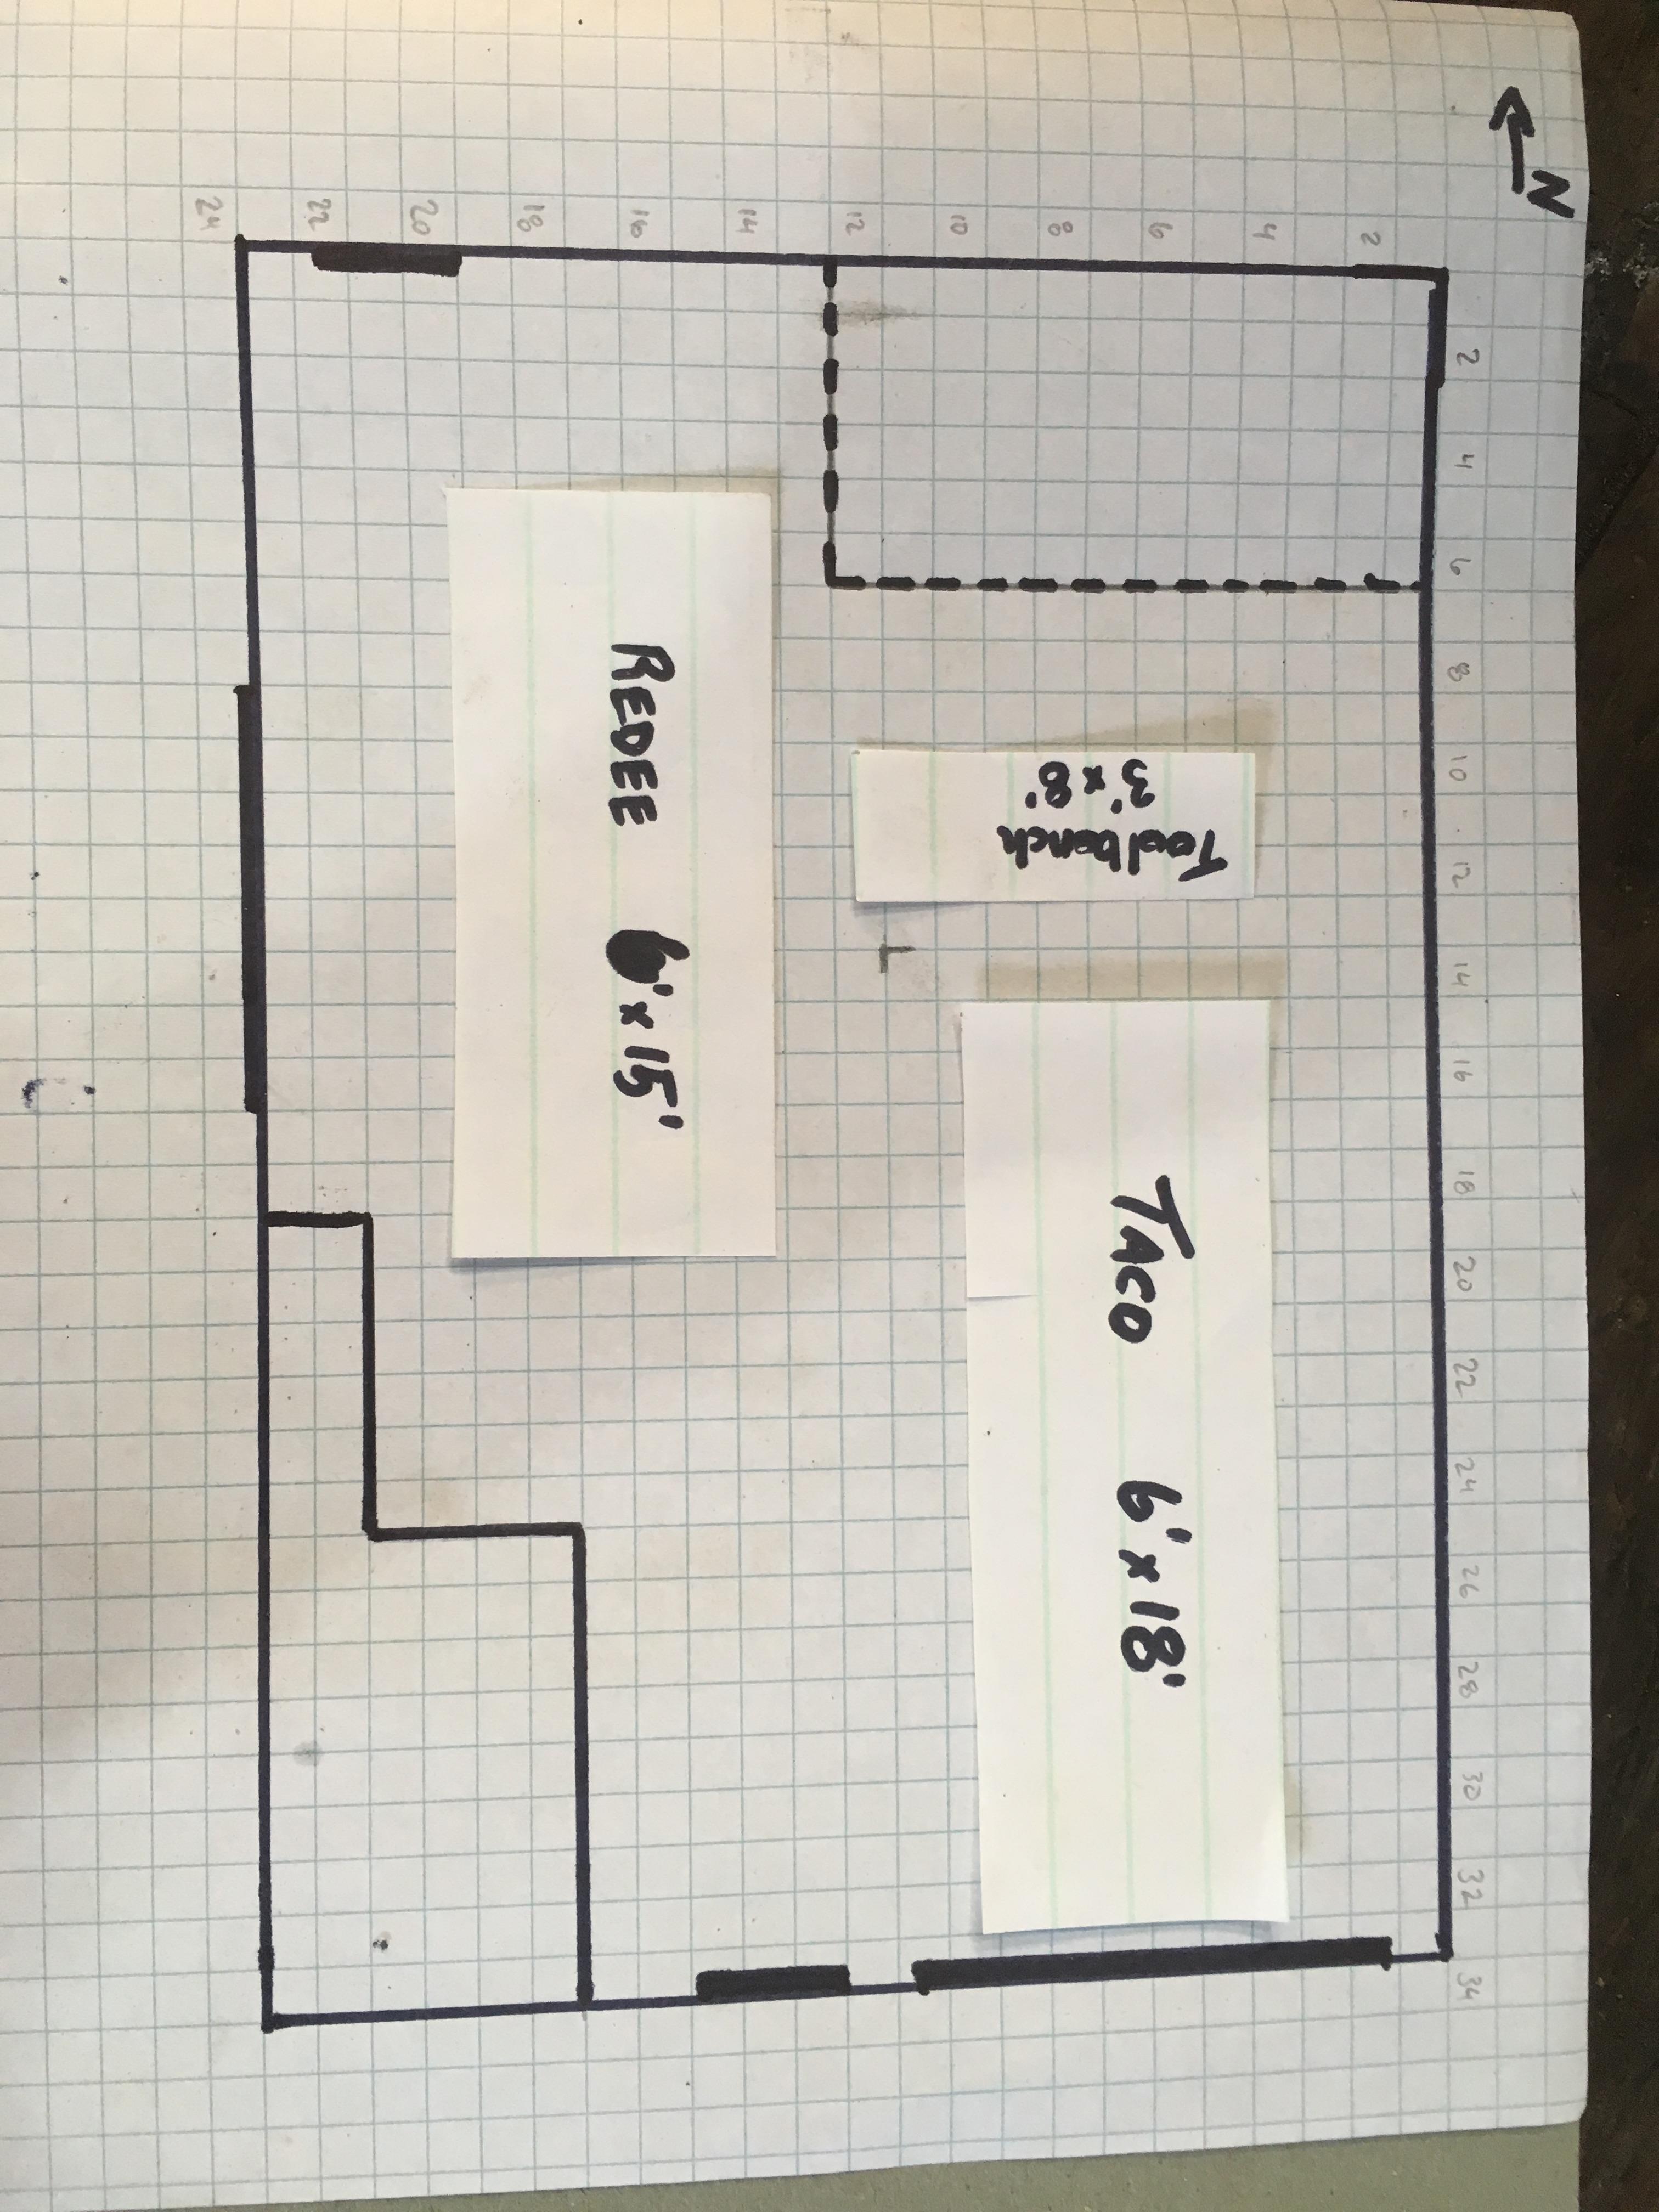
On the slate will be full steering replacement, balljoints, and now a serious power steering leak. I’ve got Redee’s nose pointing South, close to the “good light” and tool boxes, her booty tucked away in the back corner by the air compressor and Parts washing tank.
It Took significantly less time than last year to rearrange since I’ve spent the last 14-months purging useless crap from the shop. Now all that remains is “somewhat useful crap” as deemed by myself. At least if I need to change things up this winter, Redee will fire up and move under her own power, rather than just pushing power.
toys-n-yotasKeymasterGreat start Evan! Post up the swingout hinges and latches you use, a dual swingout on Redee would help solve my spare tire troubles, while lookin’ pretty badass.
toys-n-yotasKeymasterOh no, a first gen for sale, makes my wallet and wife nervous! Let us know if you do decide to sell, some of us are also addicts.
toys-n-yotasKeymasterMy buddy James hooked me up with the photos he captured along the way.


Those panoramic shots look way better if you save them to your computer/phone first, then you can really zoom in on it.
That’s all the evidence I have, besides a hand written turn list that I still need to ammend.
Enjoy!
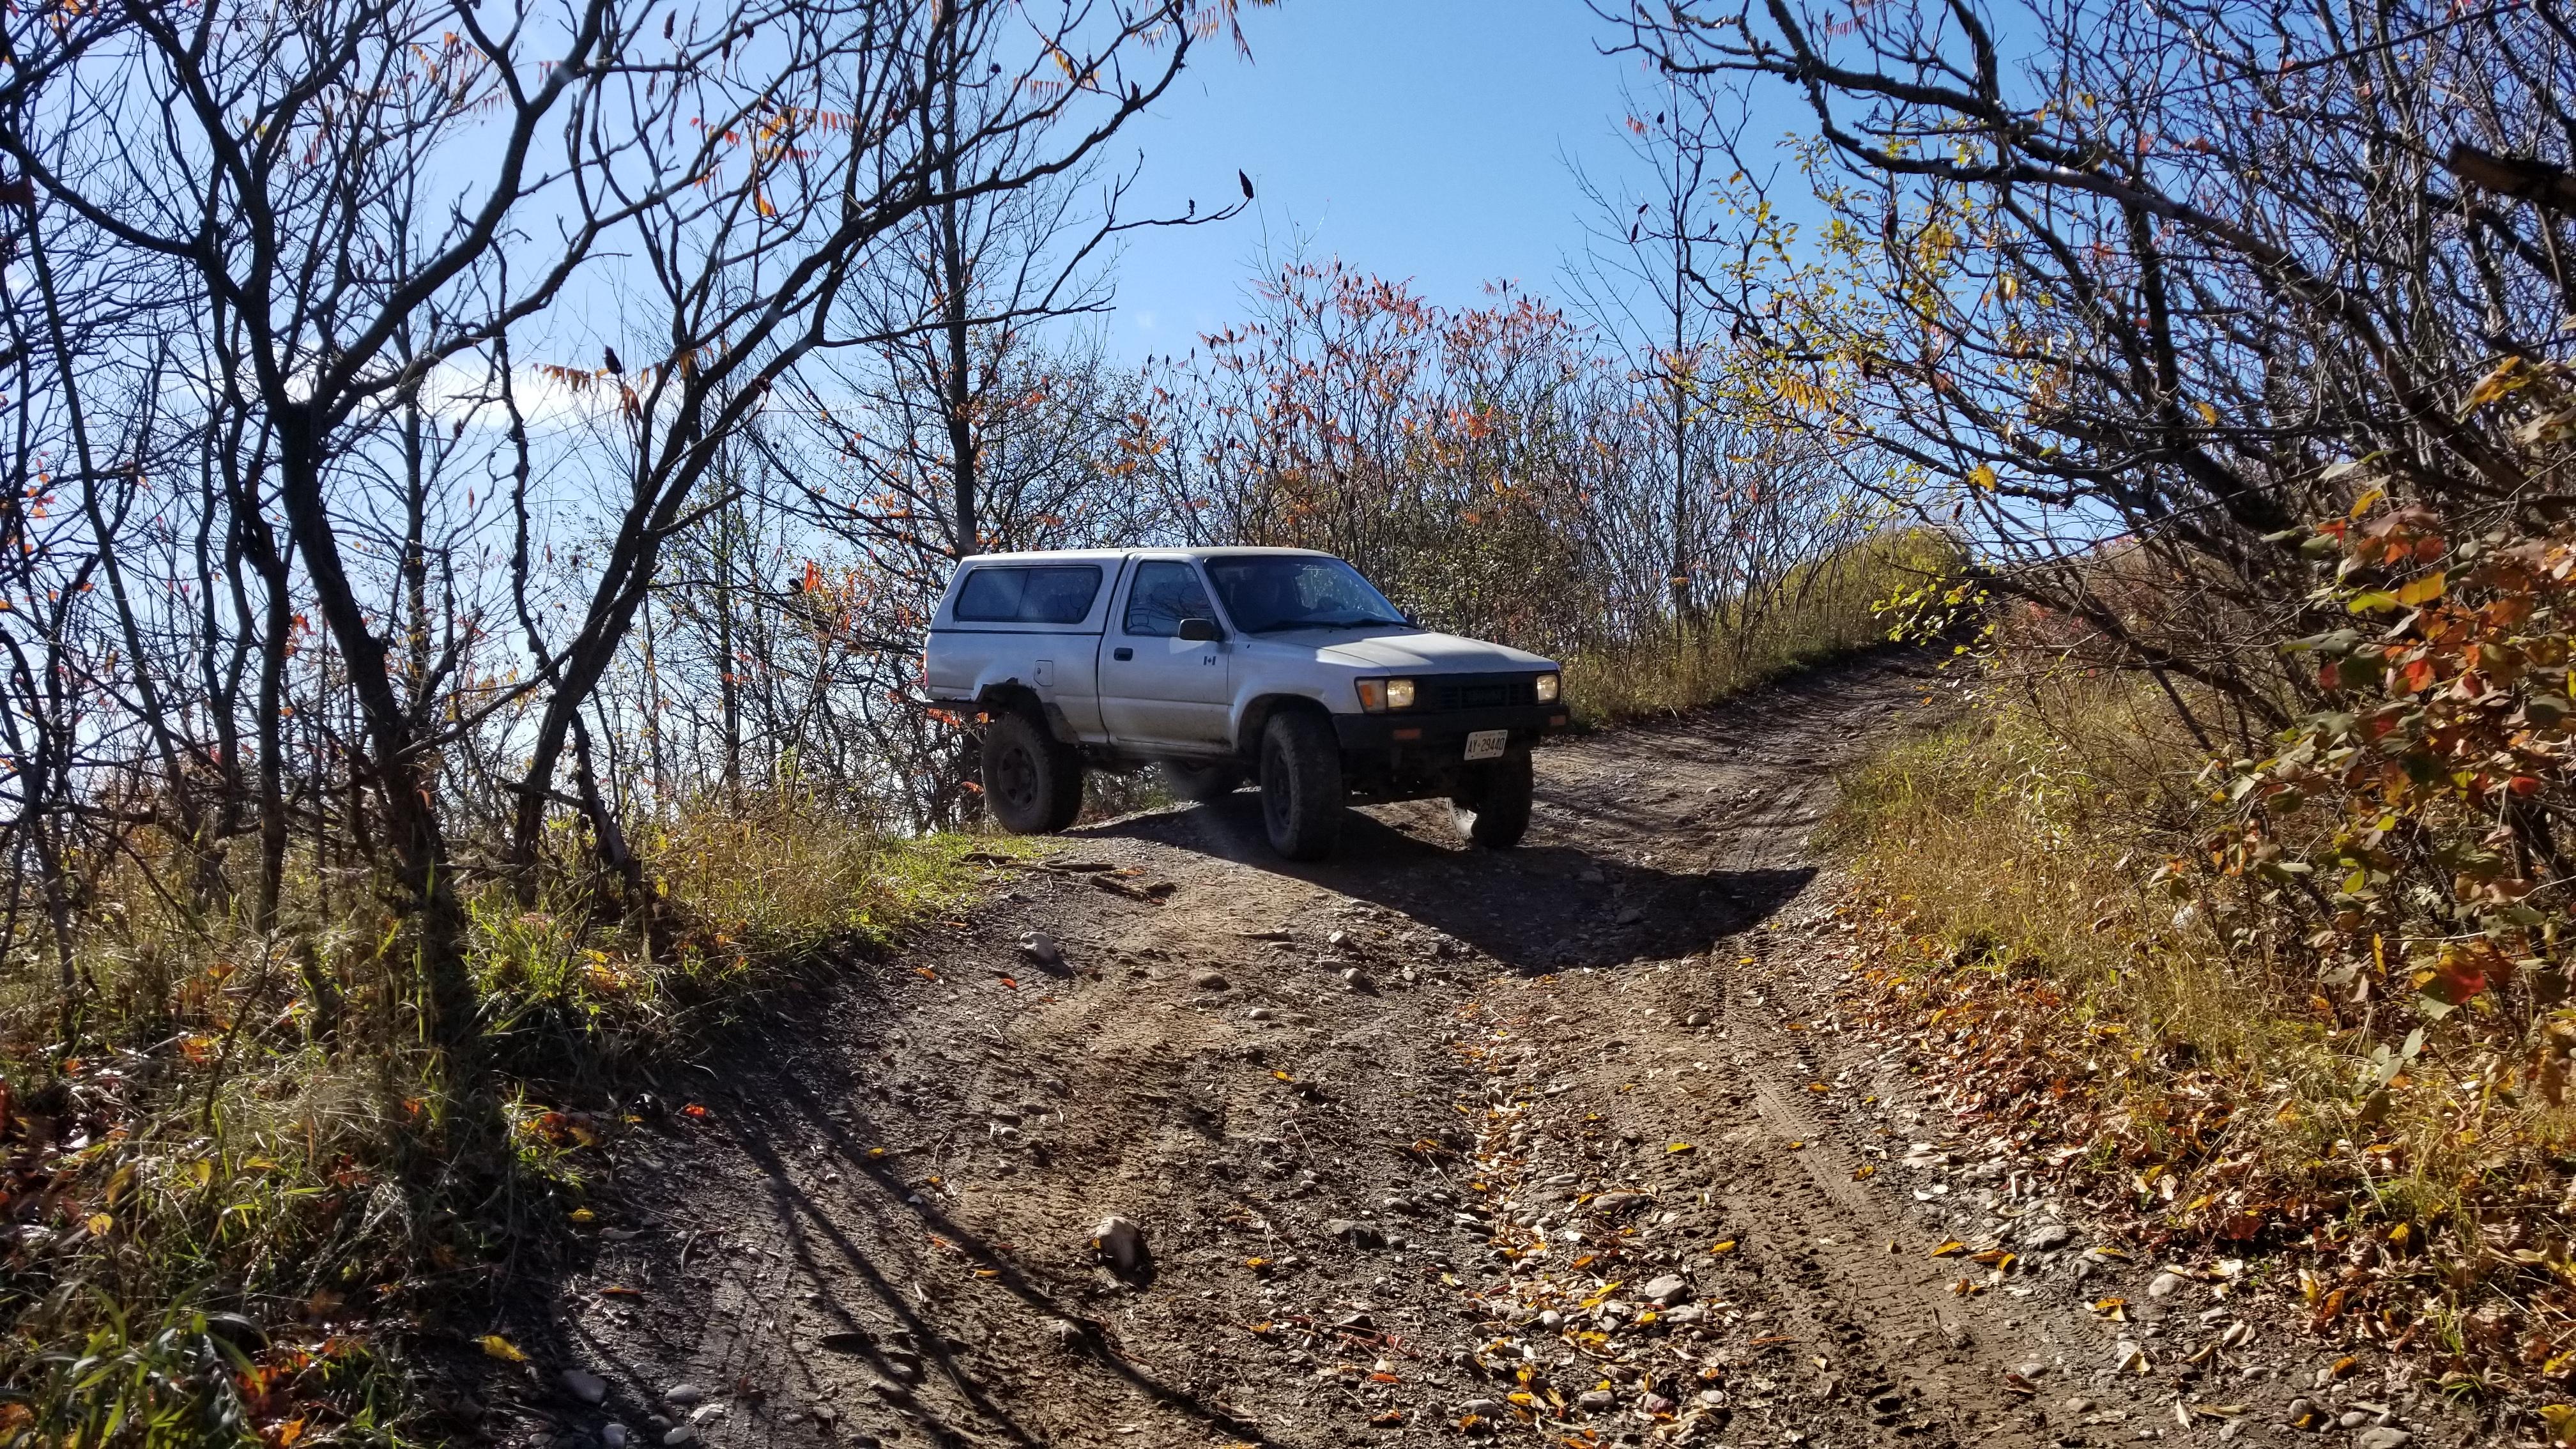
toys-n-yotasKeymasterMark, thanks for making the trek out here, and puttin’ the Knarr through the tougher parts of the roads less travelled around here.
I’ll keep this route, and make an amendment for where the NO EXIT was legitimate thanks to a massive stack of concrete blocks.
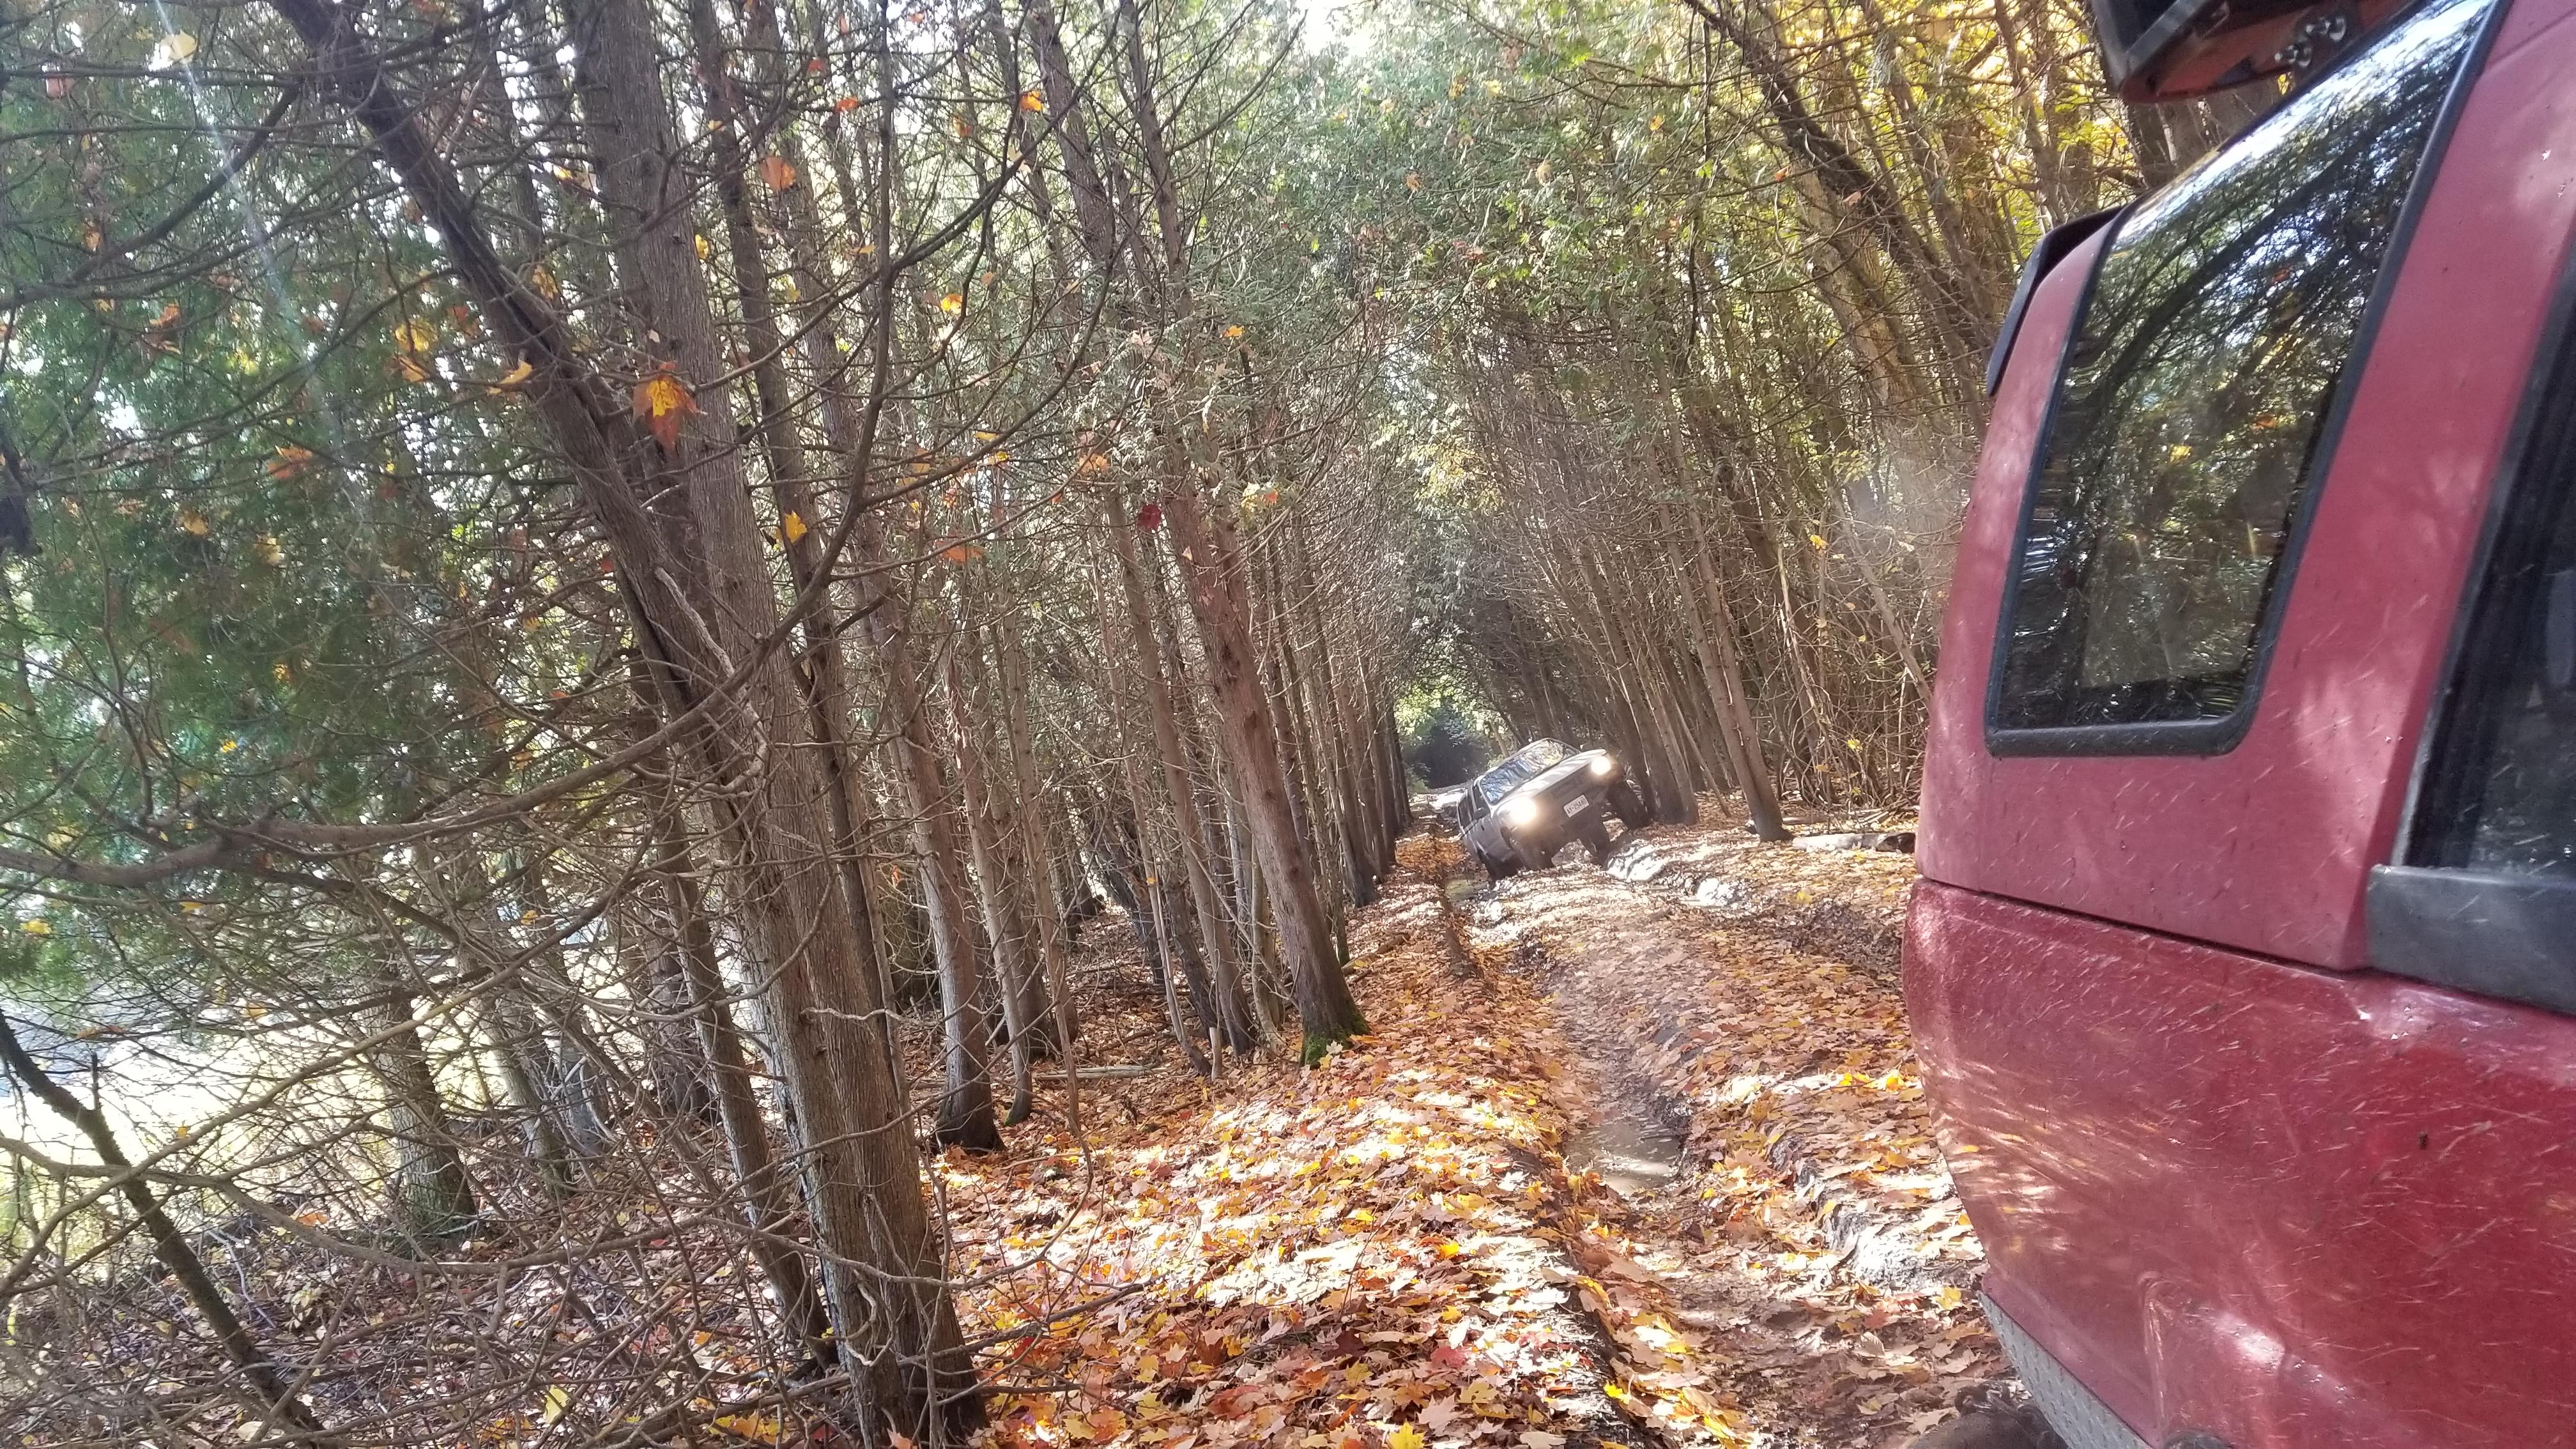
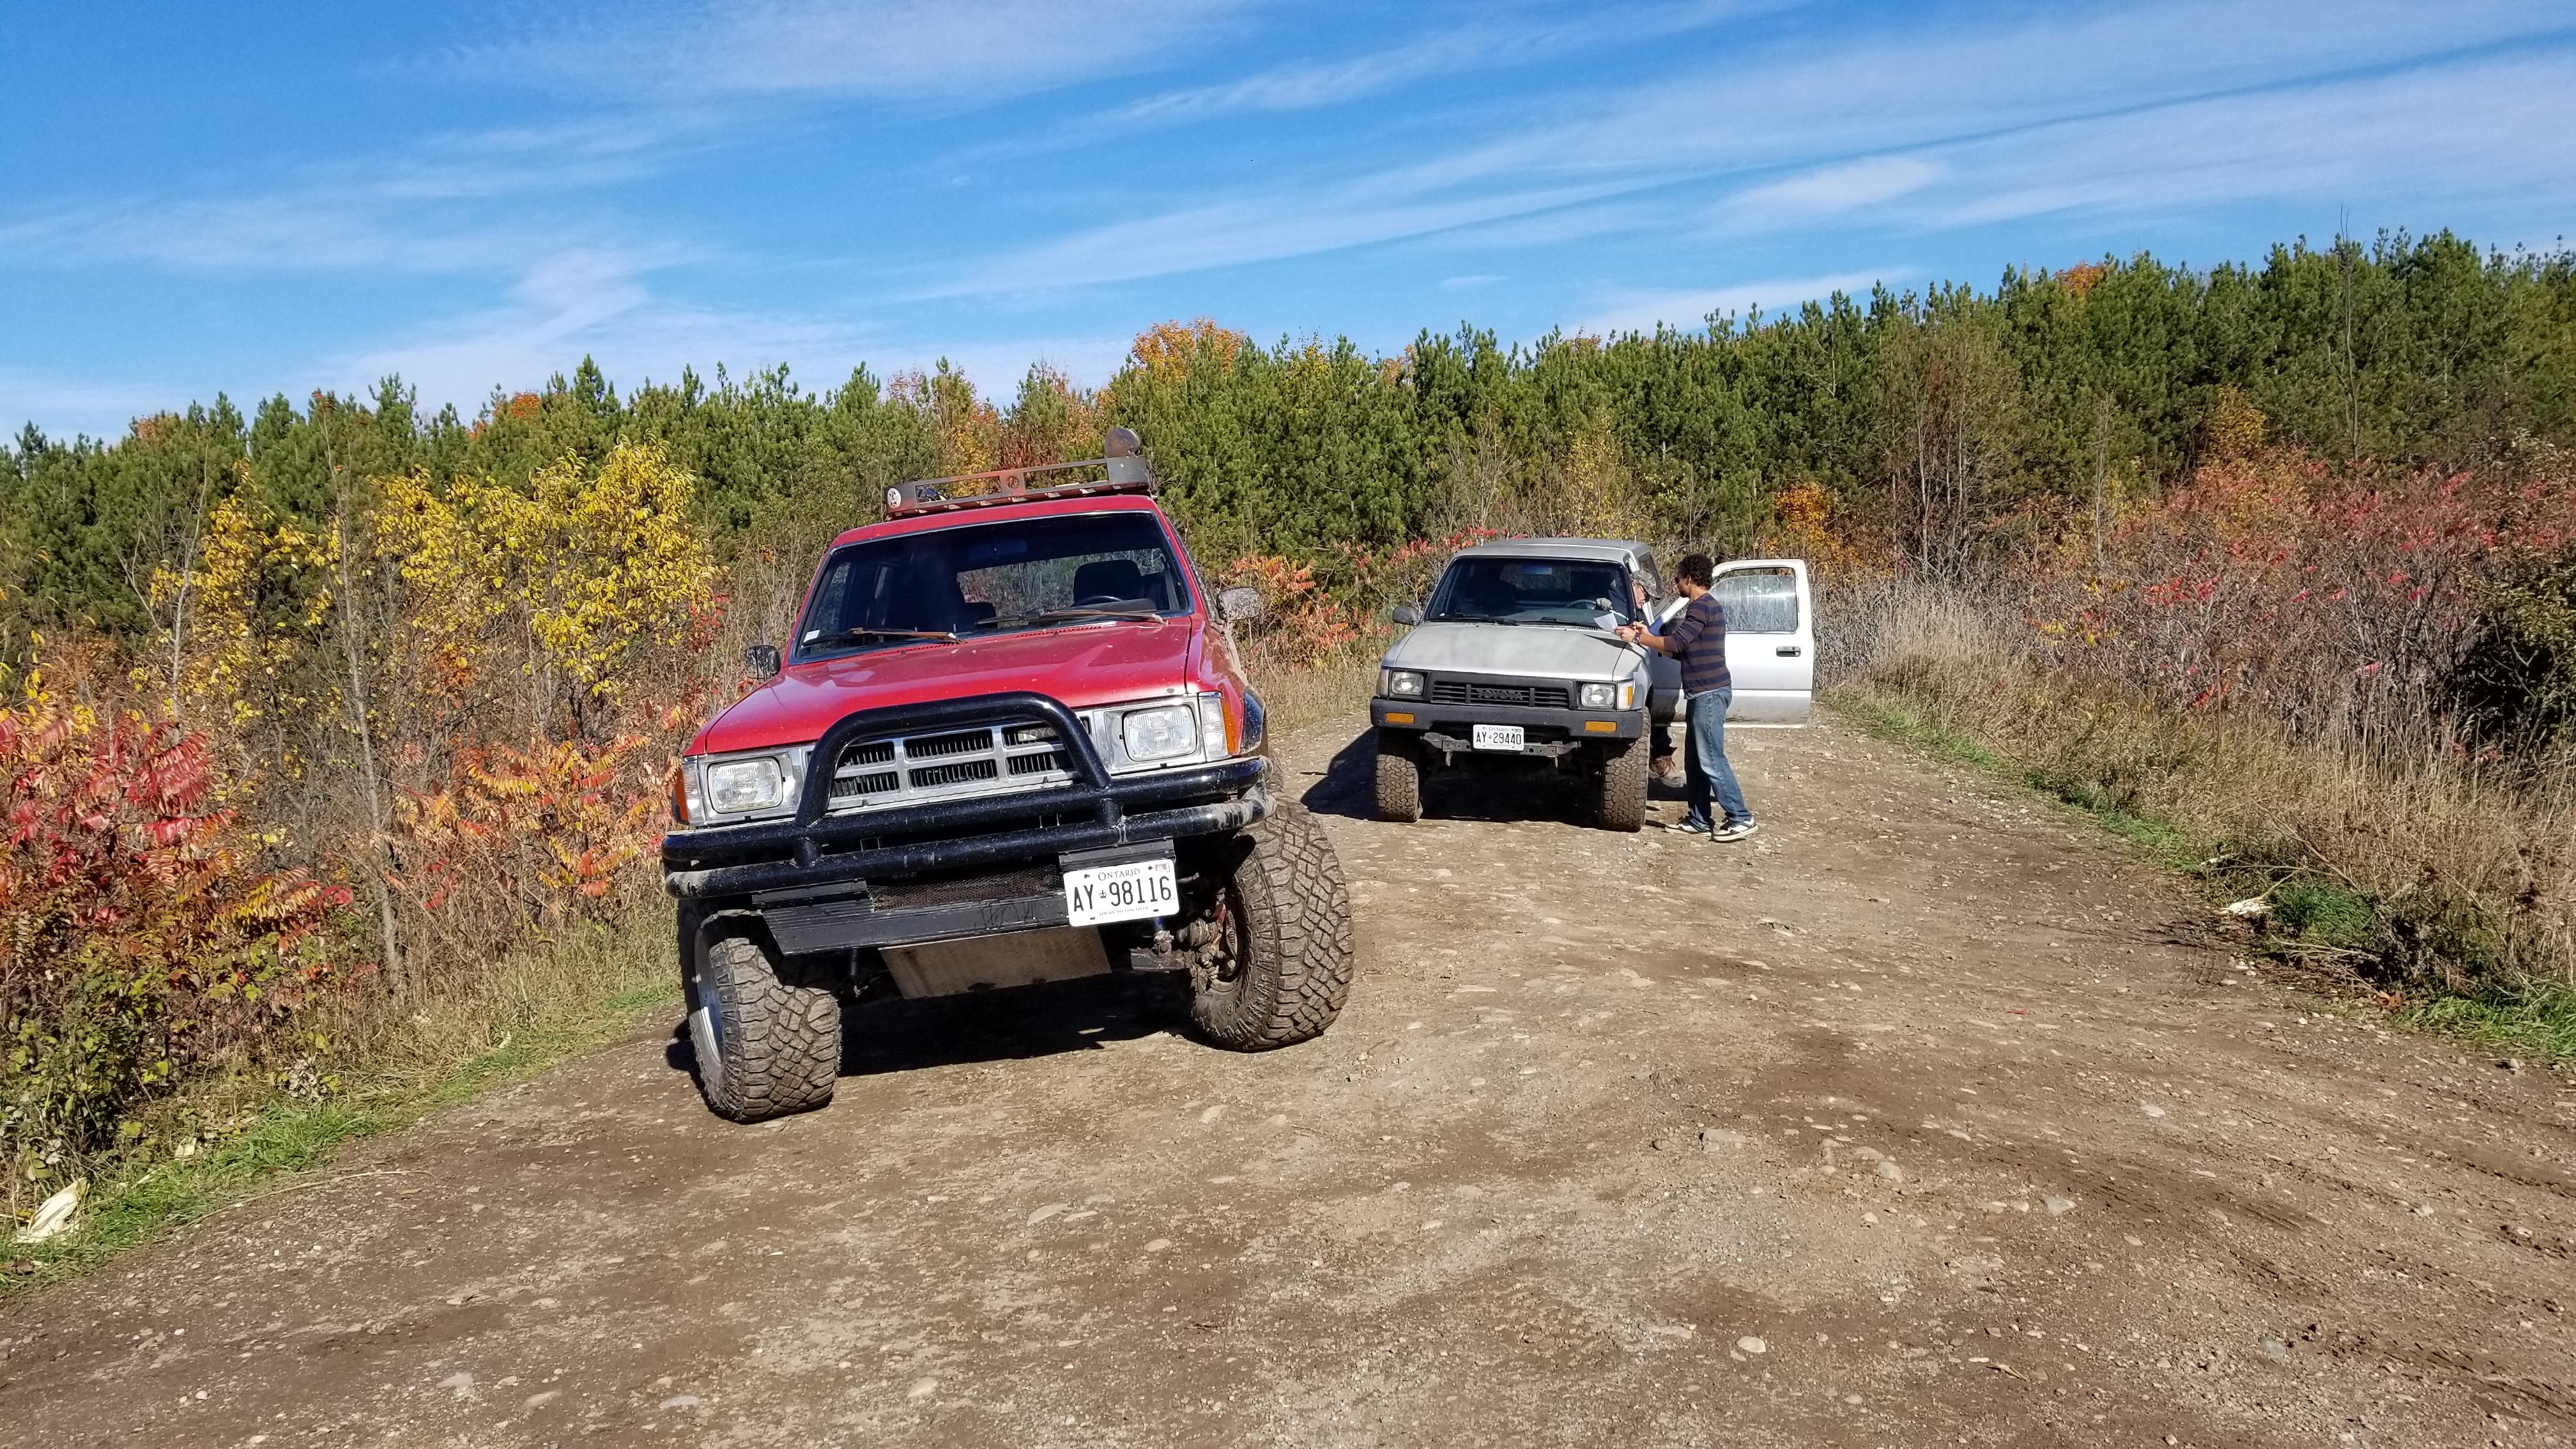
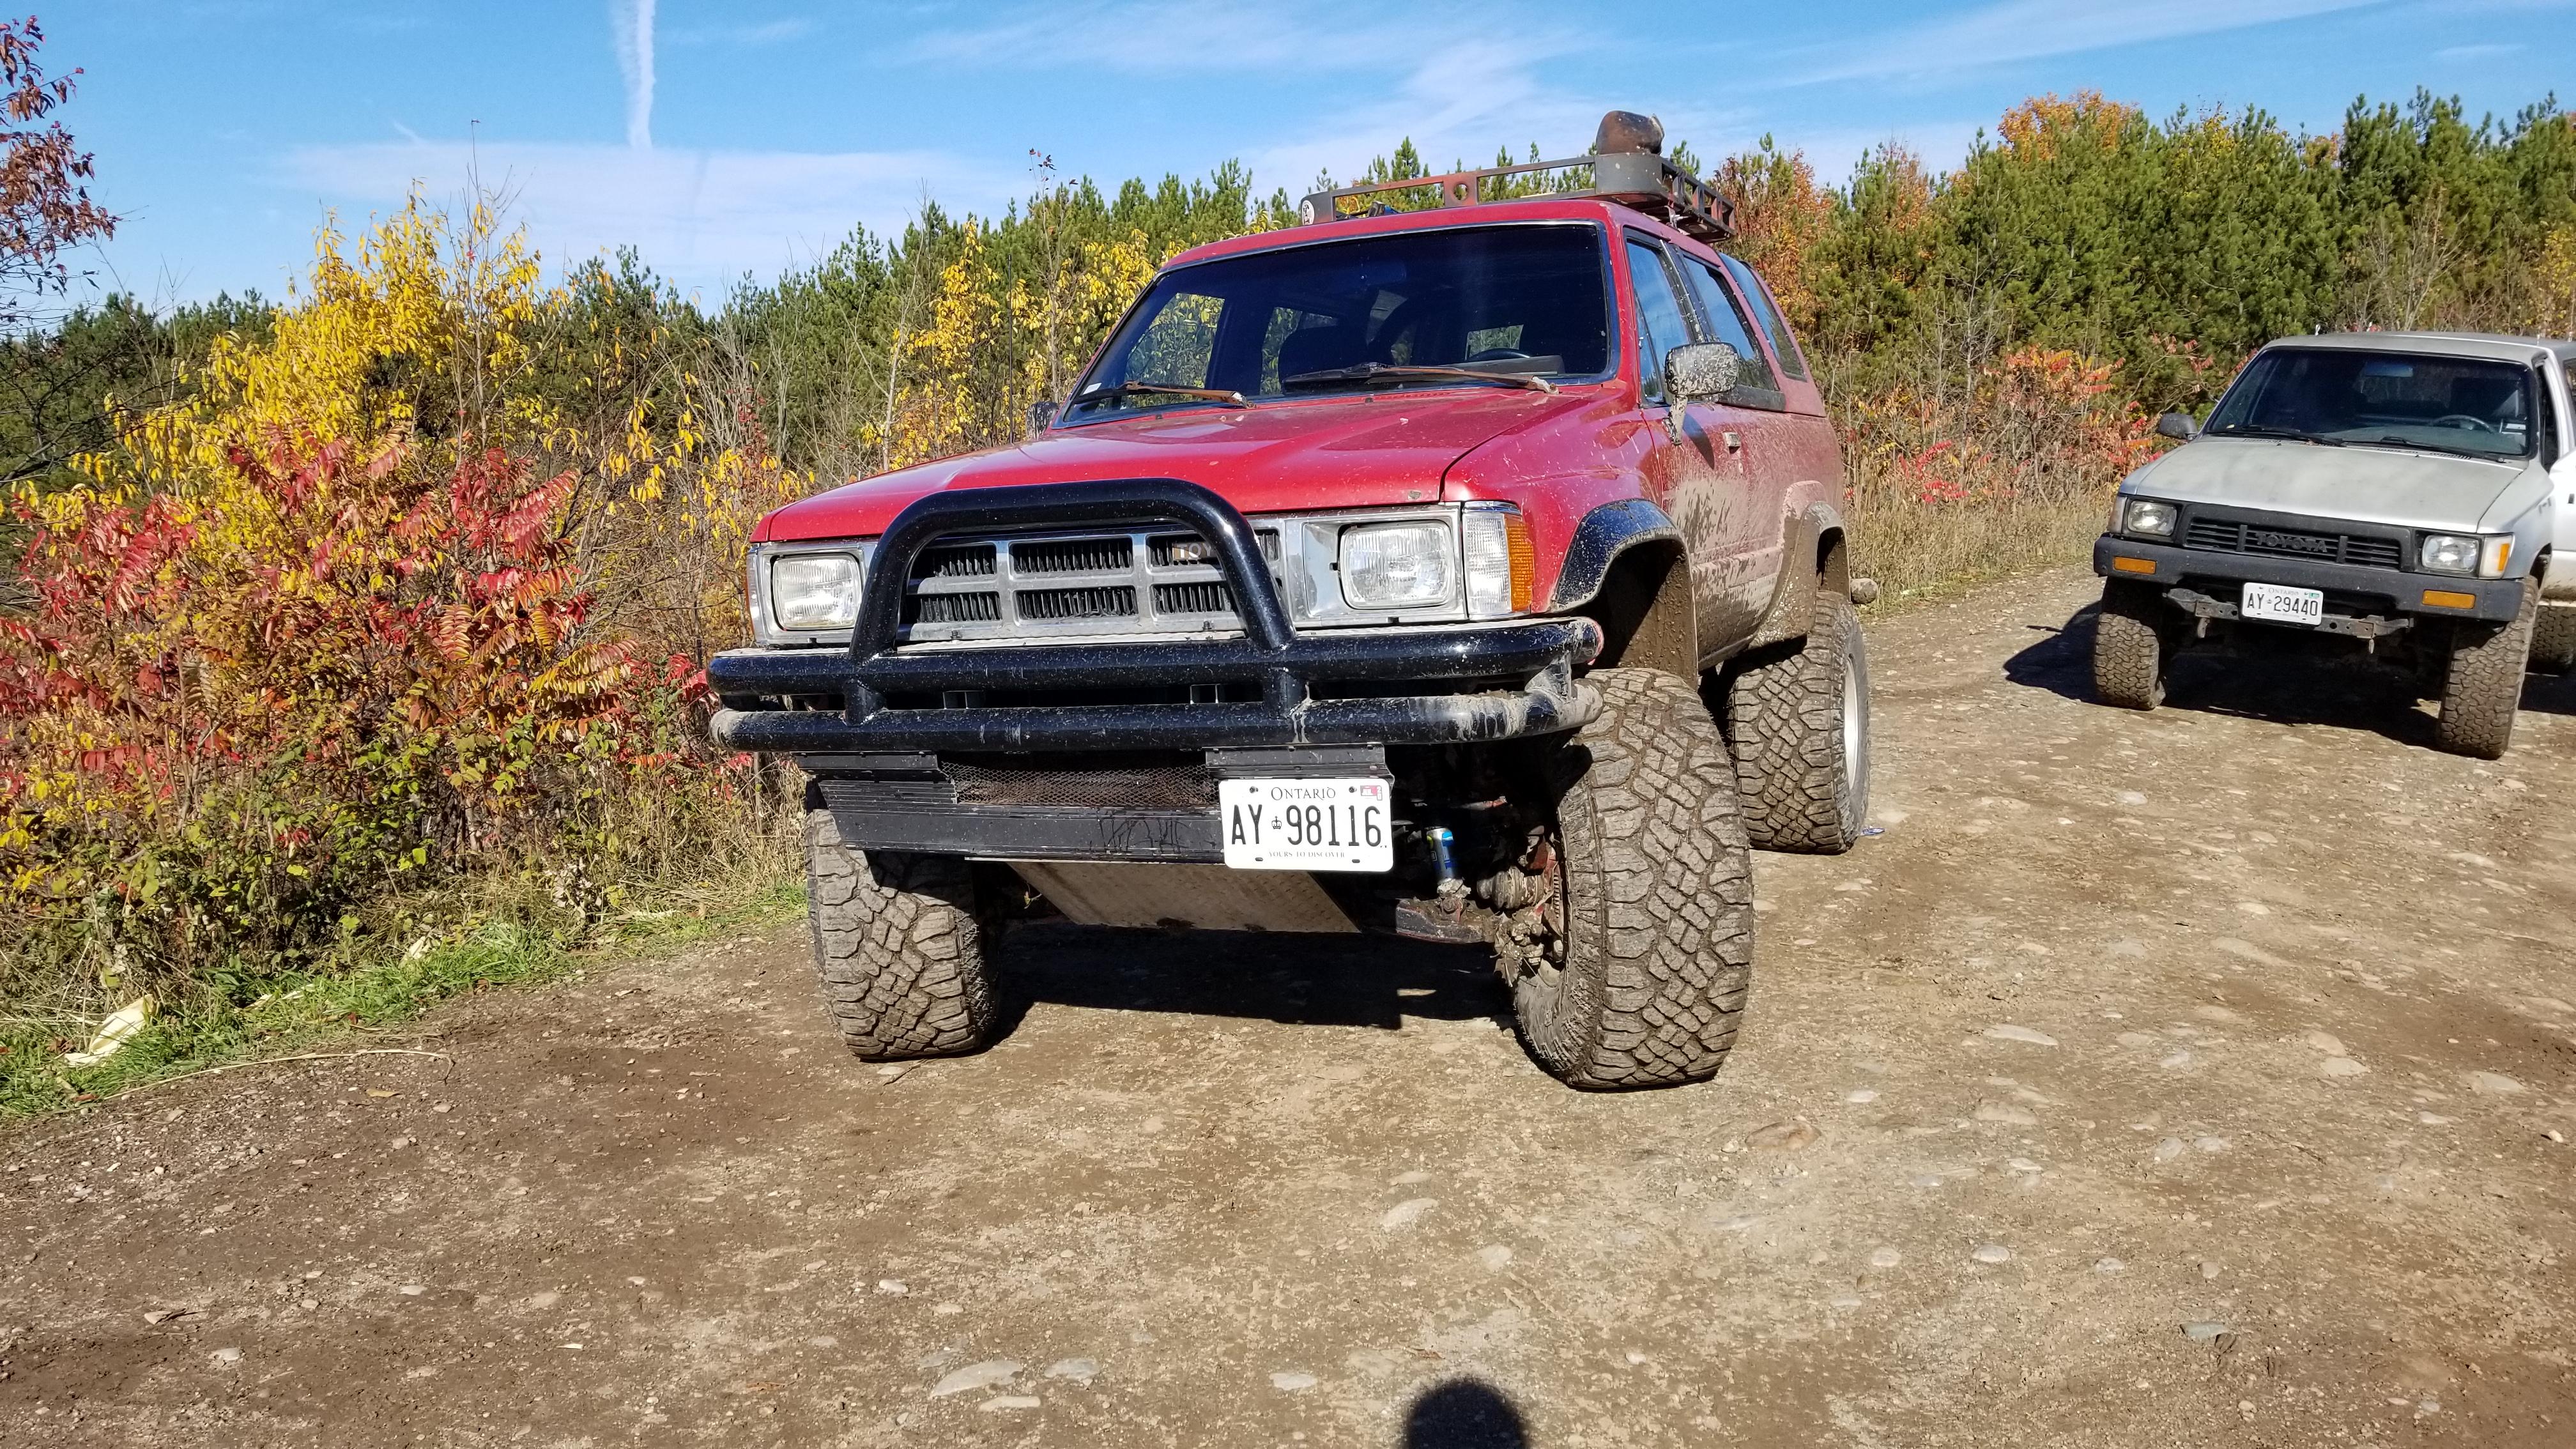
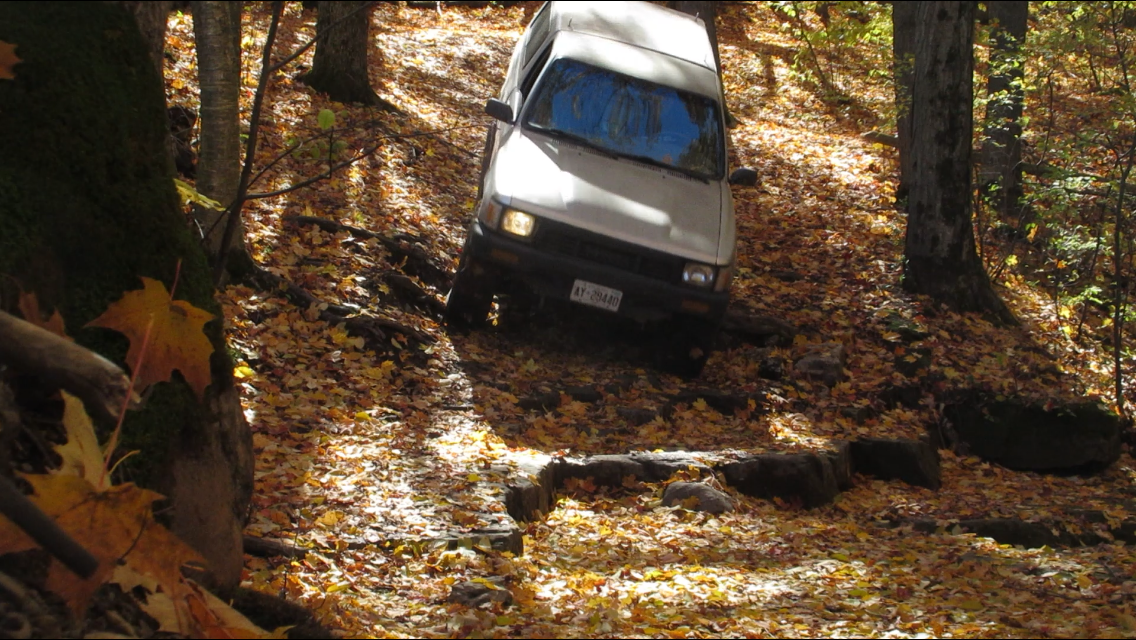
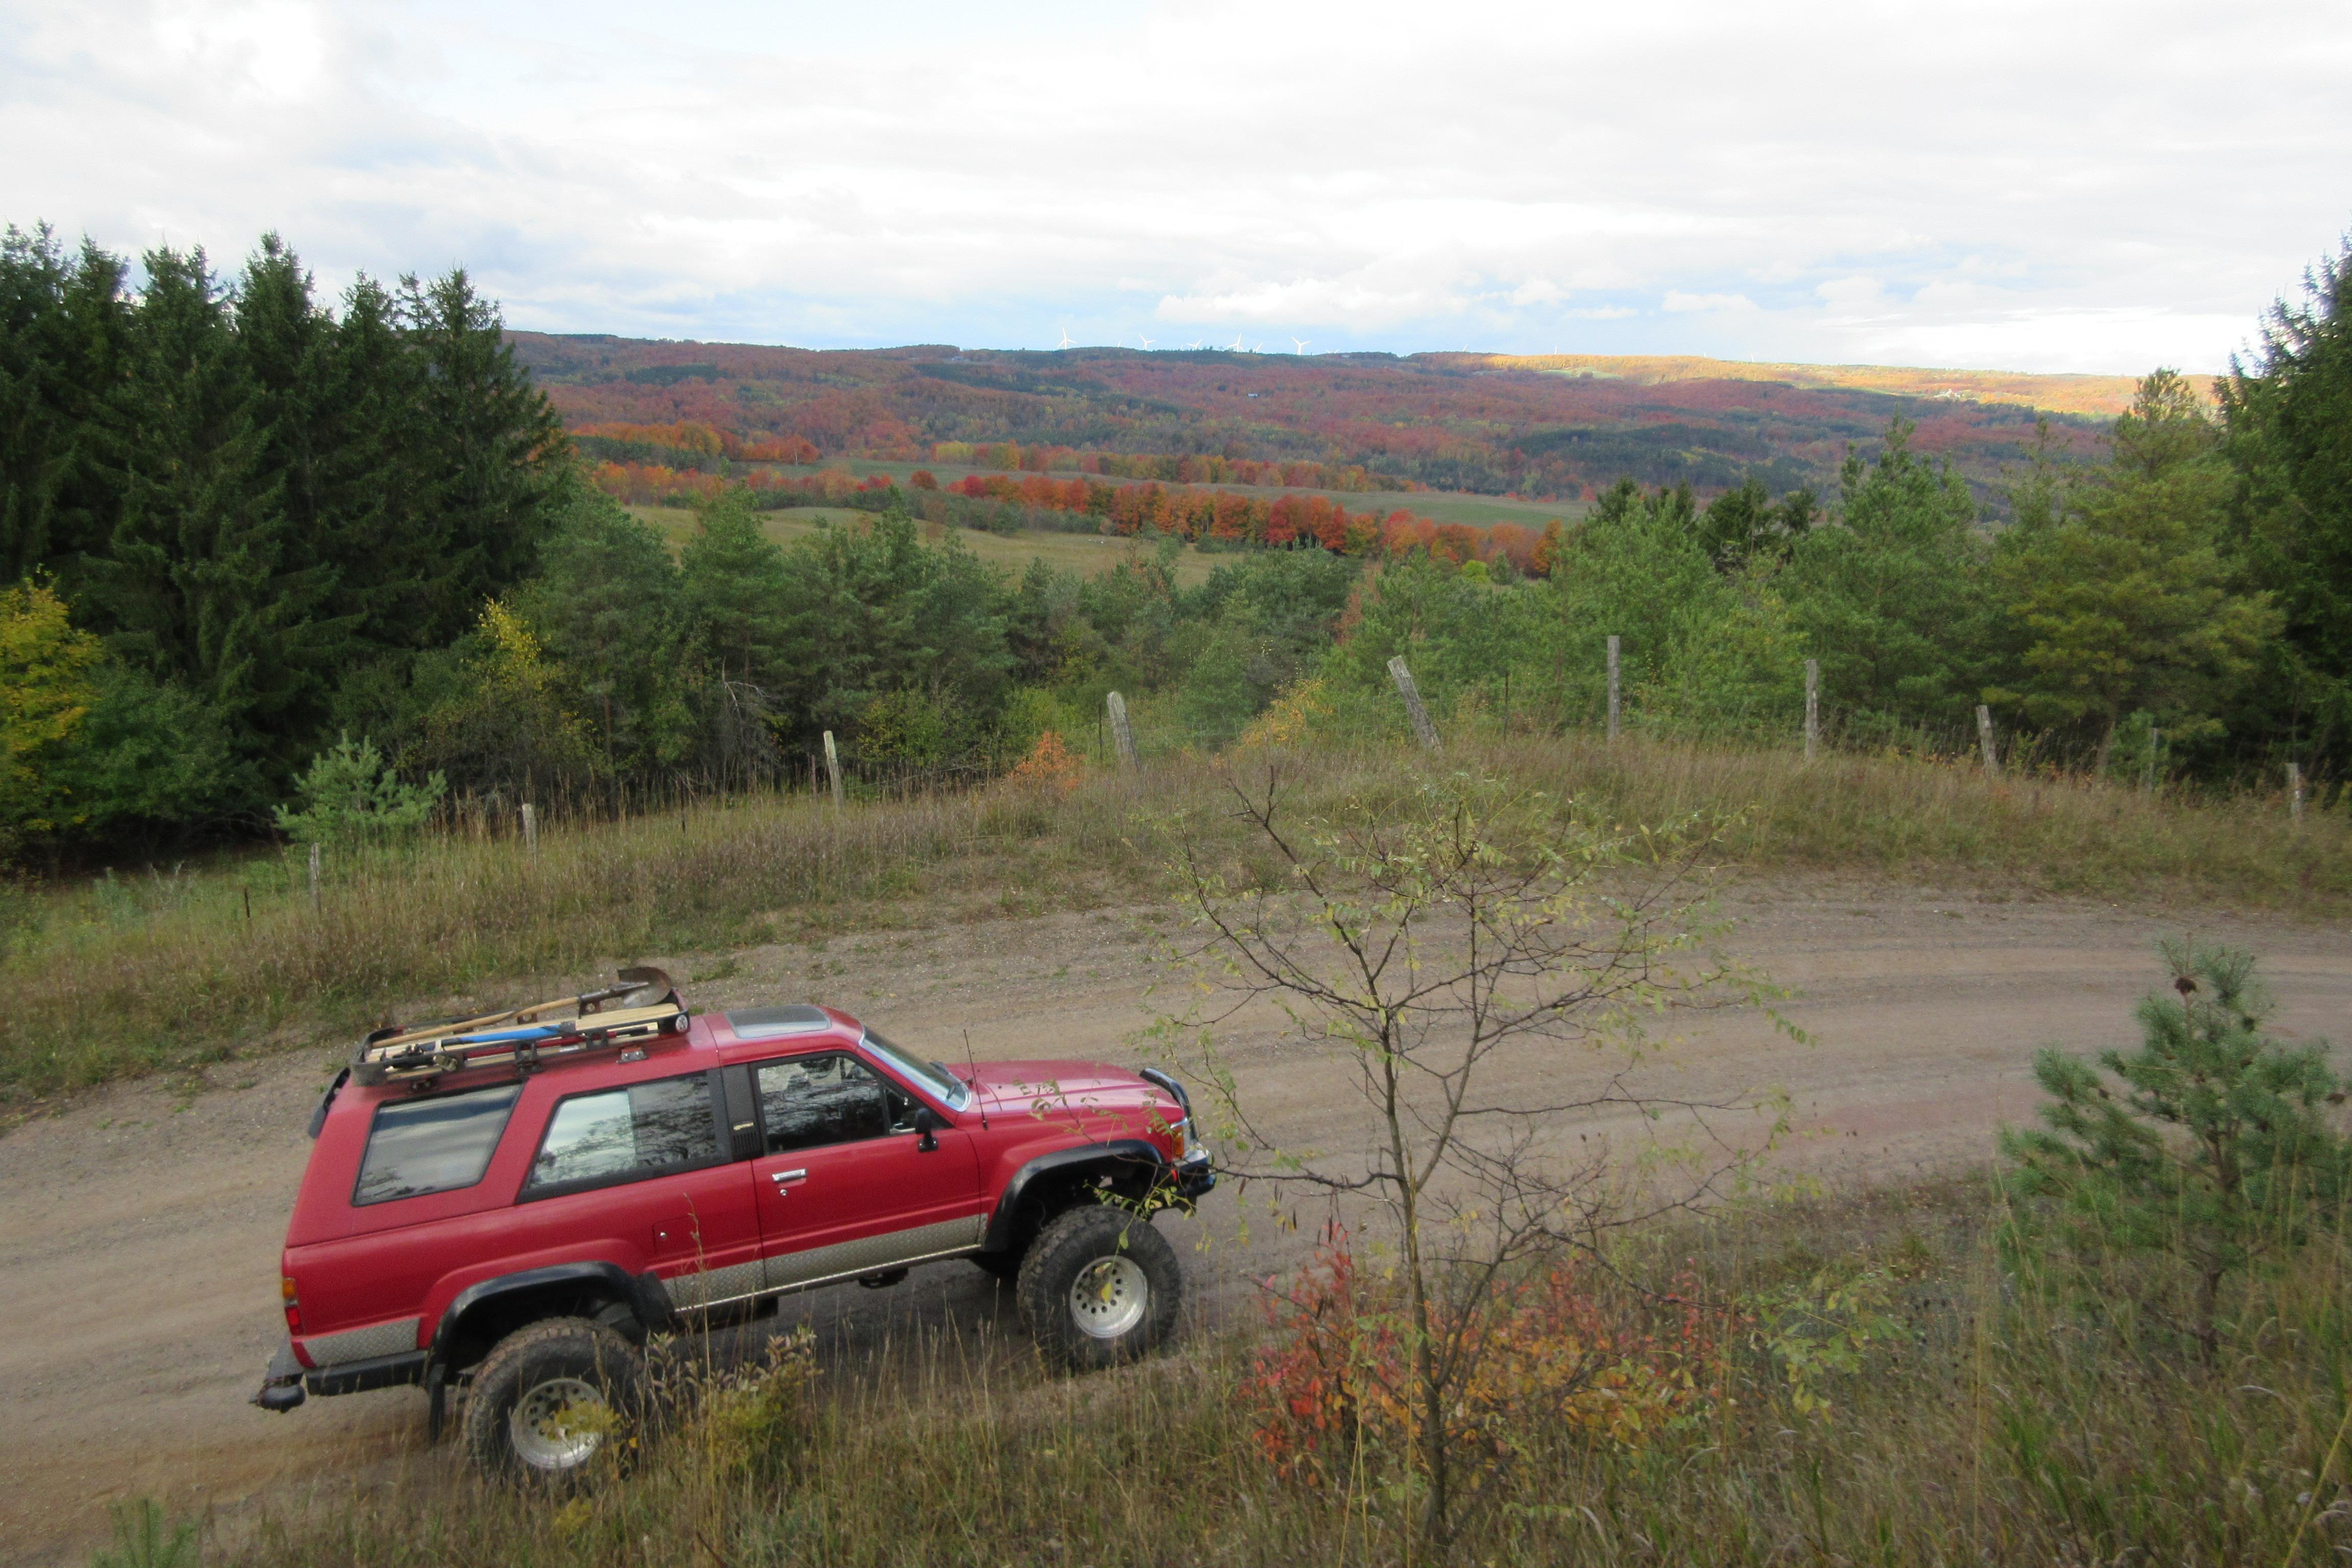
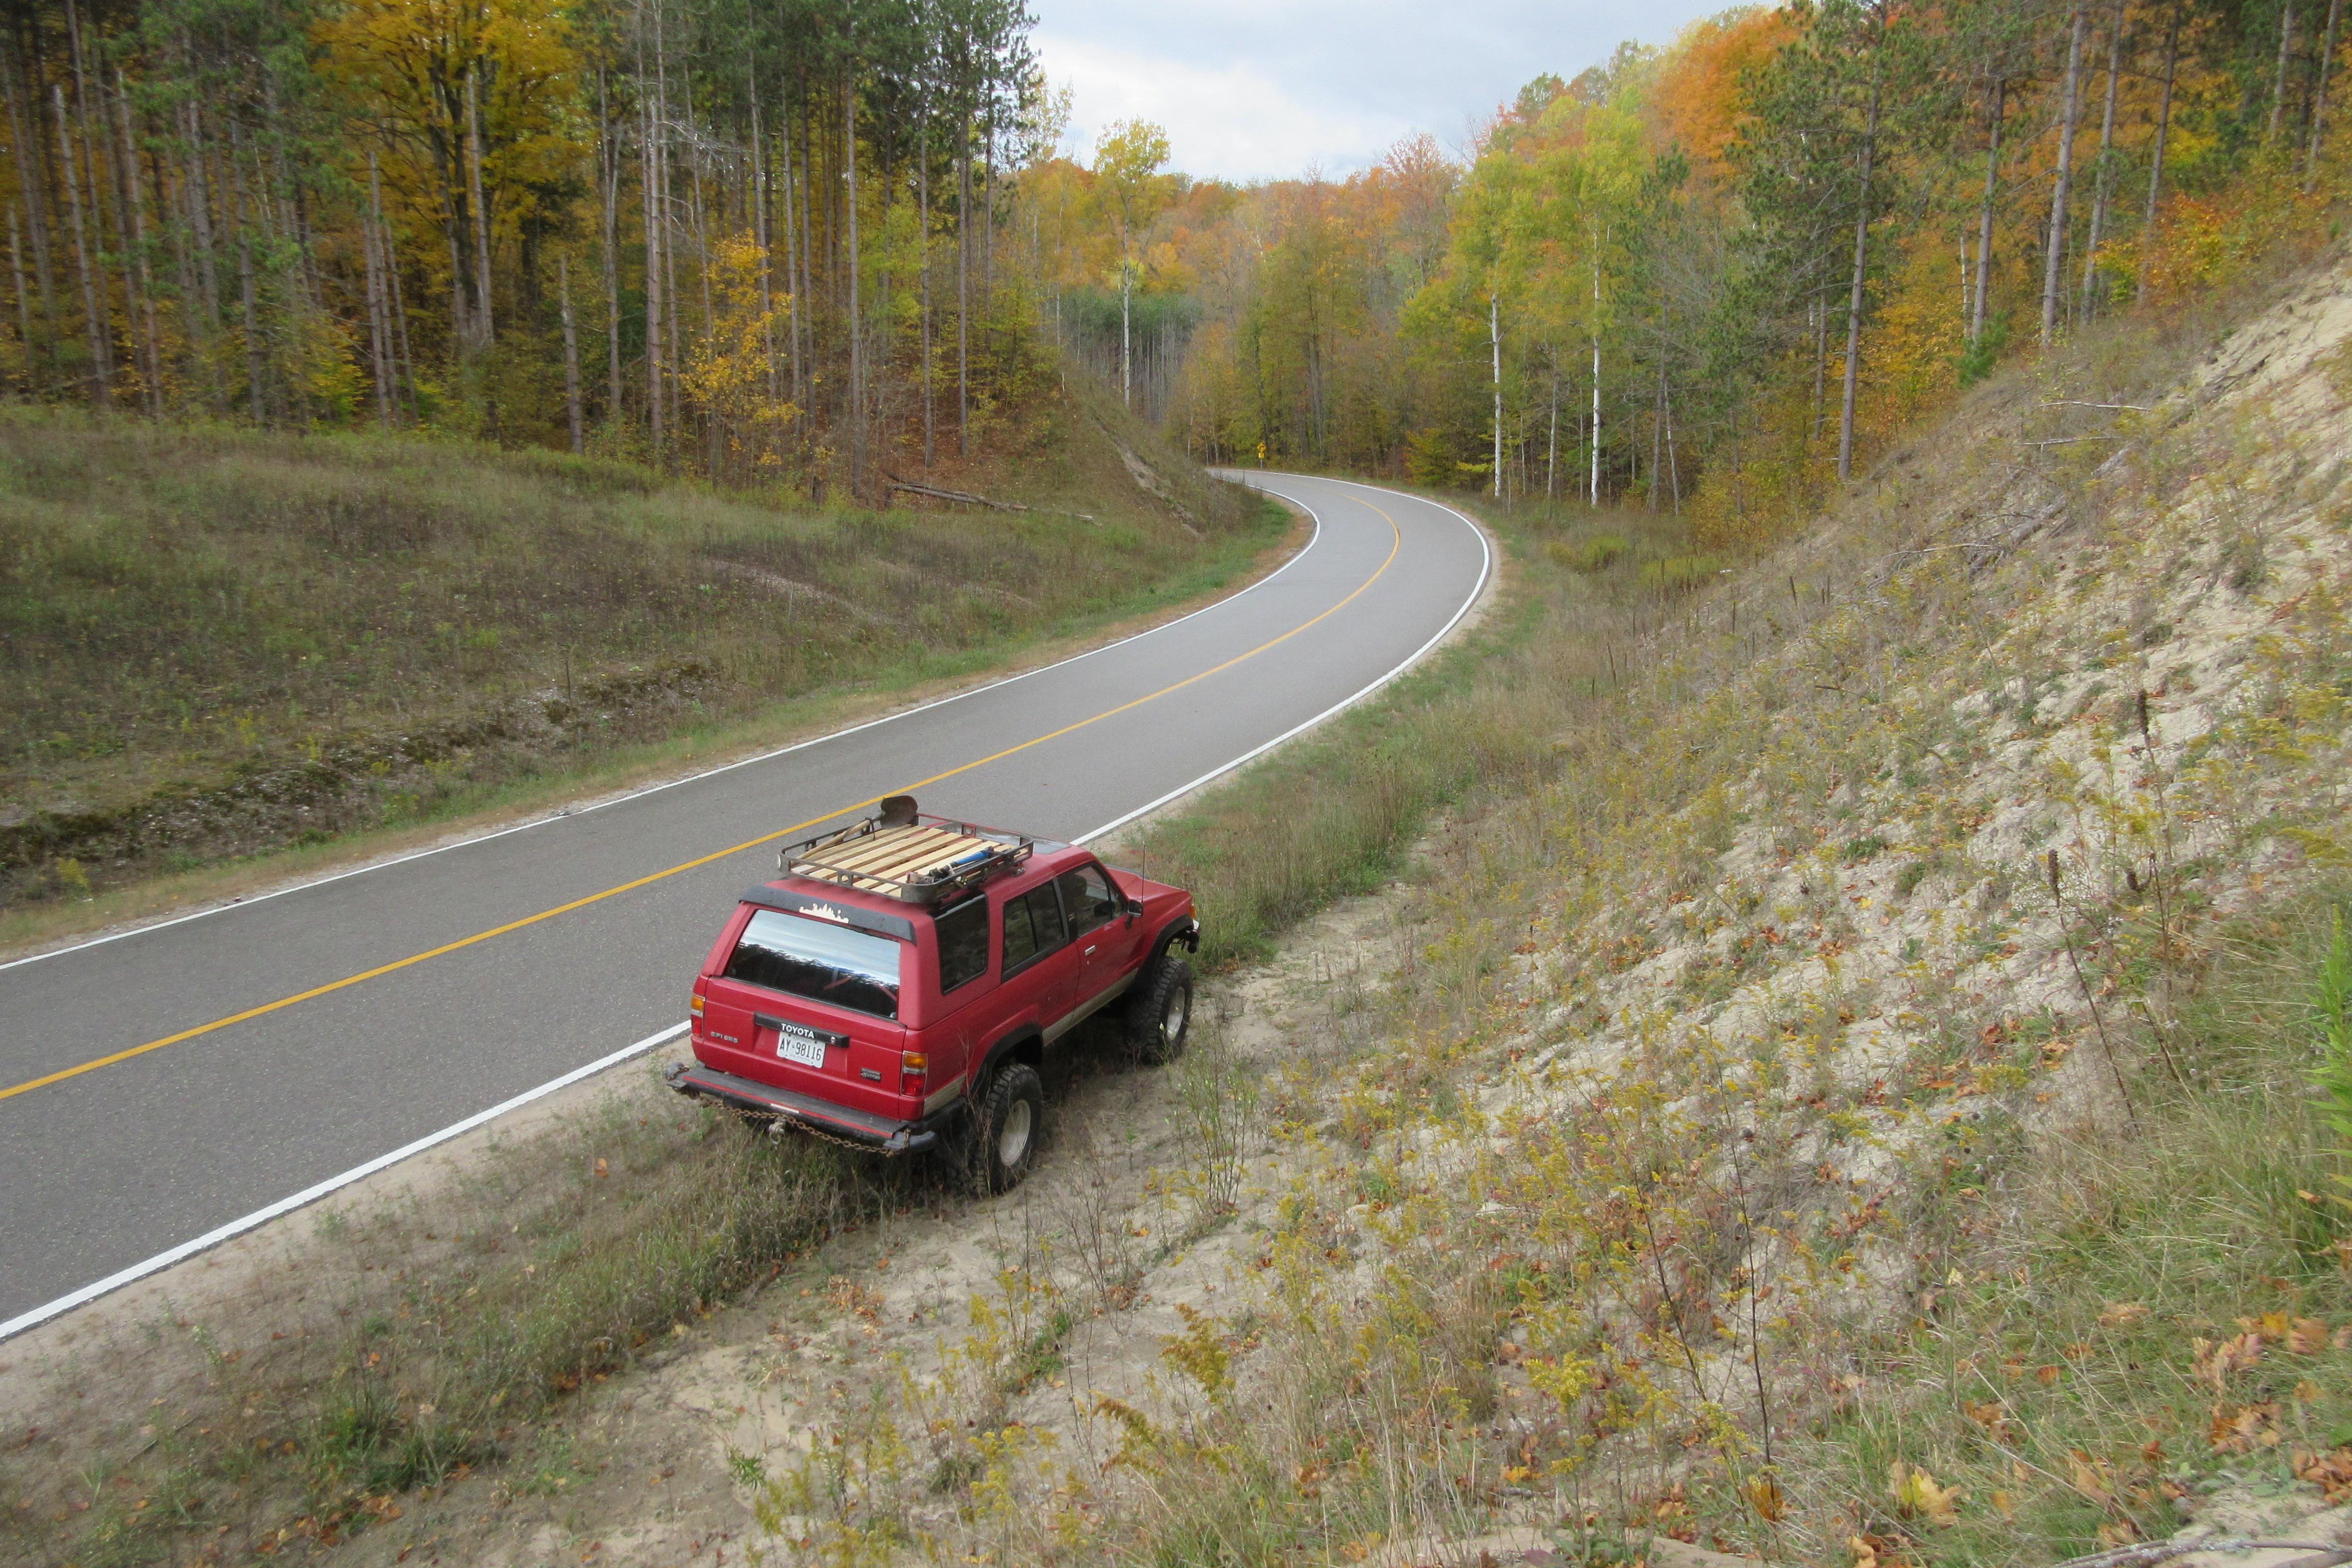
My buddy James who rode shotty, then piloted Redee about 40km is even more stocked to get himself a Toyota 4×4. I am still waiting on his collection of photos to come my way, but here’s a few to get us started.
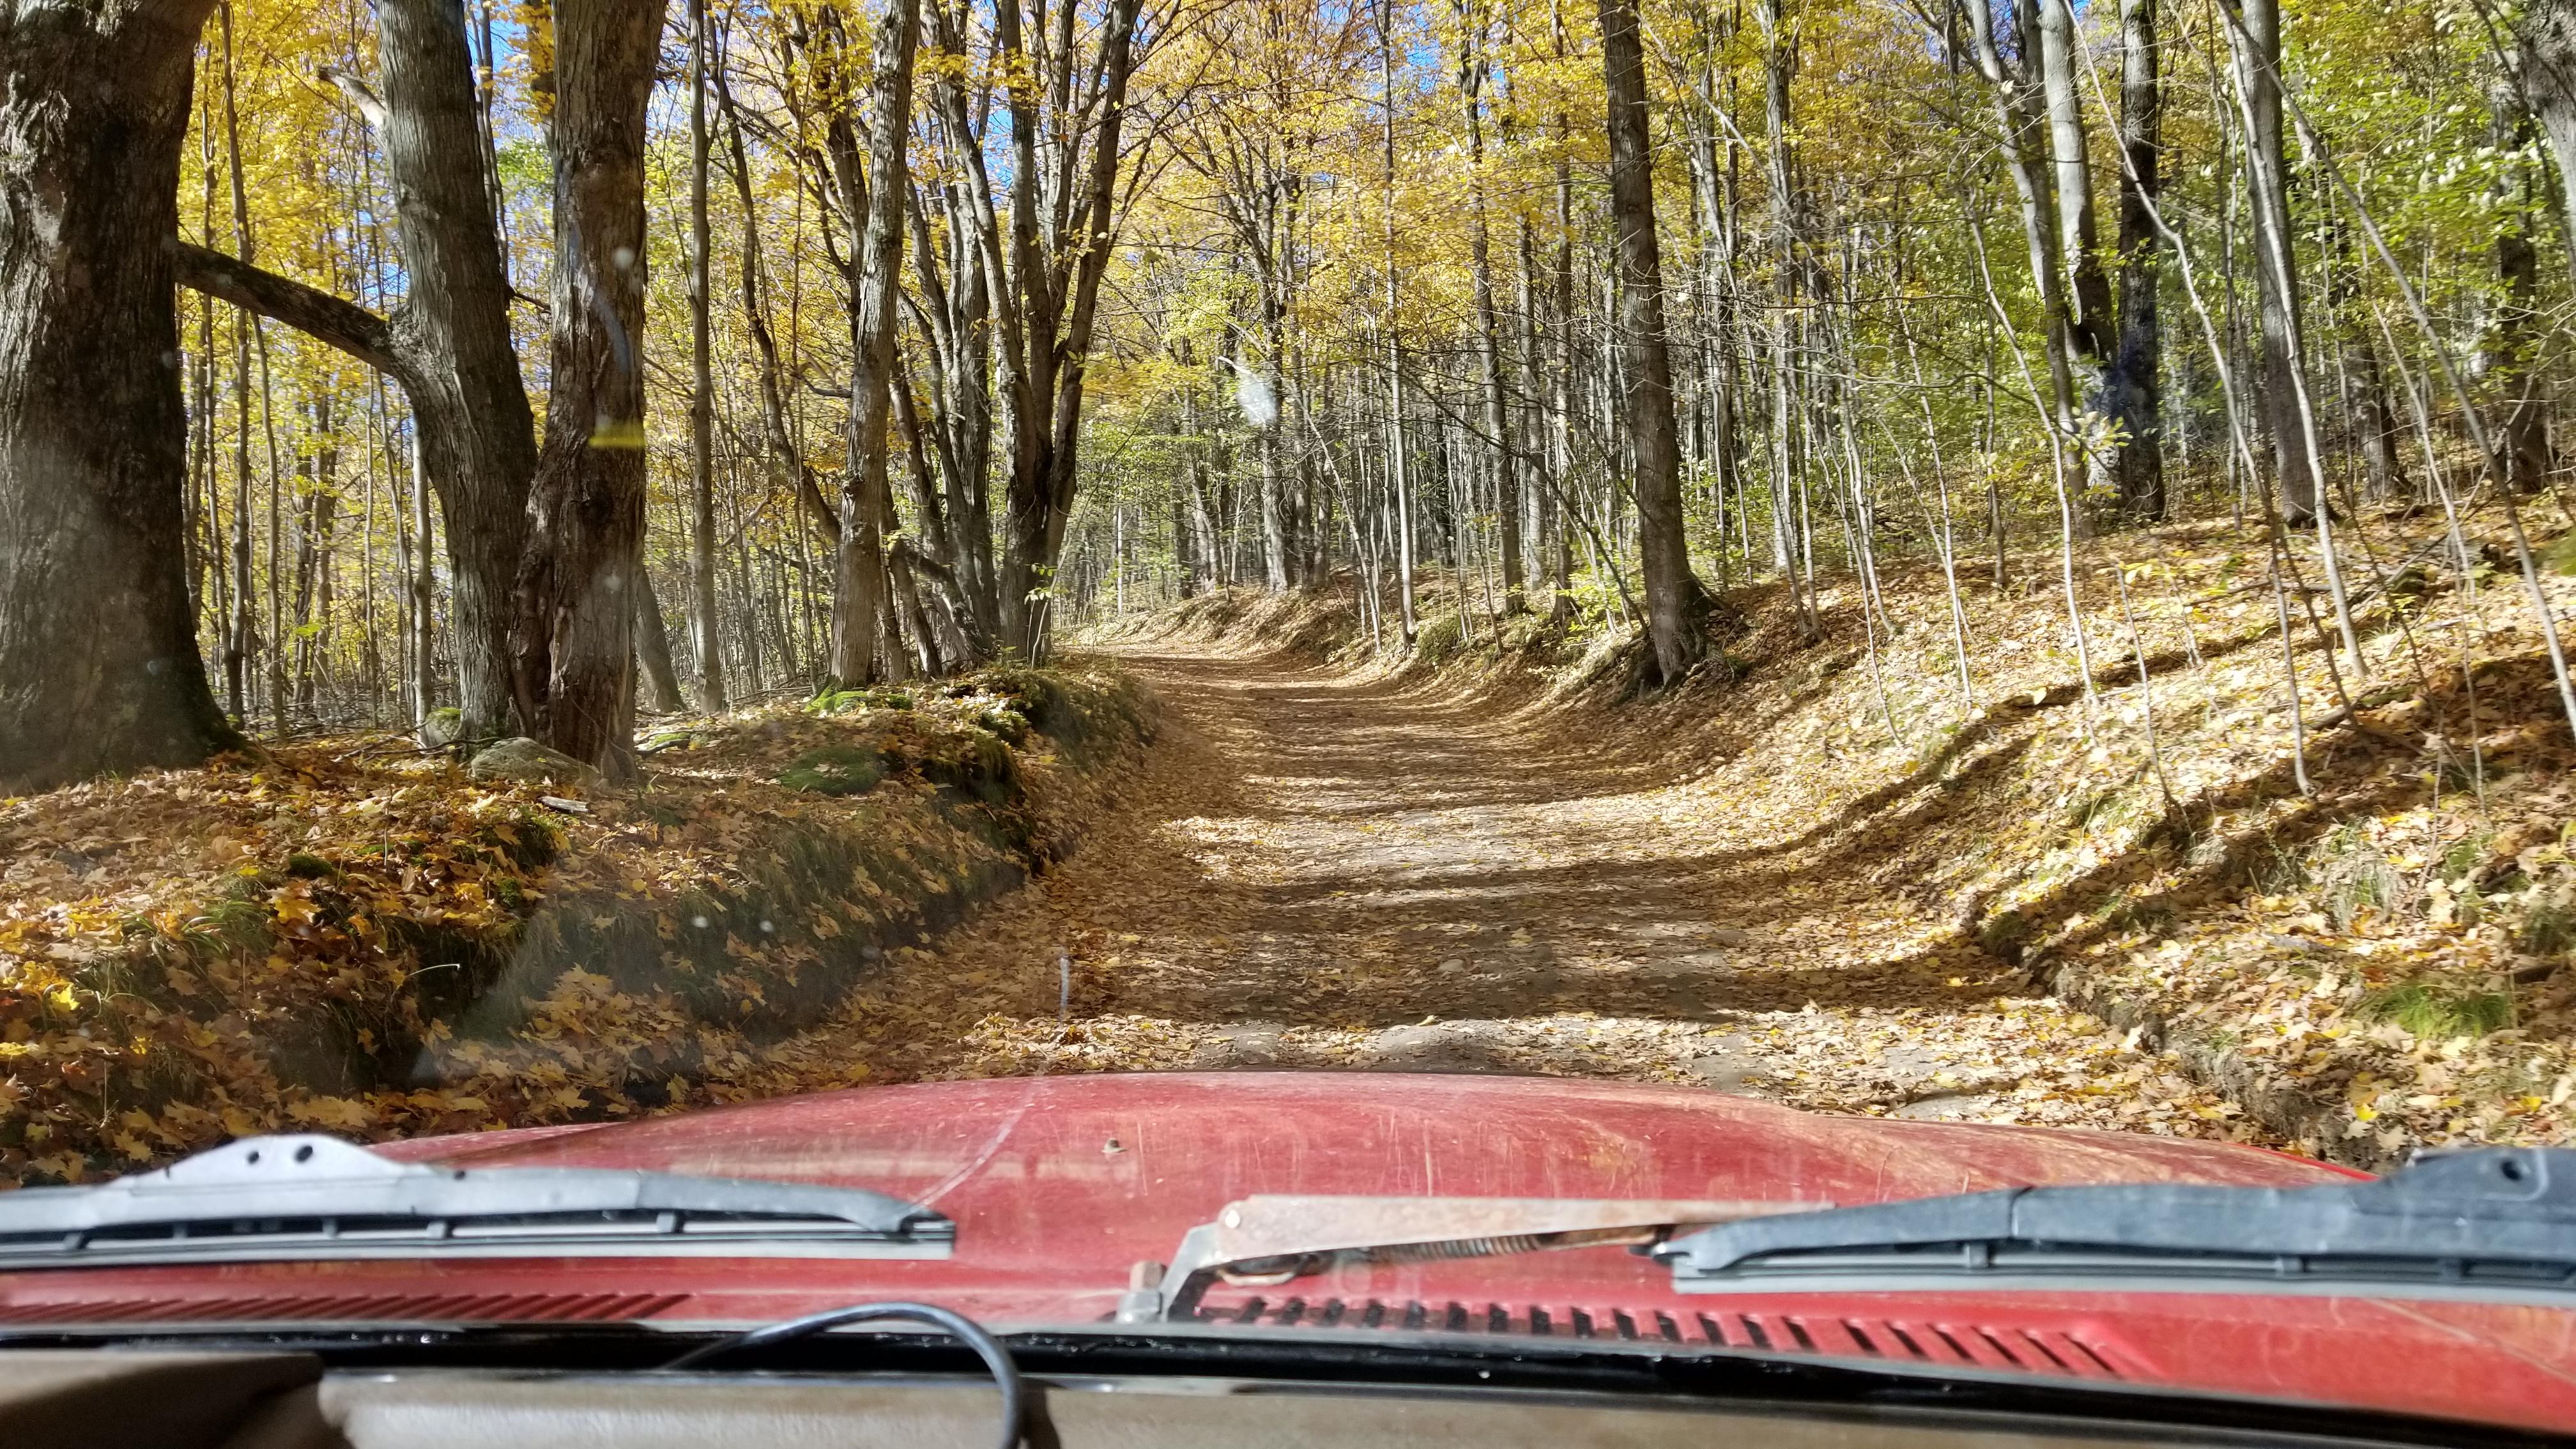
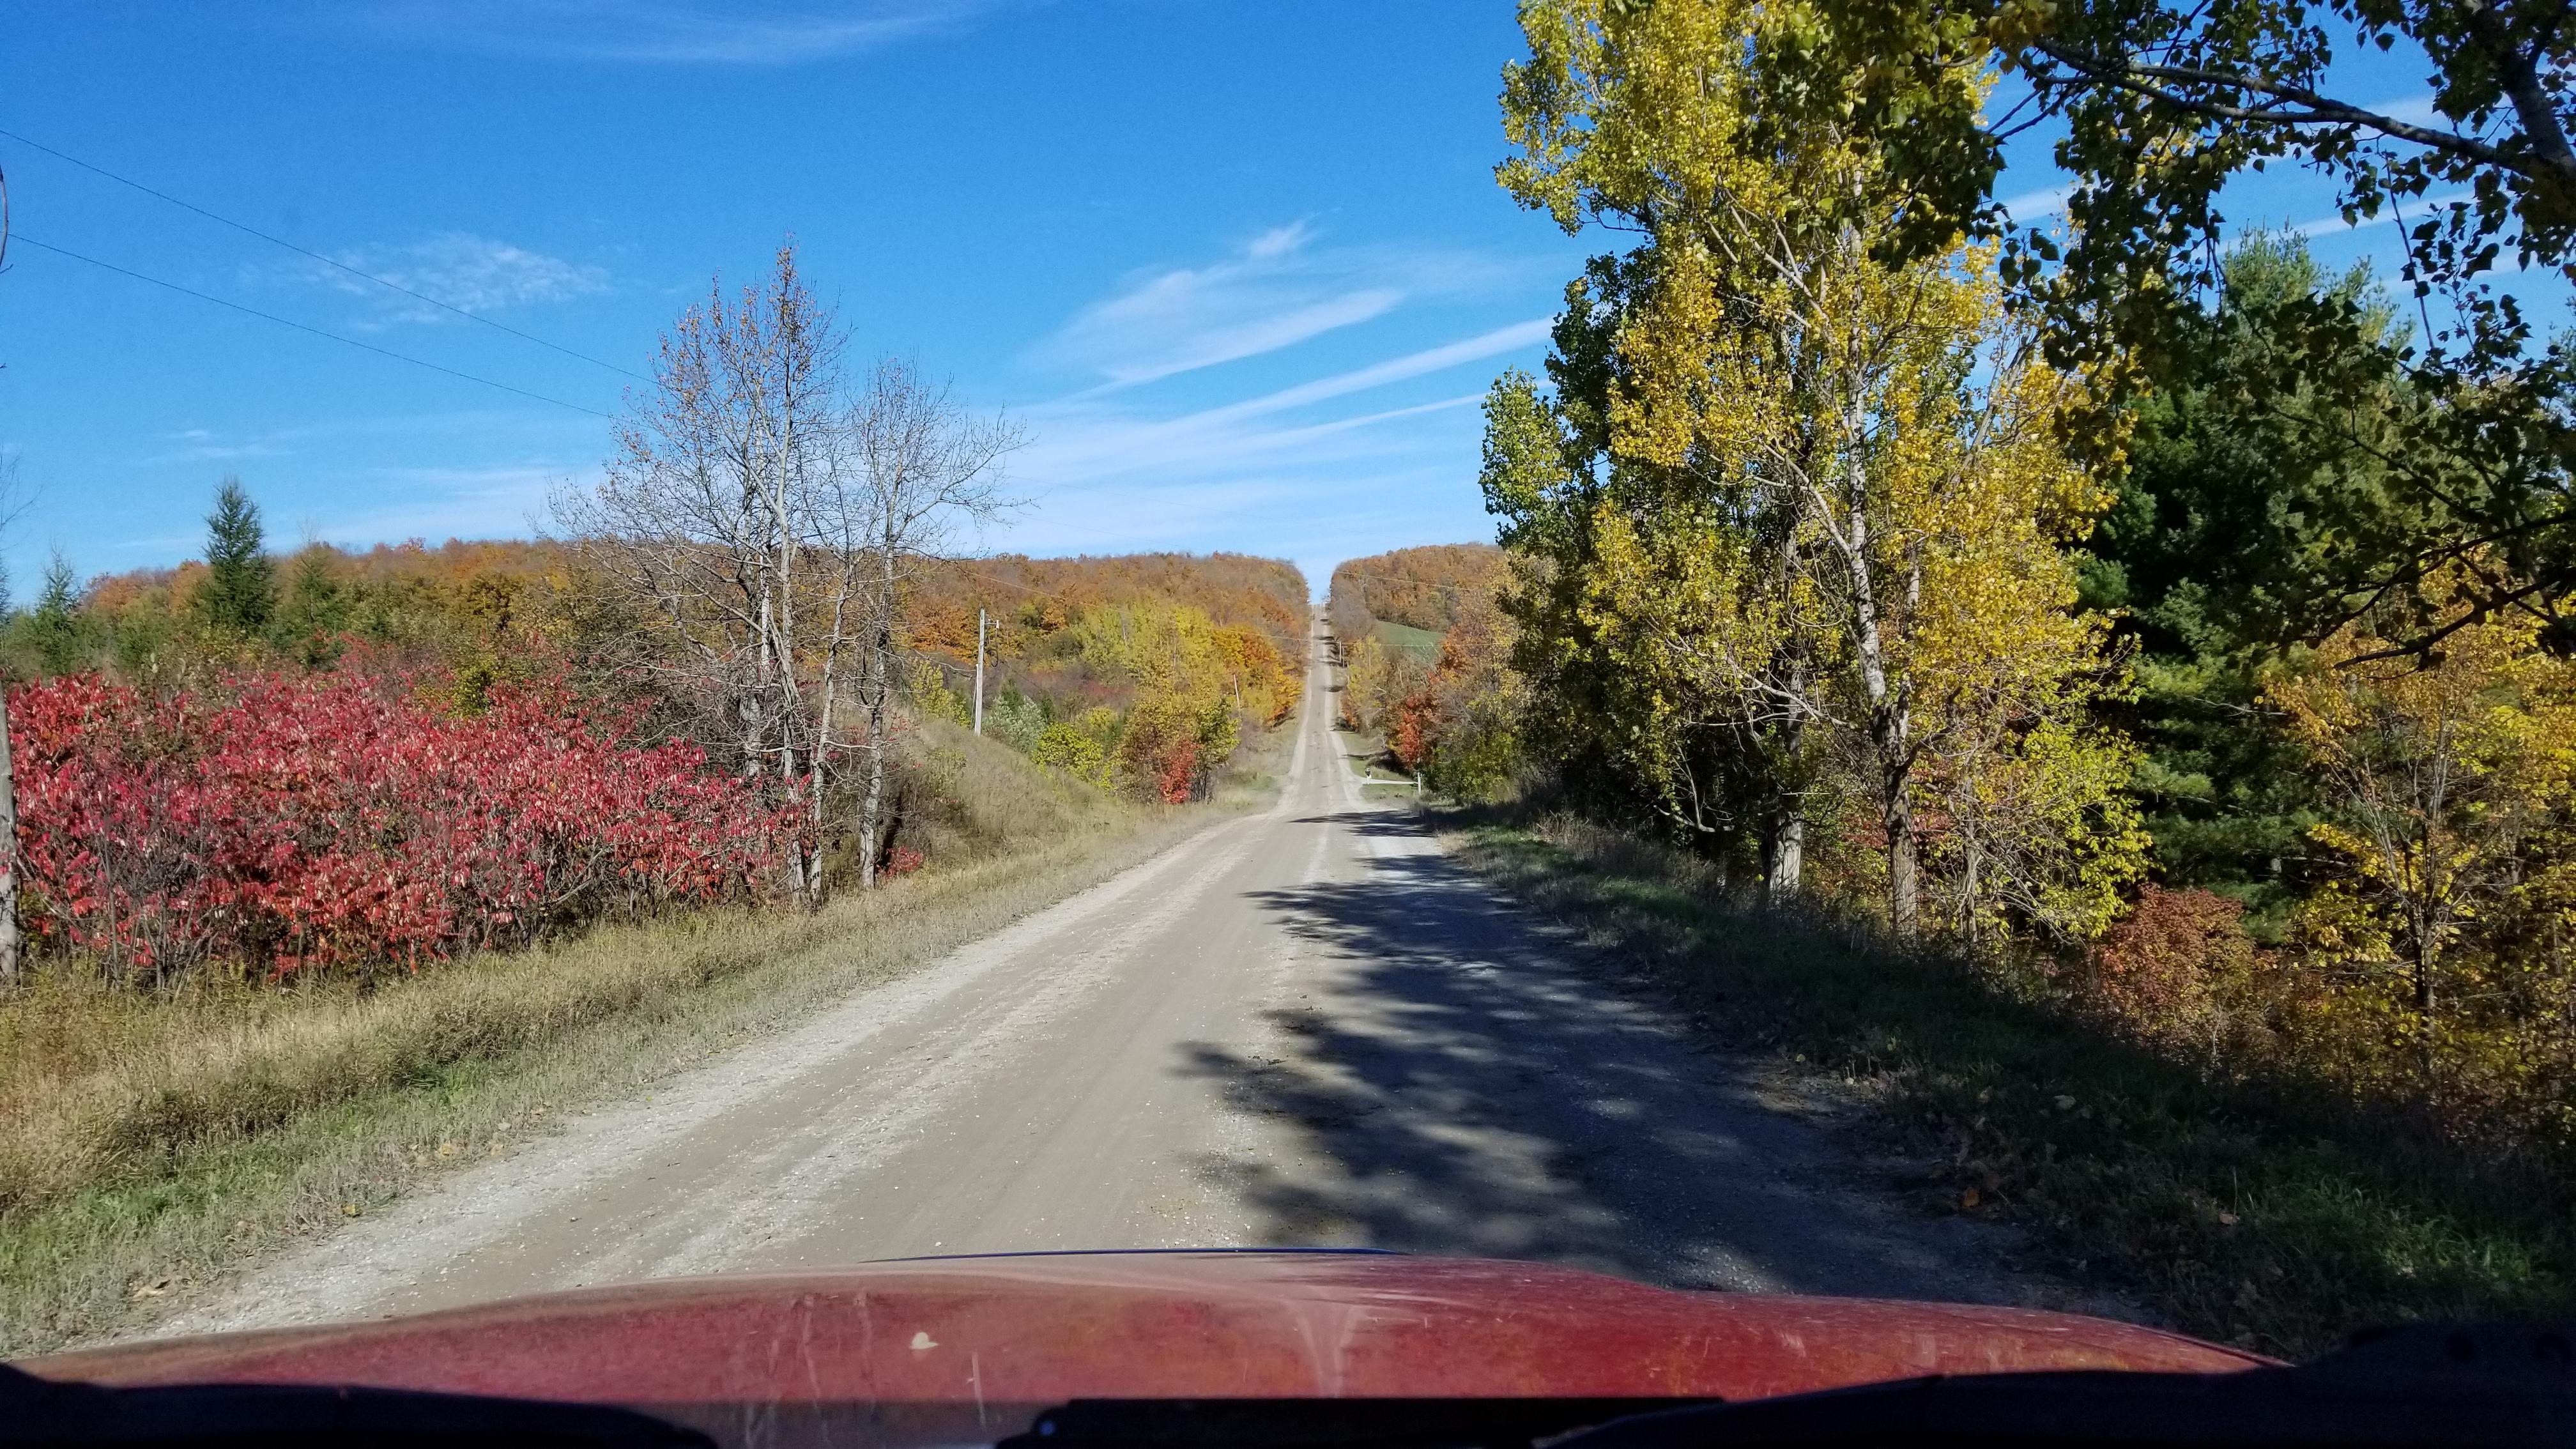
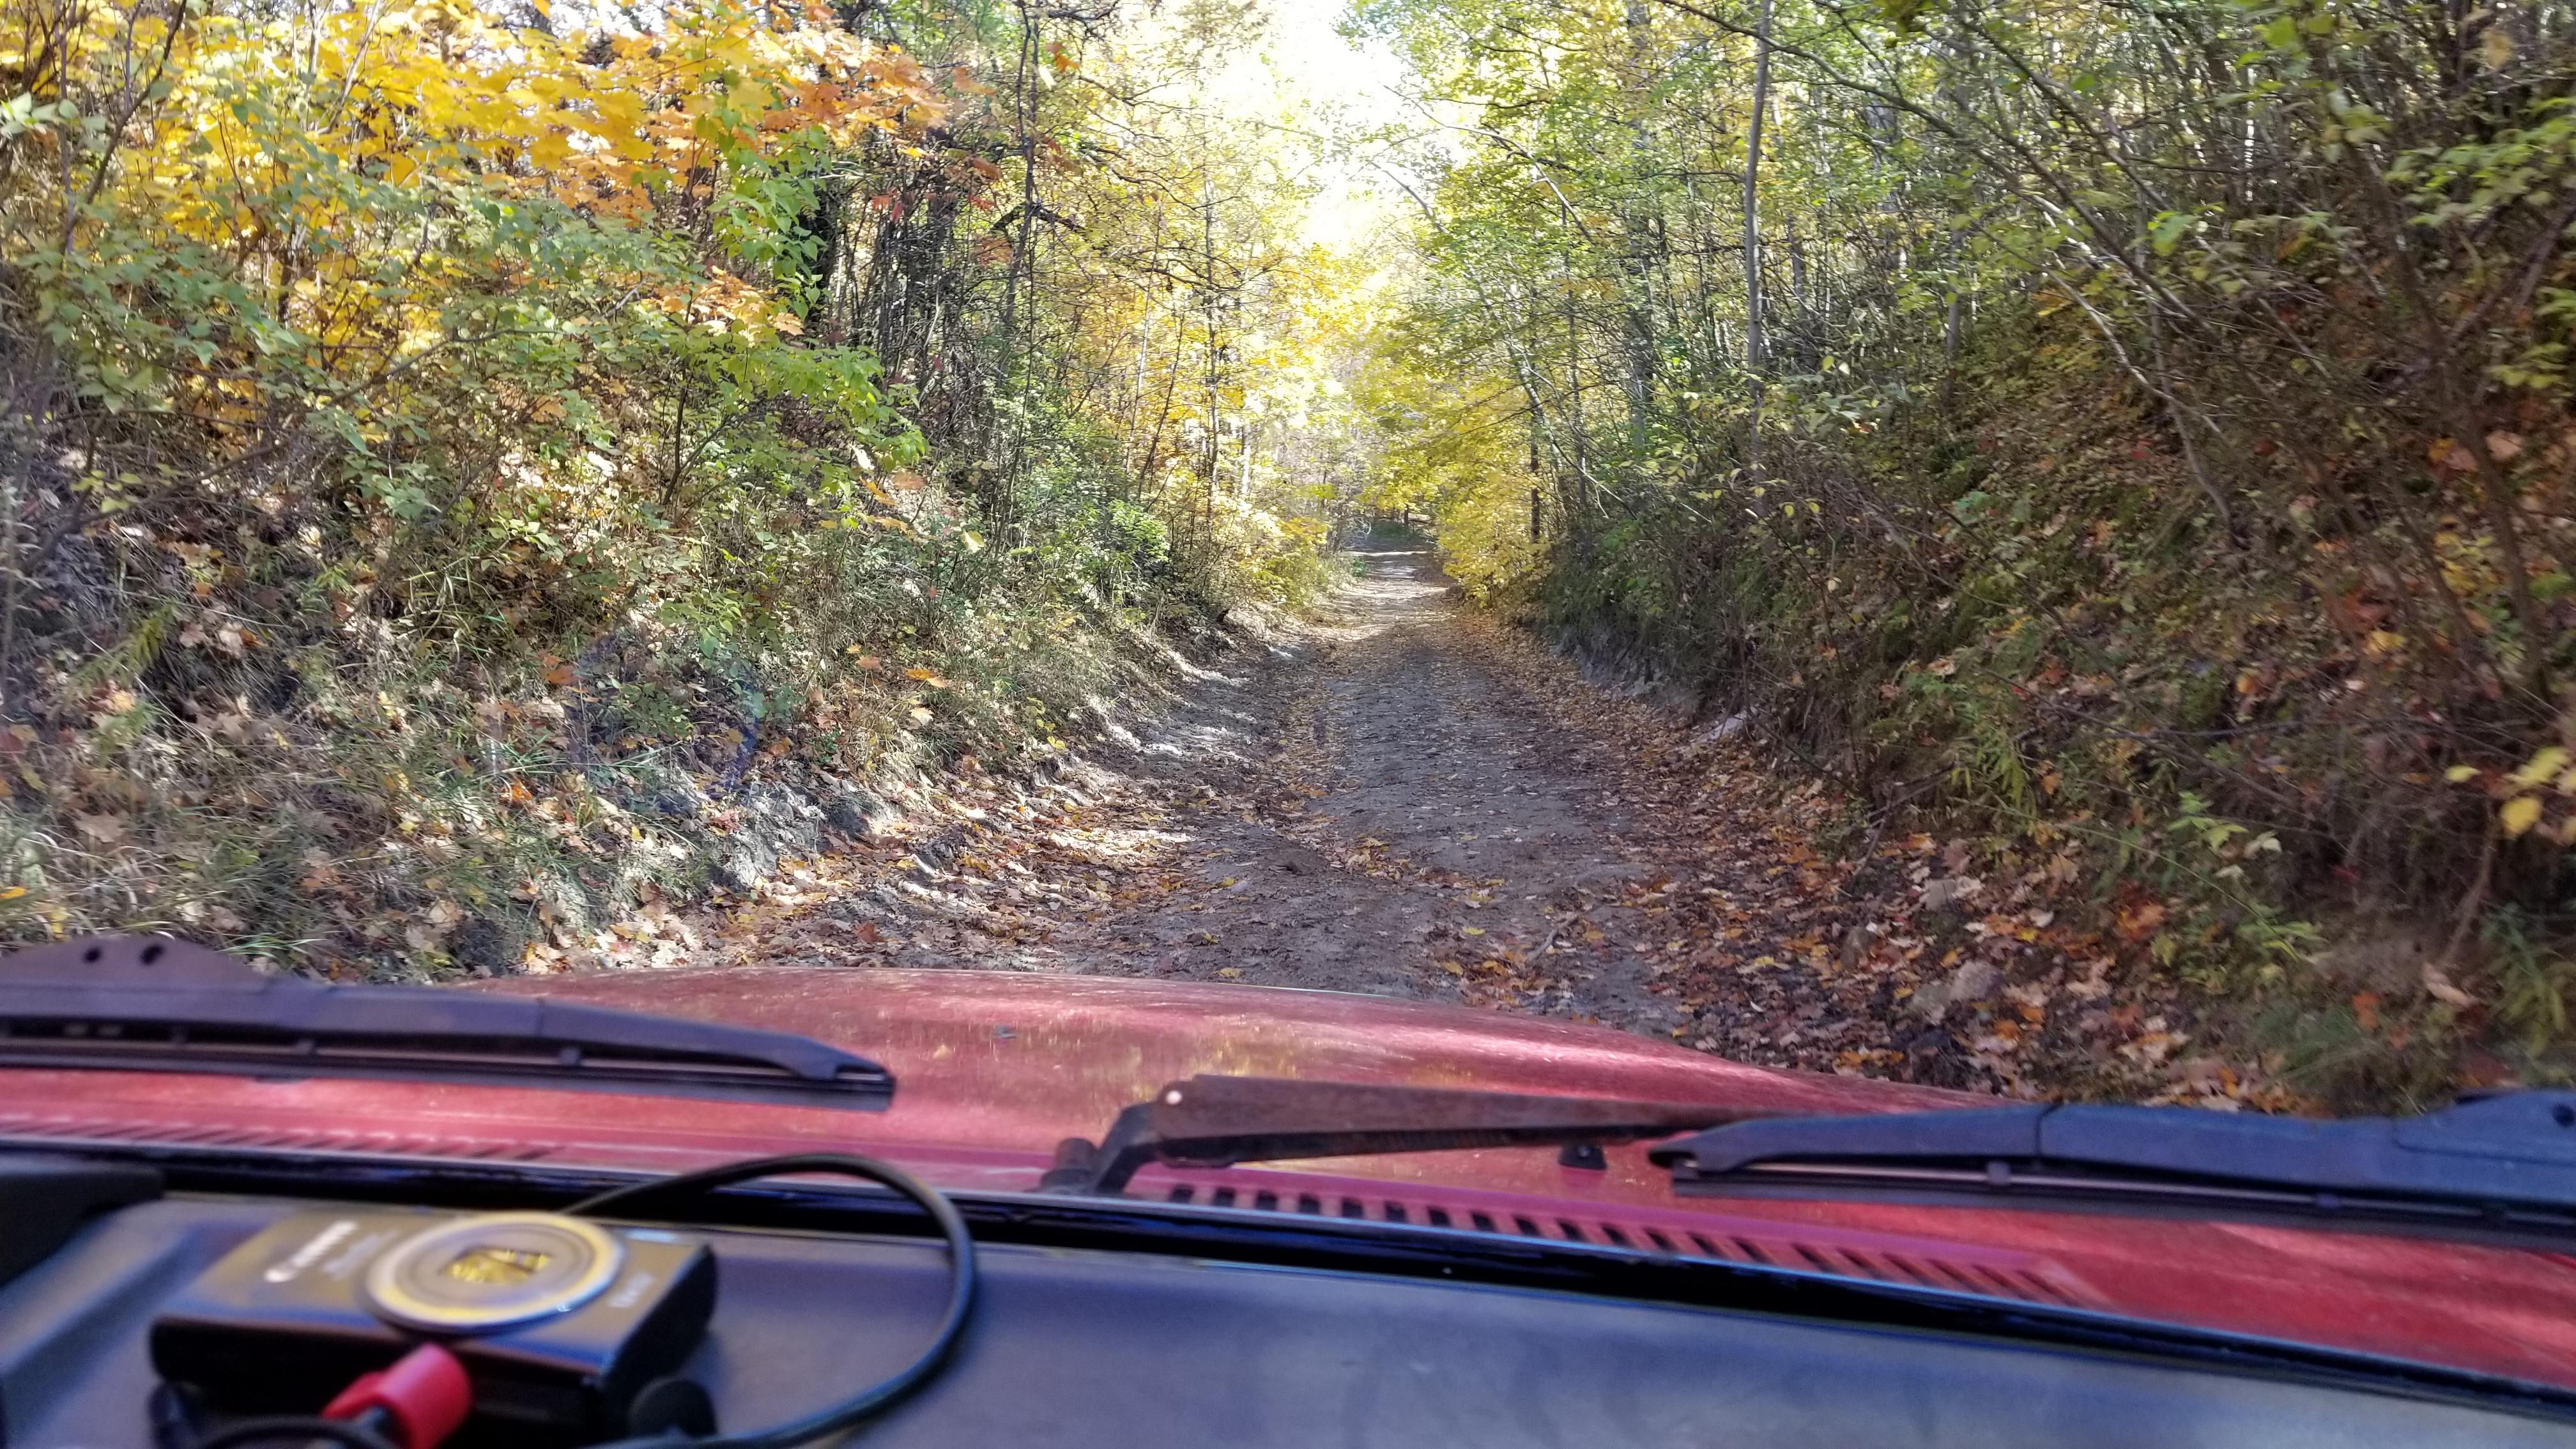
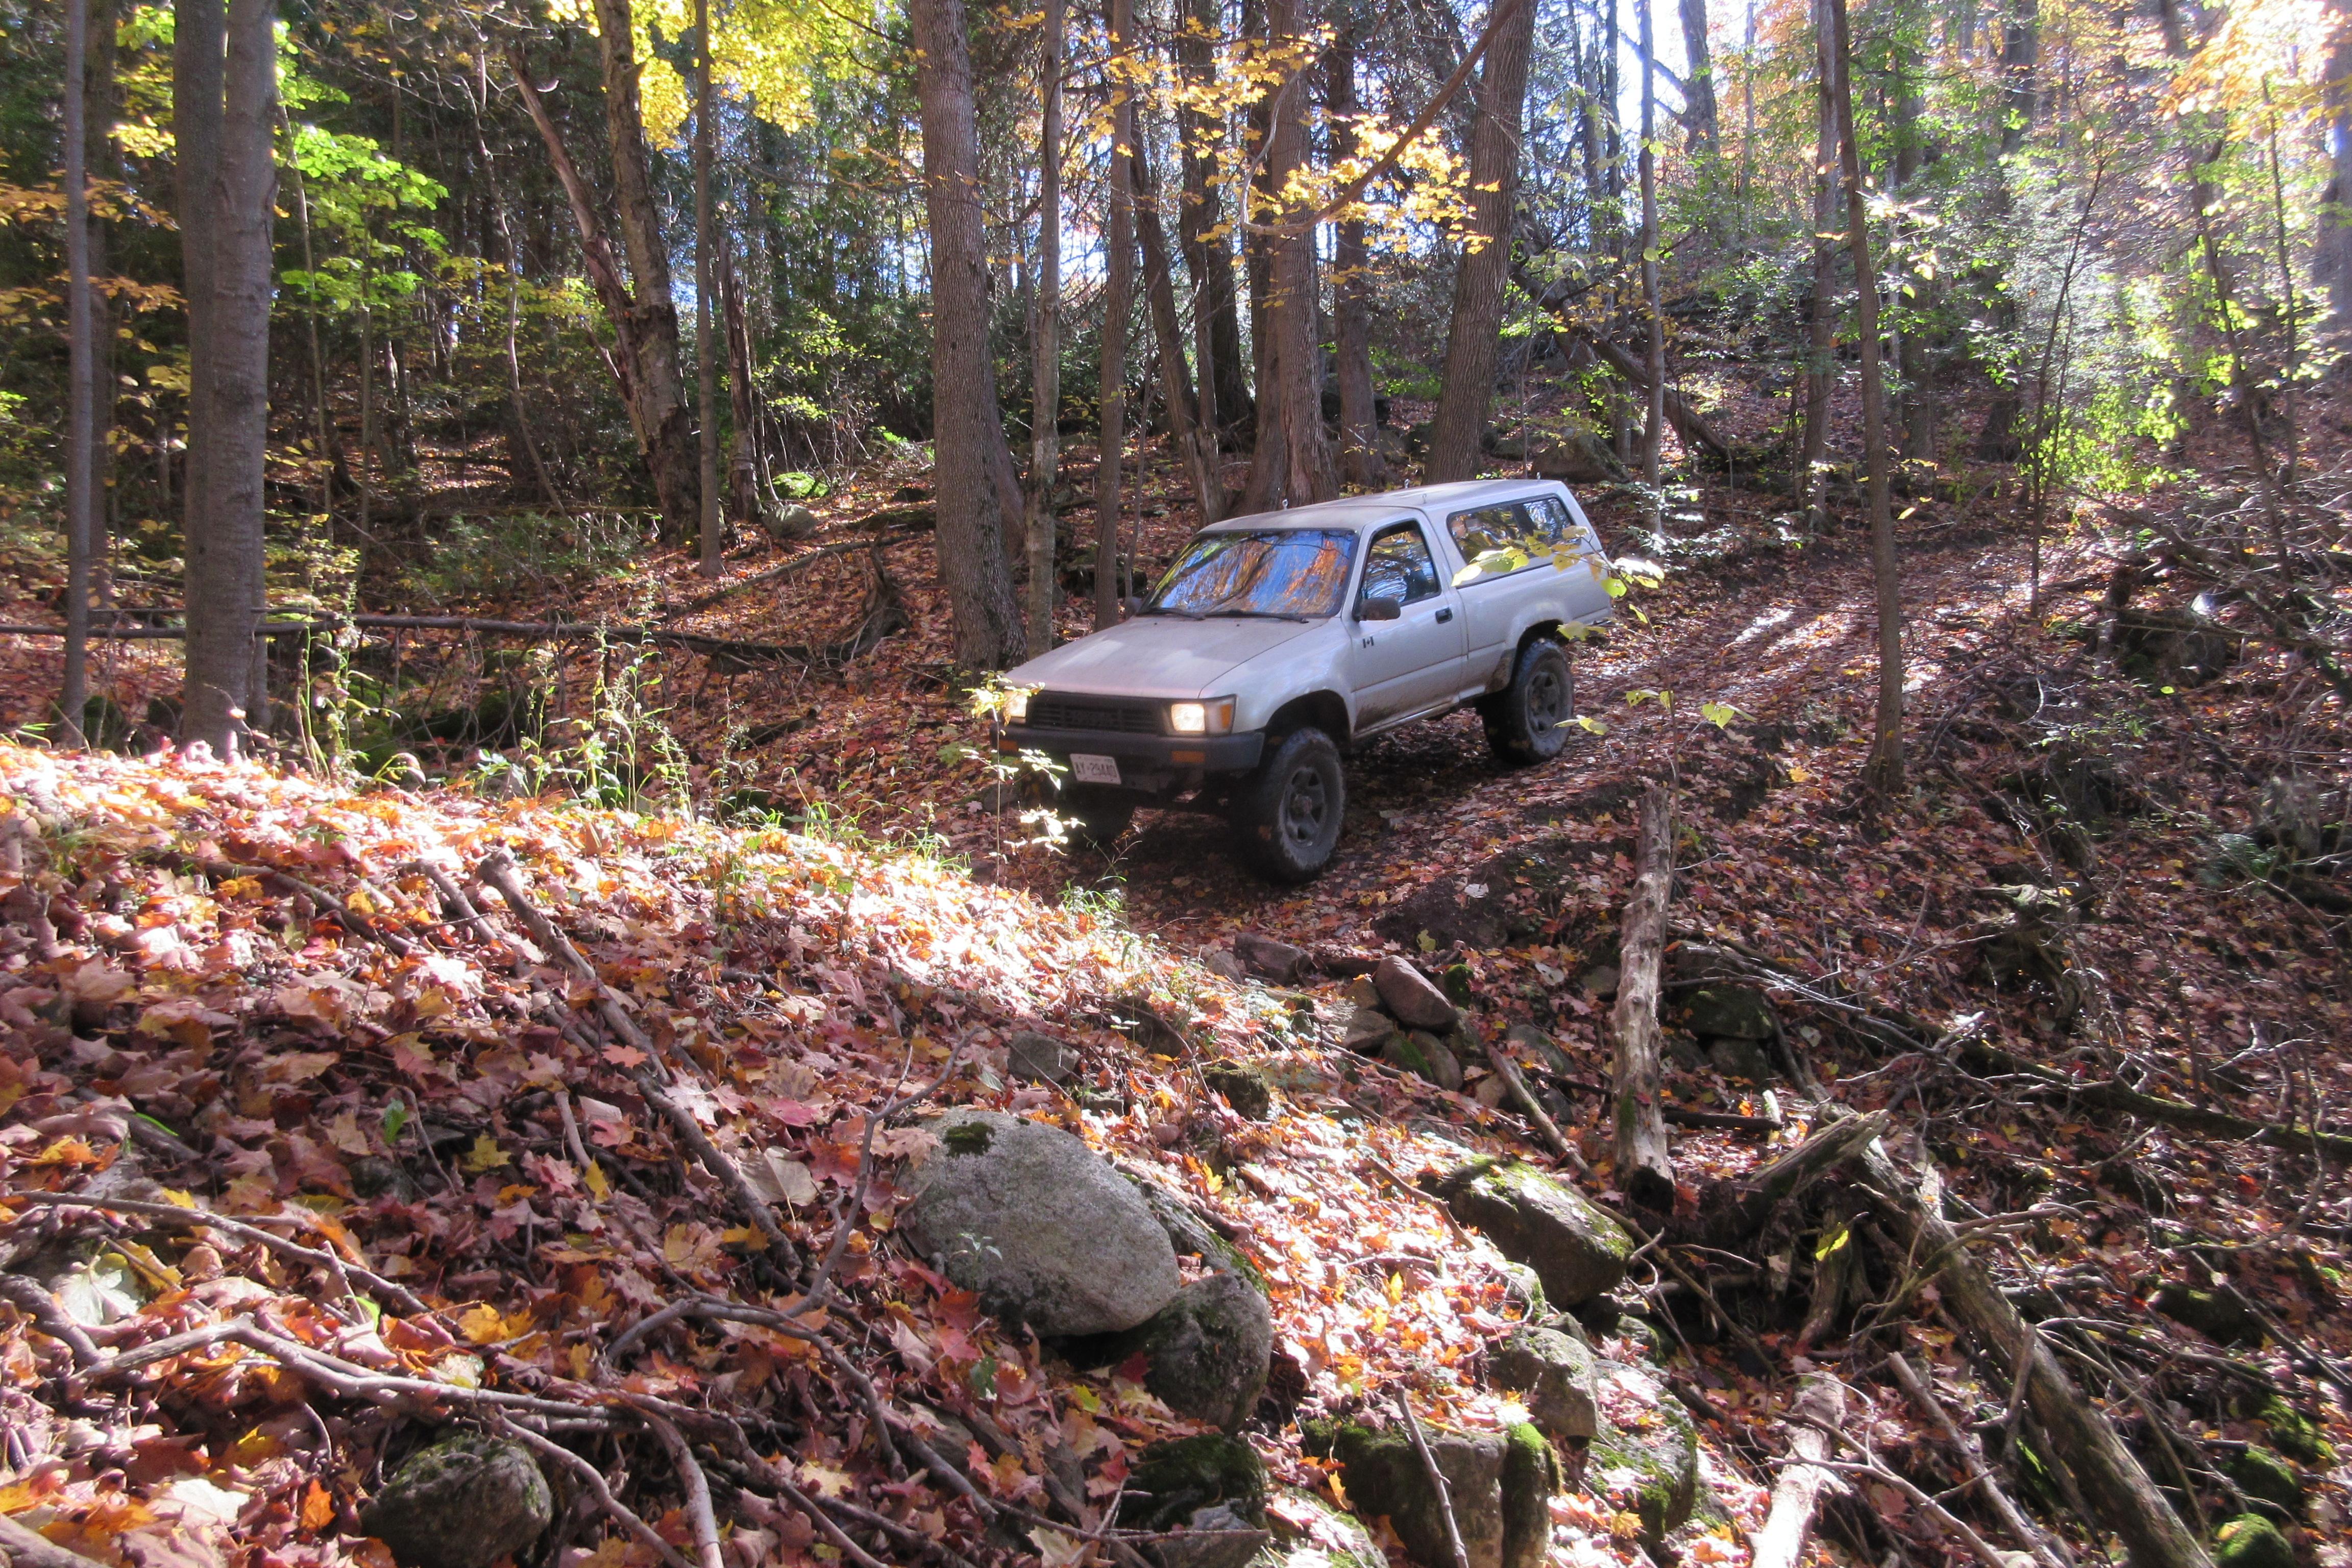
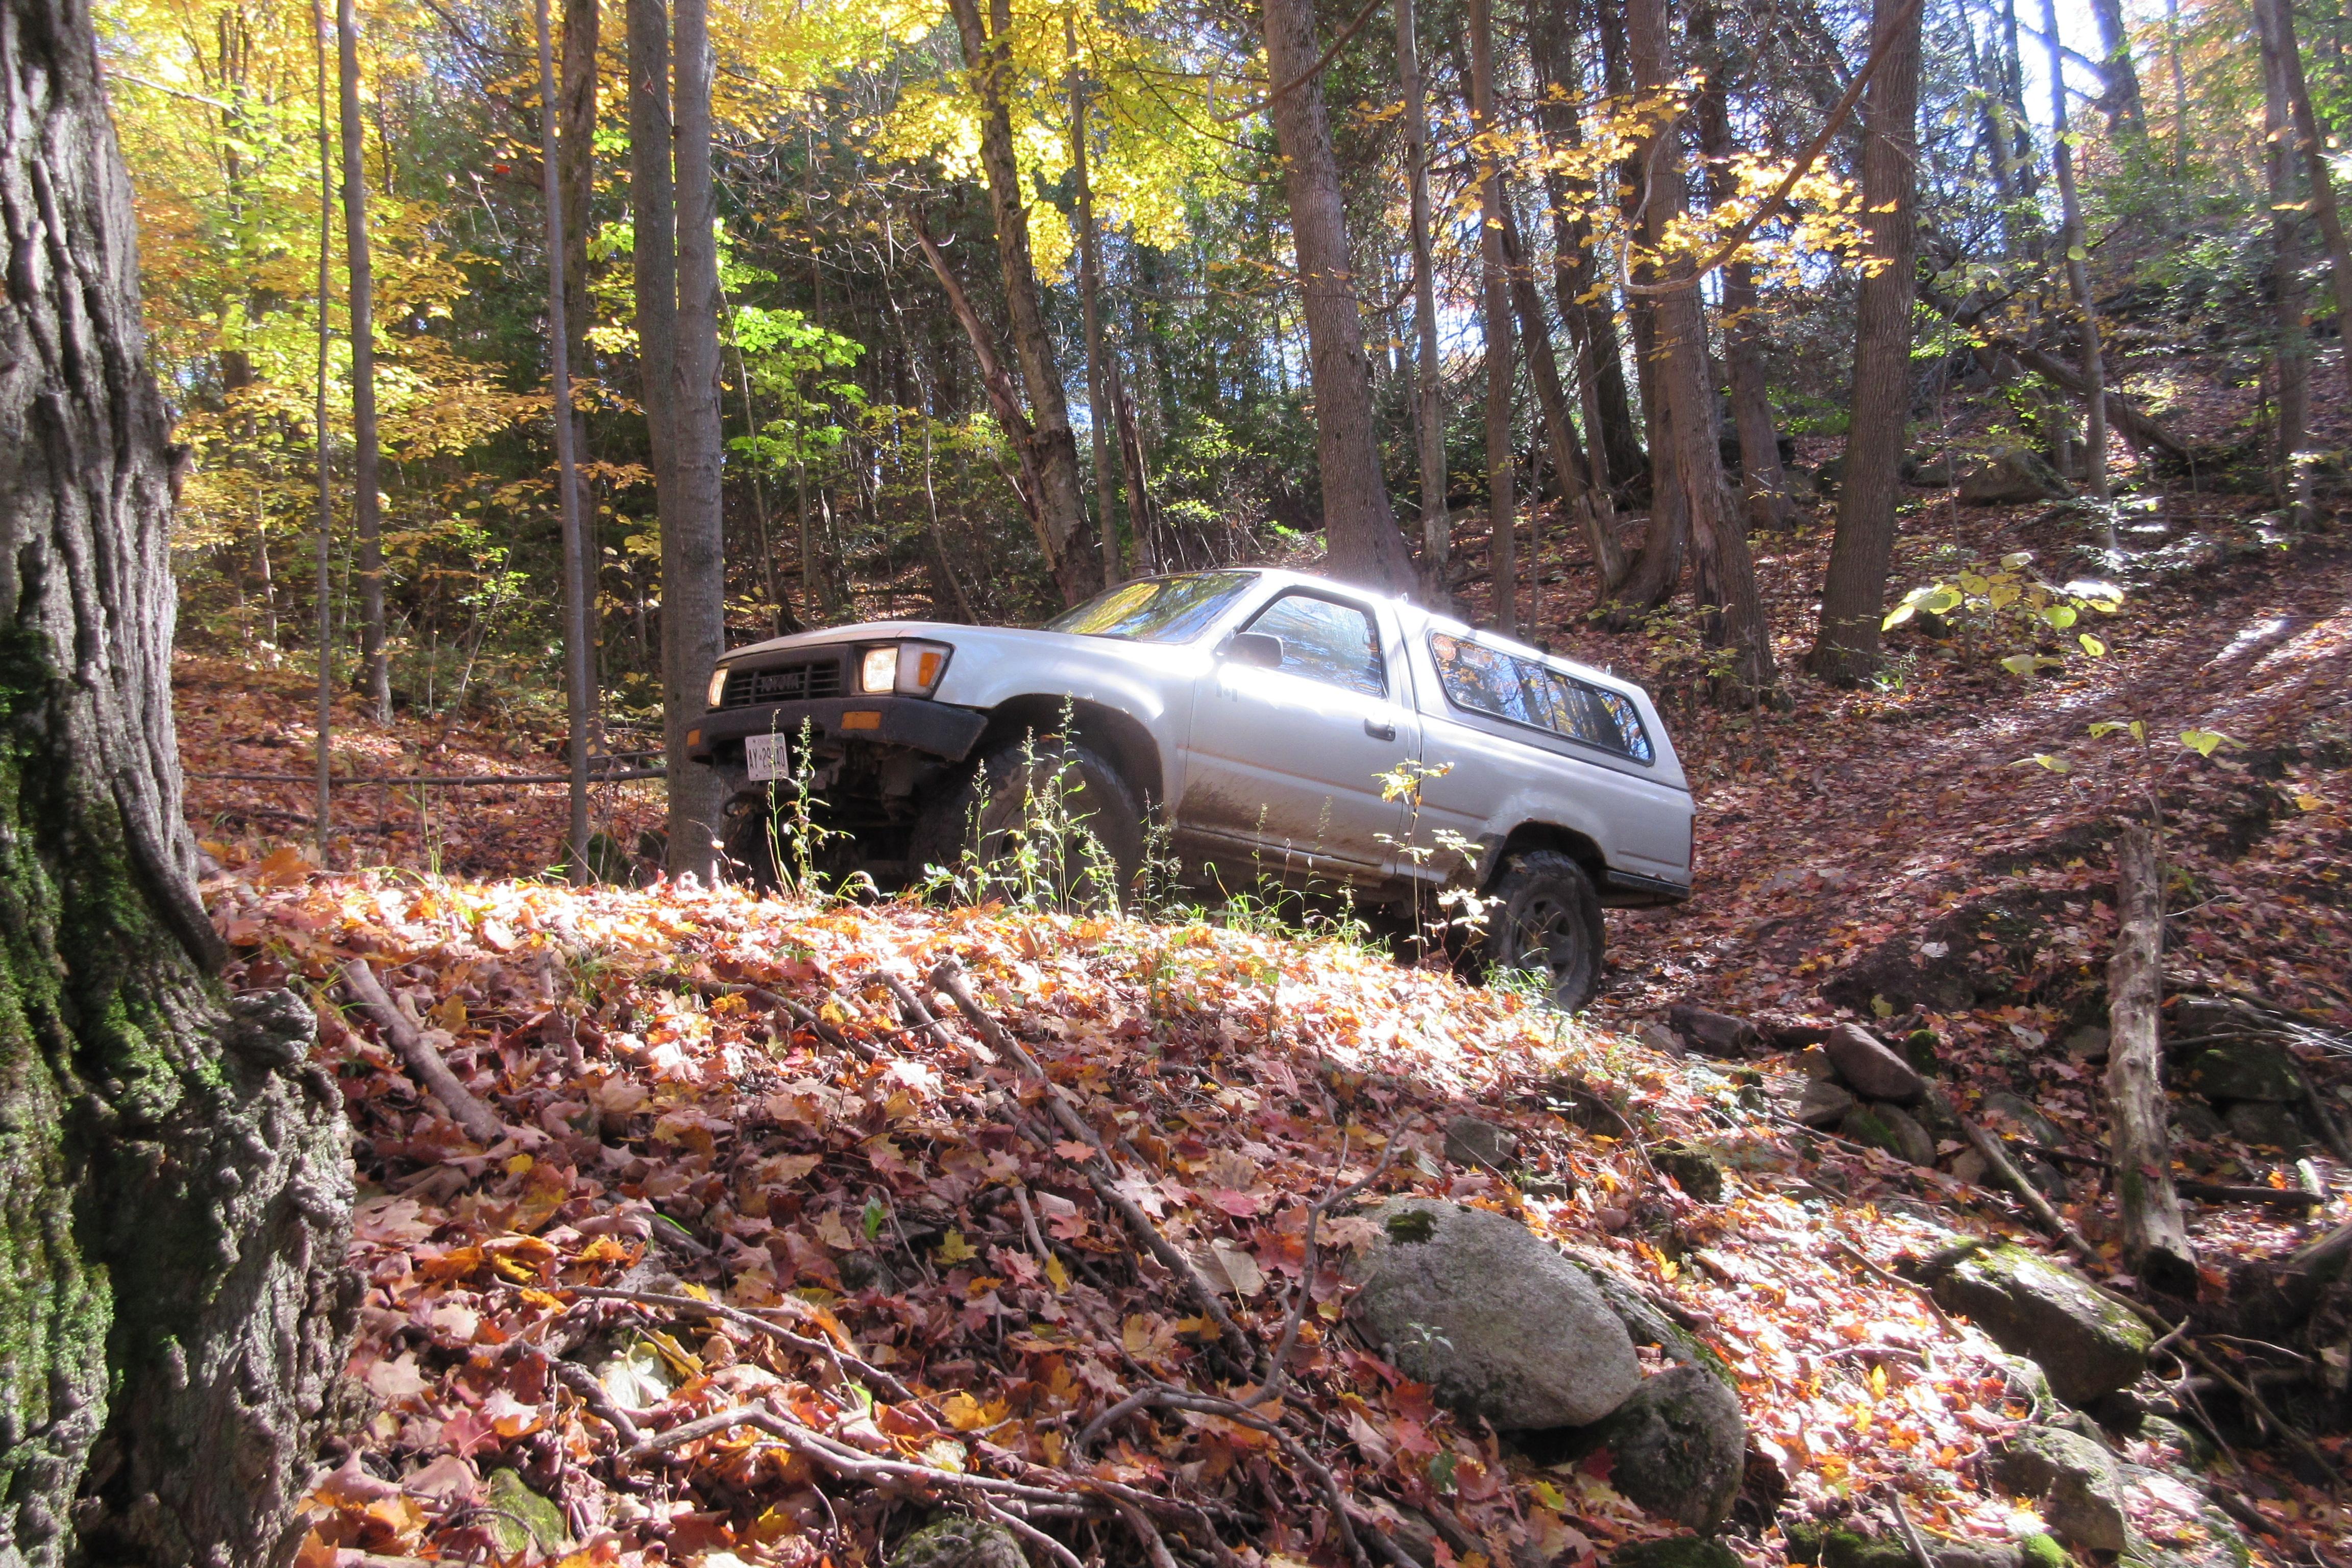
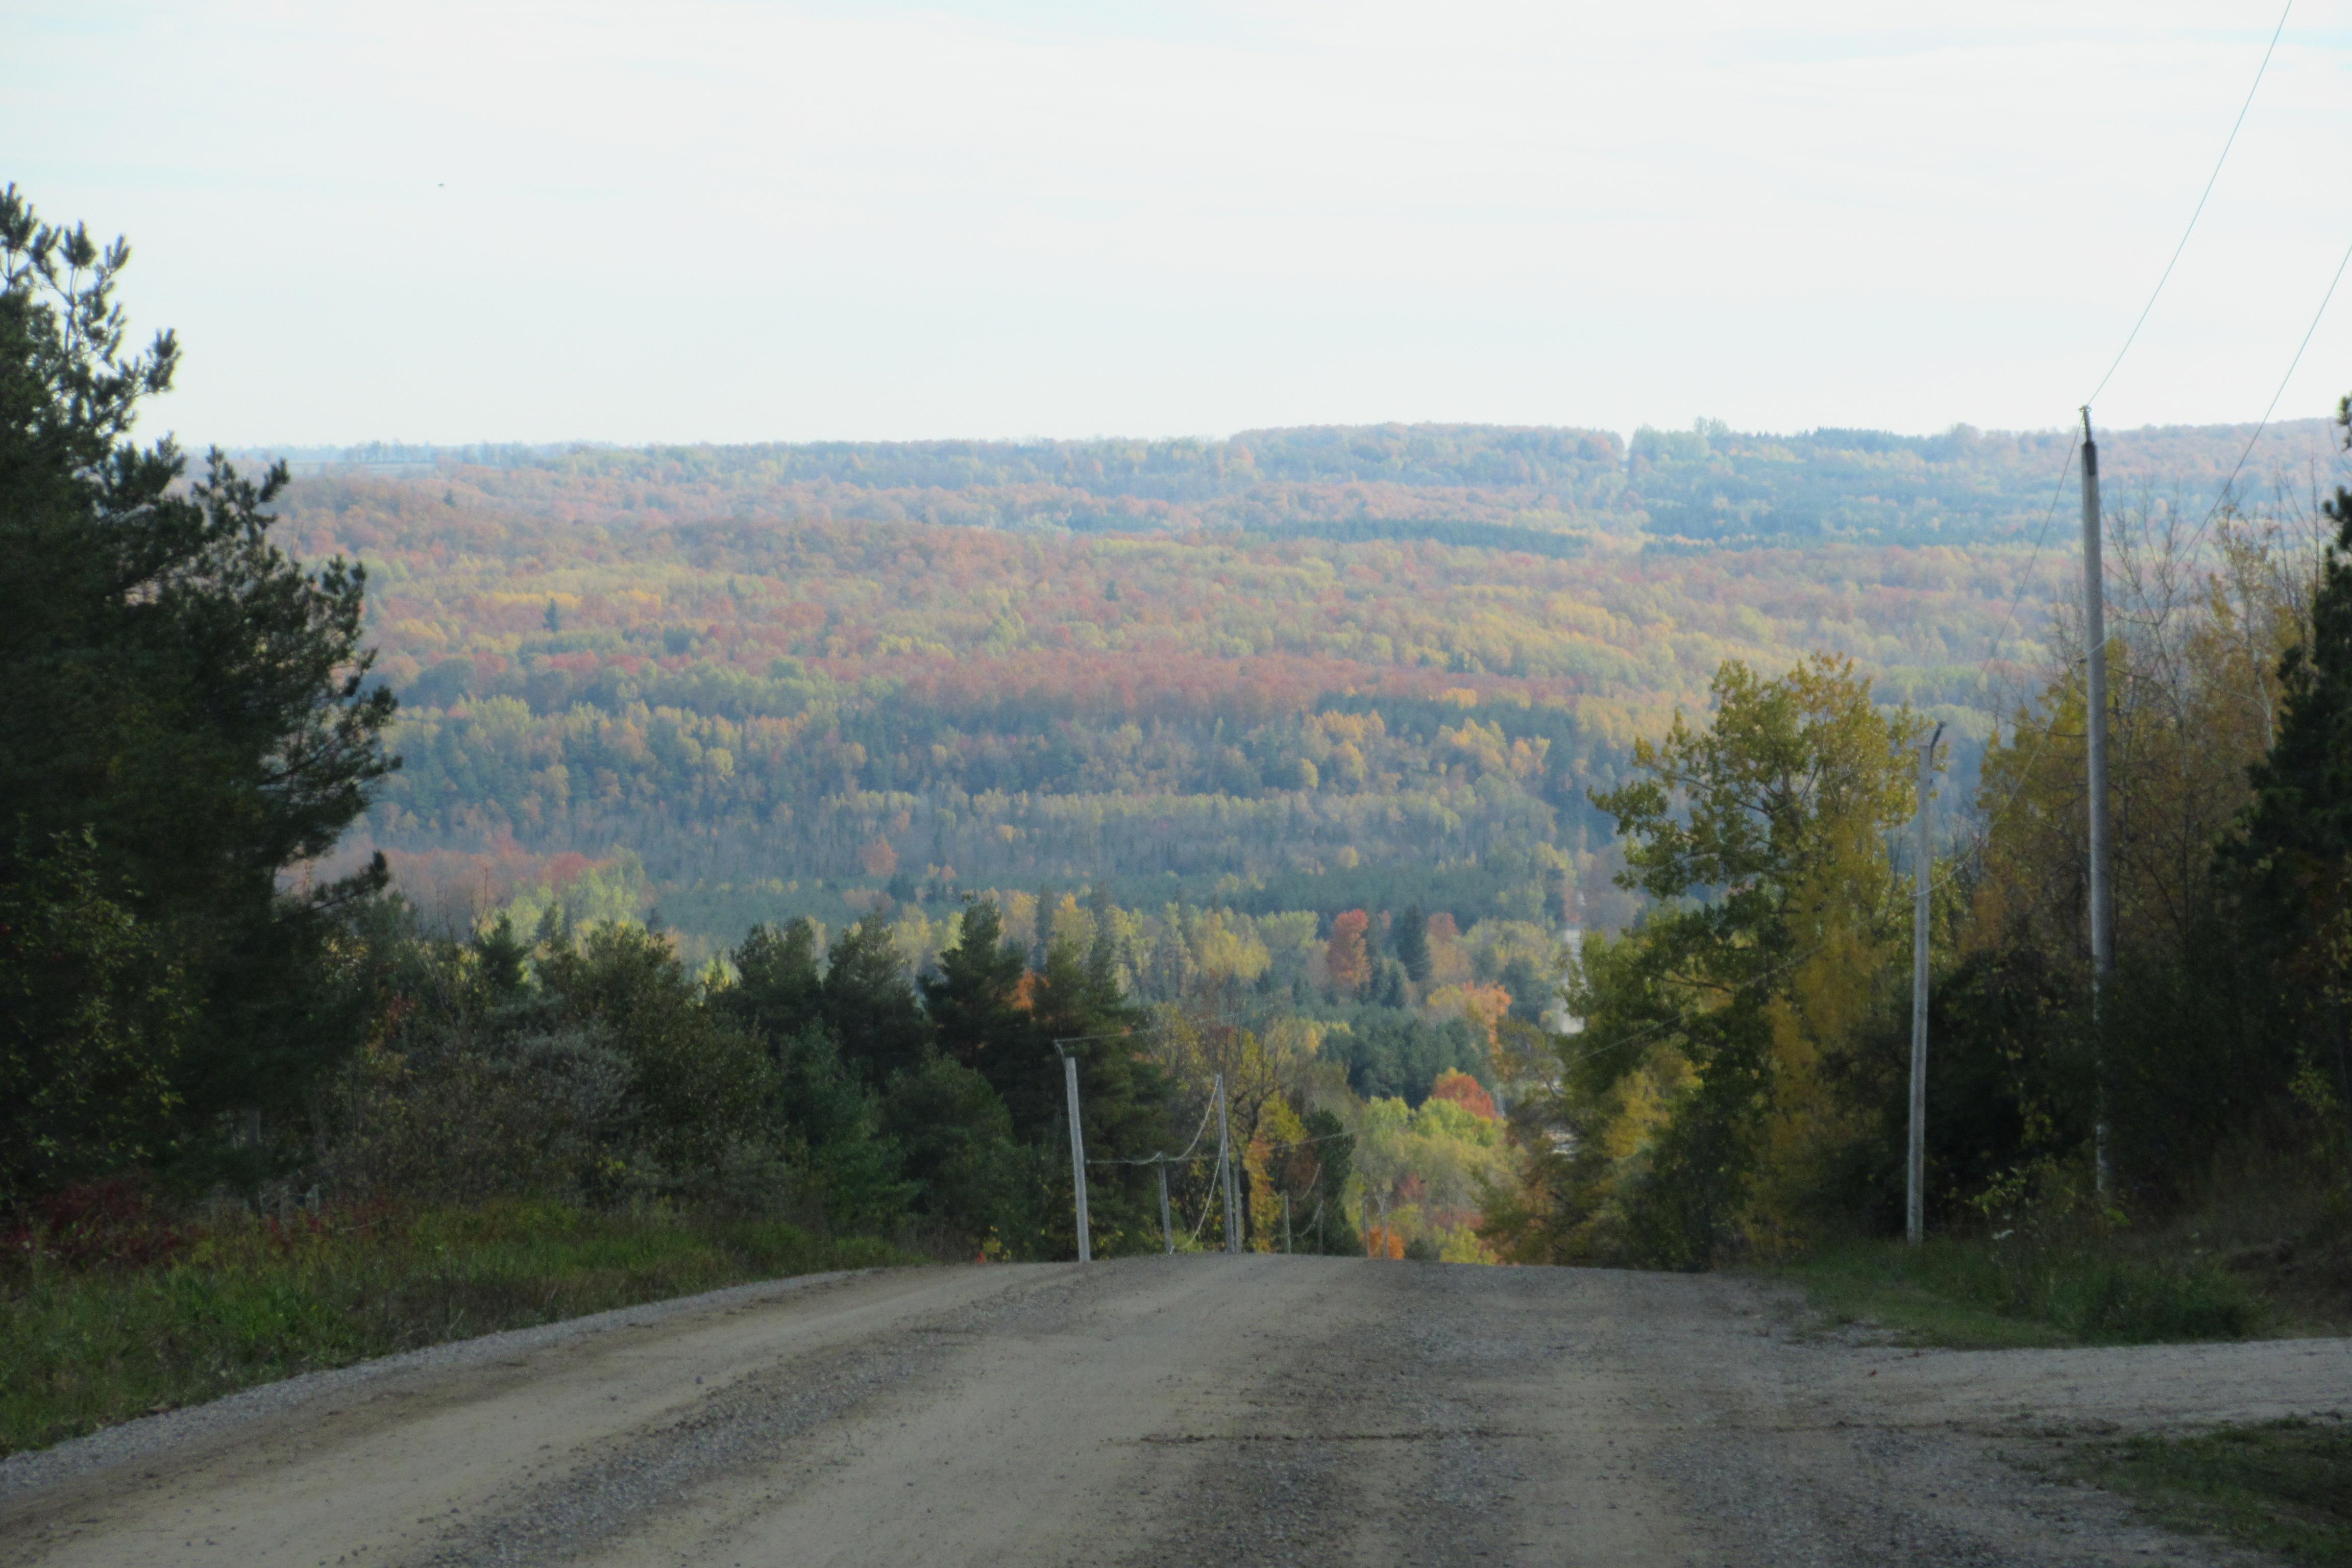
Descending the Garden of Eden into Dunedin
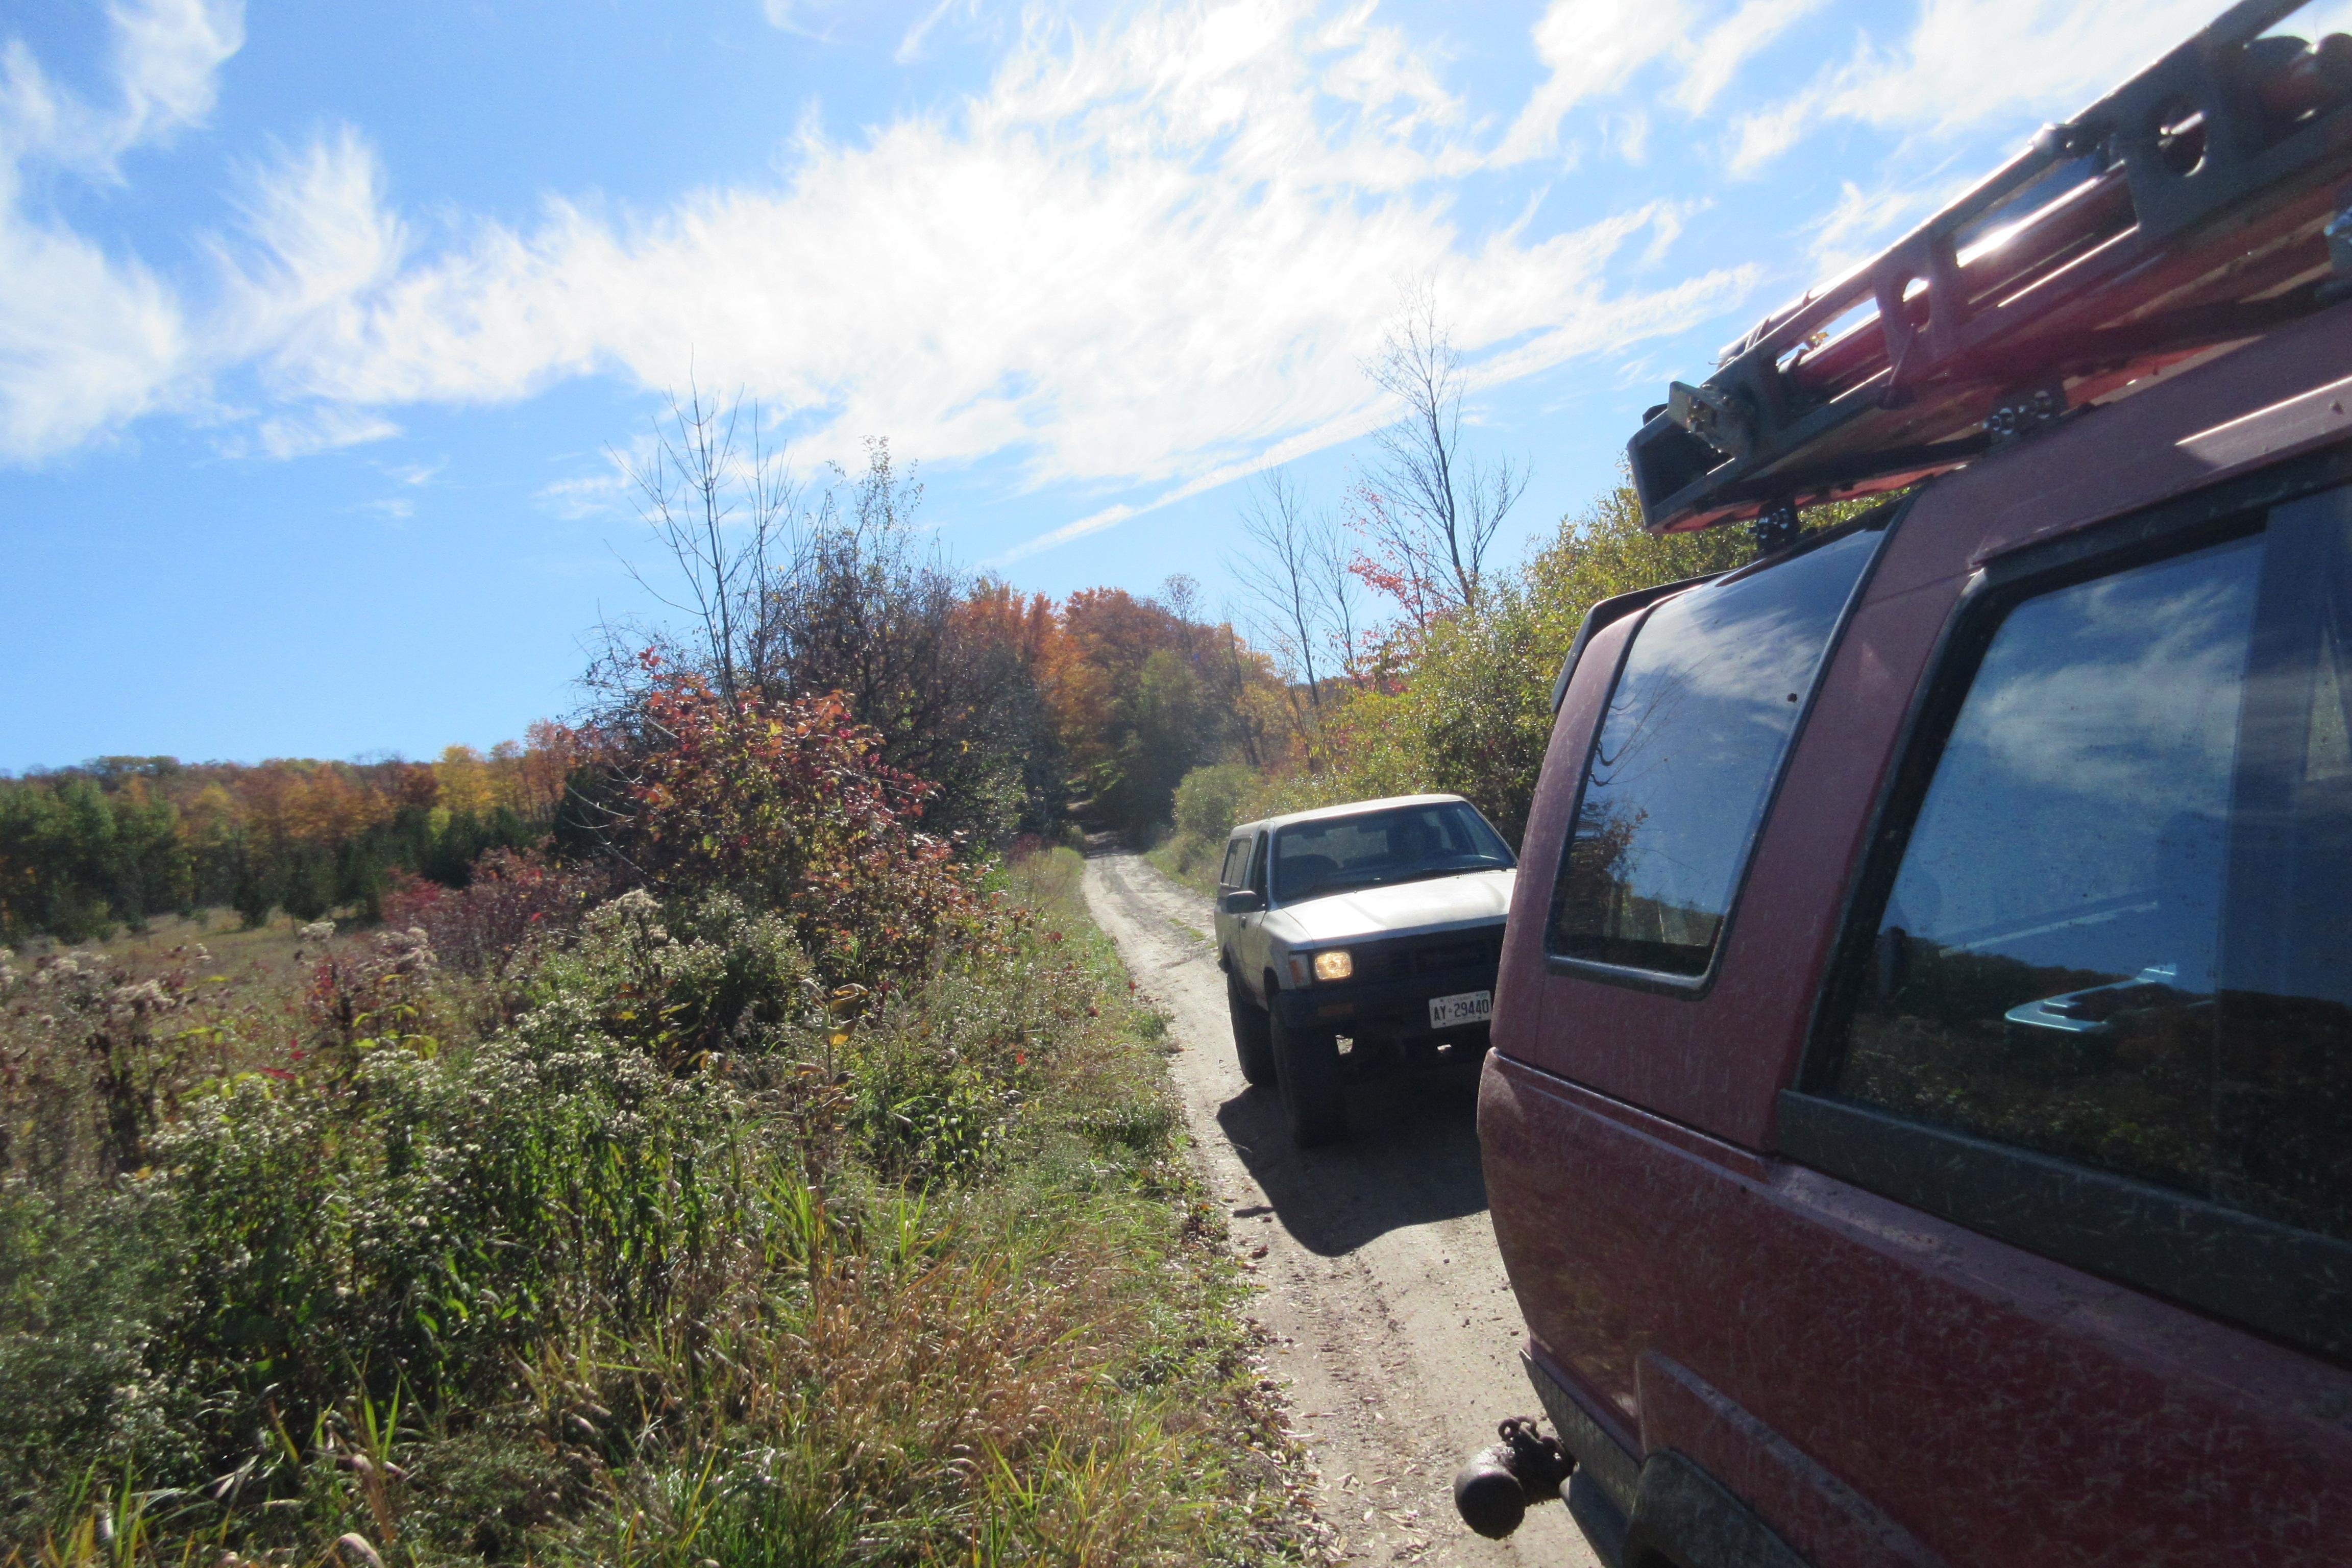
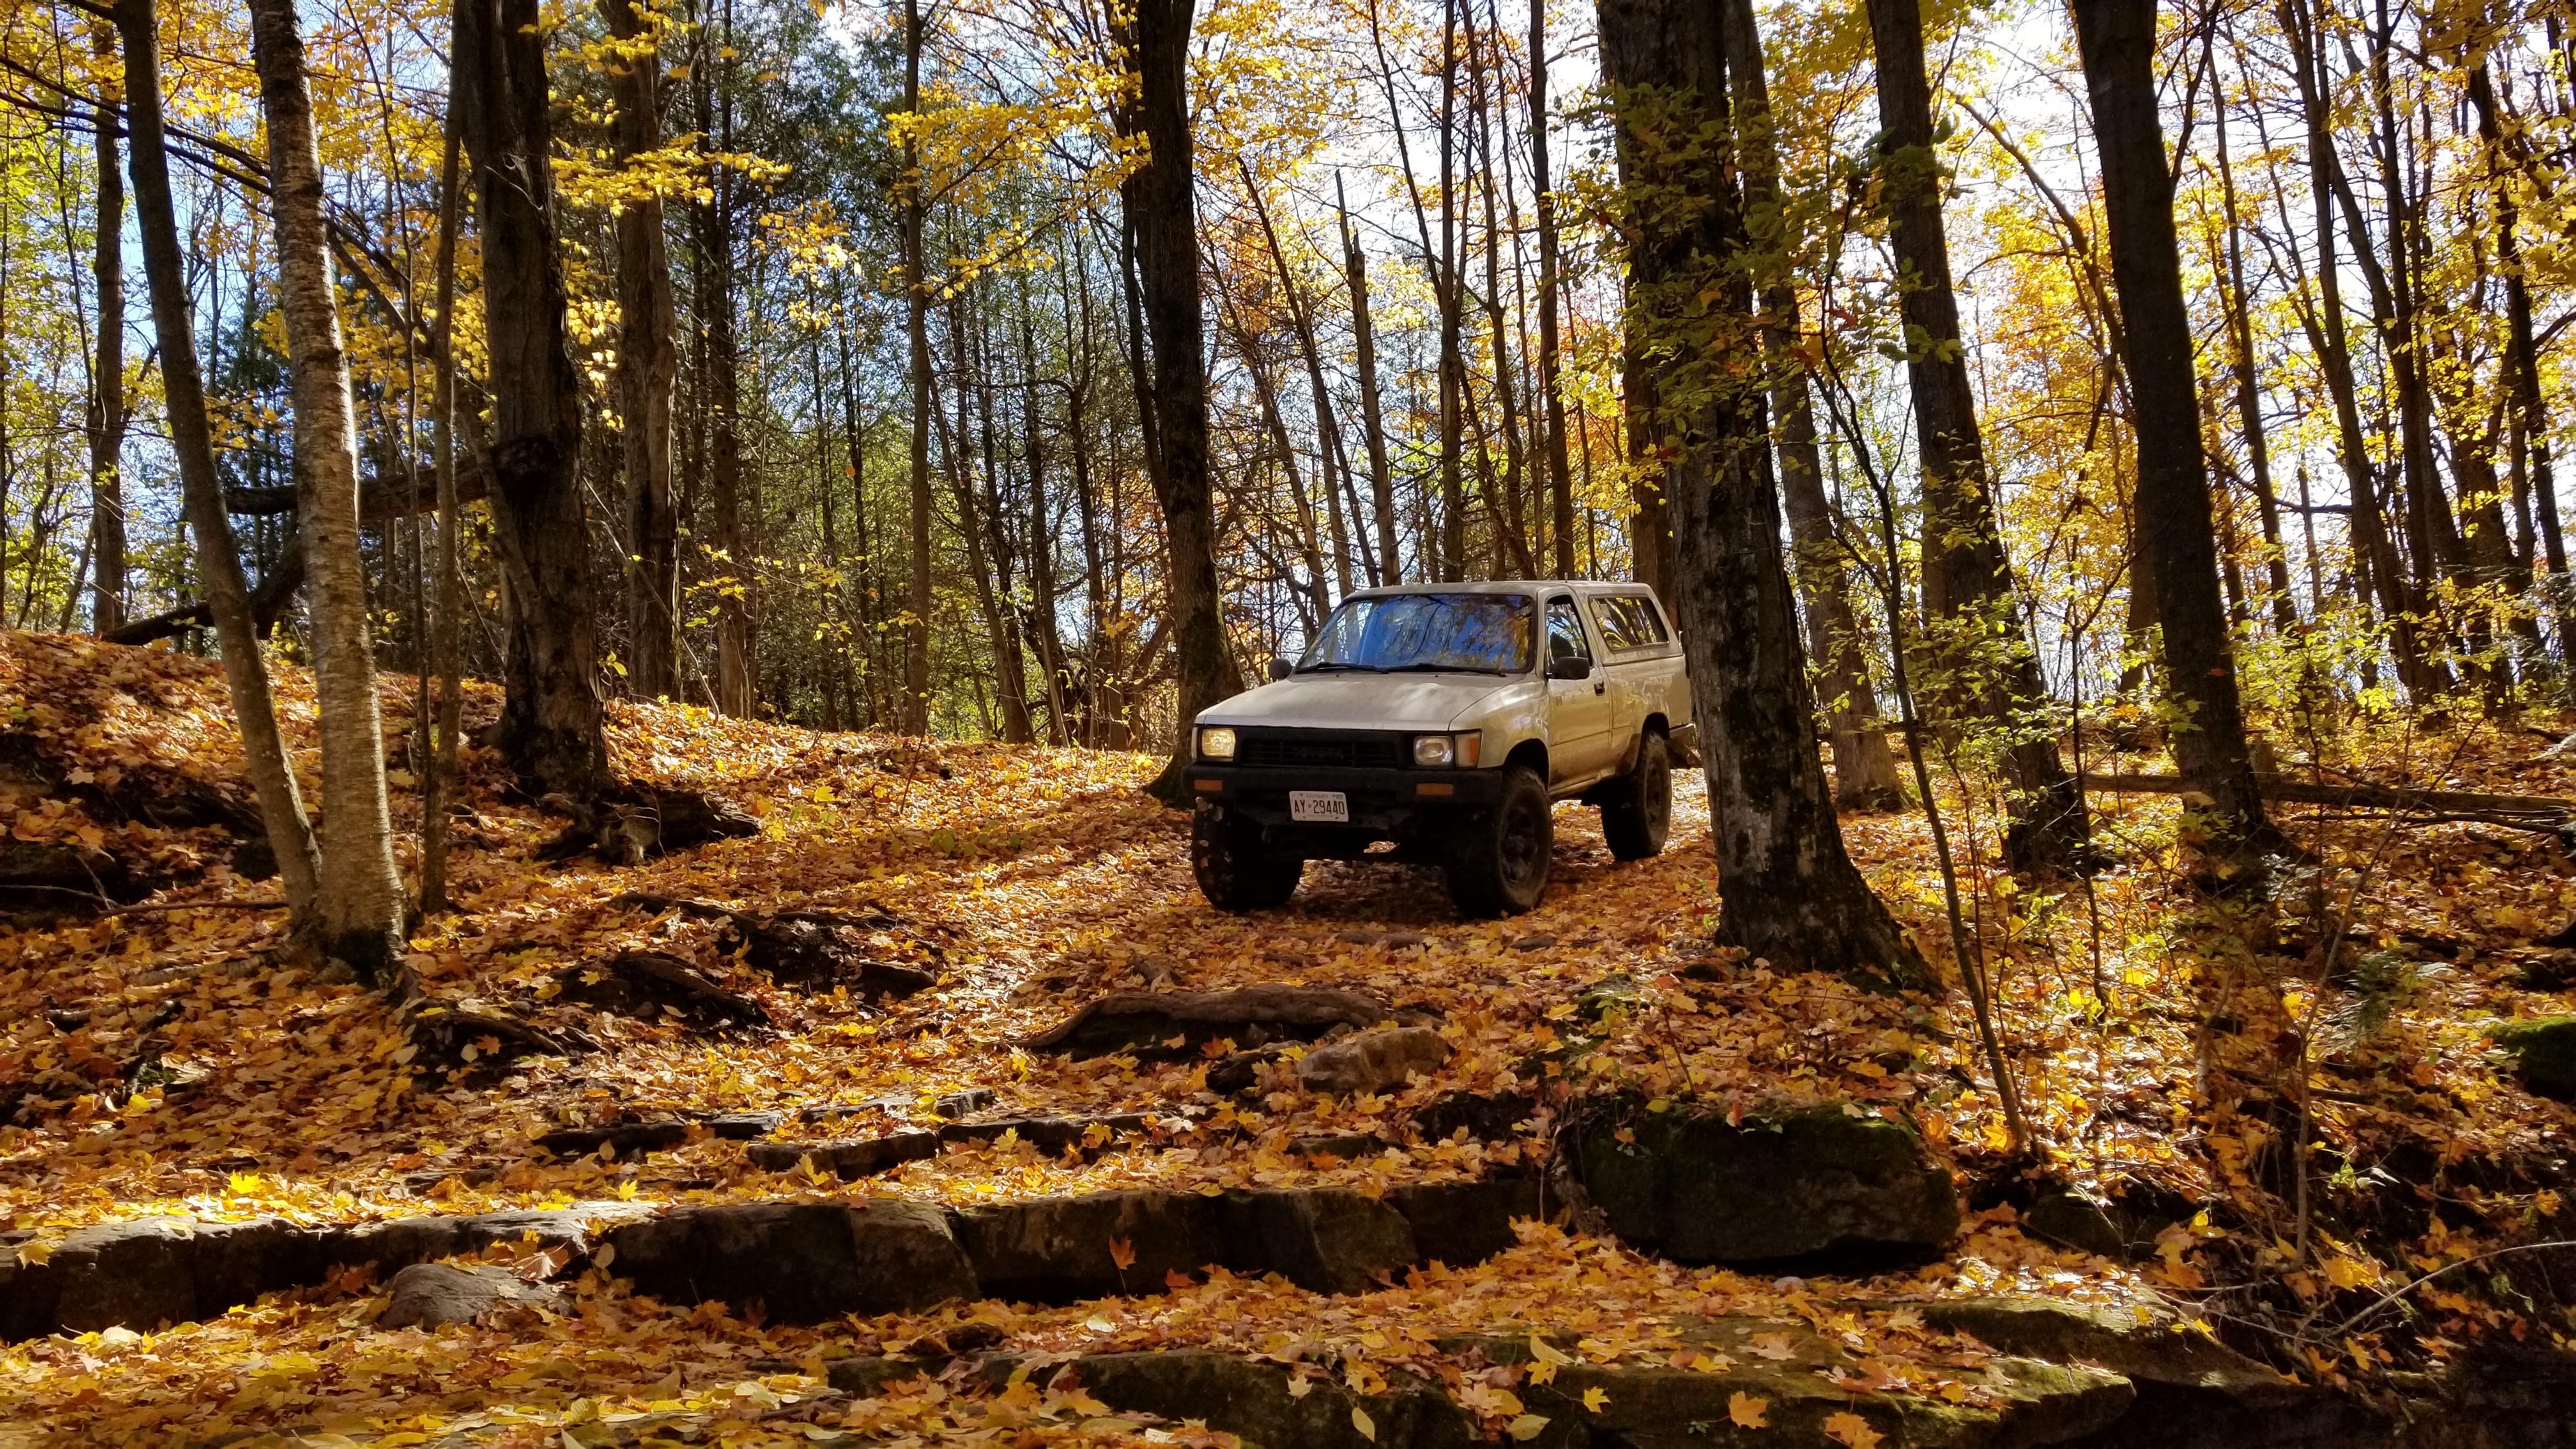
The Knarr on 1st Line
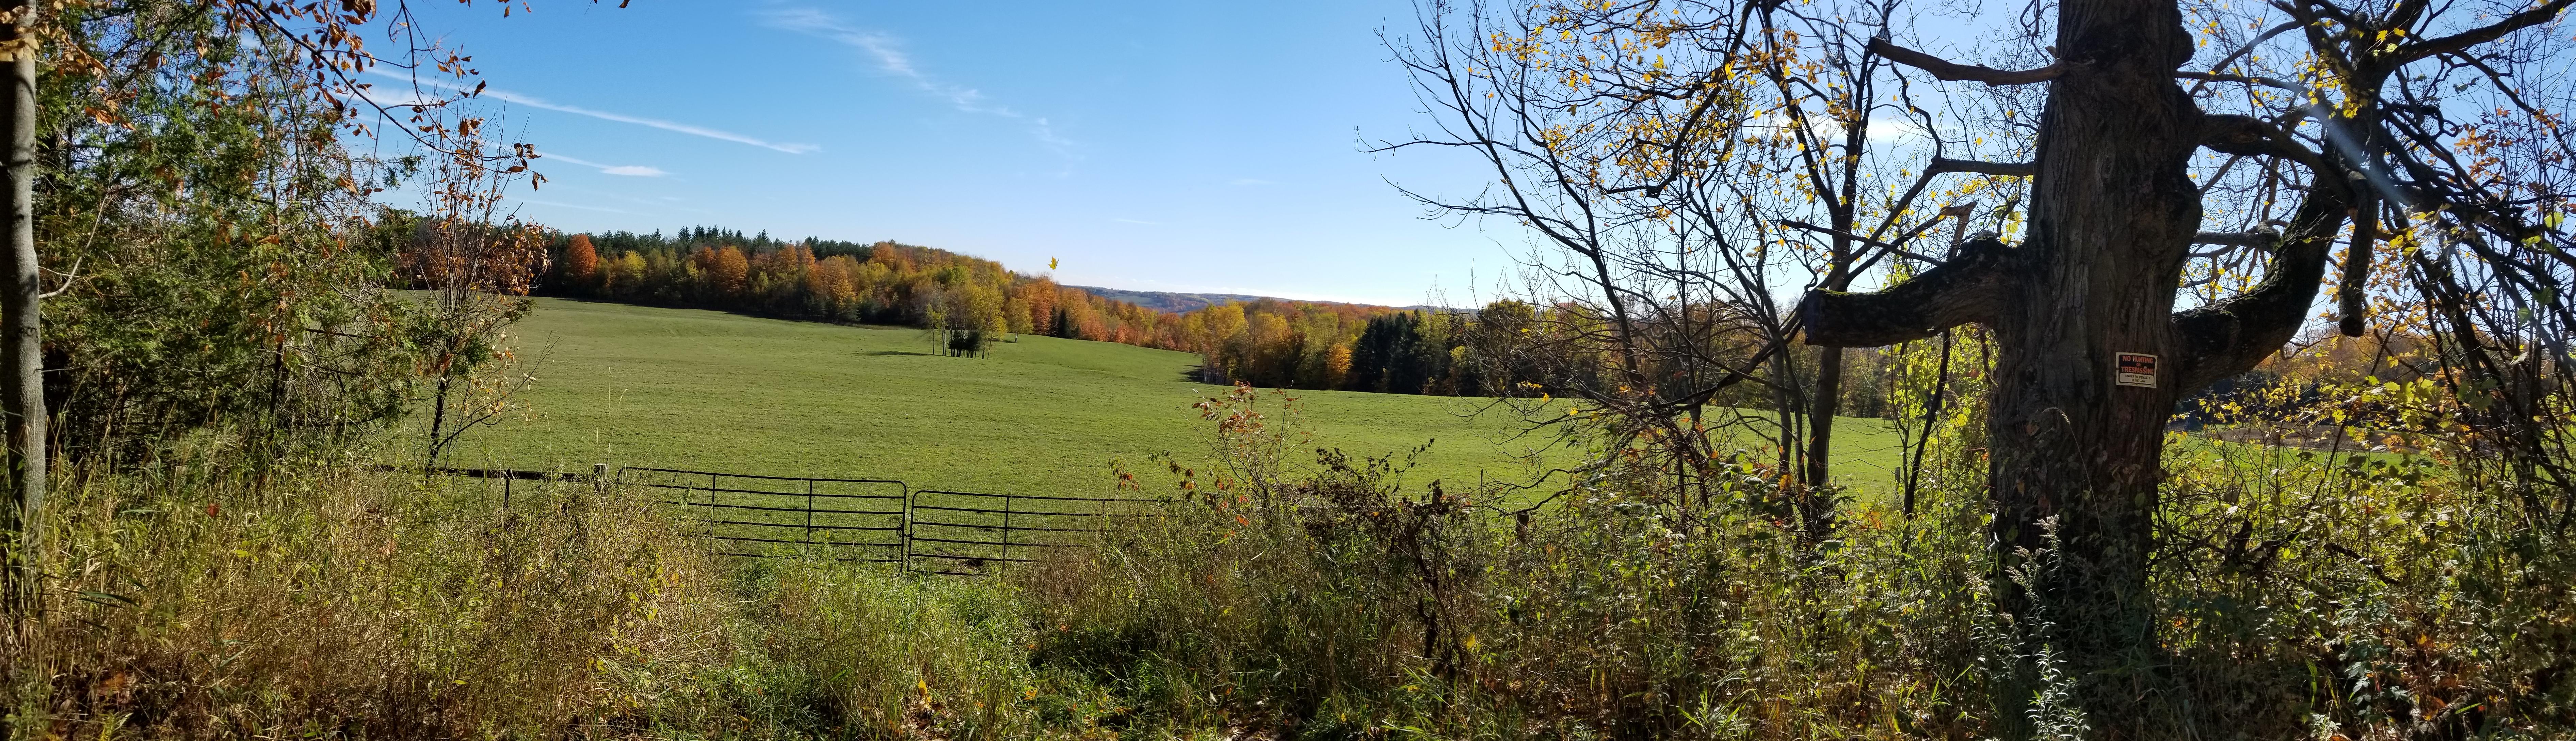
Looking South towards Hwy 21 after leaving Creemore
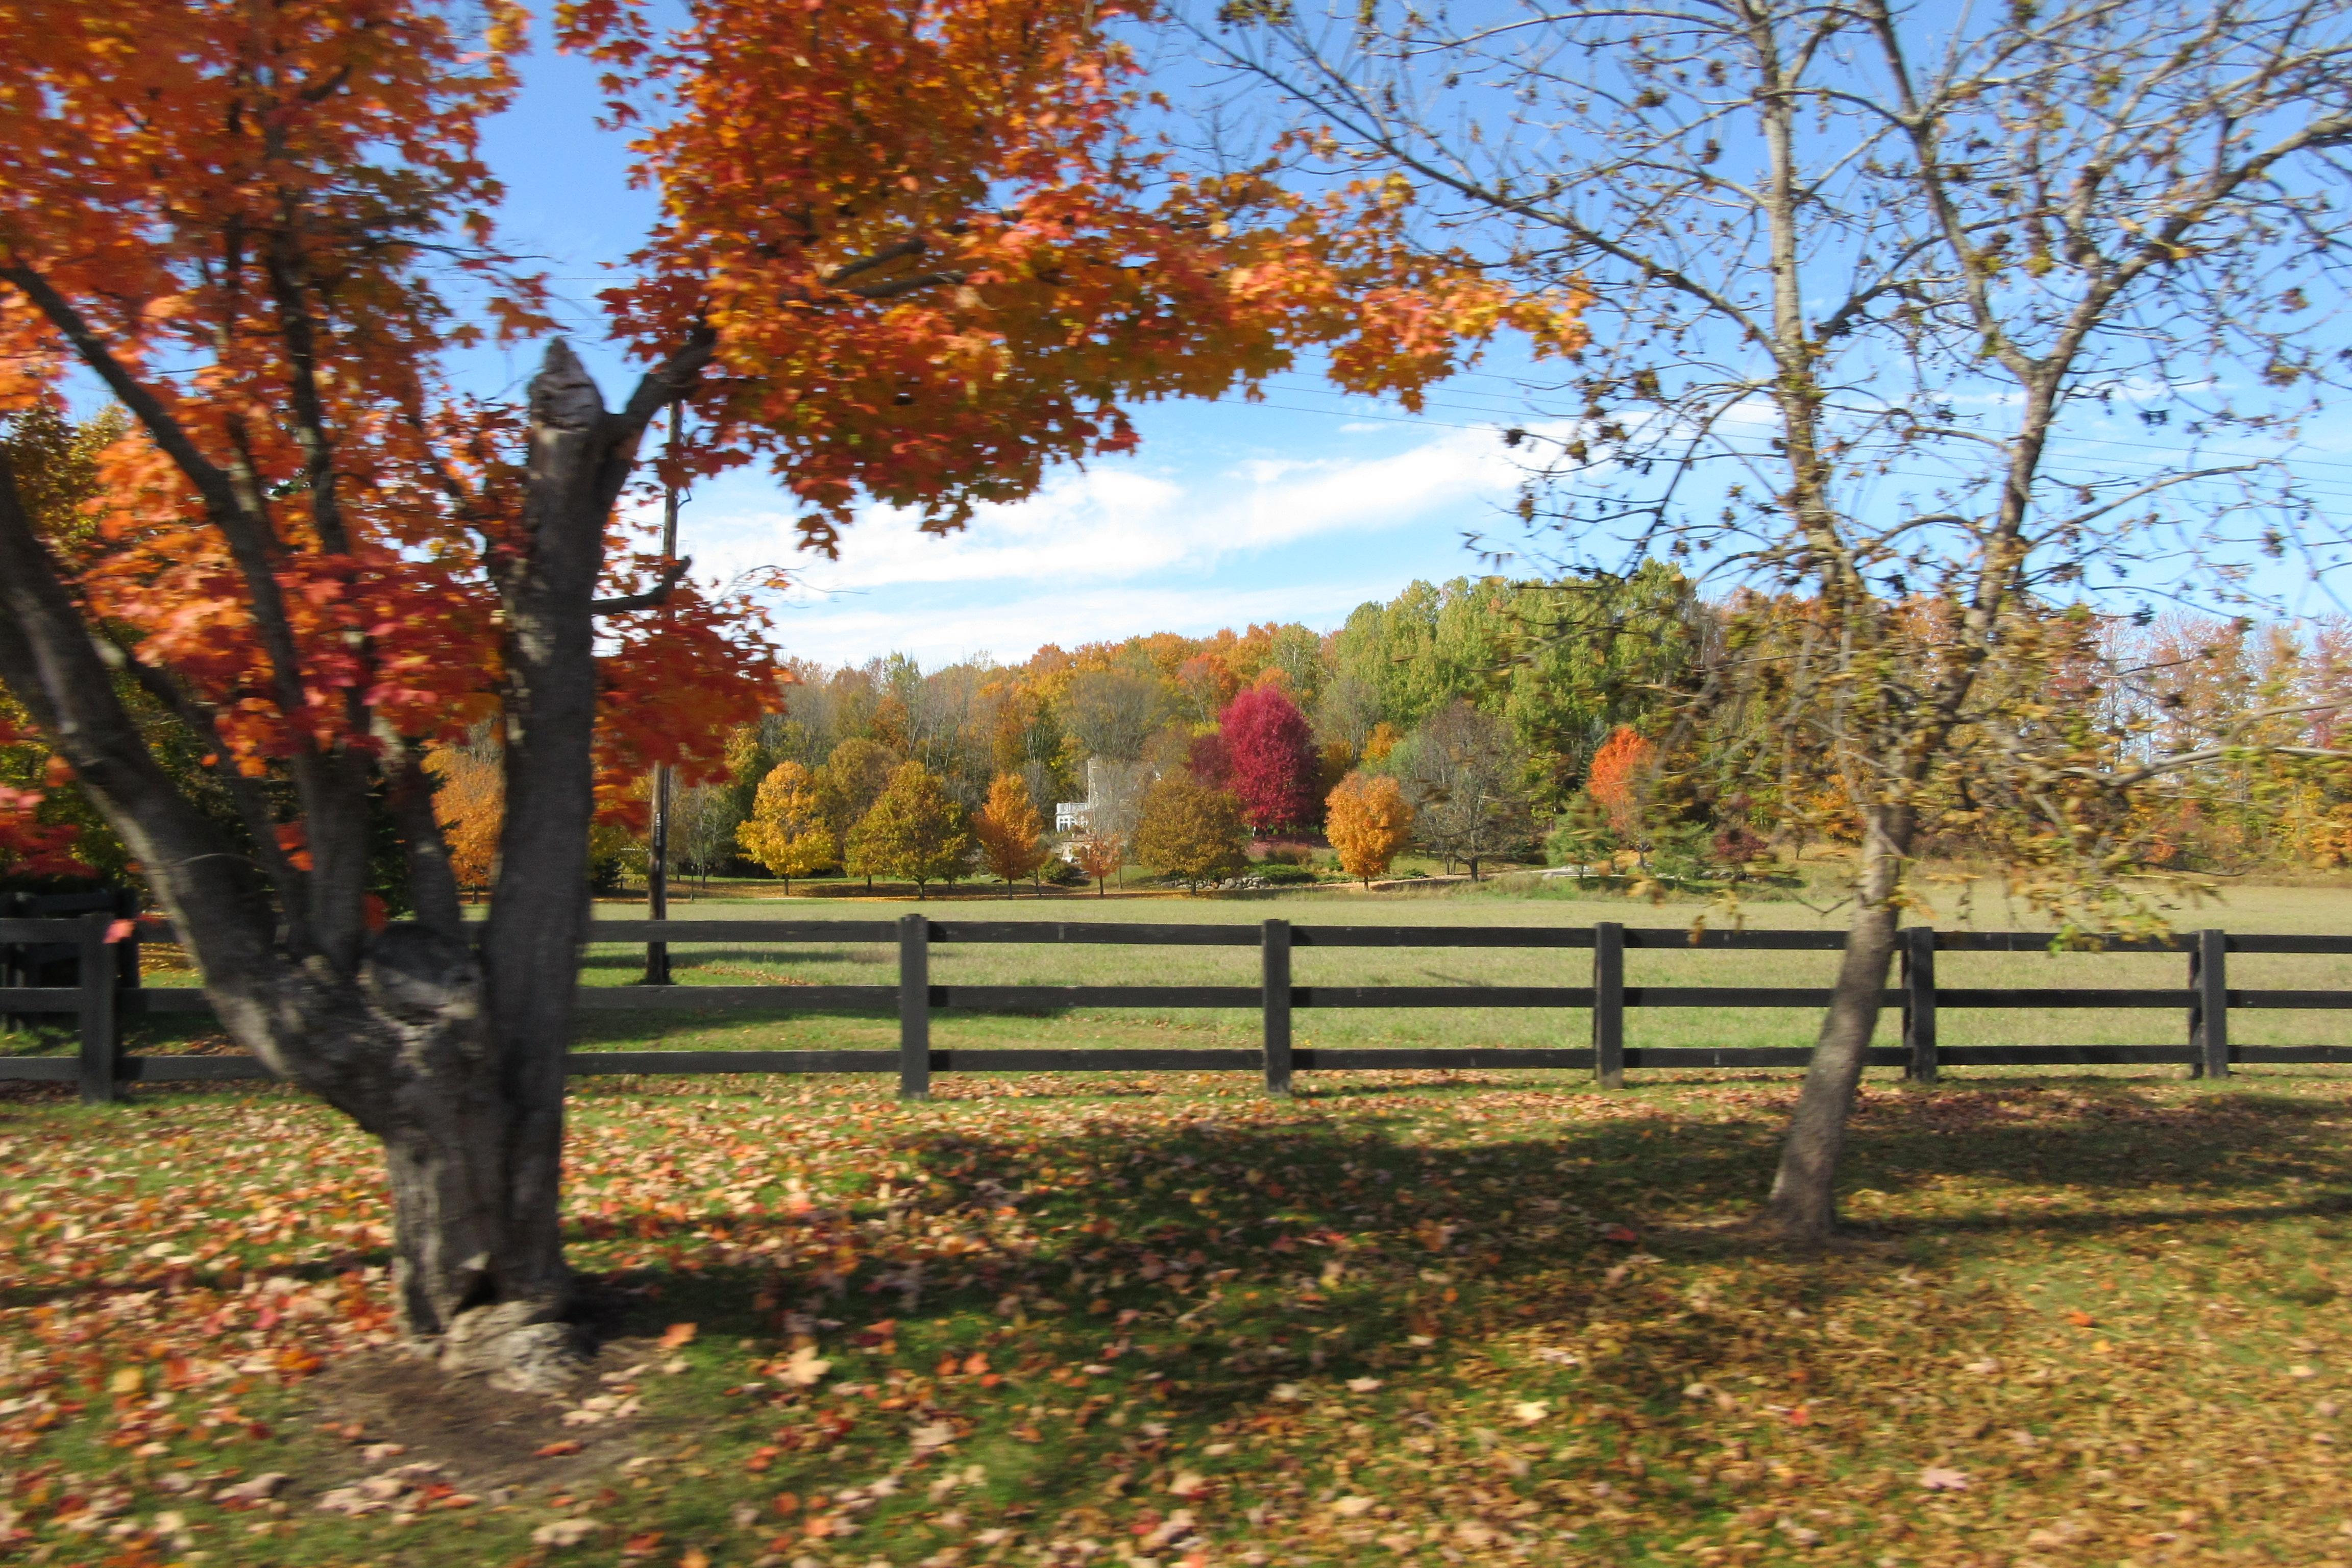
Impossibly red tree in somebodies yard
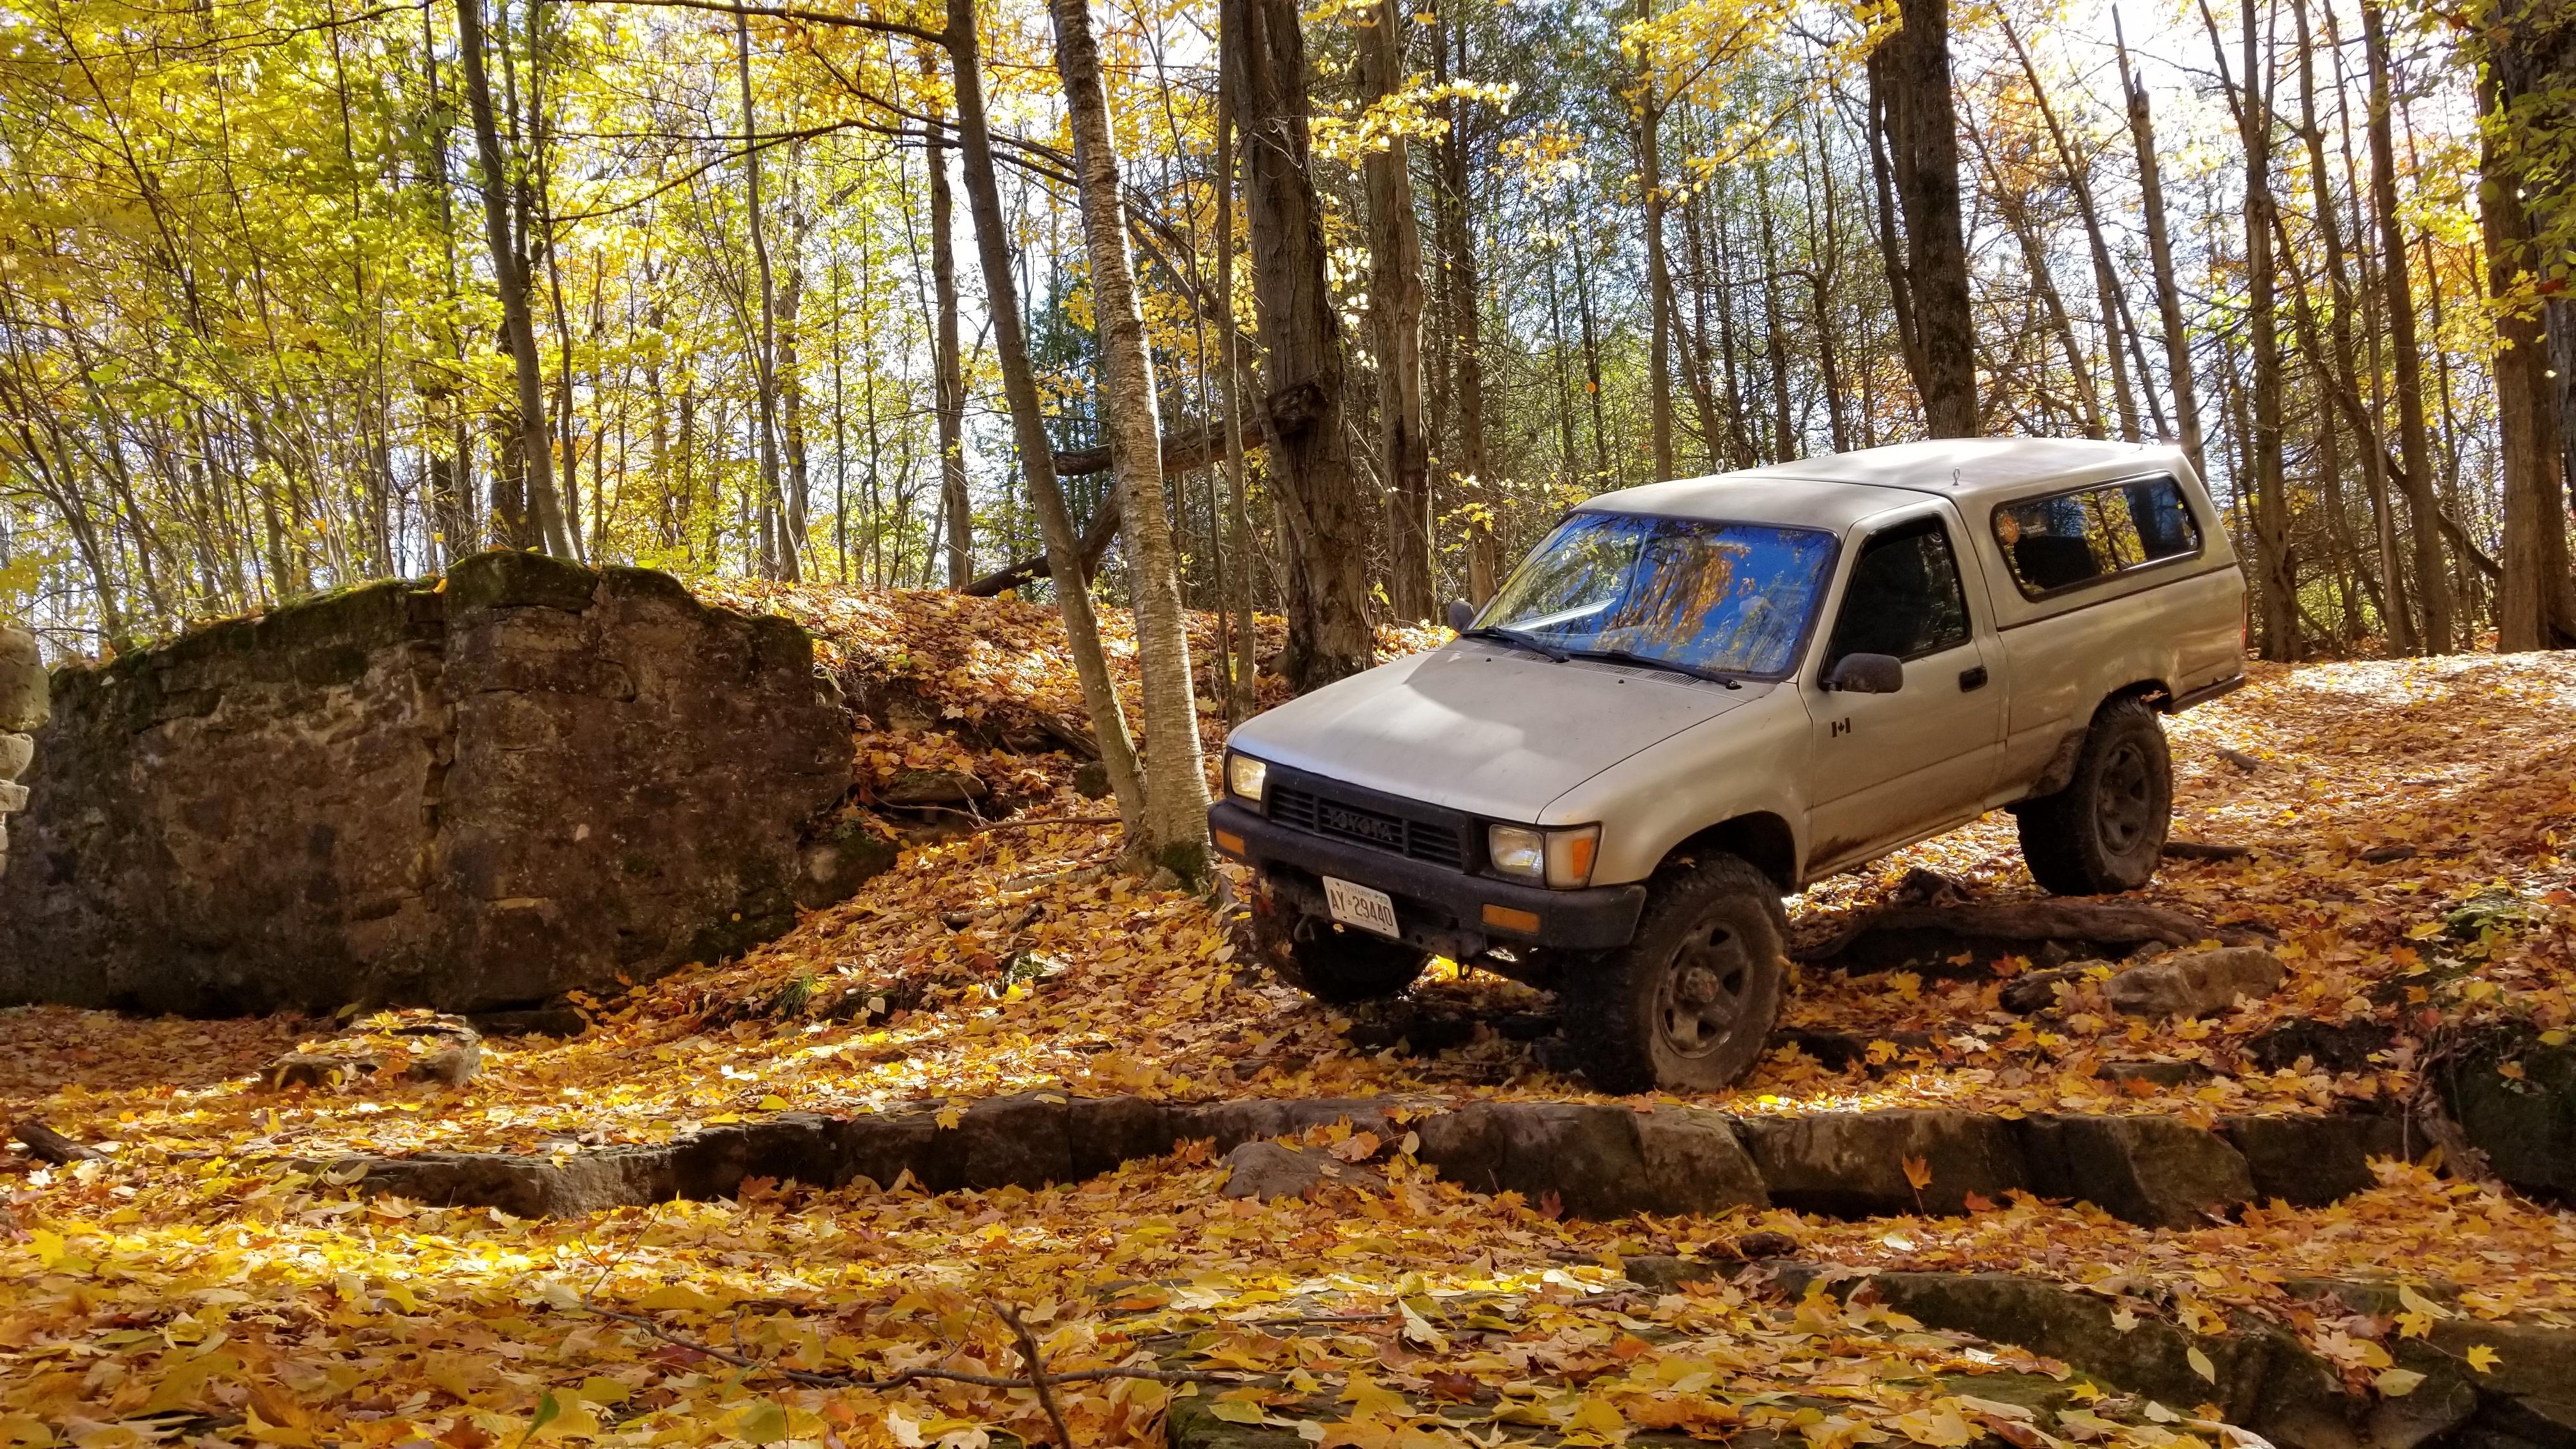
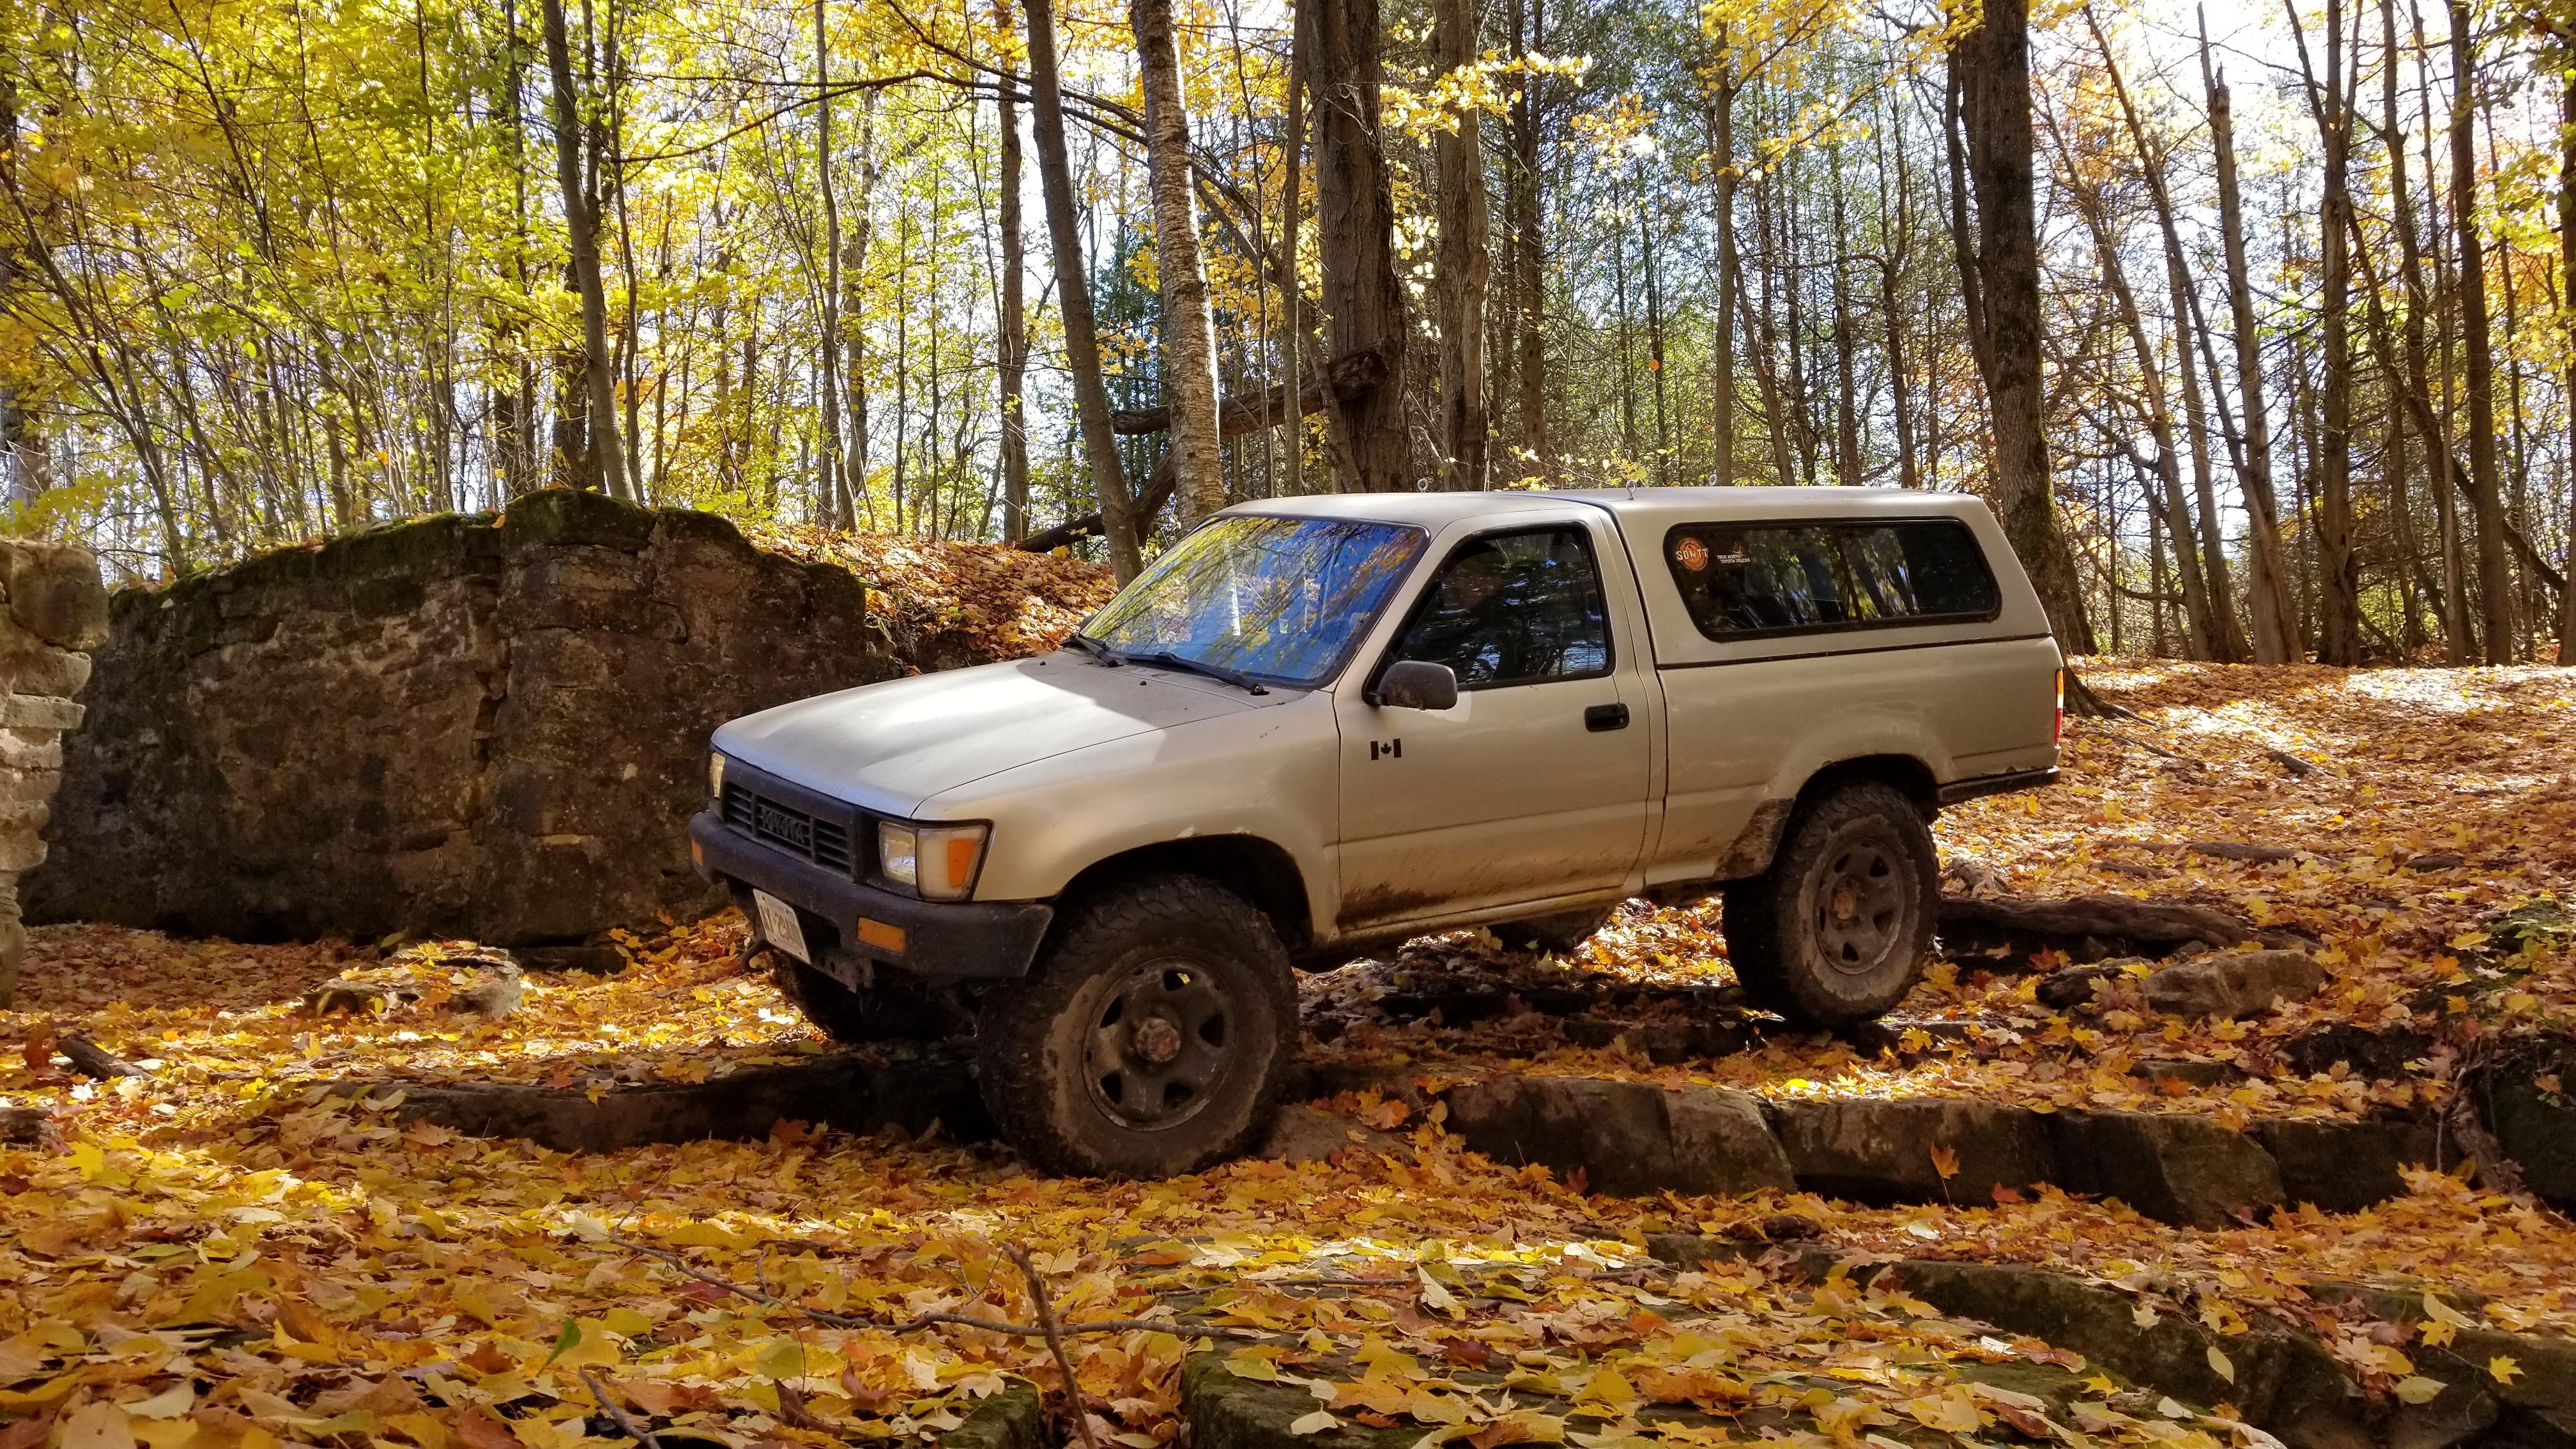
Redee showing some evidence of adventuring.
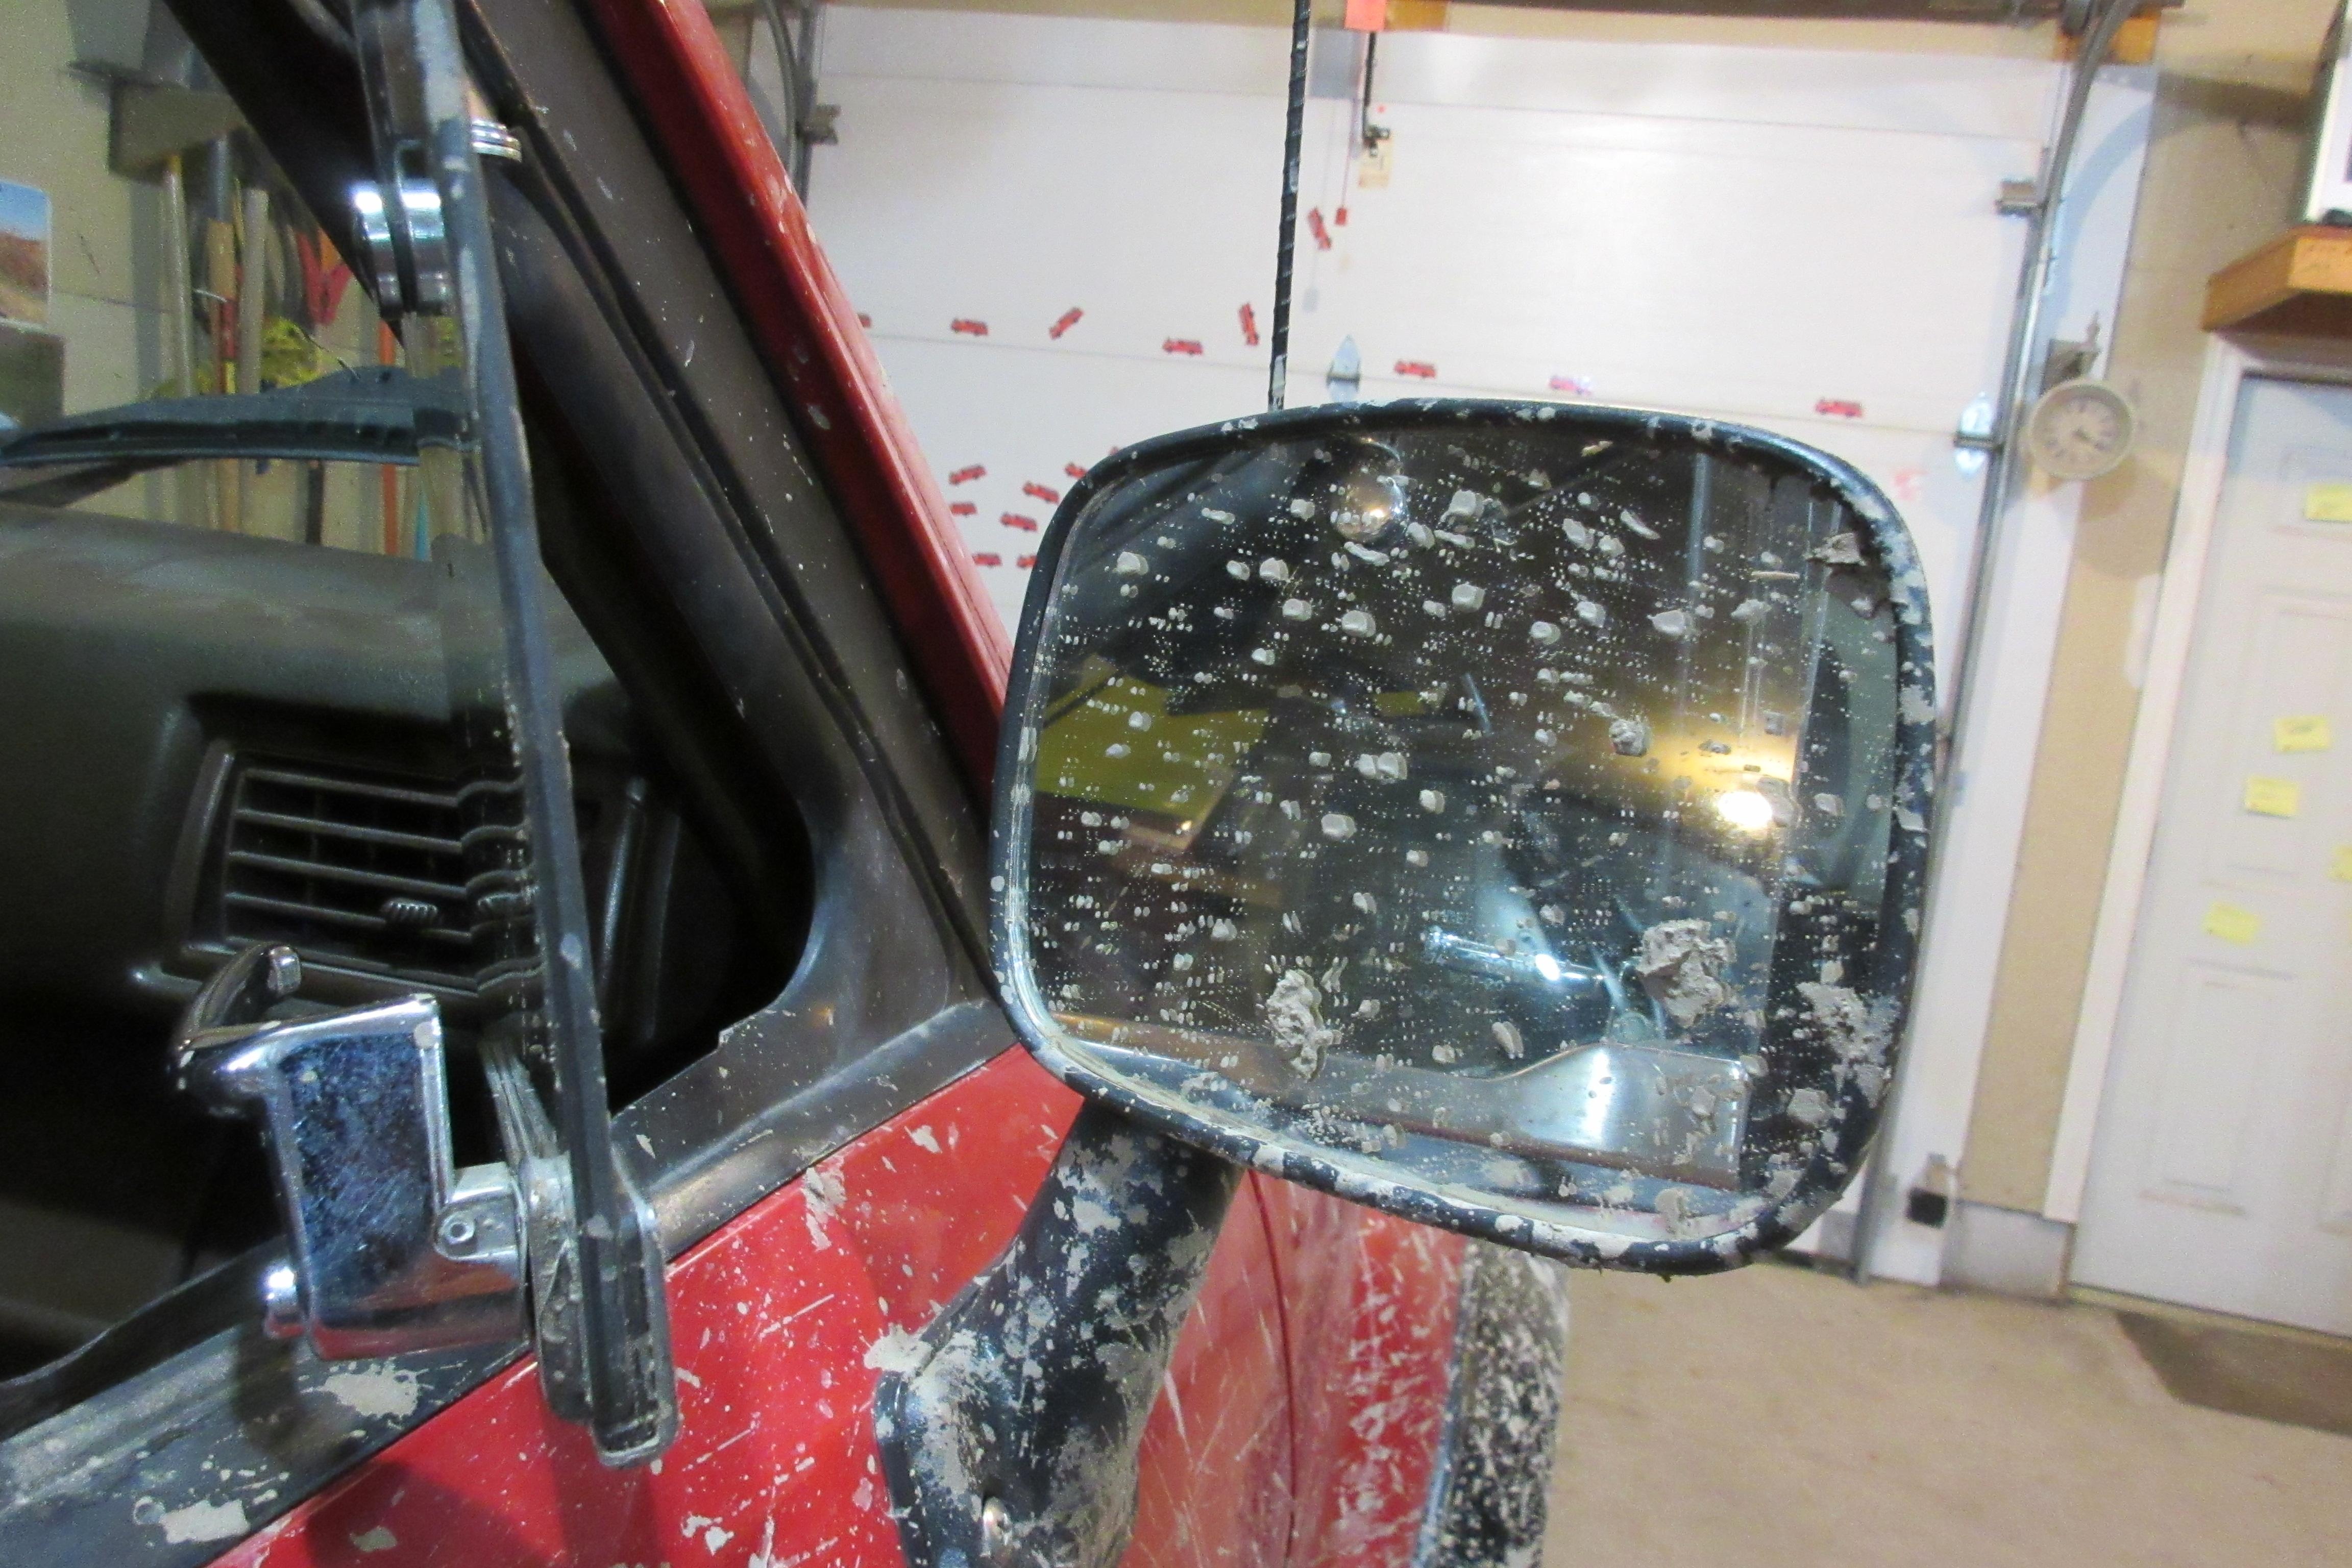
Glad it was Mark pilotting The Knarr, cause my mirrors weren’t very functional (or necessary) with the earth deposits and branches re-aiming them at every opportunity.
Glad your magical compass helped steer us to lunch, and got you home safe buddy.
toys-n-yotasKeymasterSounds great Mark. I’ll put on a fresh pot, and will be waitin’ for your arrival at home.
toys-n-yotasKeymasterHey Mark, glad to hear you’re gonna help me on this tour. Don’t feel rushed to keep the 10am start time, so far it’s just the two of us heading out.
Dug that 4Runner picture out from my 2012 archive.
toys-n-yotasKeymasterI’ve found the source of the Castrol River!! The nylon tubing from my mechanical oil pressure gauge has a leak under the fitting. Took the girls on a big tour yesterday and the drips under Redee this morning were excessive.
1/4 turn with a 3/8” wrench and the river has stopped flowing. Up next, power steering leak haha.
We pre-ran a couple sections of the No Exit tour, and the colours were popping! We had a blast cruising to a new spot, hiking till we were cold, warming up in Redee while we search for a new spot.
-
This reply was modified 6 years, 3 months ago by toys-n-yotas.
-
AuthorPosts