Forum Replies Created
-
AuthorPosts
-
 toys-n-yotasKeymaster
What a sweet looking table Steve! That live edge has some awesome colour in it.
toys-n-yotasKeymasterI’m unaware of the zip tie hack, something to look up. So far I’ve been lucky running wires that I have a couple colours of the gauge I need. But when I start wiring up my compressor and locker, may need to ID for future reference.
toys-n-yotasKeymasterOh man that’s an eventful day in a small town. Glad the vibes are gone. Is She all ready for the next adventure?
toys-n-yotasKeymasterI complimented the addition of the OEM gauges, by removing the mechanical triple set from the shifter area. That frees up space for the compressor/locker switches, and a usb charger that’s dangling by a zip tie to dash innards. The only real loss is the mechanical oil pressure gauge, but I could always add it back later.
toys-n-yotasKeymasterRedee now has complete OEM gauges!
- 4Wheel Drive indicator
- Tach (needs calibration)
- Oil Pressure
- Water Temp
I have wired in the RockAuto senders, and run new wires neatly to the harness pigtail in the passenger footwell. I used a crappy ebay tool to push the terminals from the connector, and a narrow (0.110” compared to 0.187”) female spade connector to complete the connection. I still have to re-coonect the battery and fire her over to verify they’re operational, but confidence is super high.
toys-n-yotasKeymasterHow are your driveline vibrations since clocking your driveshaft and all the new bearings?
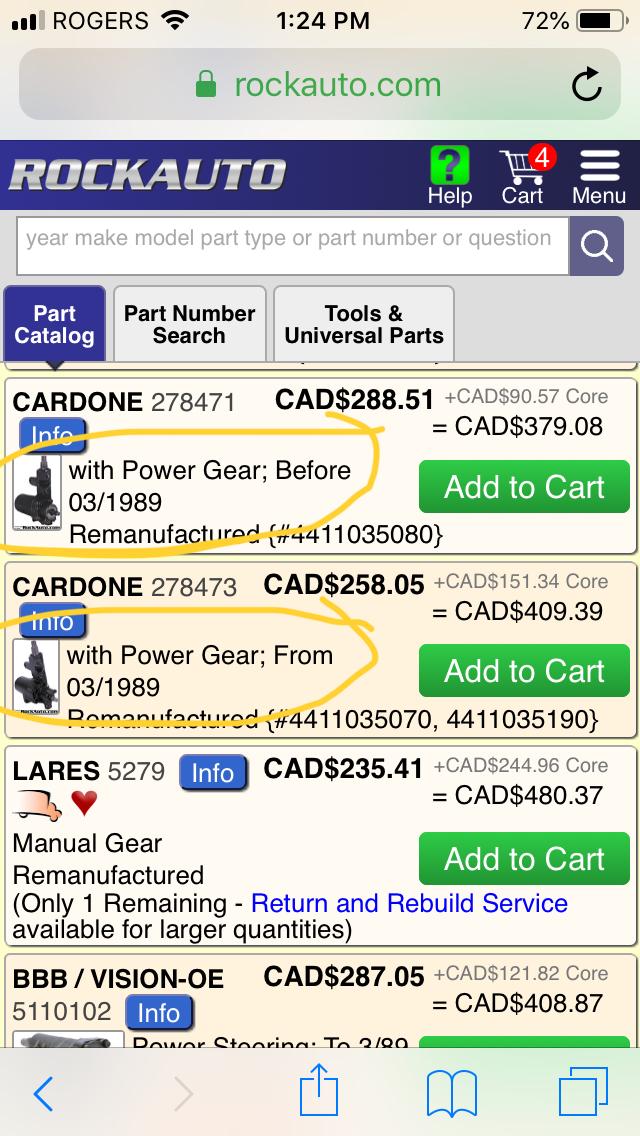
toys-n-yotasKeymasterEvan, I really appreciate the part and potential delivery service!
As per some RockAuto investigation, the steering gear Evan has is a newer version, even has a grease nipple for servicing.
looks like the Toyota guys re-designed the input shaft “worm gear shaft” and how it attaches to the rest of the housing. Evan and I both have confidence that these units are interchangeable since they were introduced mid-model year to both I4 / V6 vehicles. Hooray for an upgrade.
<span style=”-webkit-tap-highlight-color: rgba(0, 0, 0, 0);”>
 </span>
Seriously Evan, thanks a bunch in advance.
toys-n-yotasKeymasterDecided to not let January slip by without tackling my powersteering gear!
Partial disassembly, perfect.
Outside refurbishment, scuffing, thread cleaning, perfect.
O-rings and vinyl seals swapped out with rebuild kit, perfect.
Assembly, slow and steady, wtf? Why won’t this gear sit fully? A 2 mm gap at the mating surfaces. Remove the sector shaft again, looks fine. Remove the worm gear shaft again, FRIGGEN CHAOS!!!!
All 40 ball bearings from the worm gear shaft out of place. Totally F***ED! 3-more hours in attempt to get it all back, final bench test the gearbox rotated CCW smooth as a baby’s bottom. CW it jammed solid. Since Redee is not NASCAR edition, and I may have to turn right at some point in time, I’m tapping out! Gonna spend too much $$ on a rebuilt unit from RockAuto. A few choices out there, roughly $300 after tax/shipping after core charge returned. That’s not bad for a safety item. Just really wish those MF ballbearings hadn’t displaced themselves, an expensive slip.
No pictures. Was too greasy in ATF, then much too mad pickin’ nearly microscopic BBs off the workbench.
Funny, cause I put 37 of the BB in a ziplock bag to send in with my core, reassembled the steering gear with 3 BBs, and it works pretty well. Just not well enough at 100km/h…. or at 5km/h in “No Exit” land where she likes to play.
toys-n-yotasKeymasterLookin’ good Steve. Was funny to learn your winch was installed two-full years before you actually needed it.
You got any source of heat in your garage for all this wrenching? Or layering on the beer jackets for warmth?
toys-n-yotasKeymasterThat snorkel would make launching and loading that kayak a breeze!!
toys-n-yotasKeymasterMy buddy Matt is pretty happy with the 4Runner so far, only drove it about 75km from Bradford to Wasaga. The V8 is a very welcome change from a 2.something n/a boxer engine and cvt. His Suby could be summed up with two words. Safe. Boring.
The 4Runner Had an engine light turn on about 10-mins into the drive, but Brian and the boys will check it out. Hopefully its just a misfire or something stupid cause it sat a long time (3-weeks since we test drove it, maybe longer) with hardly any gas in it. We asked Brian to certify it, and check out the troubles I spotted on the dealer lot. Got it lined up for CV boots, rear brakes (maybe fronts too), wheel speed sensors and an inspection of the timing belt. I did not get to lift the front end for steering/suspension, but it was pretty stable on the drives.
Matt is looking into Bilstein 5100 all around, 2” springs for rear, Duratracs on TRD beadlock rims, and some side steps. Got some shop nights to look forward to.
toys-n-yotasKeymasterWow Steve, you’ve been busy under the Ol Taco. Good work keepin’ the trail truck happy. Between all the bearings and fluids, you may just wake up a few extra horses under the hood!
toys-n-yotasKeymasterHey Steve it looks like you guys had a good time despite the damage!
toys-n-yotasKeymasterOh man, crazyness going on there Hidden winch even. I wonder if the concept calls for the addition if a transfer case. Any “specs” with this concept?
I’d get one of those as part of my Lotto Max fleet. This looks like it’ll fit somewhere in the dune buggy -> sandrail -> side-by-side spectrum.
Pretty sure my biggest challenge would be picking a set of keys each morning.
toys-n-yotasKeymaster@Webmaster thanks for diggin’ into the upload issue. I will be sure to only submit one time, the next time I have a failure. I will send you a PM.
This issue occurs anytime I try to attach more than one picture. Perhaps it’s more than two pictures. But I can upload straight text without any drama.
Check the Build Thread “My First Landcruiser” as Evan has been having upload troubles of late.
I FIRST encountered troubles roughly Dec 18-20th. I have been using the same iphone, iOS, wifi, internet provider and uploading from the same physical location since the start of this thread. The first issue came up on page 20, roughly Christmas timing.
-
AuthorPosts