Home › Forums › TRUCK BUILDS › Redee – 1986 4Runner
- This topic has 610 replies, 9 voices, and was last updated 8 hours, 34 minutes ago by
 toys-n-yotas.
-
AuthorPosts
-
March 4, 2019 at 6:24 pm #207935
 toys-n-yotasParticipant
Trying to find a part number for a seal, stumbled across translation hilarity.
Did you find it?
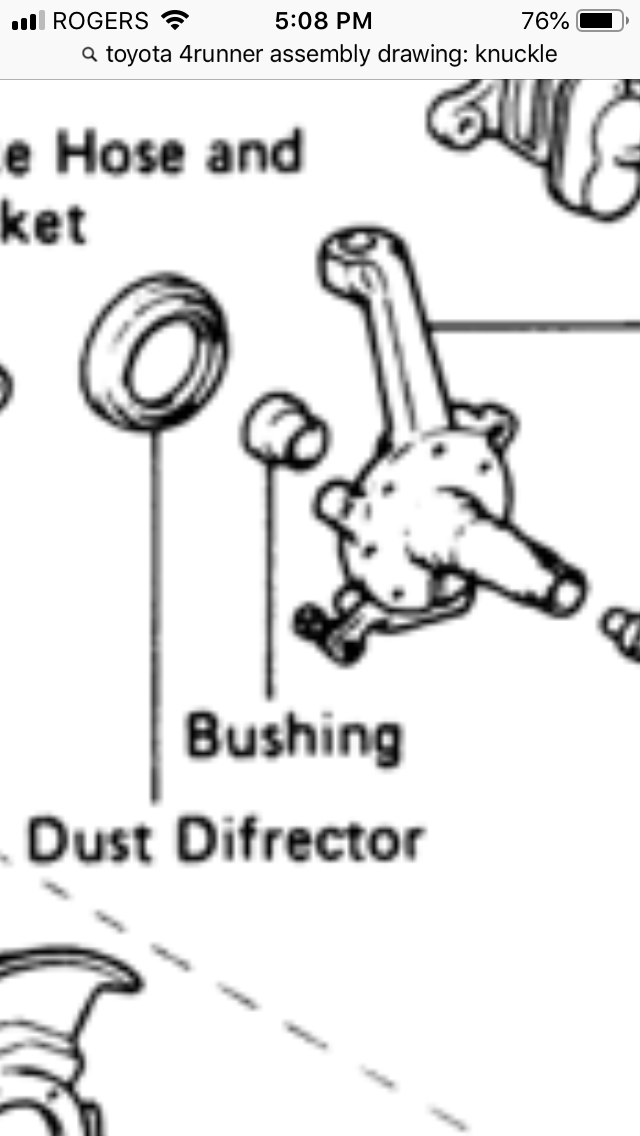
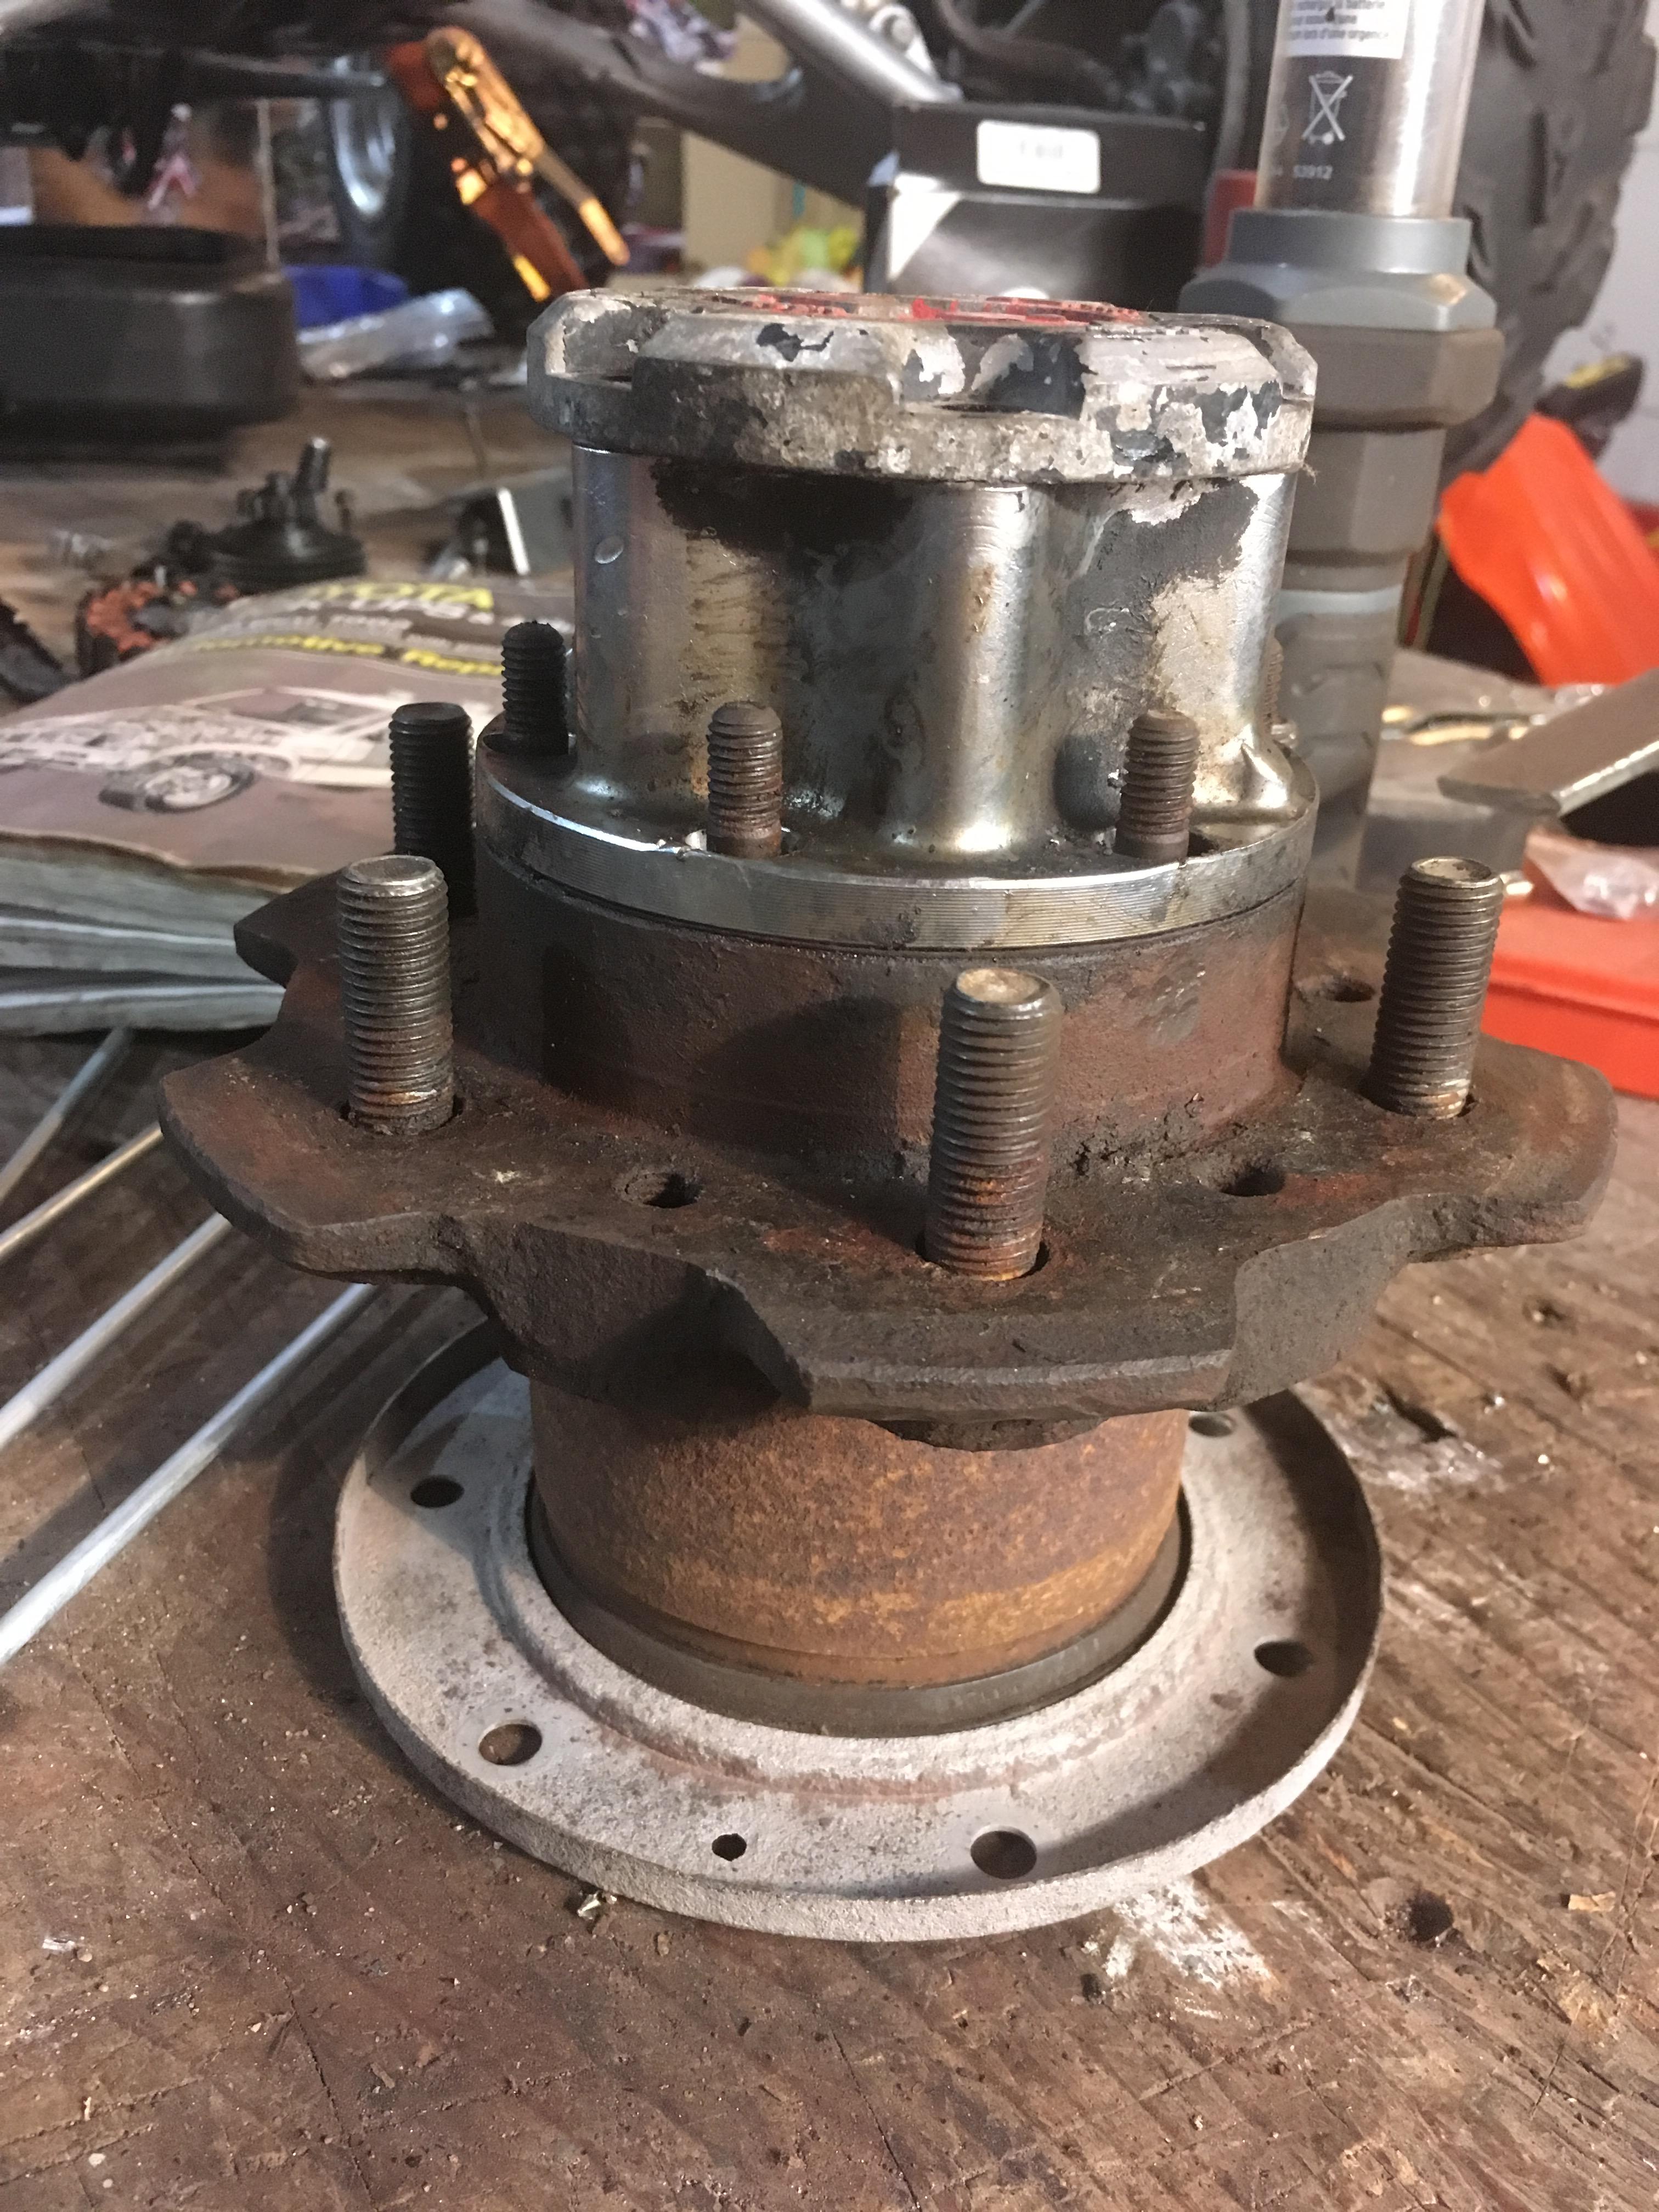
I’ll have to bring the full hub assembly into Hallmark Toyota, so I can get the exploded view with part numbers printed out.
Trying to determine if this rubber ring, is part of an oil seal.


Any ideas?
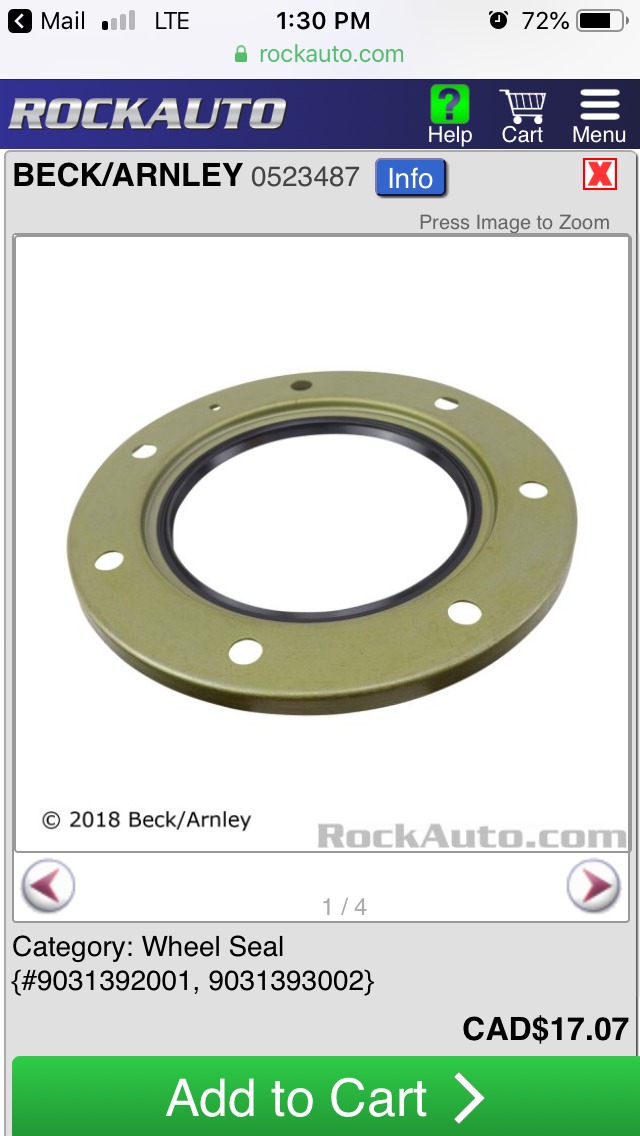
March 4, 2019 at 8:04 pm #207936toys-n-yotasParticipantYay!! Found the seal!!
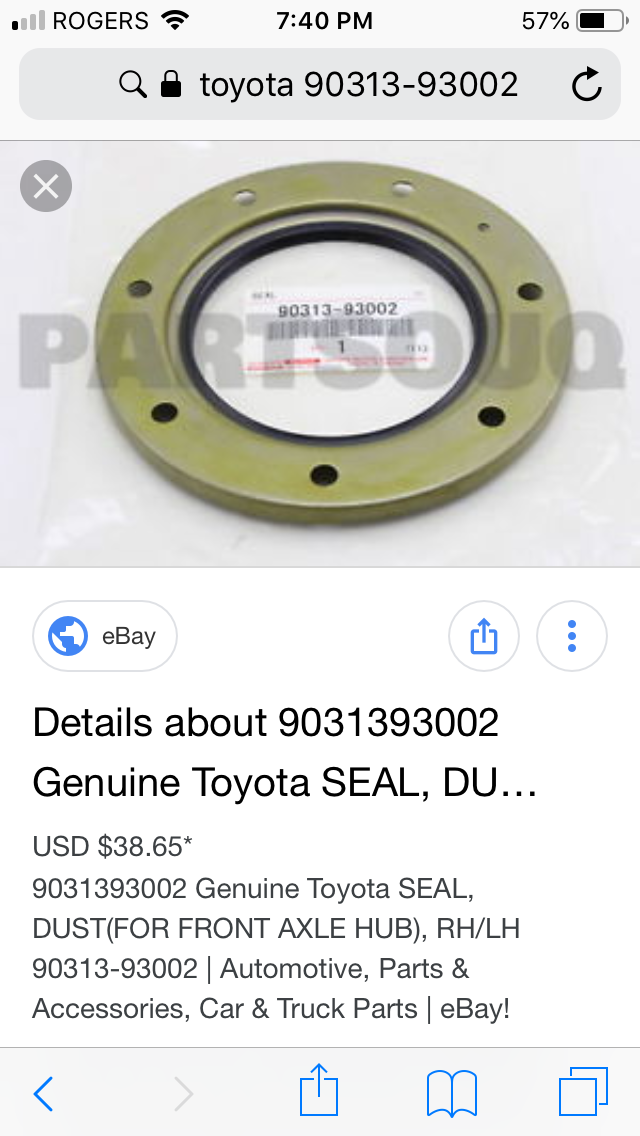
Booooo….ebay wants $70 per side.
But, yay for no need to sandblast the passenger side once I get there. Small victory? Or still losing @ $150-ish.
March 5, 2019 at 10:39 am #207937toys-n-yotasParticipantThree small spot welds to drill out to separate the dust shield from its mounting ring.

The ring is about 2.0 mm thick, and I believe it’s reguired to allow the hub appropriate depth into the seal.
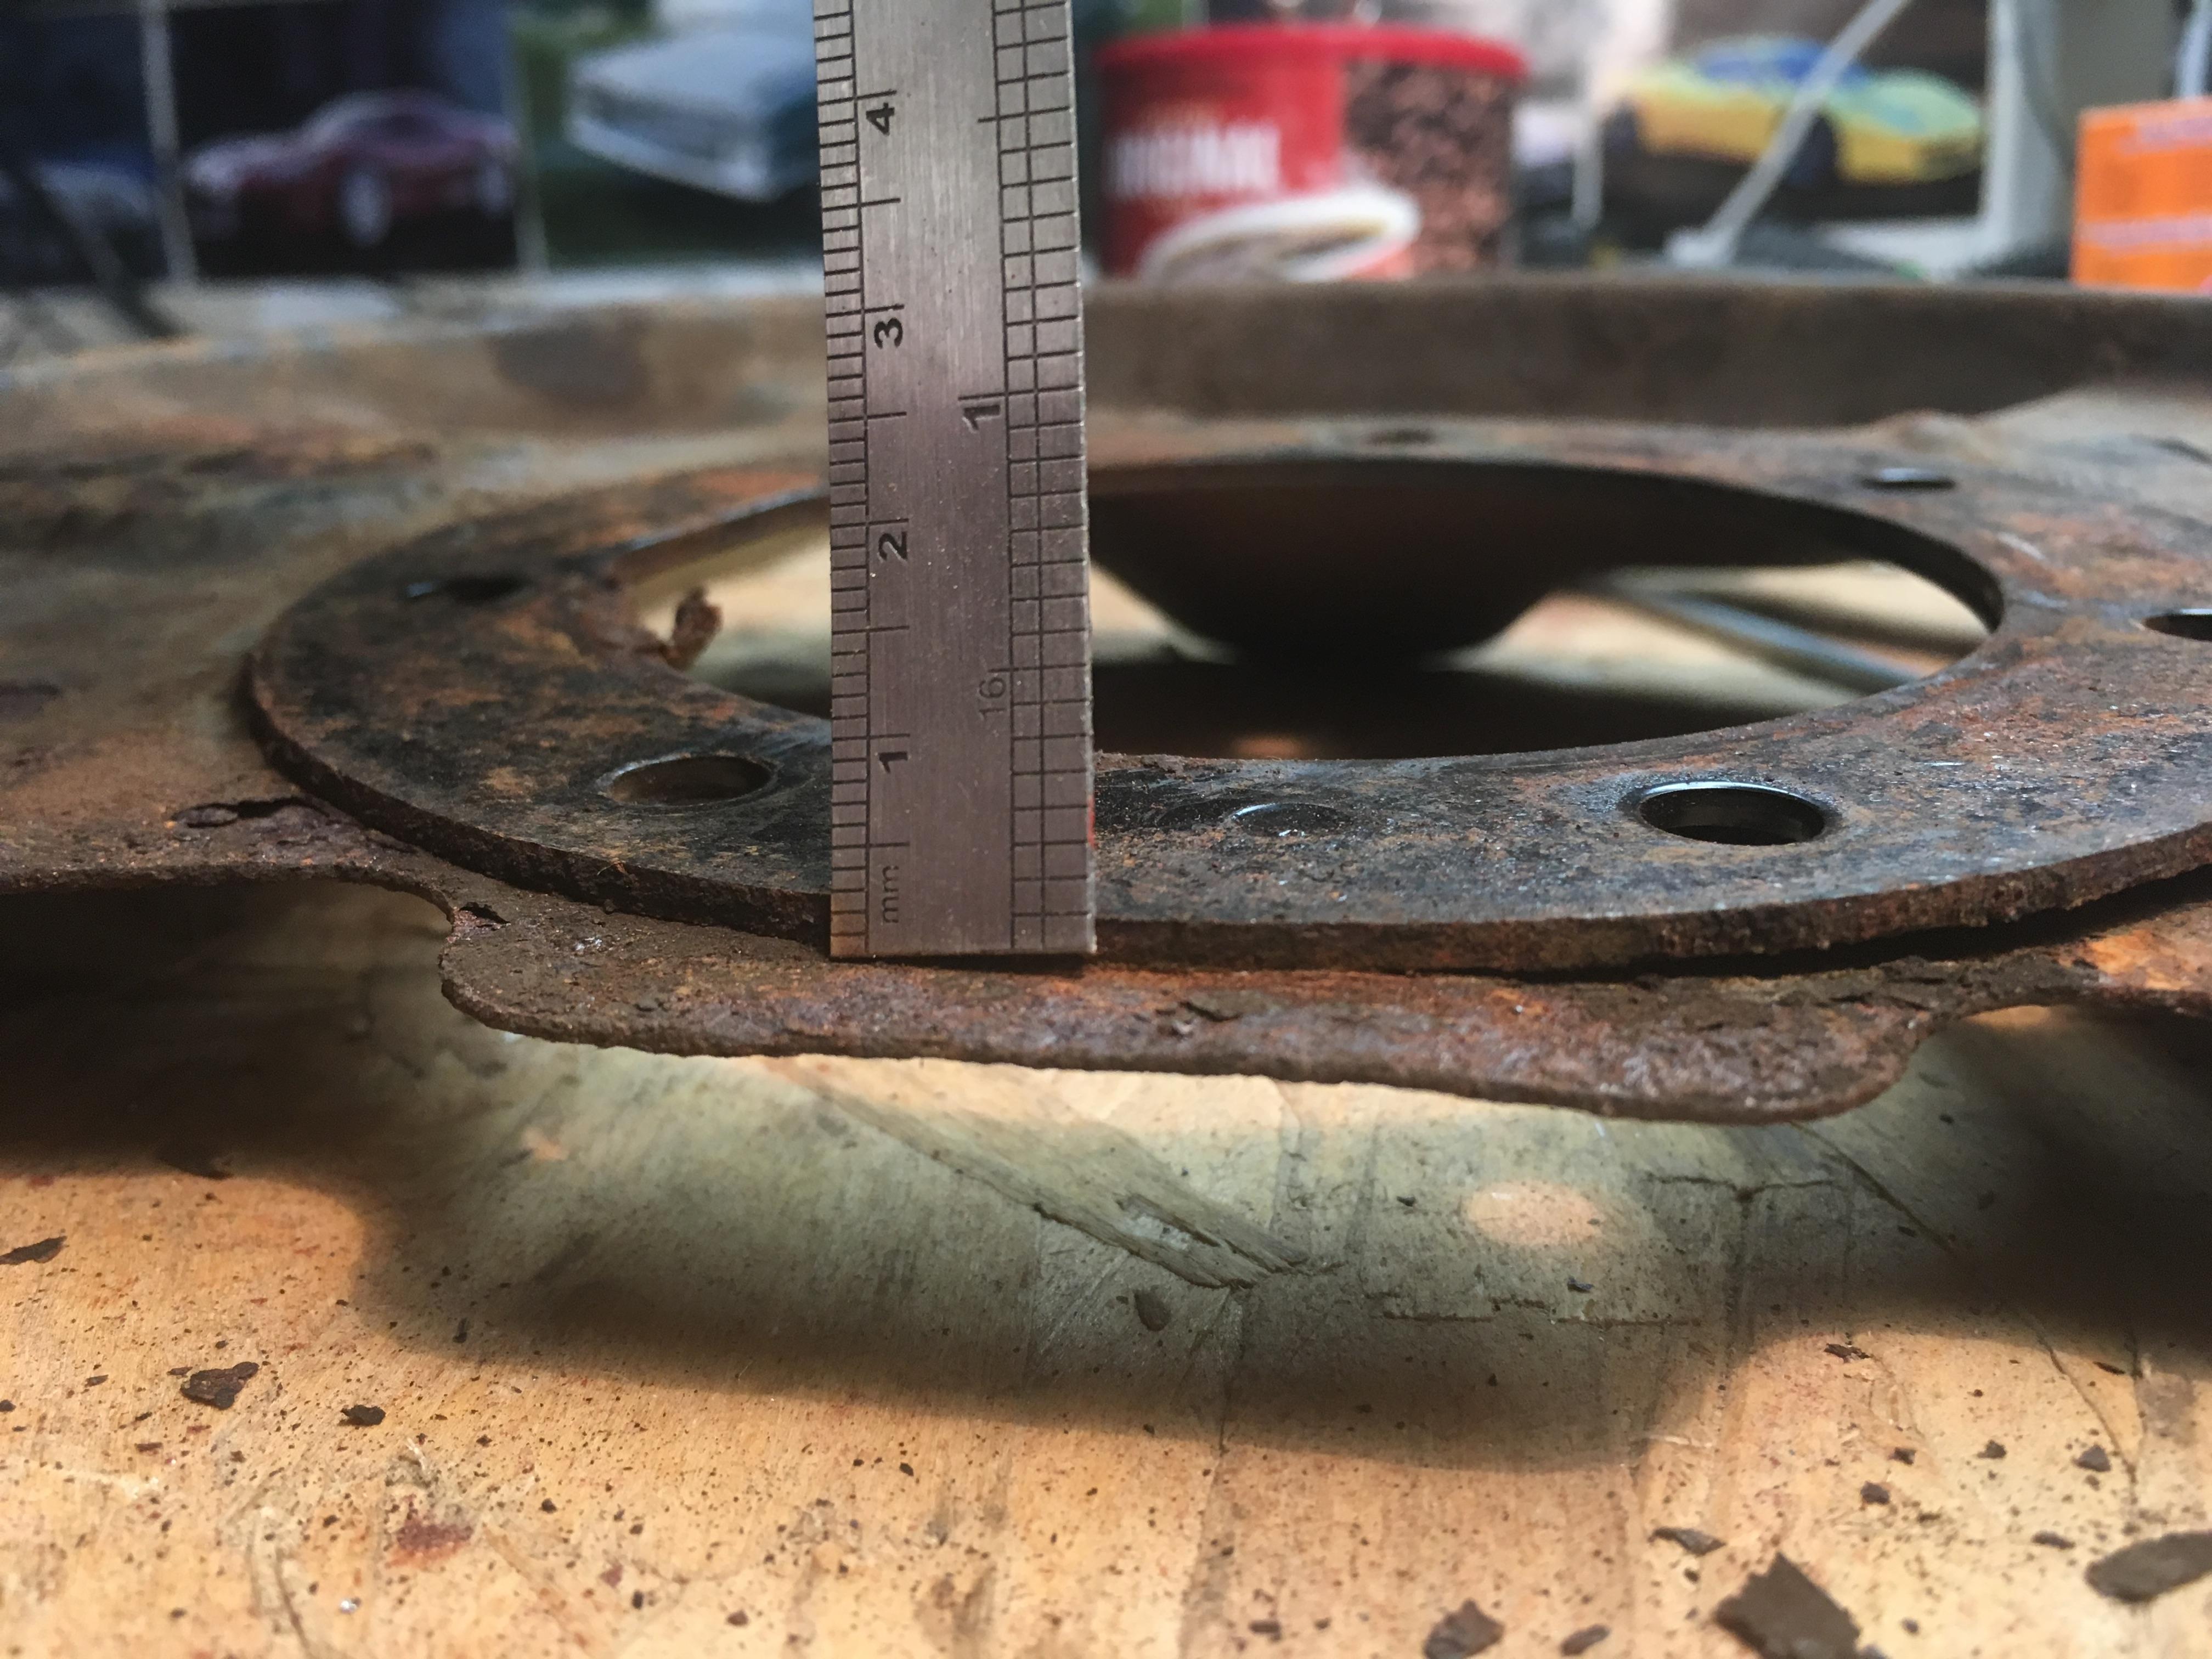

Without the “spacer”, I fear the seal wouldn’t engage deep enough on the hub, and be prone to failure.
 March 5, 2019 at 1:52 pm #207938
 Slick_YotaKeymaster
LOL – Defrector.
We call that Jinglish.
March 5, 2019 at 8:36 pm #207940toys-n-yotasParticipantThe wonderful world of Honda also embraces Jinglish. Tons of fun stumbling across these easter eggs
March 6, 2019 at 1:31 pm #207942toys-n-yotasParticipantOnce again RockAuto saves the day. I was able to order OEM equivalent parts for $51 after shipping, duty & tax. Parts should arrive in a couple days.
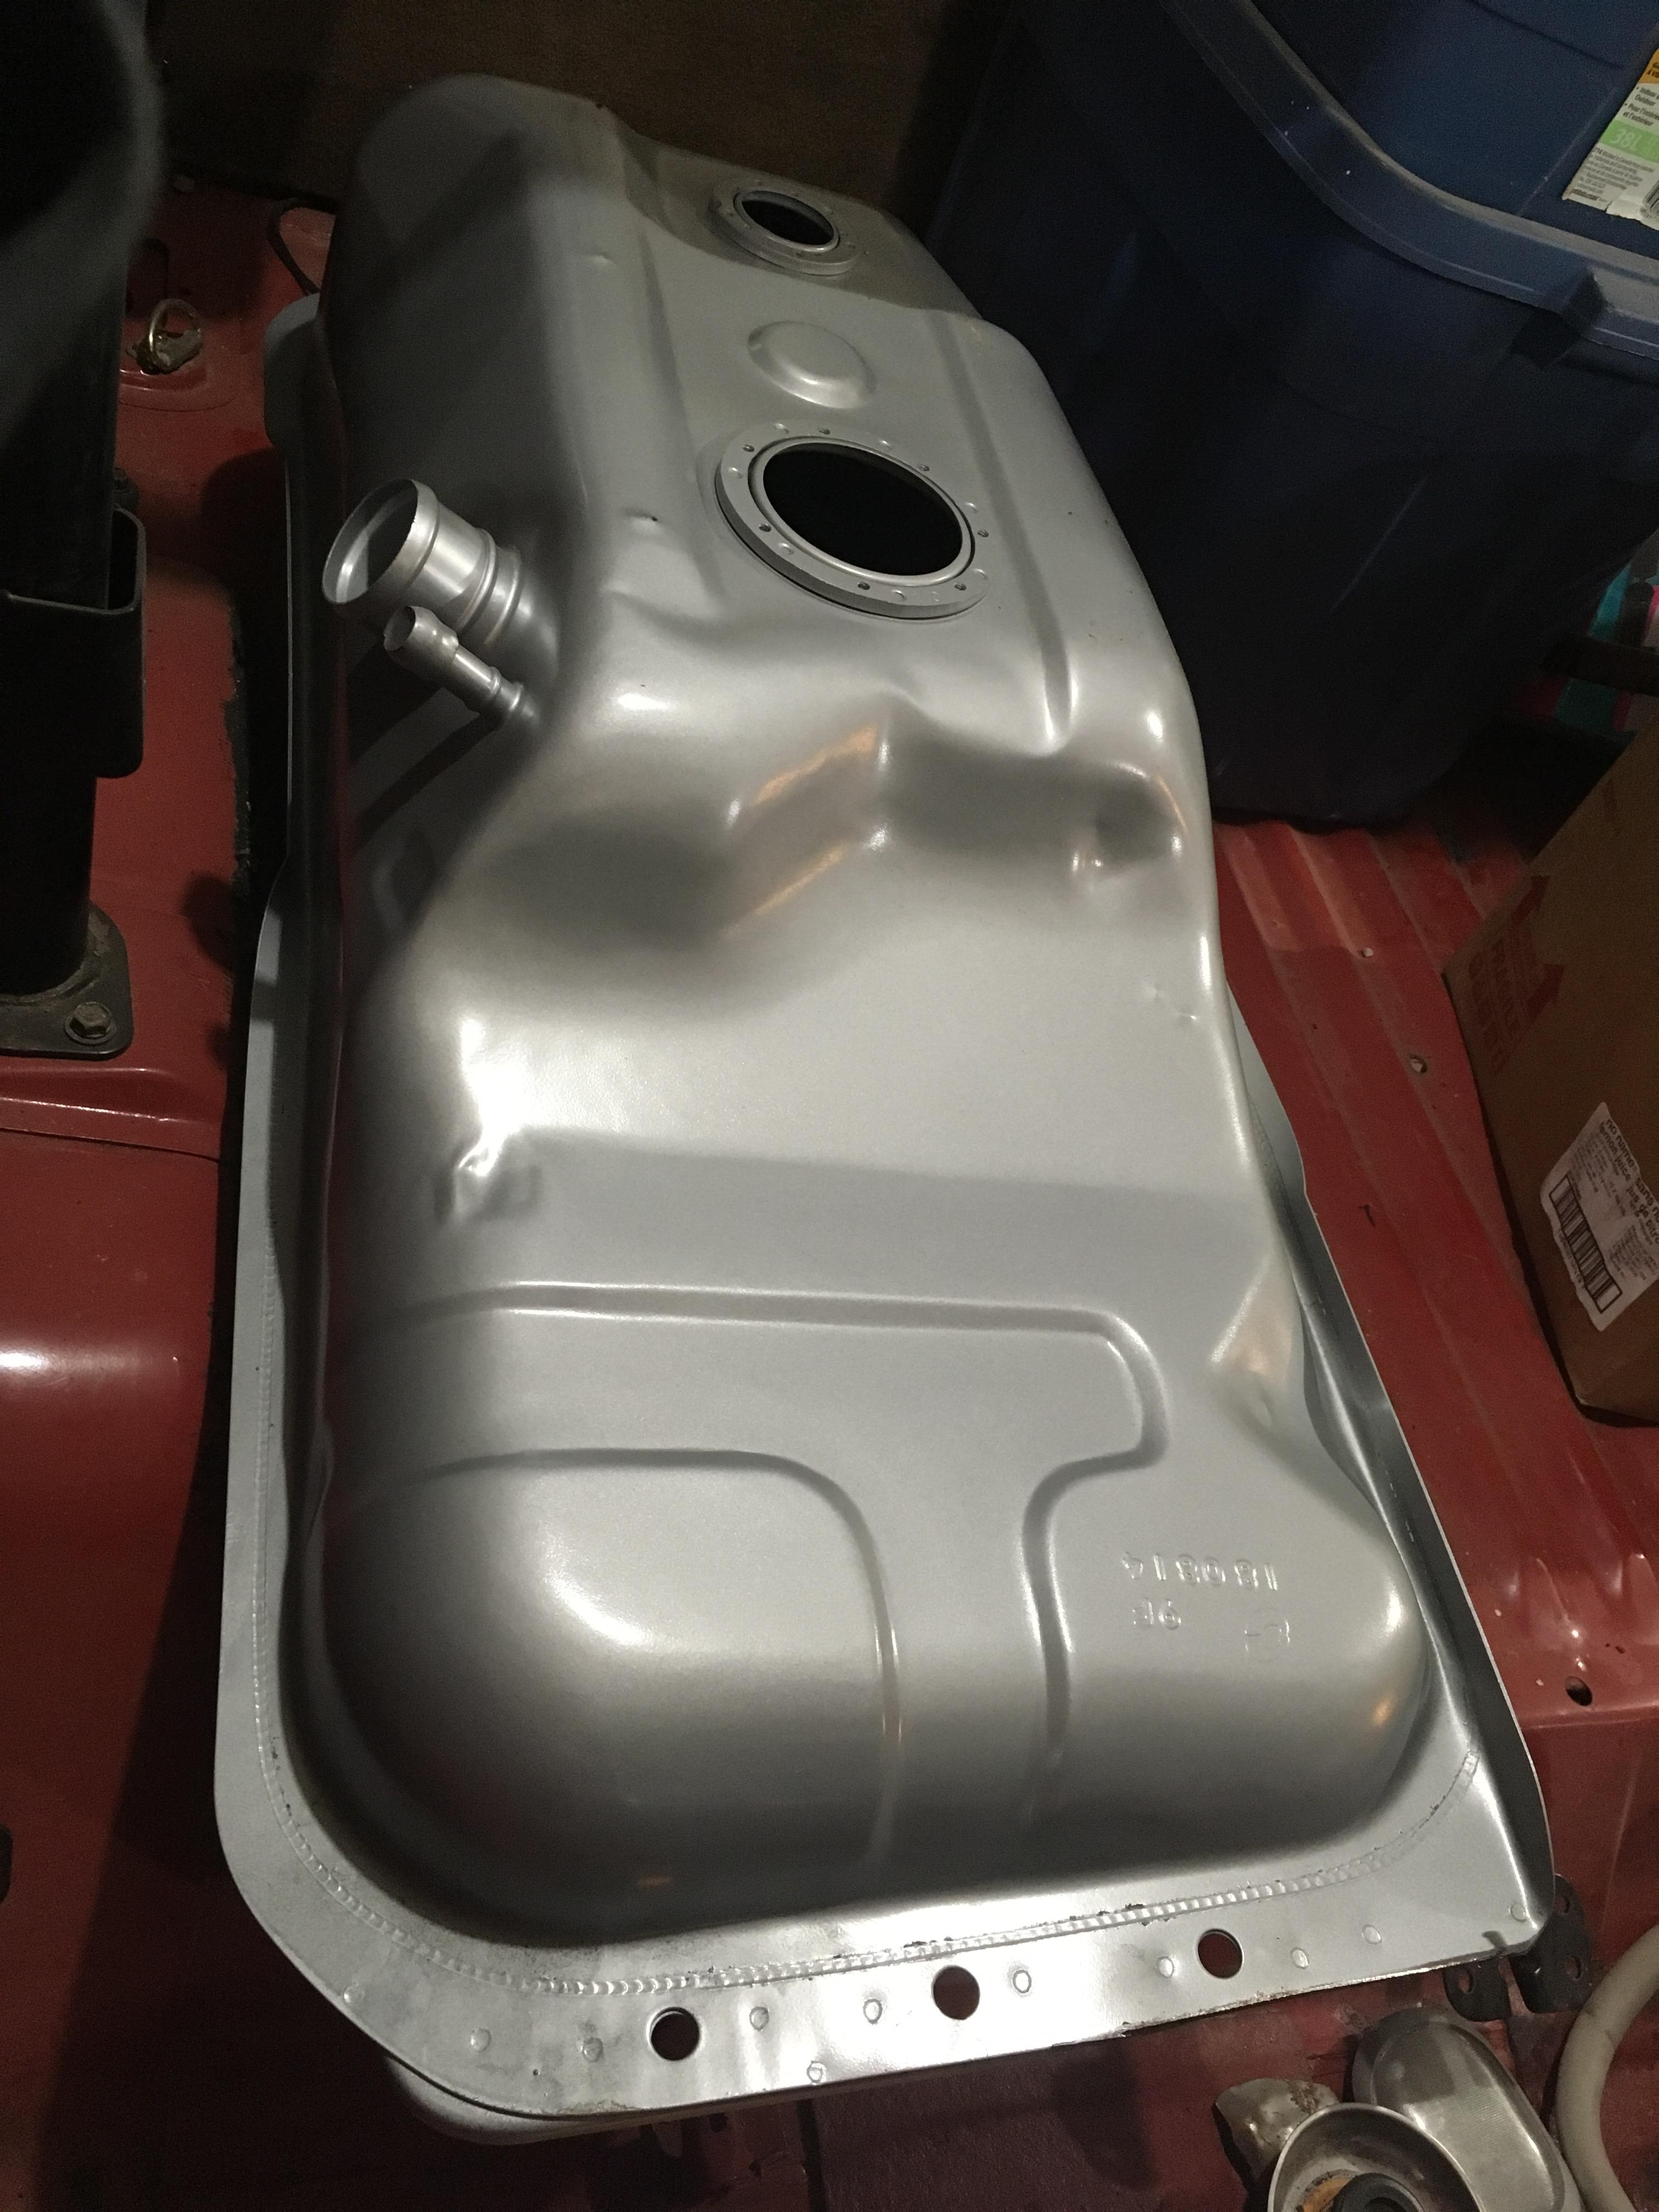
I was tempted to order a new gas tank while I was at it, but I’m still convinced I will attempt to salvage the one I got.
March 9, 2019 at 11:15 am #207948 finn the kareilian vikingKeymaster
seals come in yet tom? what was the $ tag on the tank out of curiosity?
March 9, 2019 at 5:27 pm #207952toys-n-yotasParticipantThe seals had potential to arrive by Friday night, but Fedex truck never showed up. So I spent friday night putting the firewall nvh blanket up, hvac defrost vent, dash cross bar, brake pedal assembly, and steering column. Redees interior is finally in better condition than when she arrived.
A new 65L tank (17 gal) is worth $150 on RockAuto, plus $80 shipping (duty included) and tax comes to about $250-260 to your door. Still contemplating buying one.
March 12, 2019 at 12:37 pm #207966toys-n-yotasParticipantMr Fedex dropped off my wheel seals, brake assembly may resume once again.
On Friday & Monday night I made great strides in assembling…*ahem* <b>ASSEMBLING</b> most of the inner dash. I got my new firewall nvh blanket put in, ran and secured tbe wiring harmess, installed the hvac box and all the ducting runs and control cables, the throttle and brake pedal assemblies, dash crossbar and steering column. I also identified <i>most</i> of the wiring connections, and a few mystery wires dangling.
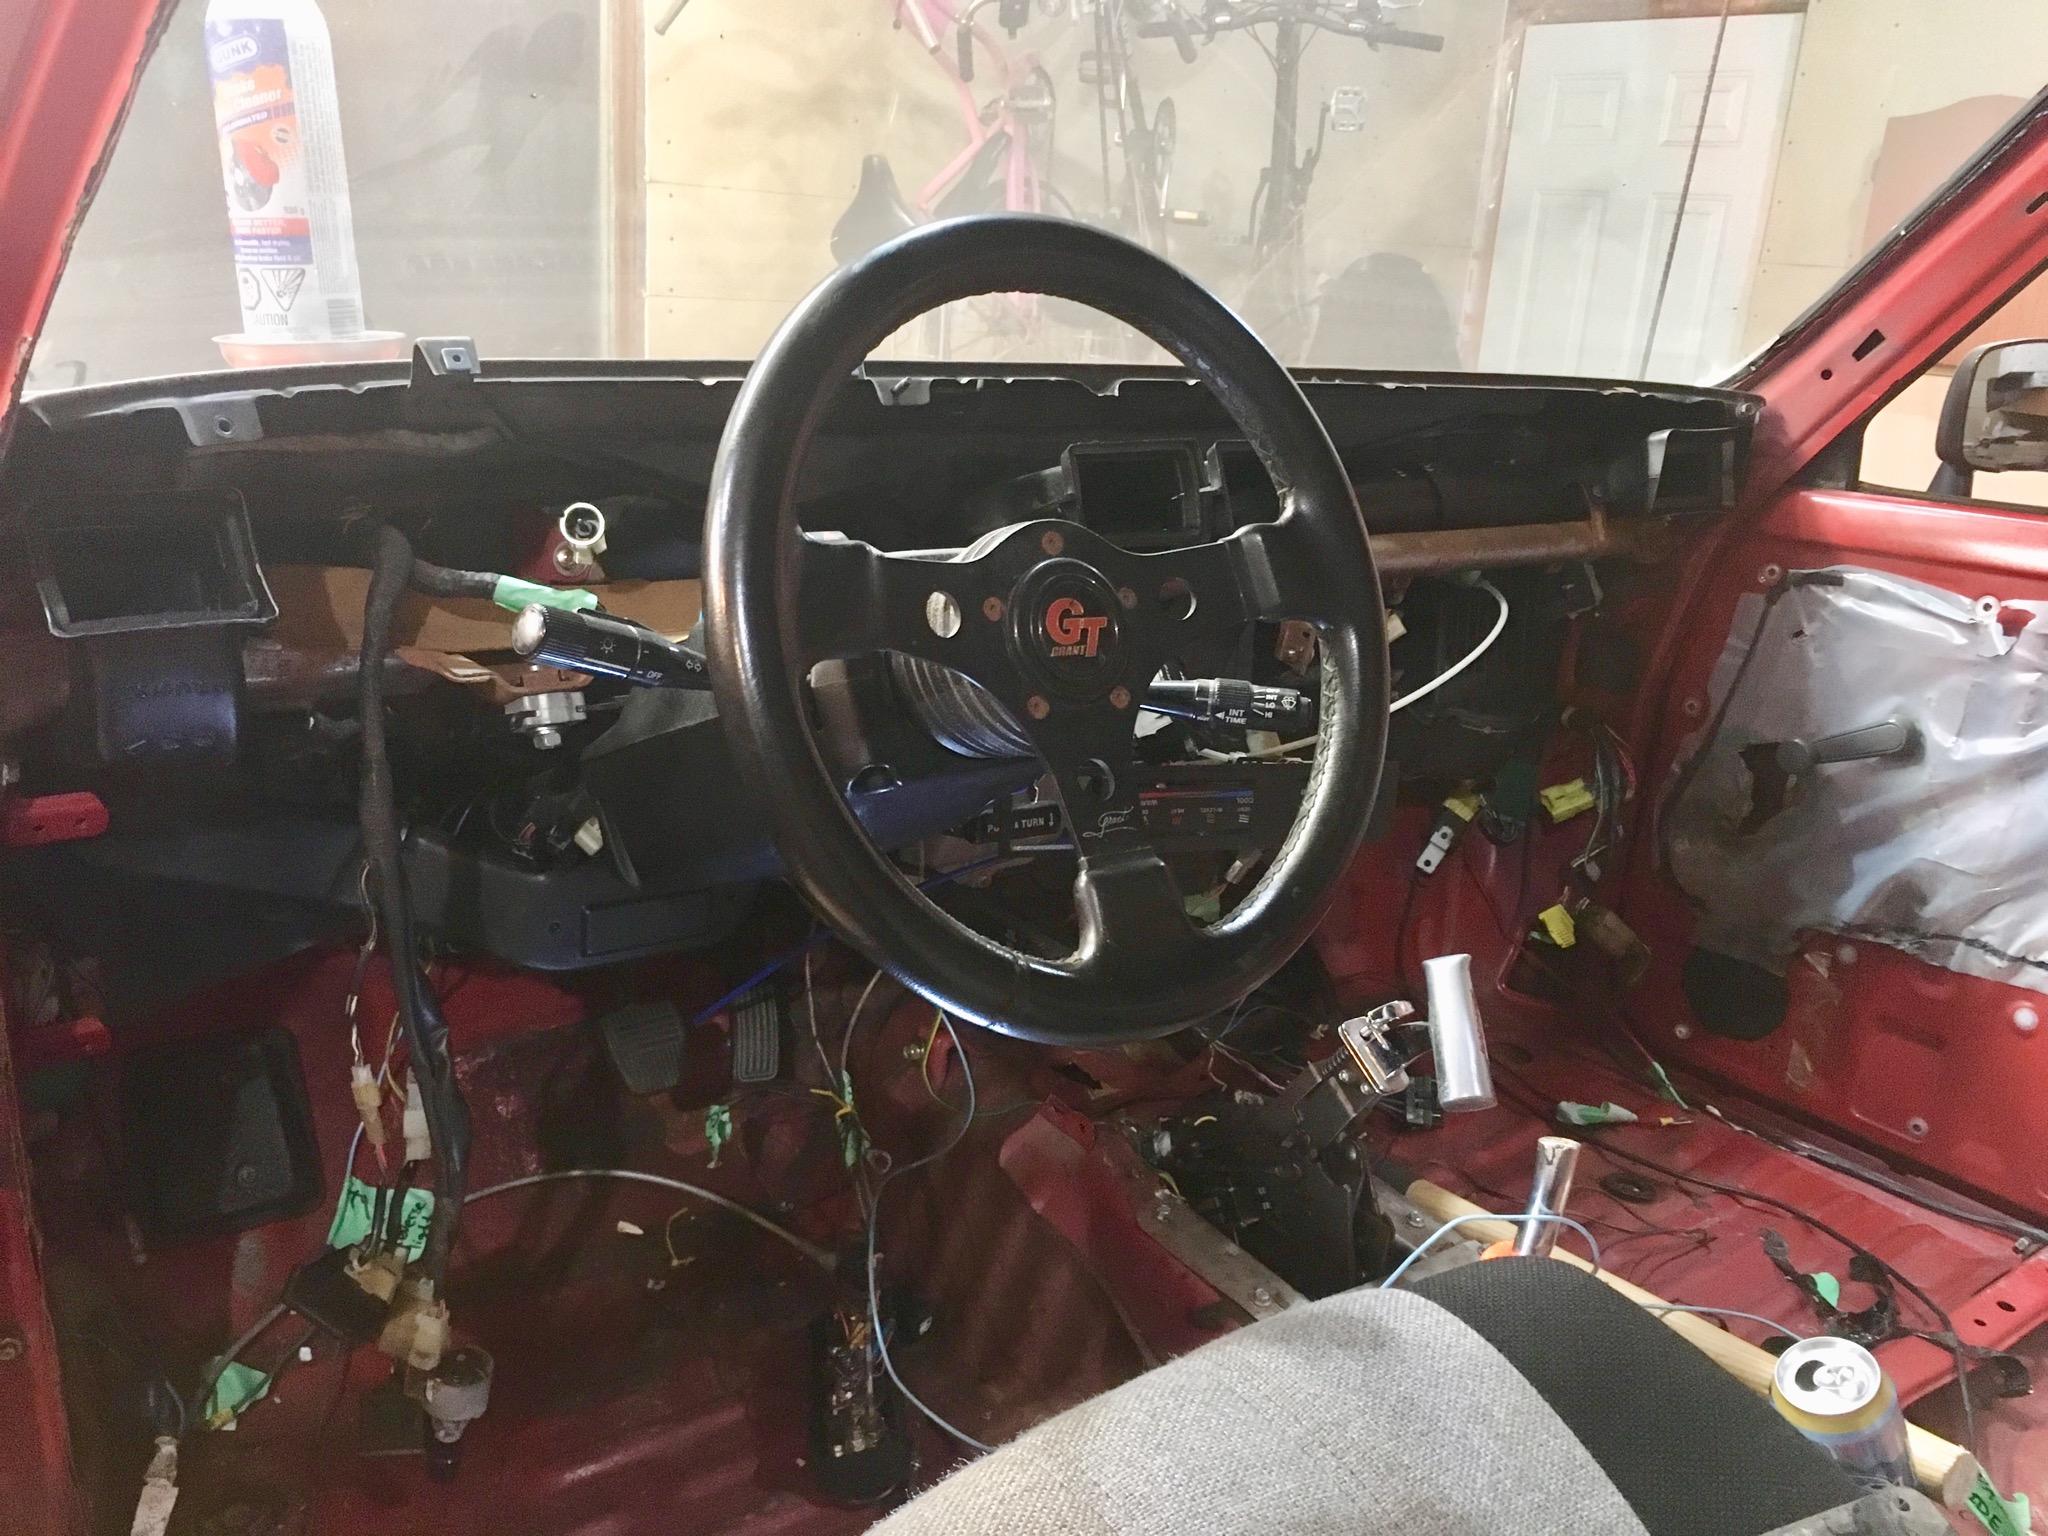
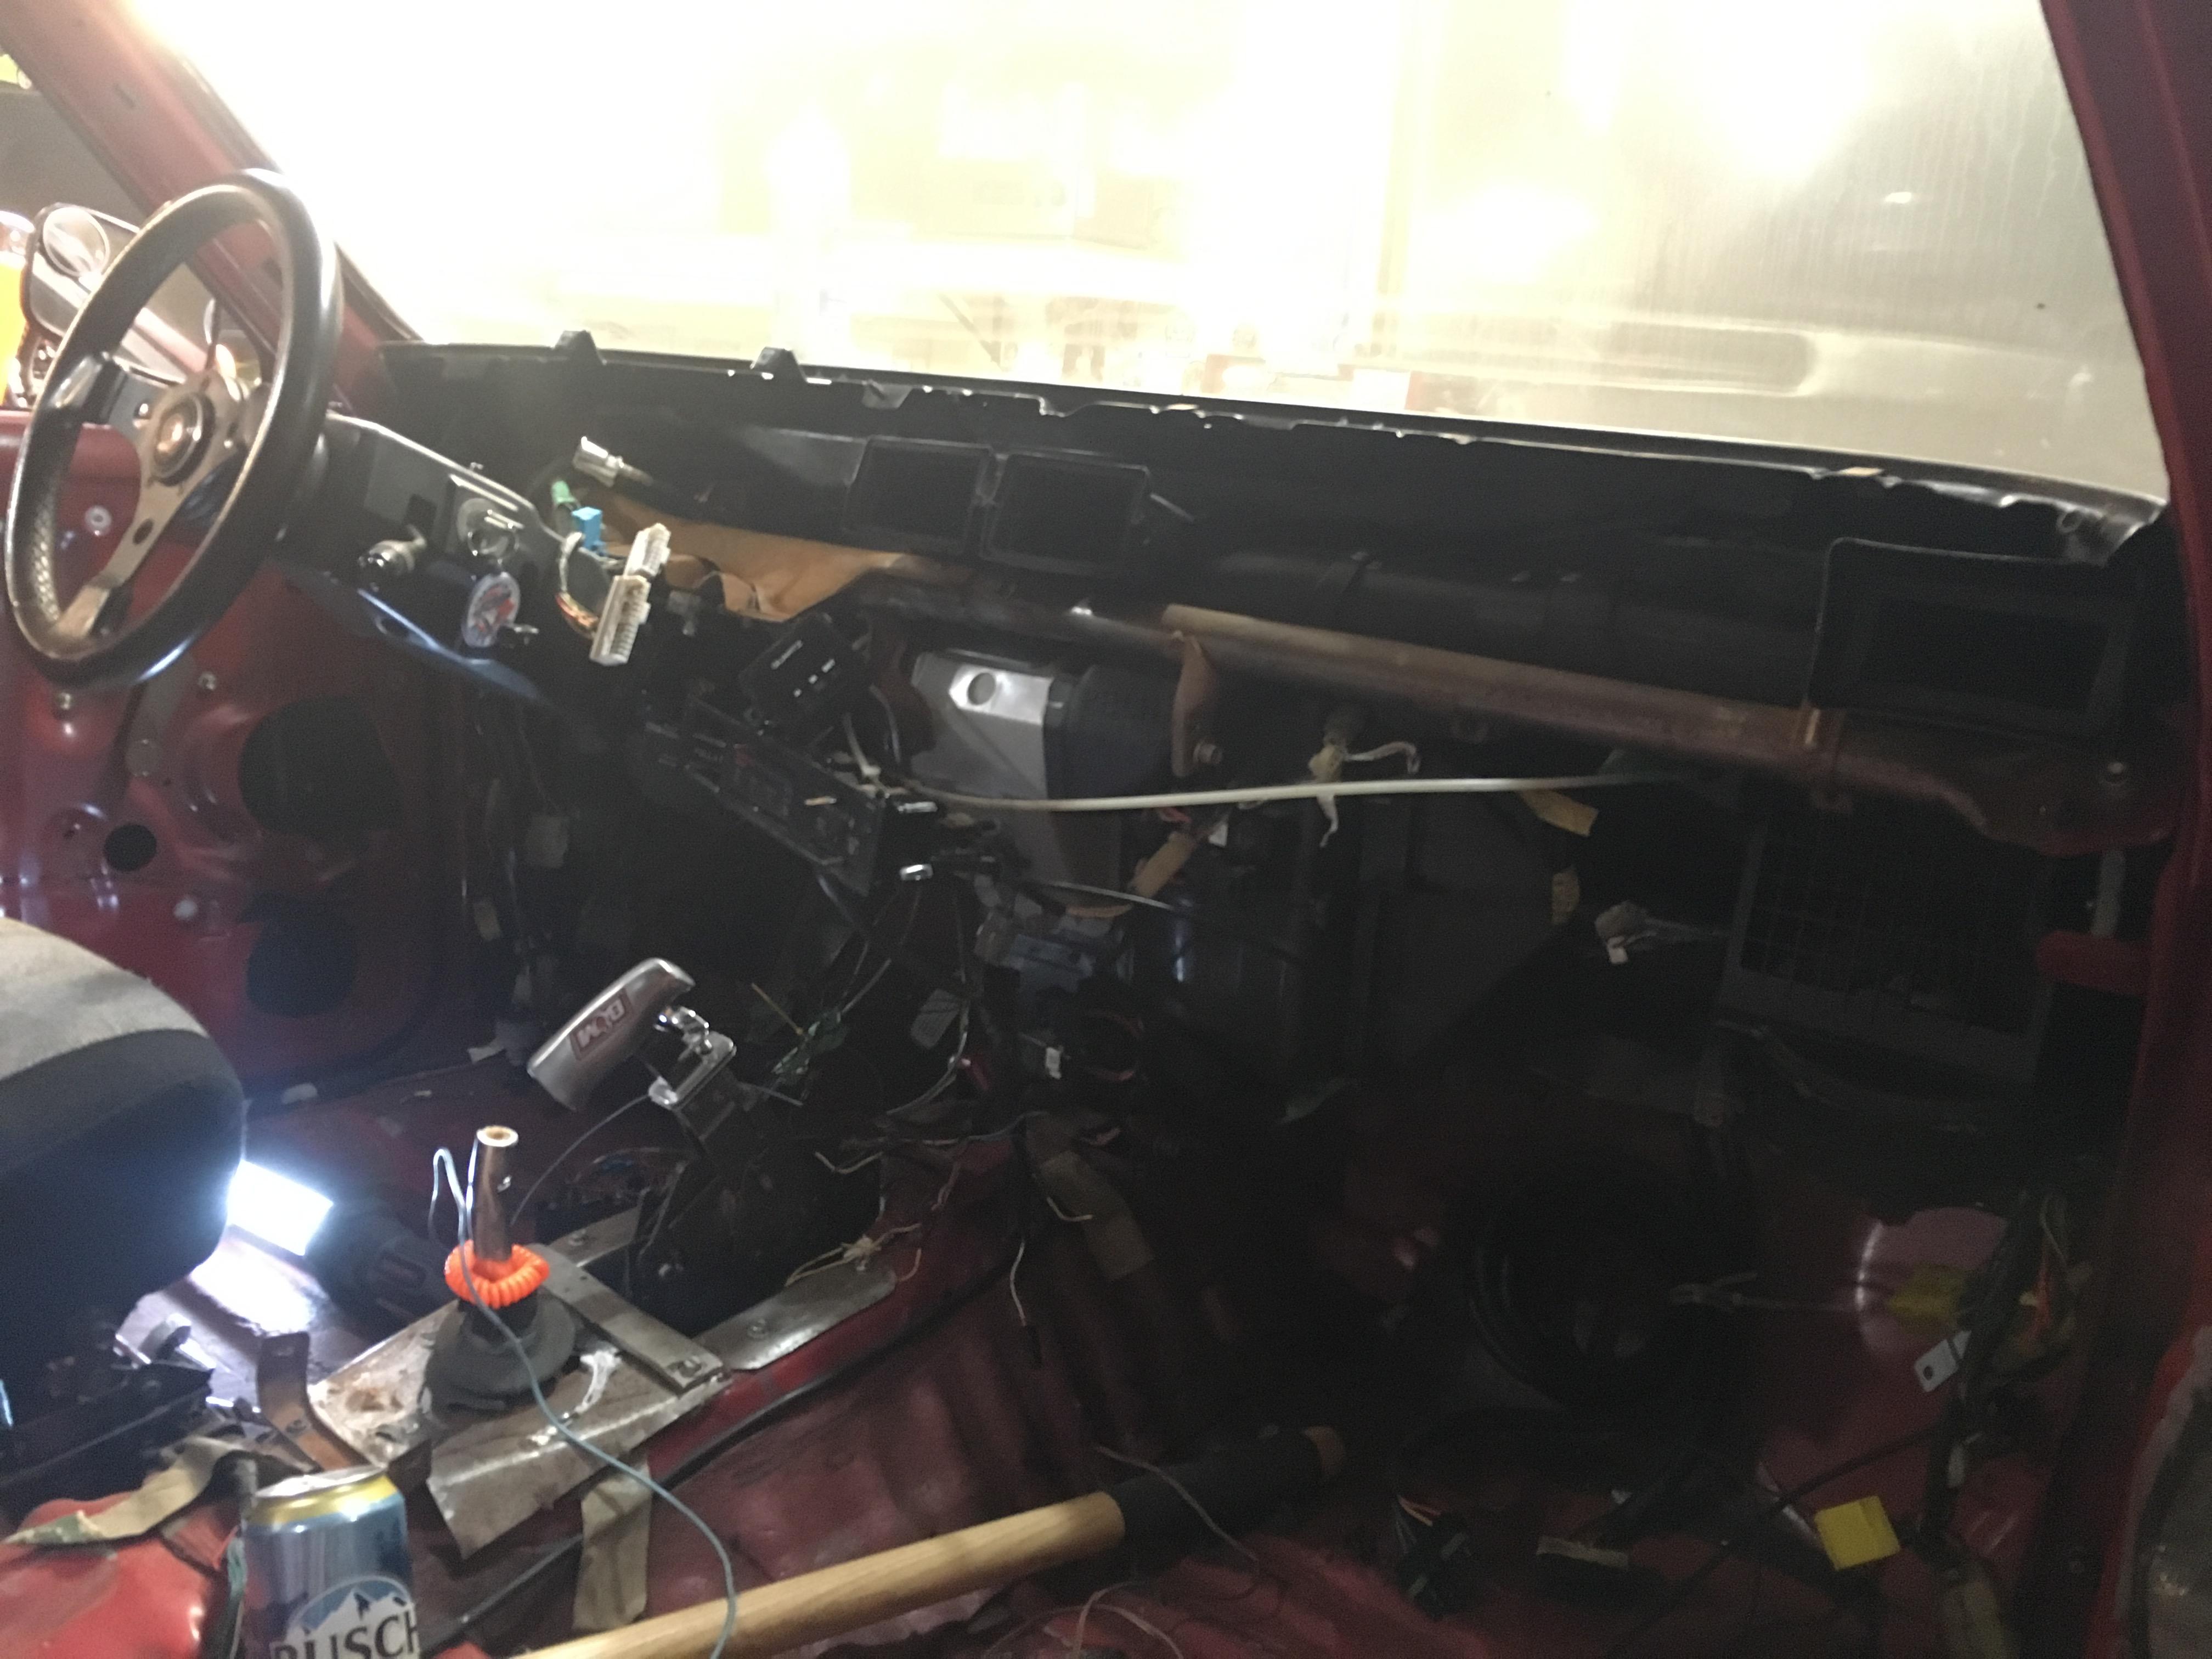
I still need to re-crimp some broken butt connectors, and run new wires for my very old (but free) headunit and speakers.
Lunch is over, more typing later.
March 12, 2019 at 8:50 pm #207967 Toy-YotaParticipant
Nice progress really good to see!
March 15, 2019 at 9:08 pm #207969toys-n-yotasParticipantMade some progress today with my buddy James providing some assistance while Sam and the girls were out at the Science Centre.
James swapped tires over on his Mazda before he trades it in next week. Once he was setup with proper tools, I started on Redee.
Today I bent up and flared the hardline to FINISH up the brakes on the rear axle. I noticed today that I’m missing the “spring clips” which retain the flex lines to the mounts, so I’ll try to pick some up locally tomorrow.
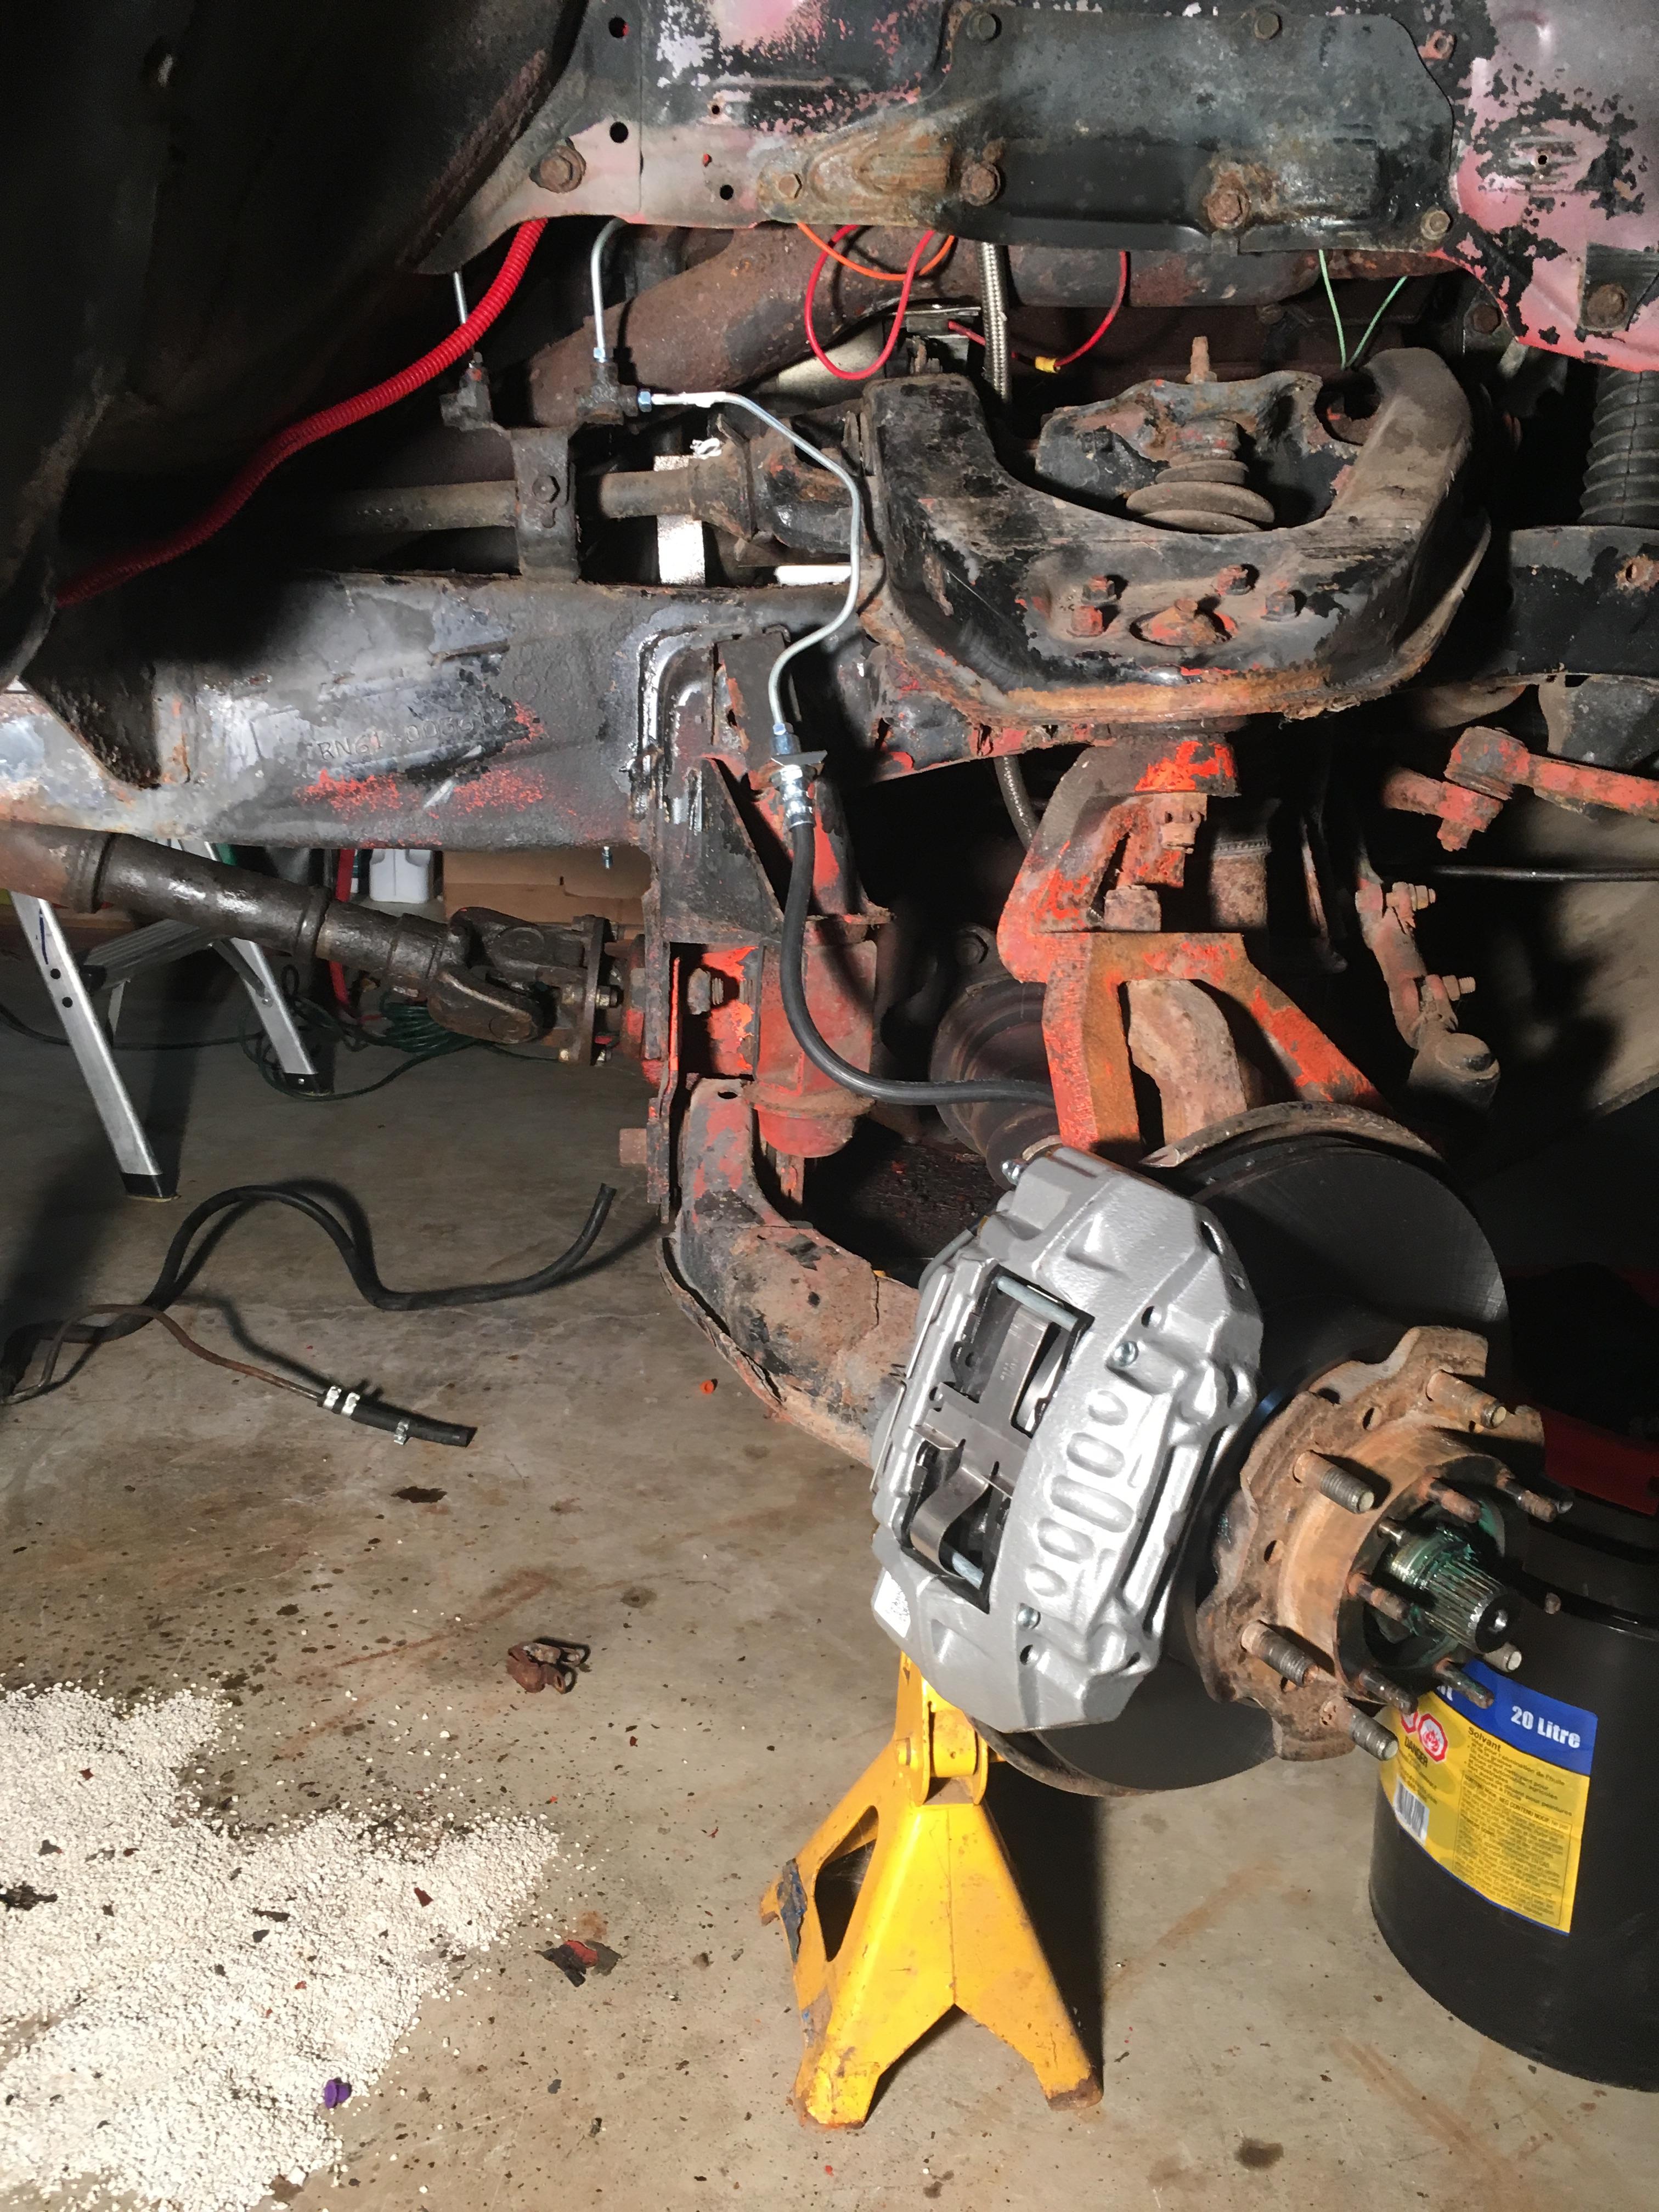
After that, I moved to the front axle and began reassembly of the drivers side brakes and hub. I took a slice off the dust shield, and reinstalled it with the new inner wheel seal with a smear of grease in the lip. Repacked the inner and outer wheel bearing, replaced inner hub seal, and tried to set the bearing pre-load without a spring scale. I’ll buy a fishing scale to verify my preset before I snug everything down for good.
Lastly, for good meaure I temp set the hub, threw on a 33” tire and made sure the rims didnt interfere with the new bigger brakes. As expected, all fits well. So my wheel/tire dilemma is settled. Replace dry rotten 33×12.5×15 Geolander A/T, with some freah 33×12.5×15 Duratracs. Now to wait for sale pricing.


Another successful day in the shop.
March 16, 2019 at 1:05 pm #207970Slick_YotaKeymasterNice.
I walked through my shop yesterday to take the garbage out. Sure wish I could spend time in it!
March 17, 2019 at 11:13 am #207971toys-n-yotasParticipant@Slick_Yota what non-shop projects are occupying your free time this winter? Gotta put some hours on that Mastercraft mig welder for me, let me know how it performs. My Mastercraft sandblasting cabinet is working well, just way more dusty externally than I was hoping. Cone spring time I’ll likely relocate it outdoors before I use it, won’t have to concern myself so much with dust control.
Yesterday in the shop I tore apart the passenger side front wheel hub, removed the rotor, trimmed the dust shield and put everything through the parts washer. Those friggen cone washers are always the worst part of a hub teardown in my opinion. Progress has halted while everything drips dry of varsol, and the “fish spribg scale” arrives @ HomeHardware so I can set the bearing drag preload properly (for the first time in my life). I also gotta grab brake line retainer clips locally so I can finish installing brake hard lines.
No pictures to upload today. Phone died from the cold in the shop.
March 18, 2019 at 6:08 pm #207973finn the kareilian vikingKeymasterhey tom, progress is comin’ along. that’s great
re: slick, i really think it’s cuz he’s got a hot girlfriend. you go steve!!!
March 19, 2019 at 6:29 pm #207978toys-n-yotasParticipantAnother successful day in the shop yesterday, really feels like I’m picking up momentum, as my “Due Date” arrives.
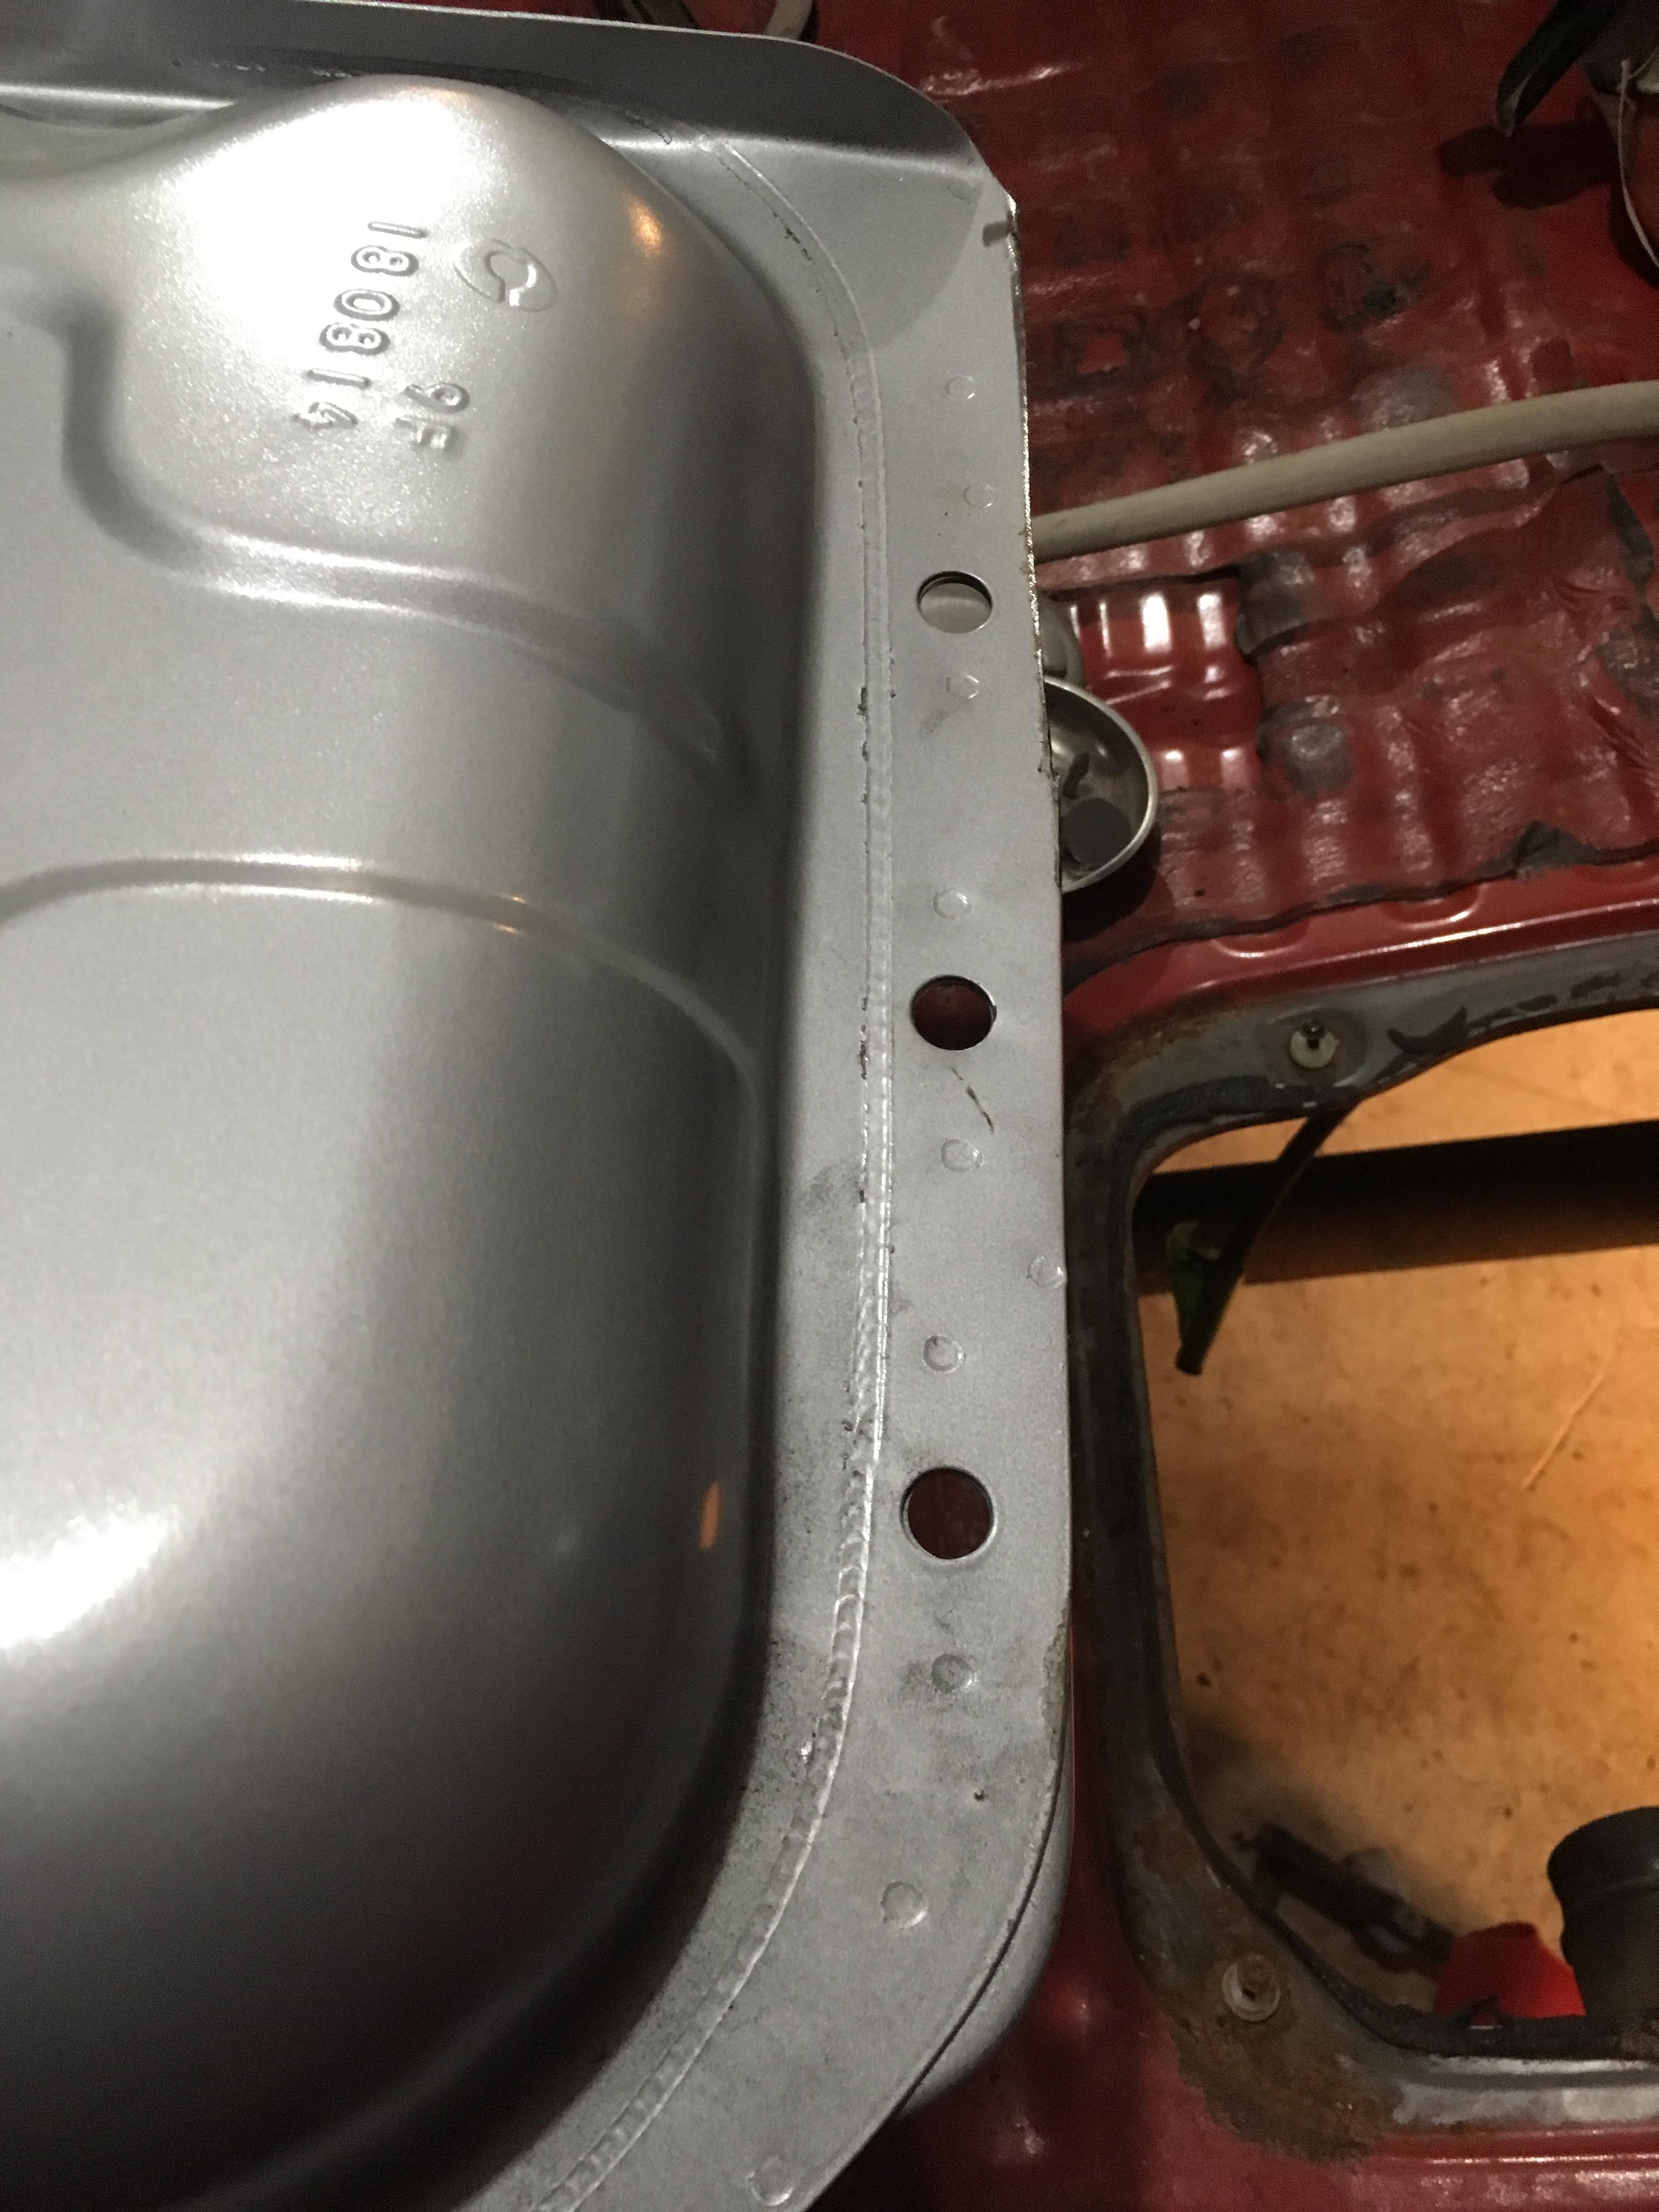
I unboxed my new gas tank, and only had to trim a small flange off to get it to fit. Pretty nerve wracking taking a cutoff wheel to a brand new tank, but I measured 378 times prior, and the cut looked decent afterwards. Fits like a charm now.
I pulled all old hard and flex lines for fuel and brakes. I mounted, bent and flared hard lines for the front brakes. The only outstanding hard lines to replace are between the master cylinder and Manual proportioning valve on the rear circuit, and the hard line which runs the length of the frame rail to the rear flex hose (or where LSPV used to be).
I replaced all the rubber fuel lines under the hood, and have a couple short runs from the tank to the Passenger side fender to run hard lines.
I still have to mount the manual prop valve under the hood, hope to do a better job fabricating the bracket than I did the fuel tank retainer 😉

-
AuthorPosts
- You must be logged in to reply to this topic.