Home › Forums › TRUCK BUILDS › Redee – 1986 4Runner
- This topic has 691 replies, 9 voices, and was last updated 1 week ago by
 toys-n-yotas.
-
AuthorPosts
-
February 25, 2024 at 11:35 am #211960
 toys-n-yotasKeymaster
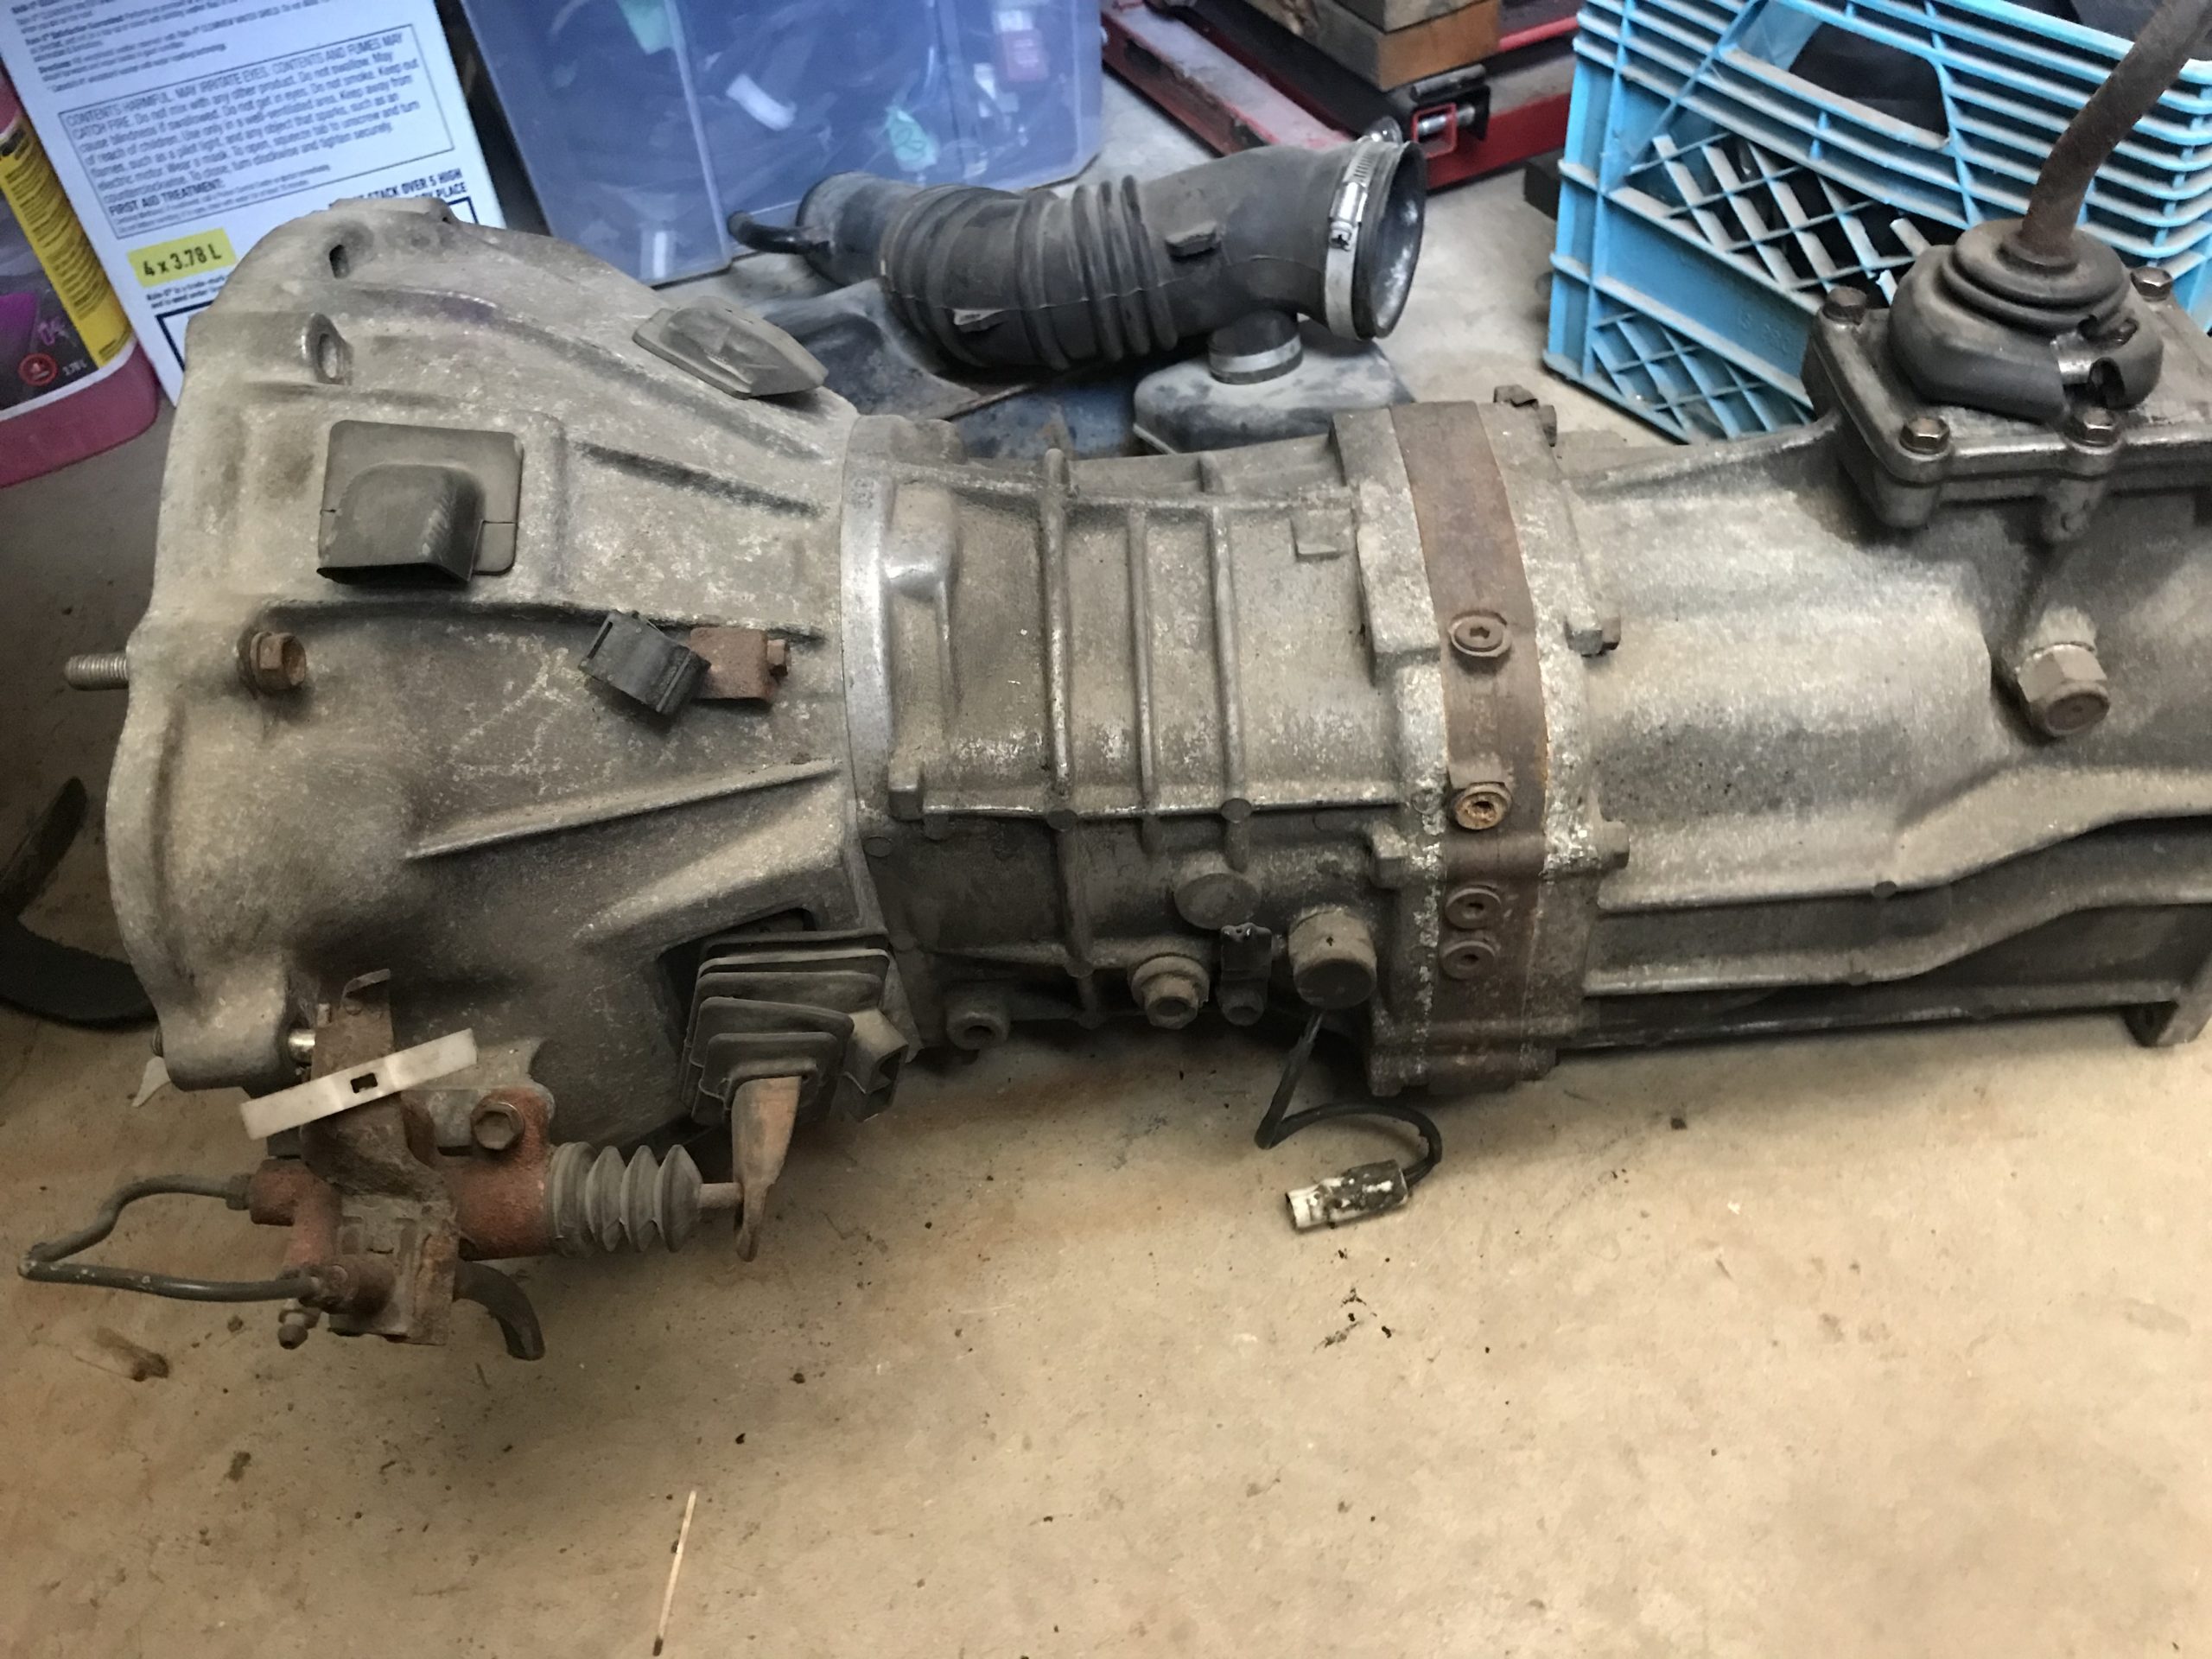
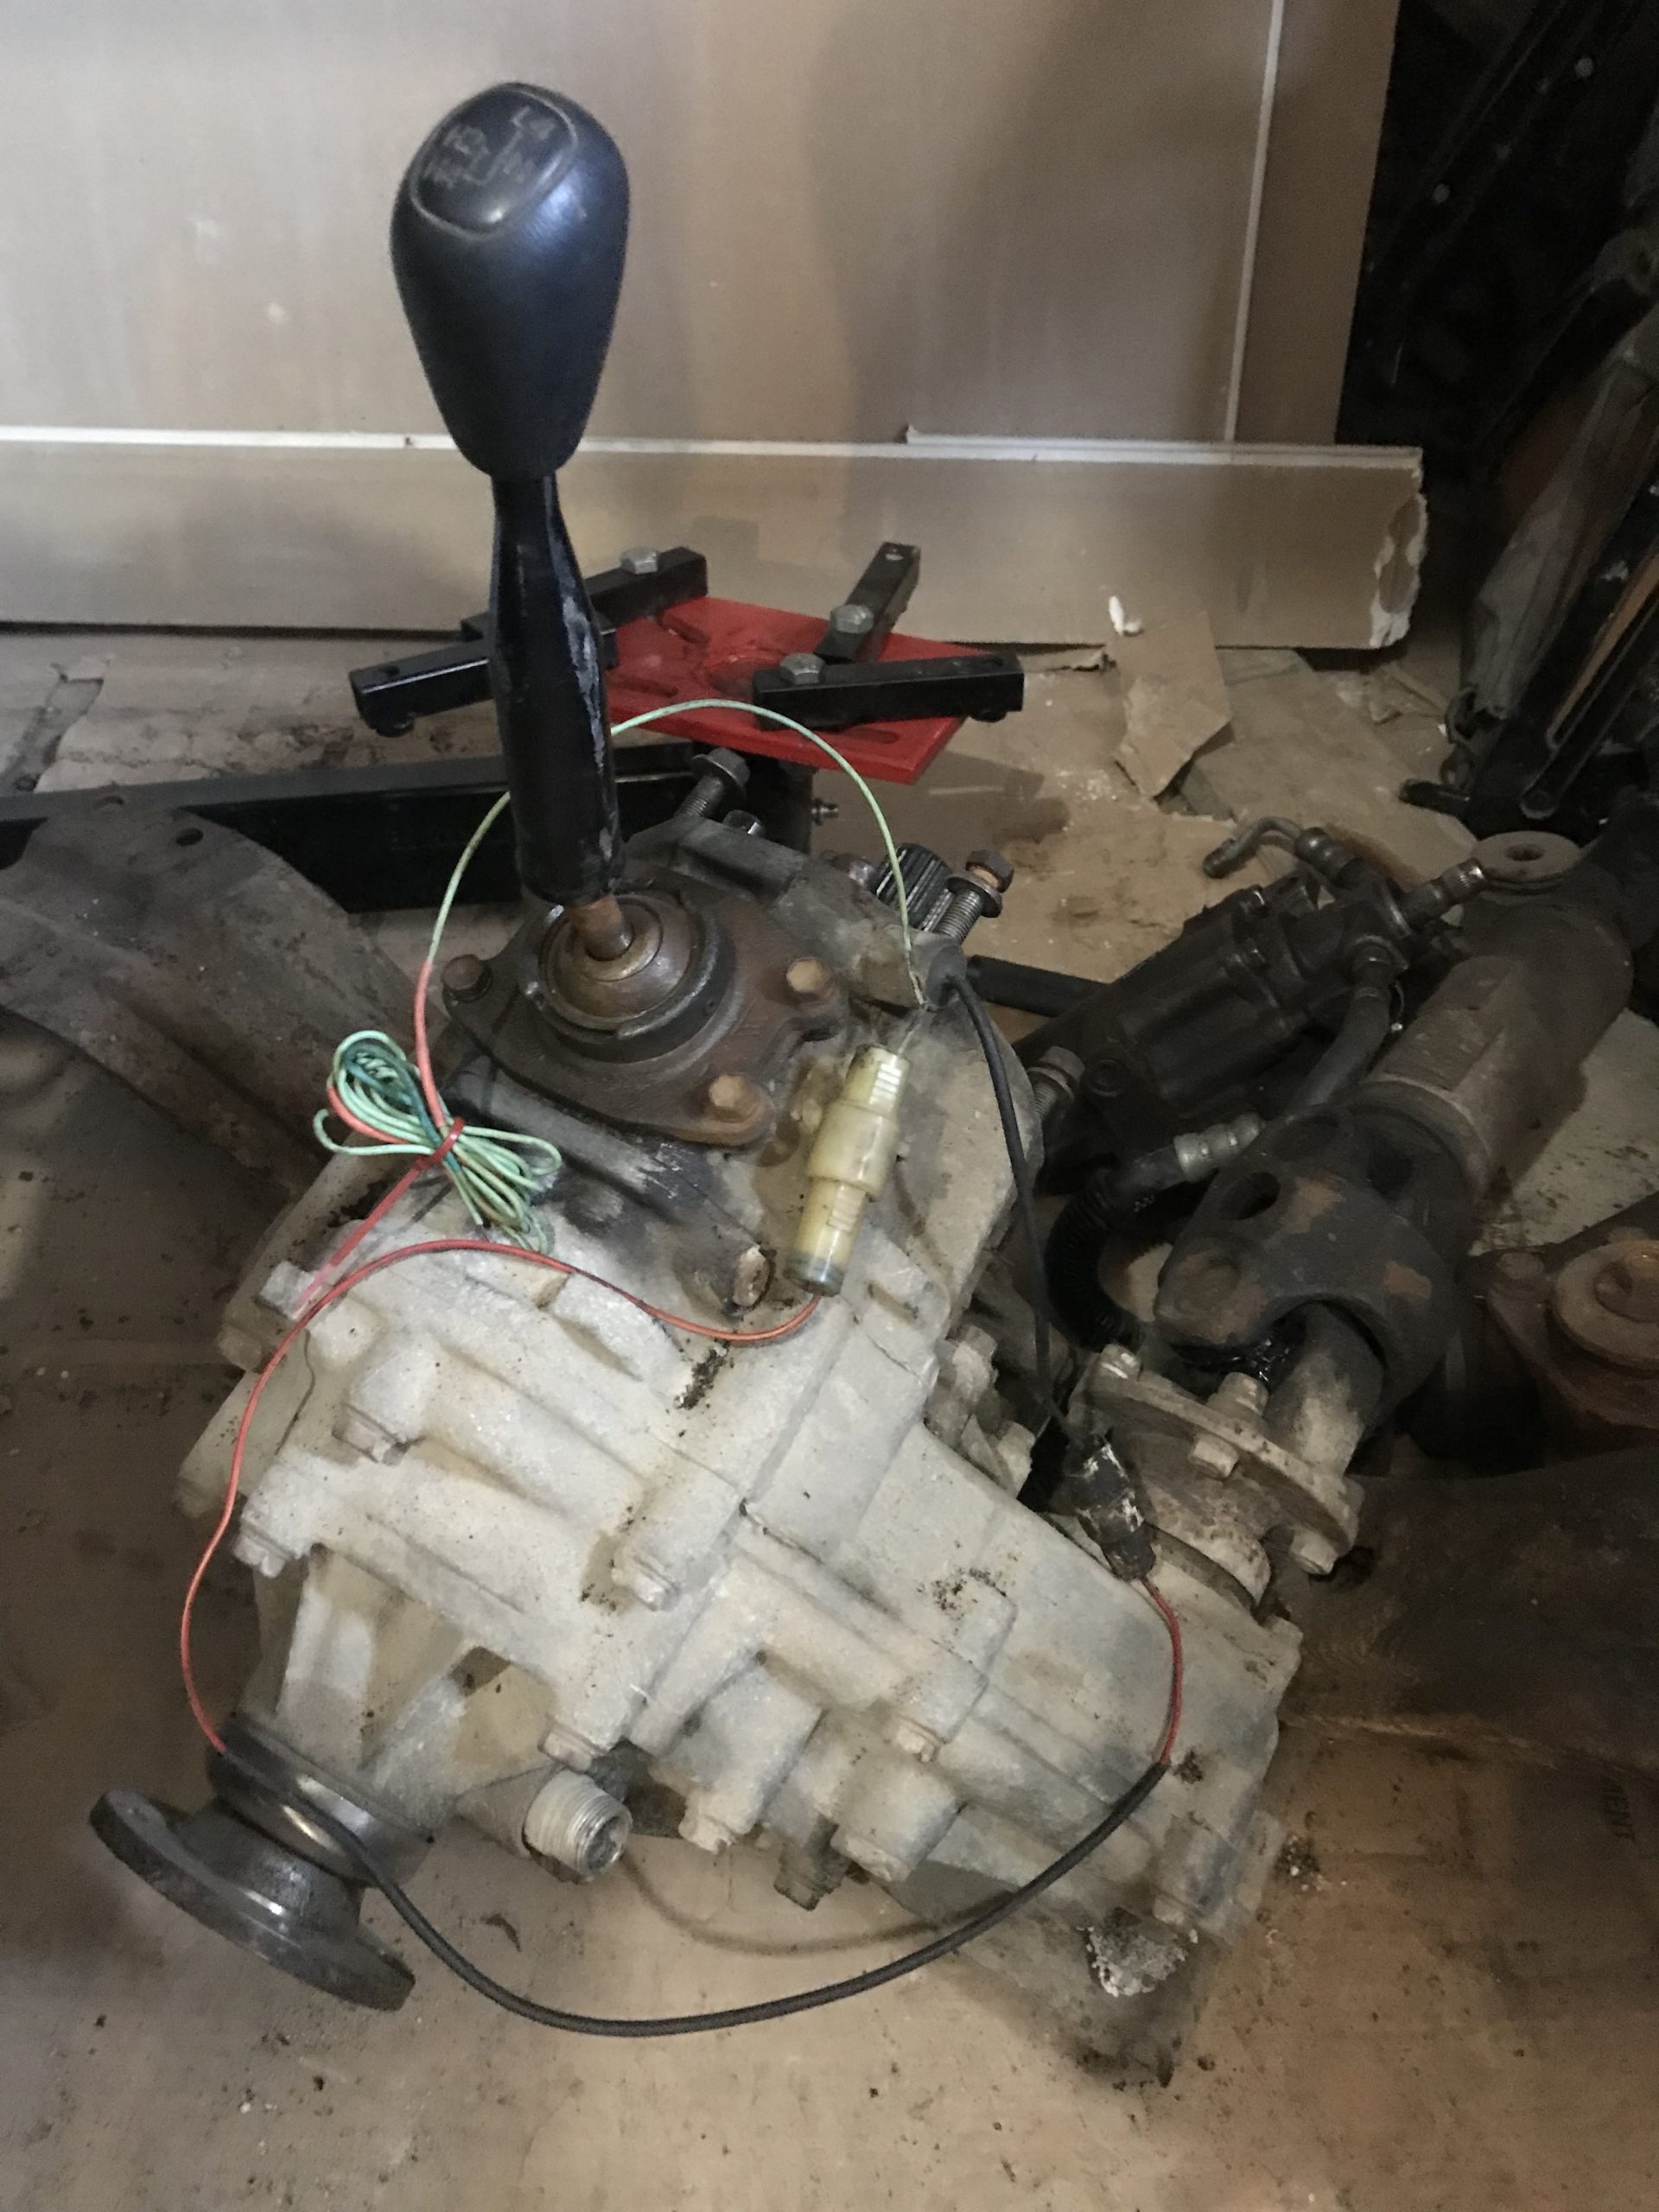
Here’s the leads for trans and tcase
February 26, 2024 at 9:16 am #211964toys-n-yotasKeymasterDiggin’ through the wiring manual revealed that both the 4wd indicator and reverse lights leave their respective switch, travel up the firewall, to the passenger side, into the kick panel, and both terminate into a Yellow “N3” connector. That connector i previously tapped into for the reverse lights on the B&M slap shifter reverse light signal. So I’ve already got non-OEM wire dangling from it.
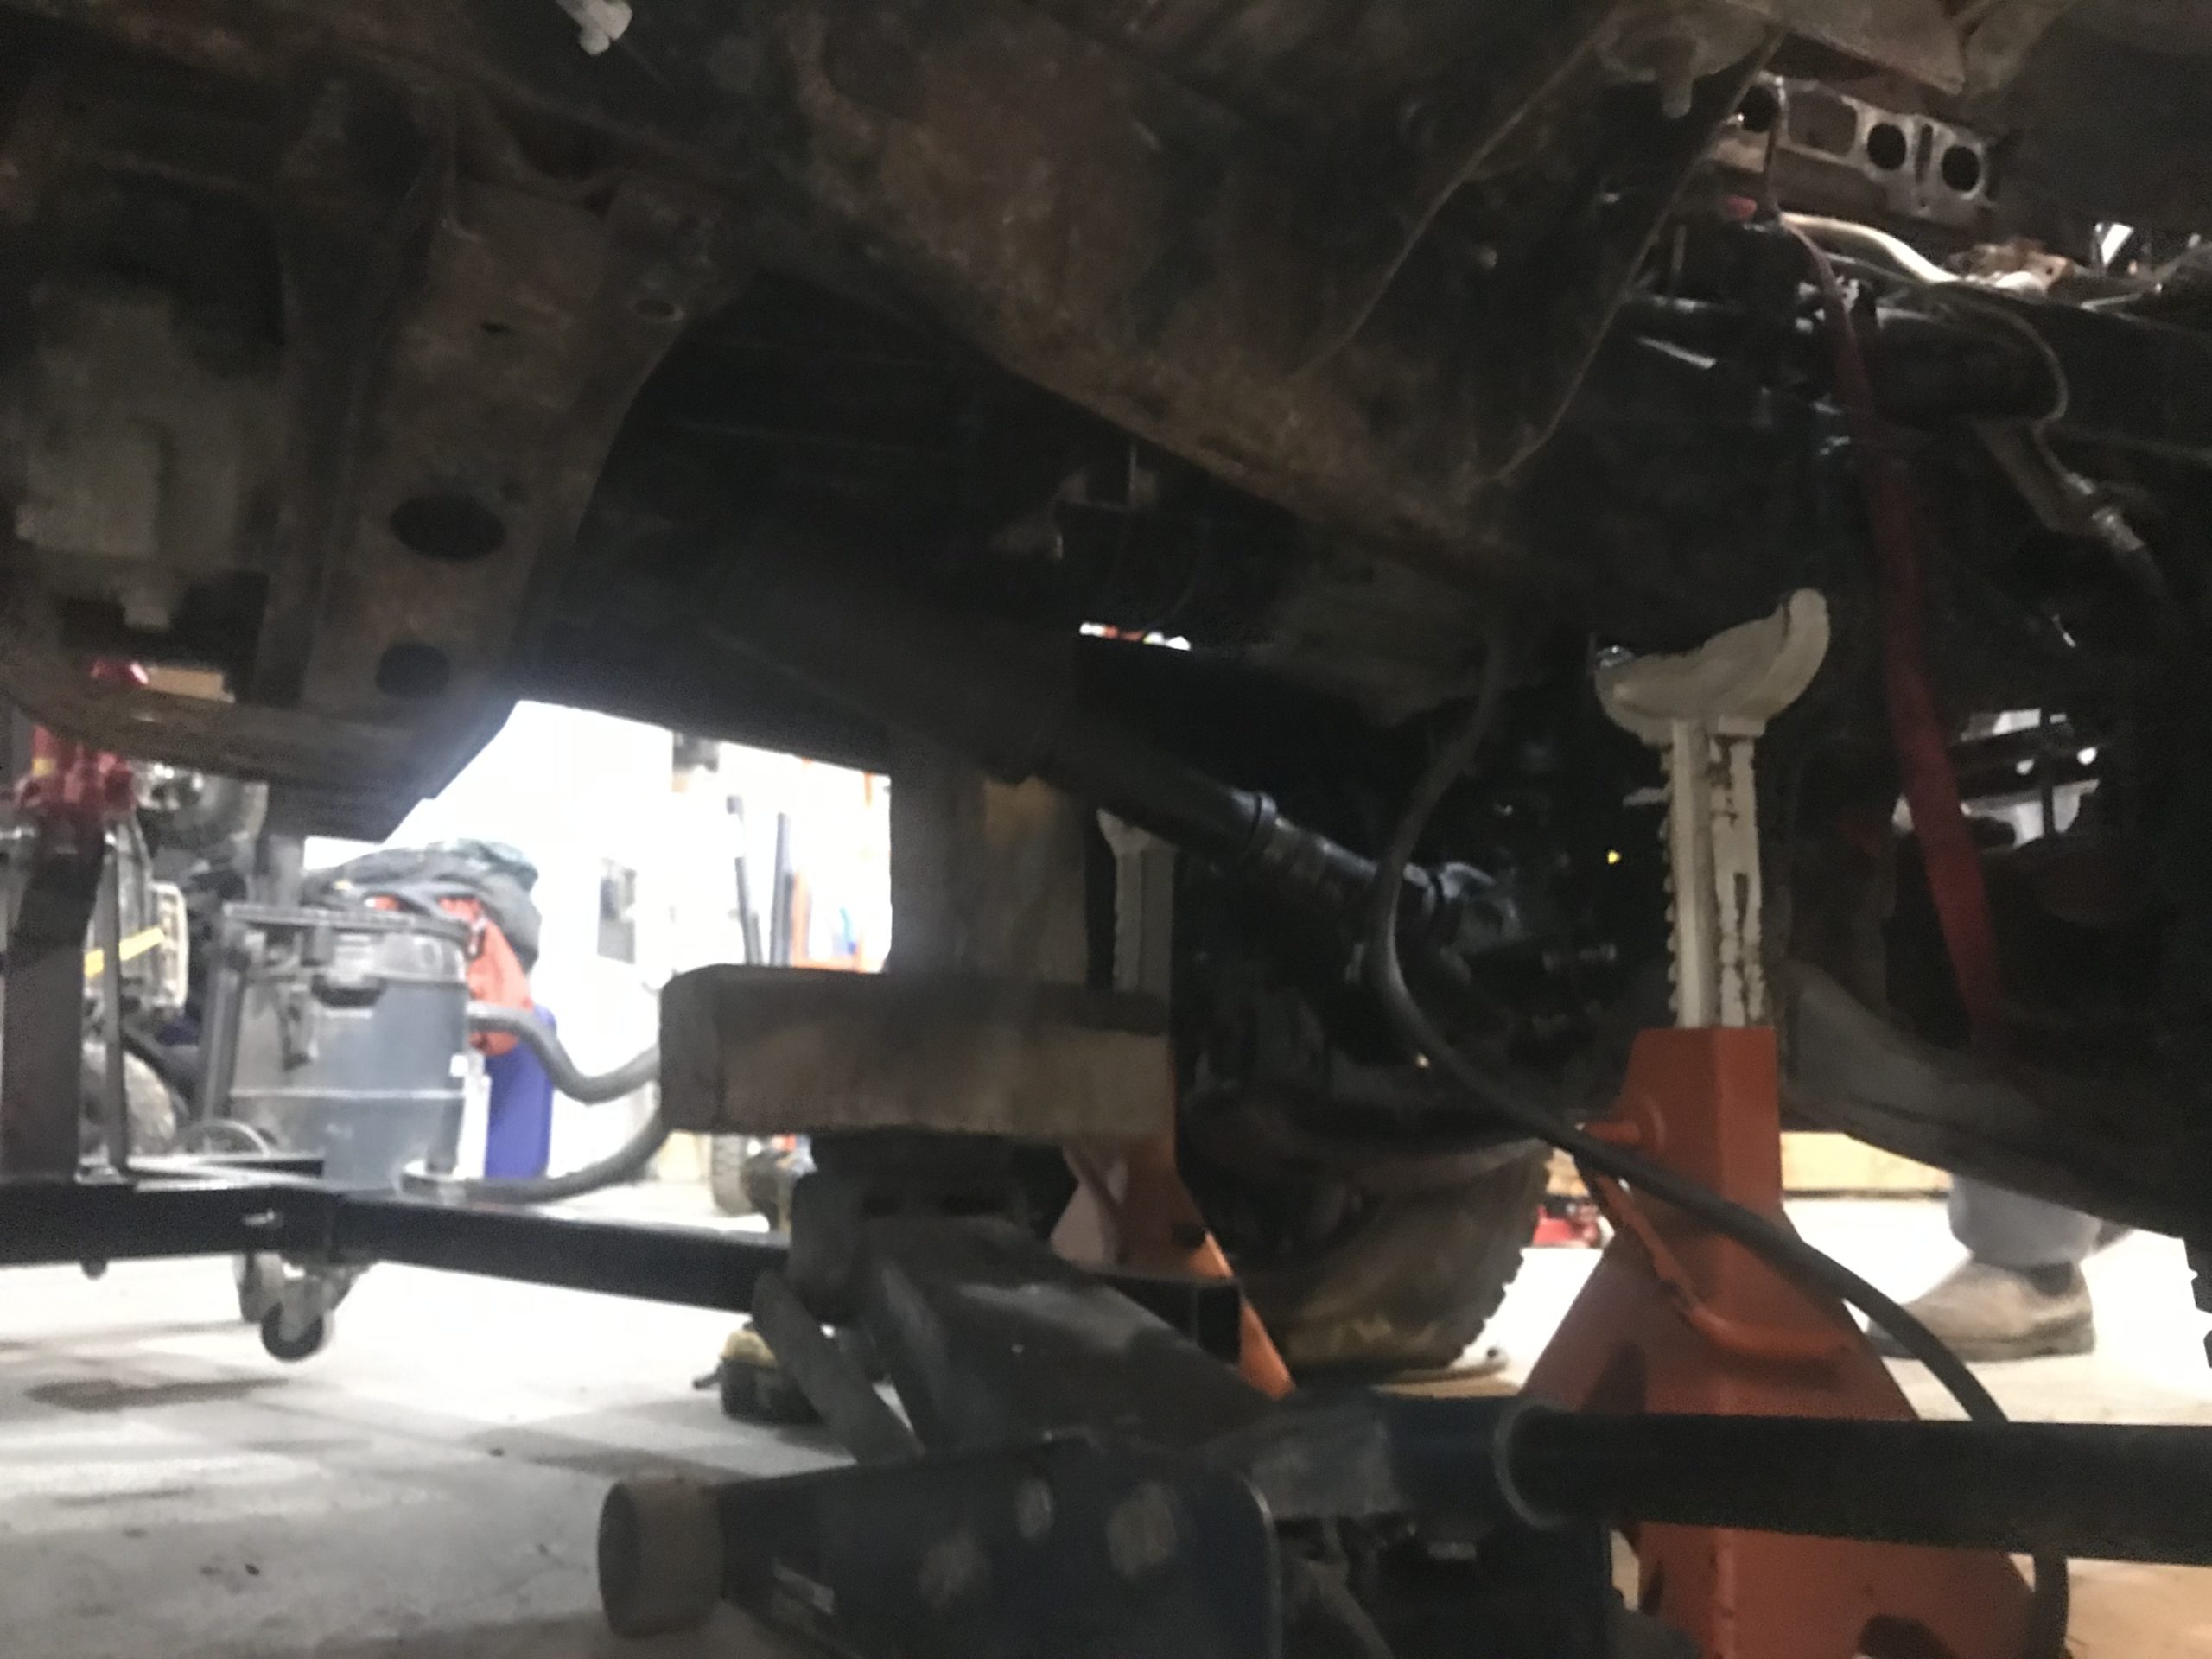
Now that the mystery is solved, and access is not really an issue, I’ll try to put the motor in for good this time. Fingers crossed it won’t have to come back out.
February 26, 2024 at 9:23 pm #211965 Toy-YotaParticipant
Nice! Those are big strides especially if the motor can still in its home.
February 27, 2024 at 6:07 am #211966 FJTTSEKeymaster
Great progress Tom. It just came to mind, perhaps you can use some parts form the 1985 Celica GT 22RE that I have at the cottage?
March 2, 2024 at 12:07 pm #211969toys-n-yotasKeymasterThanks guys, I really hope this is the last time, kinda getting old now. I’m ready to start pretend driving with three pedals AND two levers as opposed to a hole in the floor.
Just looking for an opportunity to get out to the shop, wife is working night shifts so I’ve been dad on duty after work.I don’t think there’s many 22re related parts I need, but i am interested. Project car? Just hibernating? Is the whole car for sale?
March 3, 2024 at 9:36 pm #211970FJTTSEKeymasterNot really a candidate for a project, just thought maybe you’d want some of the interior bits and pieces.
March 5, 2024 at 7:04 pm #211971toys-n-yotasKeymasterHmmm, I’ve never been inside a Celica, but how are the front seats?
Tell me more about the car, I don’t mind the detour in the thread, I’ll get back to wrenching on Redee soon enough. I put the Motor back in last night, hopefully can stay in this time. Was a much harder fit with the clutch assembled. Likely I’ll pull the fan off the front side if I do pull it out again.But yea, gimmie a paragraph or two of Celica chat, I’m curious. Got a picture of it?
-
This reply was modified 1 year, 4 months ago by toys-n-yotas.
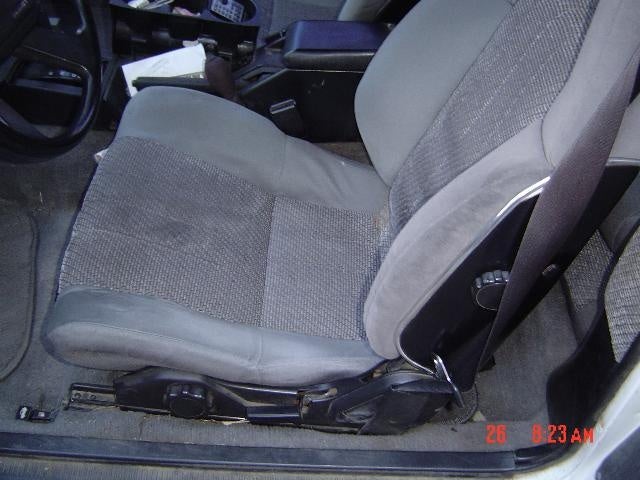
March 6, 2024 at 4:35 am #211973FJTTSEKeymasterDidn’t mean to hi-jack your build, just thought you could use some of the parts that were common during that era. As for the seats they look like the ones in the photo only burgundy in colour and not nearly as worn. they are really good for side to side support(though not for a larger person).
Attachments:
March 7, 2024 at 9:13 am #211975toys-n-yotasKeymasterNo worries Kev, I pre-jacked the thread.
Last night was a big night in The Shop, and so nearly successful. Matt and I worked to get the trans matef to the 3rz in Redee, but I was only able to hand thread the first bolt on the drivers side. Seems like the motor and trans need to CLOCK a few degrees for the next alignment dowel to catch.
Have a new plan of attack, more beers chilling, and hopefully a full success tonight.
-
This reply was modified 1 year, 4 months ago by toys-n-yotas.
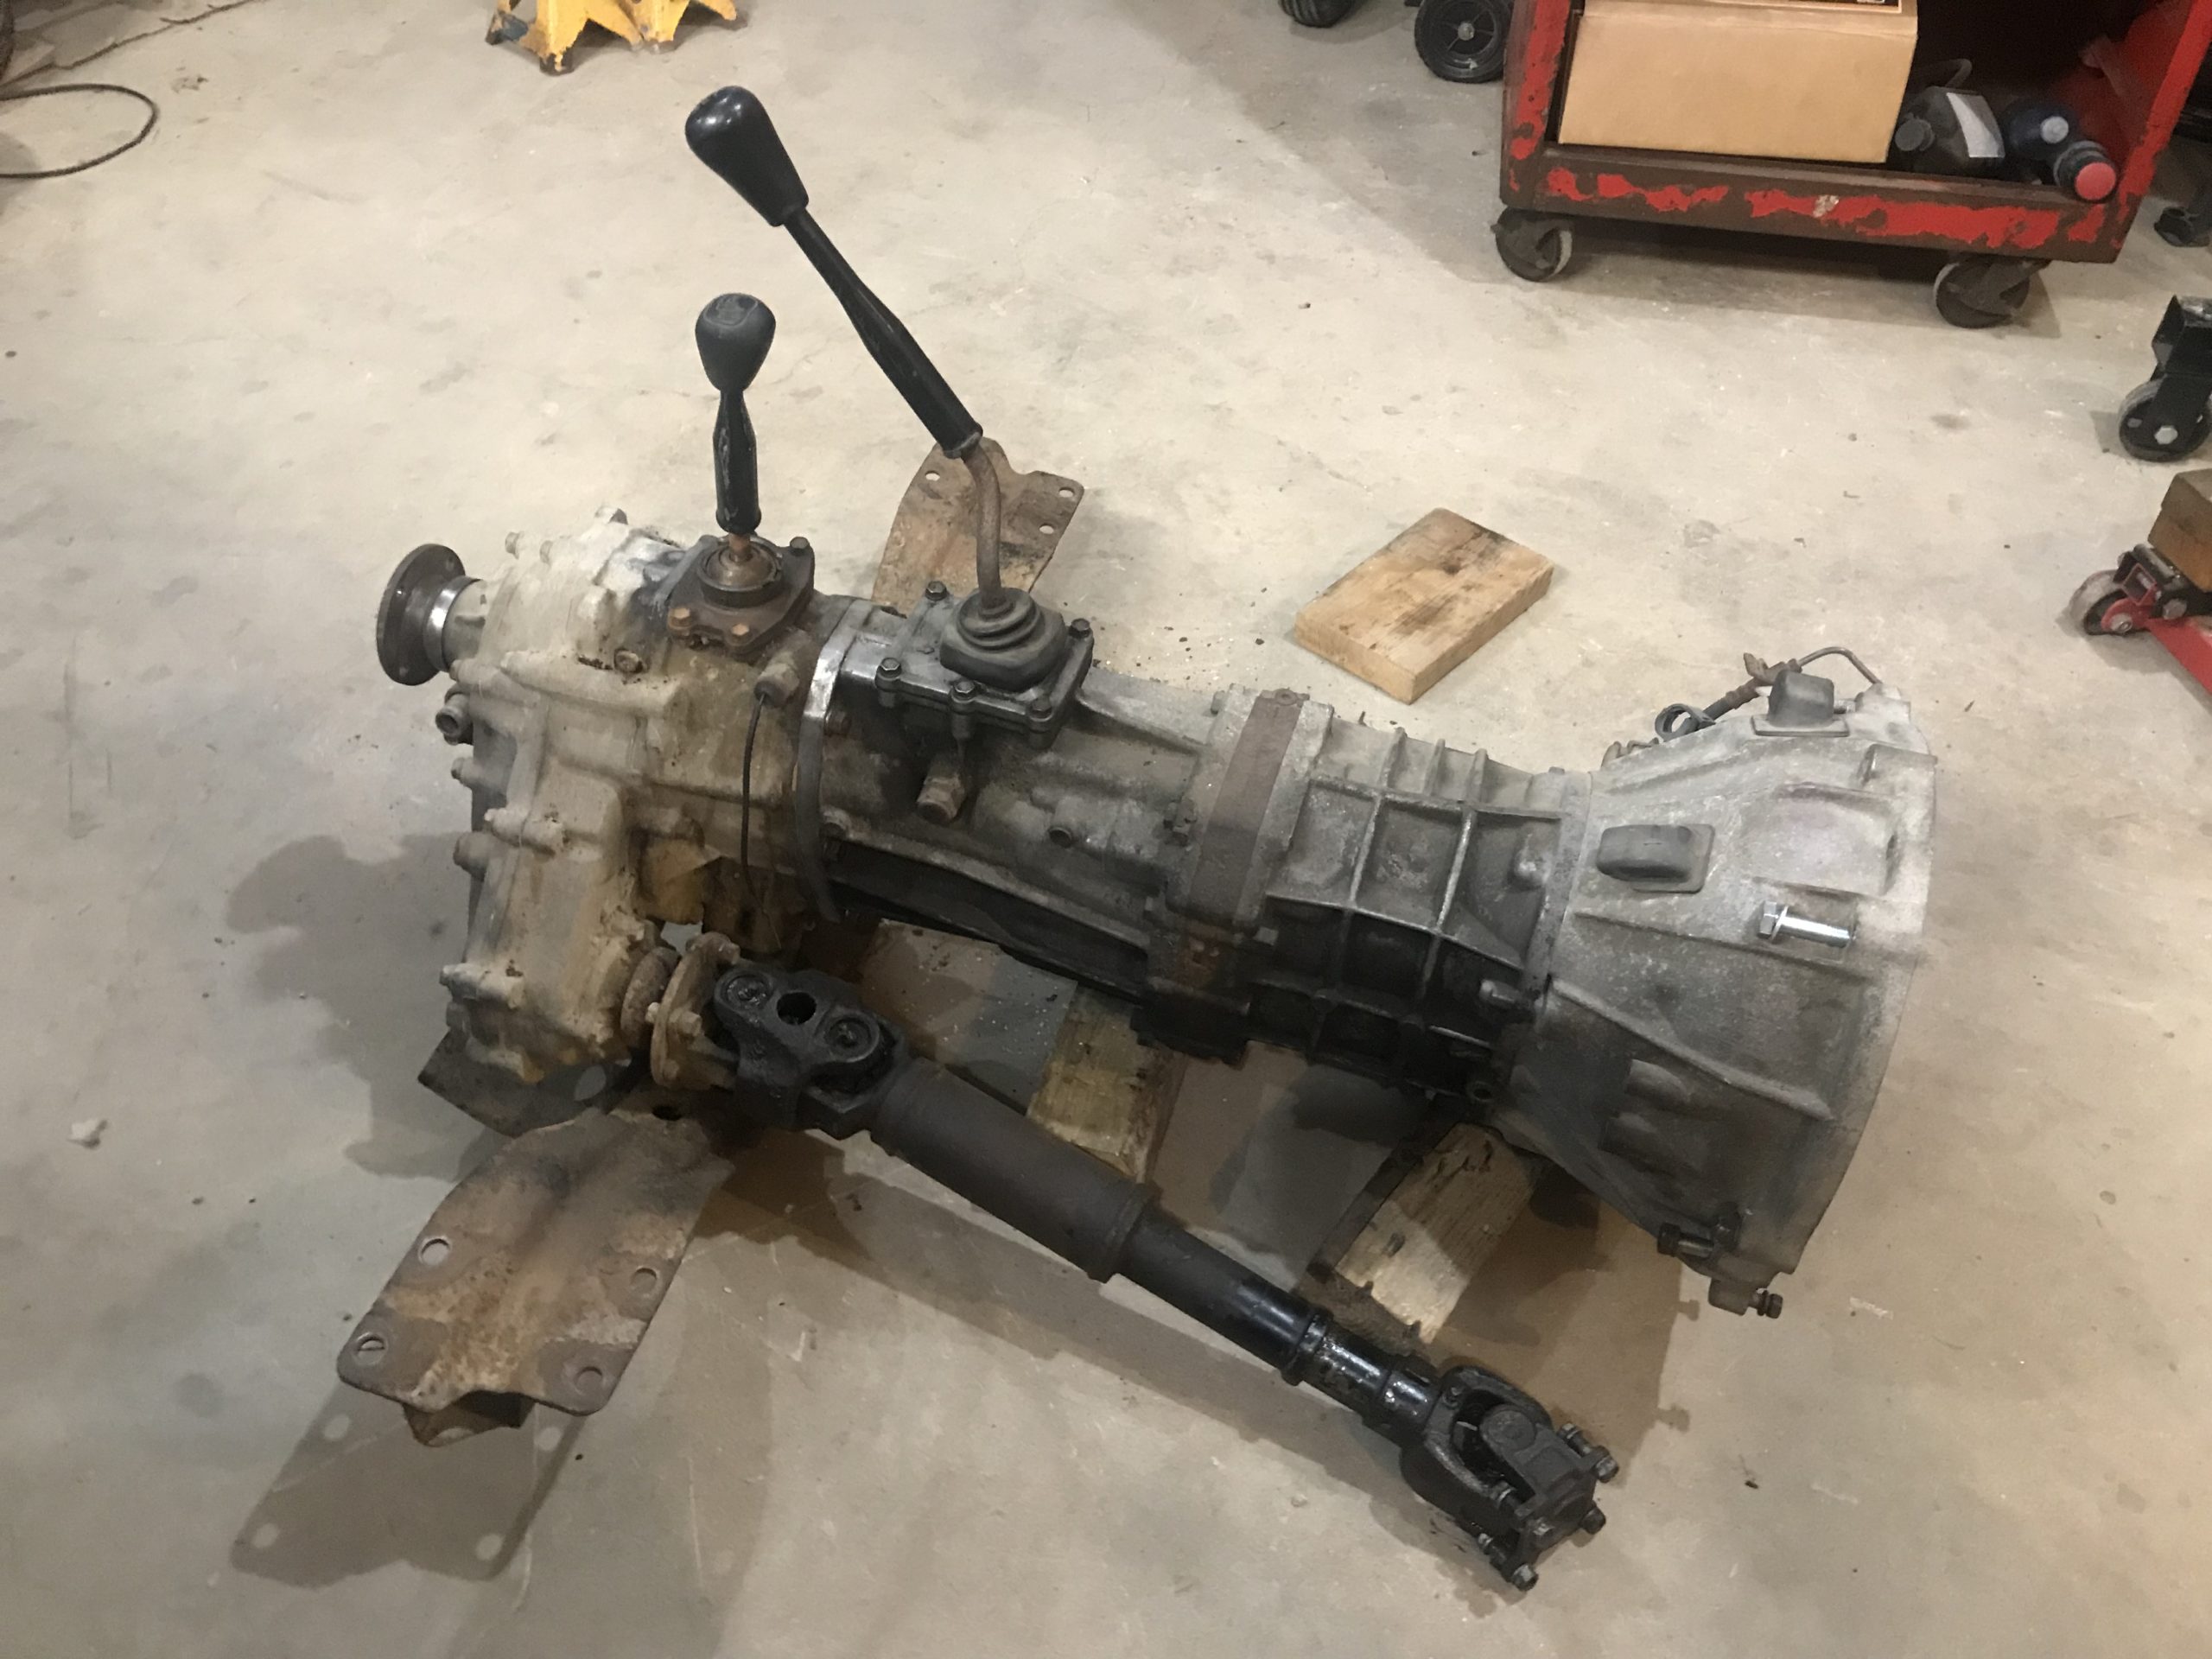
March 7, 2024 at 11:59 pm #211981toys-n-yotasKeymasterMic drop.
Attachments:
March 8, 2024 at 12:28 pm #211983toys-n-yotasKeymasterIn the 20 mins between getting home from work, and starting to cook dinner yesterday, I managed to reposition the floor jack and engine hoist and pry bar into a favourable position, and was able to hand thread in a second bolt! Called that a win, made dinner and rode the high of success for a couple hours.
After all the kids went to bed, I returned to finish my work.
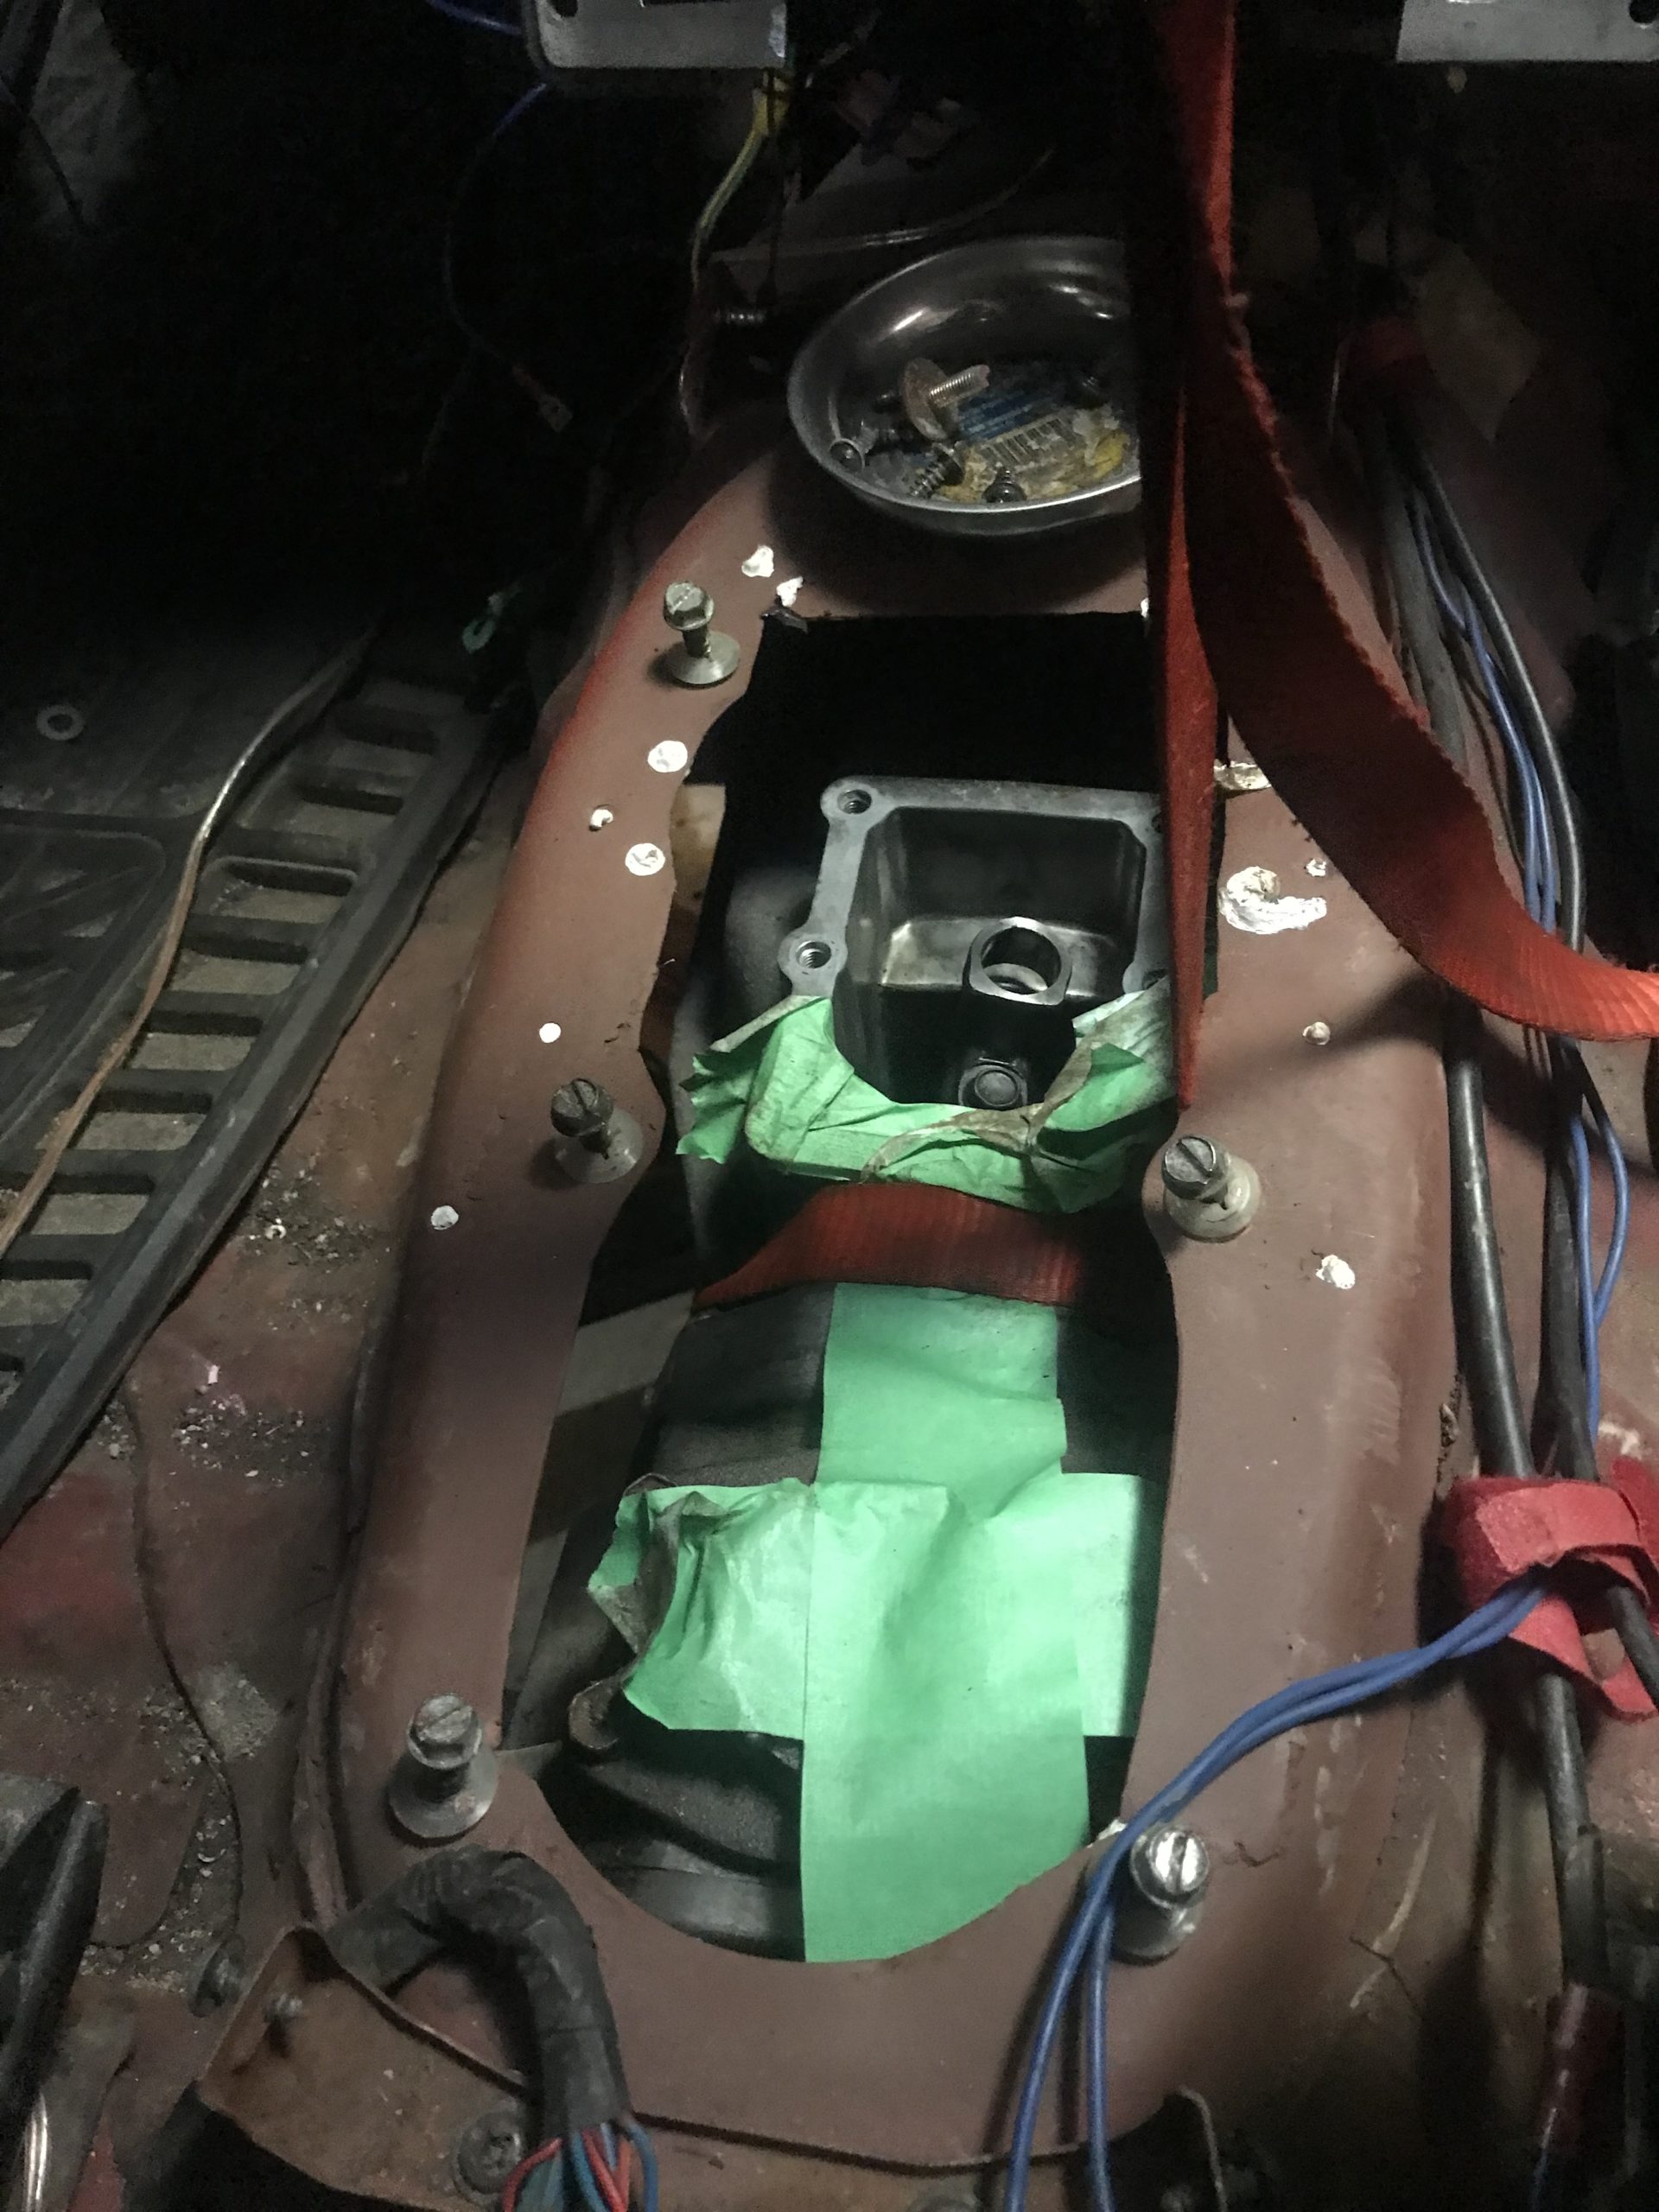
Crossmember bolted in place.
All bellhousing bolts tightened to spec-ish.
Engine mounts re-tightened.
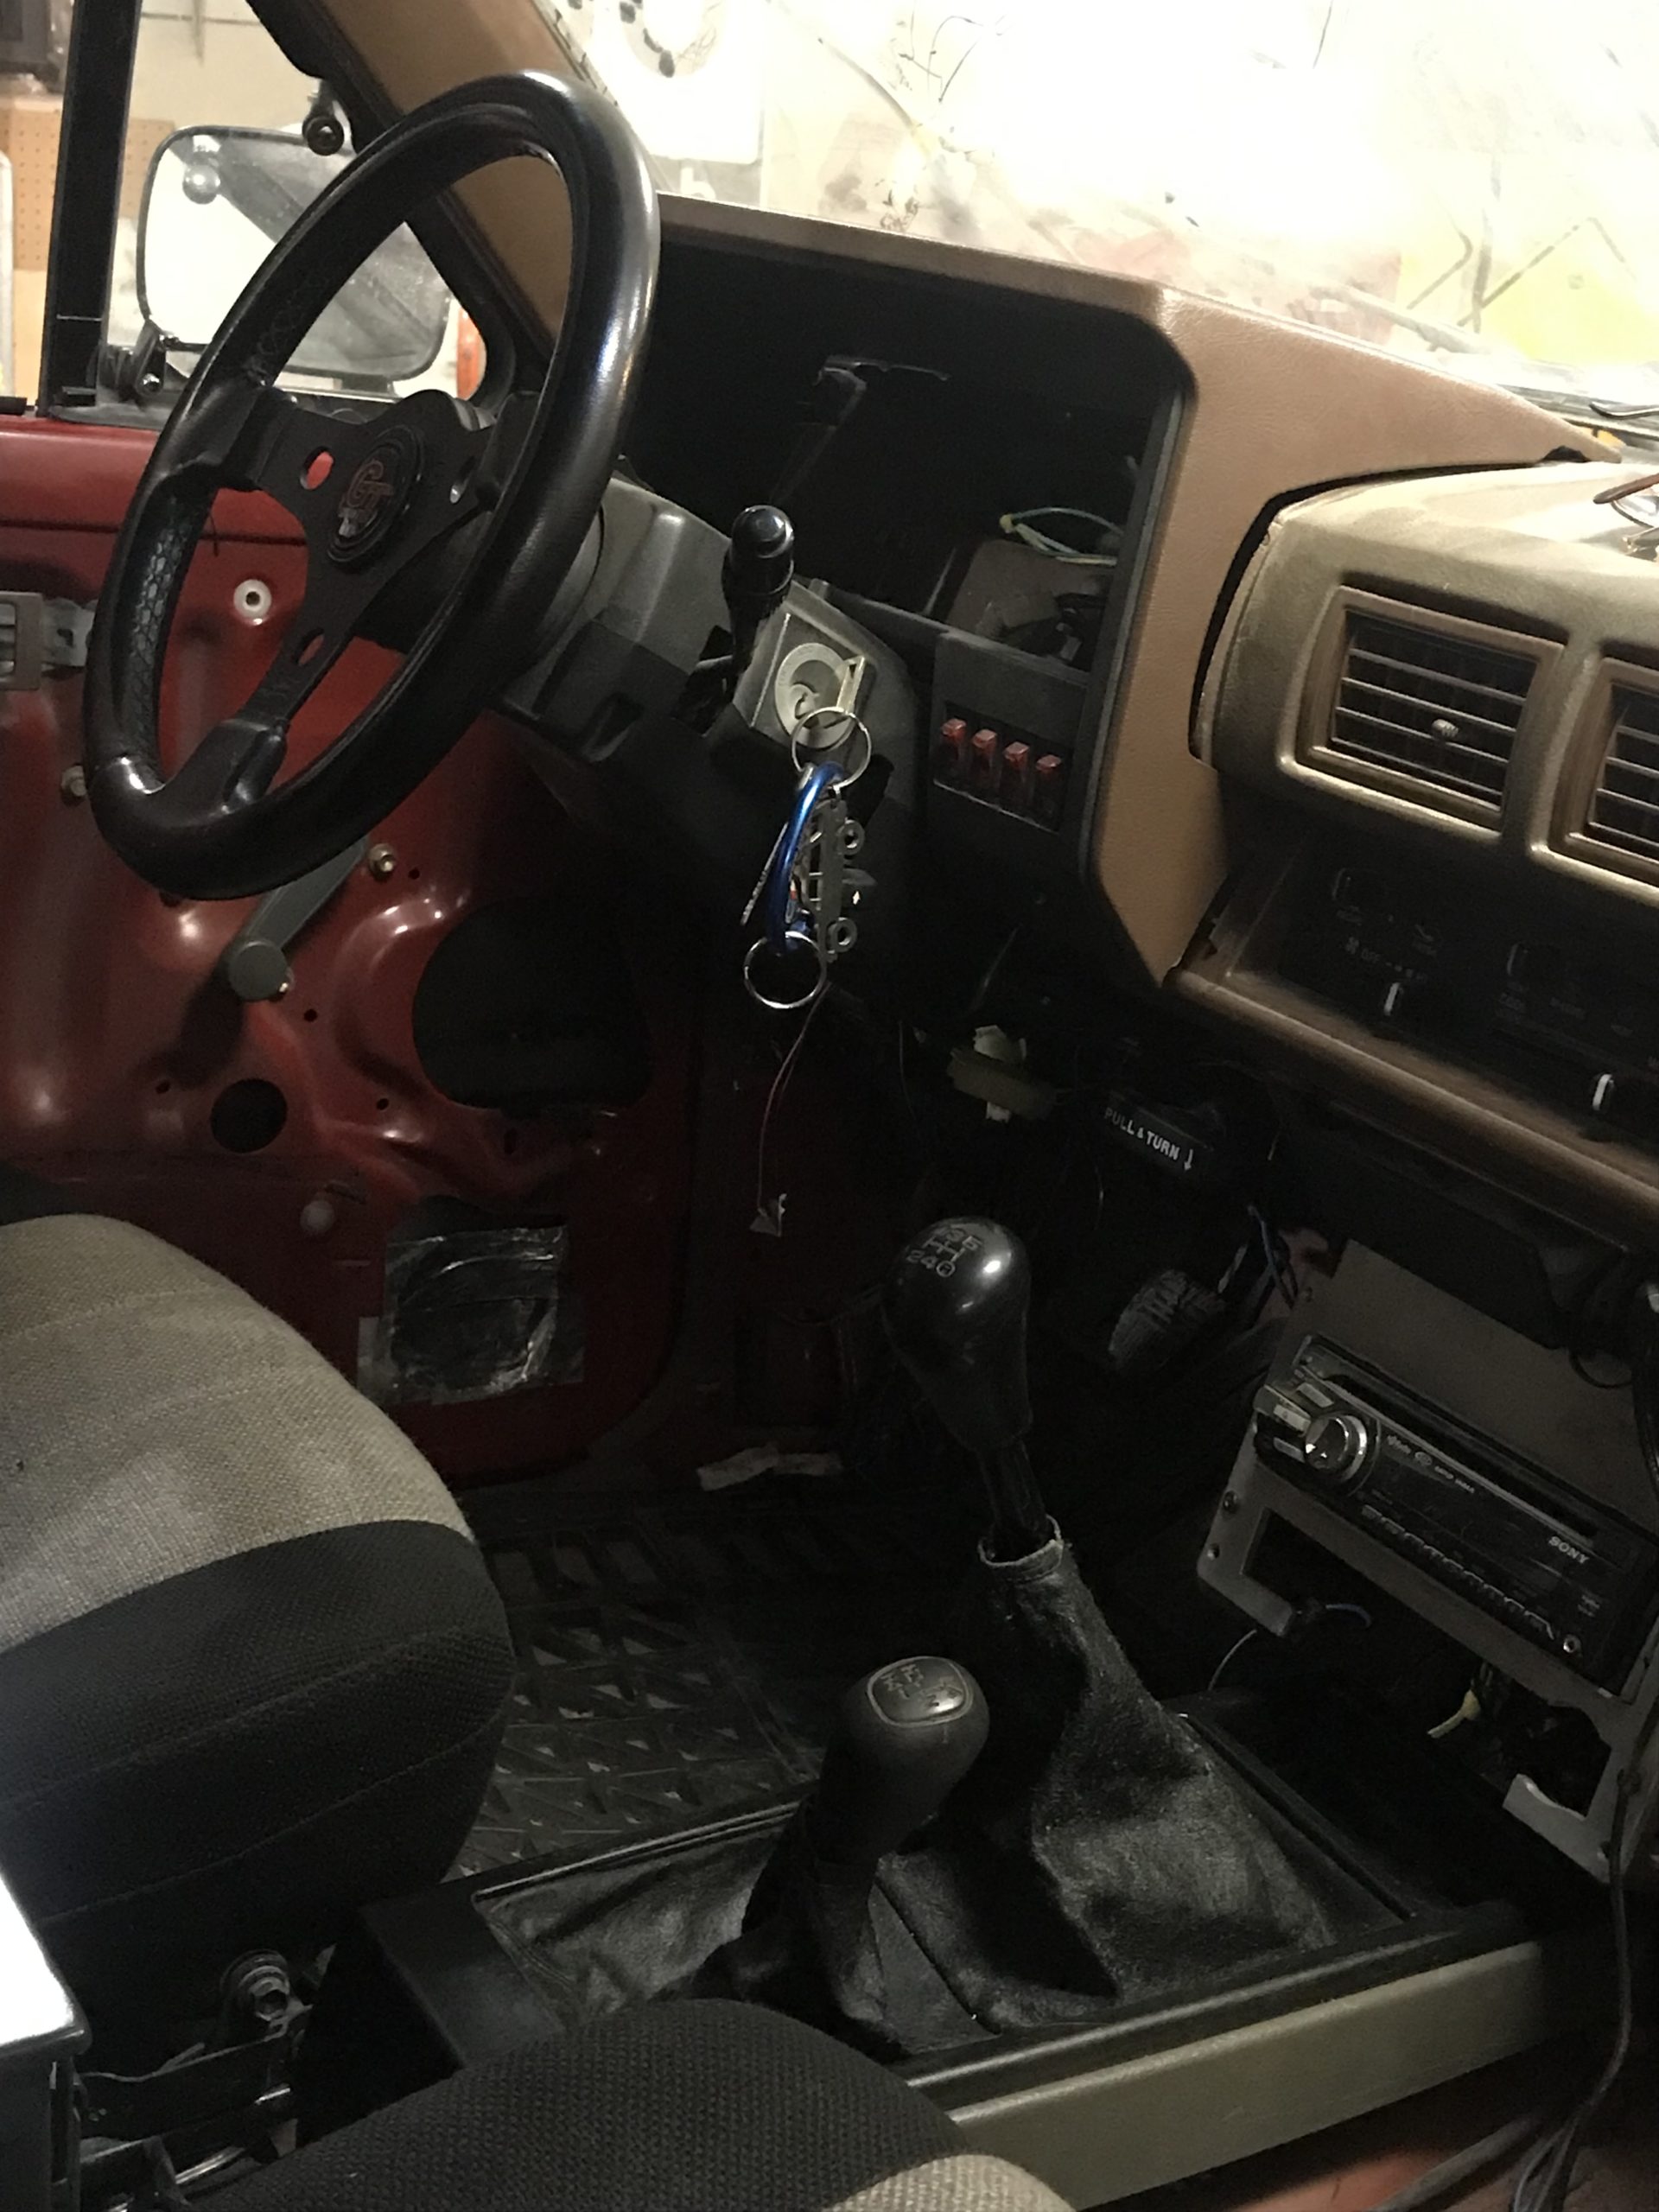
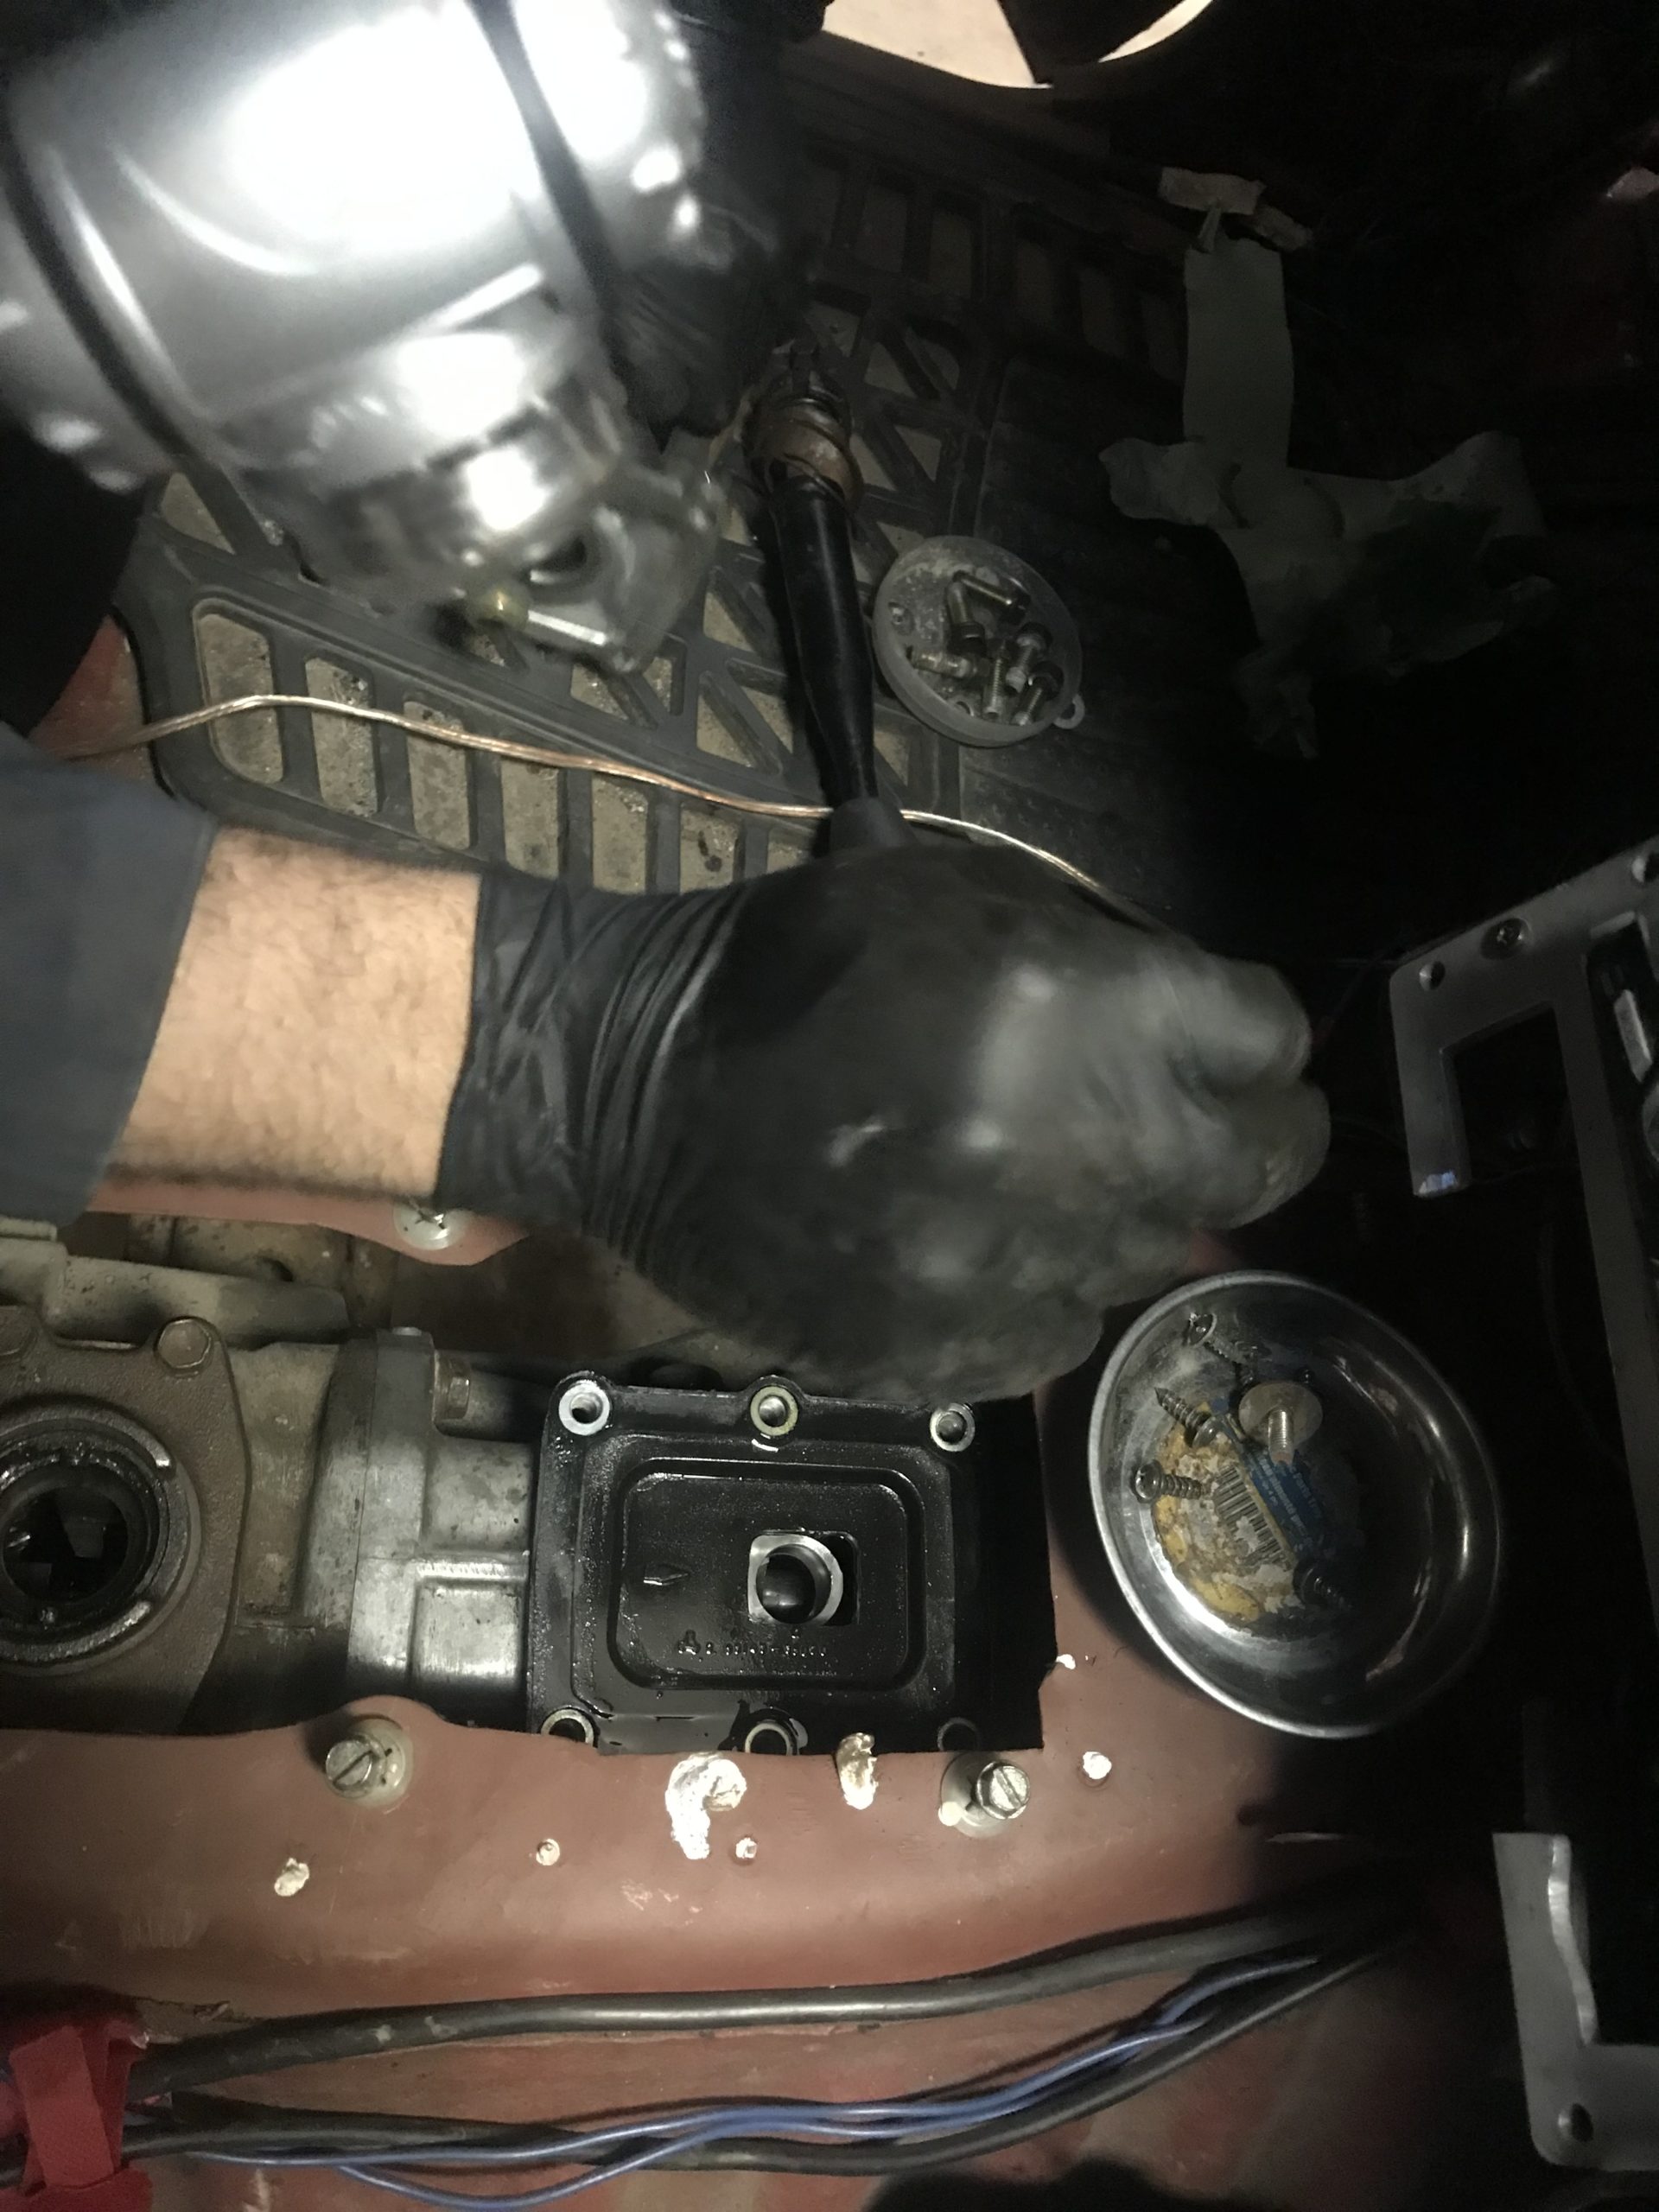
Trans and tcase shifters installed.
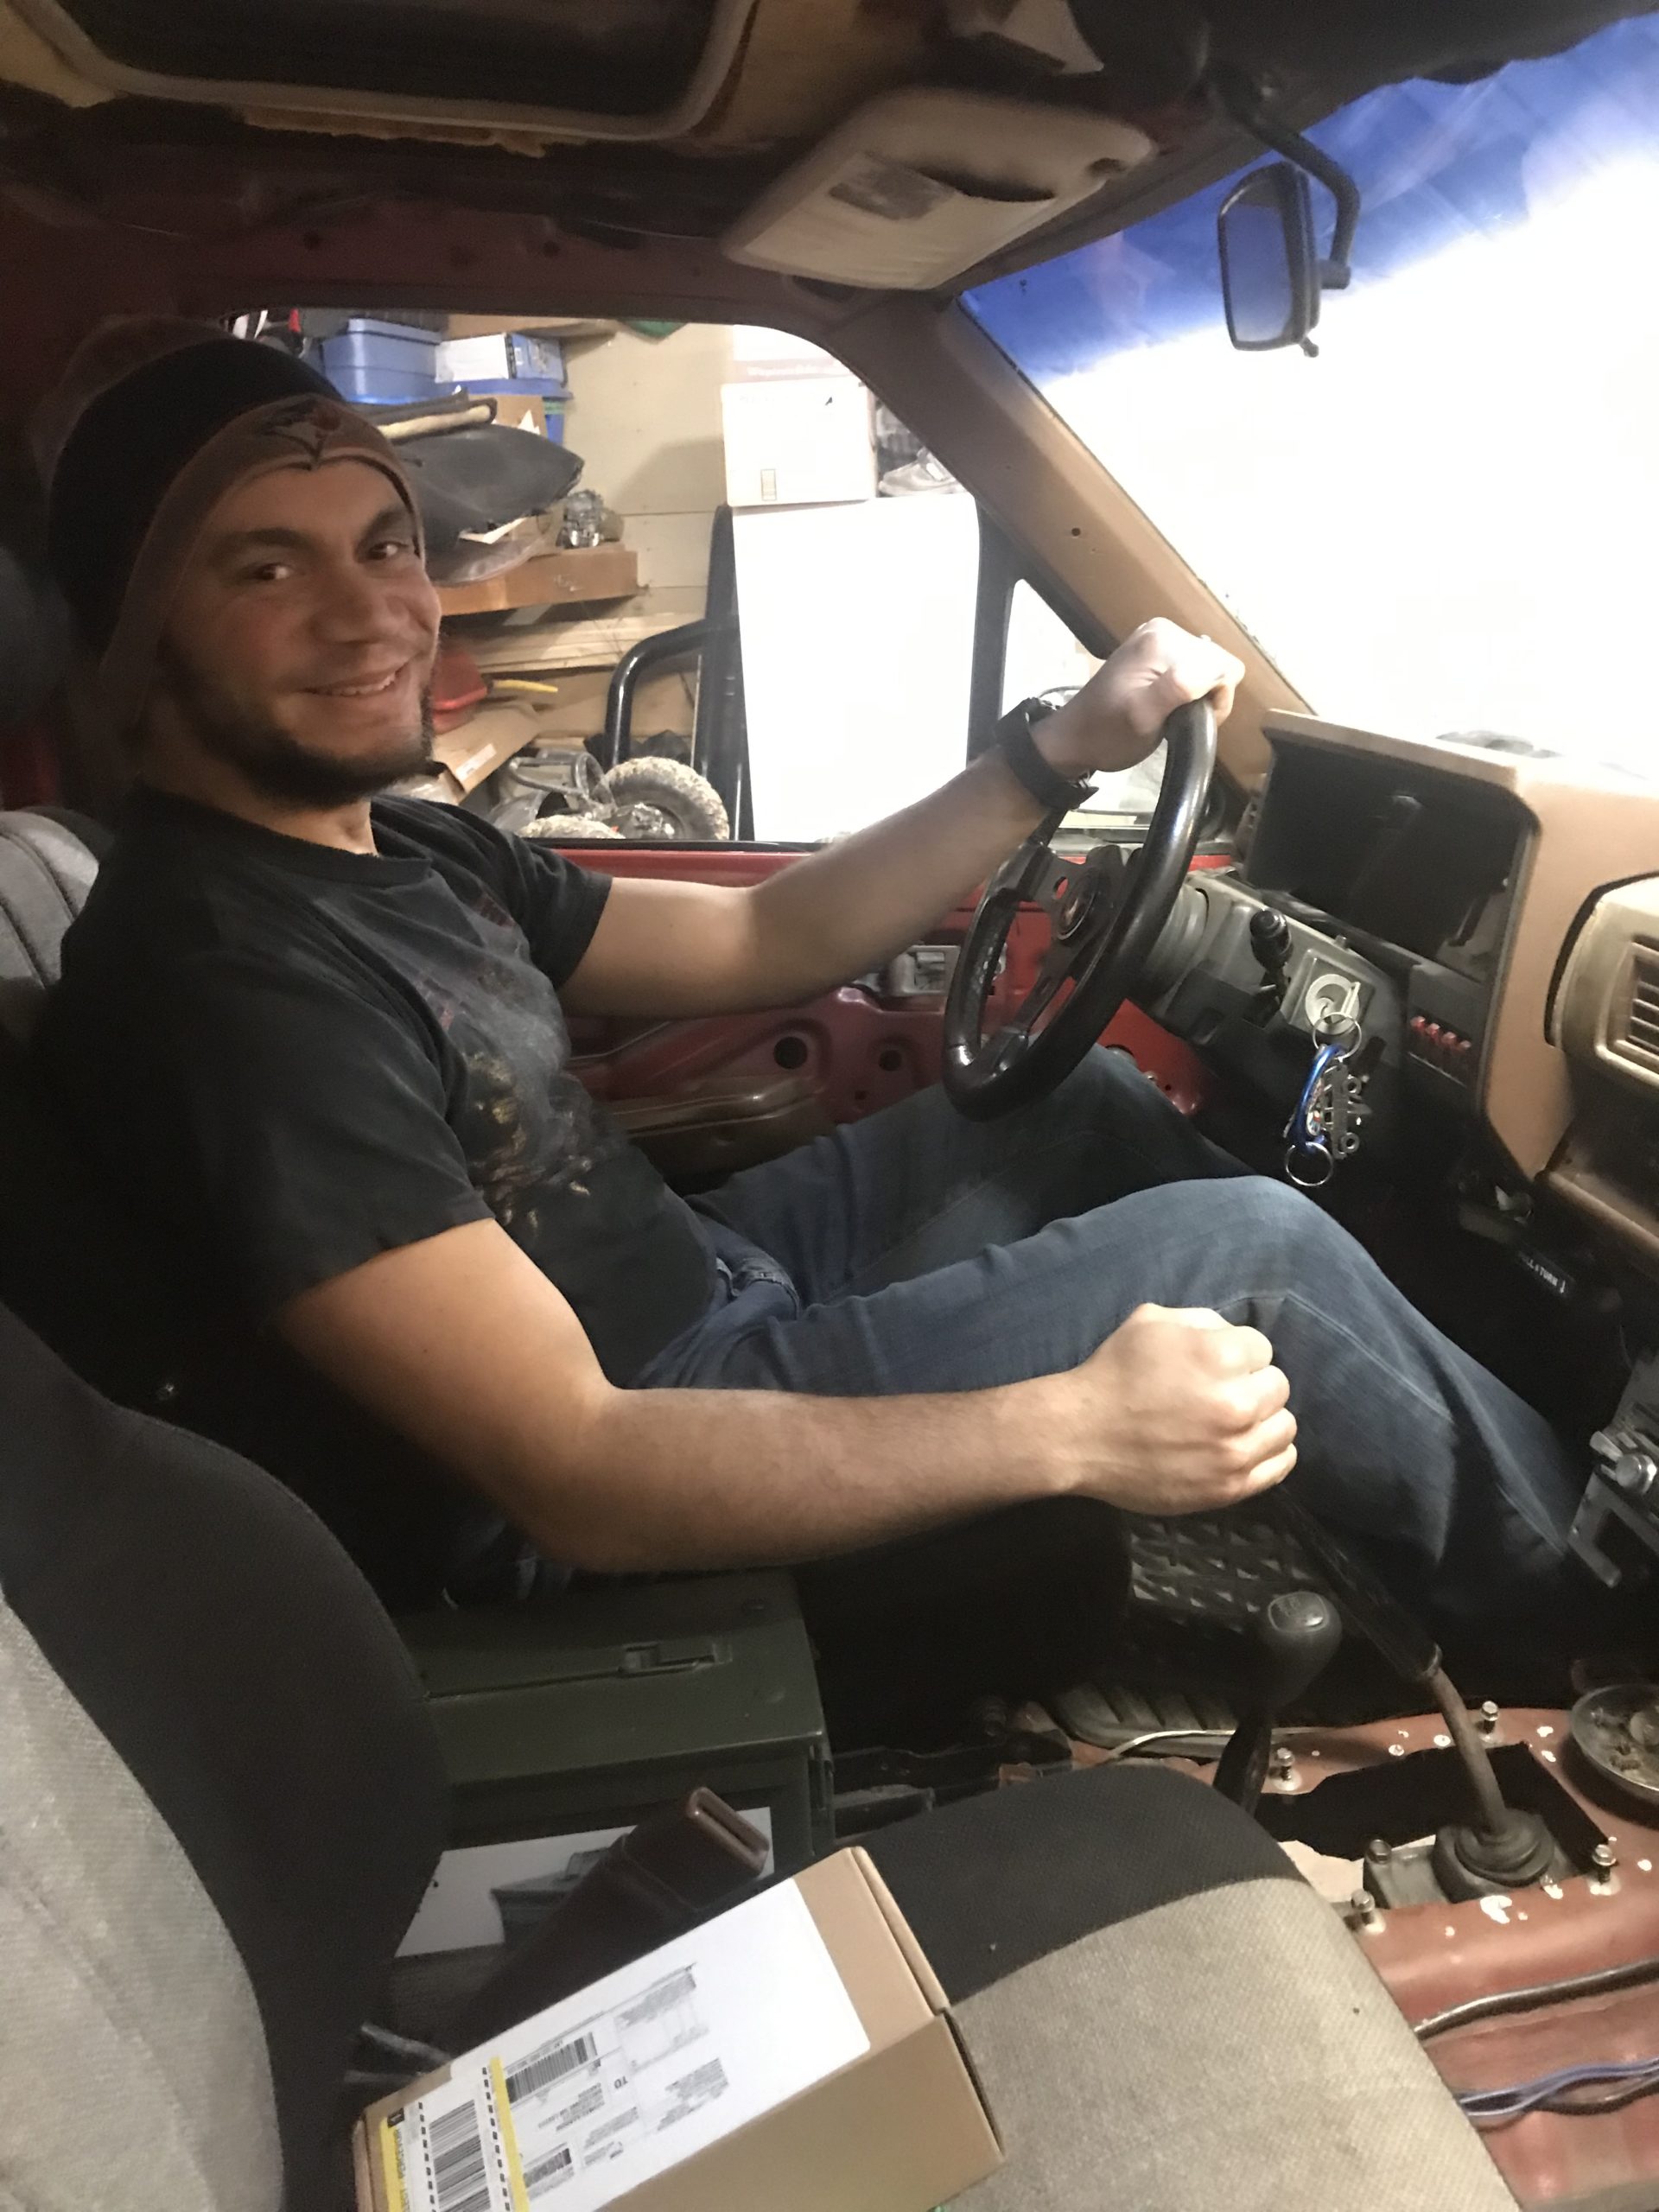
Interior trim pieces temp installed (for photo ops)…I still have to replace the rubber boots on the shifters, but that’s child’s play. Cut the old ones off, a lil spritz of WD40 to slide them in place.Matt and I both drooled over the end result last night. So much motivation built after just fondling the power wands for a couple mins.
March 11, 2024 at 7:54 pm #211986 Slick_YotaKeymaster
Nice work!
March 13, 2024 at 6:08 pm #211993toys-n-yotasKeymasterCrossing items off the list!
Monday, added 5L of 5W-30 for the first time since swapping out the oil pan a few months ago. New oil filter spun on super easy, after the old filter dumped 250ml of black oil on my freshly scraped and cleaned front diff. Next time, I’ll “dog poop” the filter so it can’t piss everywhere.
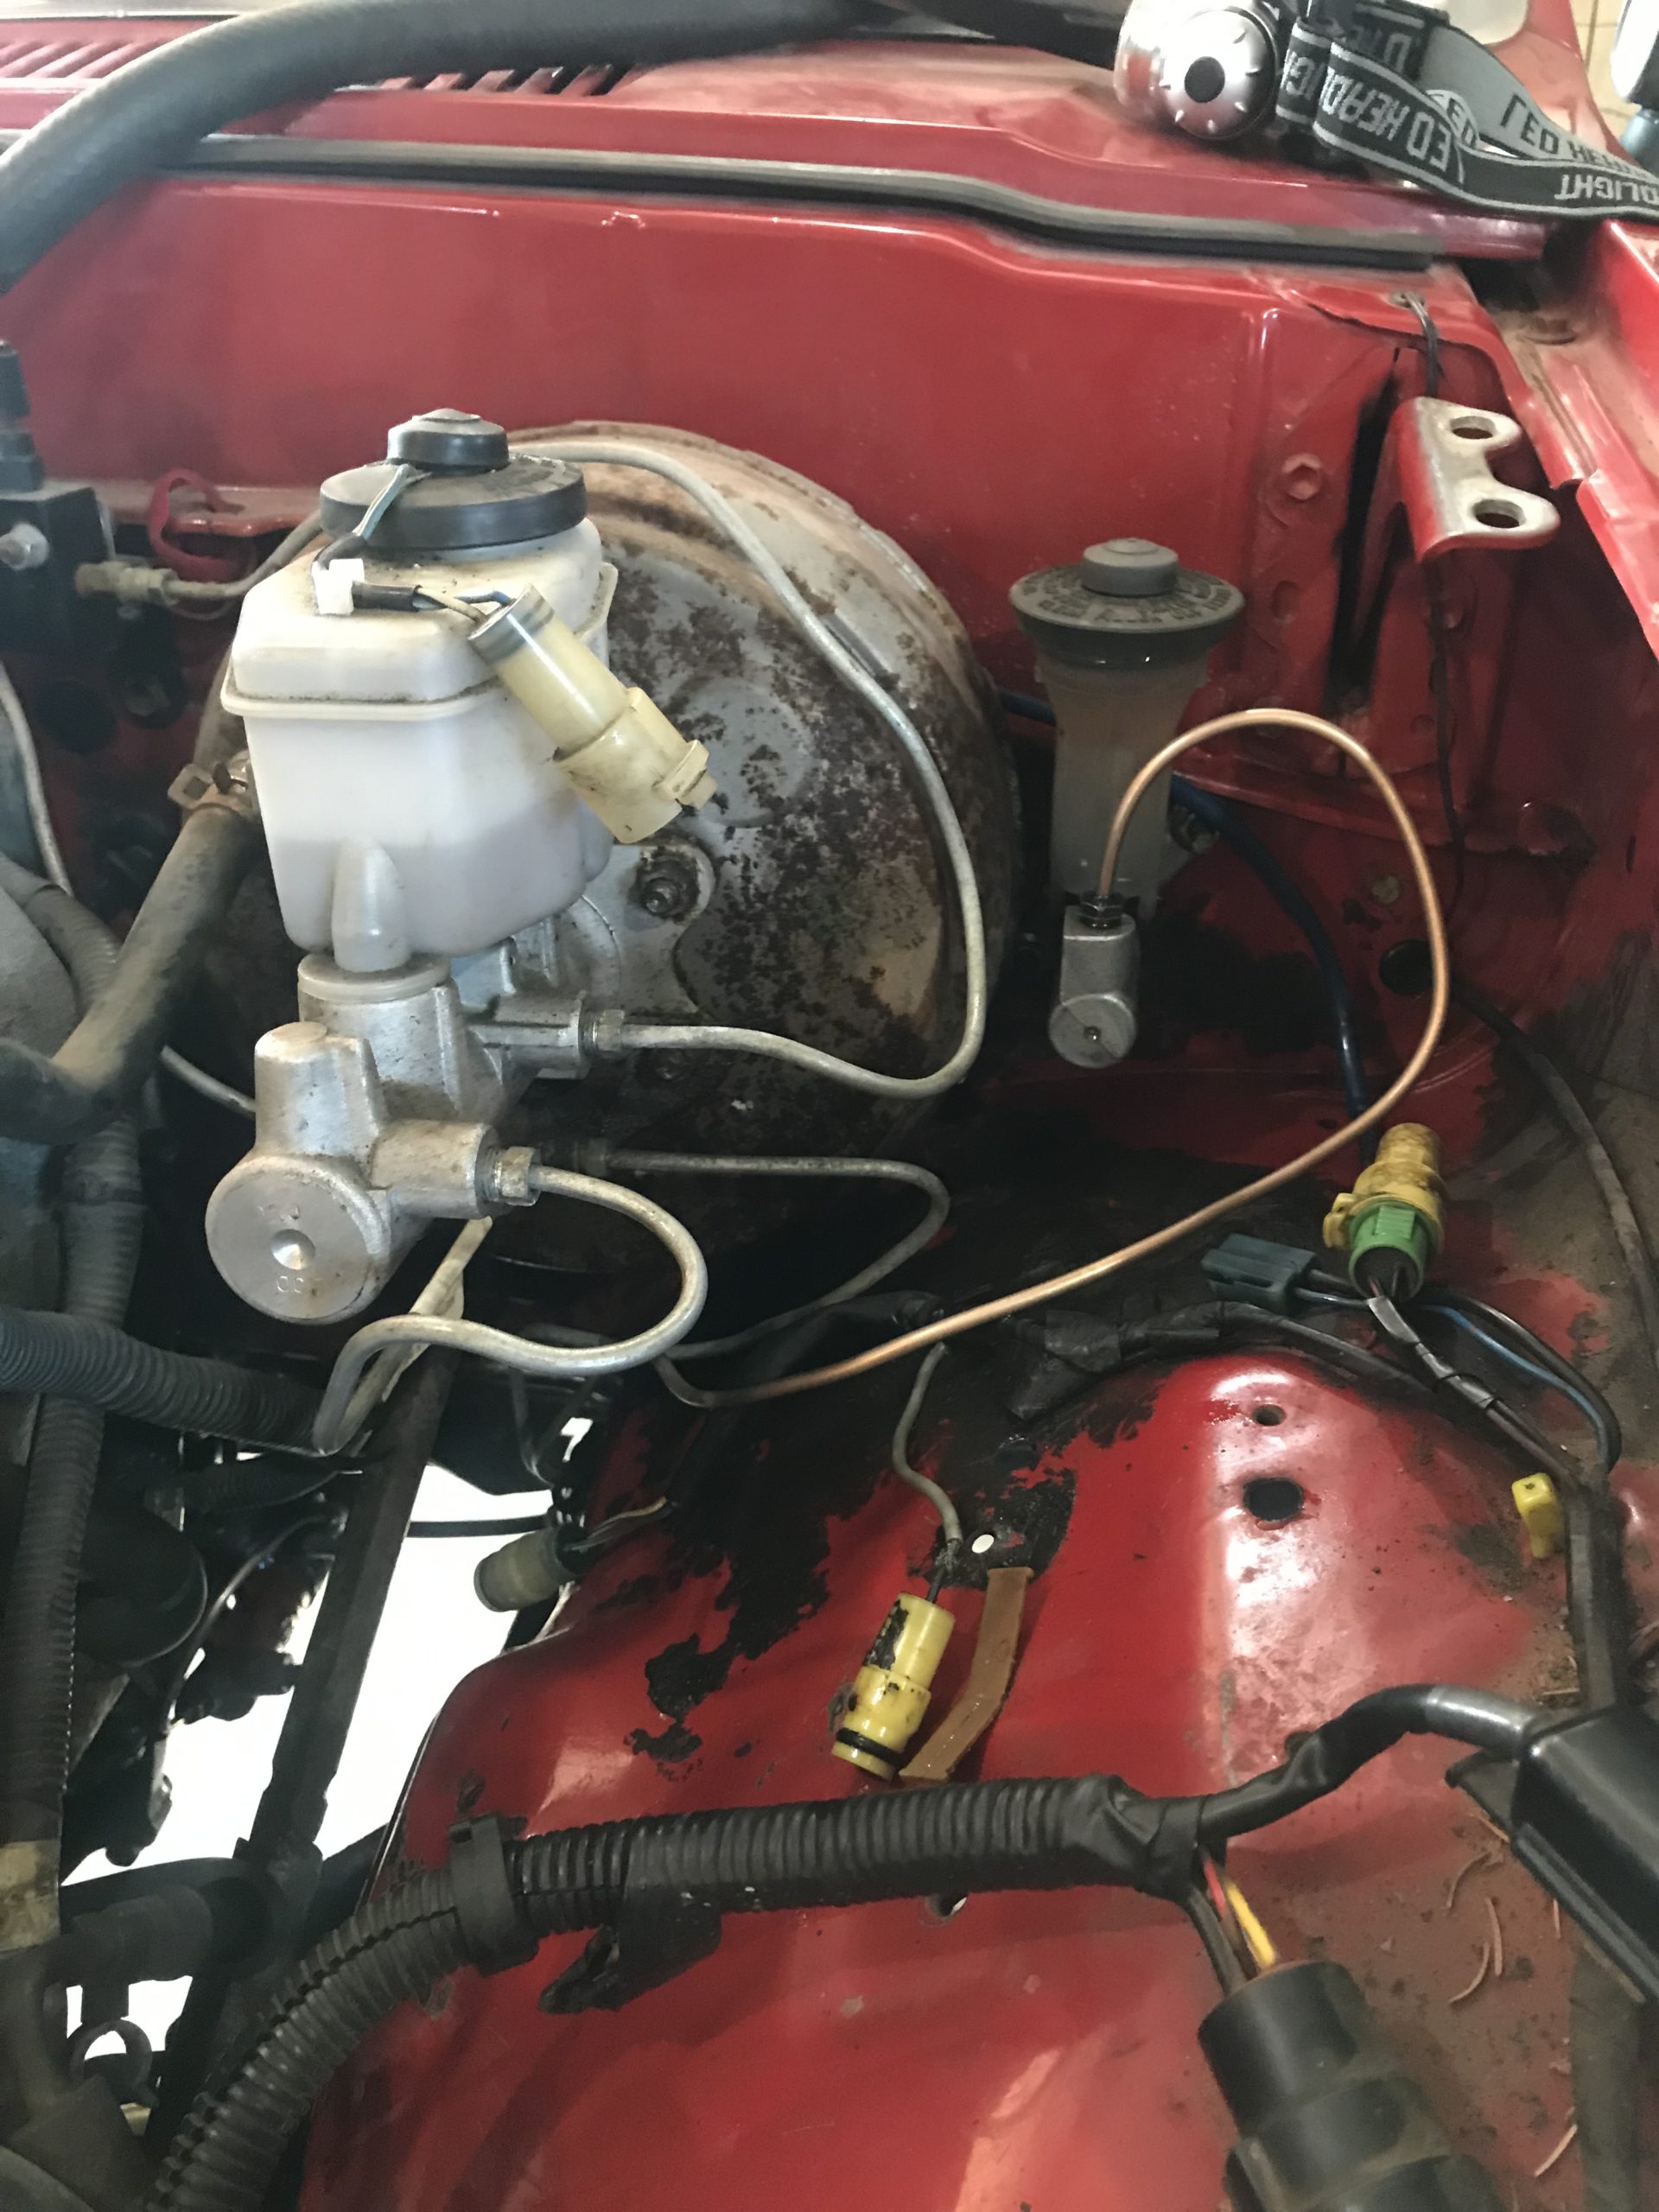
Tuesday, I tackled the clutch hydraulic system. I “cleaned” the slave cylinder with some brake clean cause it shot rust coloured brake fluid out of it when I removed the old lines. I bought two pre-flared lengths of copper nickel brake line and bent them into shape by hand in no time. By the way, I will never buy steel brake lines again, this copper nickel was a dream to work with. Tried to bleed the clutch, but had no success pushing fluid to the slave. I also hooked up the throttle cable to the throttle body.
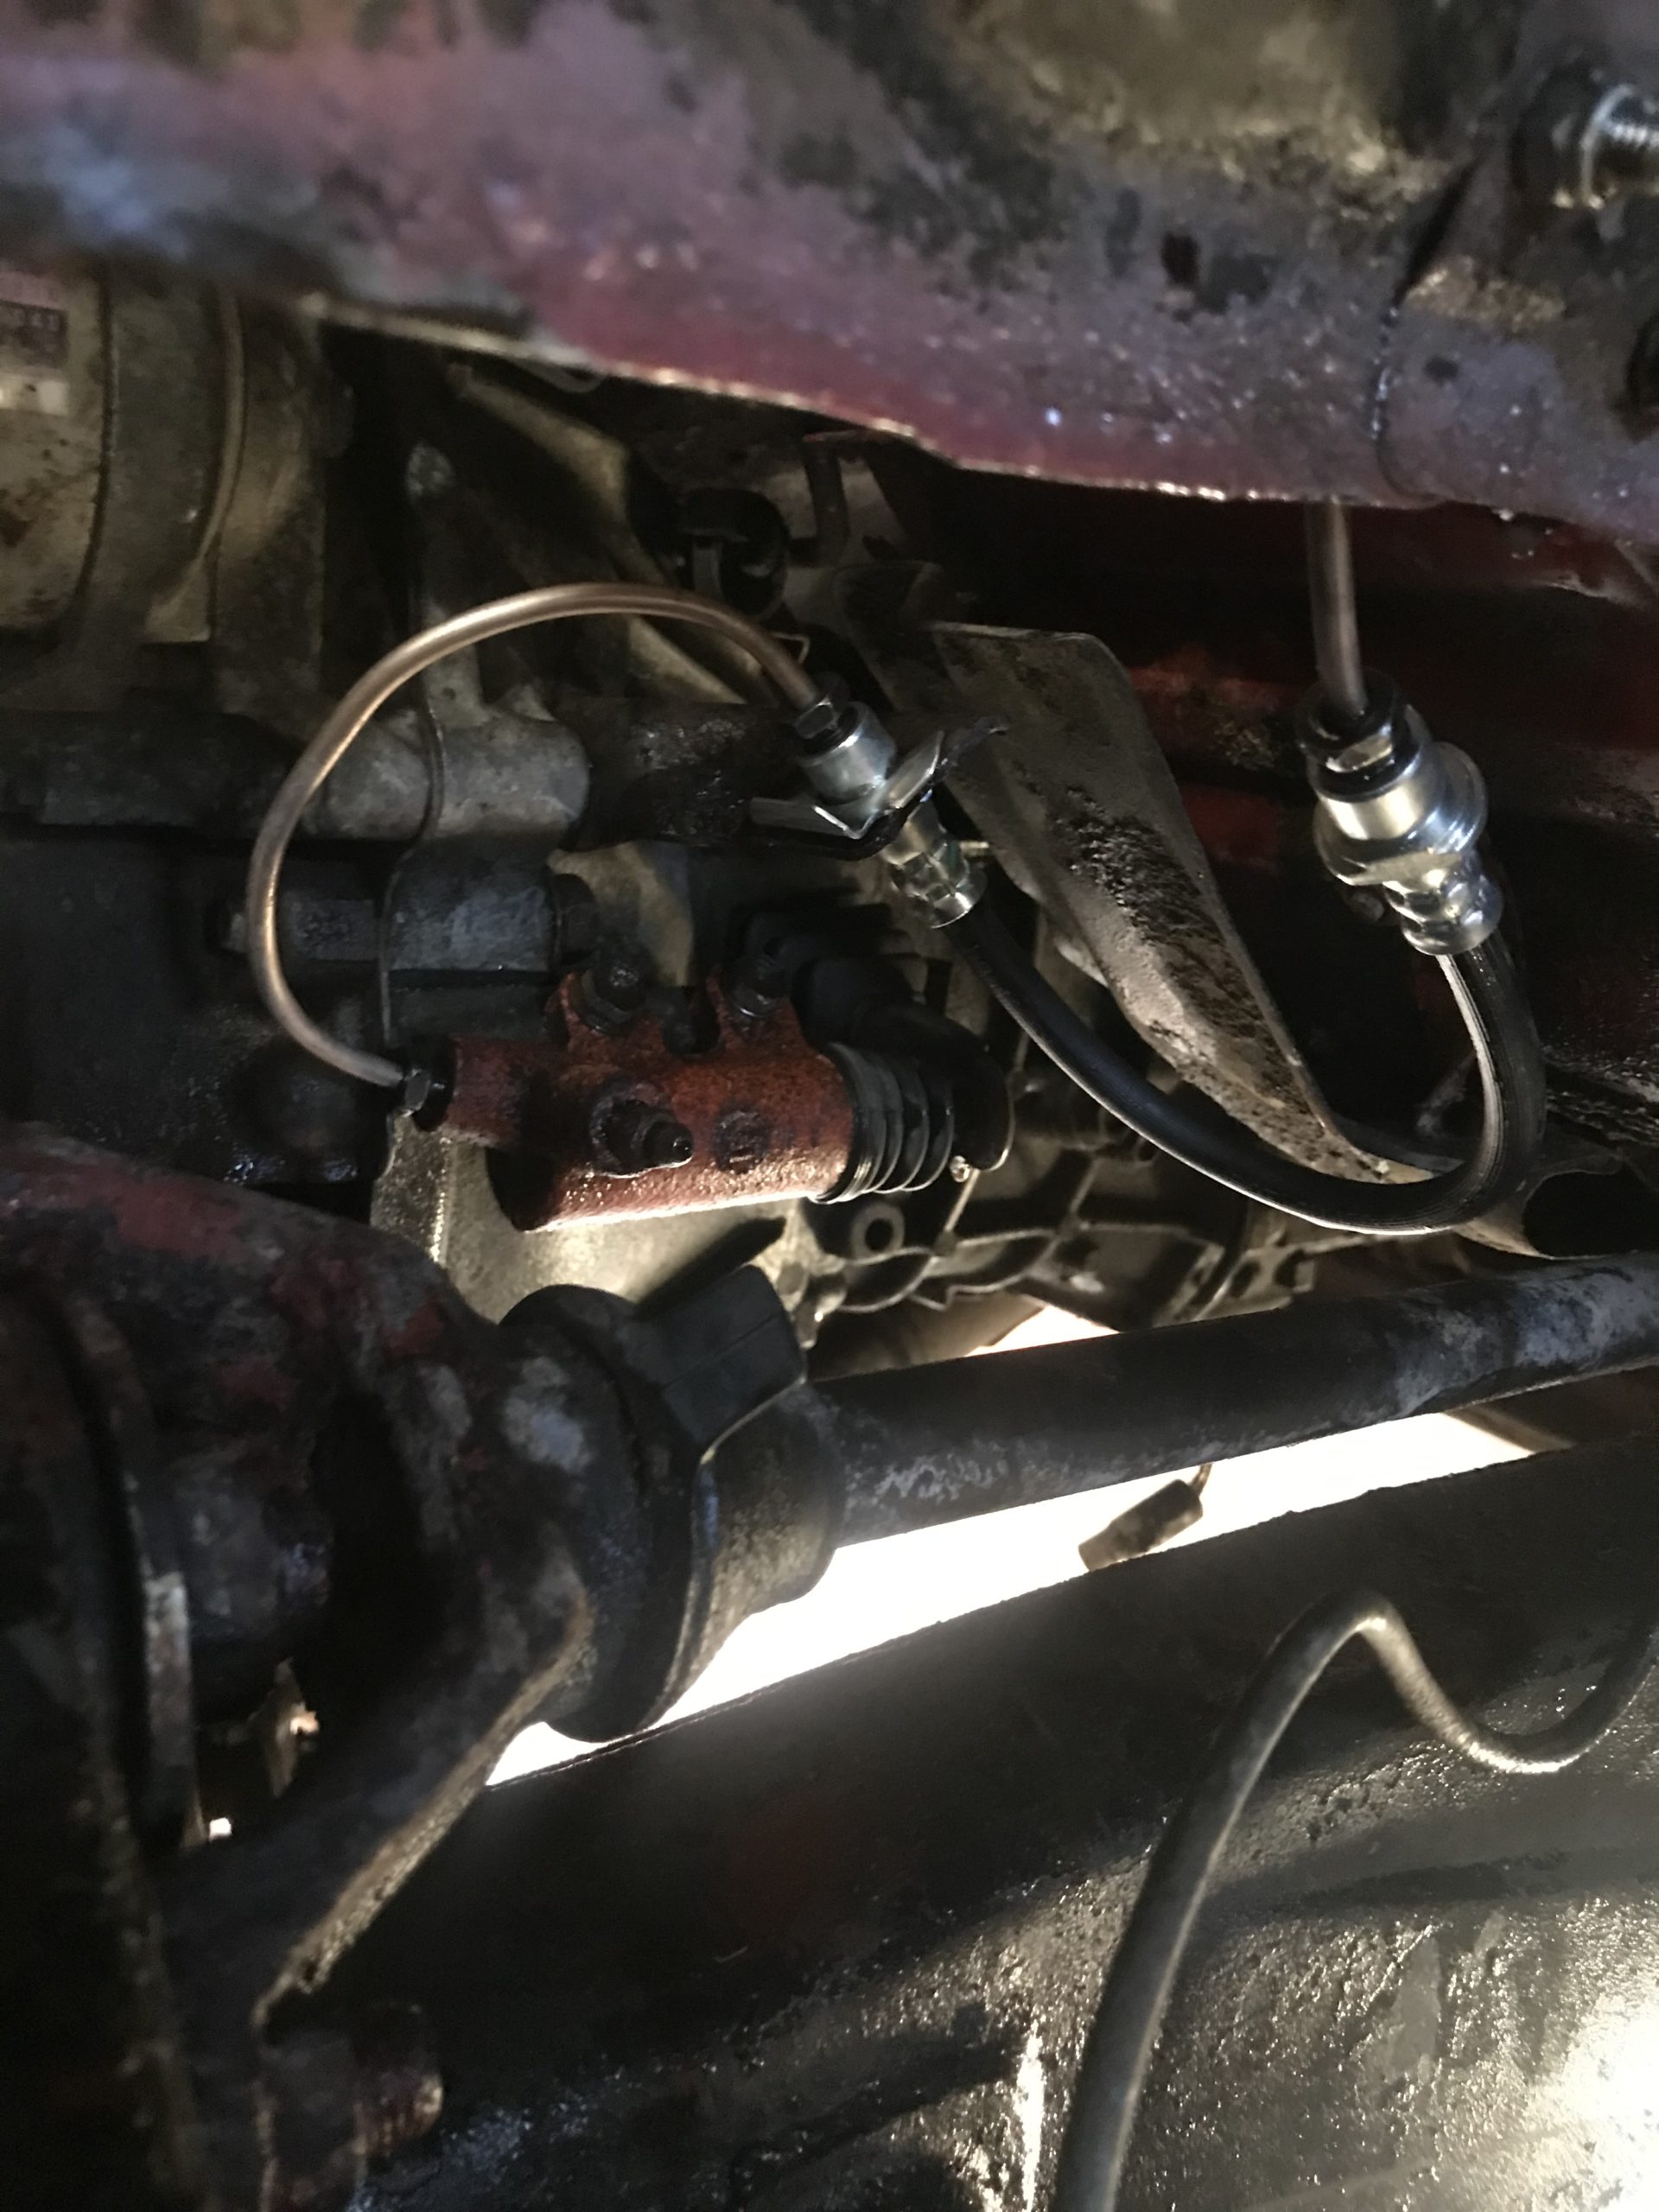
Wednesday, this morning i verified with James how to use his power bleeder. Skip to after work, and I had the clutch fully bled within 5 mins. I’ll prolly end up flushing this system a few times, still getting rust stained fluid coming out. With Mady working the clutch, I crawled under Redee and was able to spin the tcase output flange by hand while she worked the pedal. Total success!!
I officially have 3 working pedals!!
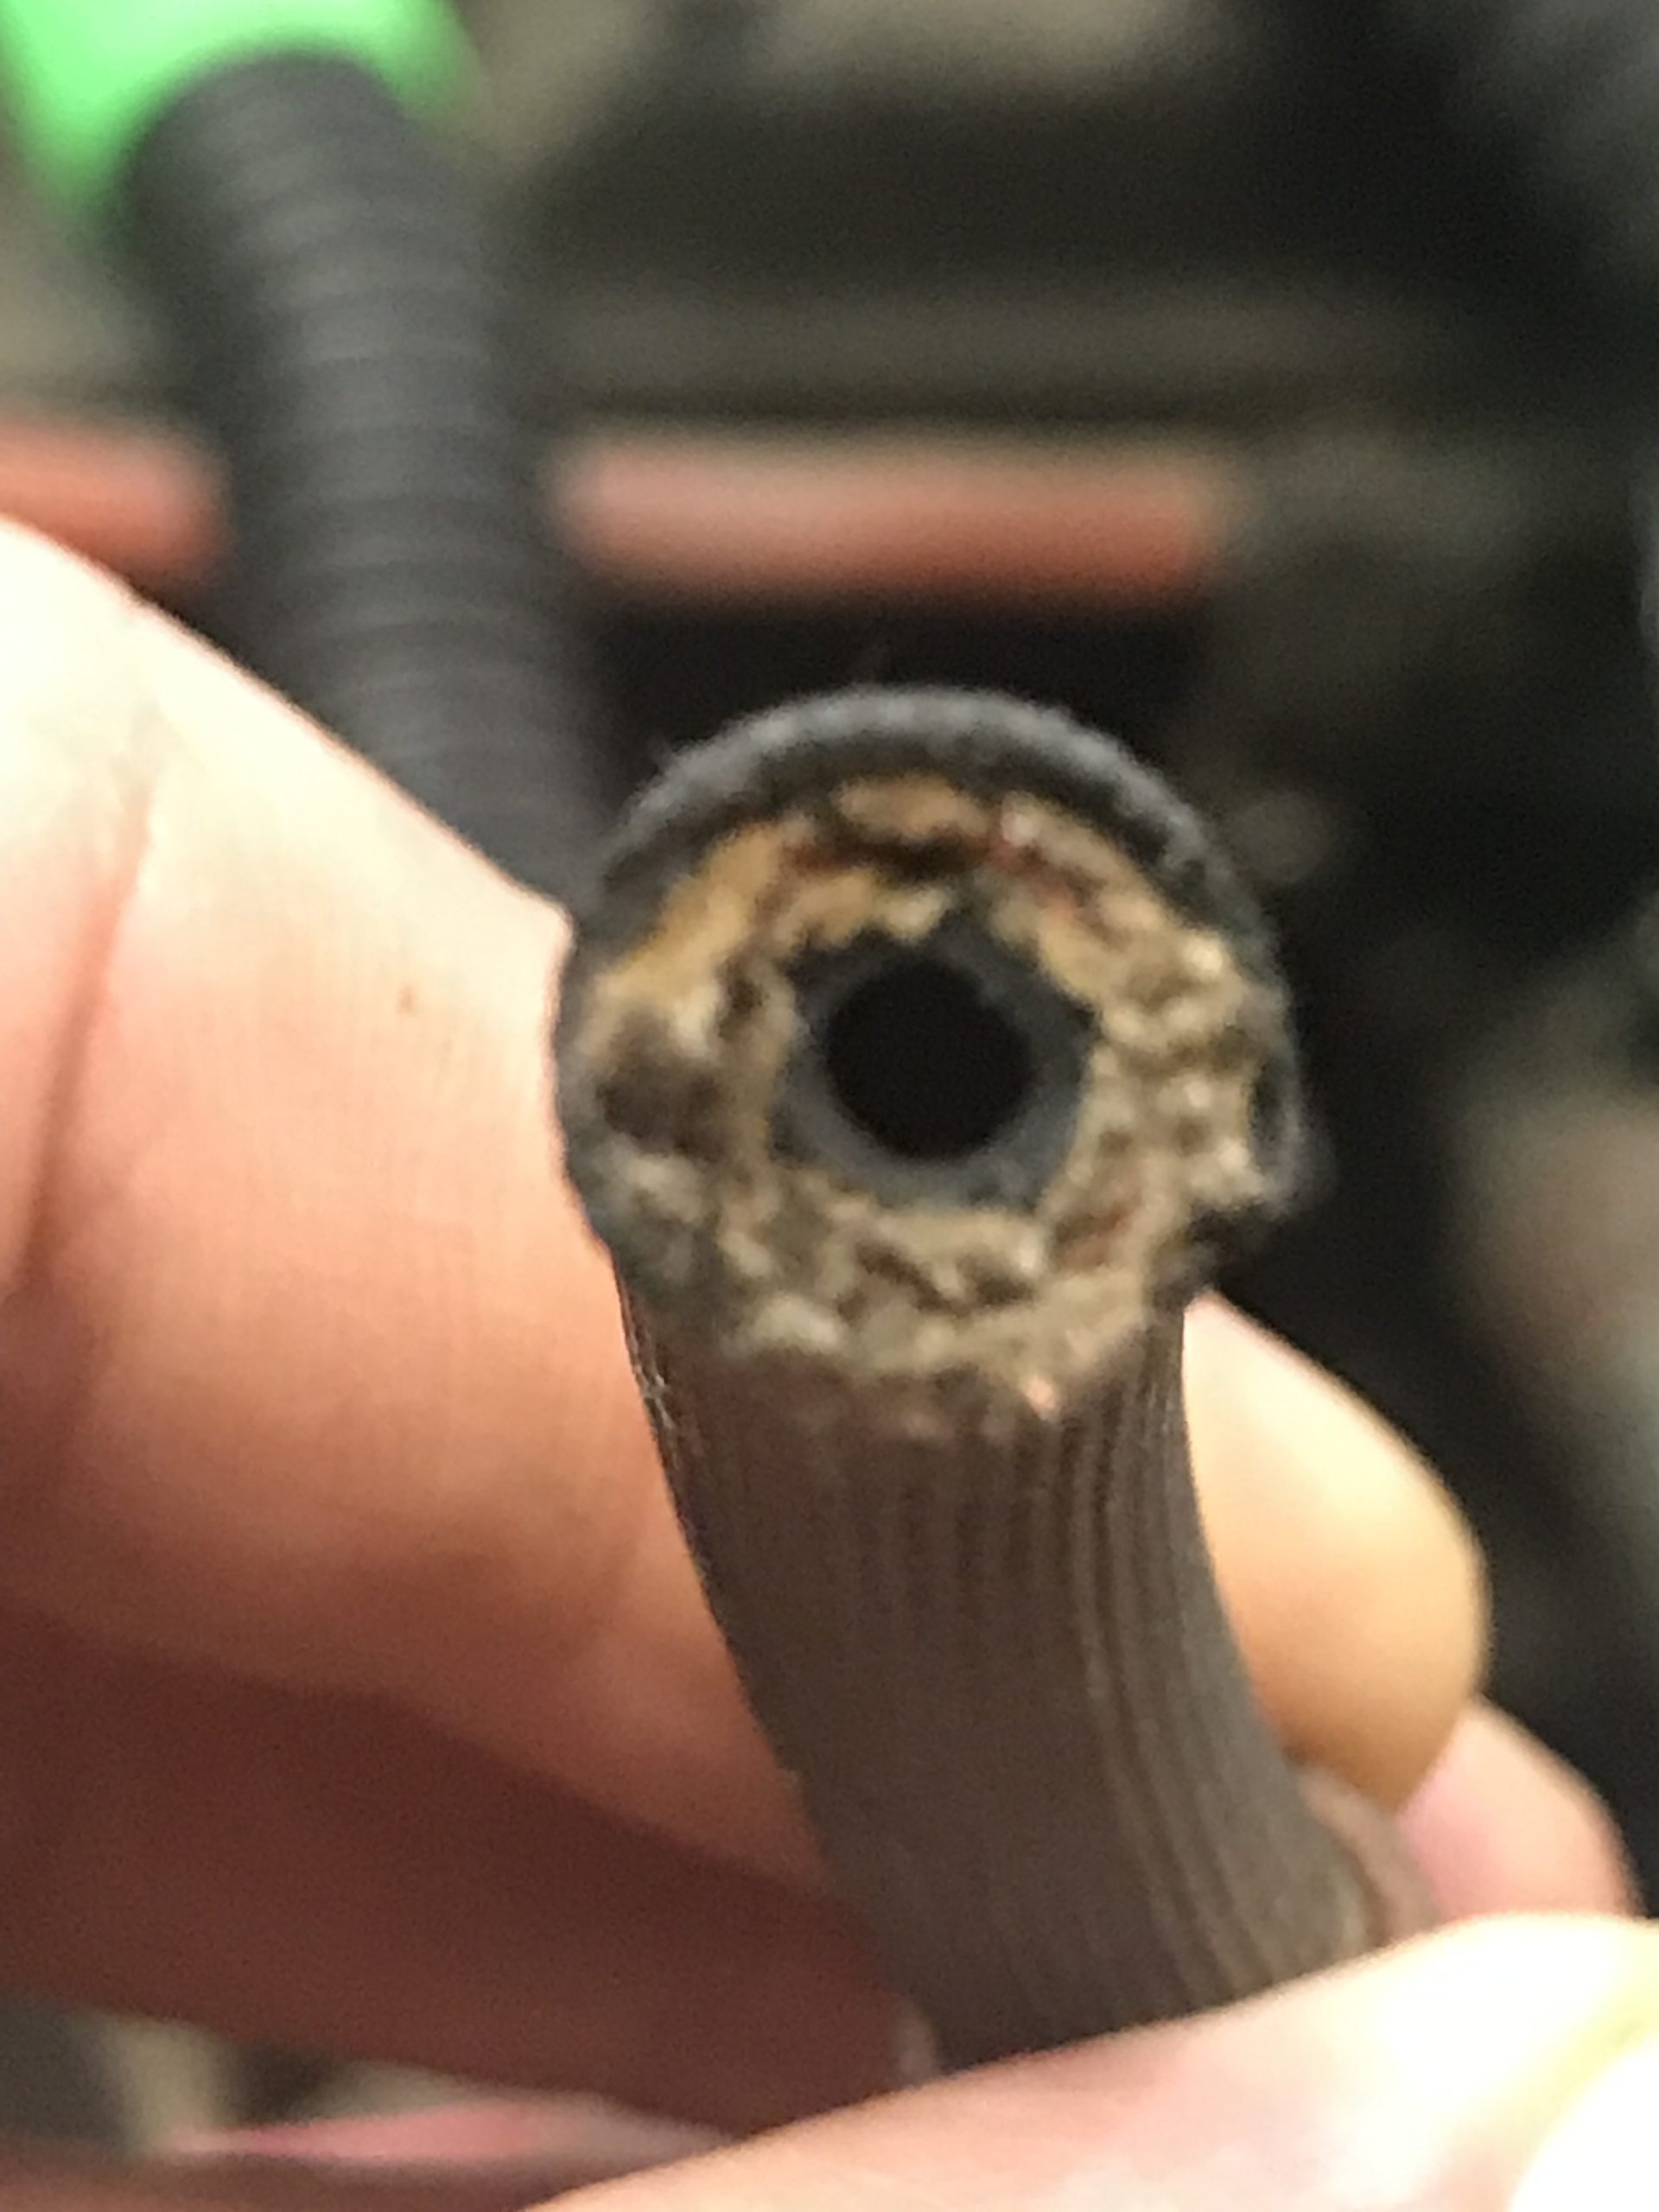
Ps. See the old clutch flex hose was nearly swollen shut.
My next time out in the shop, I will start filling diffs and tranny with fresh oil, and replace all the boots for my shifters. Tcase is missing, trans terribly ripped.
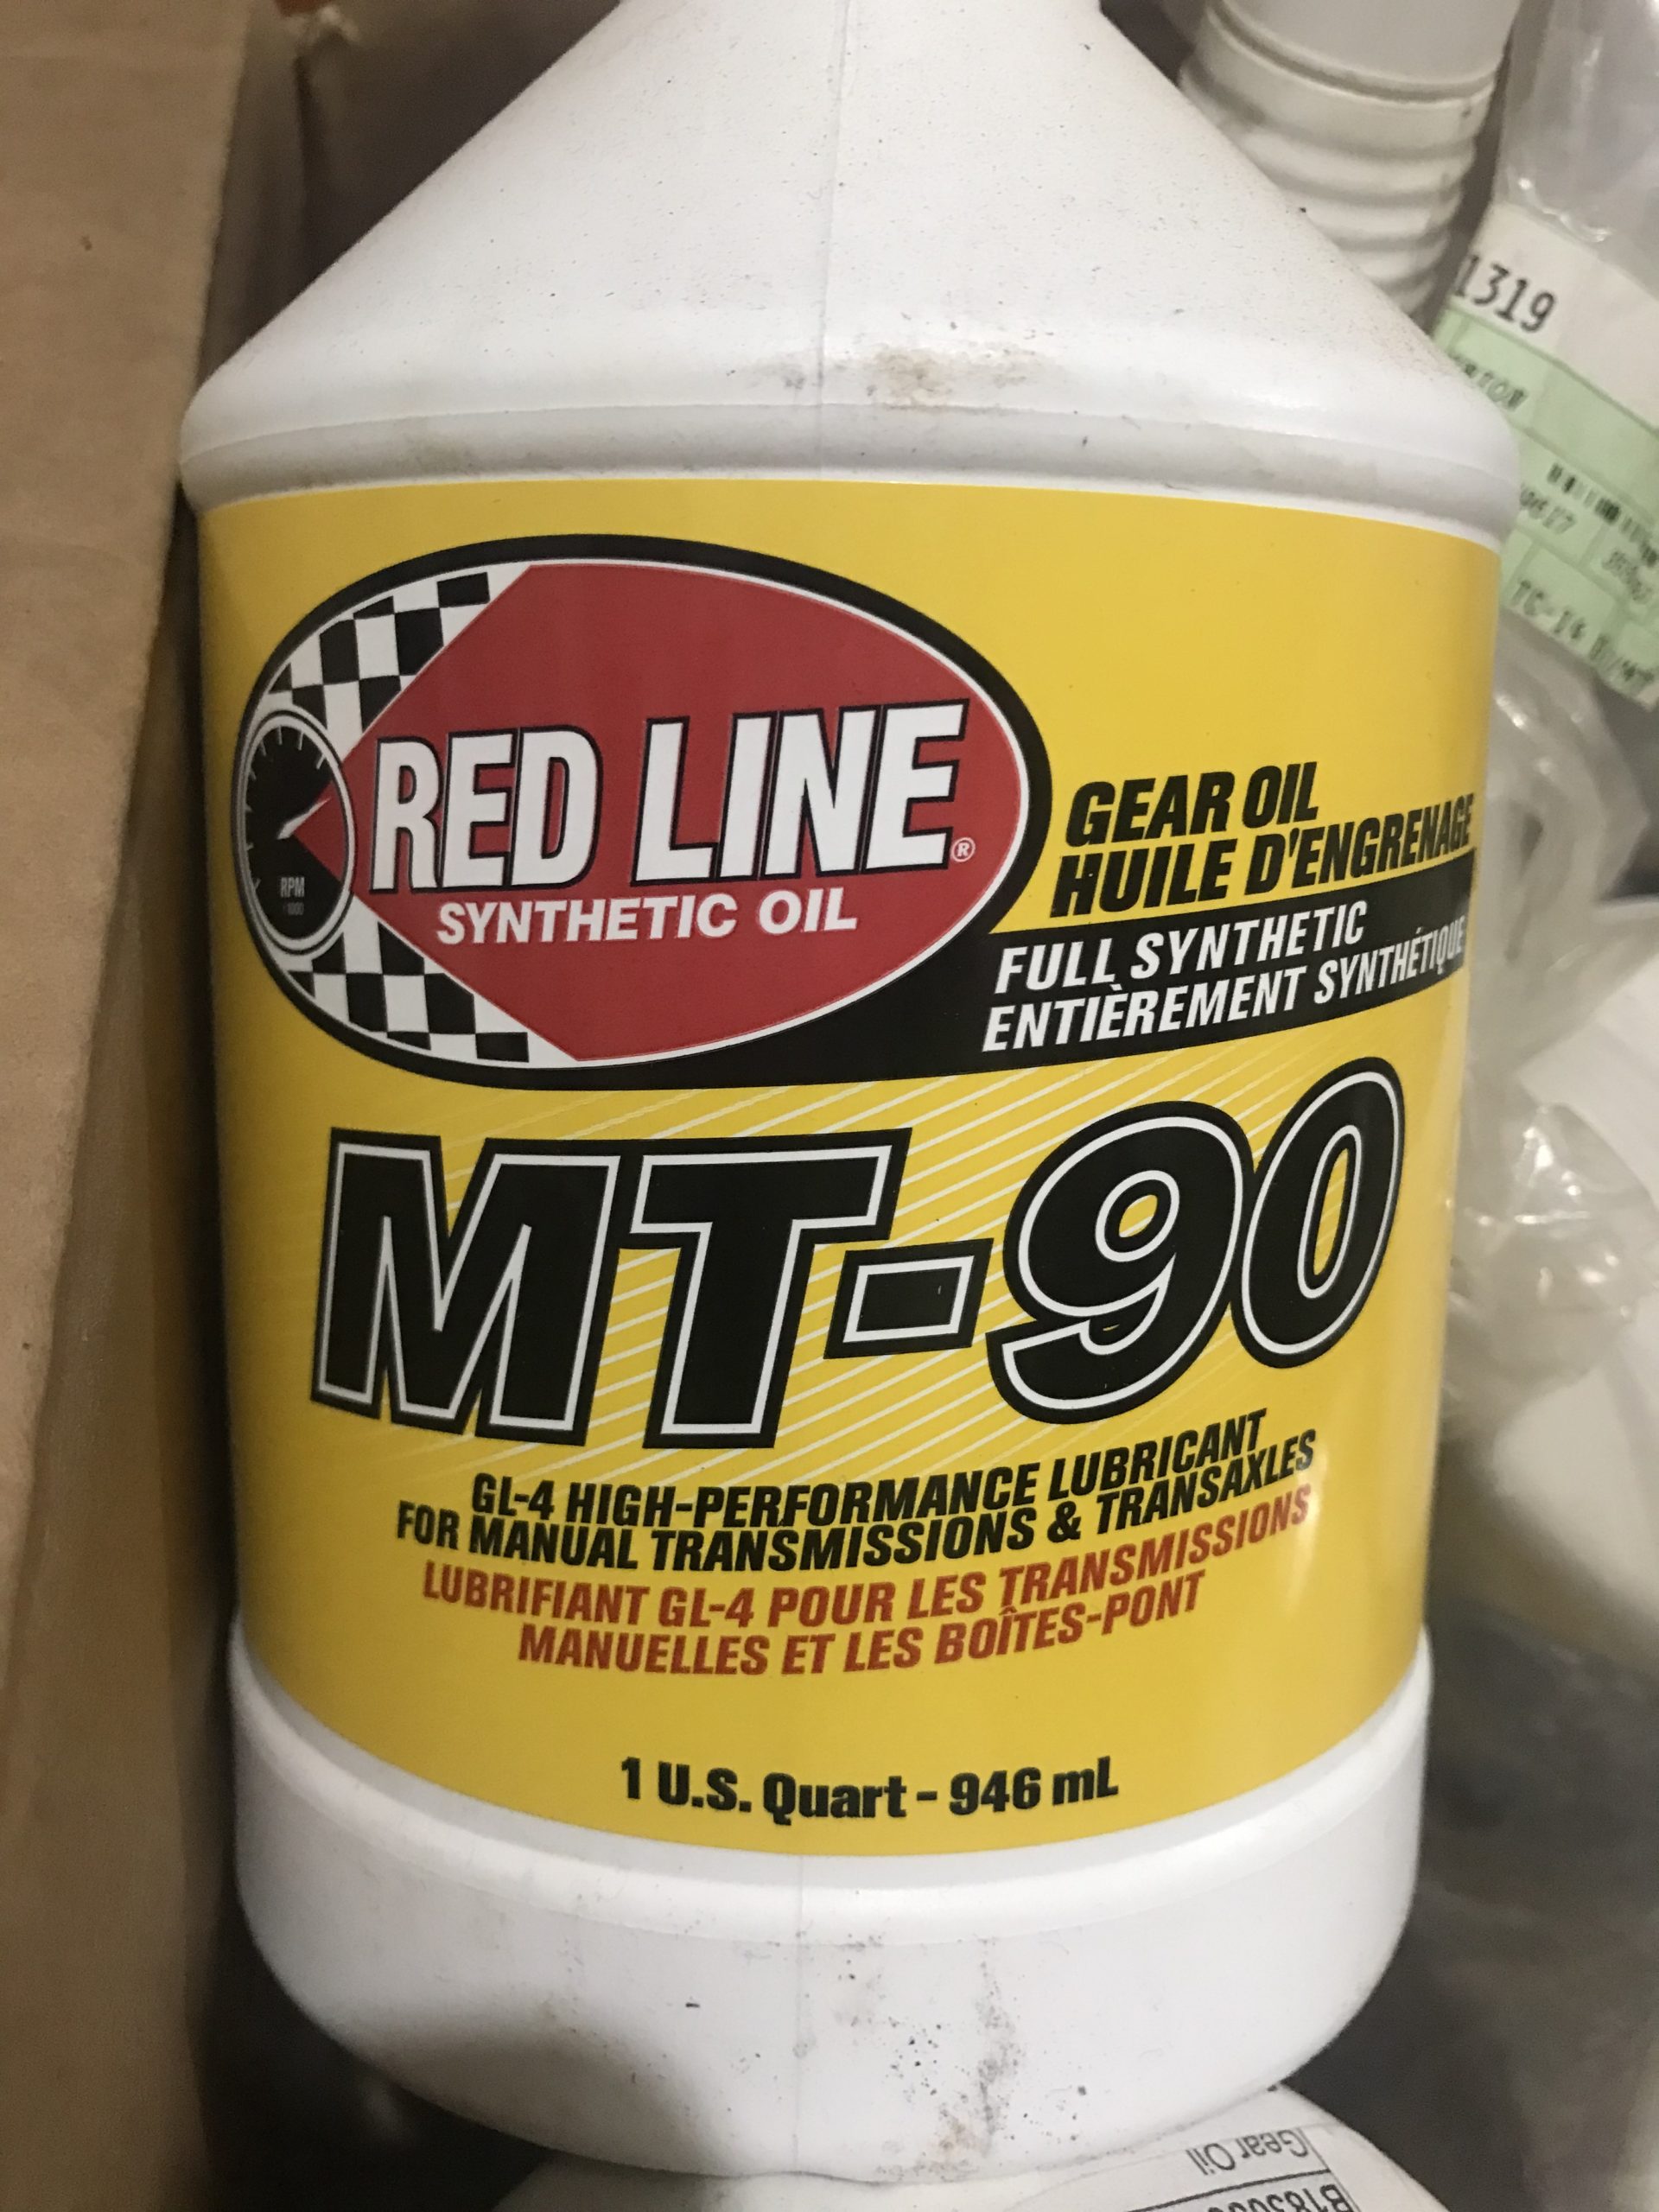
March 14, 2024 at 9:15 am #211999toys-n-yotasKeymasterGot back out last night to pump some oil. Filled the trans with 3L of MT-90, the frint diff and tcase with about 2L of motomaster 80W-90 each.
A messy night with some spills, but progress is progress.
Also put the new shifter boots on, and the floor seal as well.
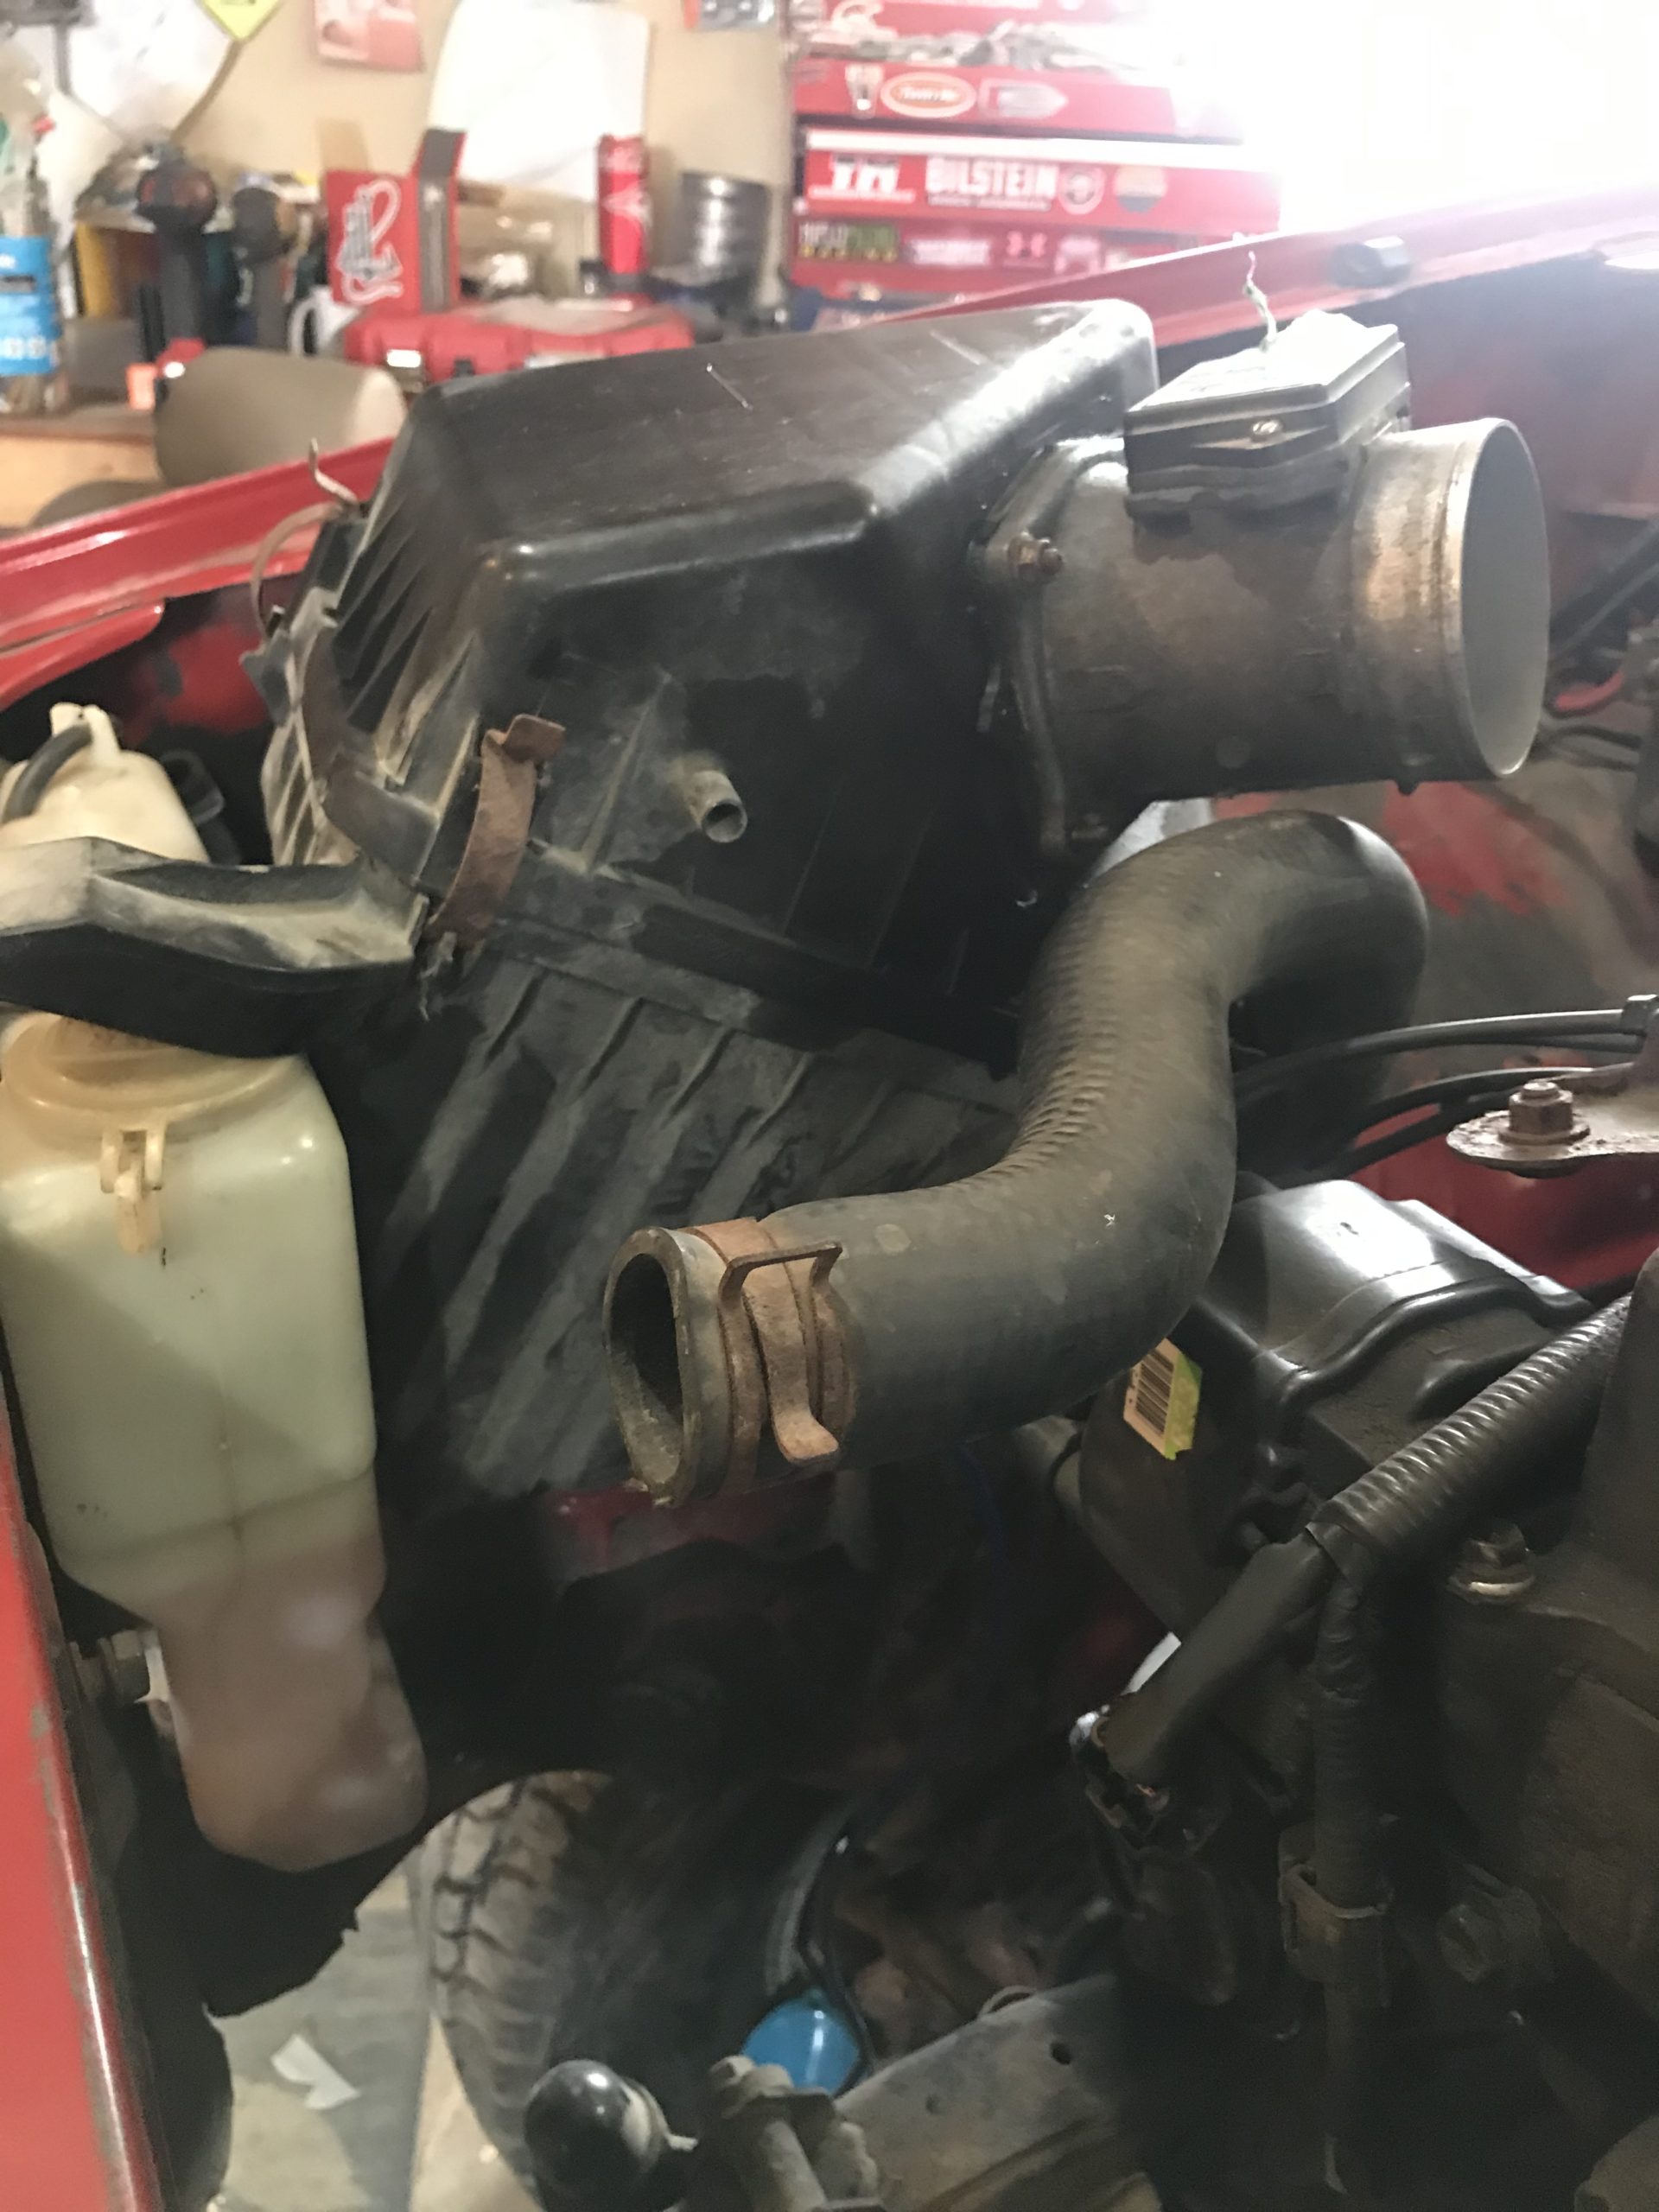
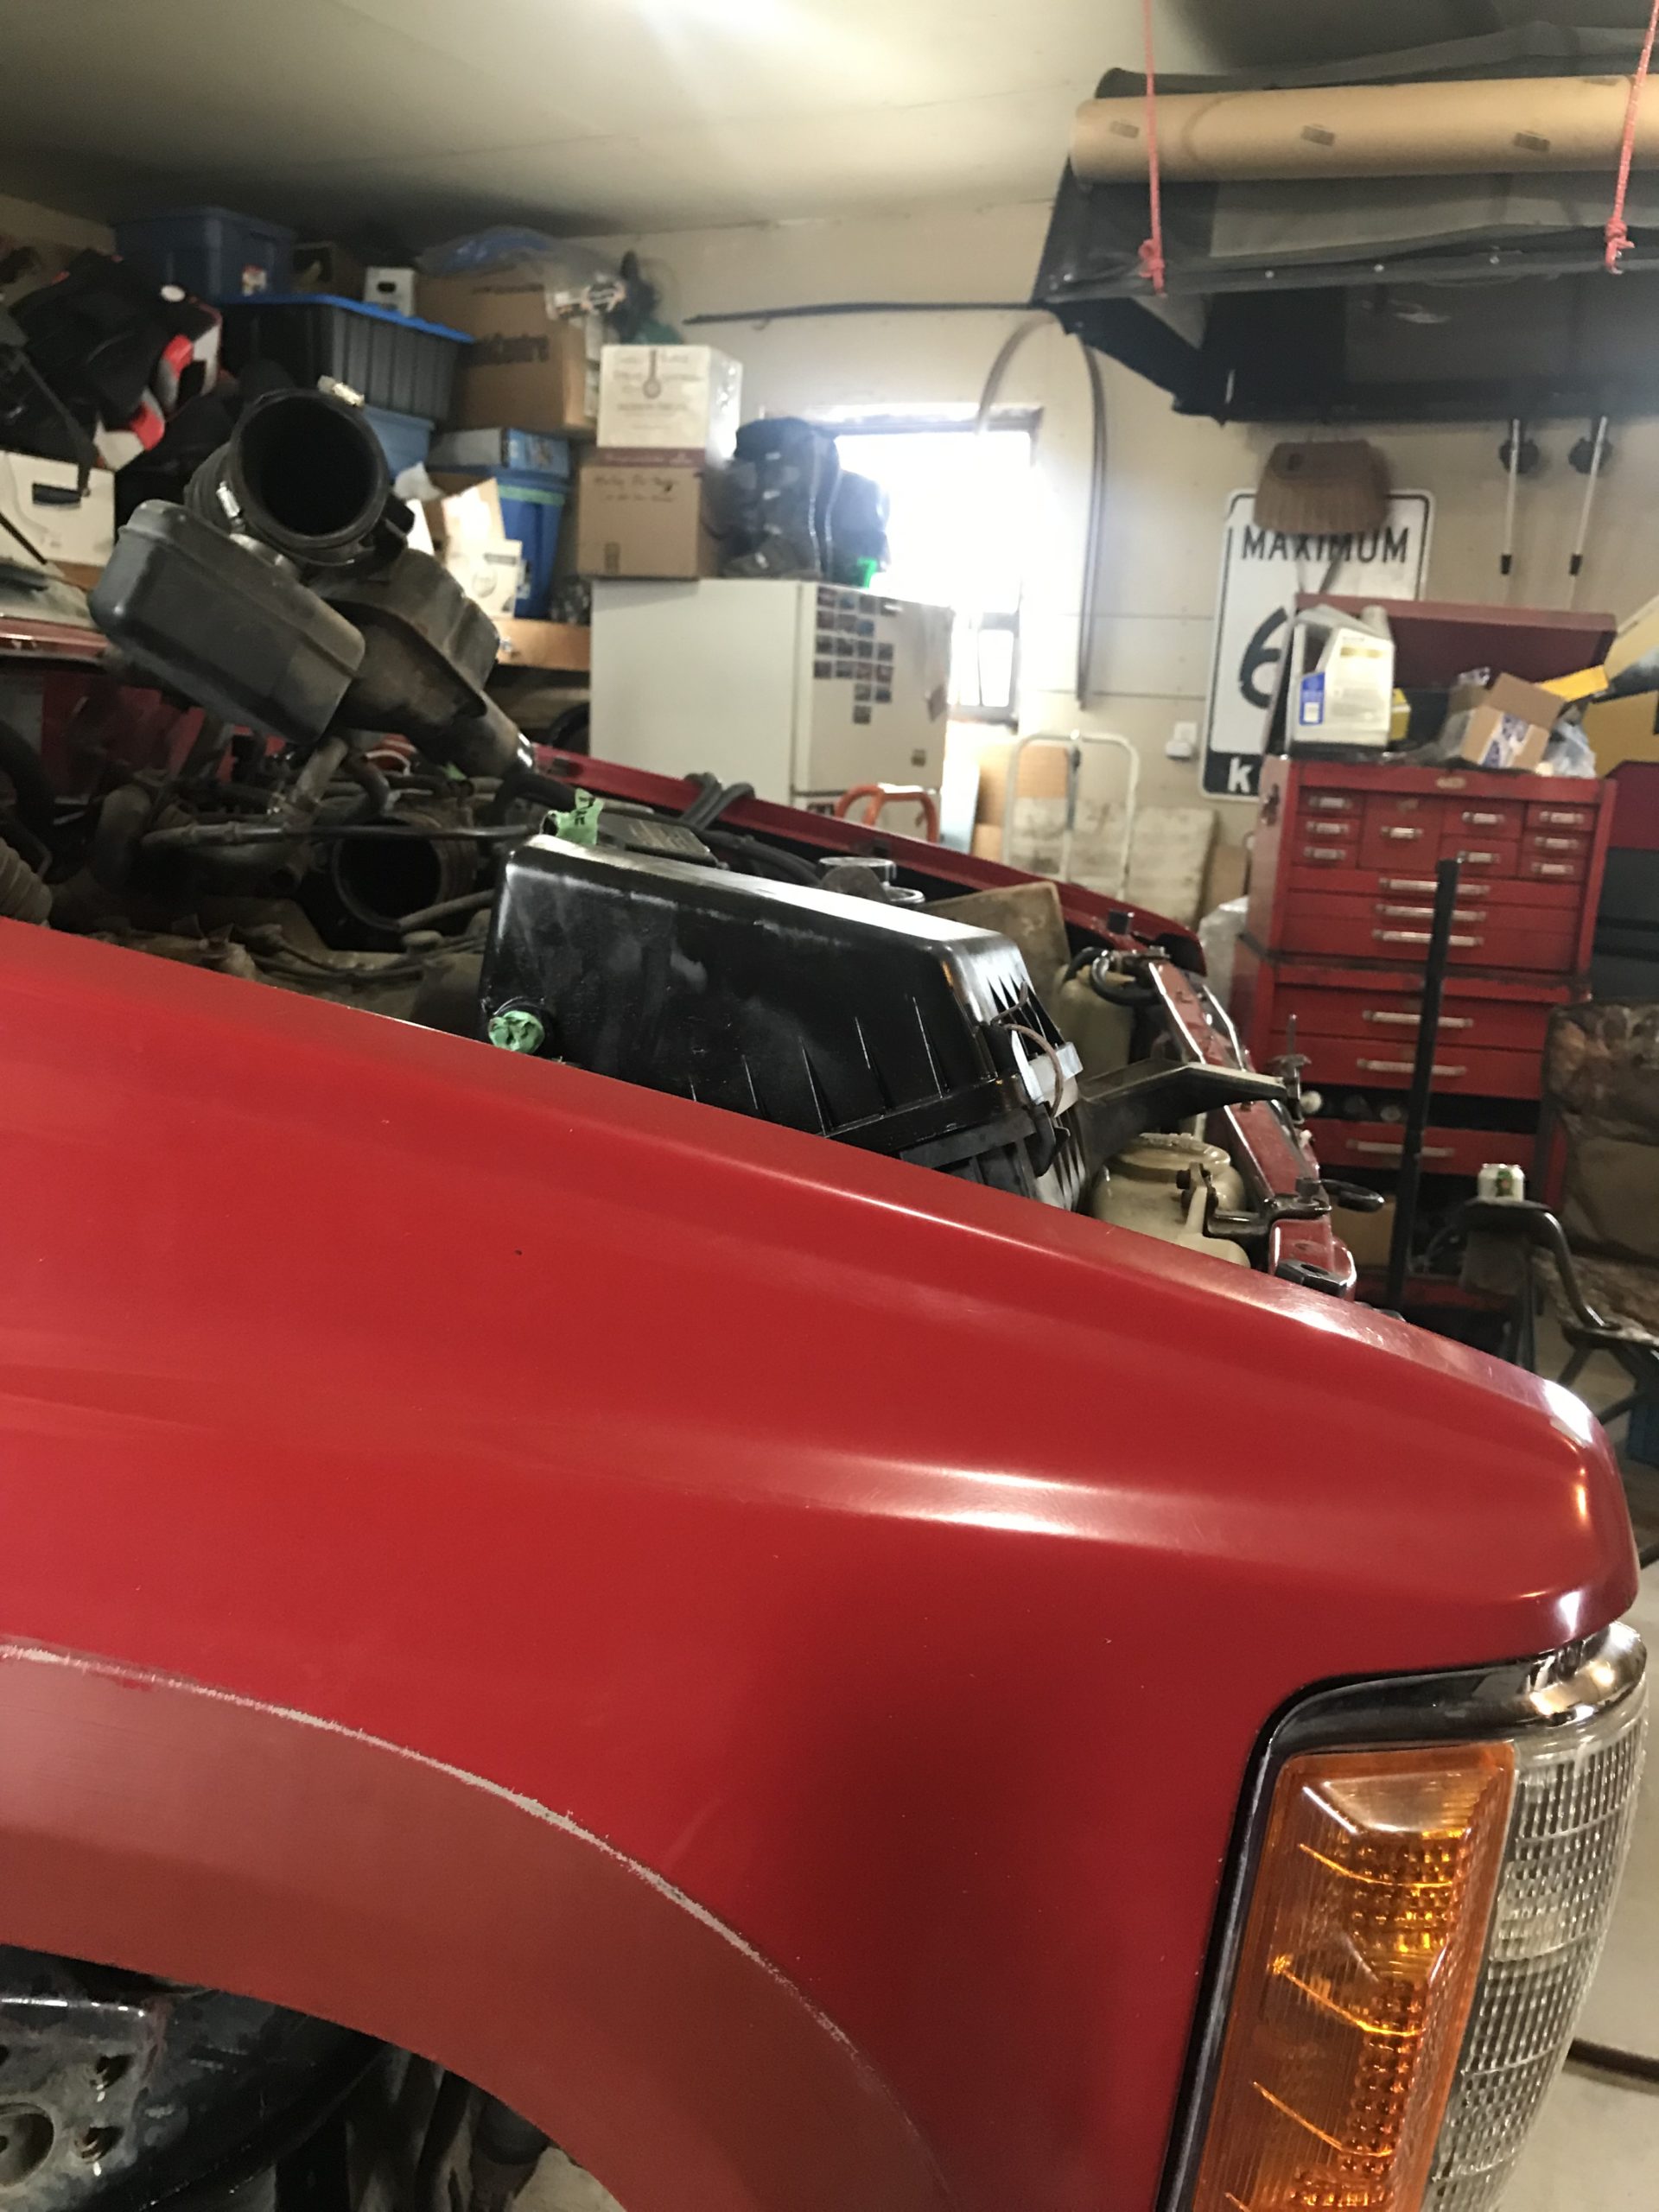
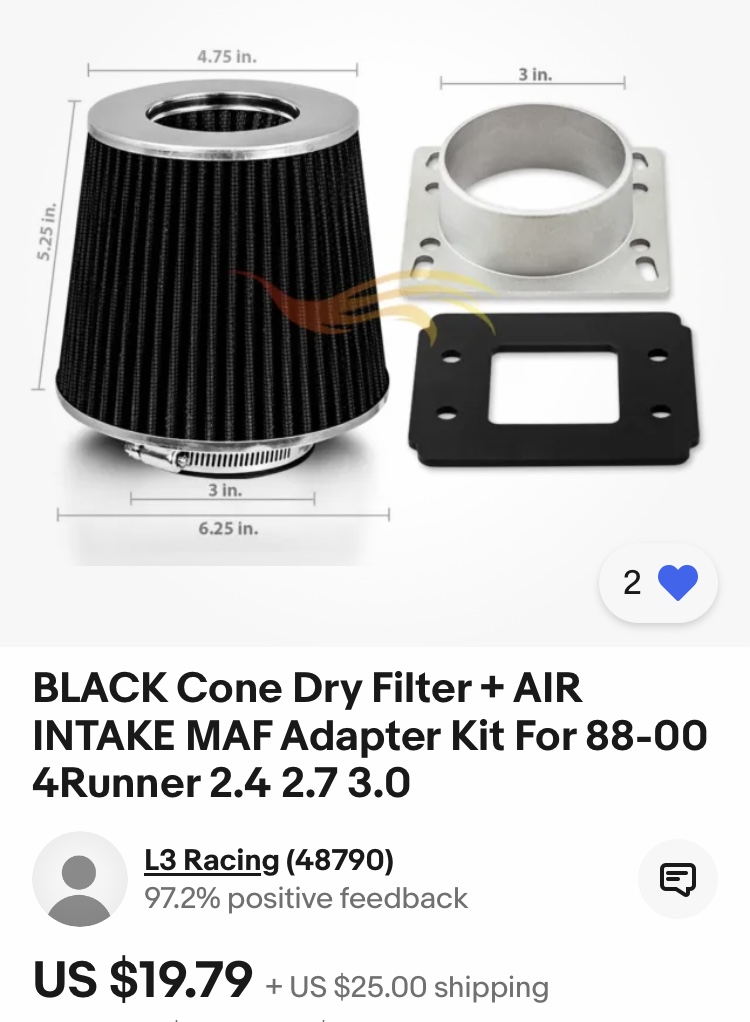
March 17, 2024 at 1:49 pm #212000toys-n-yotasKeymasterThe other night I came up with a cheap solution to the “airbox problem”. Long story short, it’s good enough for now.
The problem with the air box is that it is just way too big, height wise. I’ll be required to drastically cut the former battery tray out of Redee, or trim off 50% of the bottom of the 3rz air box, then recreate it somehow.
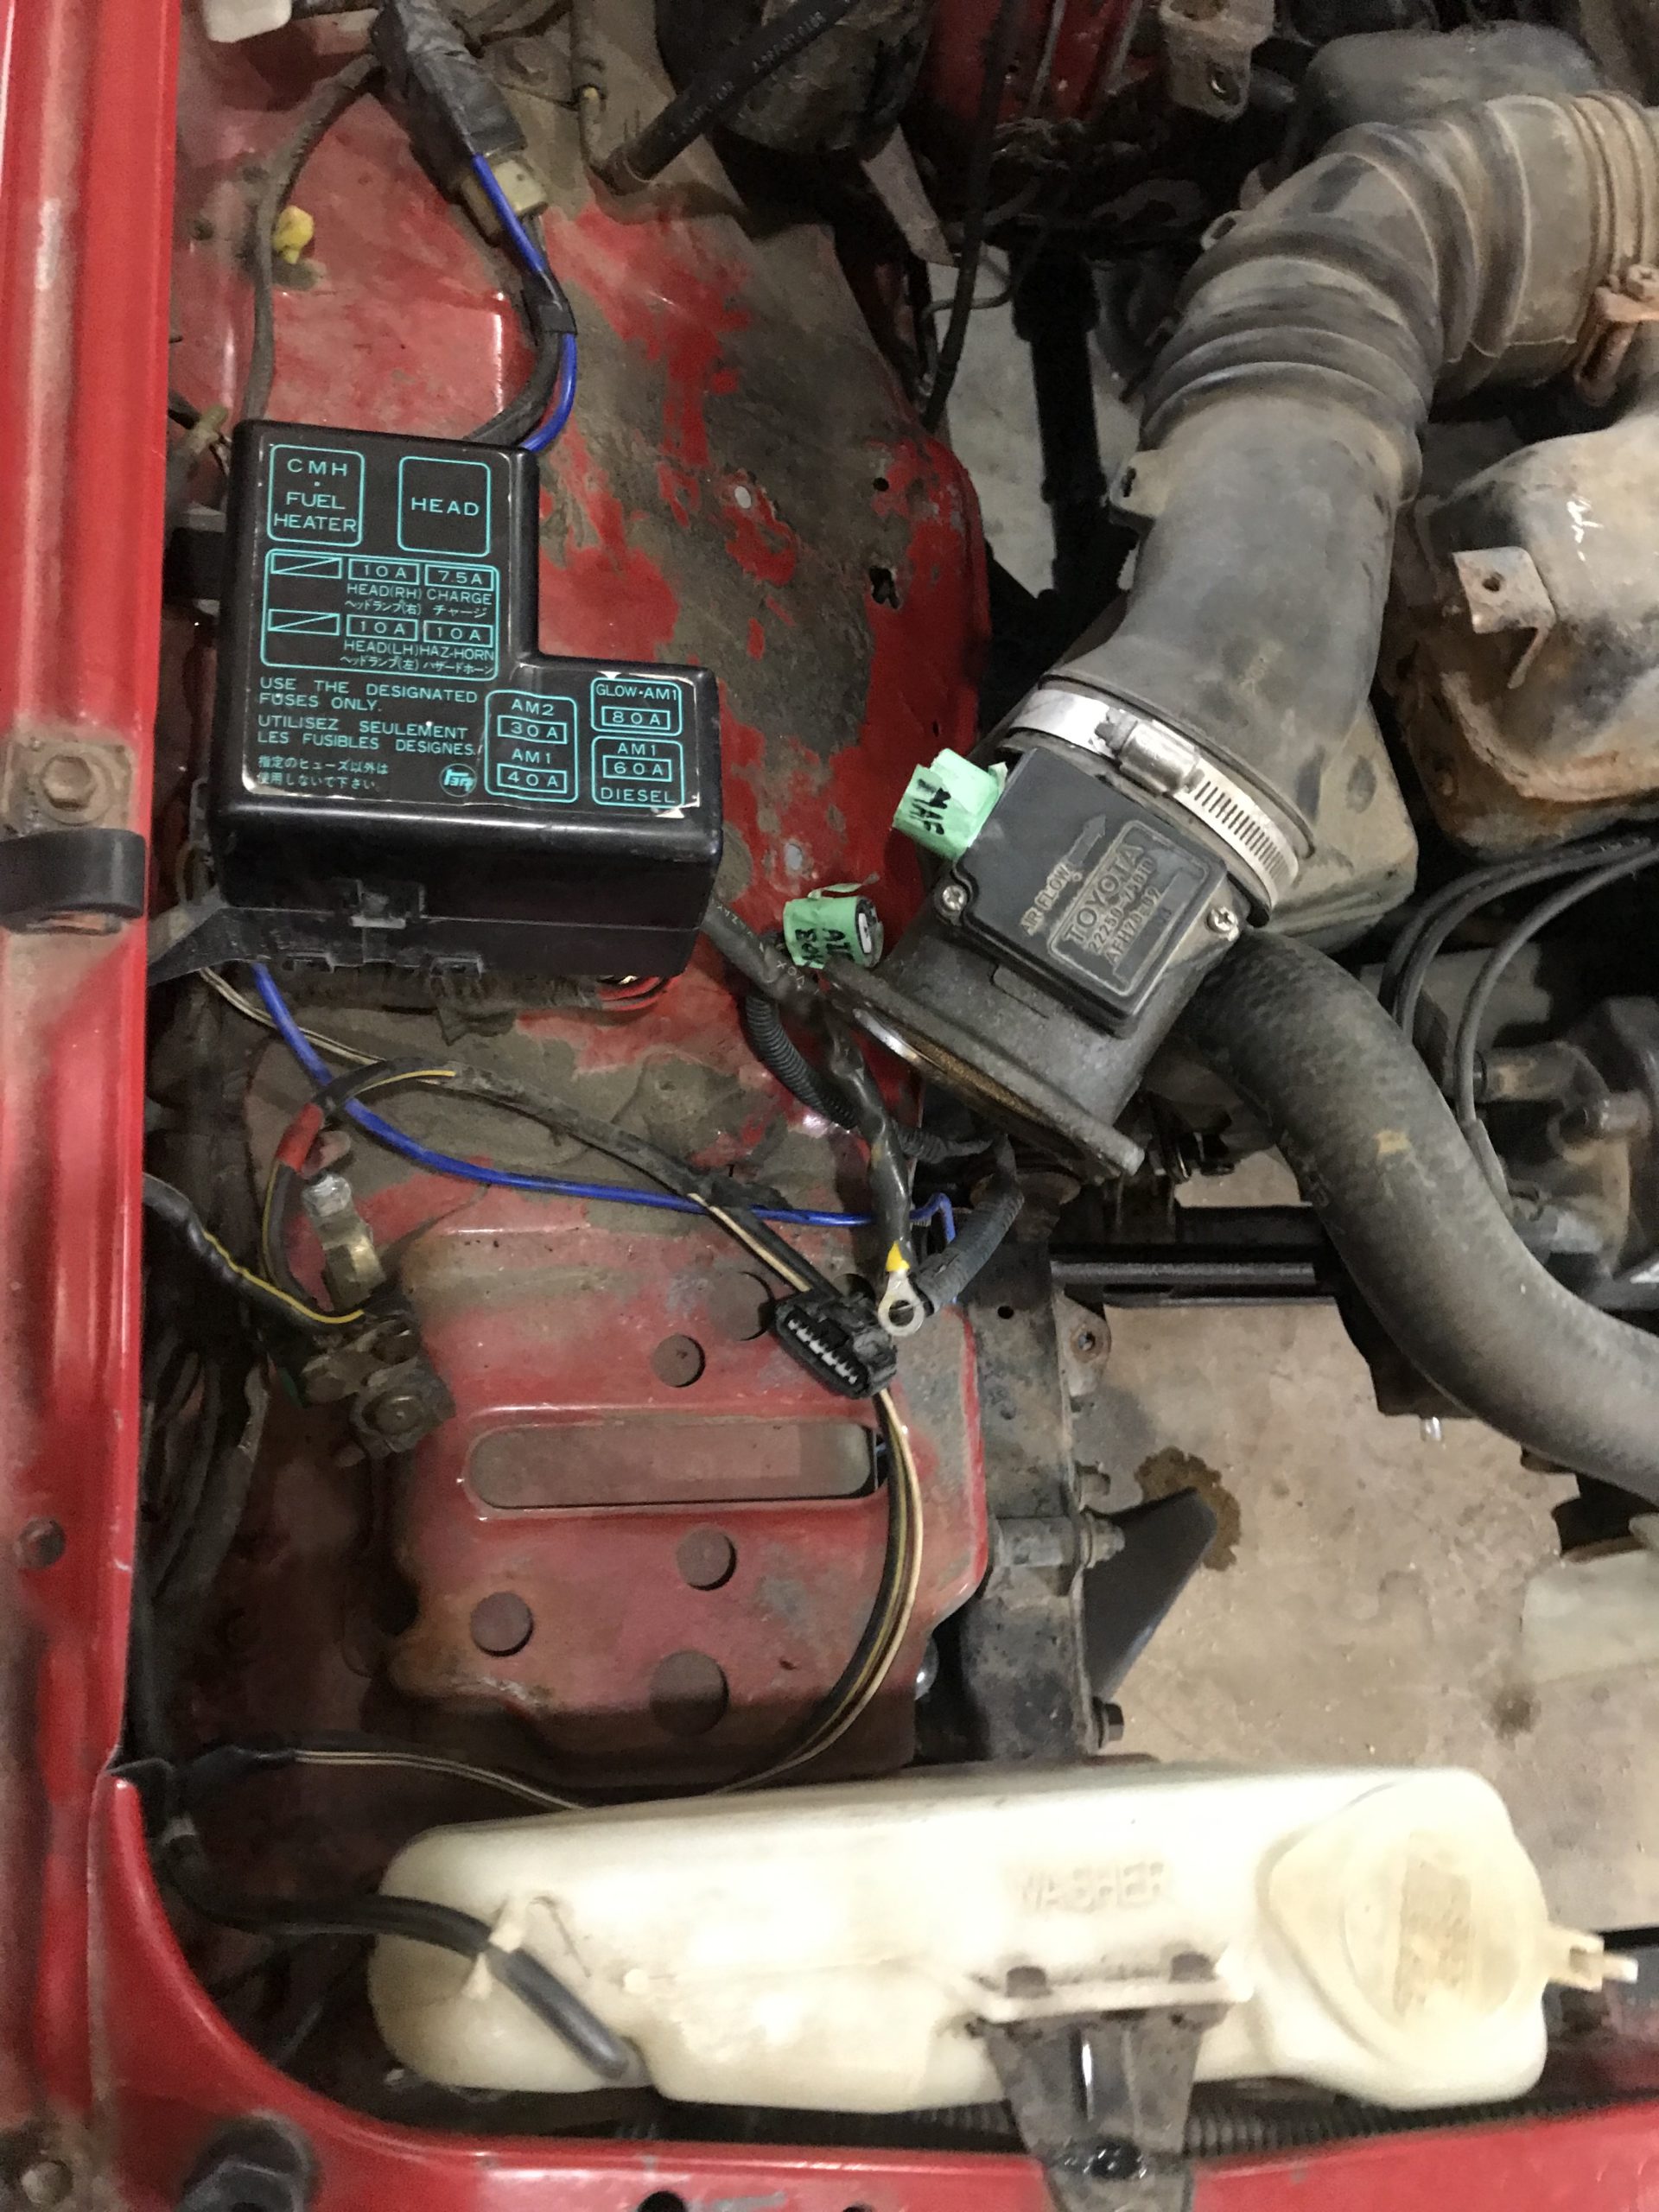
My solution, I dissected the MAF sensor out of the air box (with a little persuasion), and bought an adapter that allows me to mount a cone filter to the intake side of it. The kit also comes with a cone filter, not bad for $50.
Parts should arrive soon, we’ll see how it goes. I still need to build a bracket to stabilize that MAF sensor end to the body like the air box used to be.
-
This reply was modified 1 year, 4 months ago by
-
AuthorPosts


- You must be logged in to reply to this topic.