Home › Forums › TRUCK BUILDS › Redee – 1986 4Runner
- This topic has 691 replies, 9 voices, and was last updated 5 days ago by
 toys-n-yotas.
-
AuthorPosts
-
October 1, 2018 at 7:53 pm #207241
 Slick_YotaKeymaster
epoxy is a wonderful product!
October 1, 2018 at 8:16 pm #207243 finn the kareilian vikingKeymaster
tom, txt’d you a couple of pics of that piece. hope they’re clear
October 3, 2018 at 12:12 pm #207252 toys-n-yotasKeymaster
Mark, thanks a bunch for digging out the defrost venting for me.
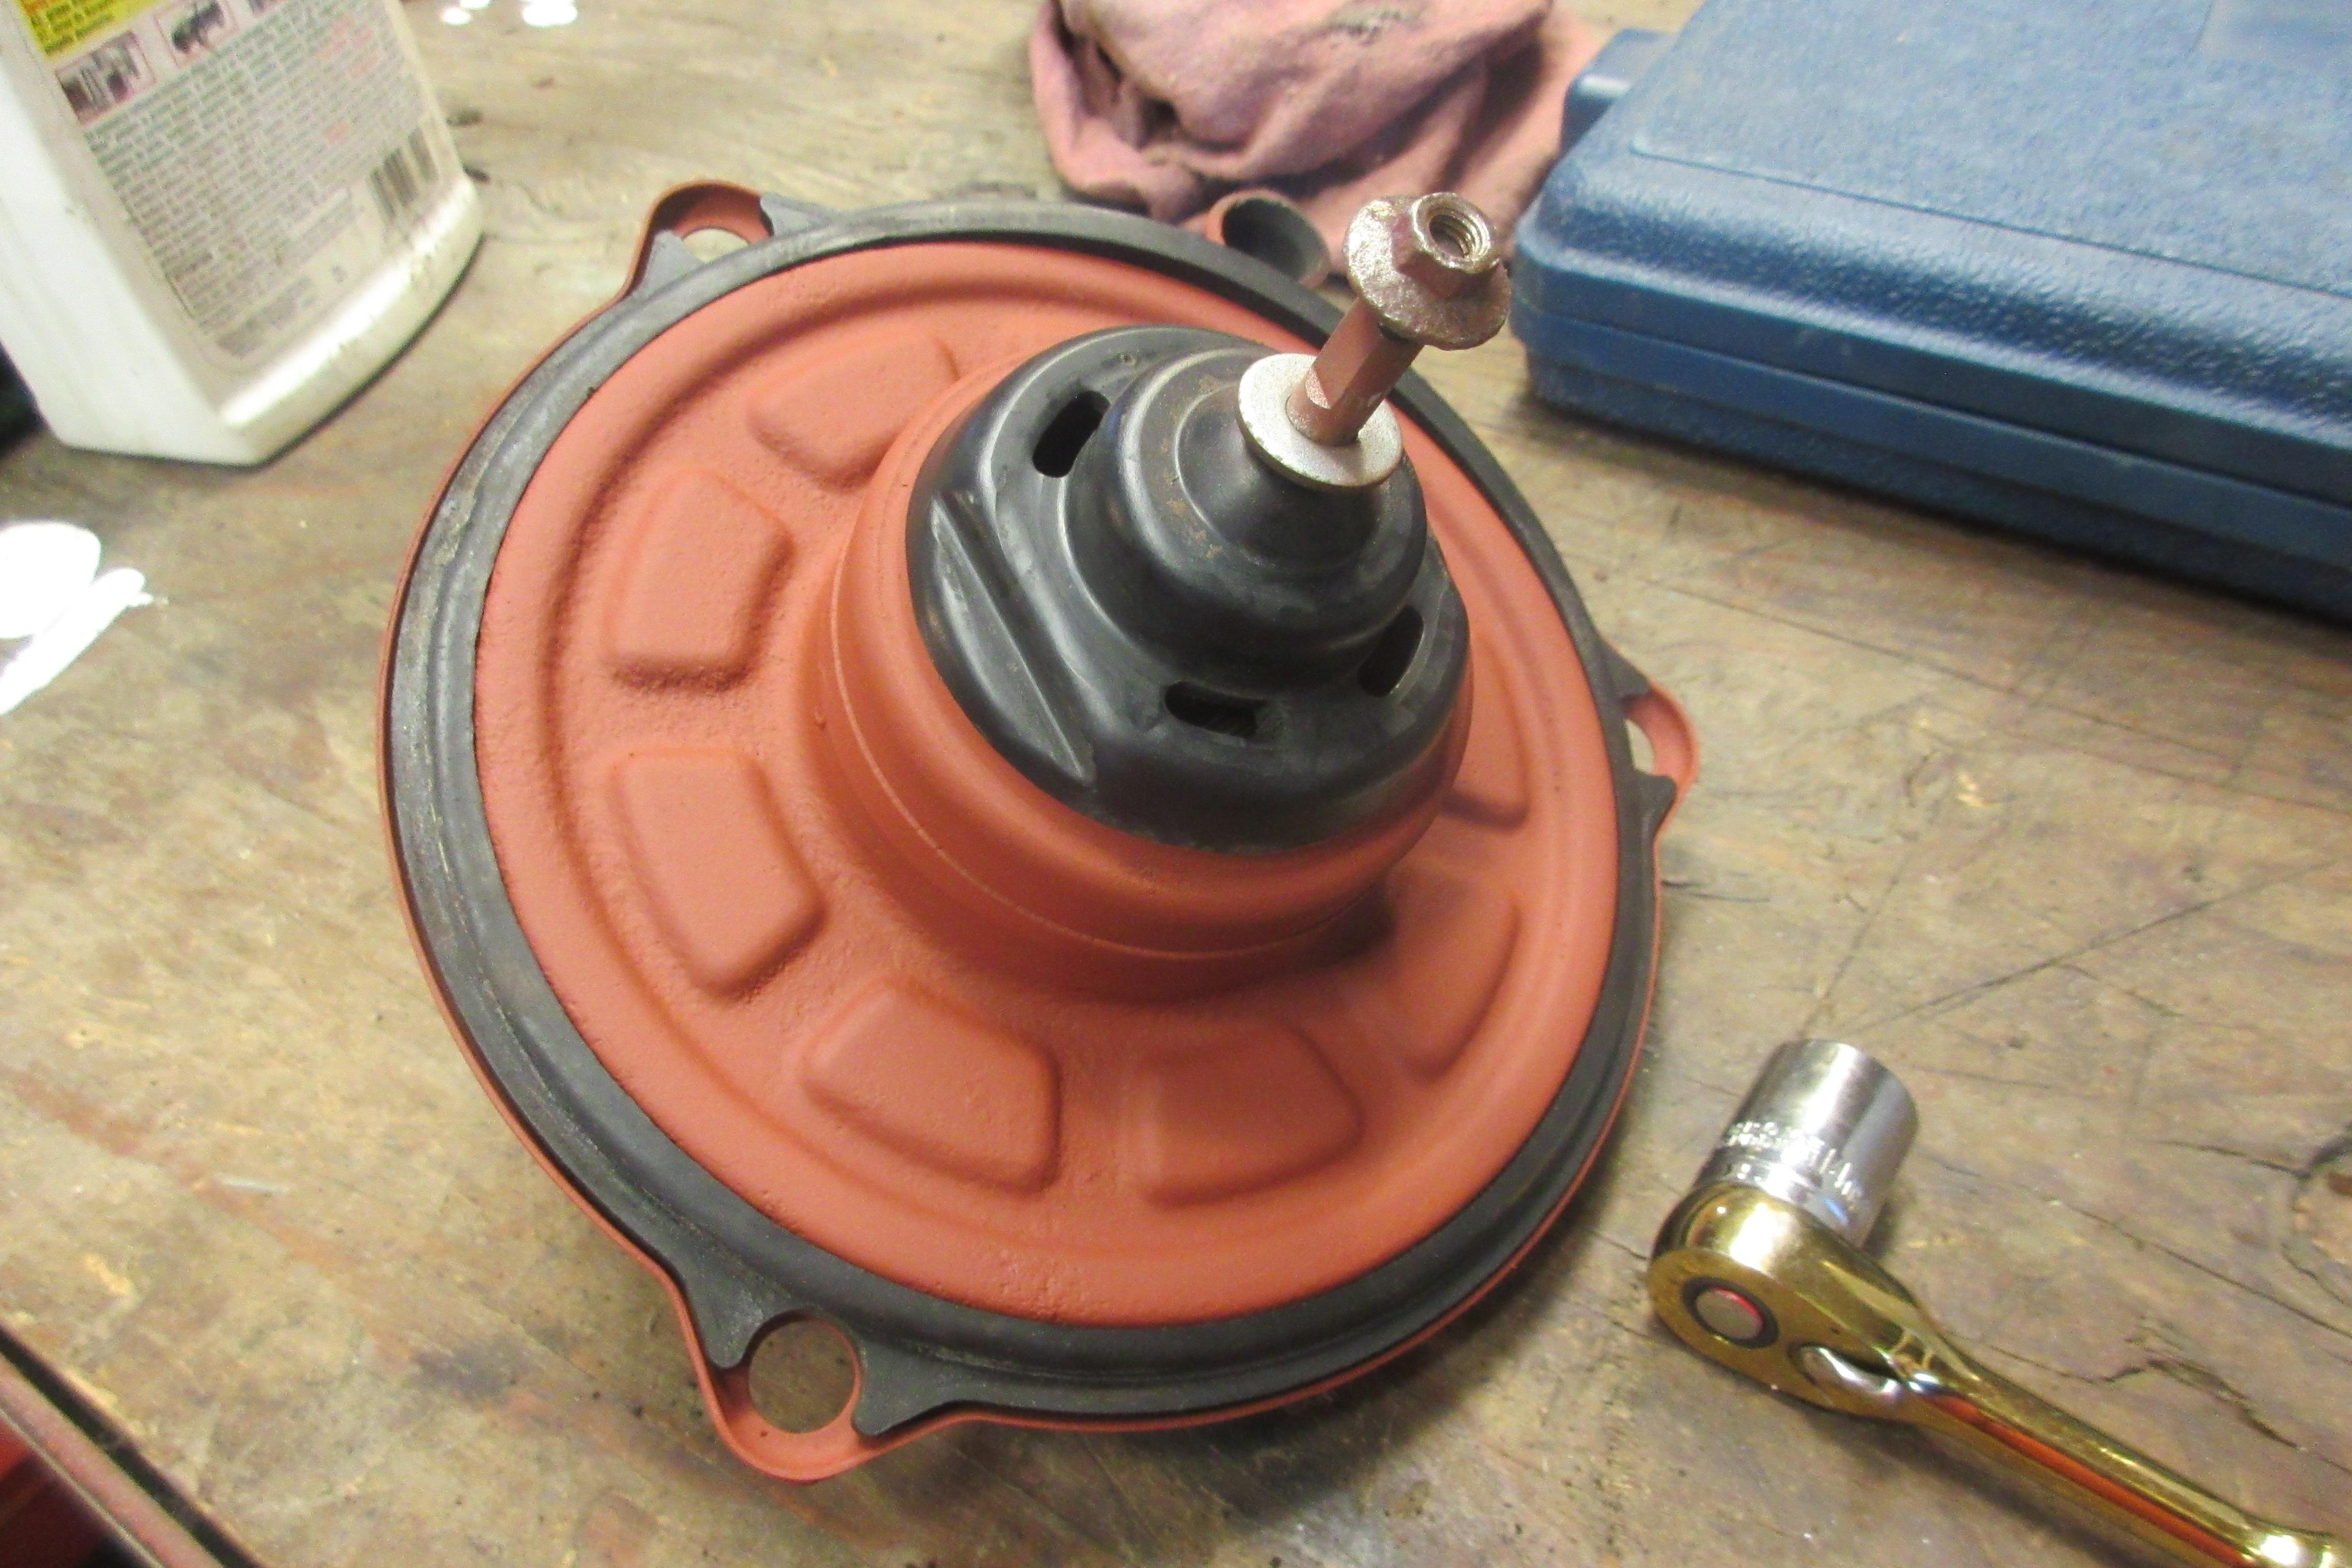
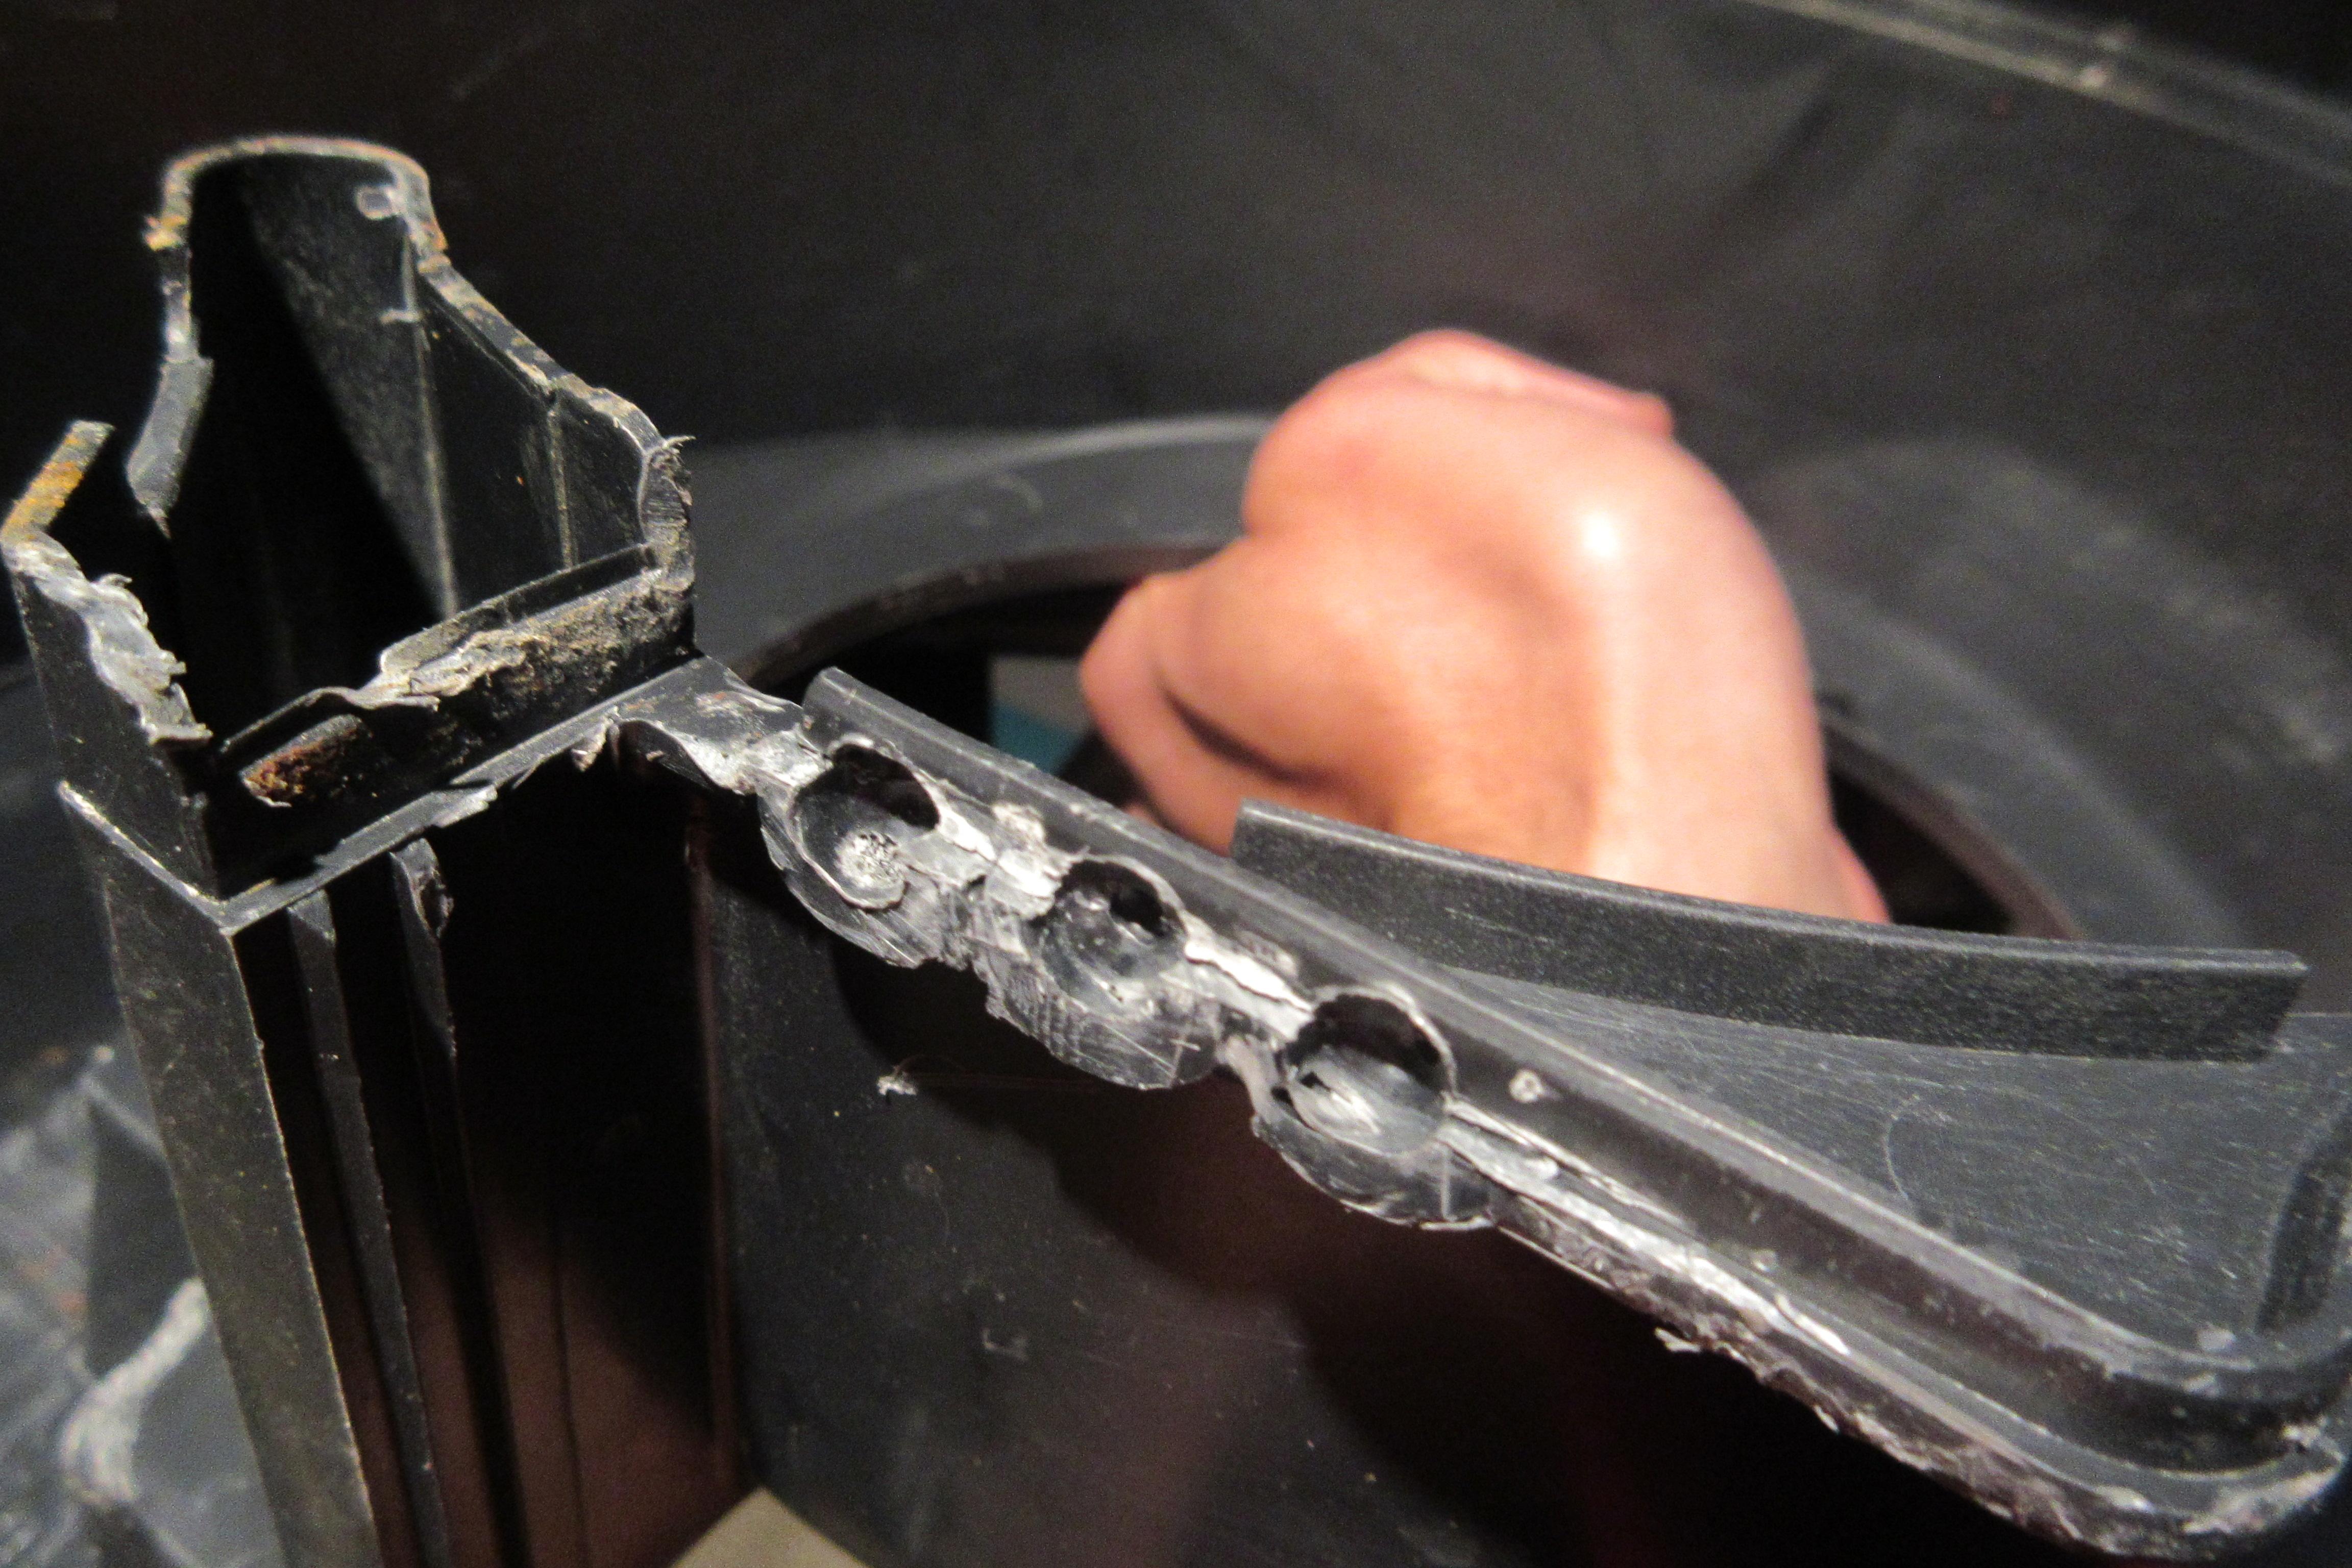
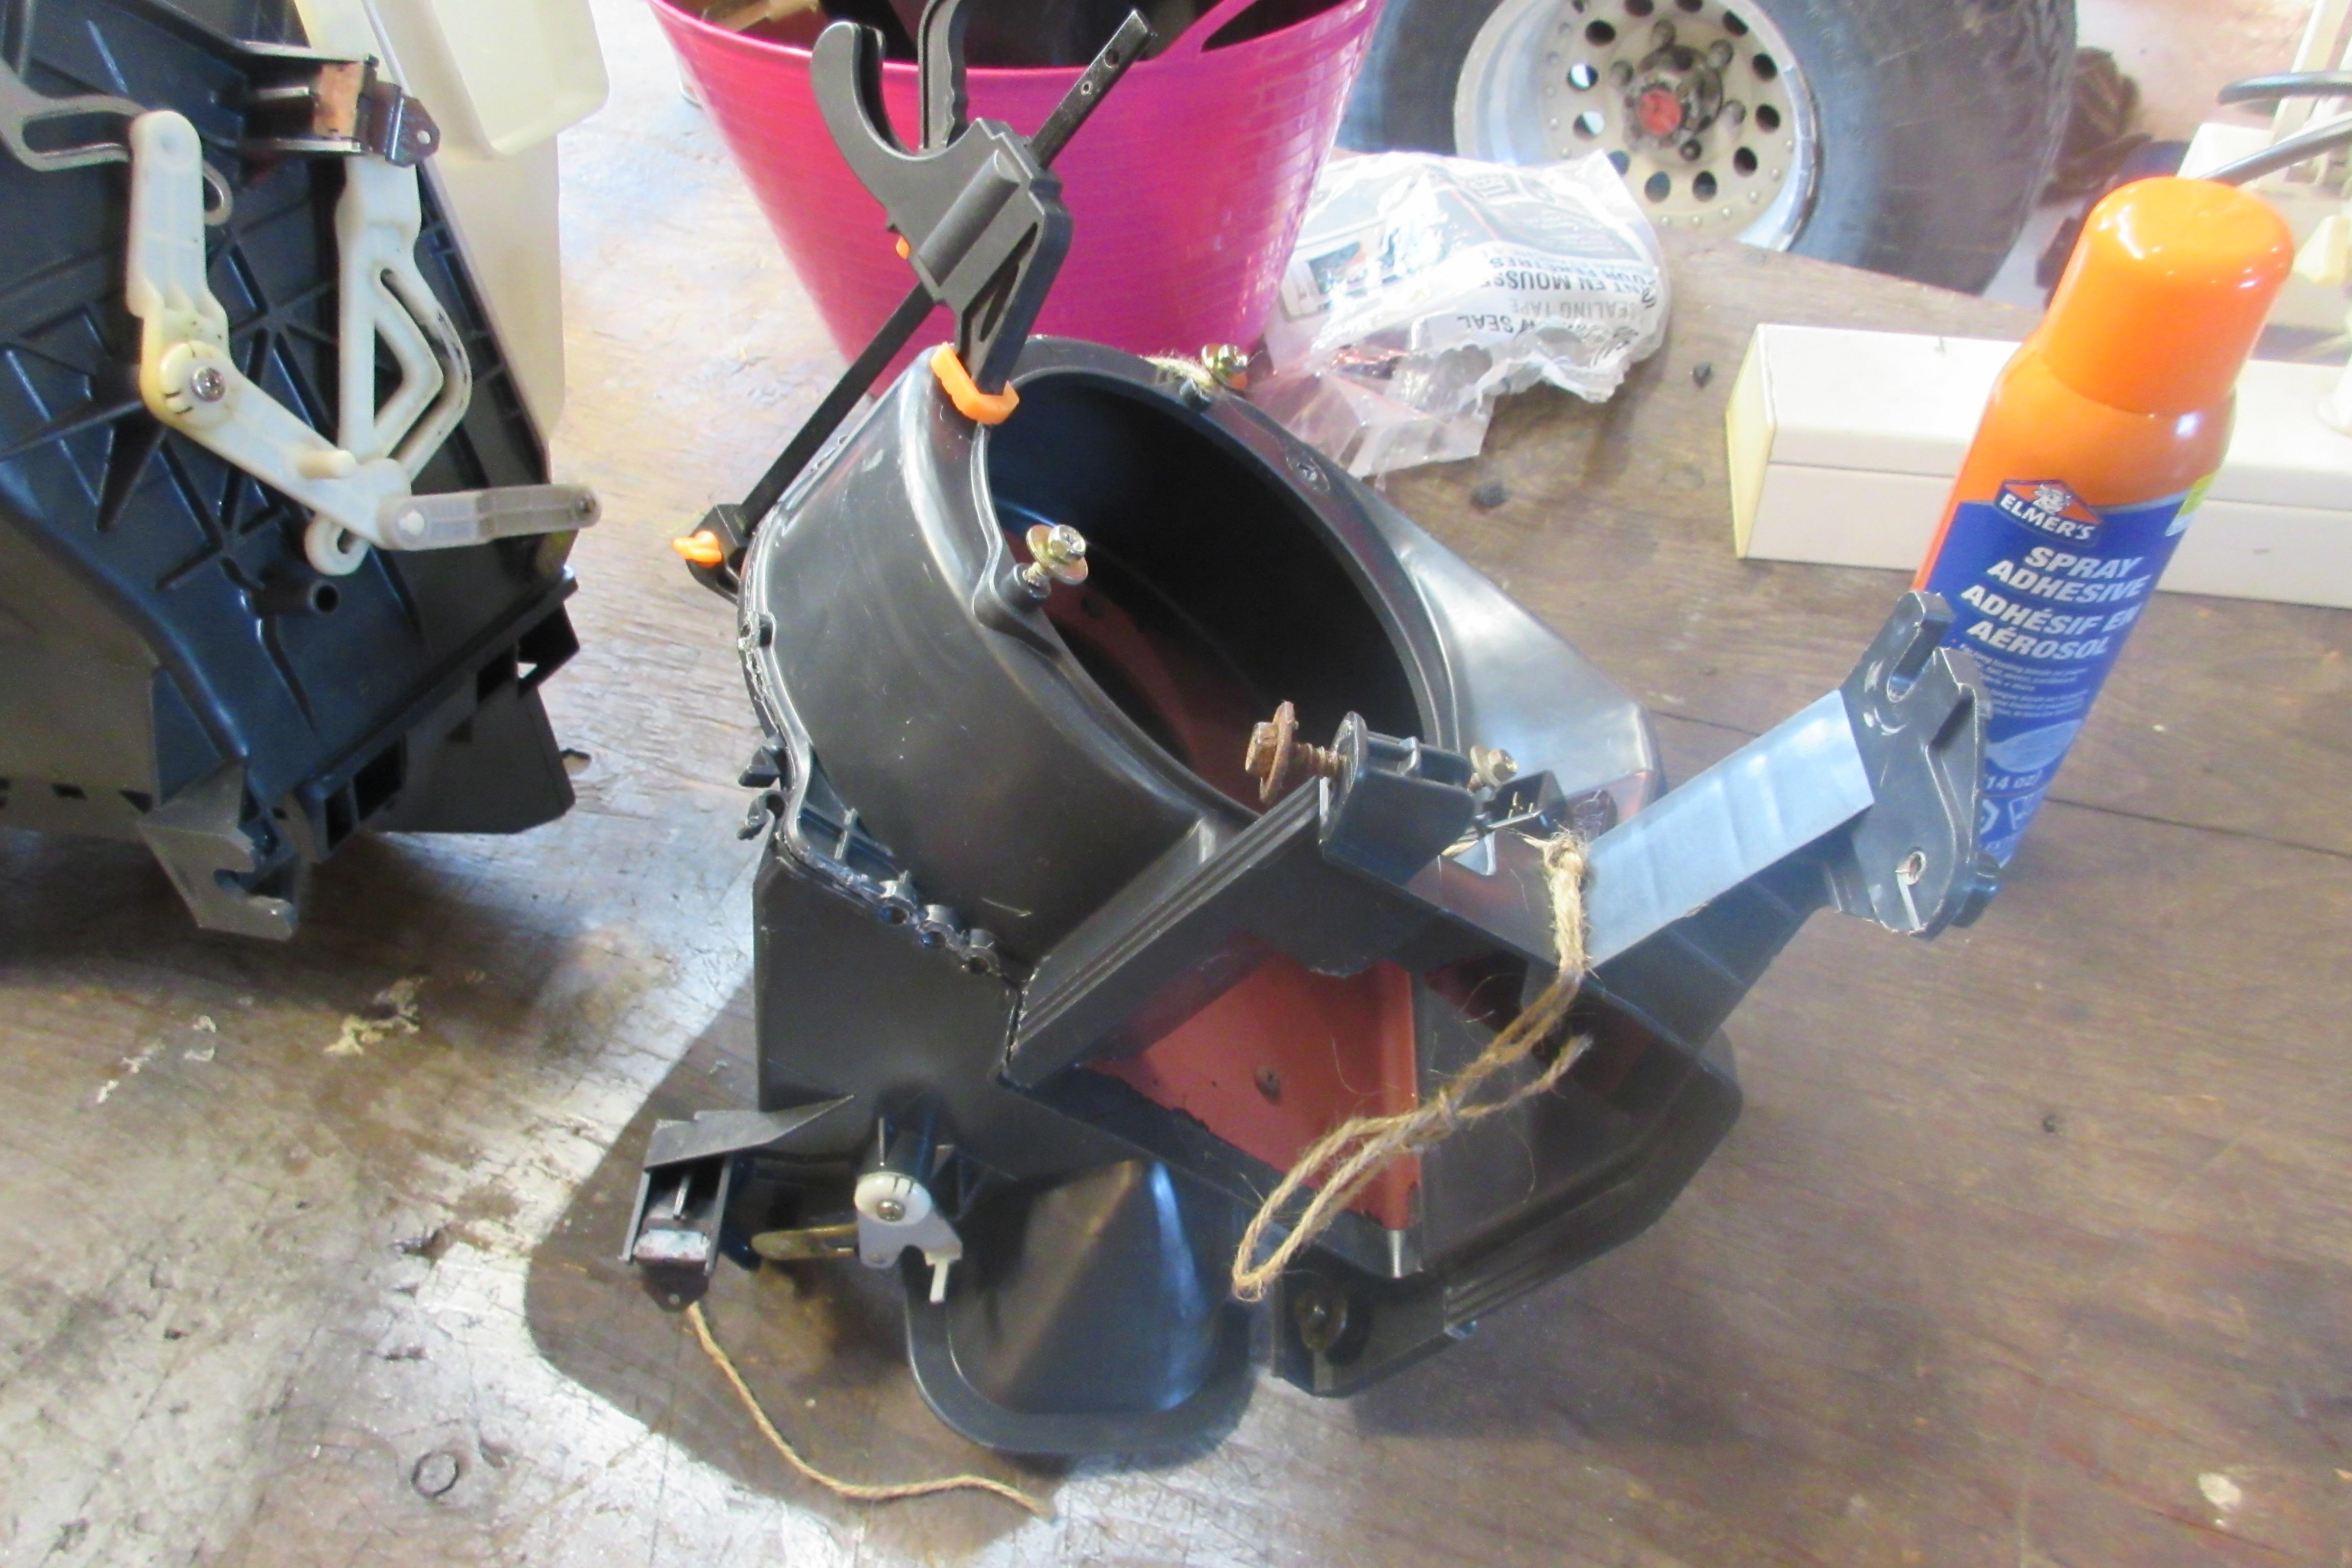
Slick, I have faith in epoxy, but I don’t want to bury it behind the dash. Should my repair fail, the rattling would annoy me to no end and it’d have to come back out. I think I will have to epoxy the main blower box back together. The two halves are sandwhiched by plastic rivots/welding or some kind of heating process.
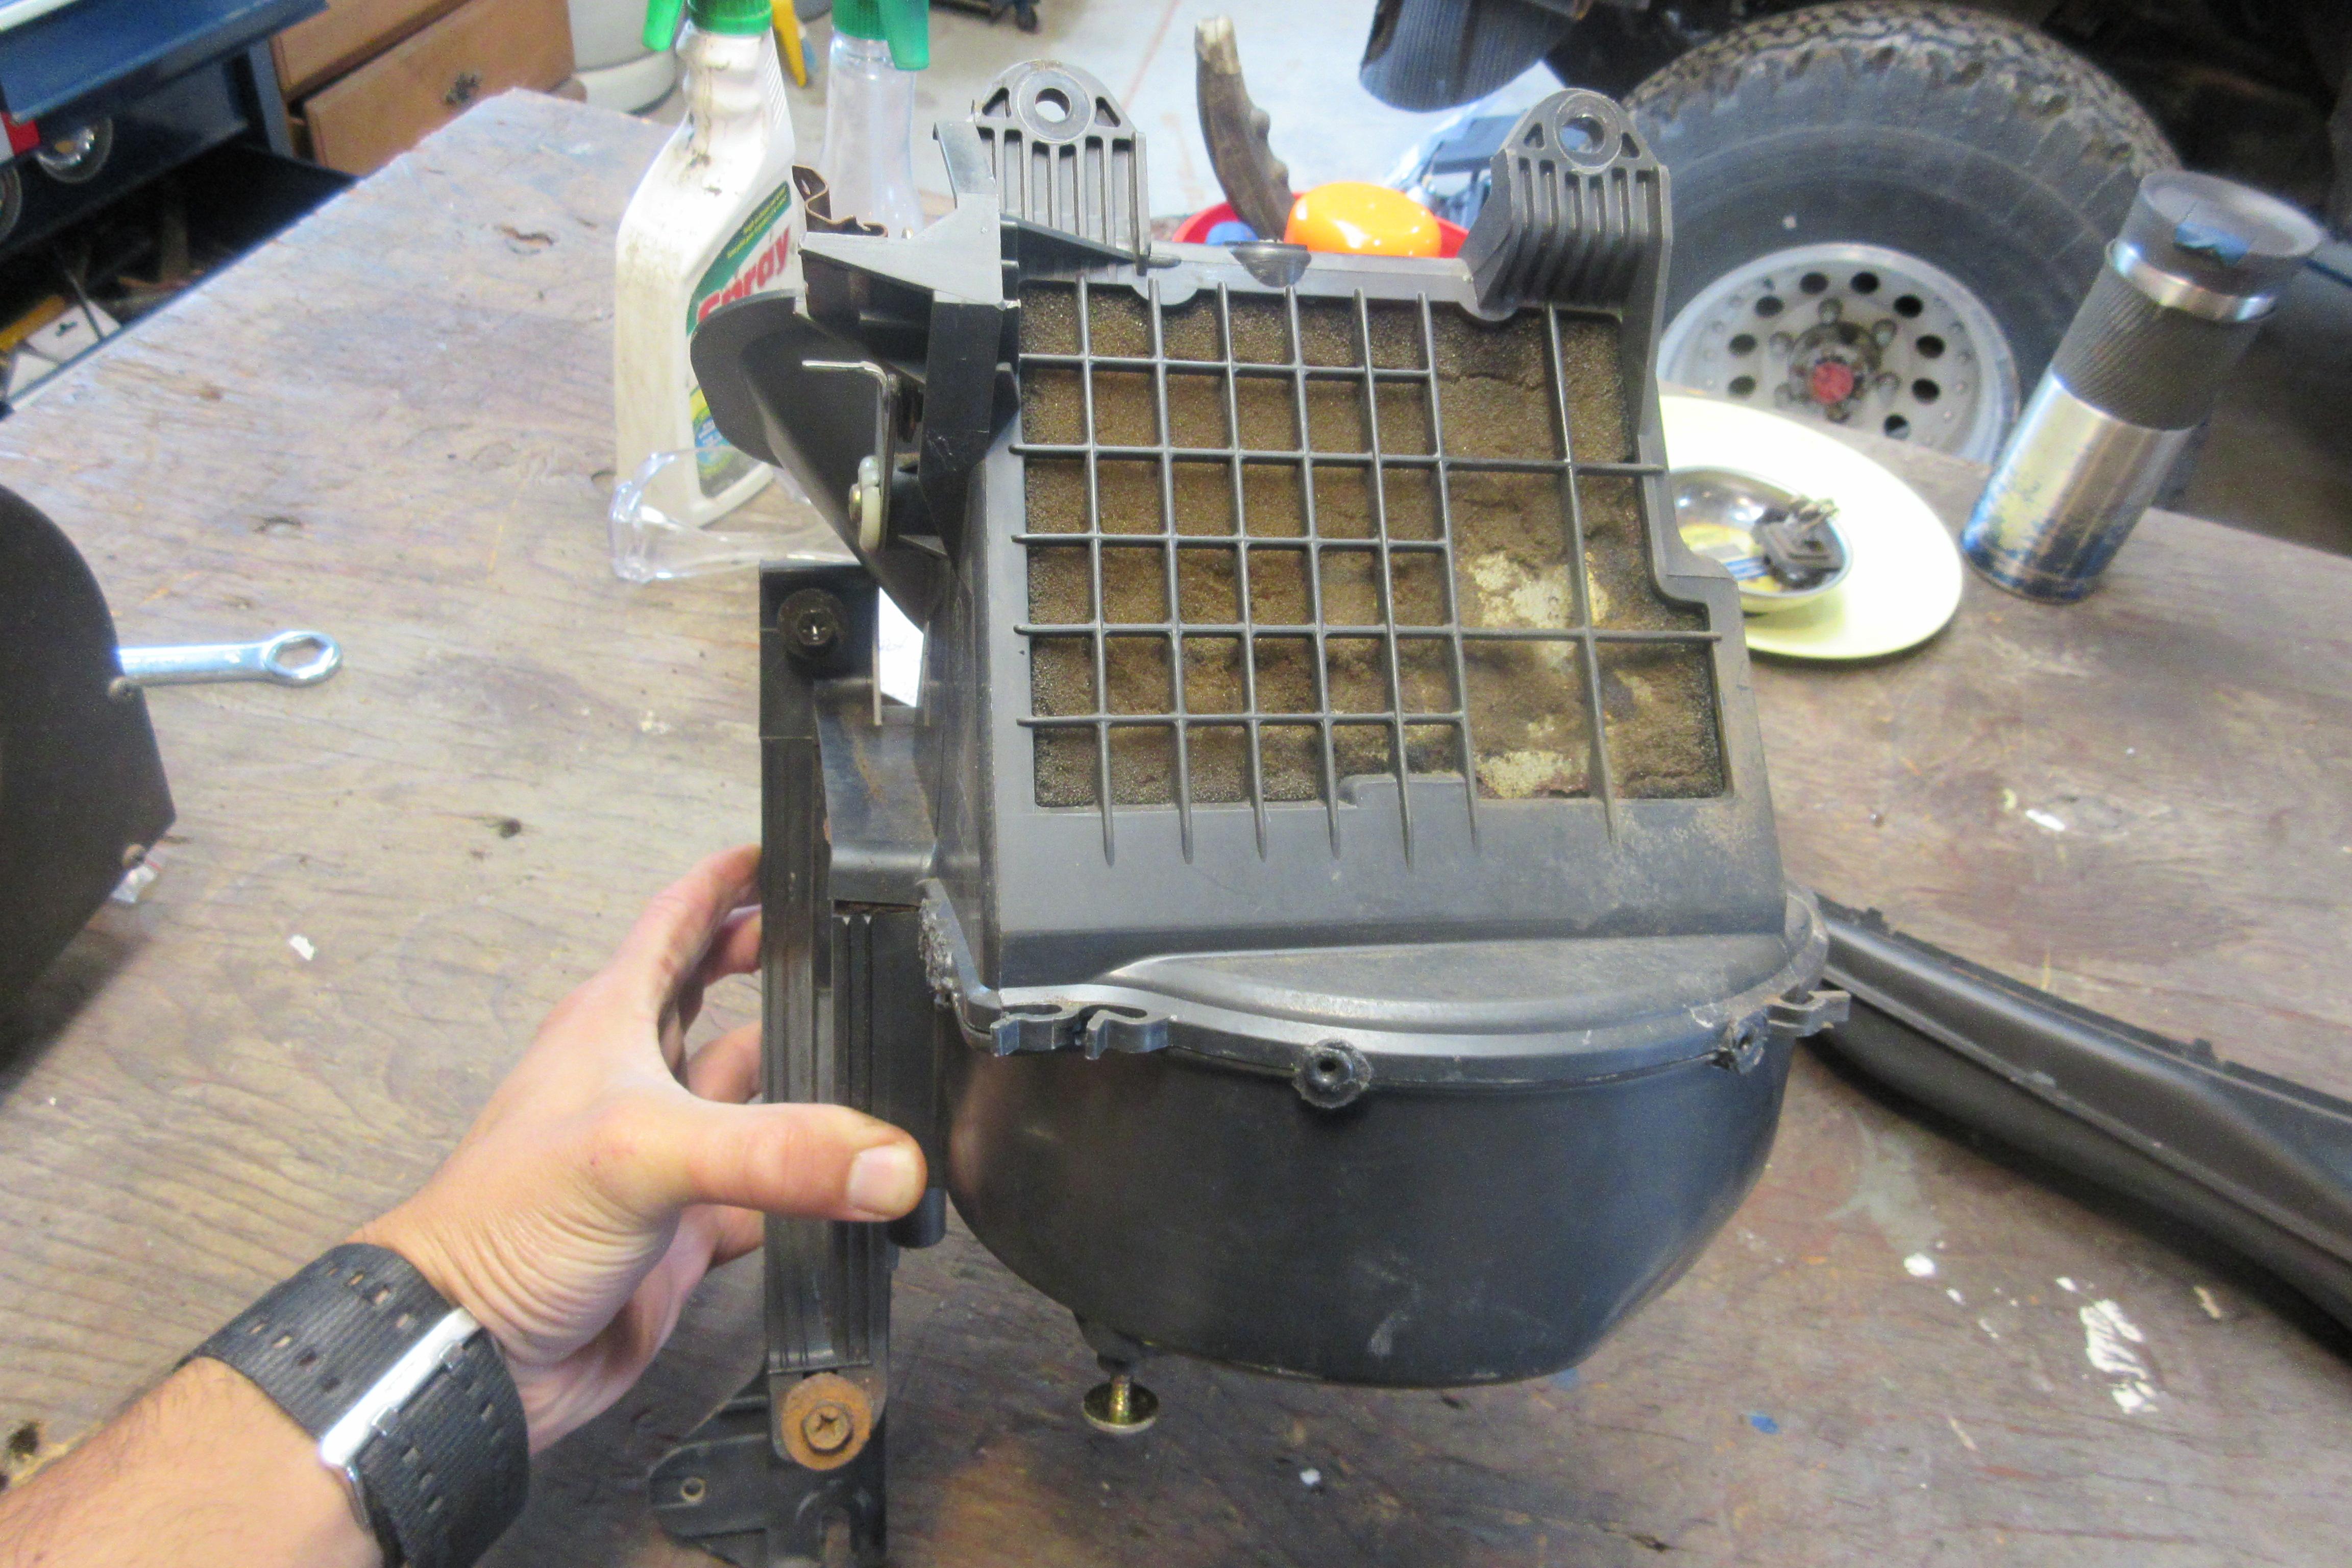

There are twelve of these “fasteners” holding the two halves together.
I want to clean the urine rust and replace the foam seals inside. So it’ll have to come apart. At least if the epoxy fails, the entire dash won’t have to be removed for me to try again.
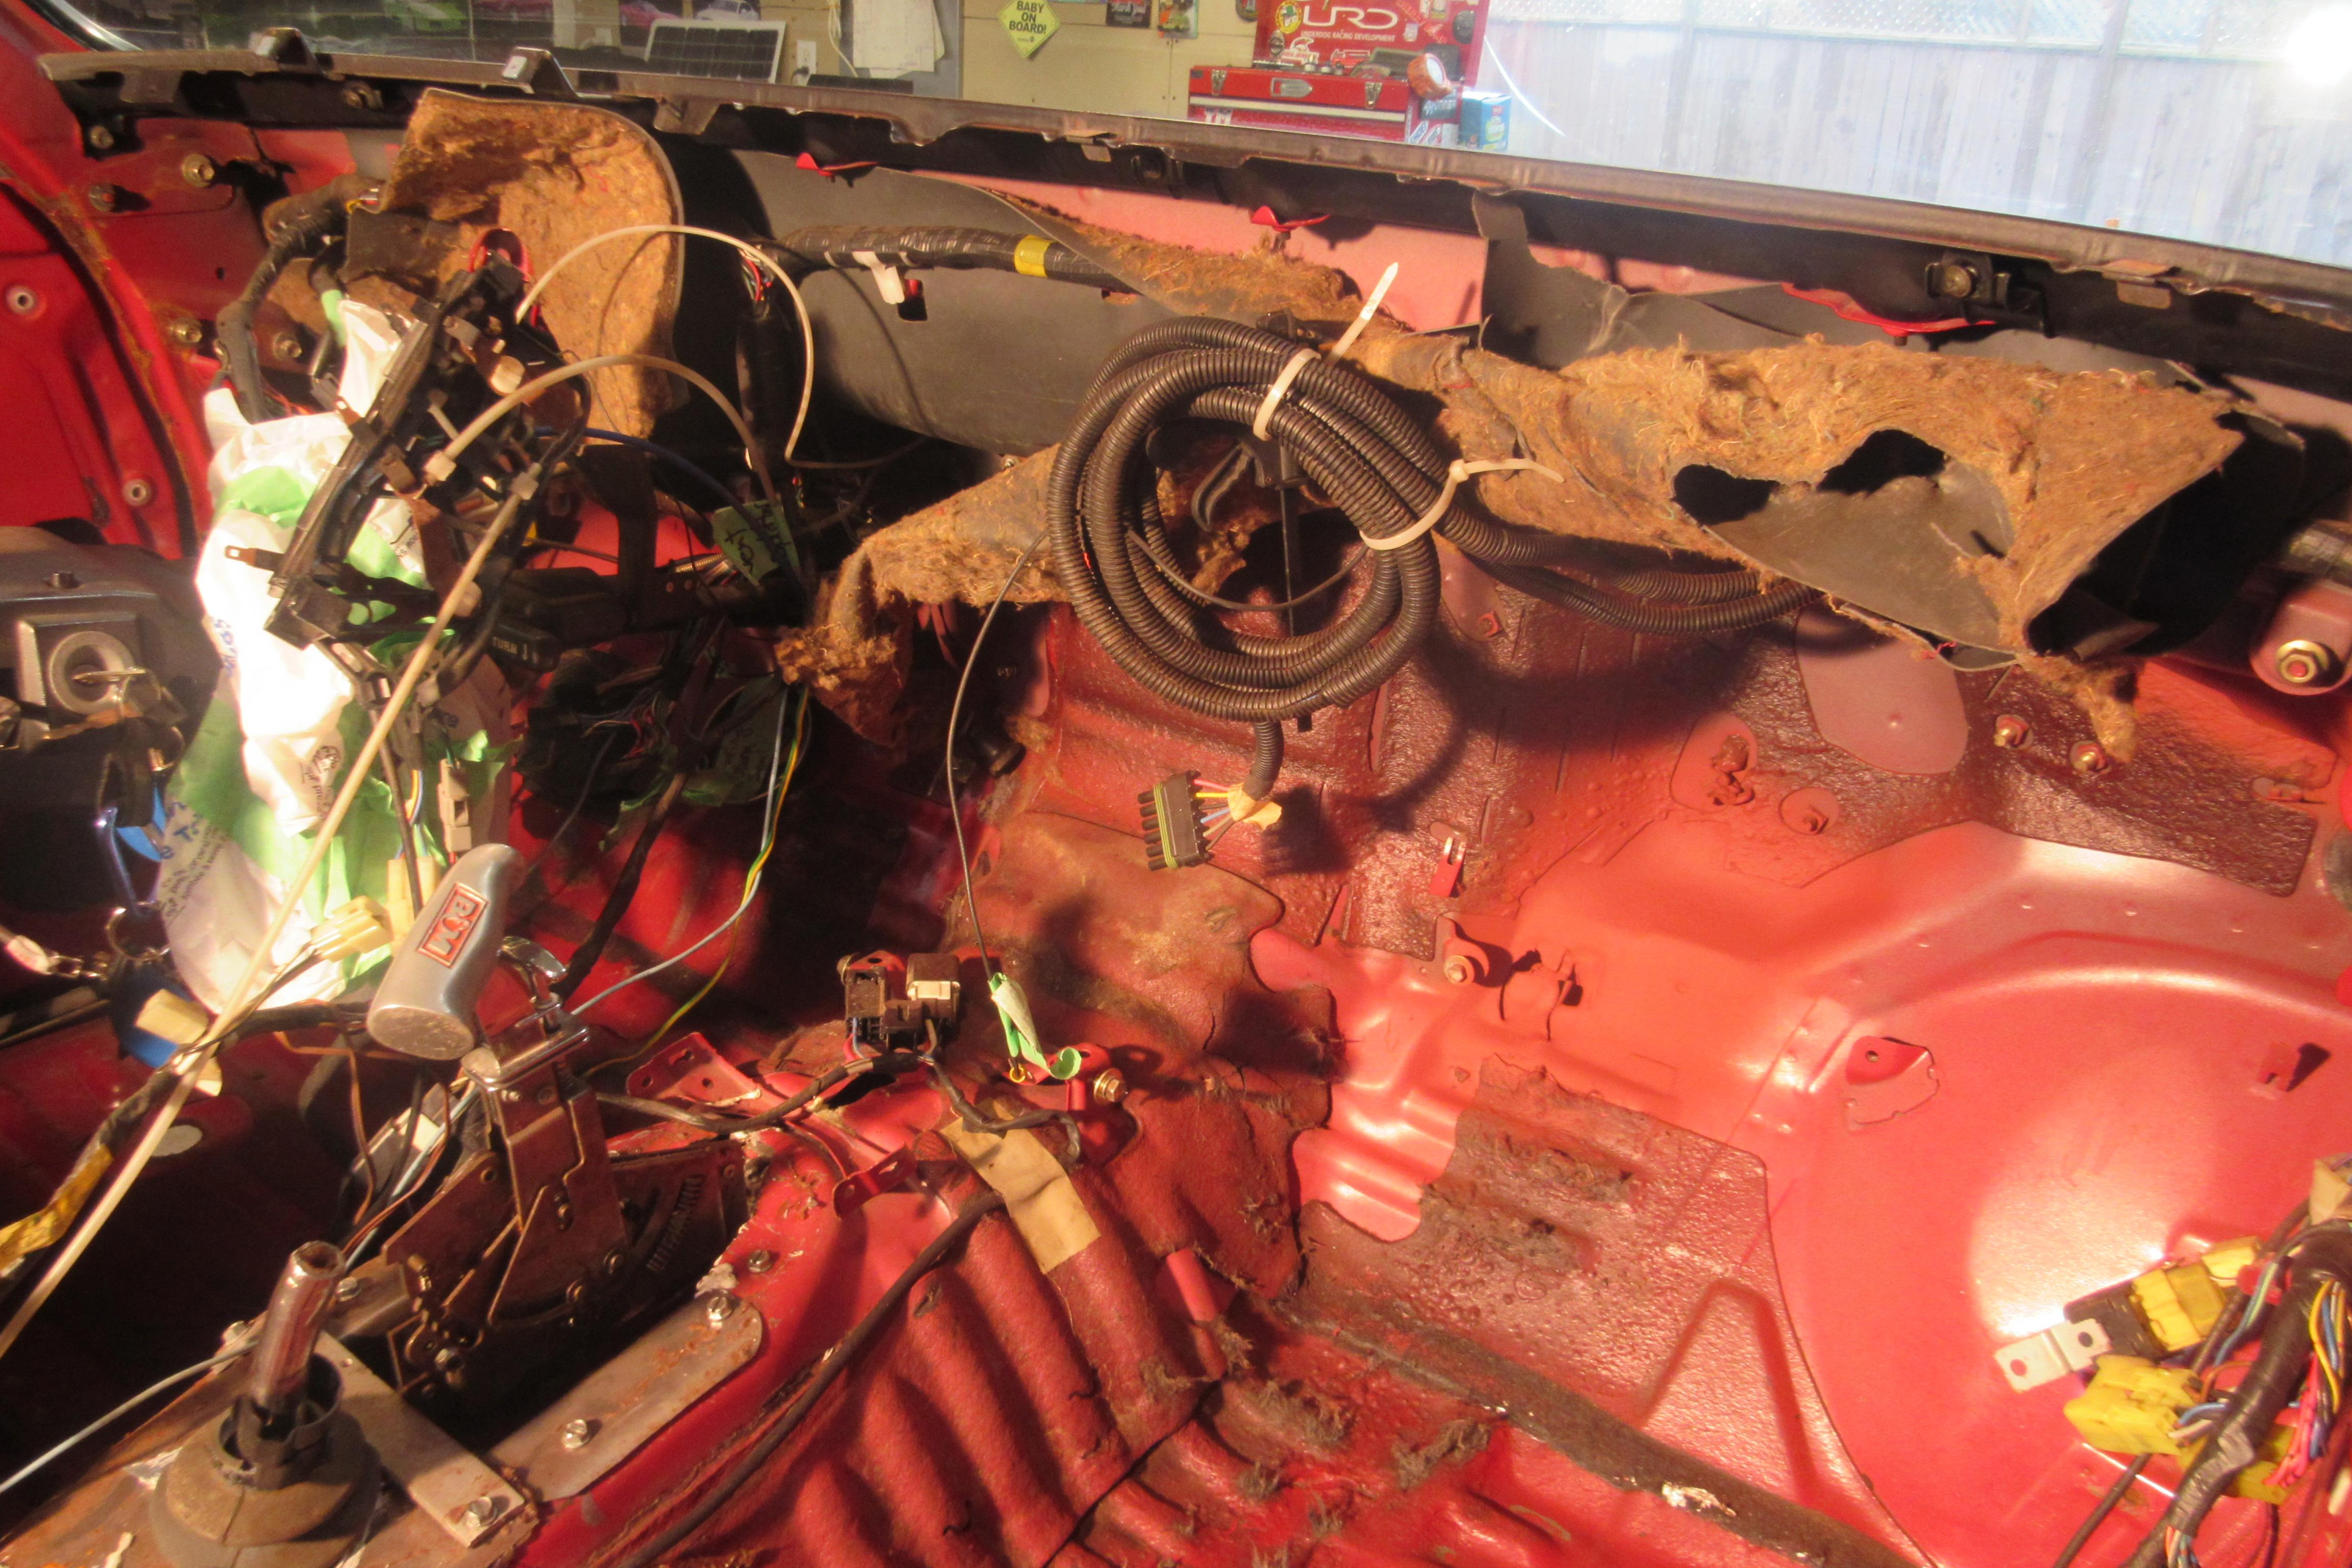
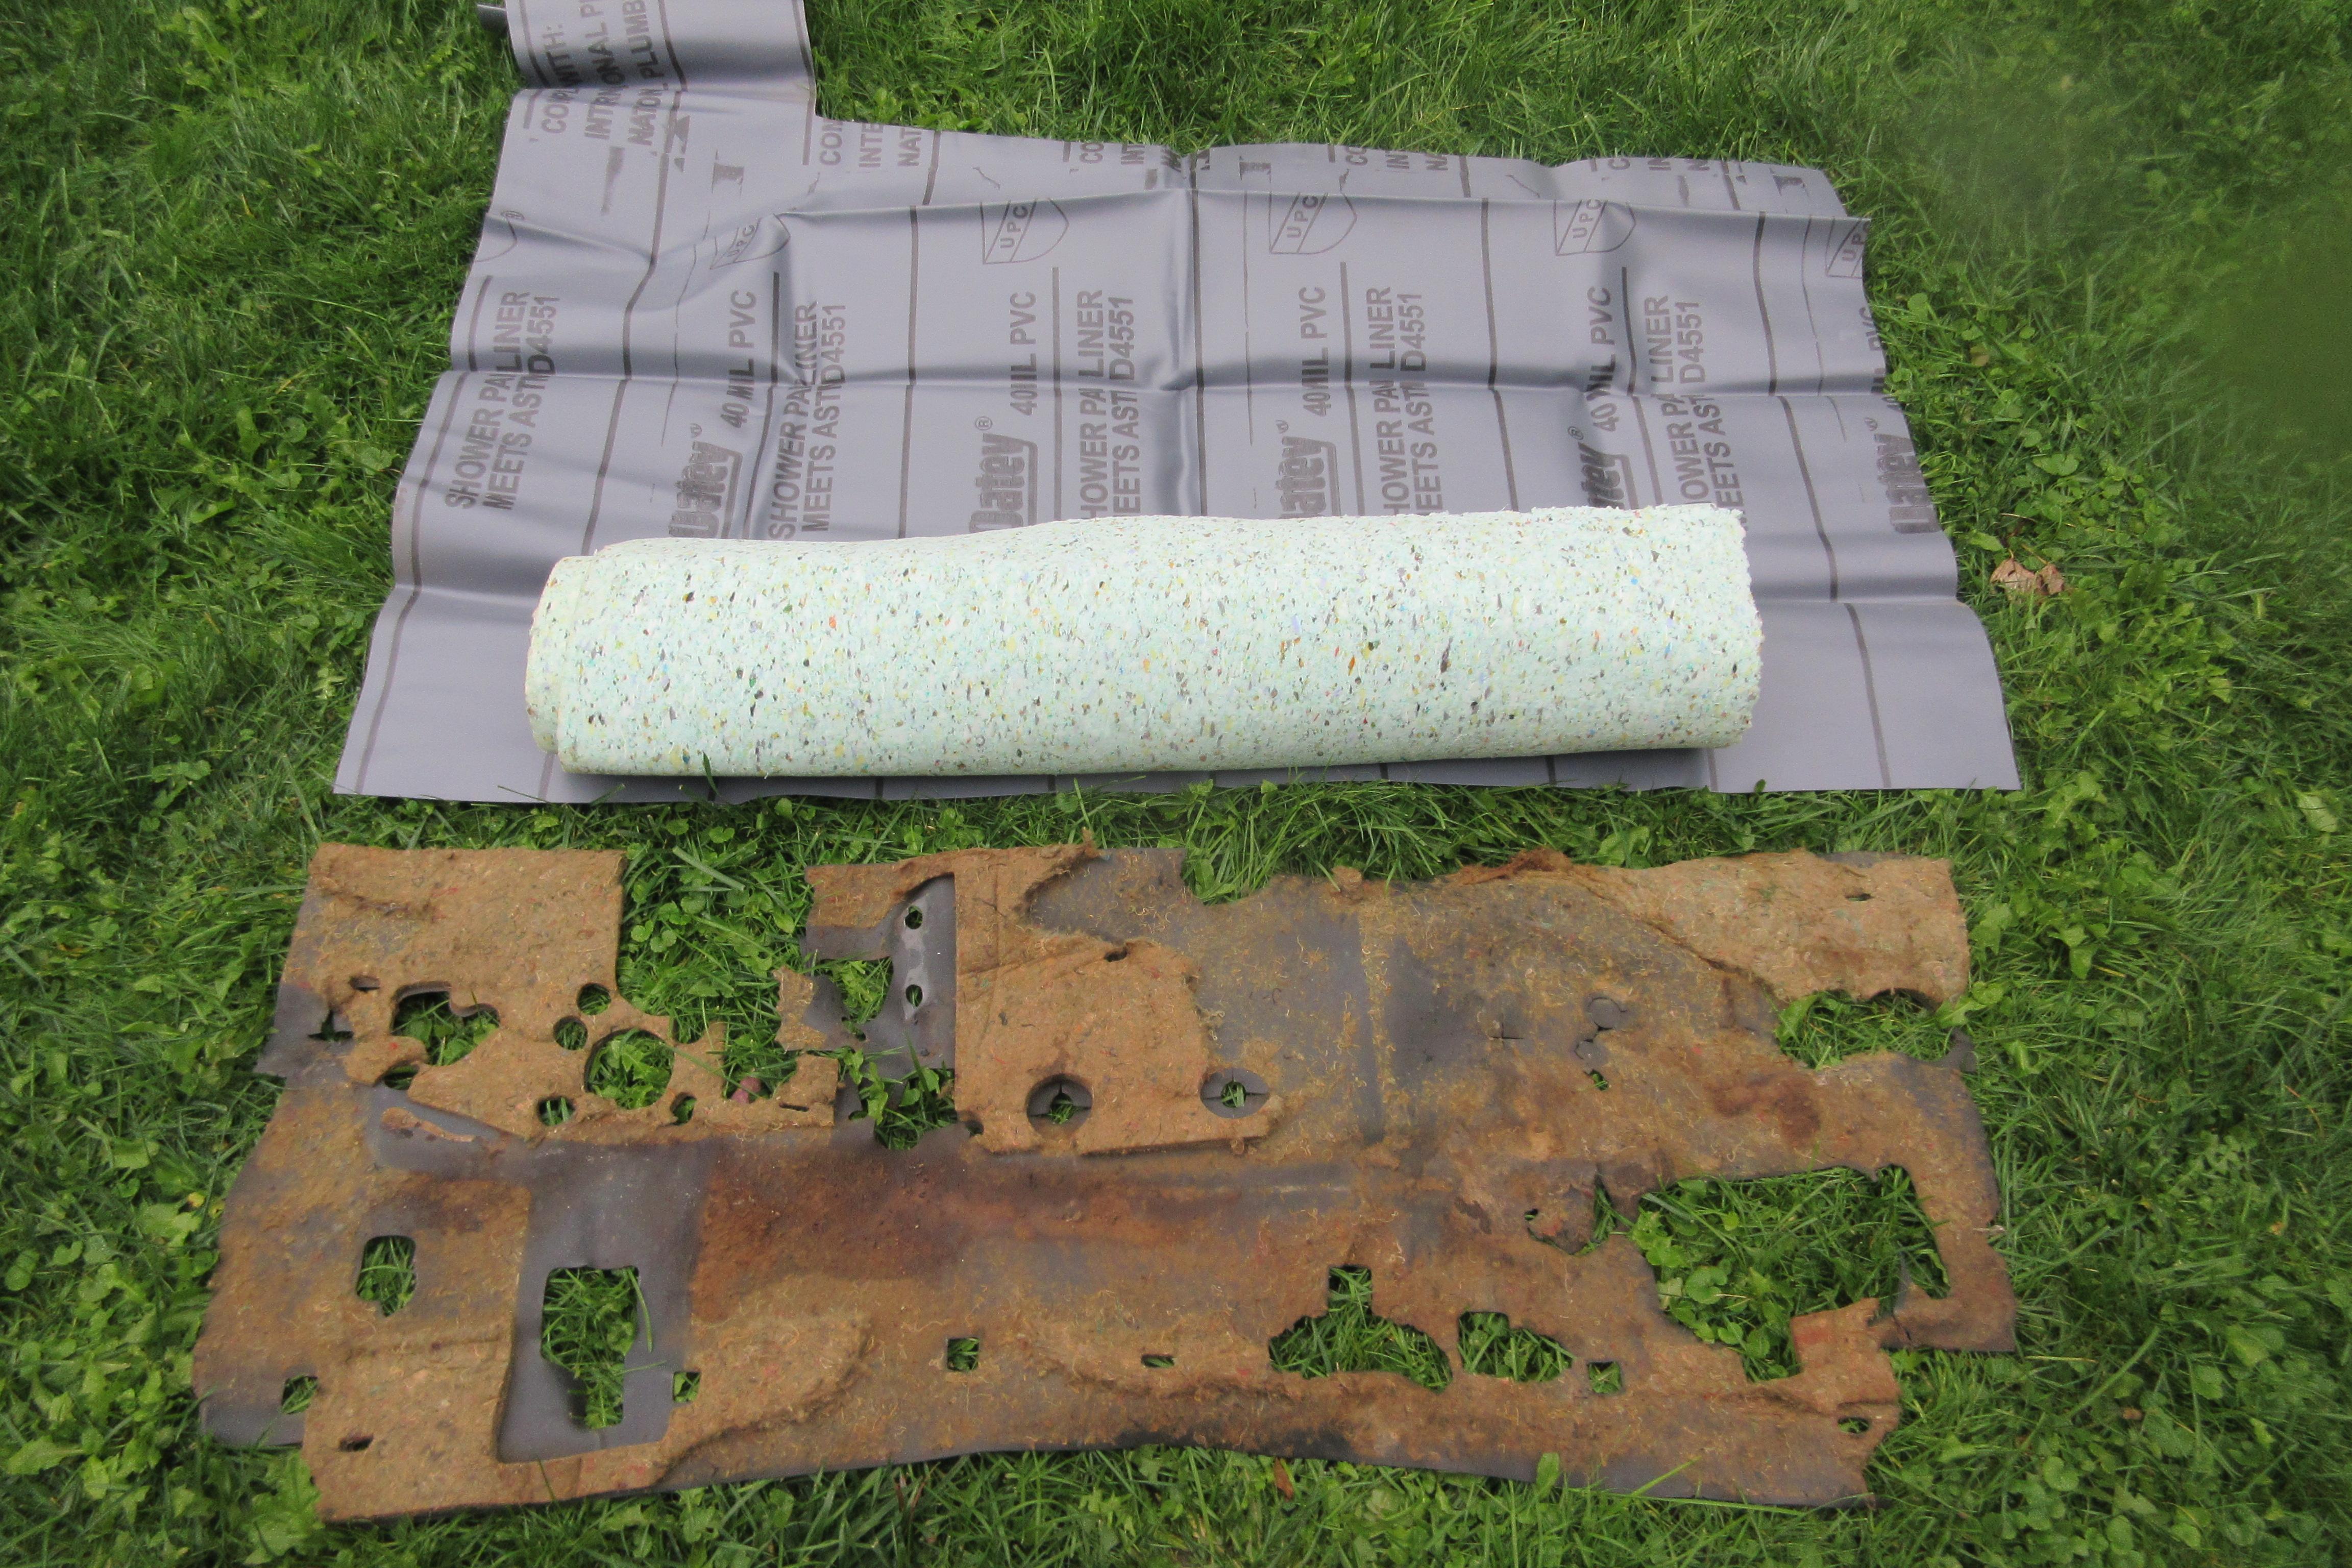
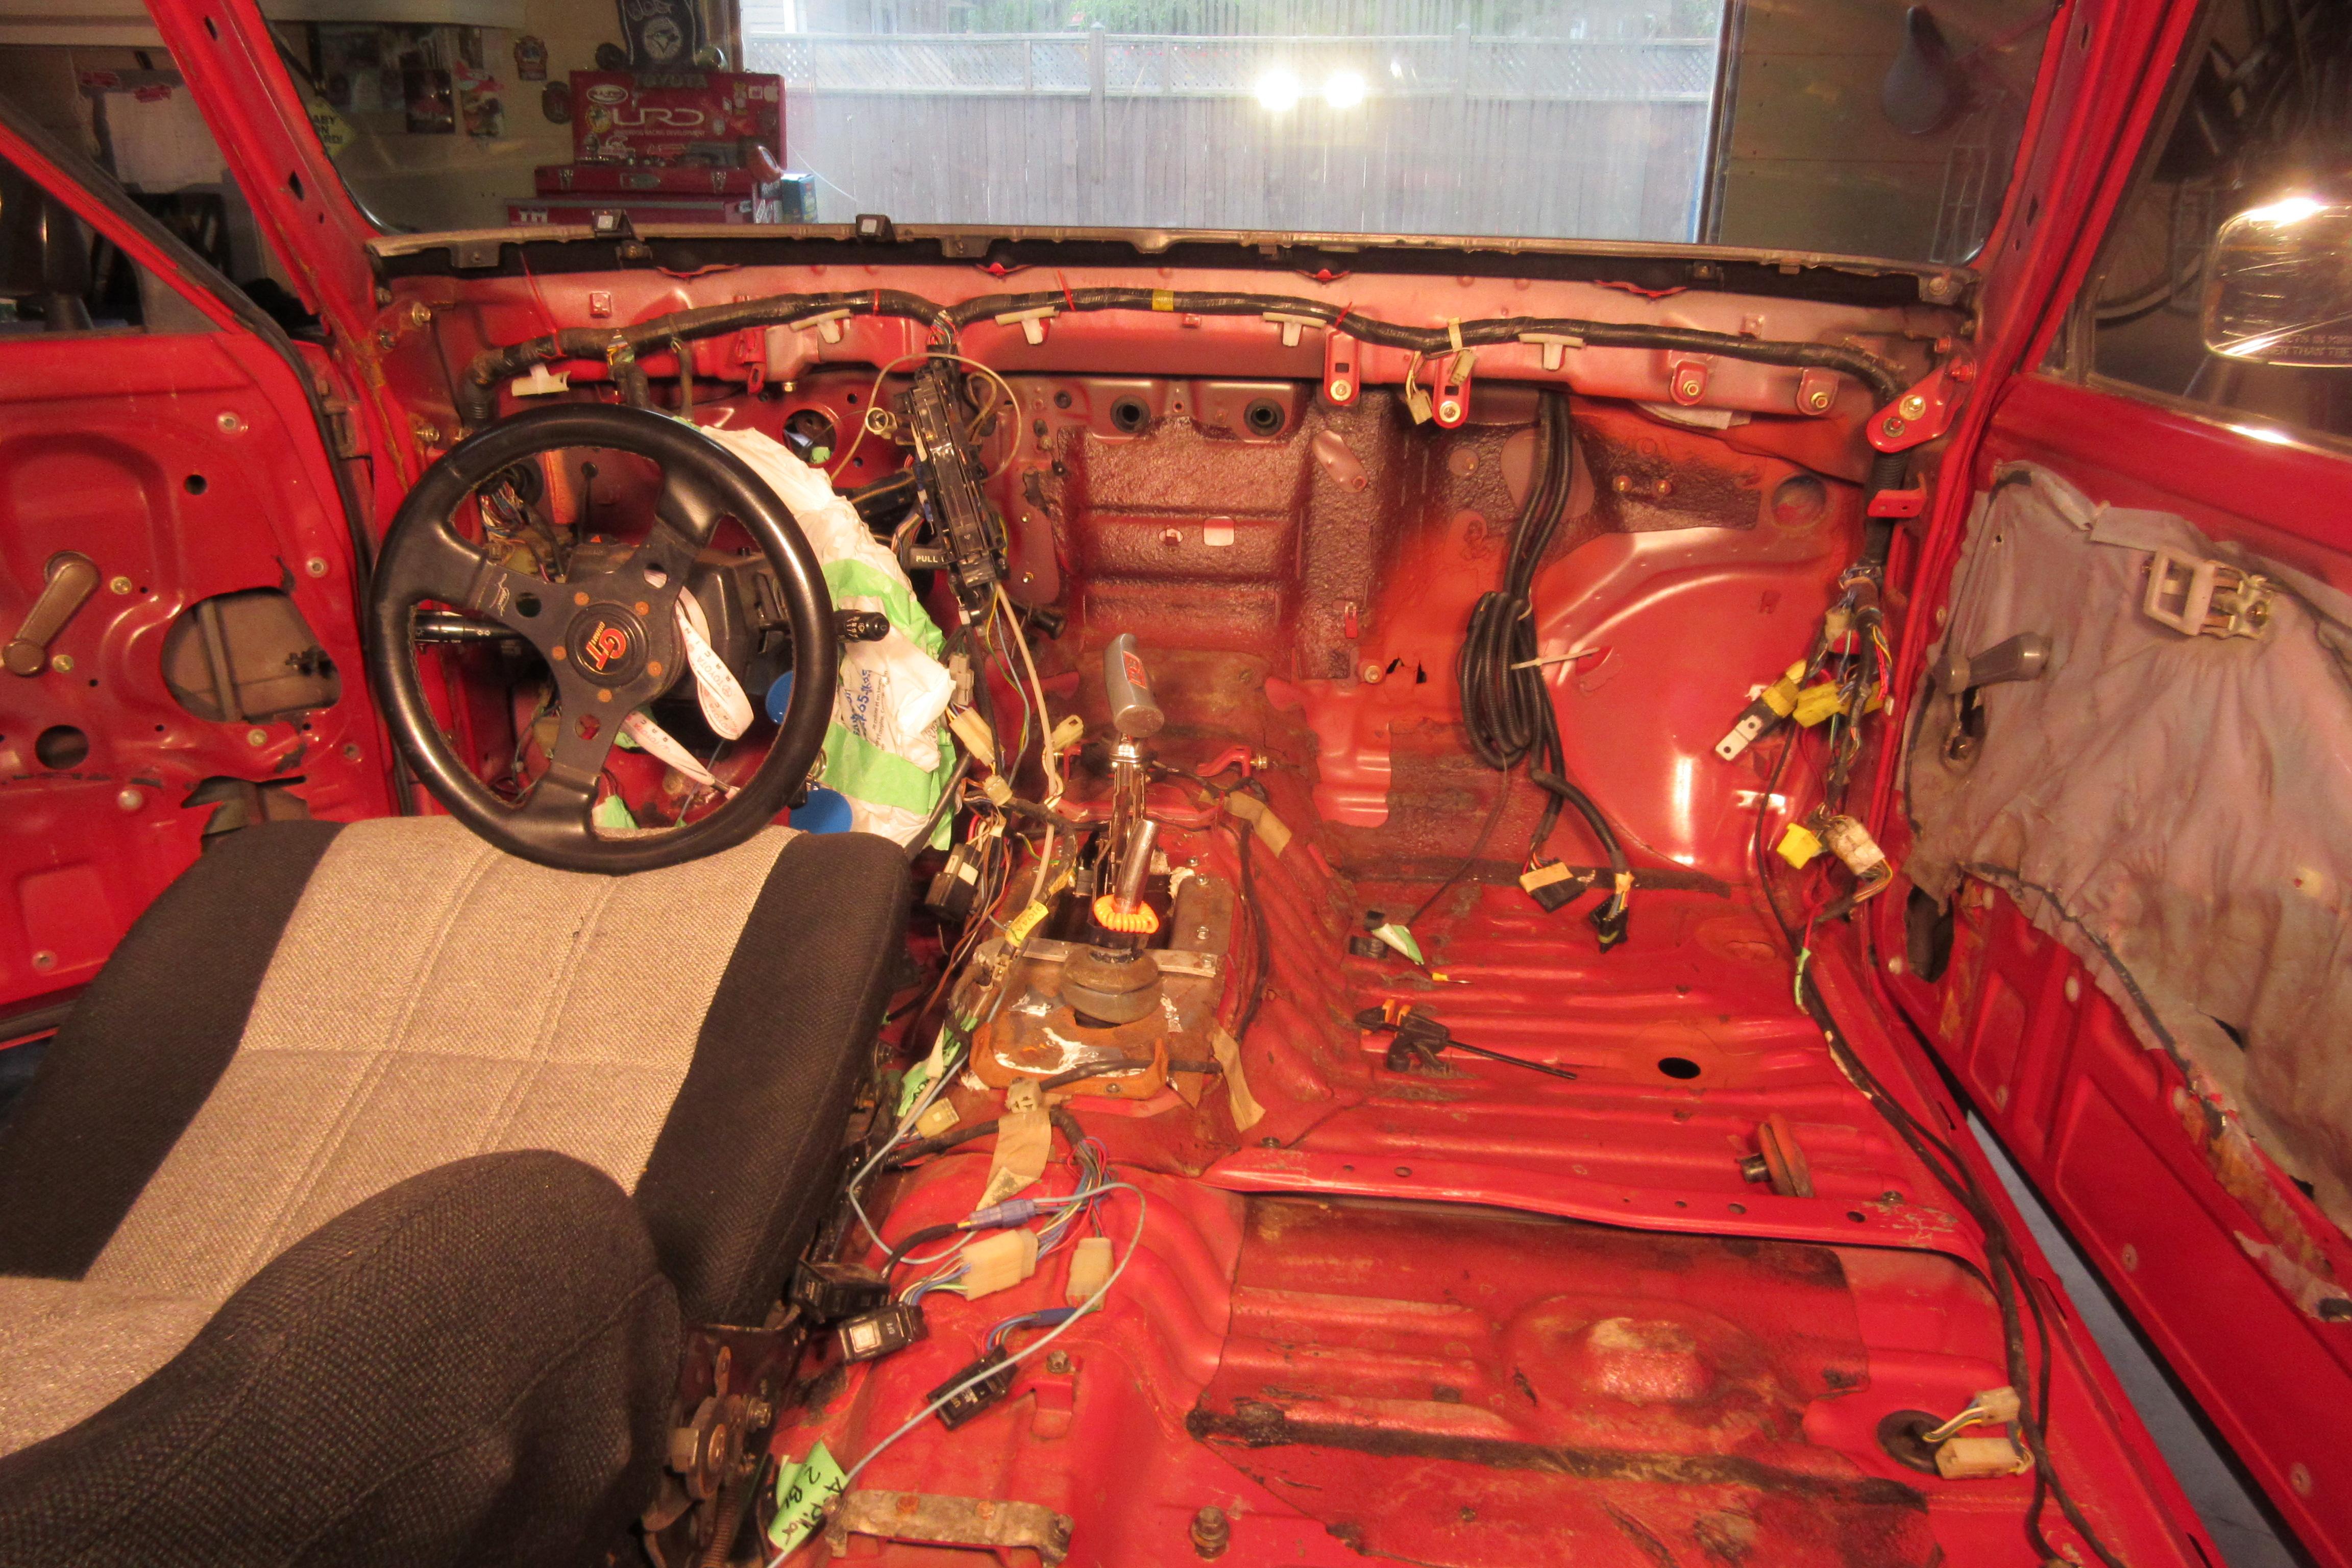
I tried to buy carpet underpadding today to replace the insulation on the passenger side of the firewall. Most the insulation was turned into nest, and likely not possible to clean the porous material very well. My local home hardware does not carry it, so I’ll have to save it for a trip to the “big city”. Plan is to adhere some waterproof membrane leftover from a tiling job, to new carpet underpadding using the old liner as a template. Should be cheap enough to do, and would help to keep heat isolated out of the cabin.
<p style=”text-align: right;”>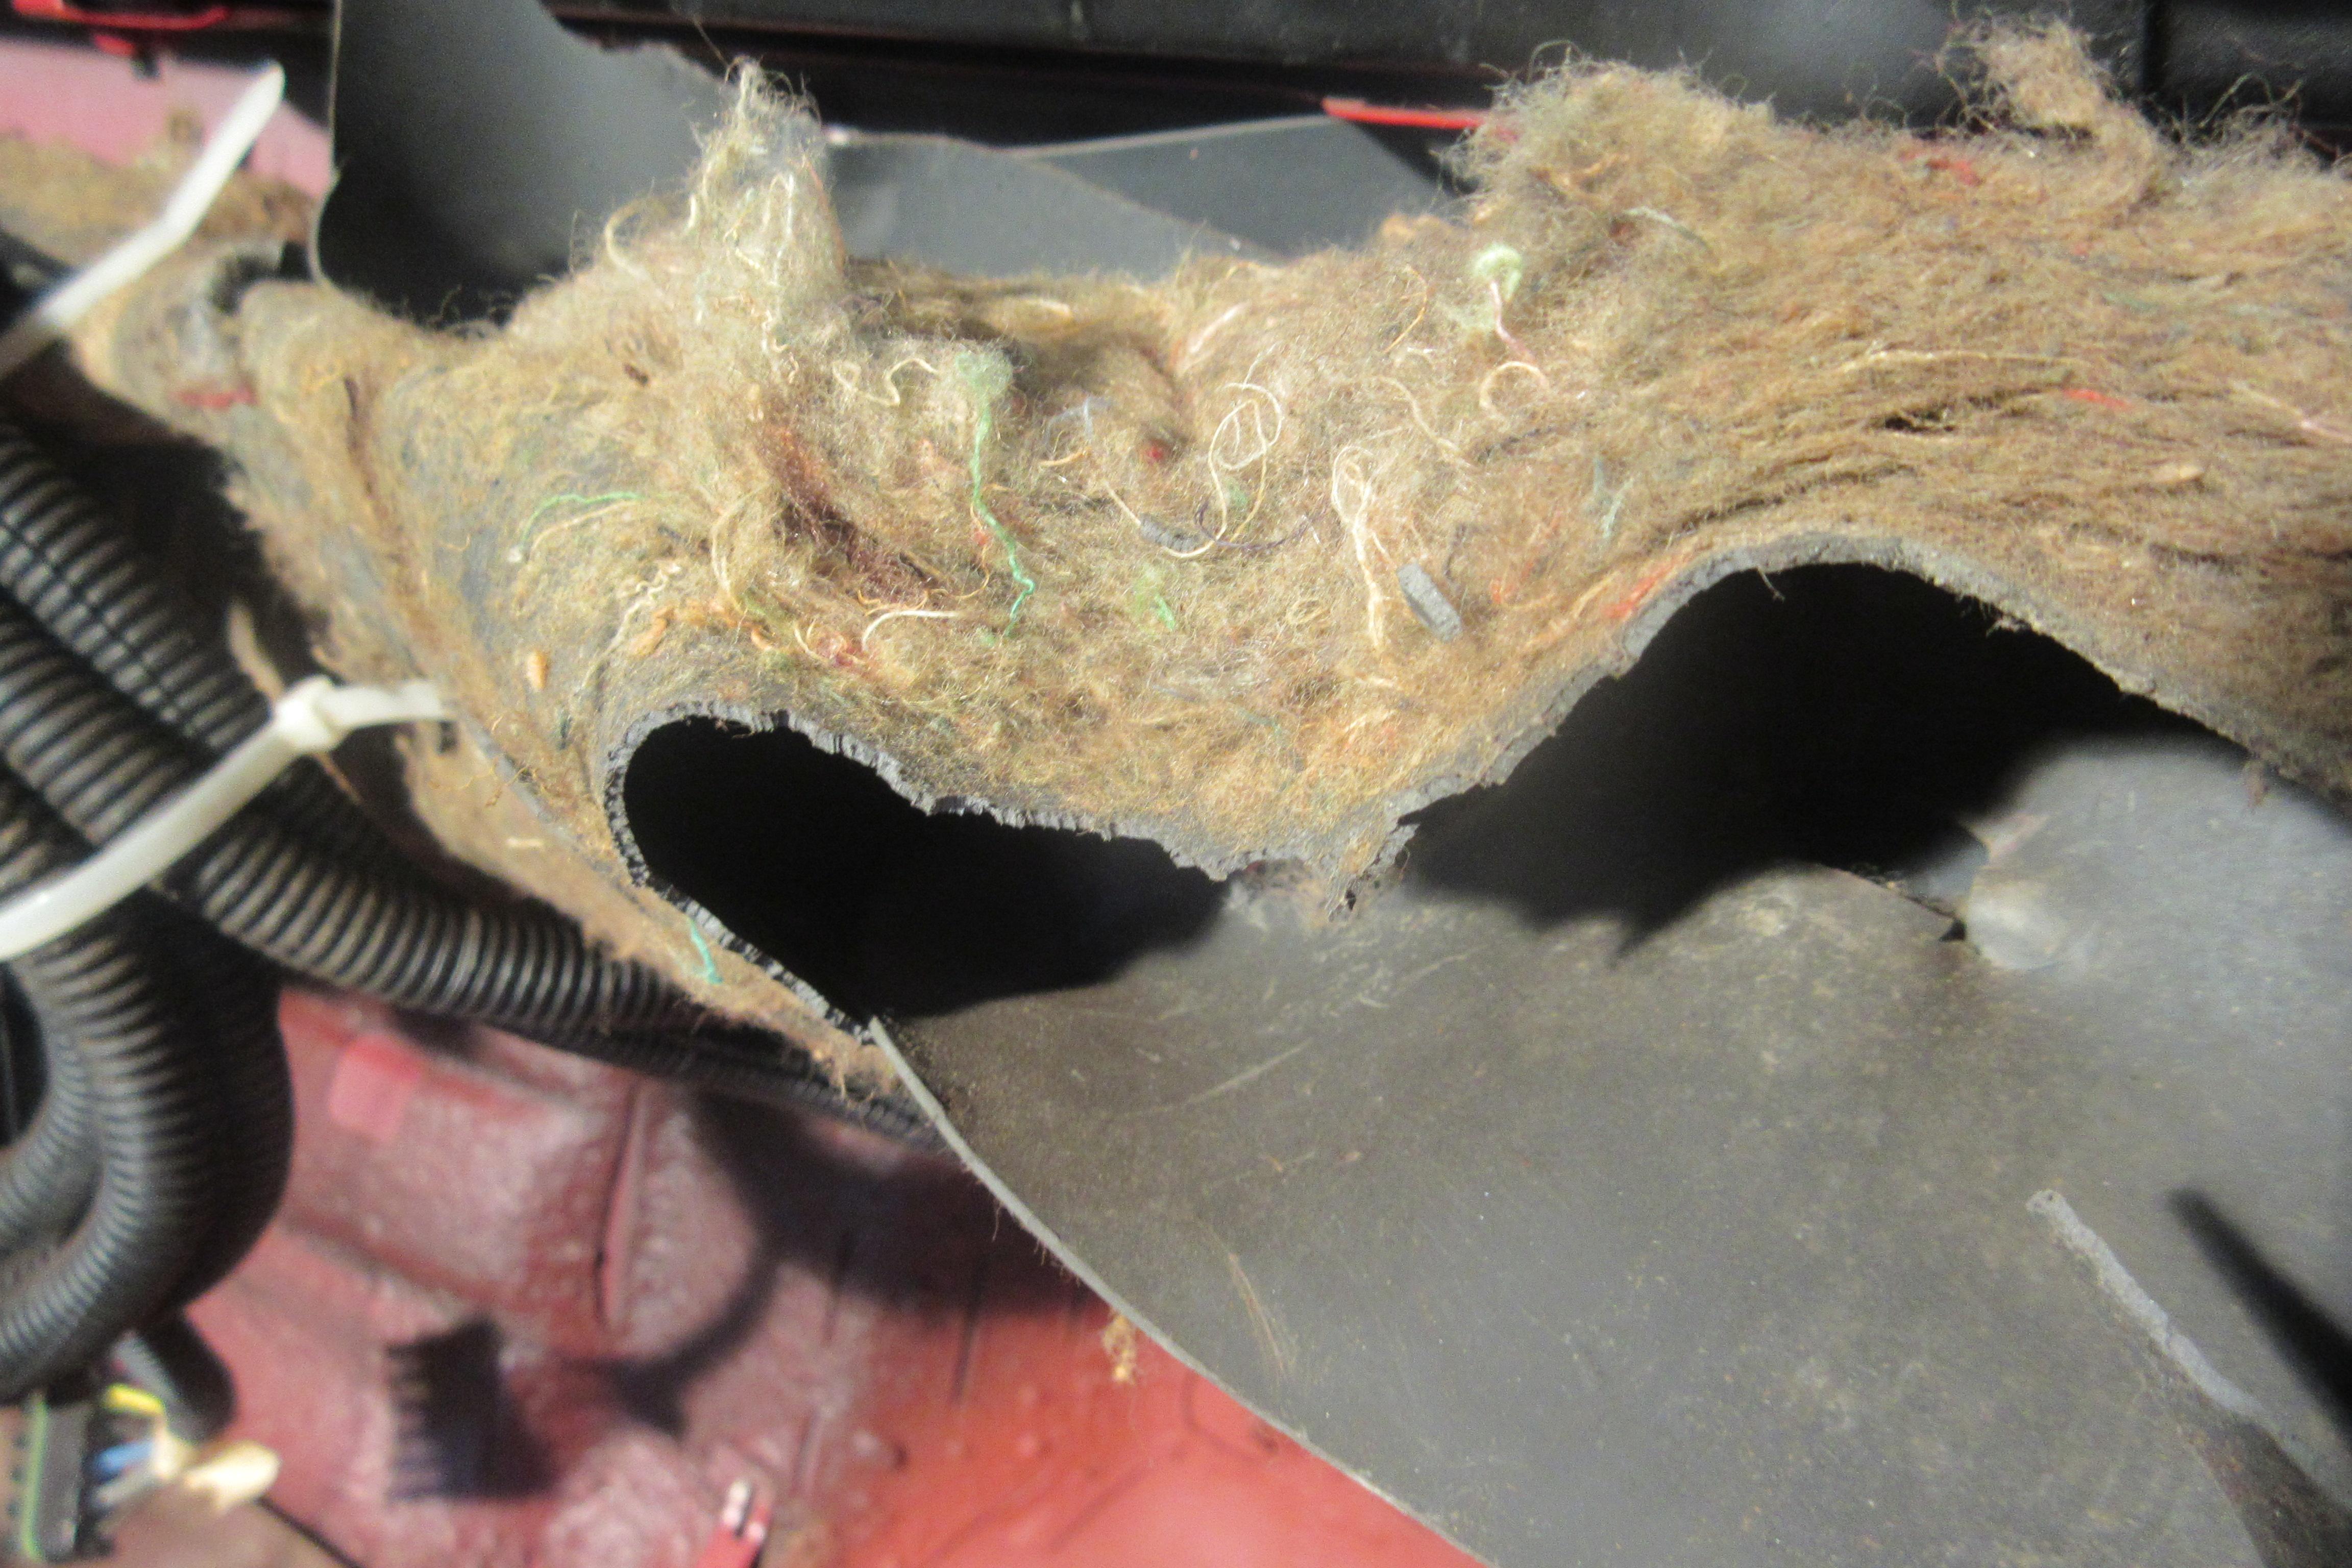 </p>October 3, 2018 at 5:44 pm #207253Slick_YotaKeymaster
Those fasteners look like the “spin welder” I had as a kid.
October 3, 2018 at 6:45 pm #207257toys-n-yotasKeymaster“Spin welder” sounds pretty legit! Some of thise cool toys we don’t let kids play with anymore in the name of safety.
I’m thinking I can drill these out, and “replace” them with creative use of epoxy and wall anchors. I’ve got some time to figure it out still.
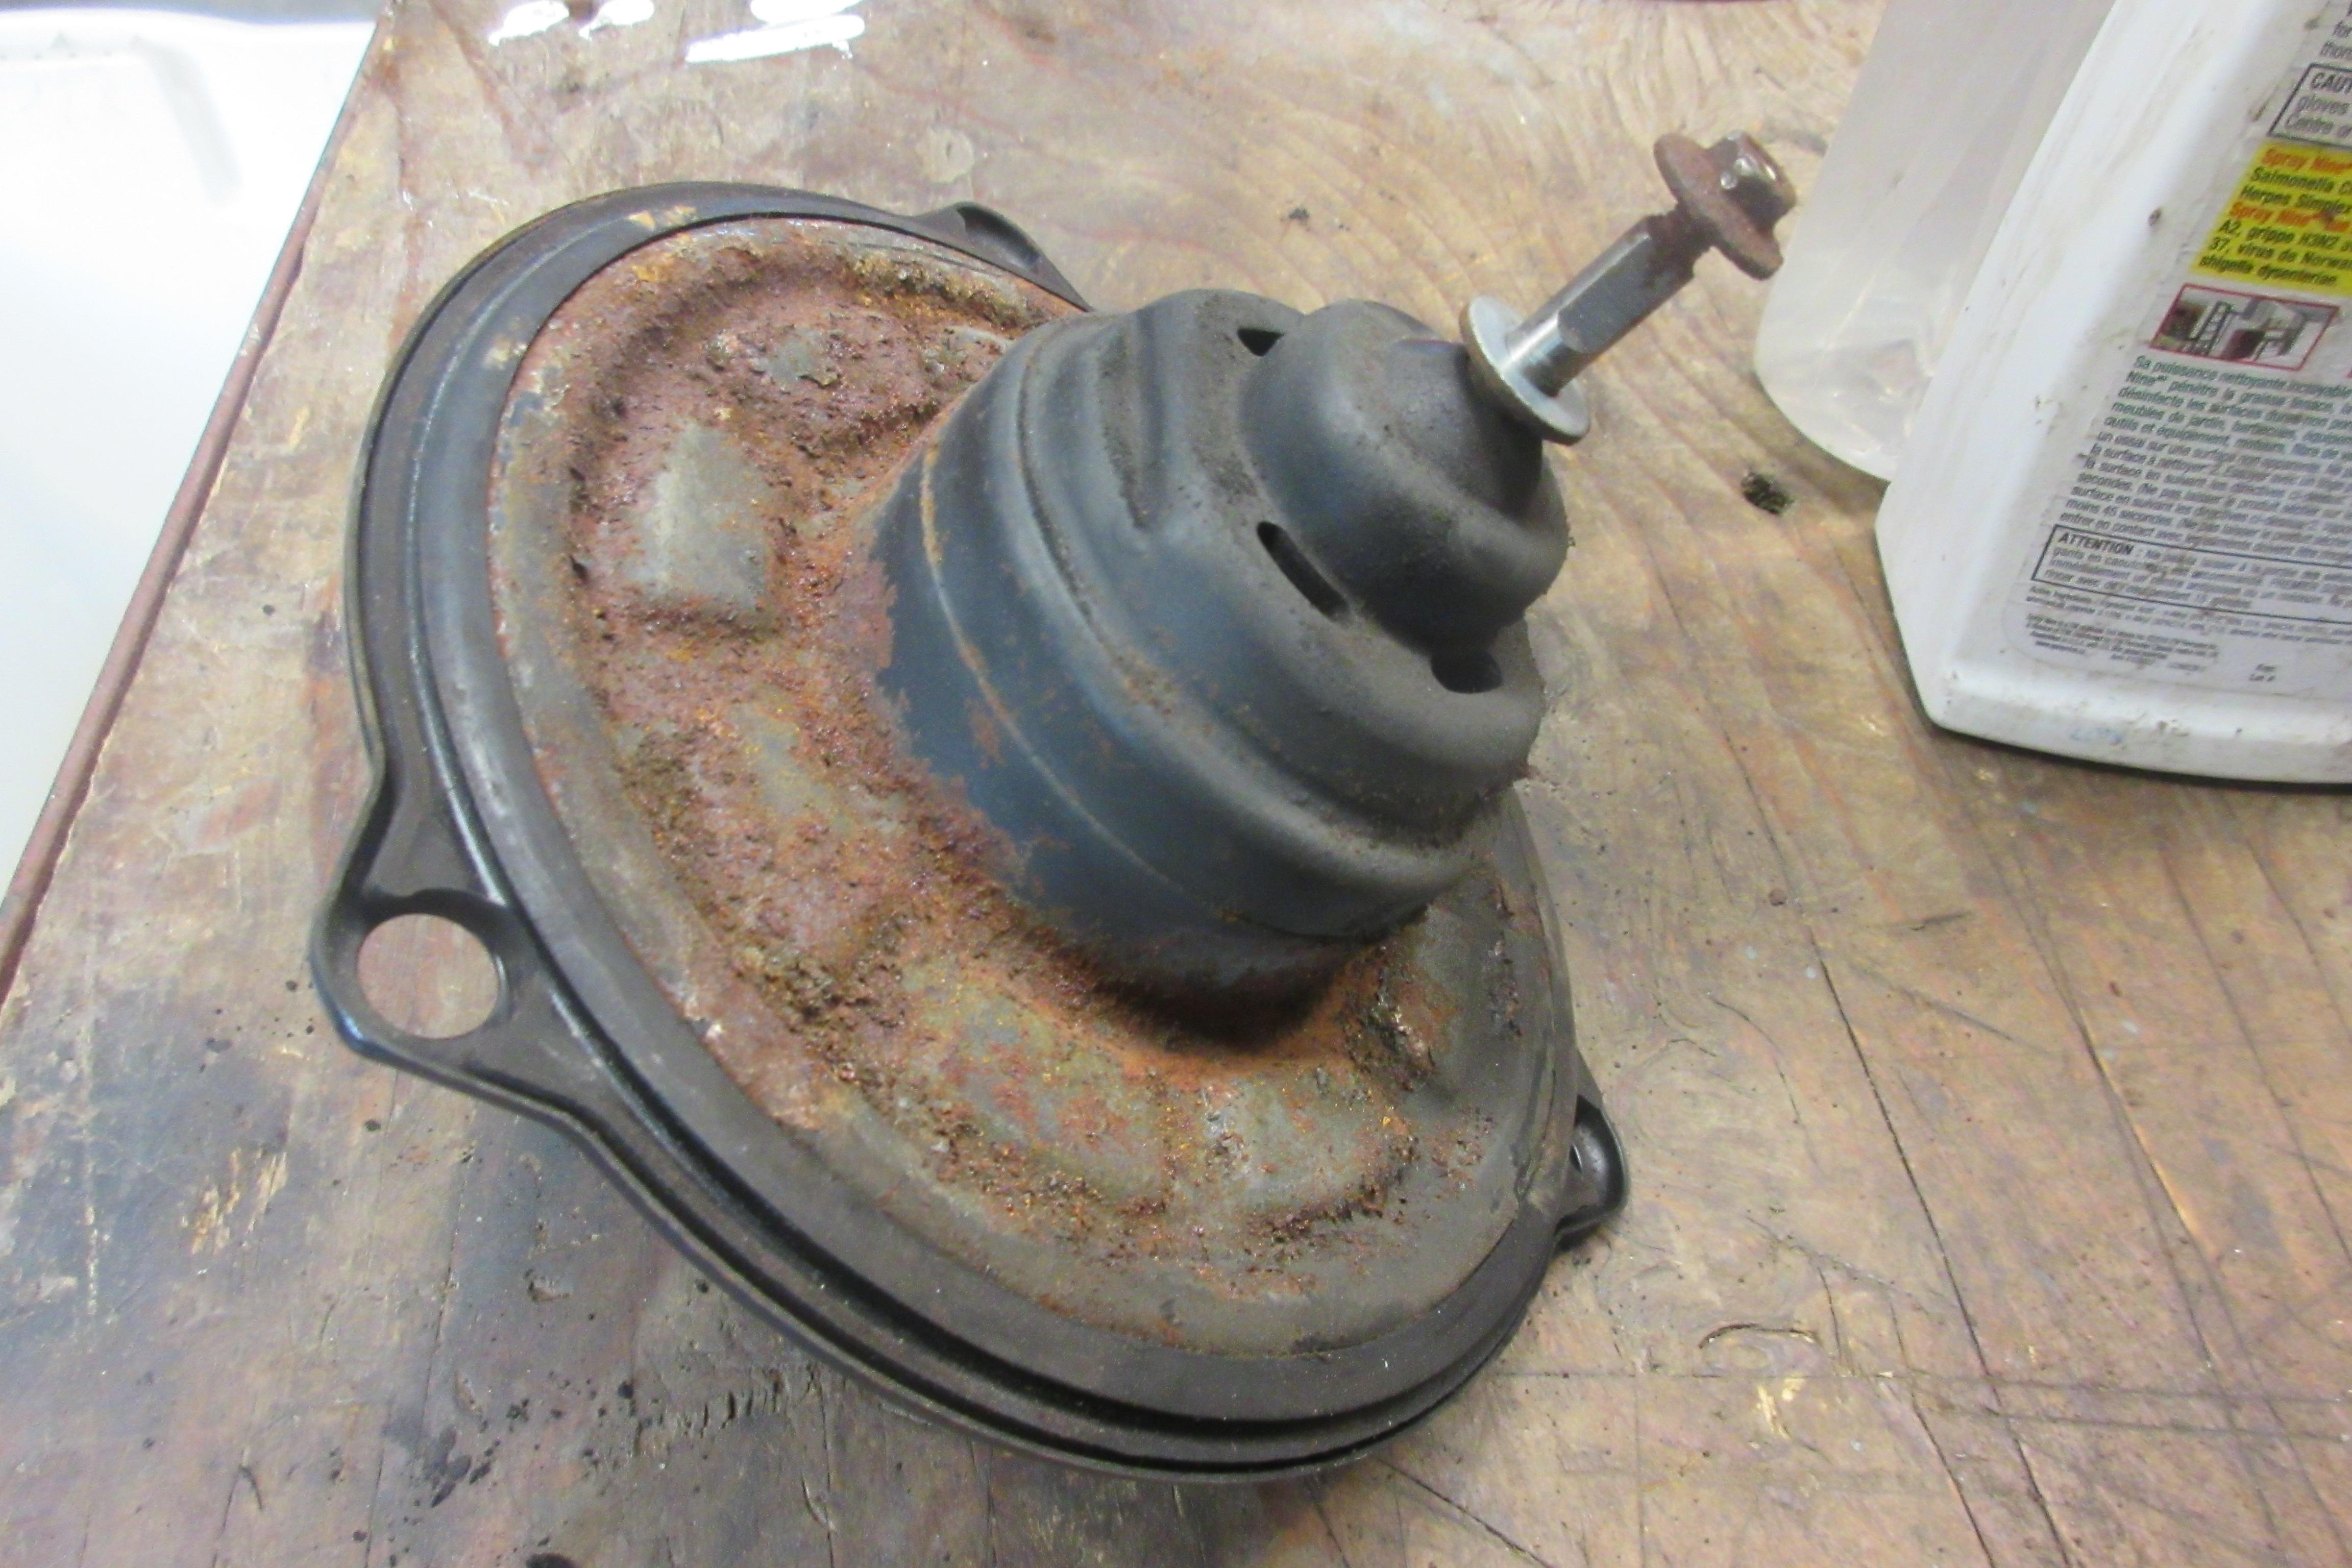
Today I removed the passenger side hood hinge, and got direct access to the last pocket of disgusting mouse nest. Even when I thought it was gone yesterday, I still removed another litre of nest. Fu**ing disgusting!! Still wet at the bottom *insert dry heave noises*. Anyways, it’s legitmately gone now, and I’m letting it dry out some before I introduce chemical cleaners to the equation.
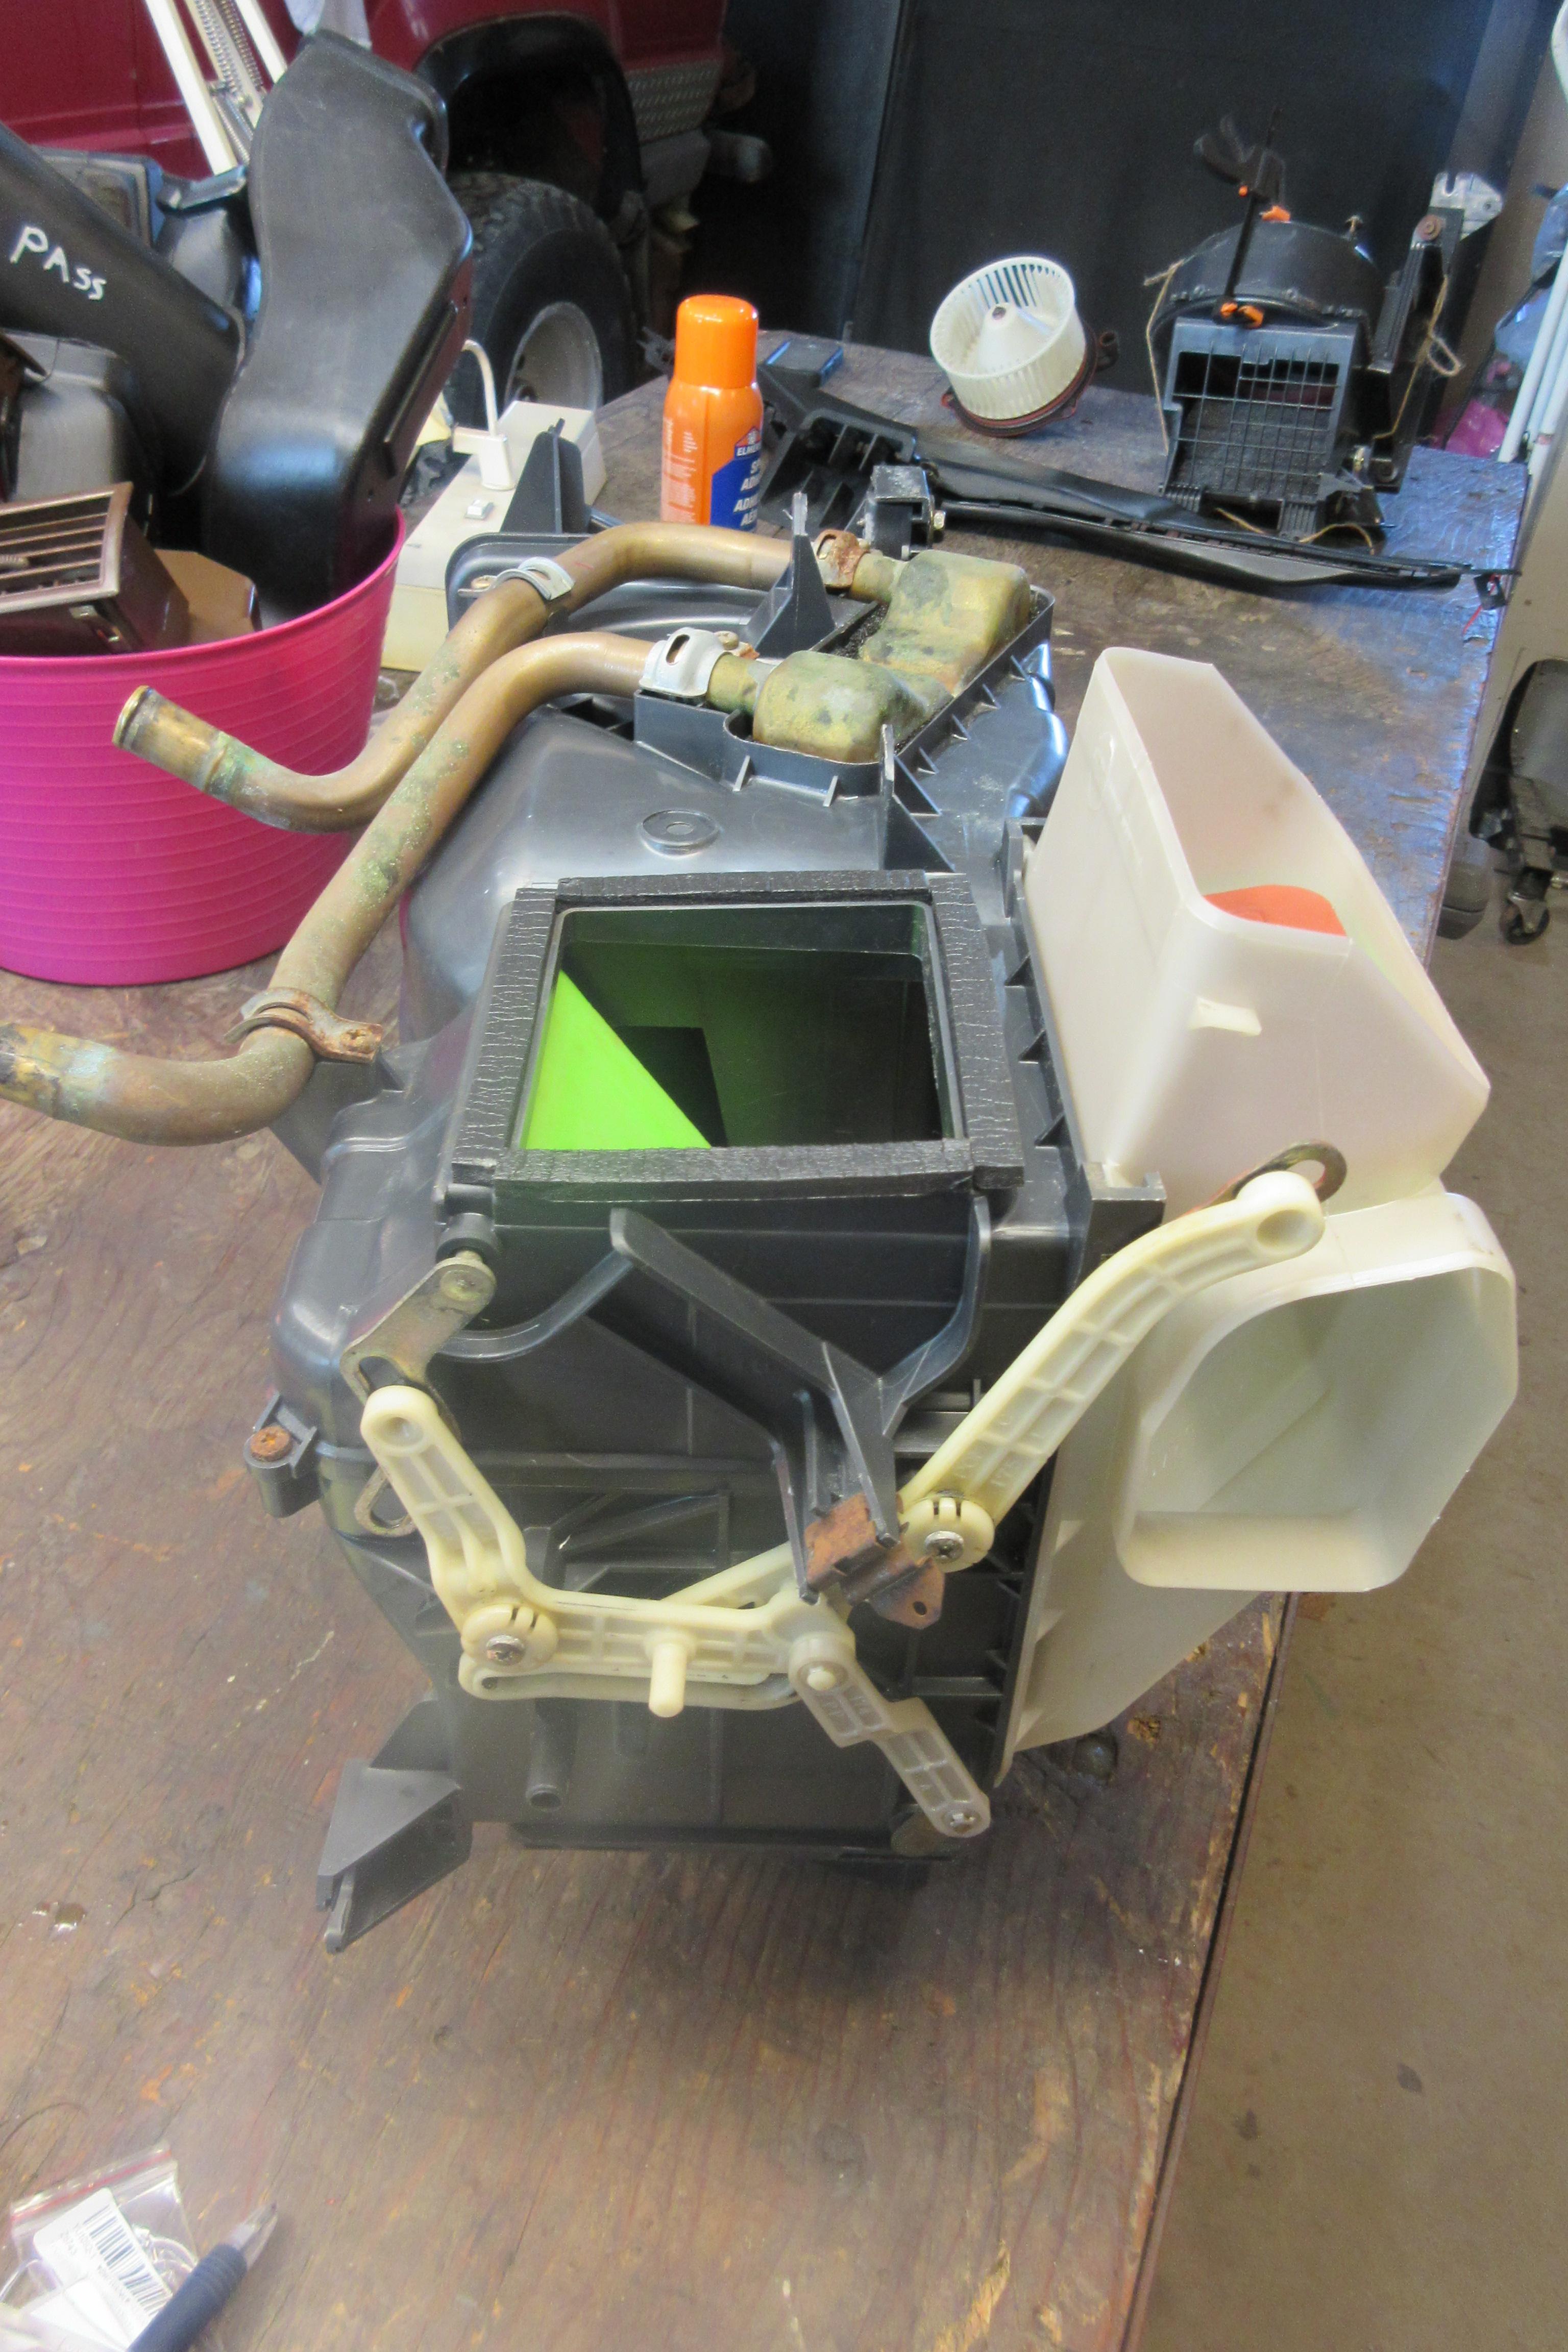
October 5, 2018 at 5:16 pm #207264toys-n-yotasKeymasterSince the last update, I’ve had a few successes working away on the hvac system.
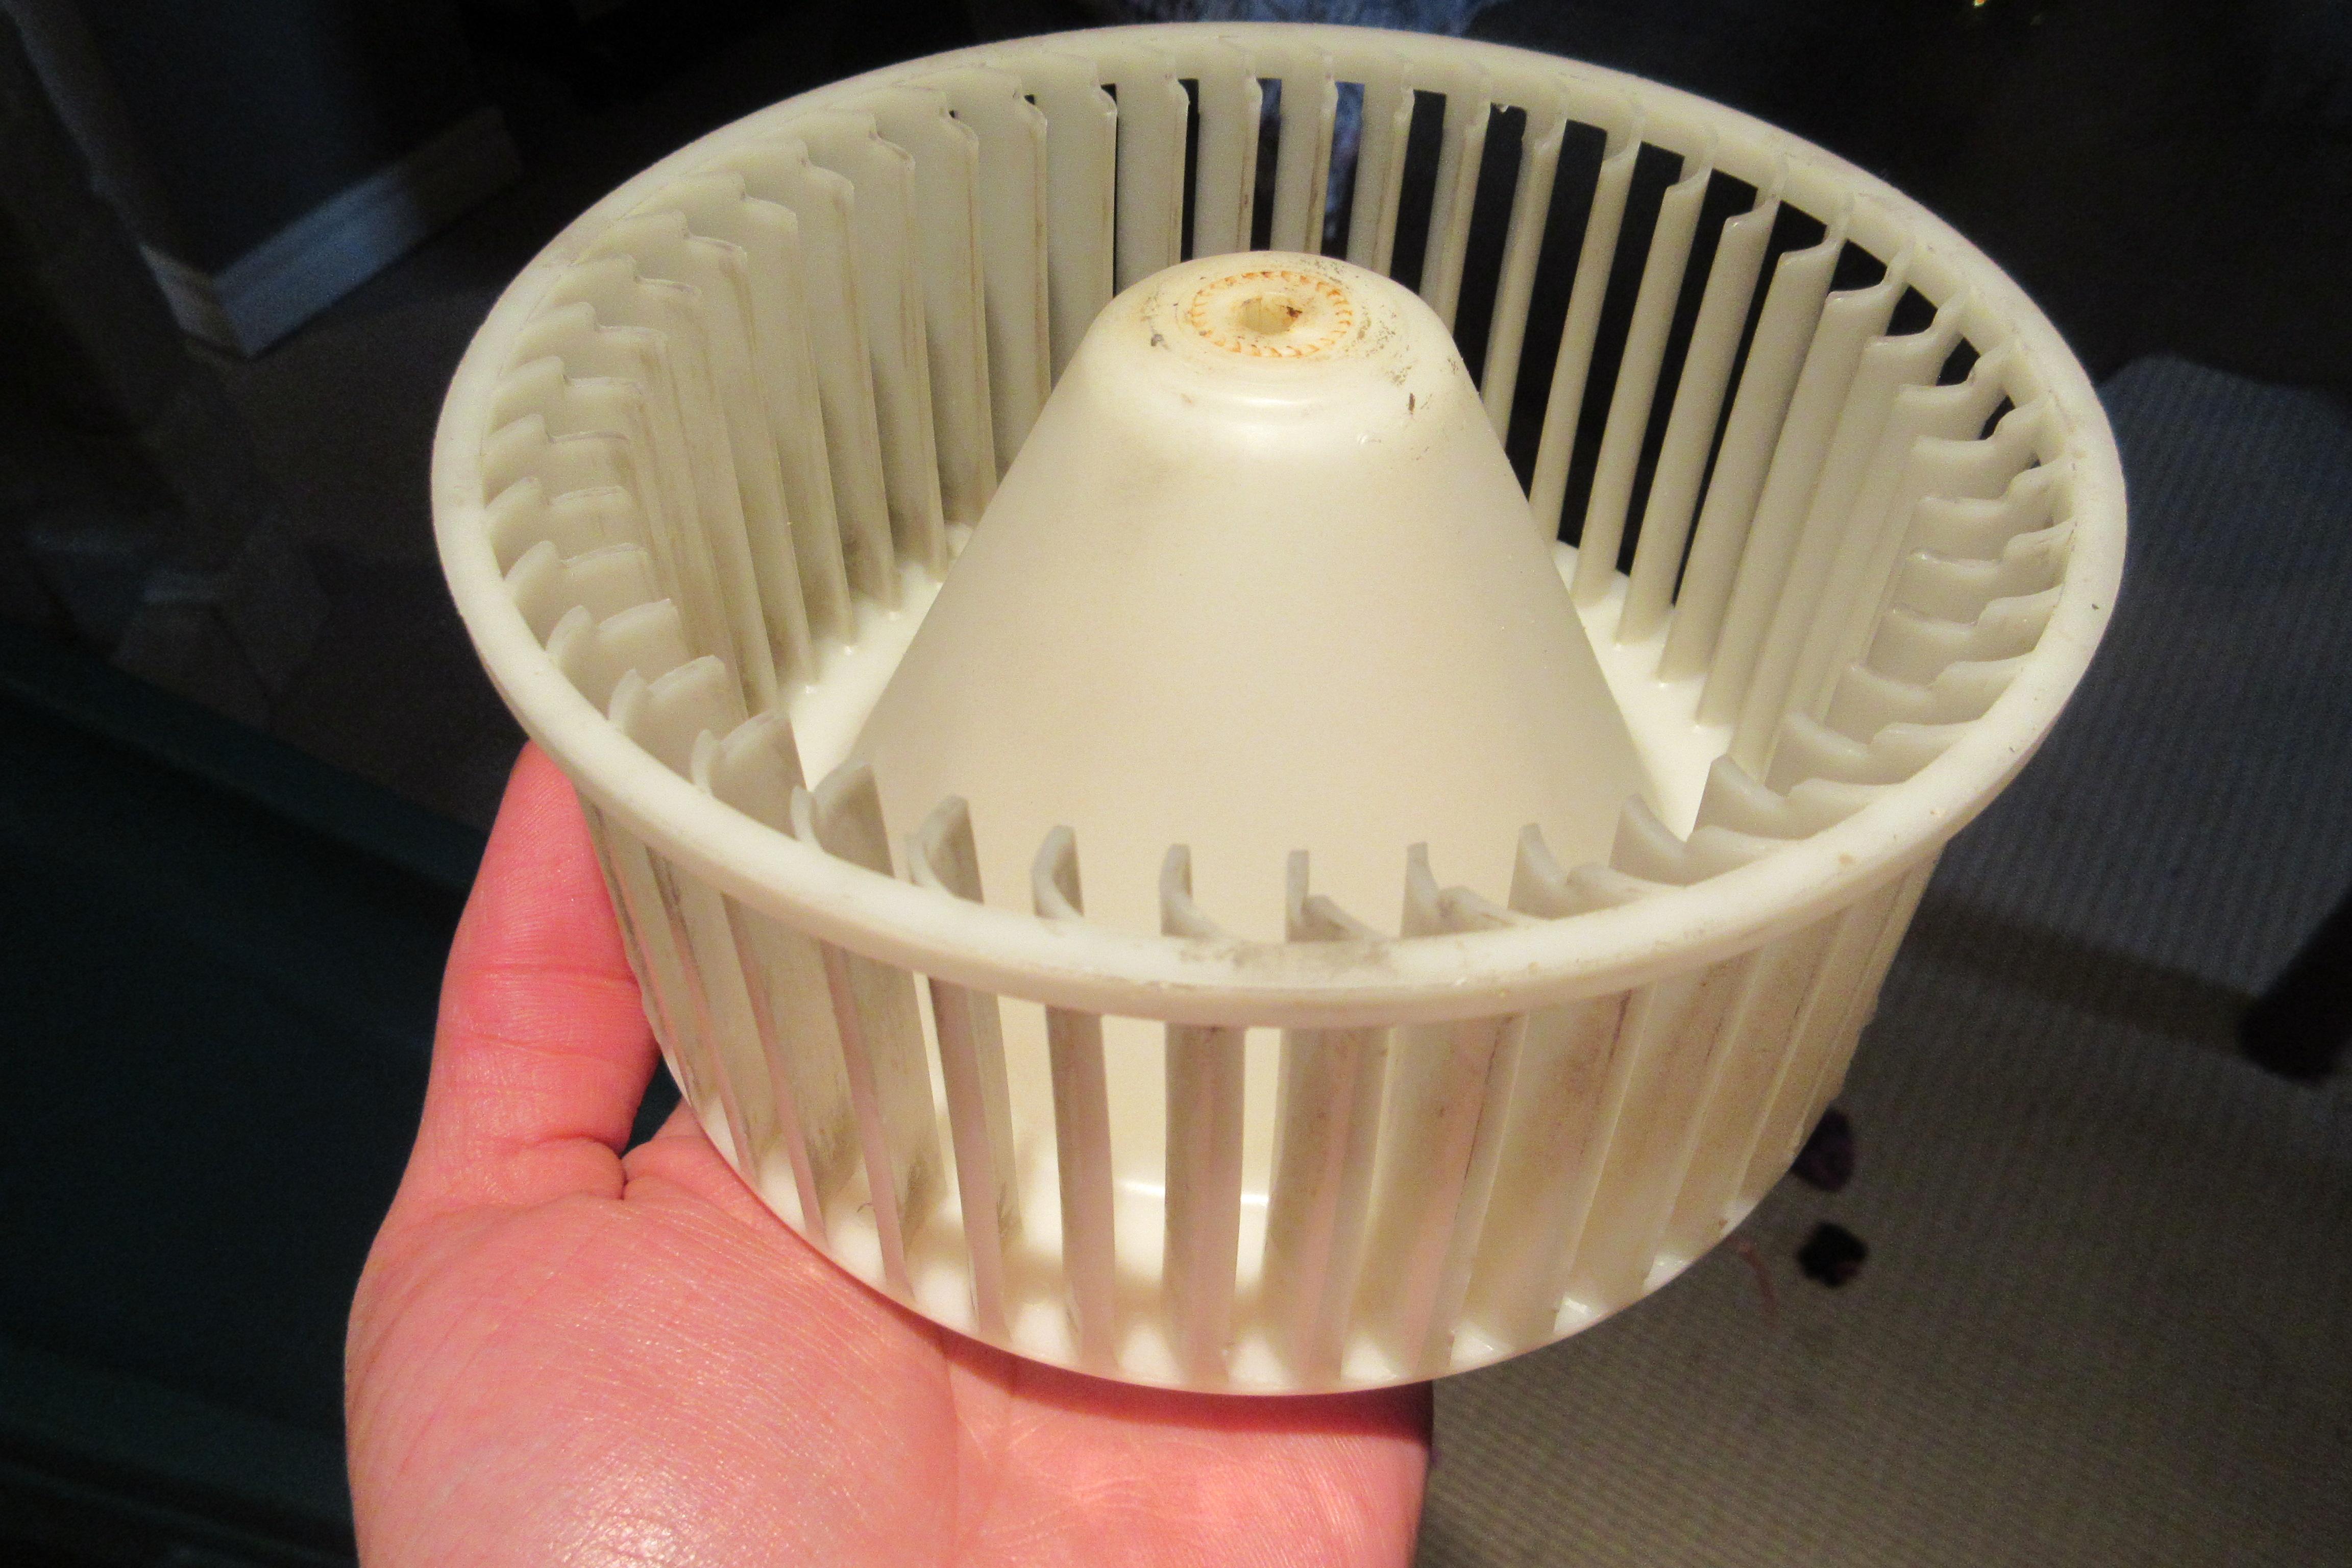
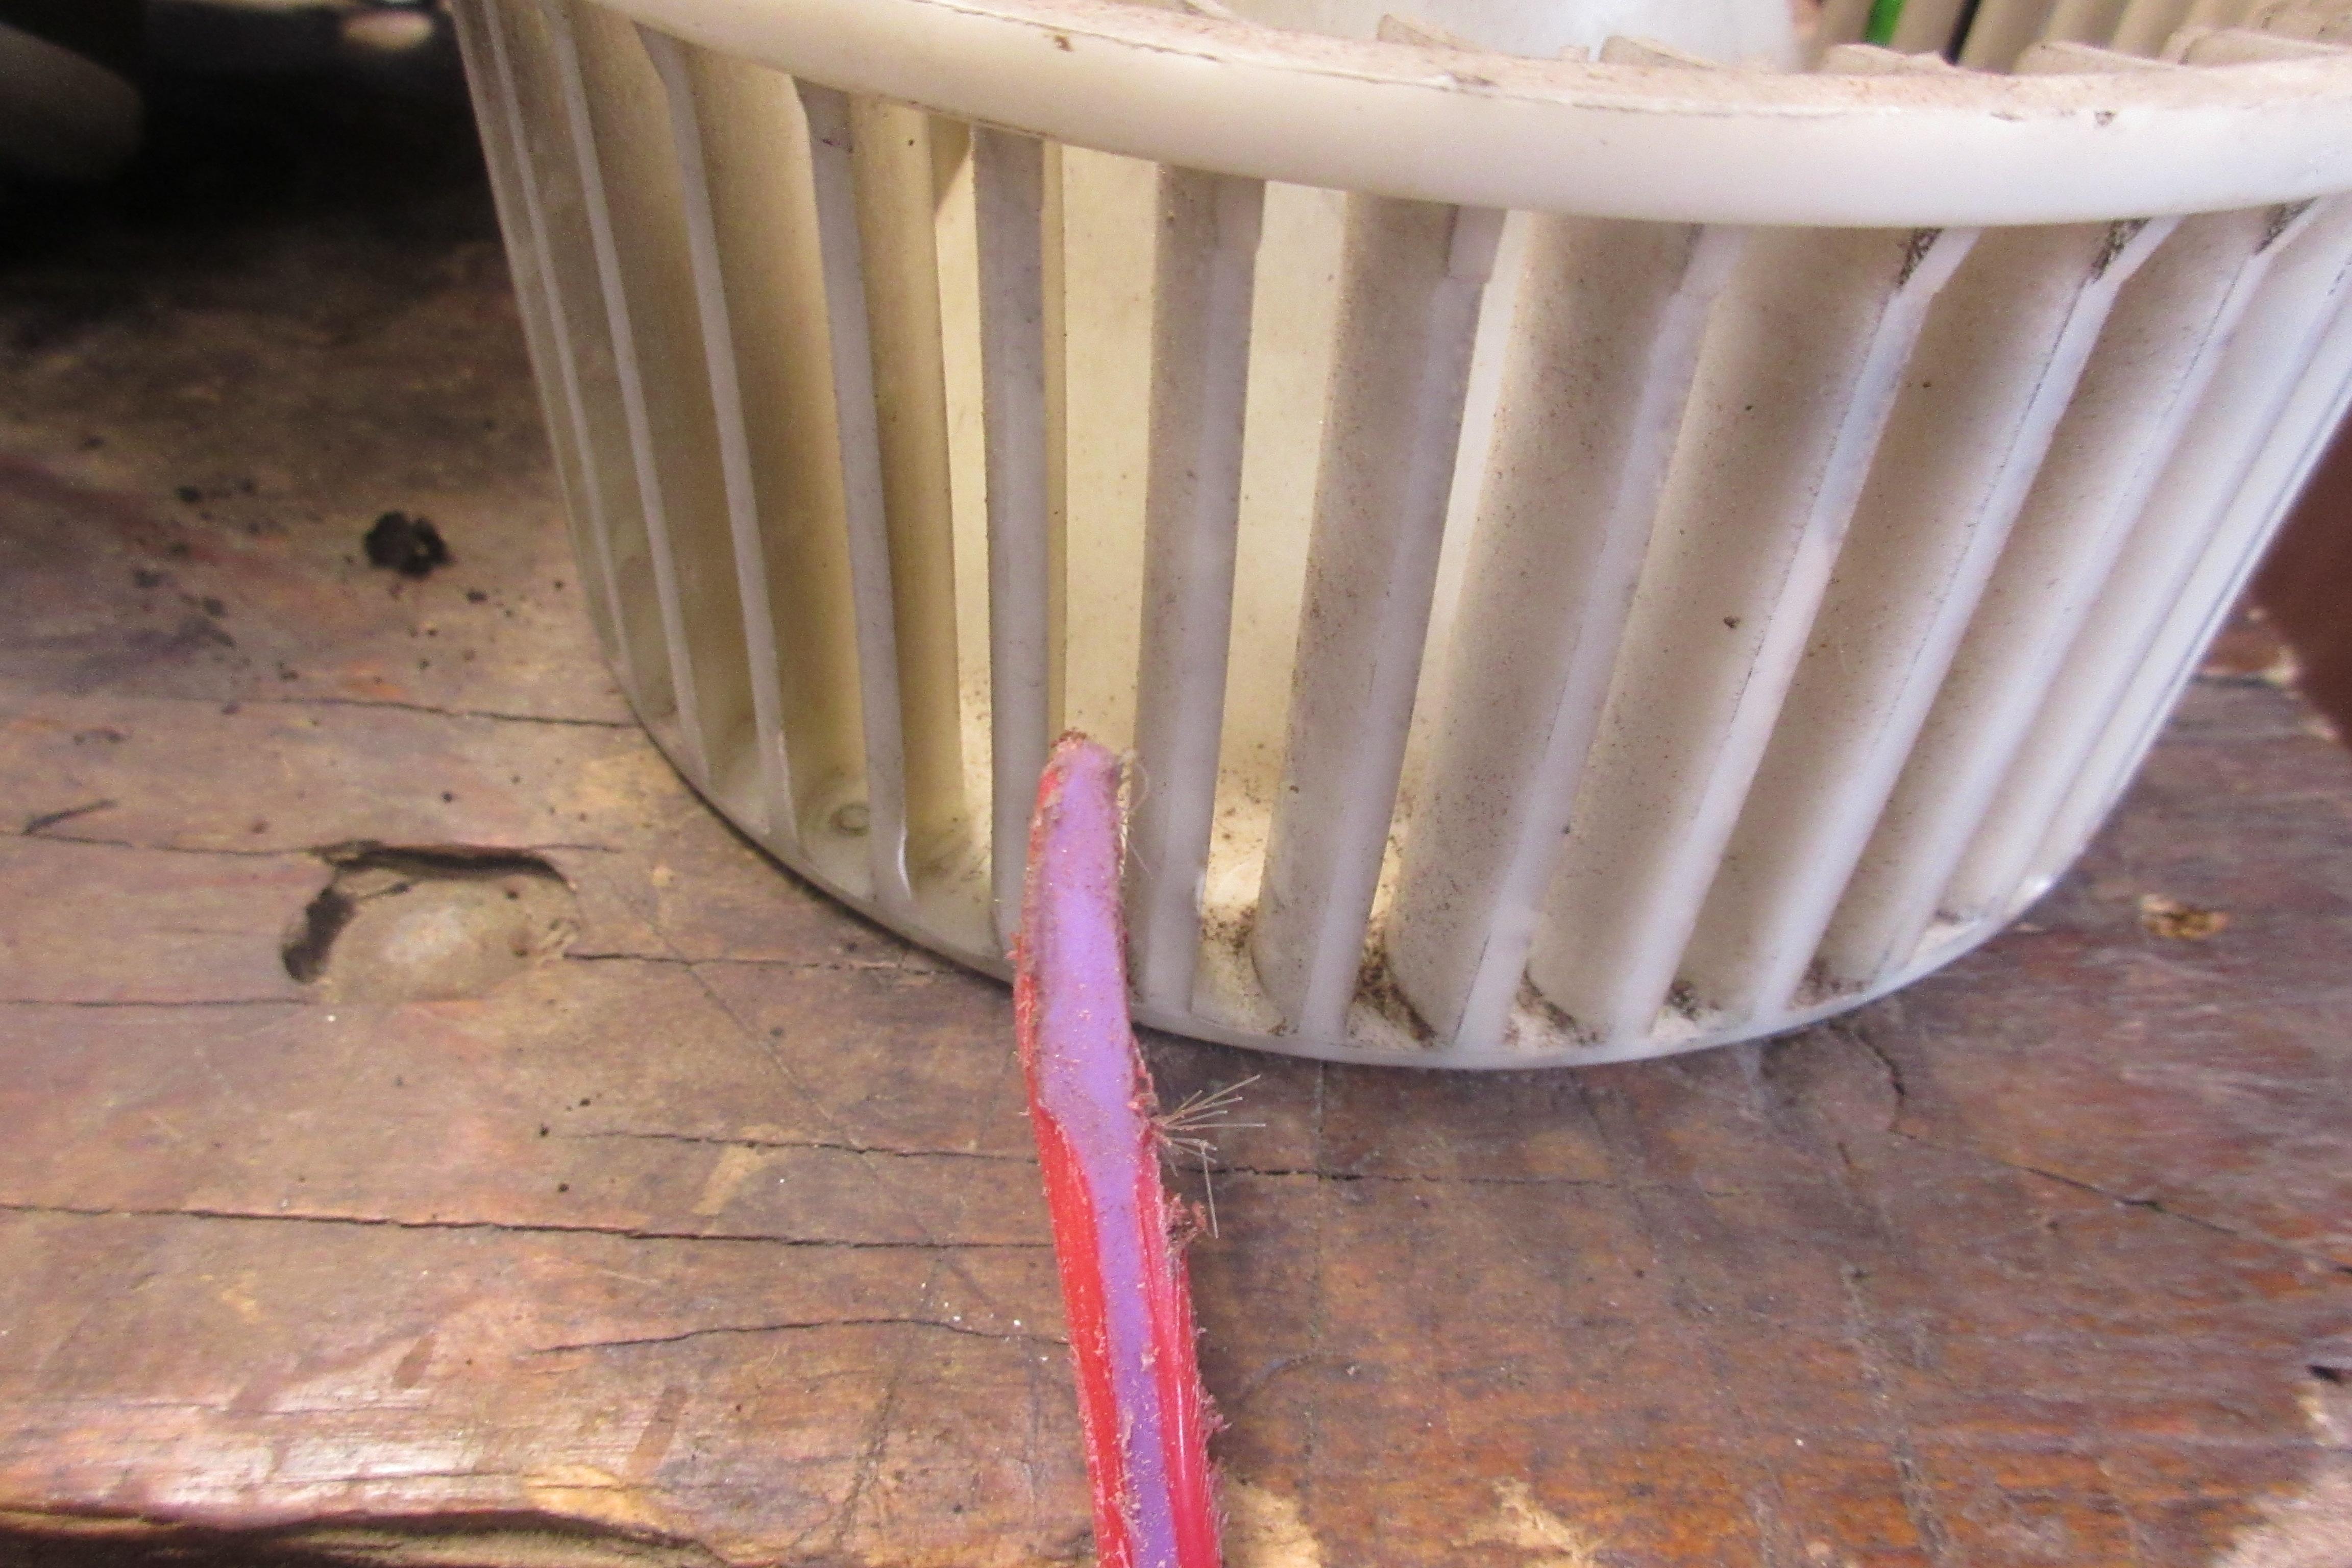
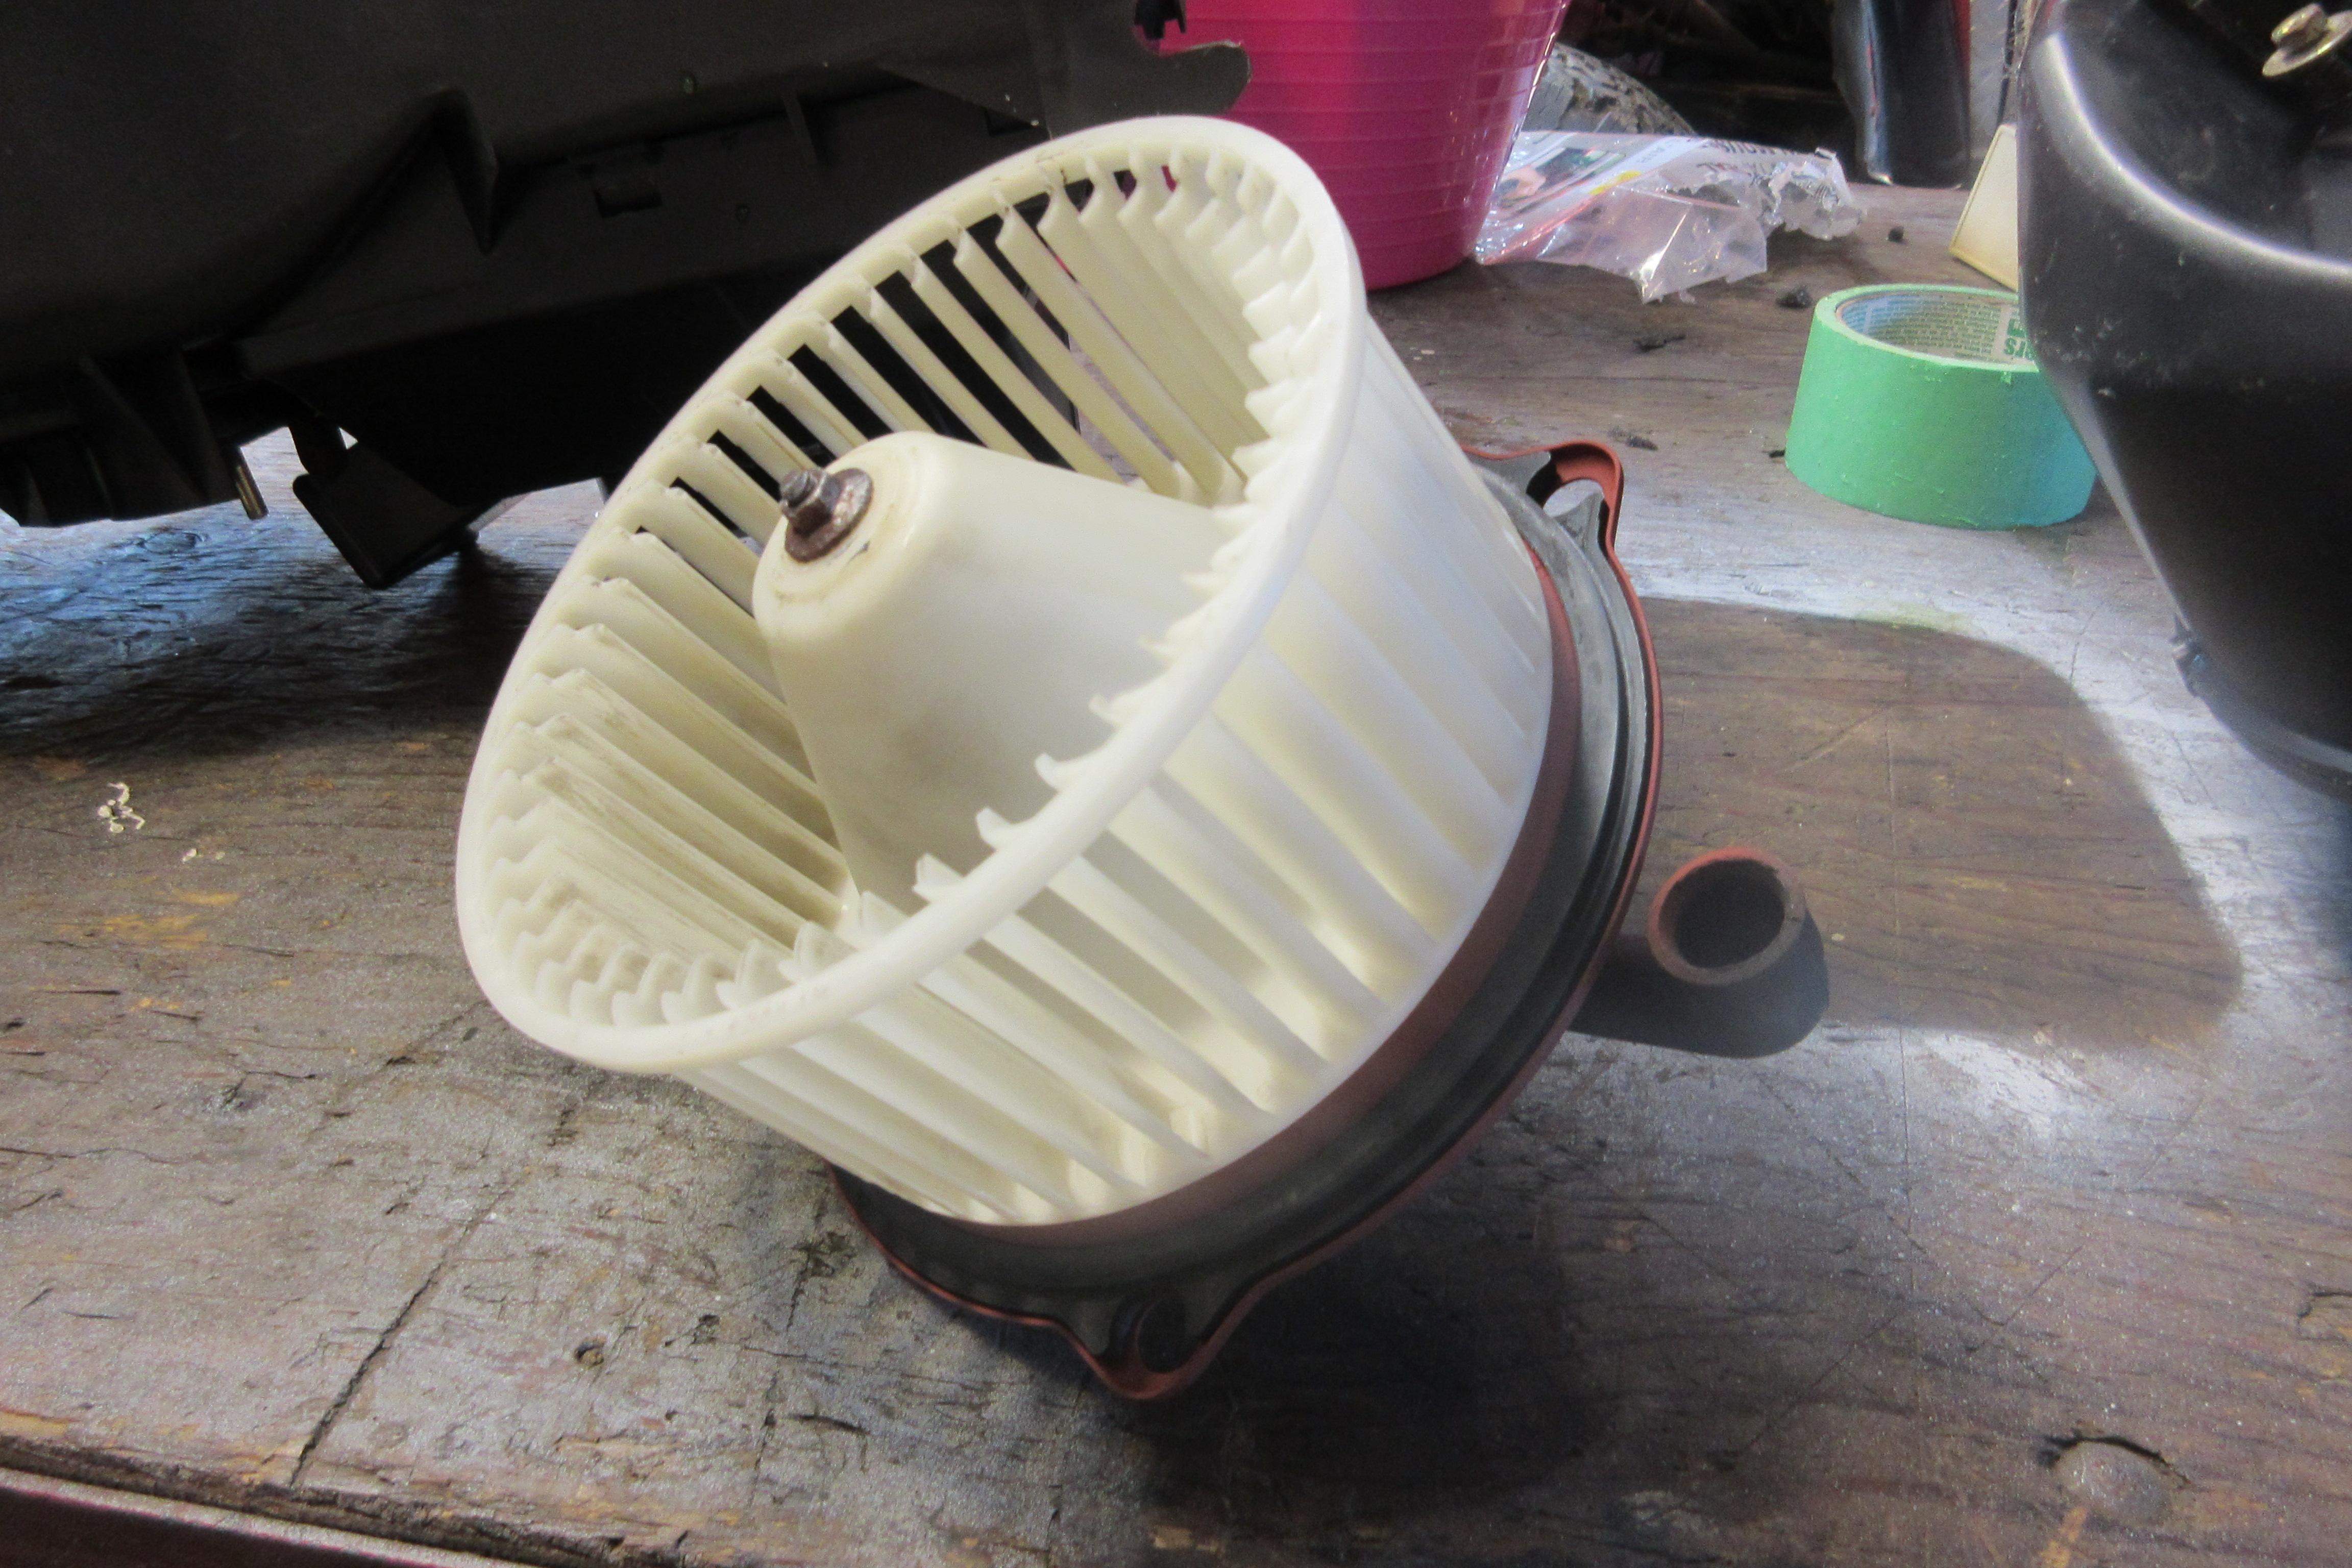
My daughters old tooth brush was the perfect size to clean the fan rotor, after cutting it in half with a coping saw, and filing it down a wee bit.
I was able to separate the two halves of the blower motor box. I drilled the centre of the “fastener”, then cut it down further with a utility knife. When it was flush with the rest of the flange, I used the utility knife to slice through what remained. Then a little prying, and a $hit ton of good luck, the two halves popped apart without breaking any 32-year old plastic.
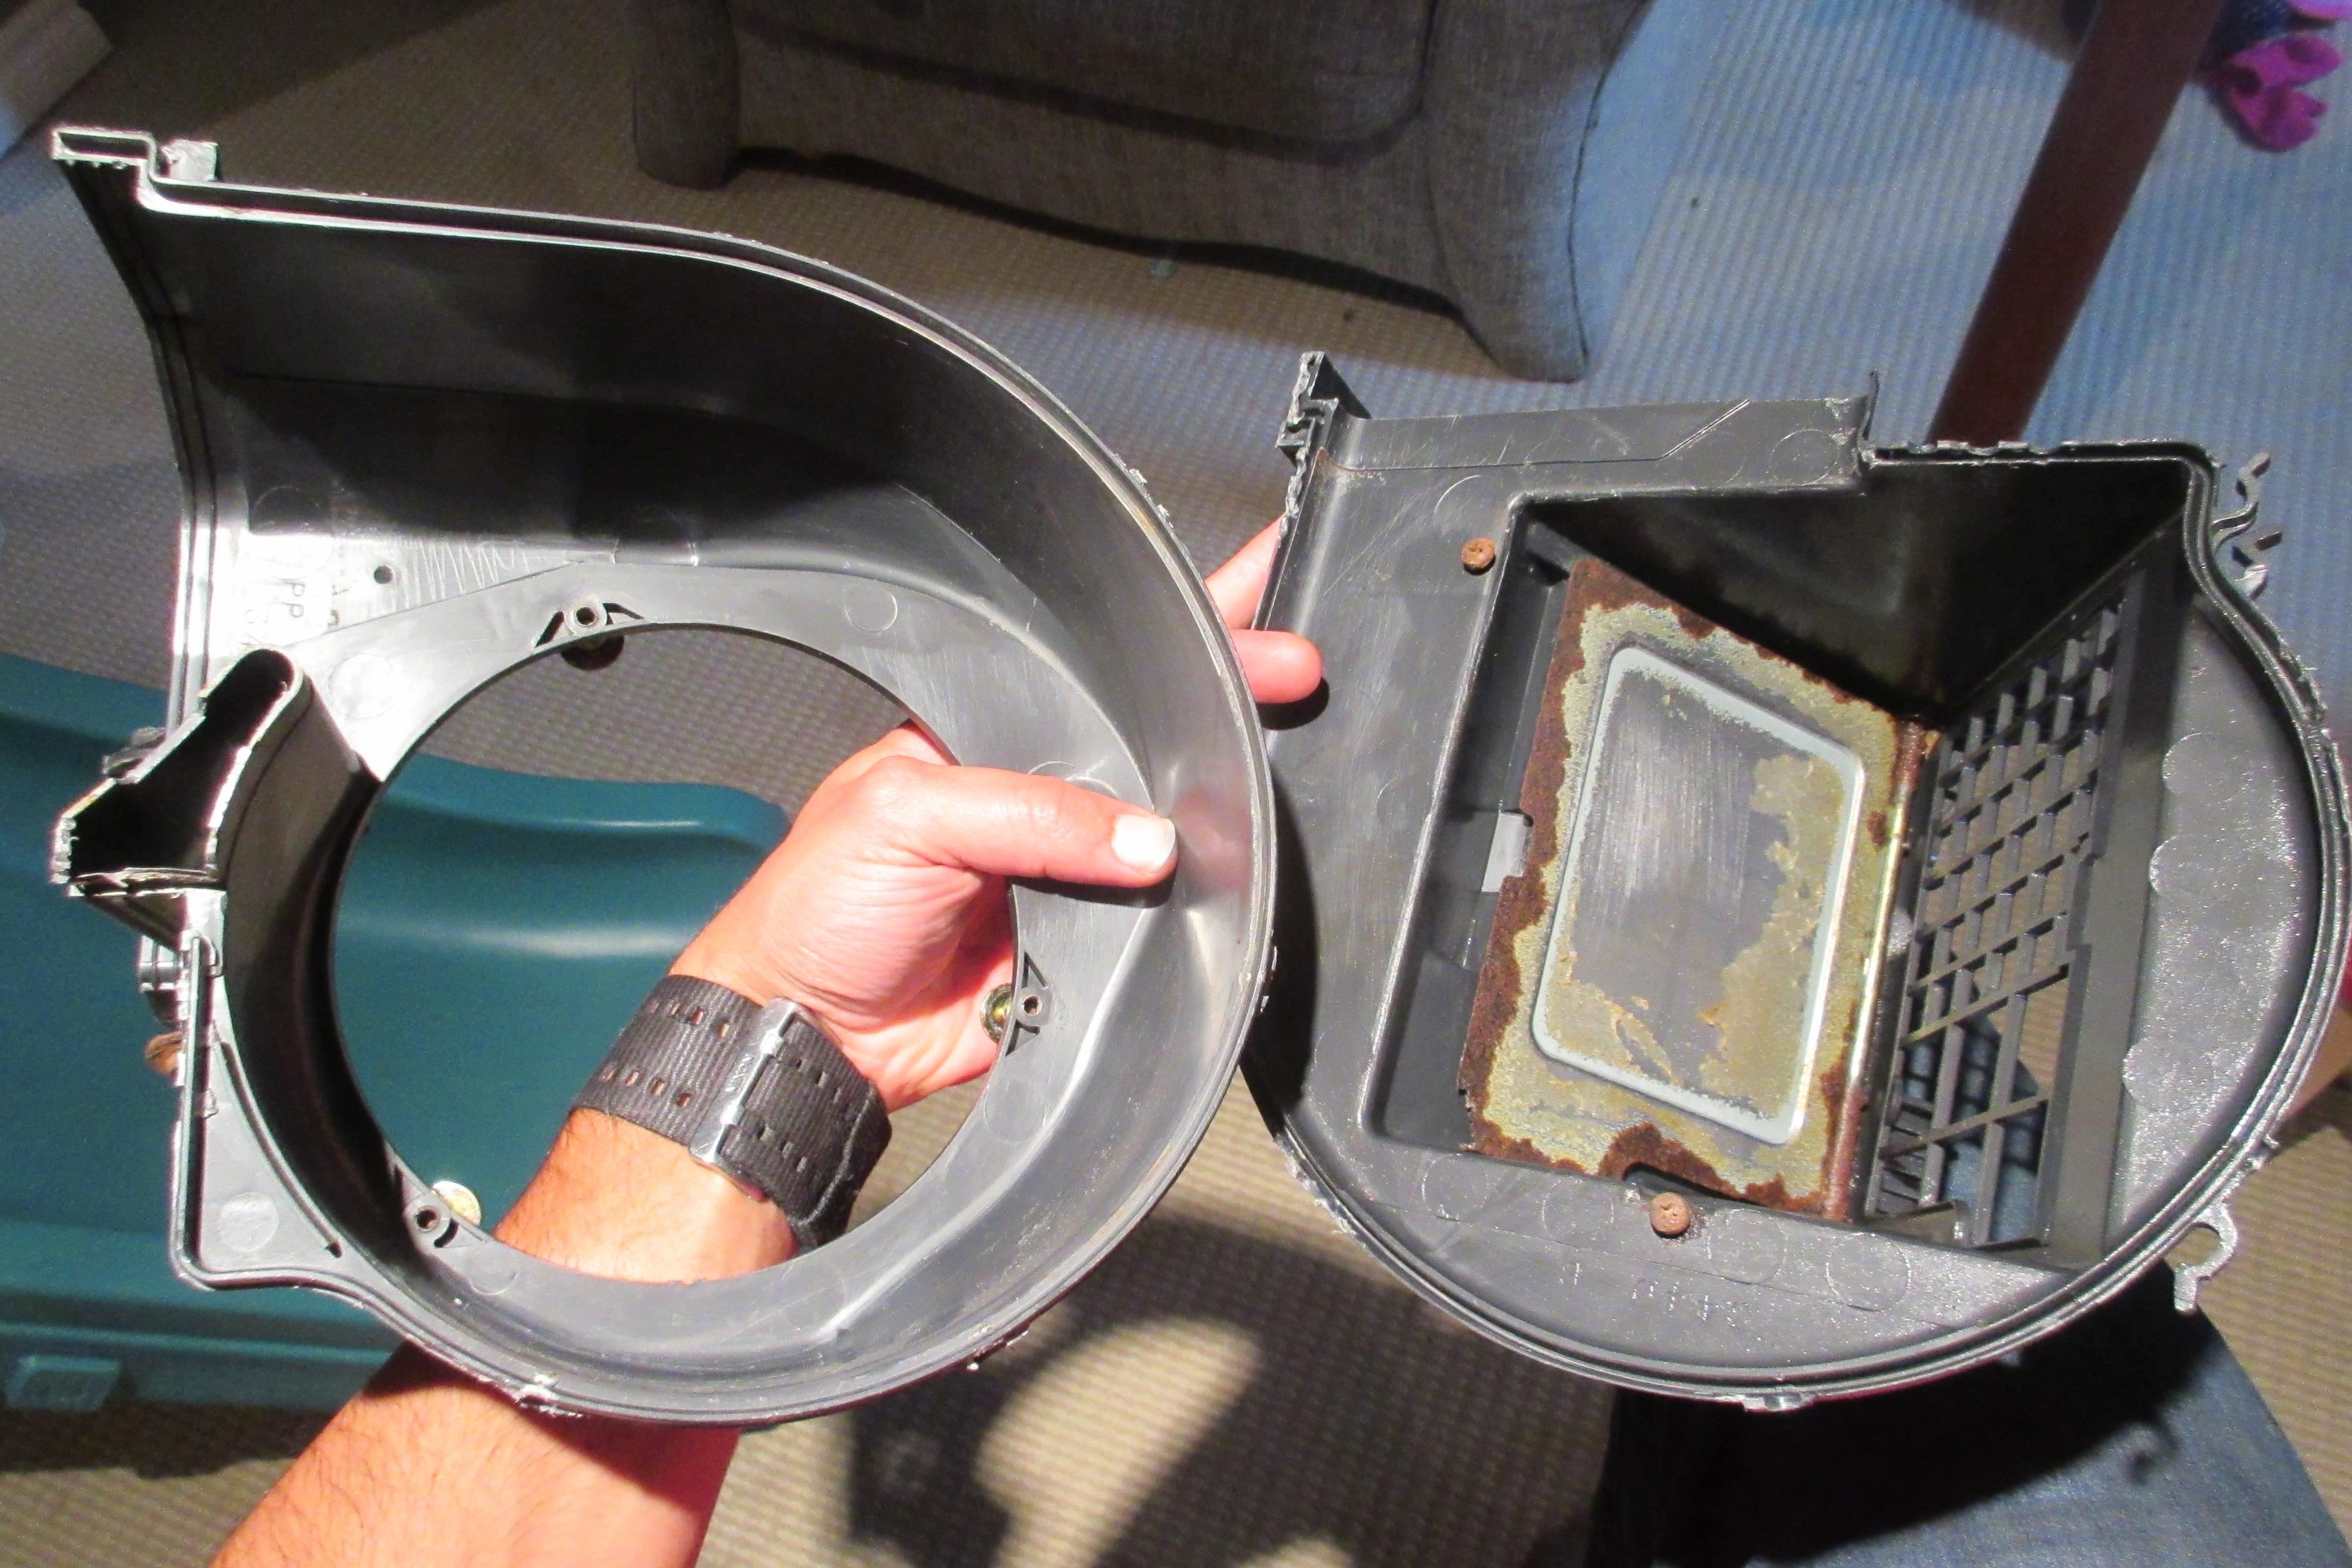
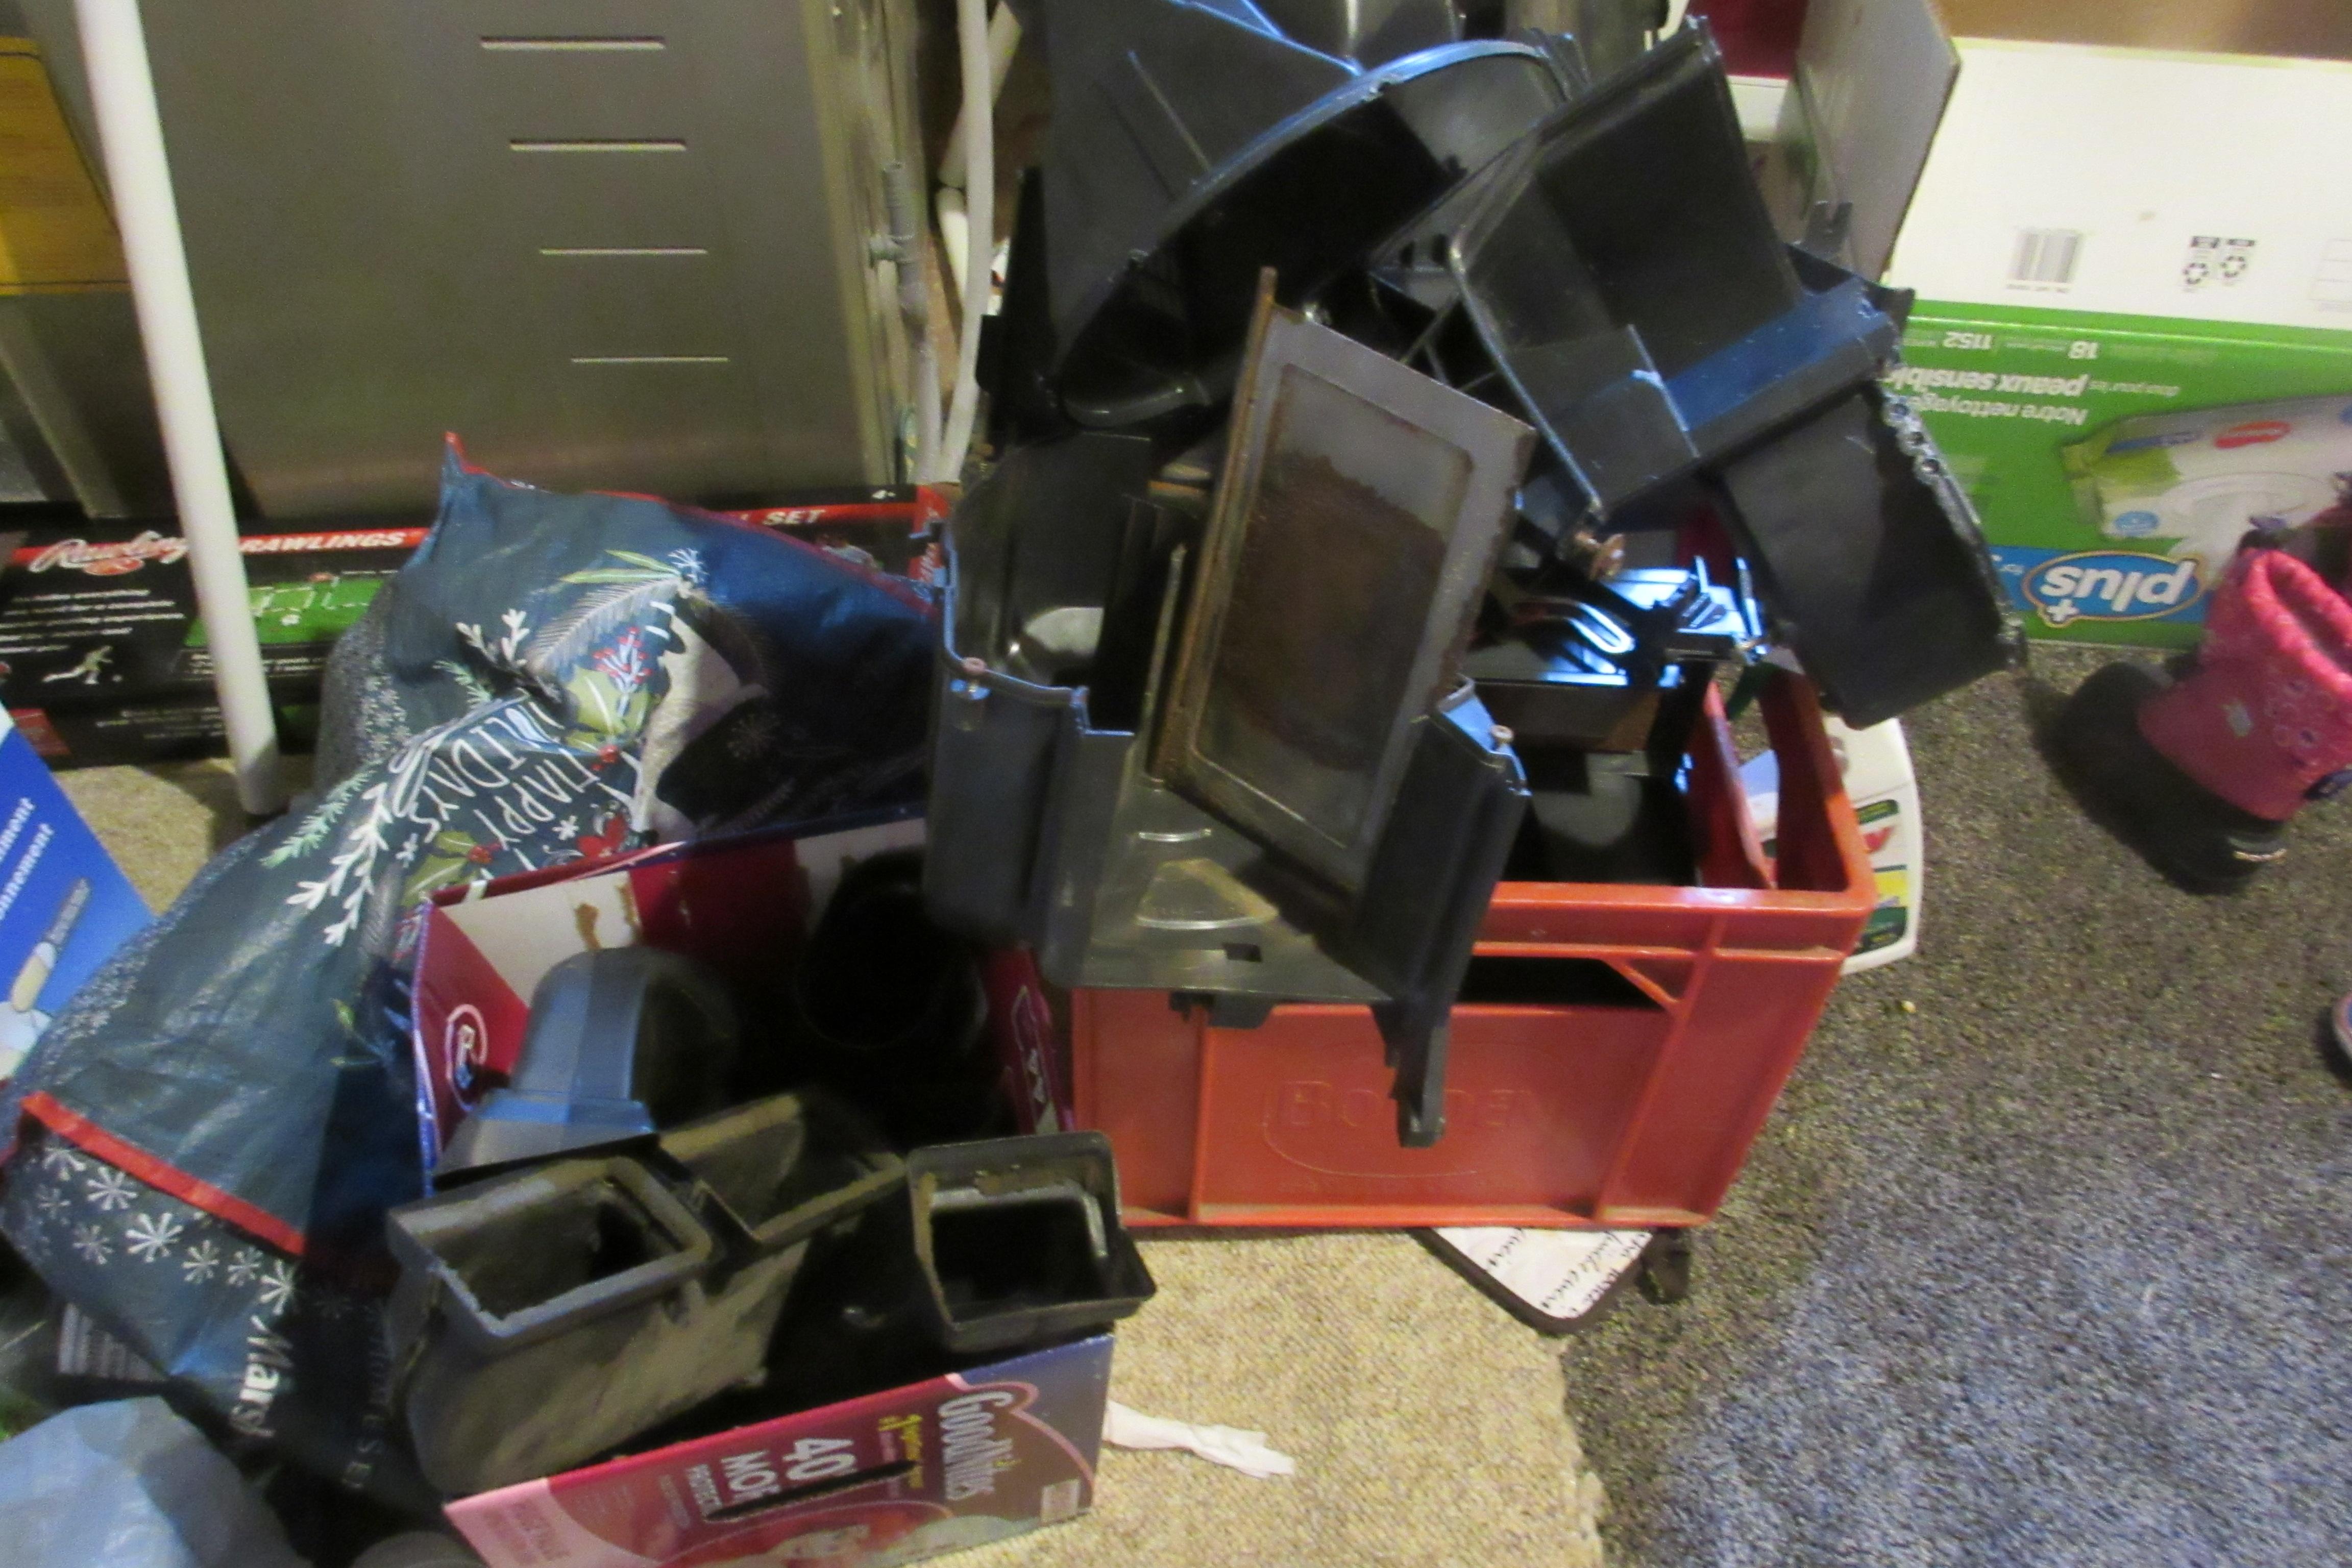
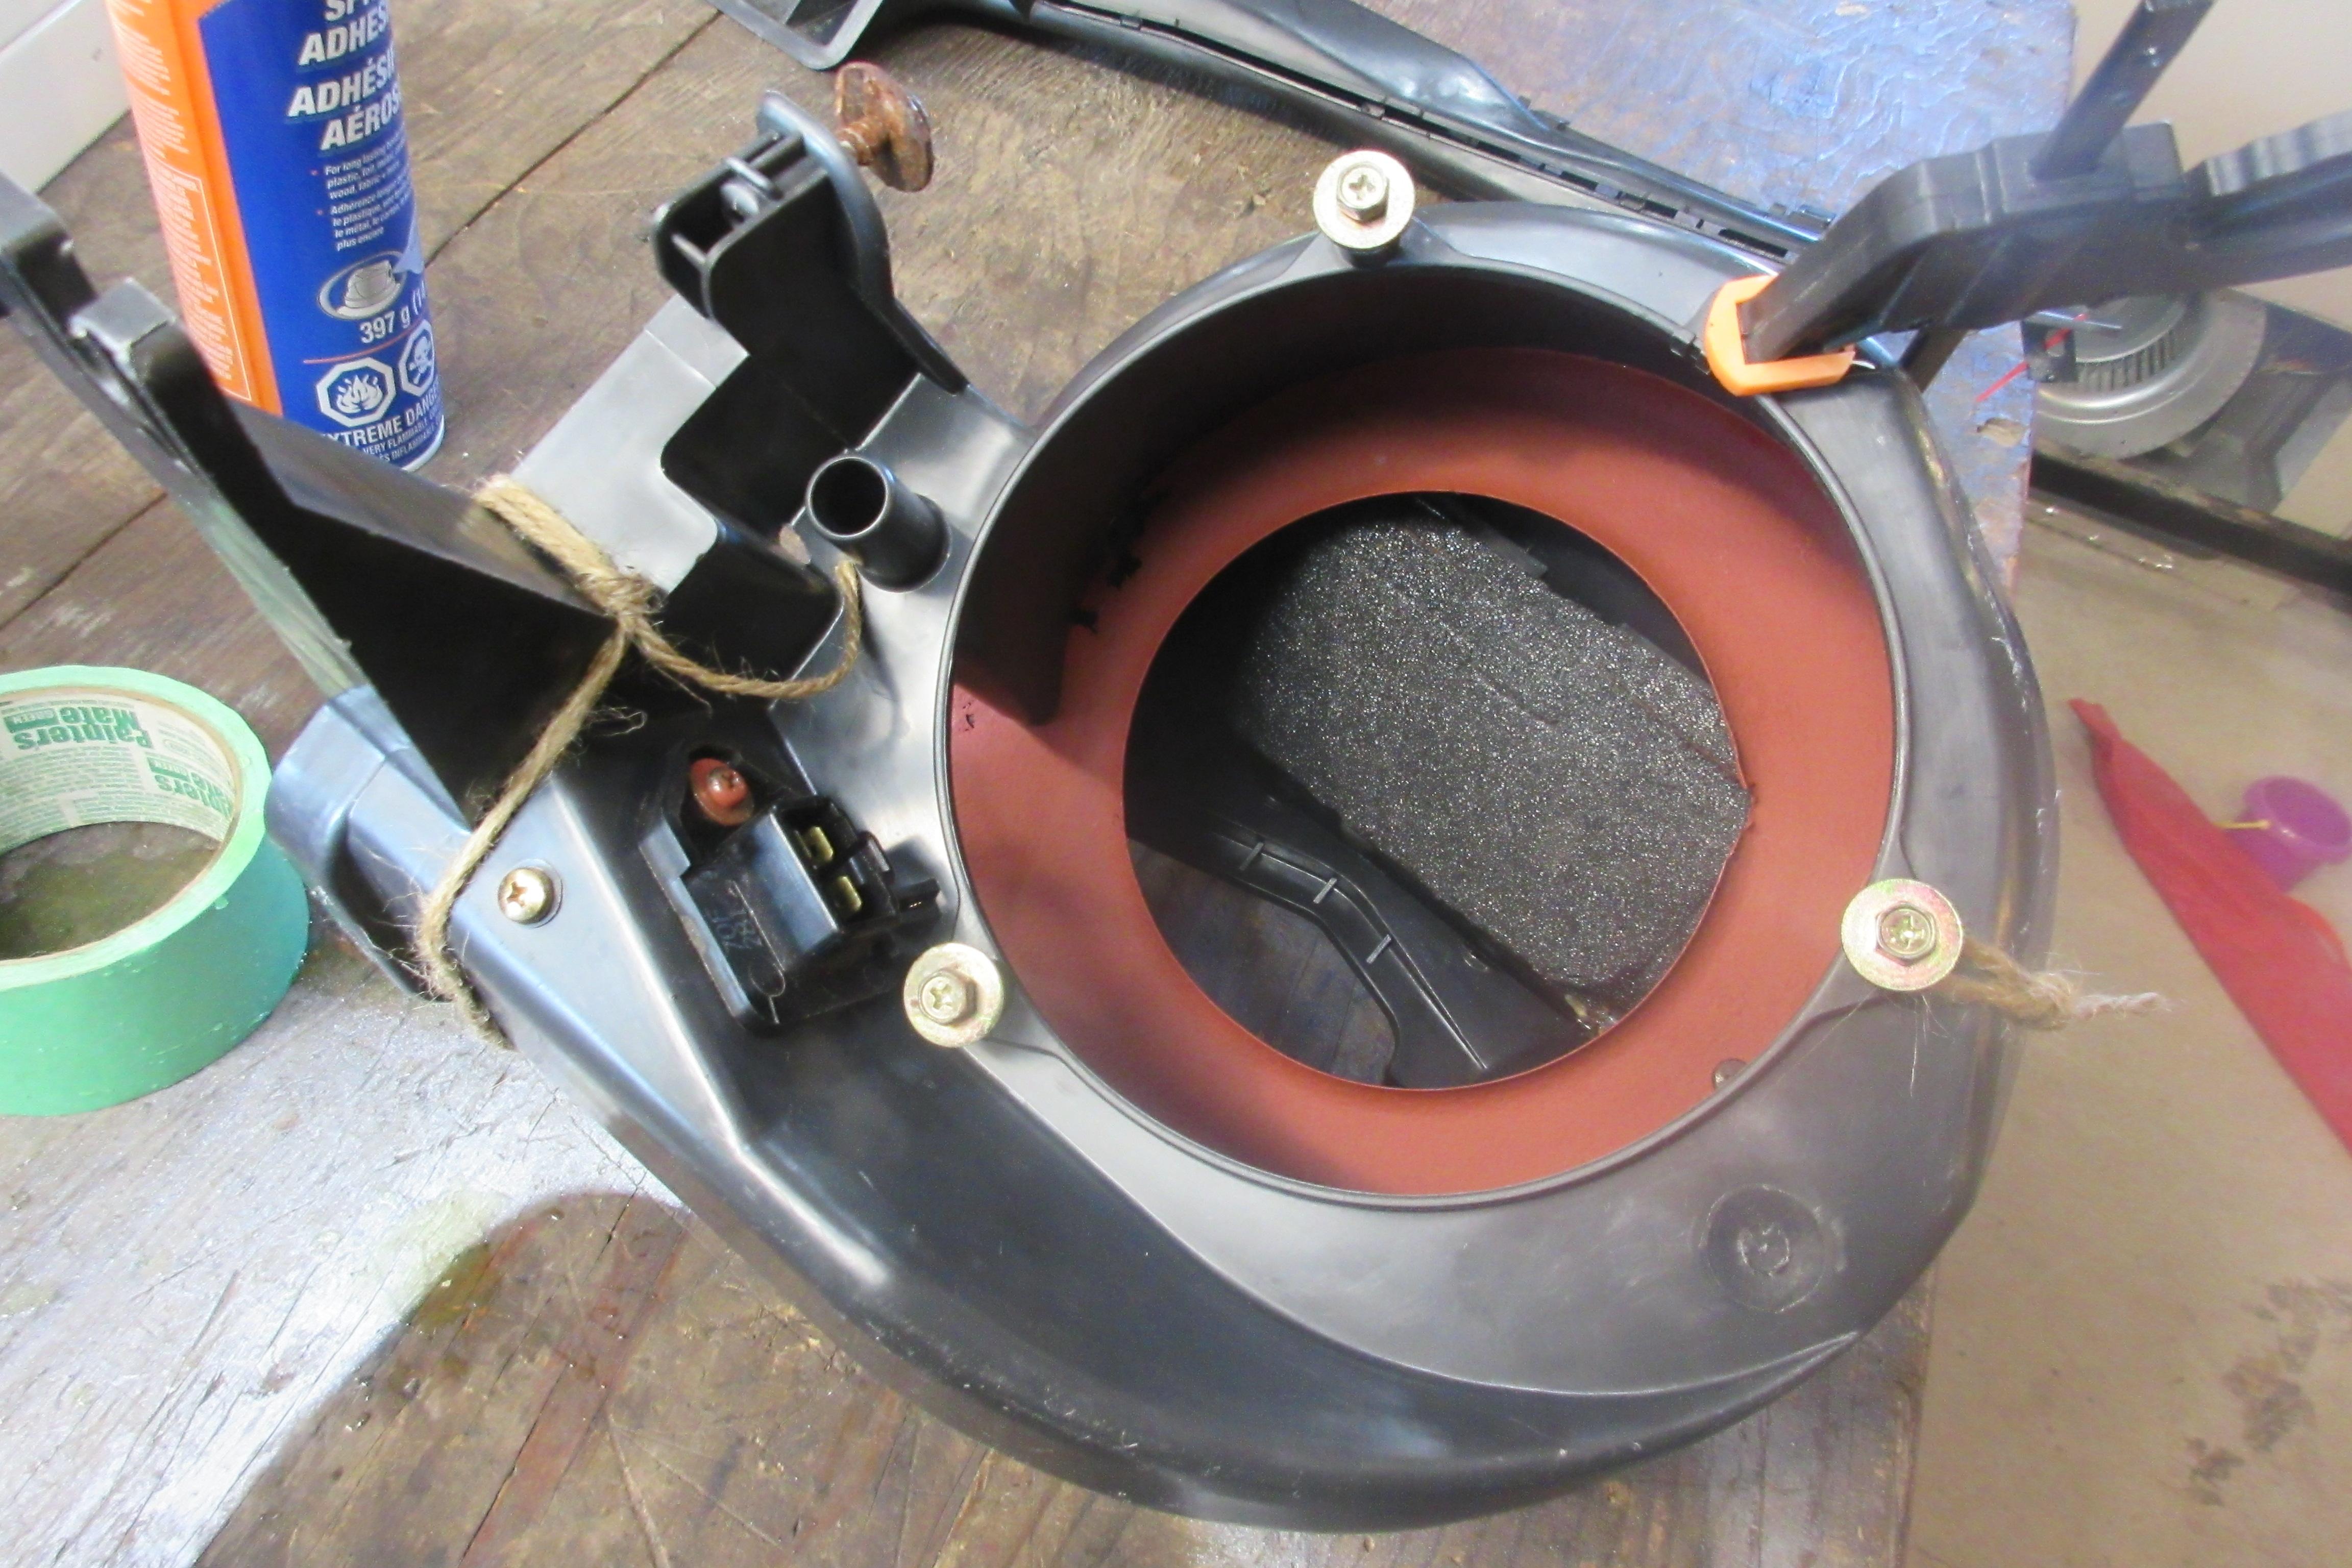
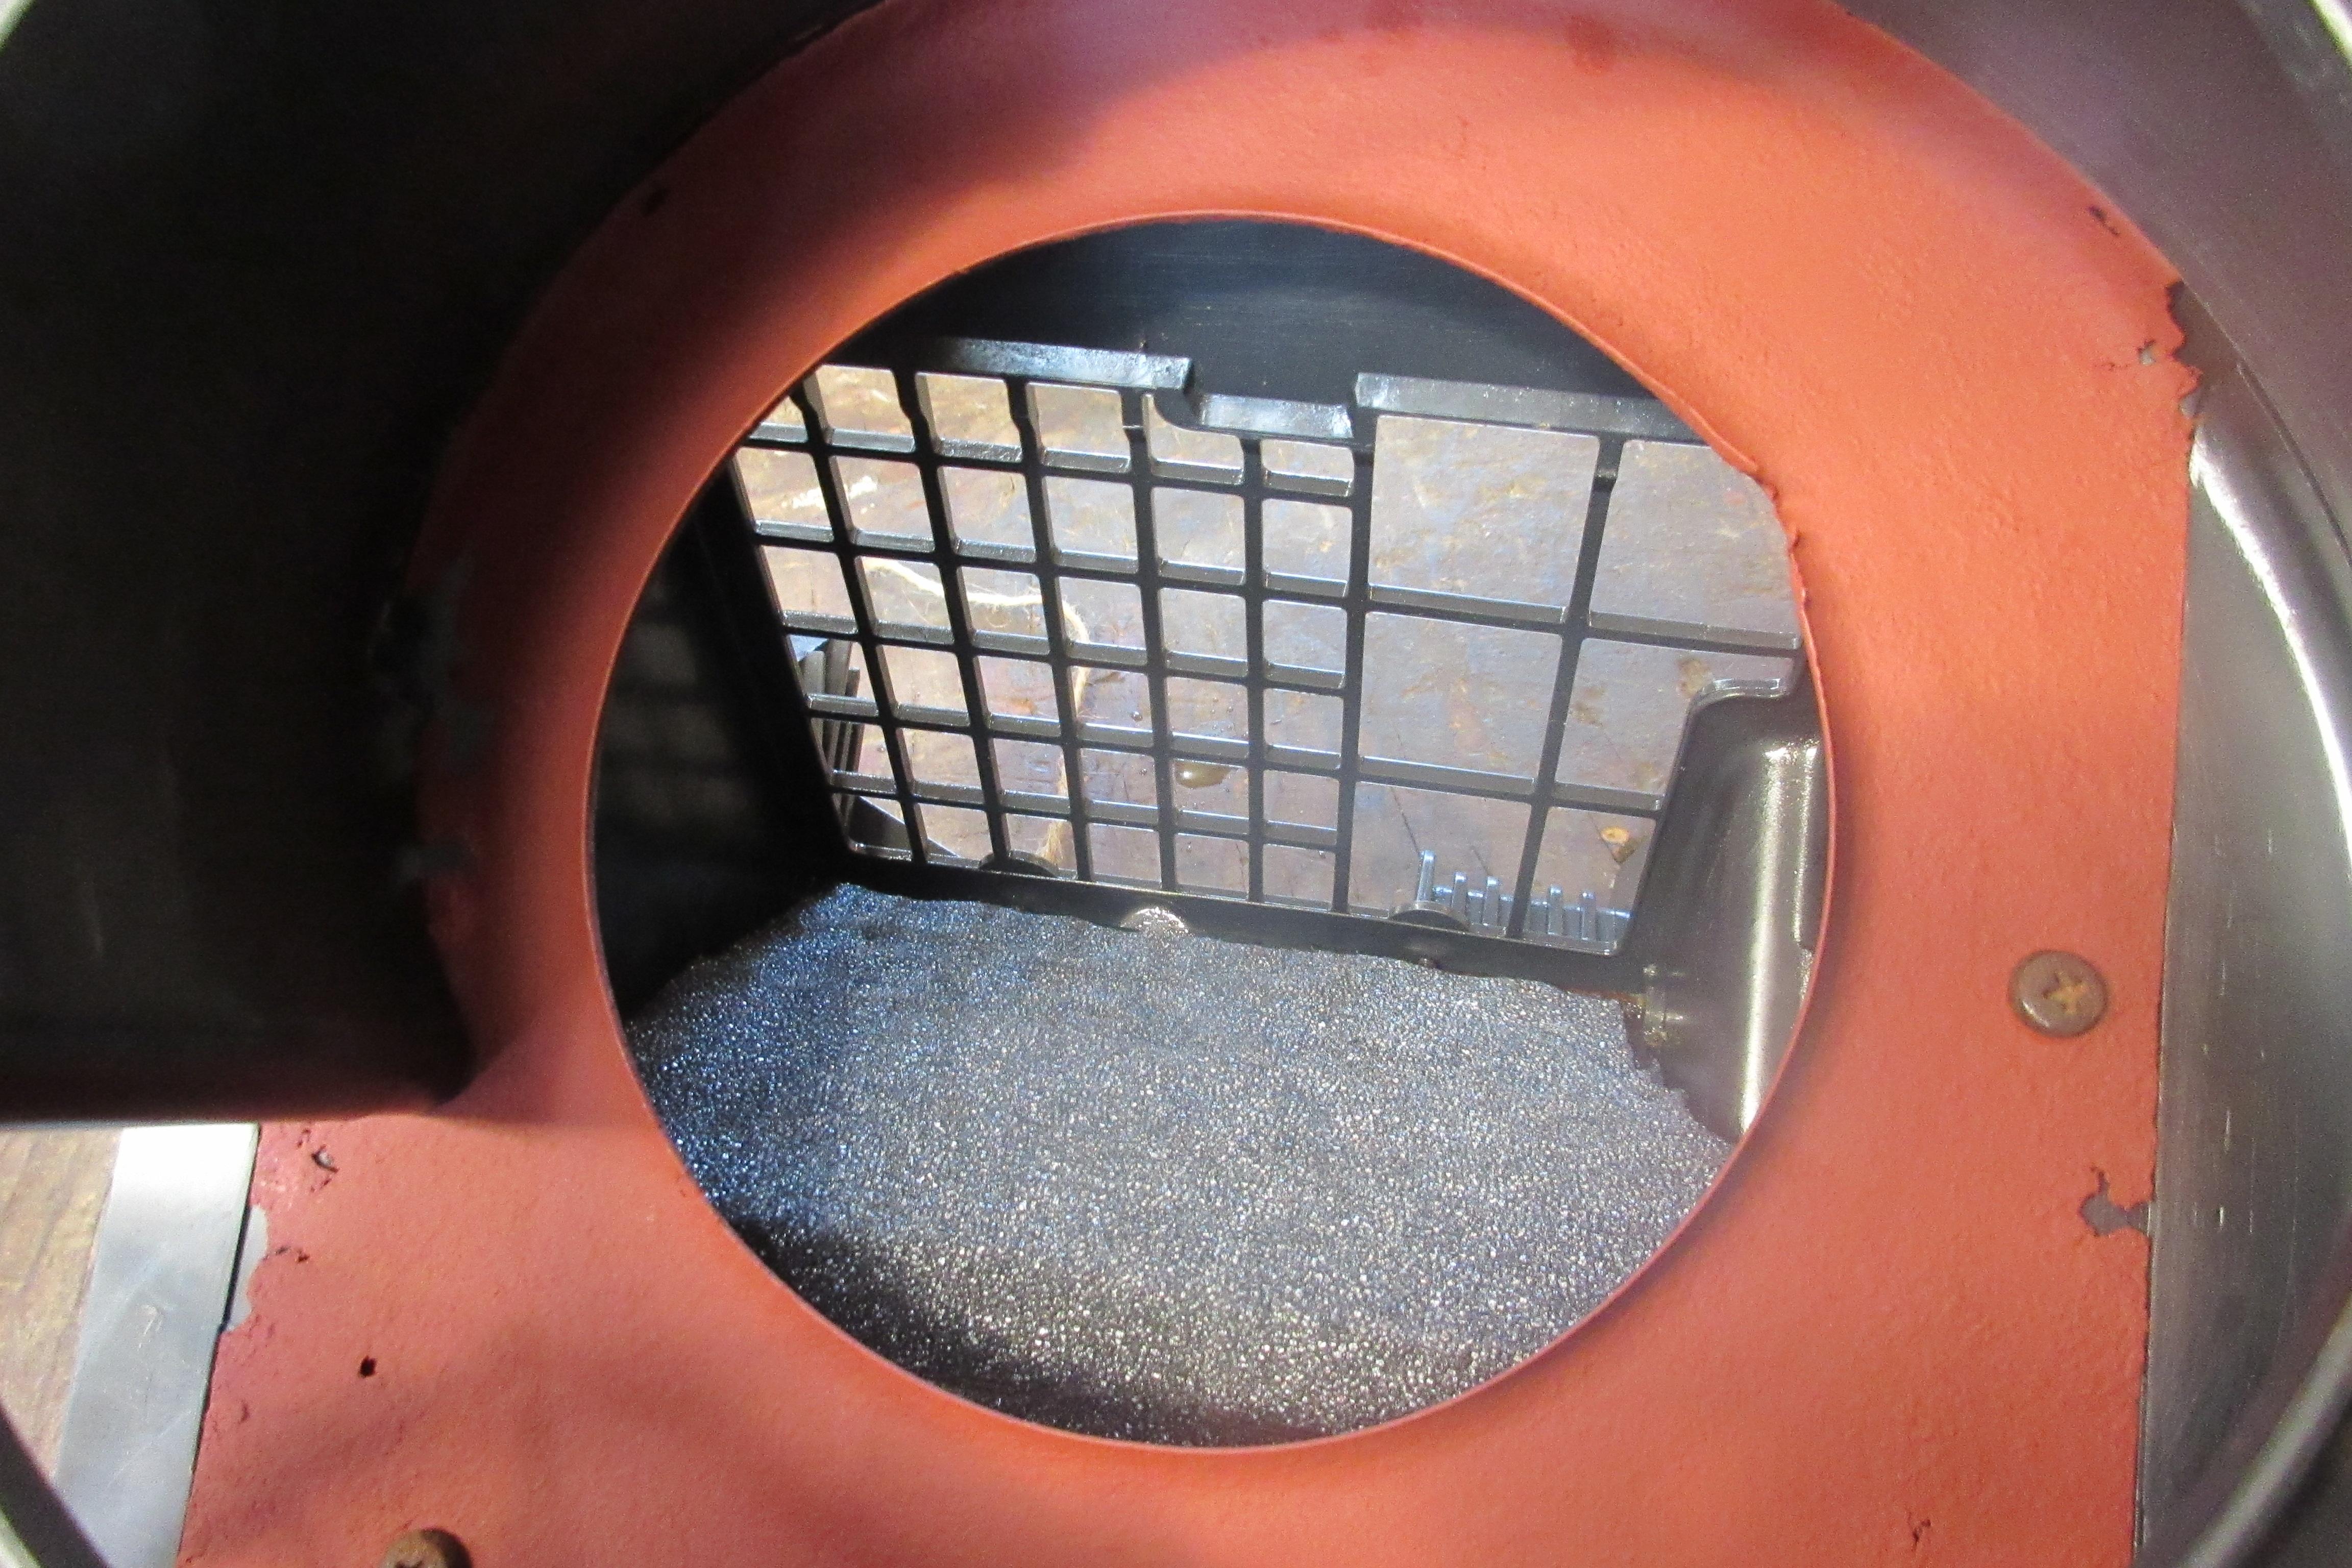
Once apart I did a bunch of scraping to the flapper doors, and the metal gussets inside. The gussets have been primed, but are very very brittle. Glad they aren’t load bearing haha. I still need soap and water wash all the pieces one final time before I reassemble the entire system with new foam seals (generic adhesive backed window seal). That’s the plan for tonight once the girls are asleep.
I removed the firewall mat to use it as a template for my remake. I’m using leftover shower floor liner (in my shop last 5 years) and grabbed a new offcut of underpad for $10.
 October 6, 2018 at 1:48 pm #207268finn the kareilian vikingKeymaster
tom, you’re a machine! come down for the bull$h!t session next sunday. your parts will be there. right now they’re in a high security compound.
-
This reply was modified 6 years, 9 months ago by
 finn the kareilian viking.
October 8, 2018 at 7:06 pm #207283toys-n-yotasKeymasterHey Mark, not sure if I can swing the BS session, Sam is working night shifts leading up. How beat up she gets from work will determine my availability. Starts at 7:30pm?
I got a whole bunch completed today while Sam and girls were visiting great-grandma.
I started with giving the entire hvac system a dish soap and water wash in the house to get any last chemicals off. From here I towel dried everything and used compressed air to blow out all the nooks and crannies. A little WD-40 on the blend door pivots to ensure they move freely for times to come.
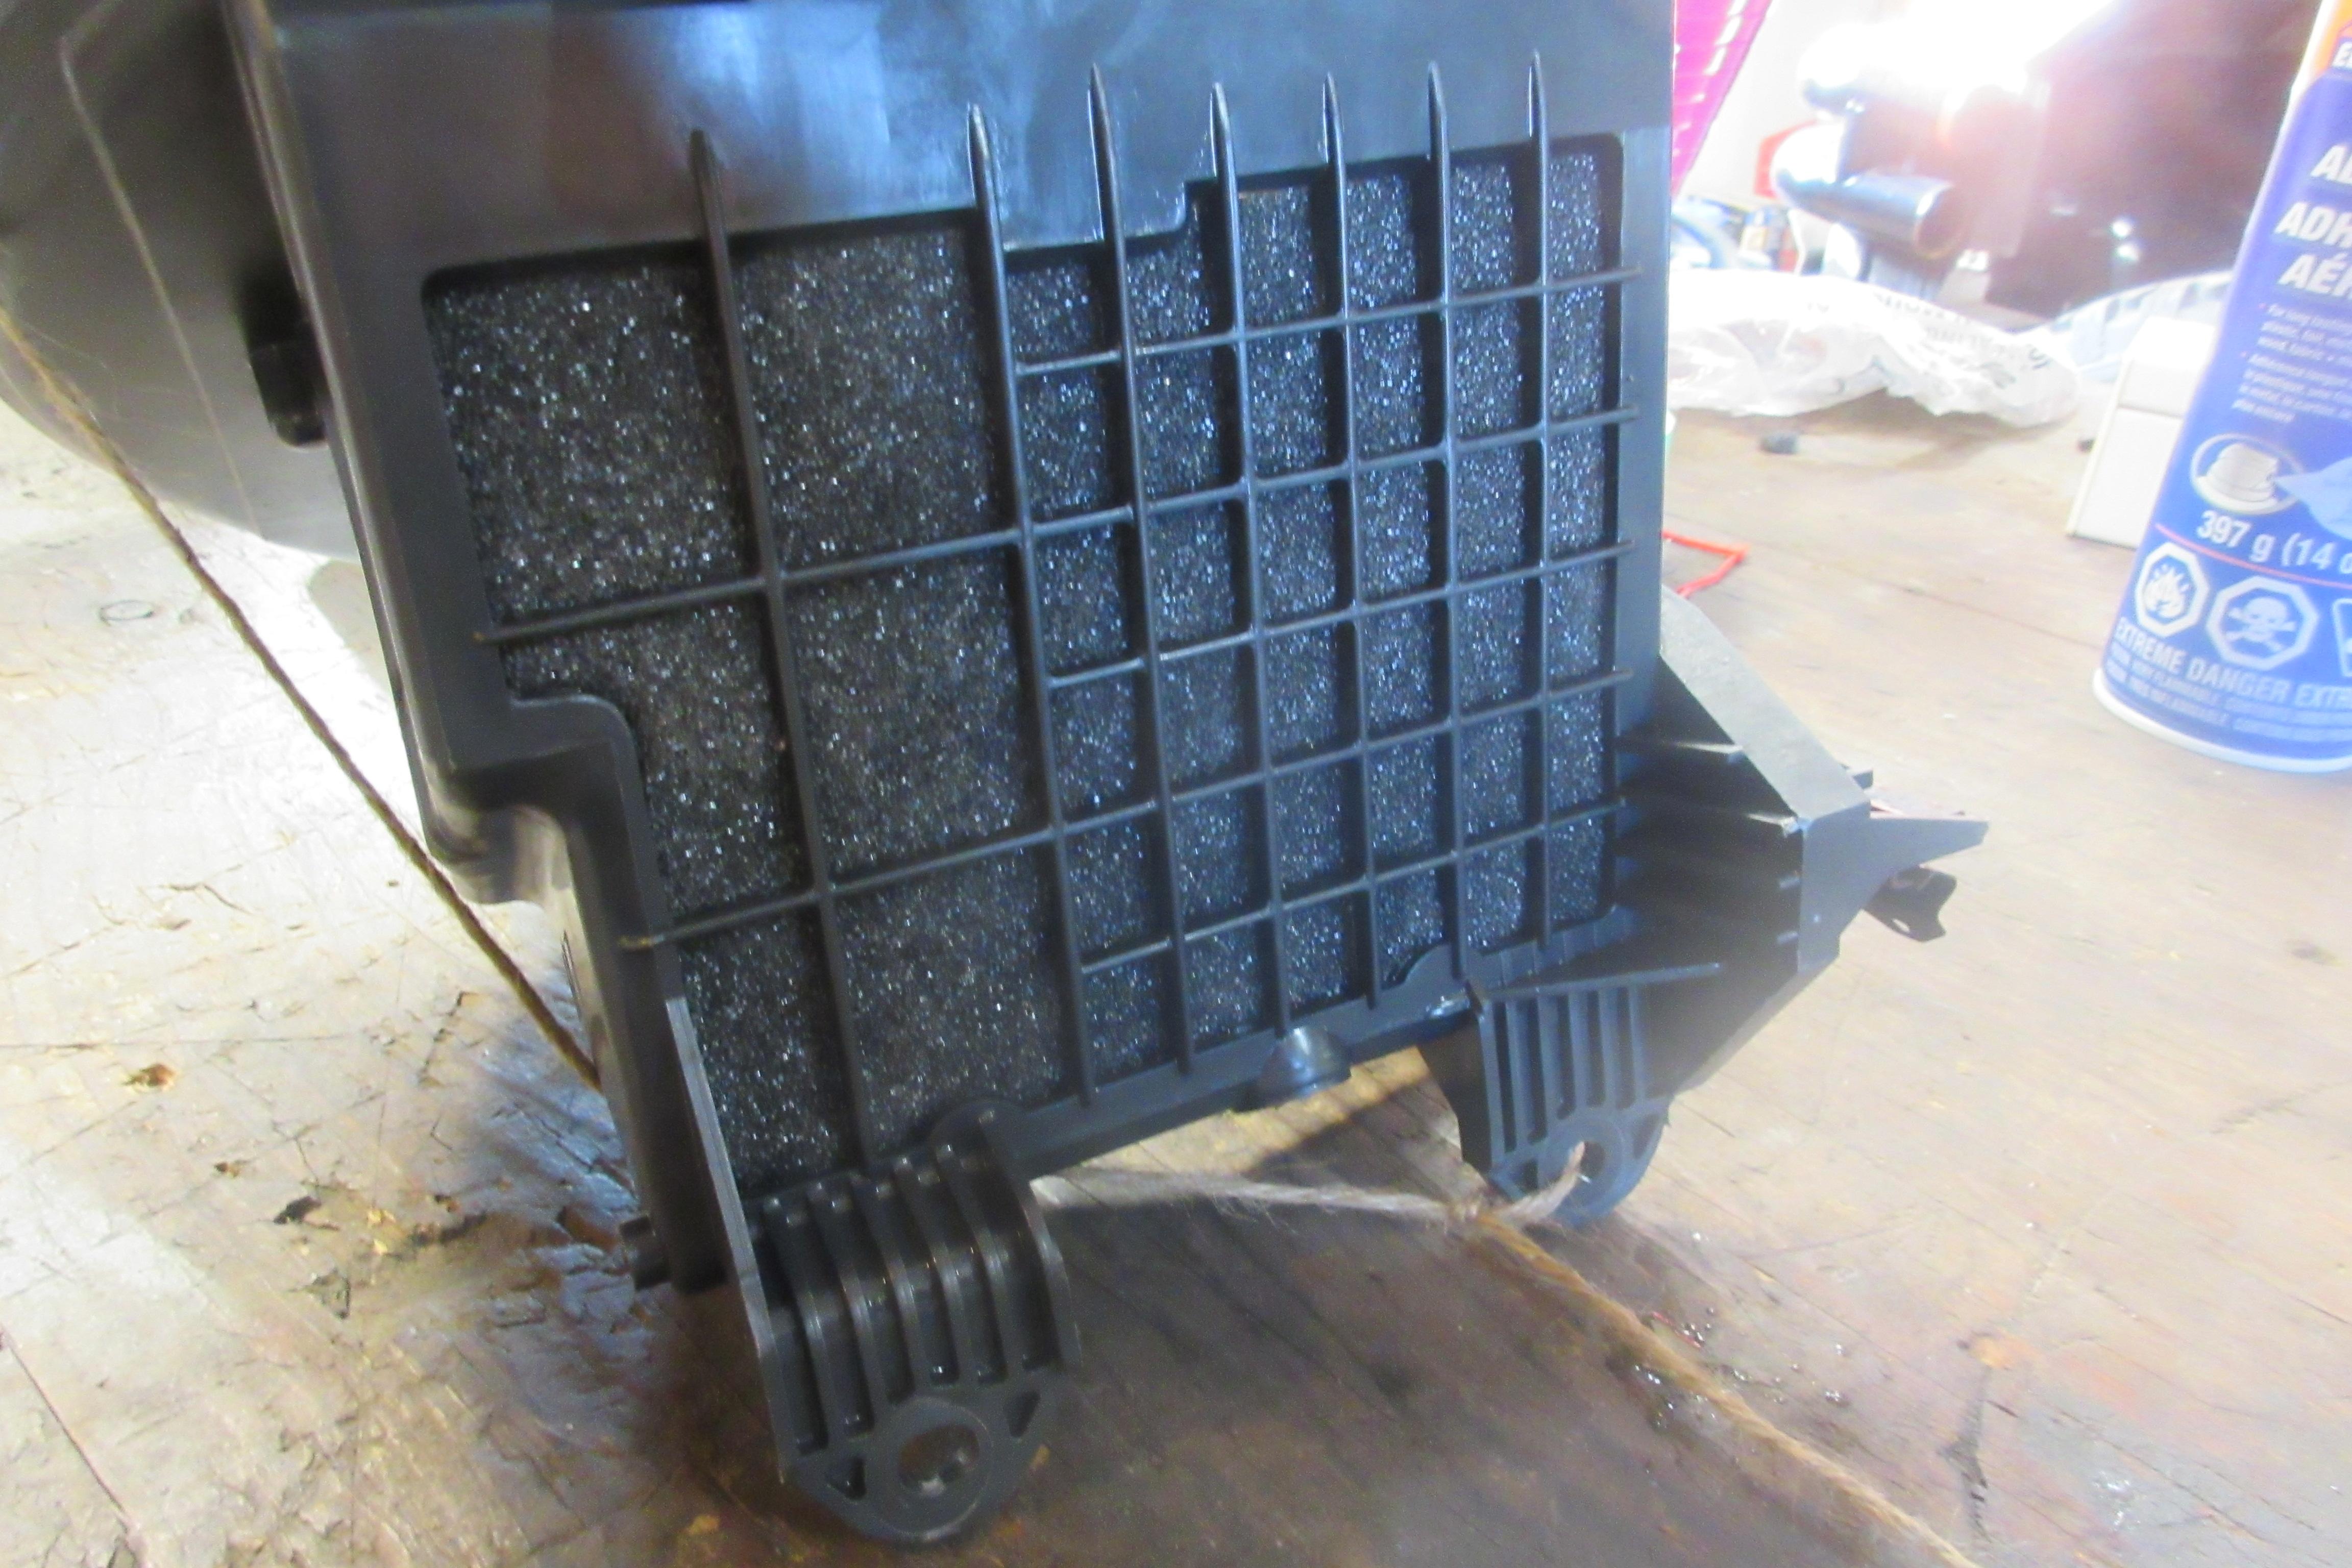
Next step, I started replacing all the adhesive-back foam which sealed the joints, and limit travels of the the flapper doors. The foam at 3/16″ thick and 3/8″ wide was a close fit to original for most locations. I should have used perhaps 7/16″ or 1/2″ wide in some locations, but the thickness seemed spot on. Plus, all the stores are closed today.
I had to cut out and adhere foam to flapper doors as well. For these I used both 1/4″ thick open cell foam (previously from parcel packaging), and 1/16″ thick foam from my daughters crafting supplies. A little cutting, shaping, and spray adhesive and we’re in business.
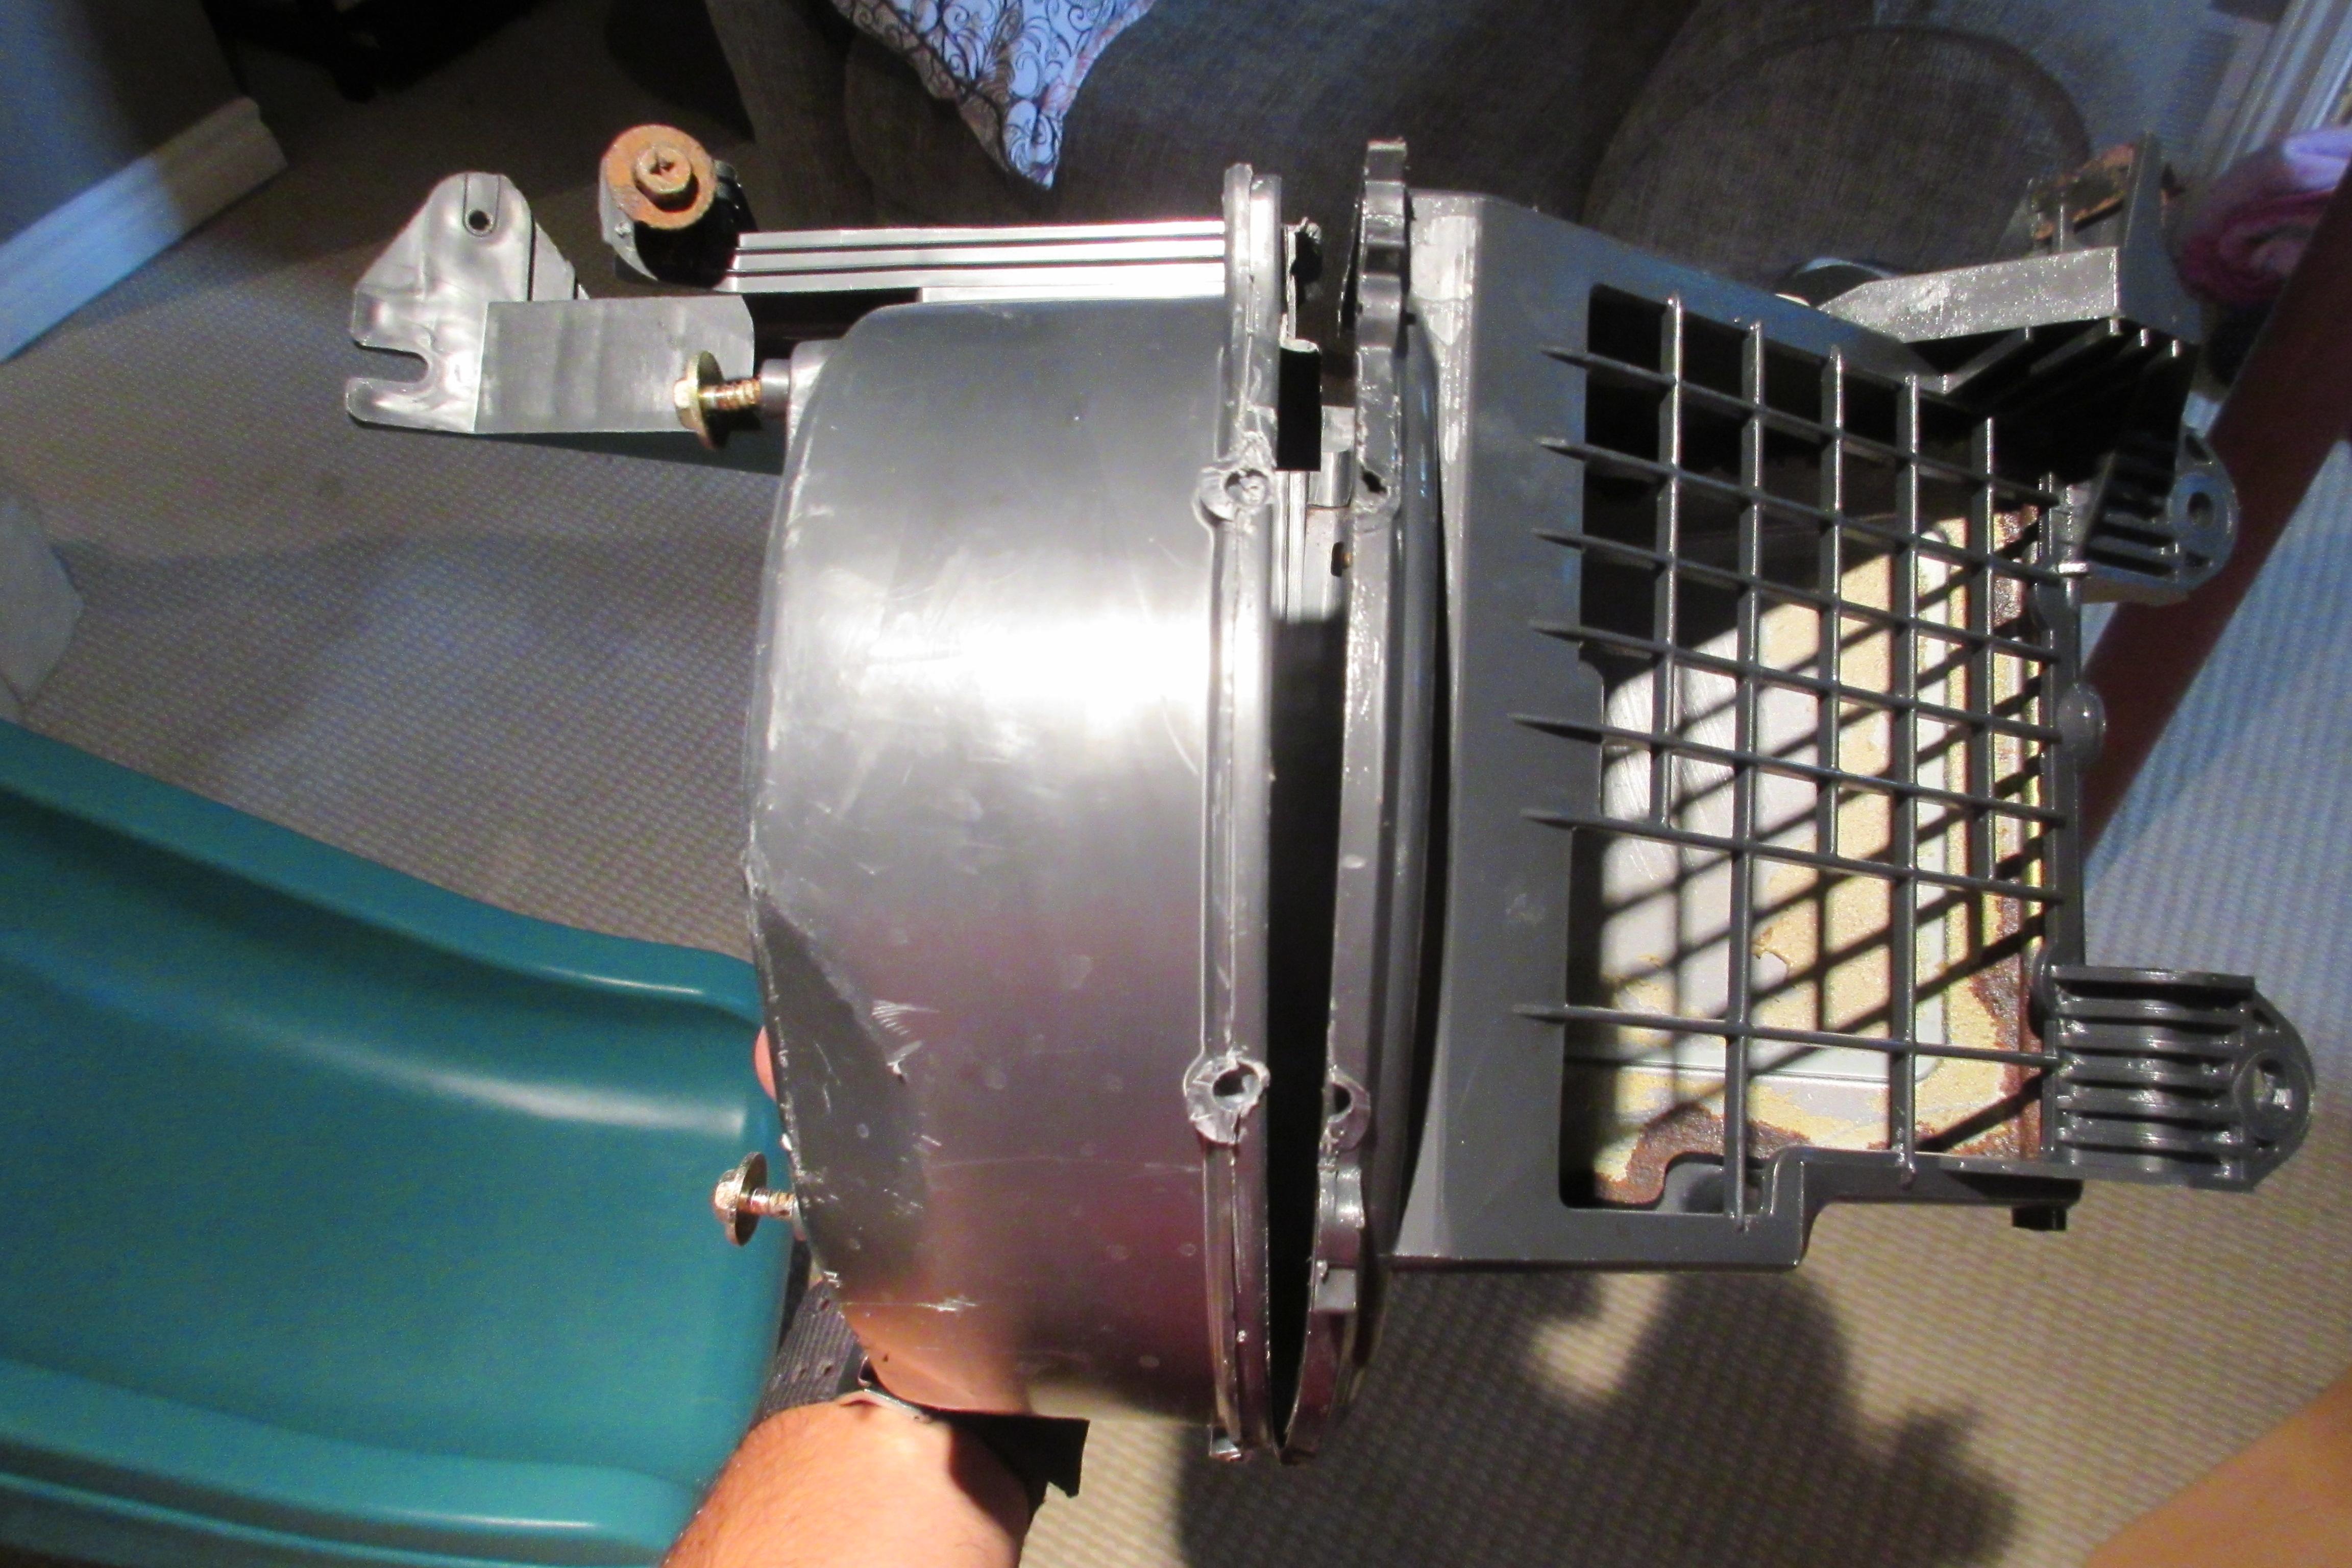
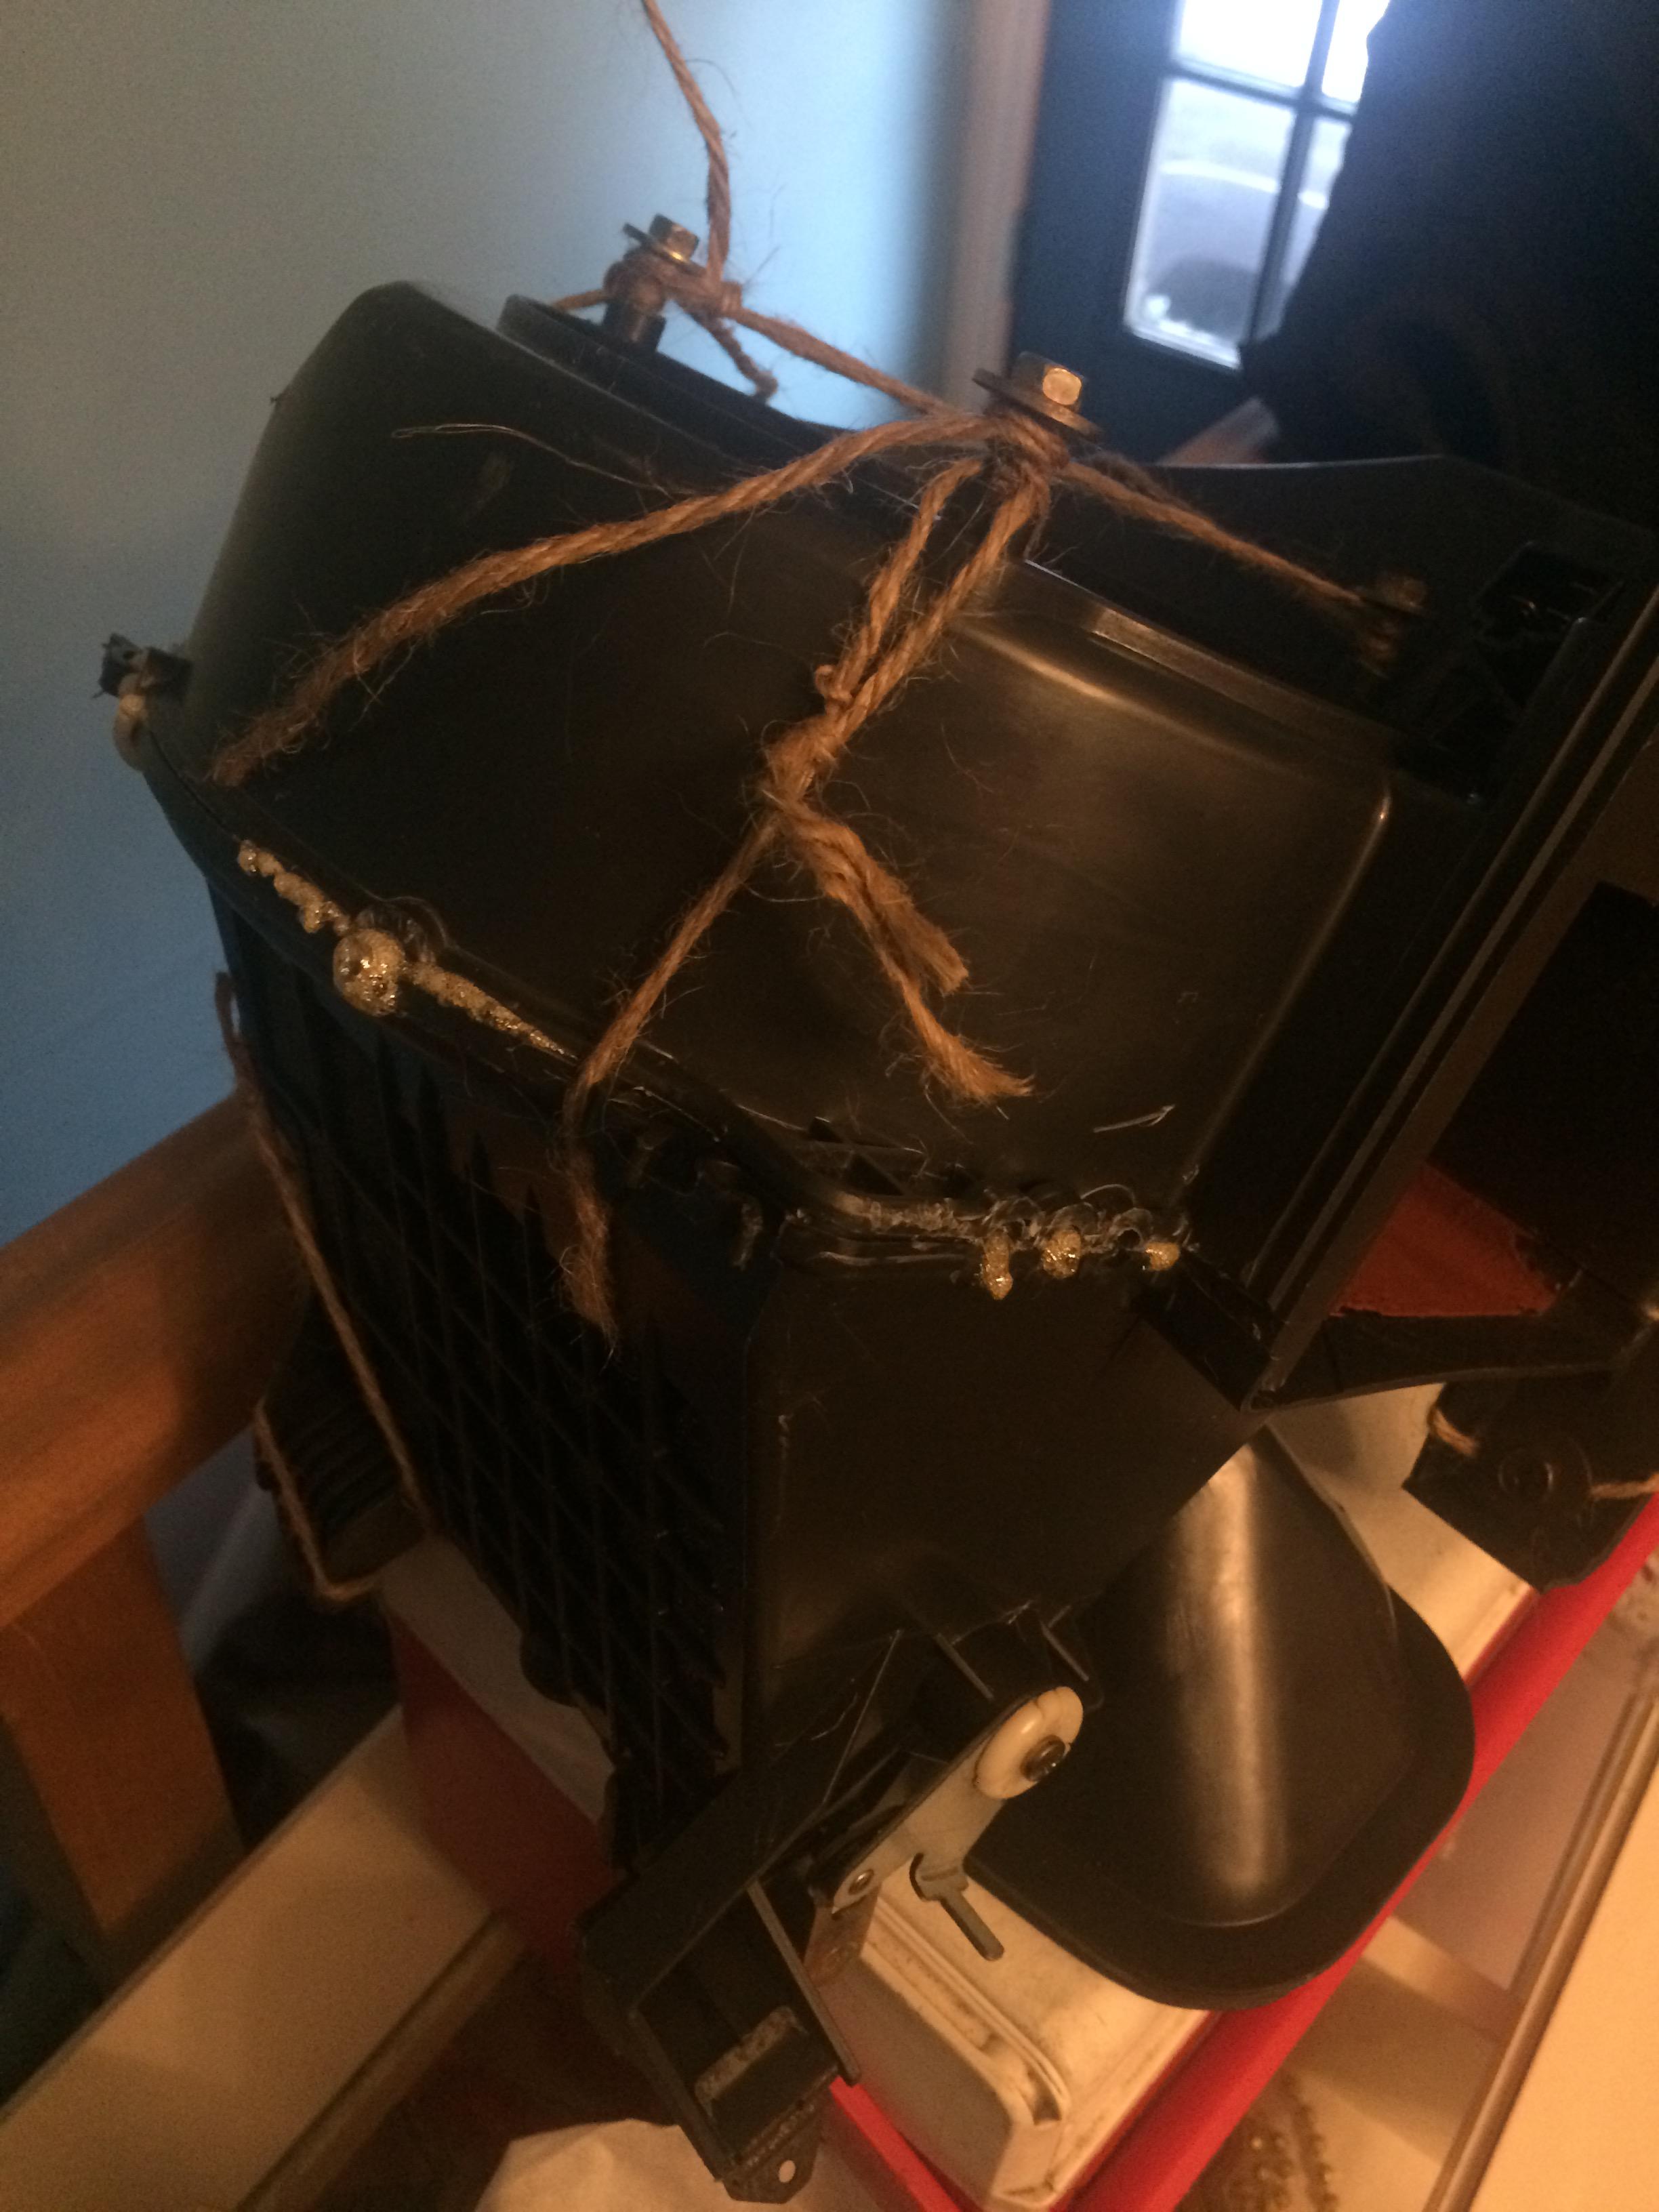
I also rebuilt the blower box with a few dabs (4 or 5) of Gorilla glue at the former plastic weld locations. If this doesn’t hold, I’ll try using more next time. This won’t be too tough to access after everything is put back into Redee.
Lastly I reassembled most the hvac box on my workbench before sealing it up in a garbage bag. It’s essentially ready for install into Redee. I am waiting for the glue to set, and to remake the firewall mat. Also waiting to pick up the defrost venting from Mark.
 October 8, 2018 at 9:50 pm #207285Slick_YotaKeymaster
sombitch dude! she’s looking good!
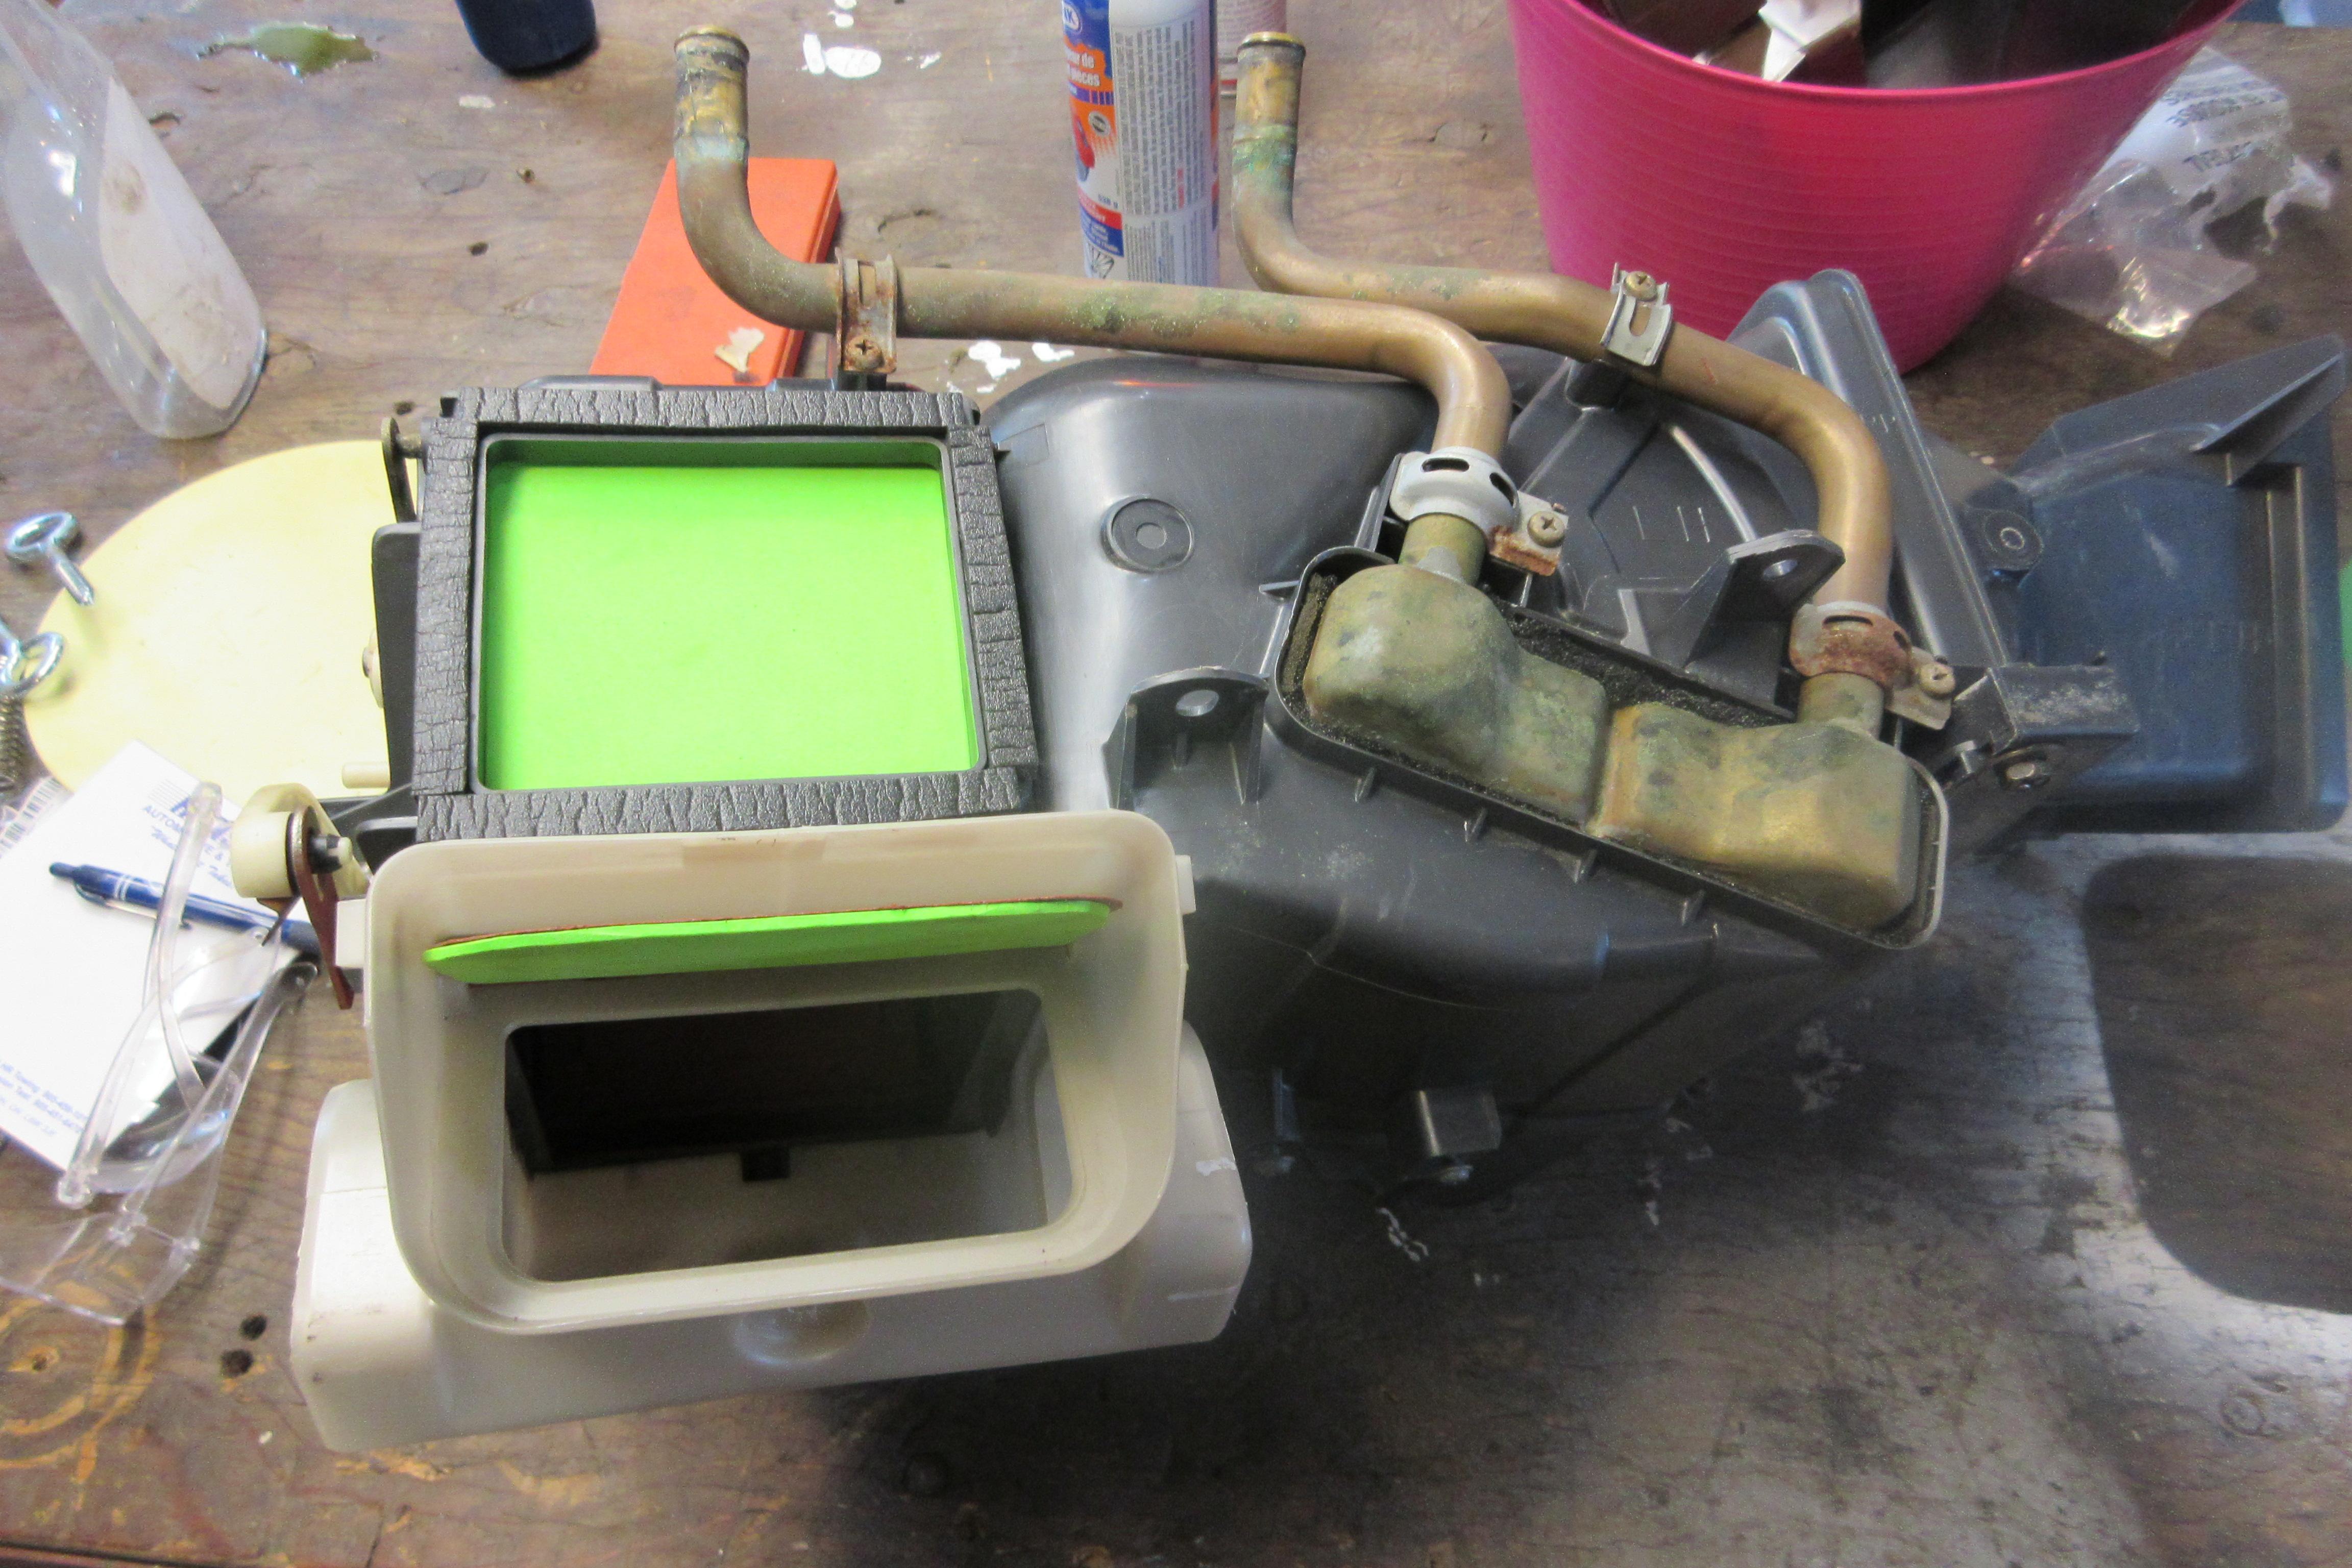
October 12, 2018 at 5:17 pm #207307toys-n-yotasKeymasterThe dabs of Gorilla glue held fine, until I tried to peel the two halves apart. It may have held, or it may have fallen apart once the blower motor was hanging off the bottom. We’ll never know now haha.
I’ll try it again but with twice as many dabs of glue. Trial #2 perhaps tonight if I have any energy after the girls are asleep
October 13, 2018 at 1:33 pm #207310 FJTTSEKeymaster
Great write-ups Tom,glad to see you’re making progress. Keep up the good work!
October 13, 2018 at 6:30 pm #207312toys-n-yotasKeymasterThanks Kevin, I try to put some effort into write-ups as I know I have at least one fan reading. My younger sister lives in Montreal but loves keeping up to date on my projects, kijiji bikes/atvs, and of course Redee. Pretty sure she’ll be gunning for one of the first test drives once Redee is up and running. My sis has a love-hate relatioship with V8 powered SUVs. Love the power, hate the thirst. My family had a 4.7L Dodge Durango for a decade.
Today I Gorilla Glued the blower motor box back together. I was a little more liberal with the glue this go round, knowing how easy it was to separate last time. You can see it oozing out as it dries and expands. Will let it dry overnight inside so it doesn’t get too cold in the shop.
 October 13, 2018 at 6:37 pm #207313toys-n-yotasKeymaster
Unrelated topic, I was able to read the engine block casting code on the firewall side of the block. It explains why the parts guys had a tough time dating the motor based off the details I had given them.

Crate 350, 4-bolt mains. Nice.
October 13, 2018 at 6:59 pm #207315finn the kareilian vikingKeymastertom, back in the day, with a 4bolt main , you were the MAN!!
do you know any history of it, like was it pulled outta something n stuffed in. or if was bought new just for that?
October 13, 2018 at 8:19 pm #207316 Toy-YotaParticipant
Nice to see you’re taking it apart and doing it right the first time!
i have some debris in my blower fan I should really be doing the same thing as you!
pretty cool it’s a 4 bolt main three fitty!!
-
This reply was modified 6 years, 9 months ago by
-
AuthorPosts
- You must be logged in to reply to this topic.