Forum Replies Created
-
AuthorPosts
-
 toys-n-yotasKeymaster
I’m still trying to sort out child care for the August trip. Would love to come up, but so far it’s not in tbe cards. Wife’s working, my parents are at a friends cottage, wife’s parents already committed to watching other grandkids that weekend.
 toys-n-yotasKeymaster
No real build progress, just more touring. Got about 500km put on so far, no real drama. I broke a spark plug, had a plug wire starting to melt to exhaust manifold, and have a melted rear air locker hose. Slowly but surely retorquing bolts, and sourcing rattles.
I’ve ordered an “Air cleaner riser kit” off ebay to improve the fit of the air cleaner to the FiTech.
I’ve received a package from RockAuto containing the 33 trim clips required to install the chrome around the windshield. My second highest priority repair (after the air cleaner), is to get the windshield re-sealed. Currently it leaks pretty constantly onto the steering wheel with any amount of rain. So Redee has continued to sleep exclusively in the shop since September.


 toys-n-yotasKeymaster
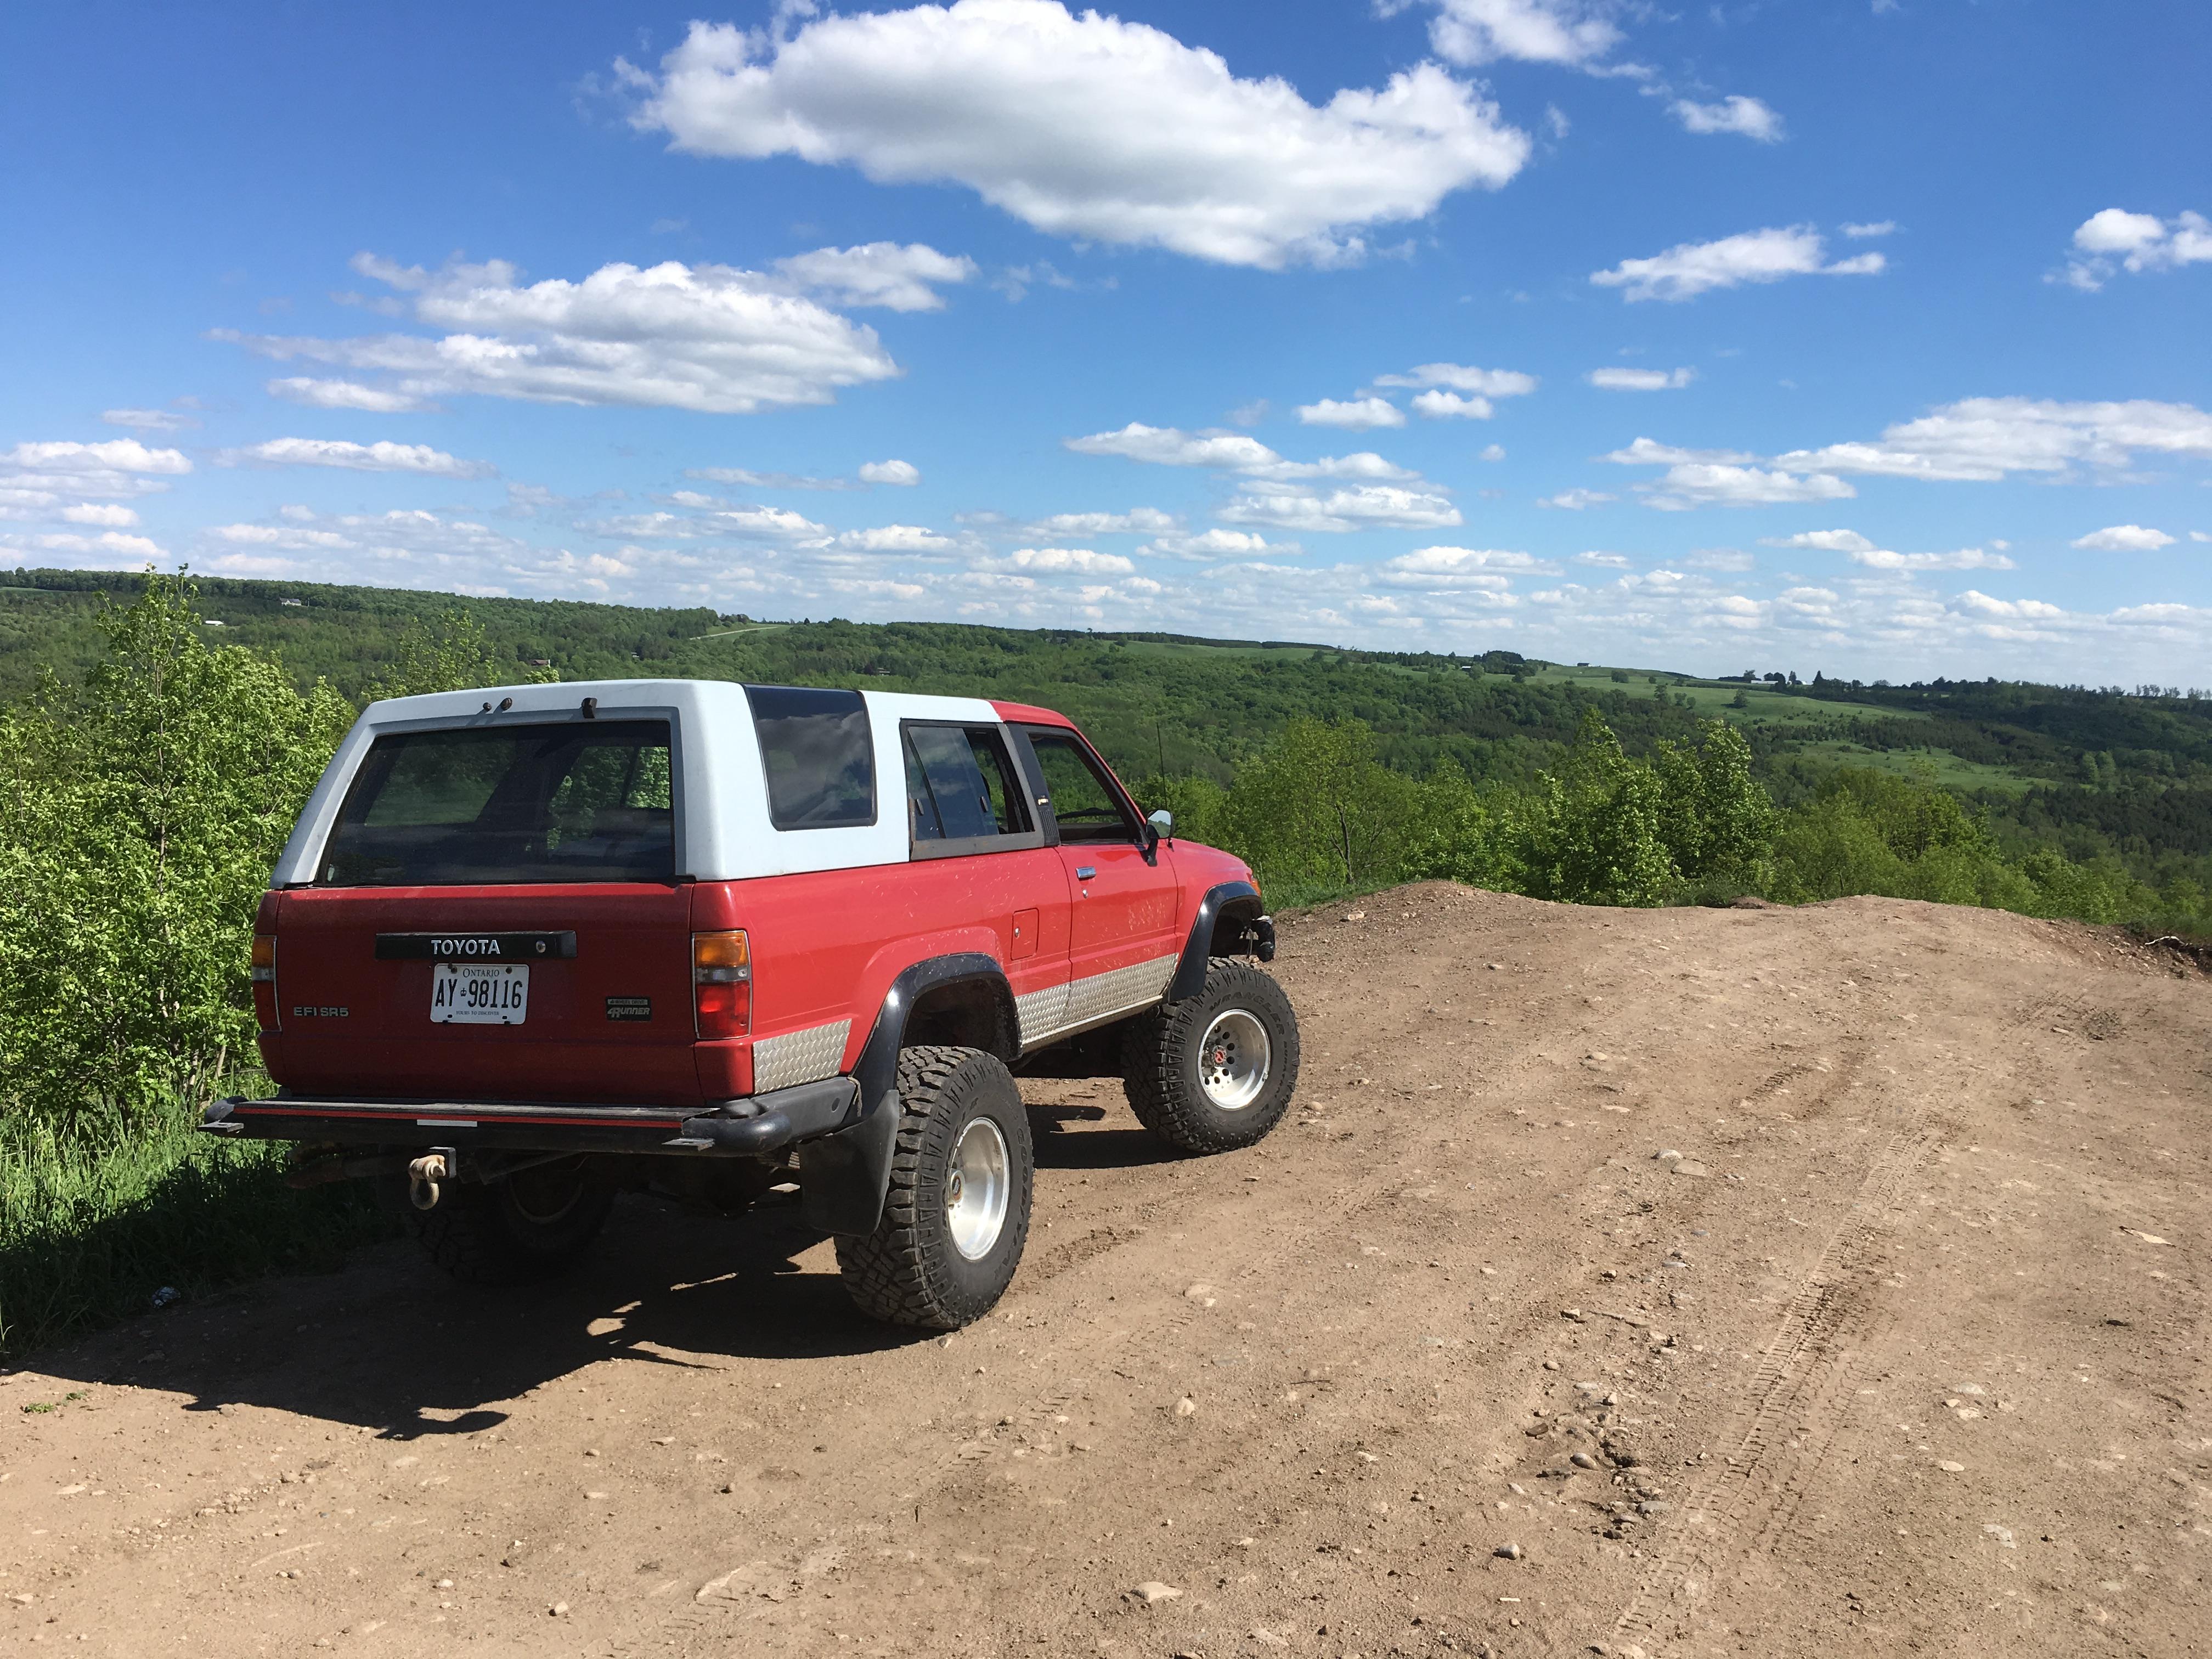
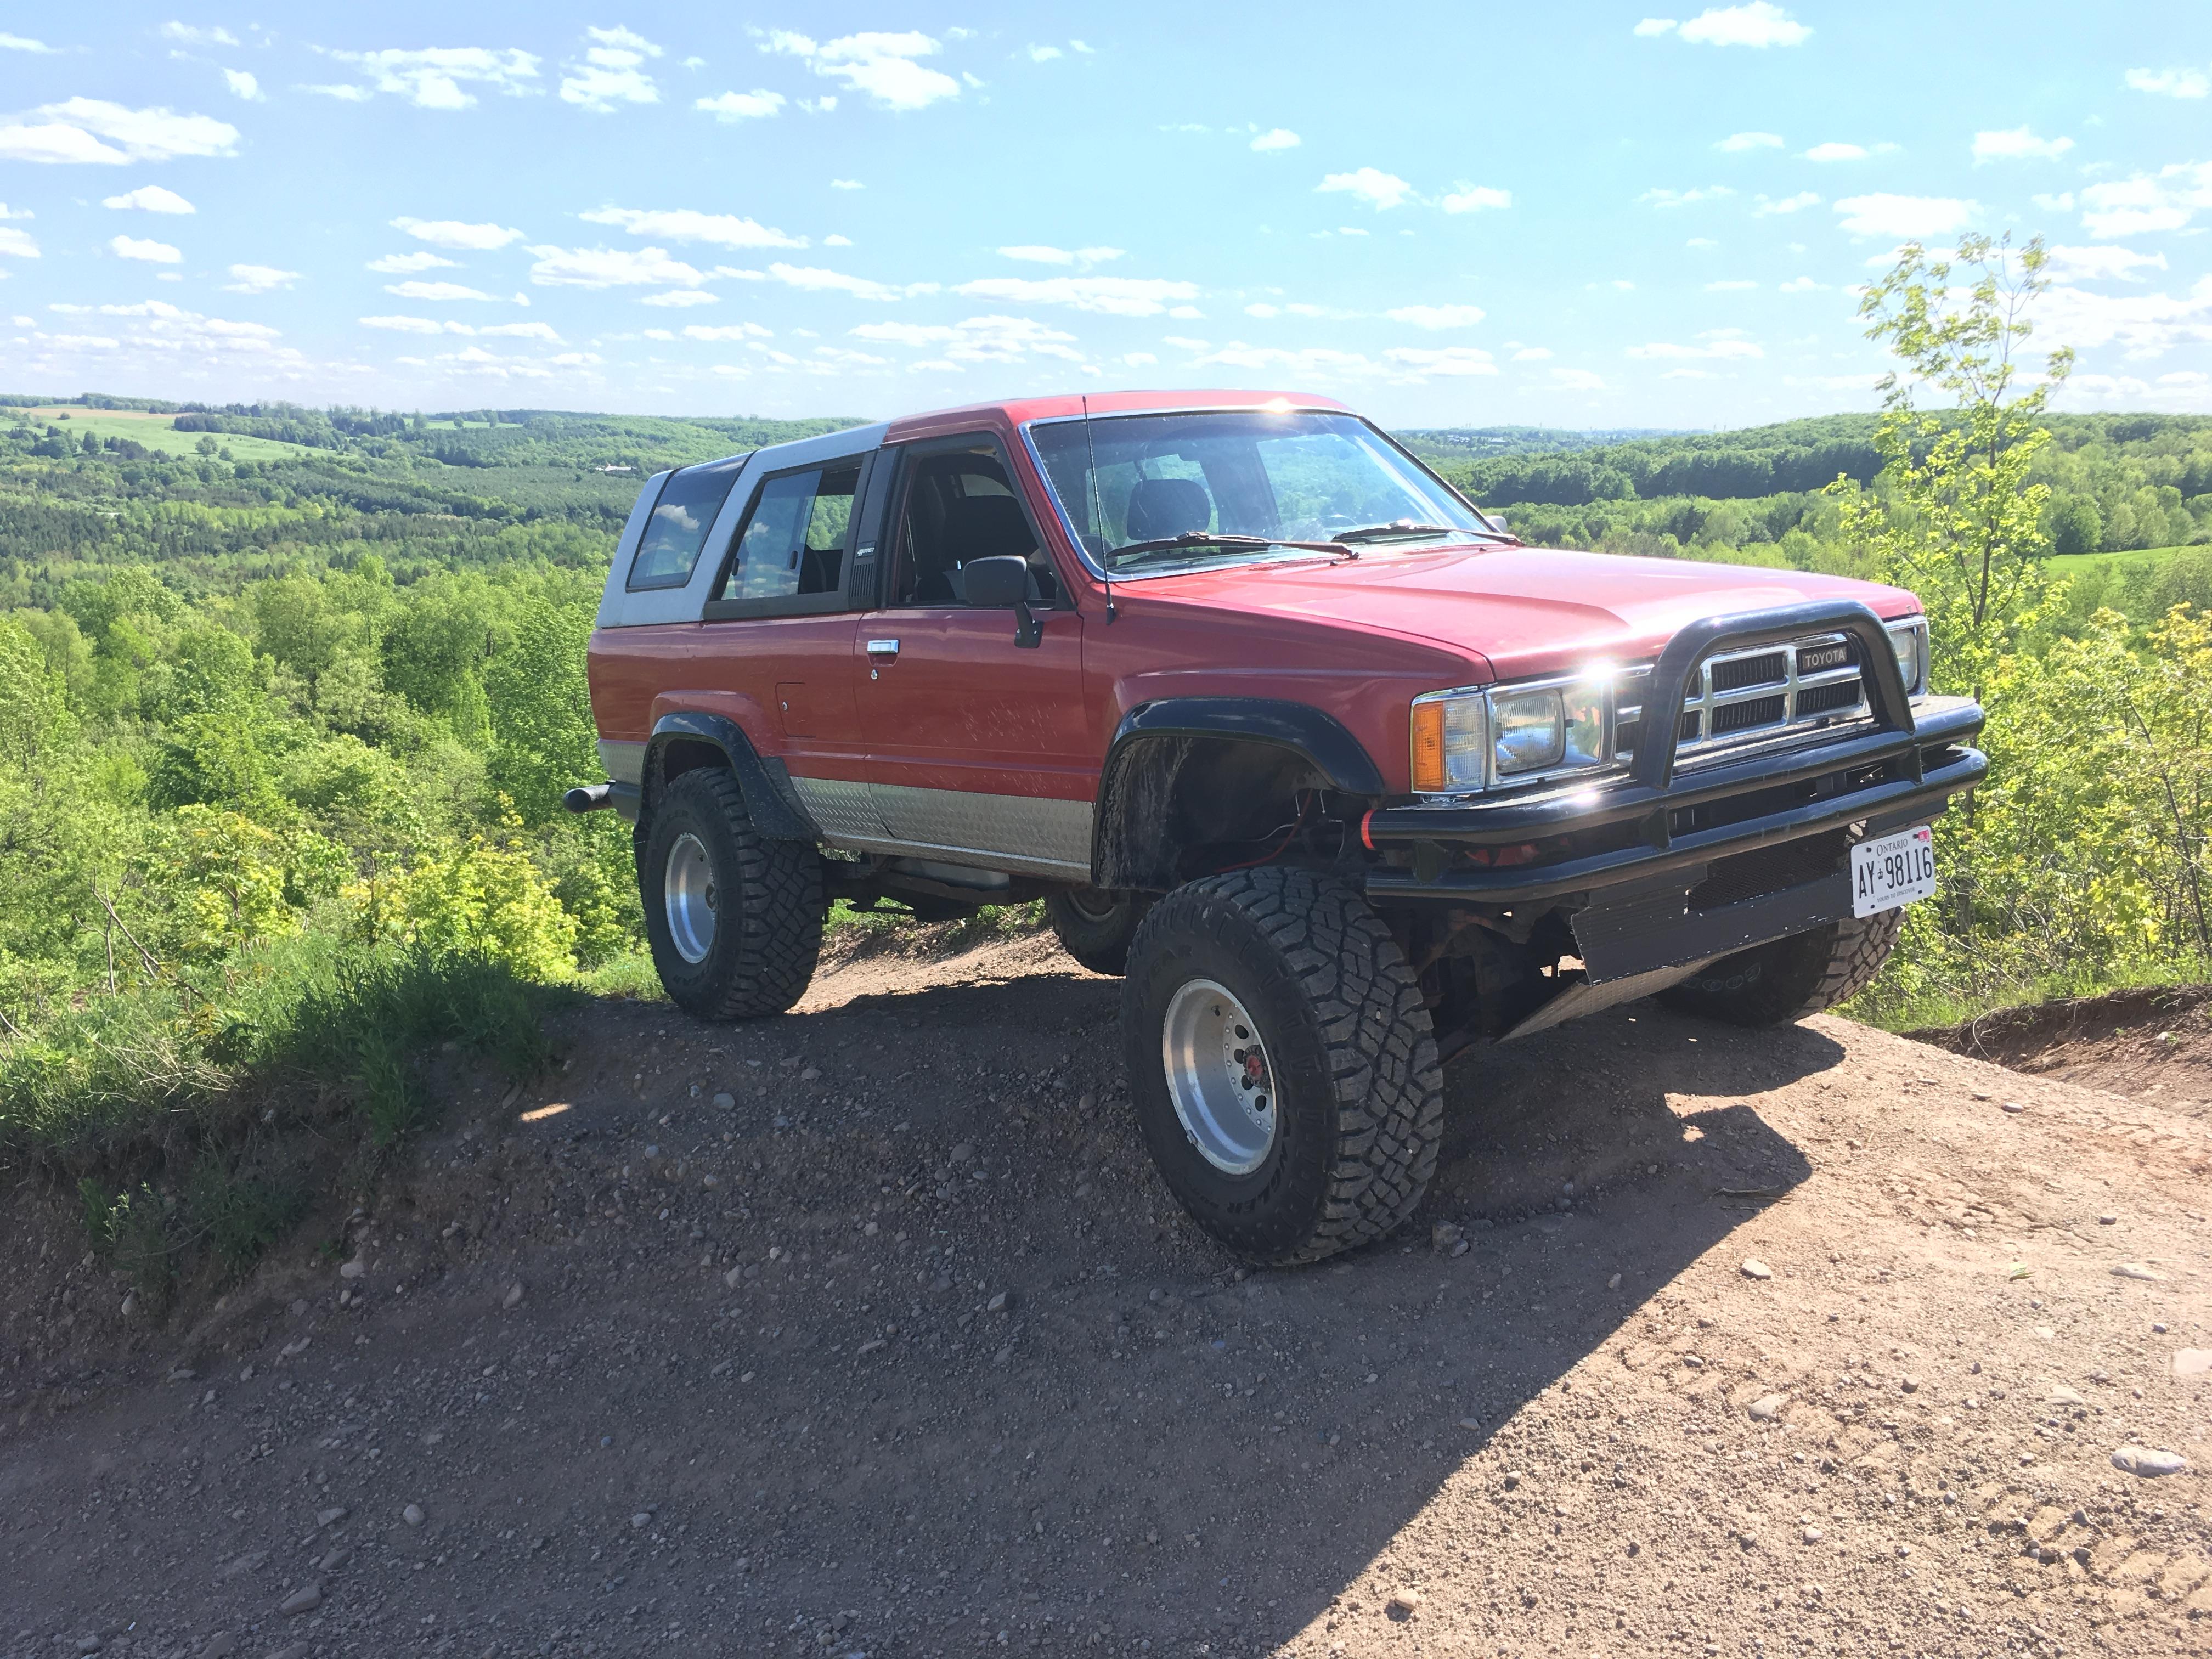
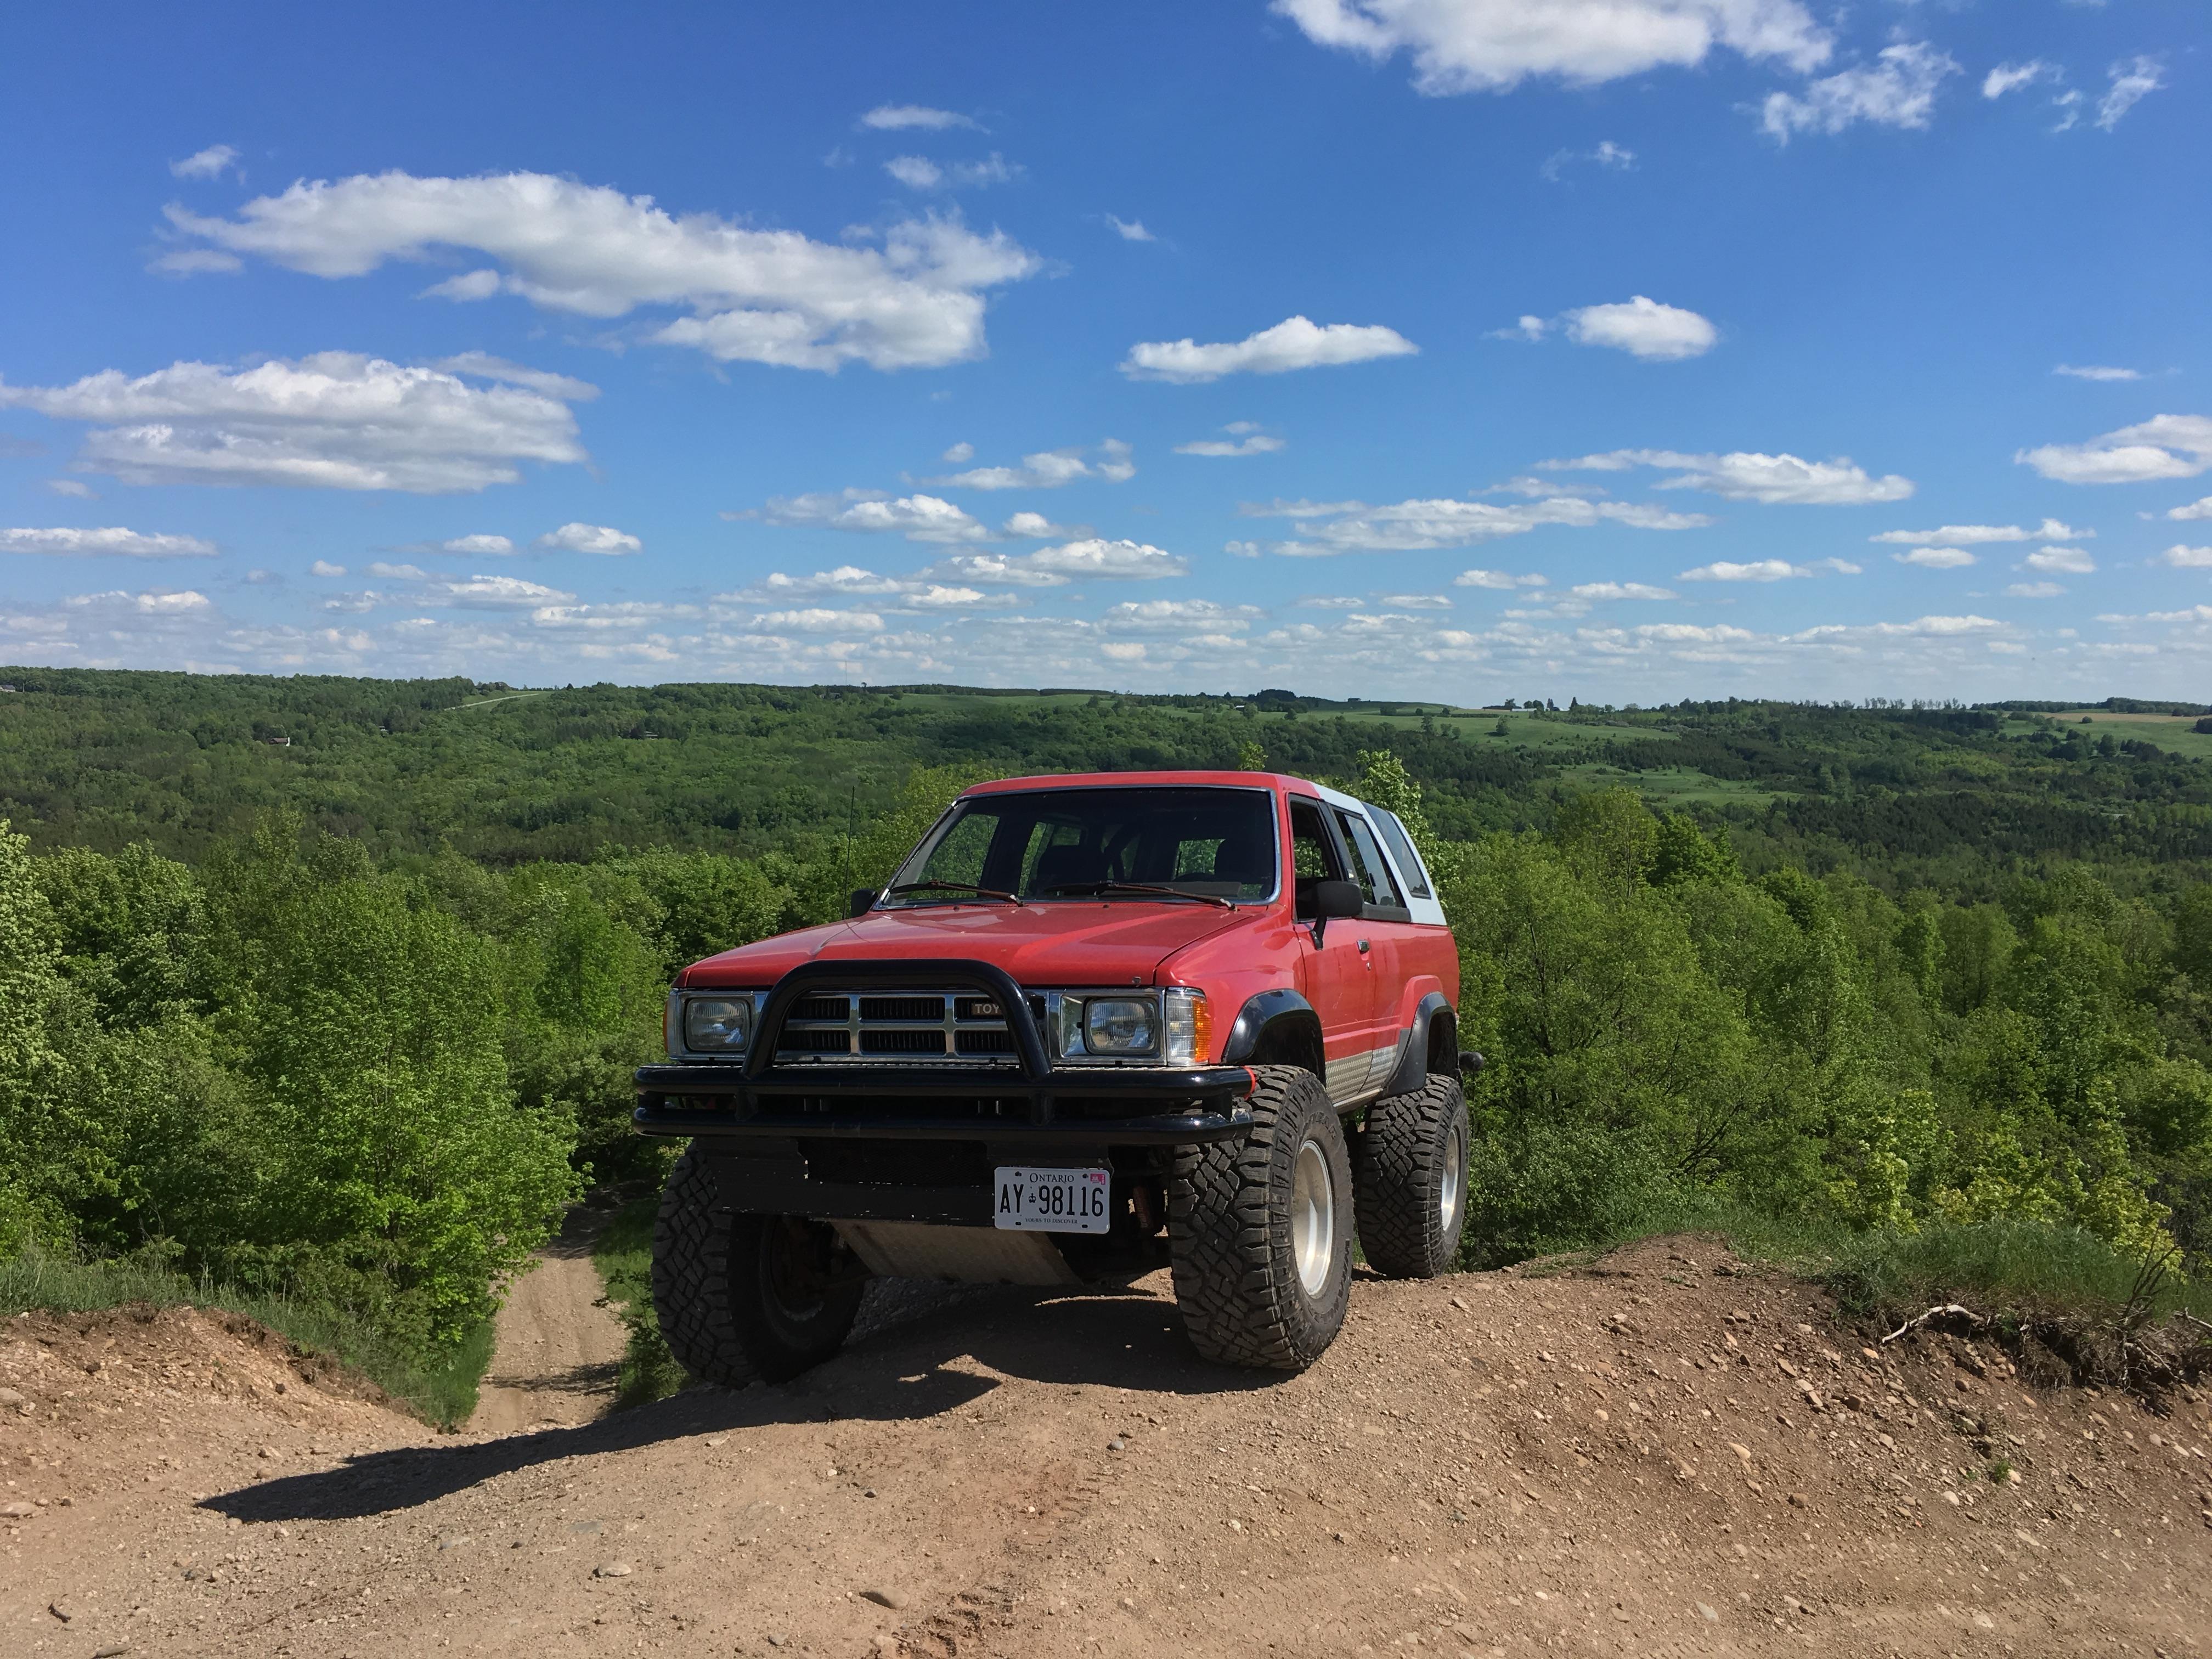
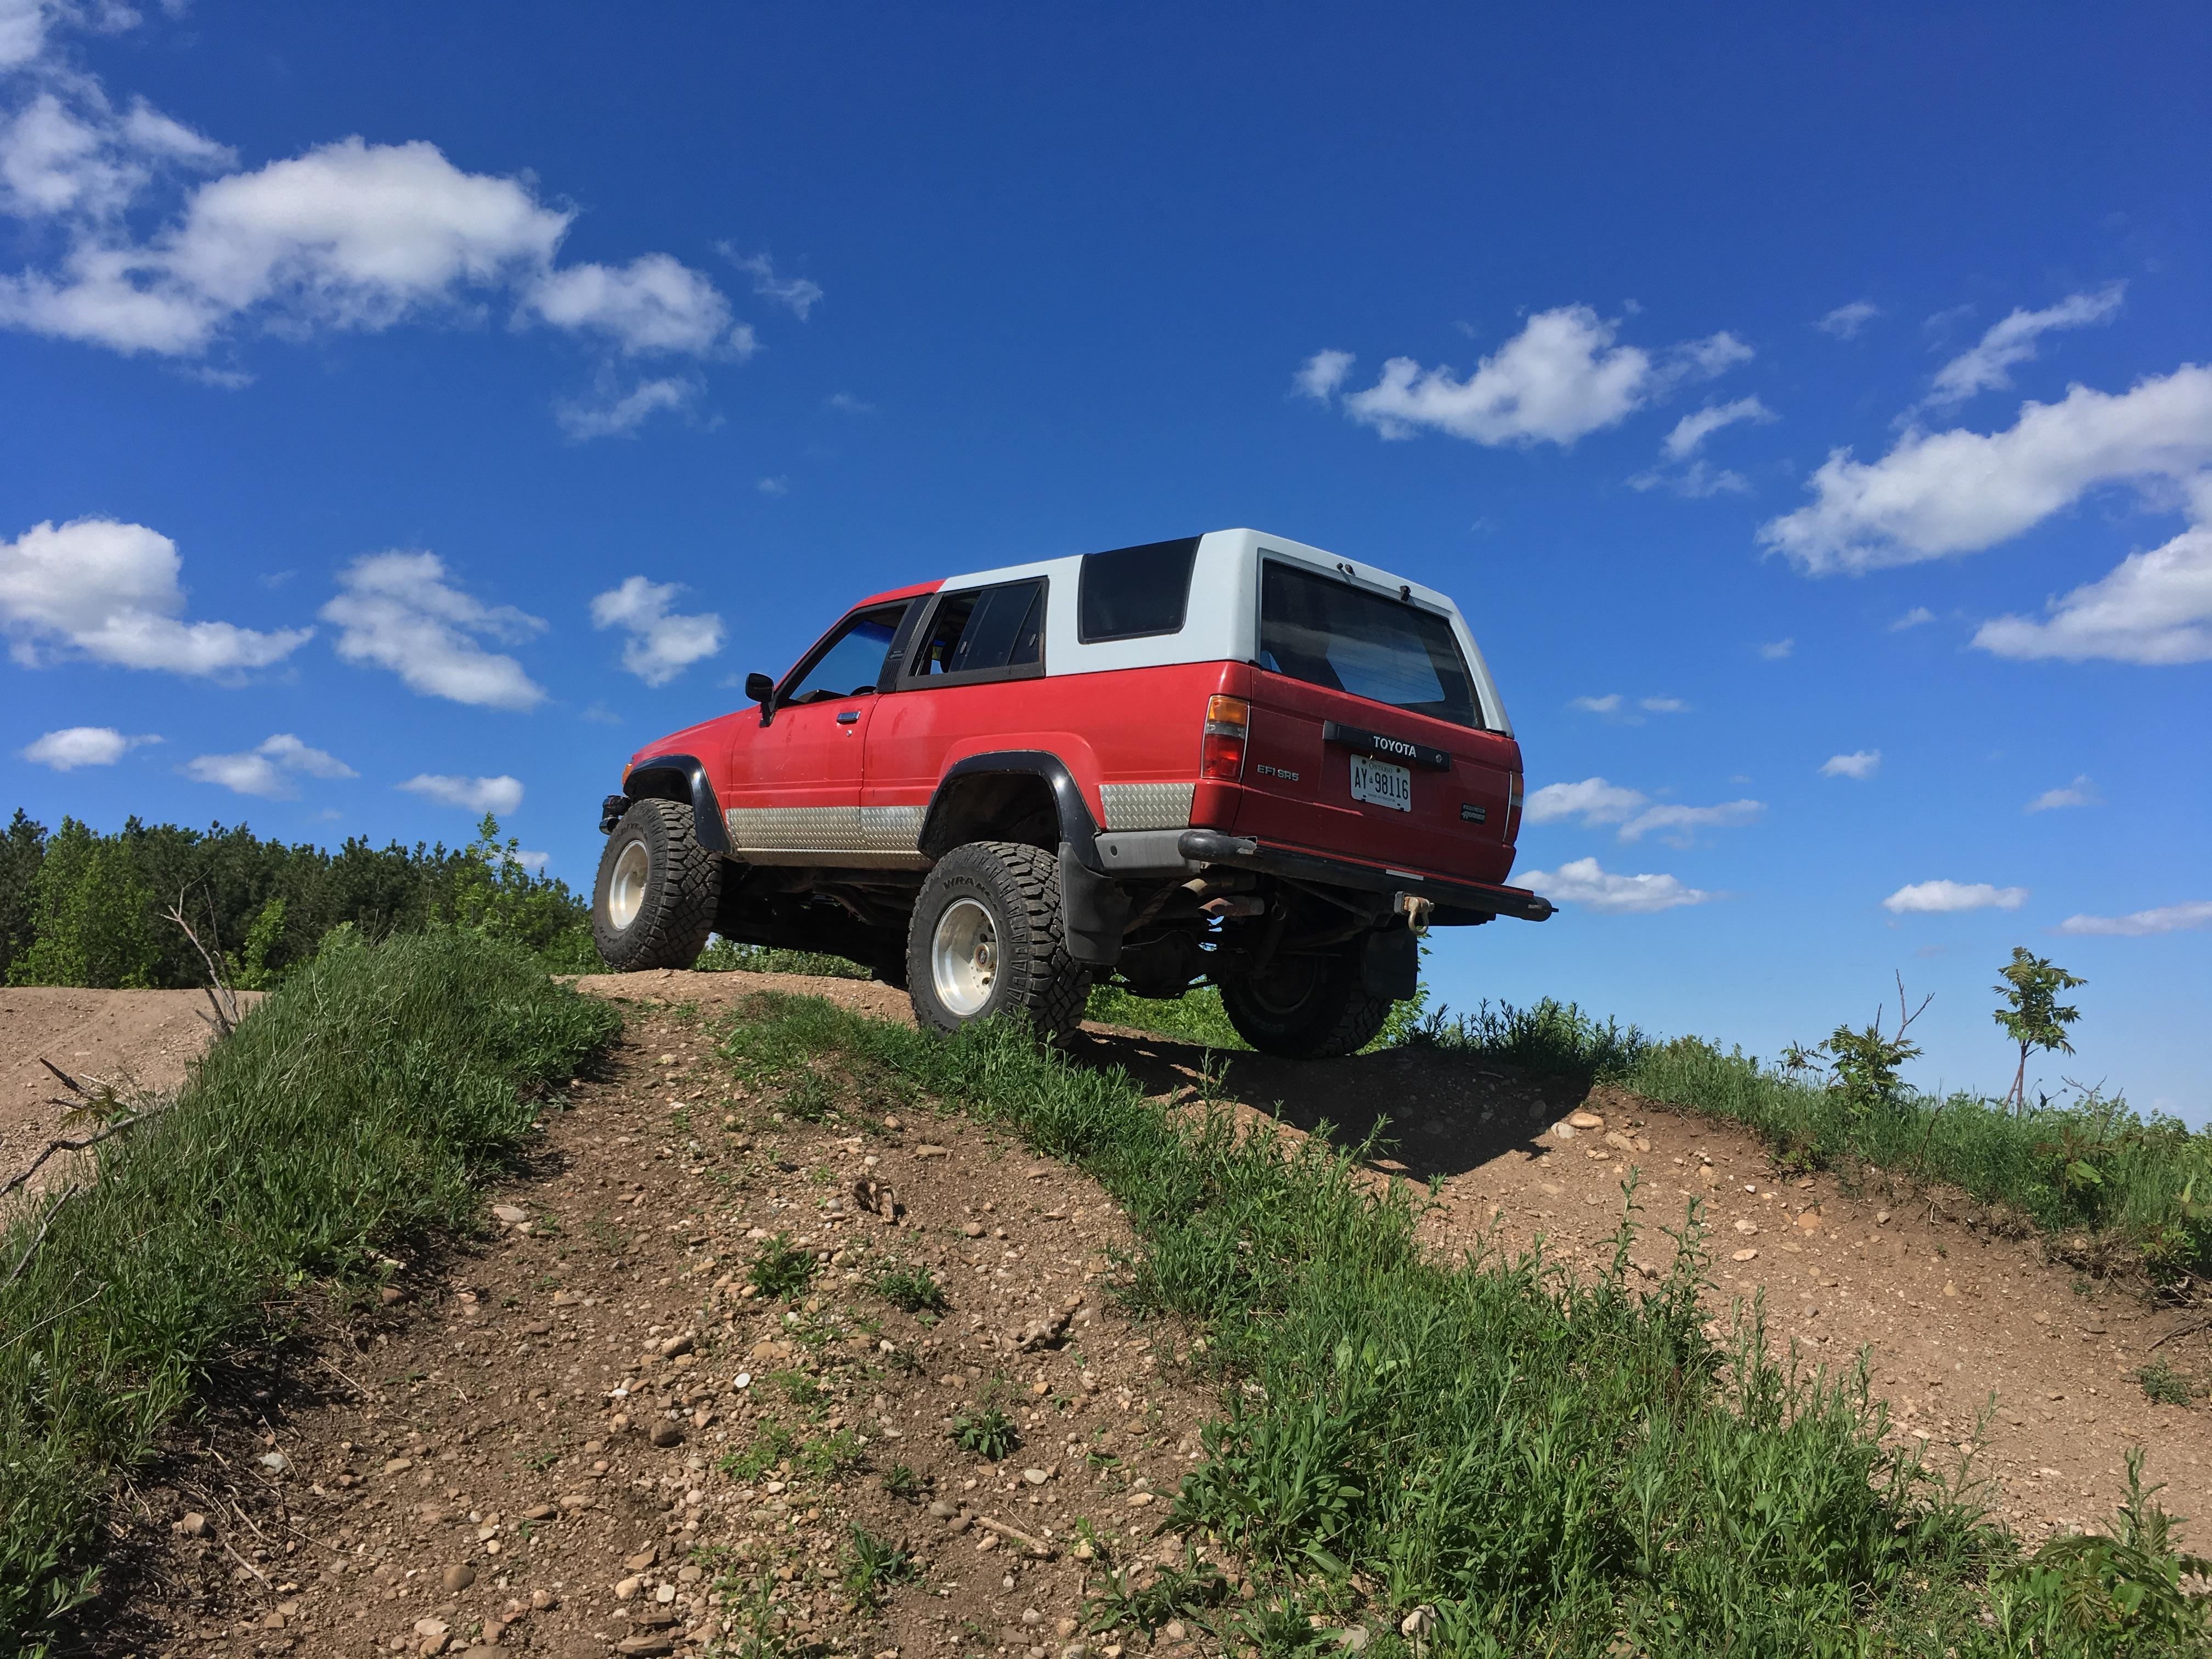
Had half-hour to waste while the family was headed home from the beach today, took a couple pictures at my favourite posing spot.


 toys-n-yotasKeymaster
Mark, just looking forward to Winter 2019 plans to build a new drivetrain with Overdrive. I figure the current TH350 & 4-cyl Tcase may have more salvage value as a mated set.
Started comparing parts lists for a 700R4 or 4L60 to get a 0.7:1 overdrive.
Mating the stock W56 is only 0.85:1 reduction, and rowing my own gears will entice me to drive more spiritedly negating any potential fuel savings haha.
Looking to newer drivetrains (3.4L manual & tcase) swap will still only get me 0.84:1 overdrive, and same potential for hooning related breakages.
W56->Chev350 kit is the cheapest option, and will put me in good shape for a VW diesel motor.
Choices. To go faster, or to go farther?
 toys-n-yotasKeymaster
*edit. Although I realize summer hasn’t officially started, it’s always summer-esque to me while cruising in Redee.
 toys-n-yotasKeymaster
As it stands today, I think I’m leaning towards an automatic (shudders) transmission swap. Figure a greater OD reduction, and decreased likelihood of a clutch-dumping related KA-BANG would both suit me well. Buuuut, we’re only a week into the summer, and I have a long time to change my mind.
@Finn have any stock 4-cylinder transfer cases going spare?
 toys-n-yotasKeymaster
Sweet little machine there! 400cc is a great size for smaller framed or novice riders..enough power to keep up, not too much to overwhelm if ones thumb slips.
Hope the wife is pleased with her new ride!
 toys-n-yotasKeymaster
@Slick yea def in it for the smiles per gallon. Sitting around 10 mpg is not smile worthy haha. Glad my kids don’t understand fuel economy yet.
@Toys travelling 78 on the speedo, is 90 on the gps, I’m around 2500 rpm. I’ve wound it out to 100km/h on the speedo, made it over 3000rpm. No idea what the rev limiter is set to, but the front end suggests I should let off at 100
 toys-n-yotasKeymaster
Was great to see you Mark, thanks for stopping by on your way home.
Redee has been running strong for a week, put almost 300km on with no real troubles. The starter solenoid is a little weak, or chewed up, some vibrations in the front I have yet to diagnose, but everything is still tight and alright!!
Ok, the real problem now. Ugggghhhh this transmission is a dog. No OD, and hardly any ability to coast means Redee is THIRSTY. Filled up today, 37 Litres on 135km on trip meter. Fancy maths (for tire size) puts me around 23 L/100km…and that last tank was 95% cruising under 90km/h. Hoping to squeak out 20L/100km for the rest of the summer, and look into 5-spd manual swap, or an auto with OD over winter
 toys-n-yotasKeymaster
Redee is home!!! Maiden voyage was pleasantly uneventful, and I still had gas in the tank when I got home. A few quirks, noises and vibrations, but nothing capable of wiping the grin off my face.
Stage 1: Complete.
 toys-n-yotasKeymaster
FiTech EFI installed. But the long weekend has already interfered. My wife is working so I can’t get a ride to the shop….and my neighbour is using his trailer, so I can’t tow Redee home either.
Tuesday can’t come quickly enough.
 toys-n-yotasKeymaster
@Krezz, you da man!! Thanks for posting your photo hub, was able to grab a few keepers. I was contemplating washing the Taco before the M&G, but glad I kept the Dufferin County earth tones intact.
 toys-n-yotasKeymaster
Cool chick! (With all due respect Melissa).
Can’t say I’ve ever seen a Reg cab Tundra in person, but that thing must haul a$$!
 toys-n-yotasKeymaster
Hey Steve, thought you were clearing out room in the stable for a hot rod?? Bikes look good though, gotta keep busy.
The connie seat chop looks wicked too!! Already a major visual change….I couldn’t visualize before, but now the wheels are turning.
 toys-n-yotasKeymaster
Hahaha I laughed pretty hard at your opening. I’m sure you can turn a profit between the fiberglass tub, swampers and scrap metal.
On a side note….How much for the swampers?
-
AuthorPosts
