Forum Replies Created
-
AuthorPosts
-
 toys-n-yotasKeymaster
The epic battle of Free Time vs. Expendable Cash just took a sharp left turn…..I left my job to pursue new and interesting things, hopefully earn some dollars while I do it. So long oppressive former employer, can’t hold back my creative and technical contributions anymore! Real smart move on NOT asking me to give an exit interview.
Next steps. Dream my dream, and start chasing it.
😎
 toys-n-yotasKeymaster
Did a little work on Redee after my buddy and I ran into more Fuel starvation issues. We hypothesize that as the fuel pump warms up through use (and proximity to exhaust), it stops being able to keep up to demand. I removed the secondary pump on suspicion that running it dry ruined it, and plumbed it out of the fuel run. I also rewired the FiTech EFI to send signal to the OEM tank pump which is brand new with rest of fuel system. Only the secondary pump is old, and now it’s gone.
25 km down, and no A:F concerns yet. I figure if some 0-100km/h rips couldn’t create an underfuelling condition, only tuning can be my demise now. Fingers crossed.
Also removed the last of the old Holley Projection system by pulling the paperweight-like computer from the glovebox, freeing up half the space.
Also also re-ran the EFI module the opposite way across the firewall and through a grommet so it enters the cab on the drivers side. Added a ziptie to the holder thingy so that it stops falling down when I hit the washboard roads at 70…
Good day in the shop, and no gasoline in my face or armpit!!
-
This reply was modified 6 years, 4 months ago by
 toys-n-yotas.
 toys-n-yotasKeymaster
Slick, you’re correct on the lower cam doing camber and toe…and my toe was OUT too. Both seem improved with some arbitrary eyeball adjustment that I made, but alignment is on order.
My upper and lower balljoints arrived, also all my steering bits. Now just gotta put in some wrench time.
These efi issues were self inflicted. After 2000km of learning, I changed the targets without recalibrating. Stupid rookie mistake haha.
 toys-n-yotasKeymaster
Ugggggghhhh EFI tuning took a dump on my way home from Point Clark (Lake Huron 40km N of Goderich).
My girls and I set off from the beach for our ~90mim drive home. The first 60 mins were awesome, 90km/h speed limits, est cruising speed about 100km/h…I kept it under indicated 90, cause I’m out about 16%.
After an hour, I was forced to slow down. Anything over 21.2% throttle input (as per TPS readout), and my Air:Fuel ratio spiked, HARD. I can maintain an indicated 82km/h at that throttle %. Below that threshold, redee ran fine around 14.2-14.5 A:F depending on load. Anything above 21.2%, and no additional fuel was being added. A:F hit 15-21:1!!! Super lean, fall flat on your face bad tuning.
Twenty minutes later, my threshold was lowered to 19.4%, and speed dropped too, indicated 73km/h.
I pulled over, opened my gas cap as I thought, “maybe, just maybe my tank is being sucked dry and relieving the built up vaccuum would help.” I was wrong. No change.
Getting back up to speed at under 19% throttle is tough. Then the threshold lowered again to 17%….
We limped the remaining 15km home at an indicated 60km/h (about 70 actual).
Upon arriving home, I reset the EFI fuel and TPS learning, and instantly Redee was cured of the Super Lean condition.
I’m afraid Redee smells like a tractor, and once again, is well over 20L/100km.
Lesson learned? Very very small increments on EFI tuning, and RESET the IAC Steps, which link the learned fuel map to the Throttle Position Sensor.
 toys-n-yotasKeymaster
Did a little camber adjustment by eyeball to reduce some of the wear to the front drivers tire. I was pleasantly surprised when I was able to adjust the lower control arm cam bolt! I only tried to adj one, still 3 more potential headaches haha
I ordered upper and lower balljoints cause the lowers have some play in them. Once the balljoints arrive, I’ll work on replacing all the front steering parts.
 toys-n-yotasKeymaster
Updated my fuel log. My last two tanks were both exactly 17.6 L/100km (13.4 mpg). This improves on my previous best of 20.4 L/100km (11.5 mpg).
Hoping an alignment, some fresh diff oil will help me crack into the 15s.
To keep it in perspective, my first few fillups were about 24 L/100km, which is less than 10mpg…🤪🤬
-
This reply was modified 6 years, 5 months ago by
 toys-n-yotas.
 toys-n-yotasKeymaster
Great beach weather indeed! Must not be a coincidence that these 4Runners incite beach days!
I used an un-paid sick day yesterday to do some mental health work. Spent 2.5 hours “heading West” with the only intention to hit Lake Huron. Using only dirt roads, no map of the conventional sense (sun and moon as my compass) and general spatial awareness, I ended up on a No Winter Maintenance road that ended at the beach, about 40km north of Goderich.
Glad your shop has been productive lately.
Have you replaced that atv for your wife yet?
-
This reply was modified 6 years, 5 months ago by
 toys-n-yotas.
 toys-n-yotasKeymaster
Haha for the exact same reason that I have boxes of uninstalled parts. Weather is too nice to stop drivin’ and start wrenchin’.
Install my new steering parts and pay for an alignment are on the shortest list.
The AGM battery has helped a lot, but I still had one no-start yesterday. But still better than with the old battery. Perhaps the starter is also a culprit.
 toys-n-yotasKeymaster
Hmmm, still waiting for the devil on the other shoulder to chime in.
Picked up and installed a new AGM battery, we’ll have to wait and see if this cures my starting troubles.
 toys-n-yotasKeymaster
Found a 2003 4Runner with 4.7L on kijiji for $1000…. got me thinking about that swap potential as it’s backed by a factory 5-spd auto.
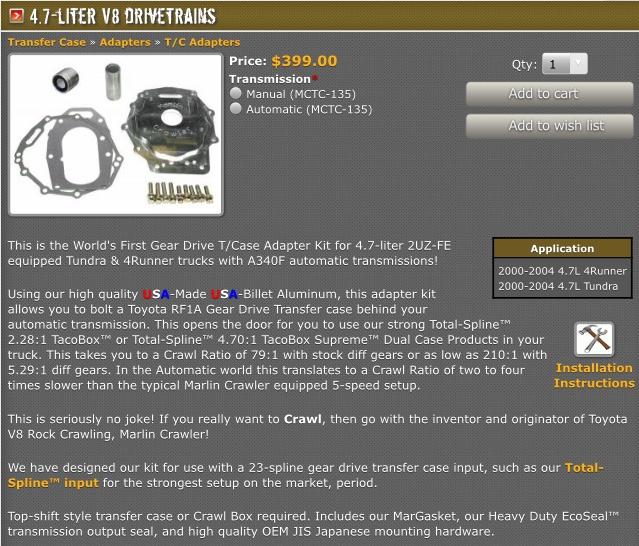
Cheaper than swapping in a W56 and can sell off this Chevy setup.
Comparing 15L/100km against 22L/100 that I currently consume.
More things to ponder.
-
This reply was modified 6 years, 5 months ago by
 toys-n-yotas.
 toys-n-yotasKeymaster
Oh man, These Bilsteins are sweet. The rear is still pretty rough, but I blame the 4” lift springs that are oversprung for Redee. The shackle angle is all wrong, and there’s hardly any travel. I could prolly add 500 pounds before I experience any sag.
 toys-n-yotasKeymaster
Finished the rear shock swap in half hour after work last night. No test drive, gonna savour that.
 toys-n-yotasKeymaster
I gotta get the starter out, then get the Napa guys to find me a replacement. Hoping I can find a cheap refurbished one for $50 or less. Tack on $200 for a AGM battery.
Took an hour today to replace both front shocks with new Bilstein 5100’s. Took a little tour around the county block and it already feels heaps better. Motivated to swap out the rears now, and see just how smooth the cruise can get.
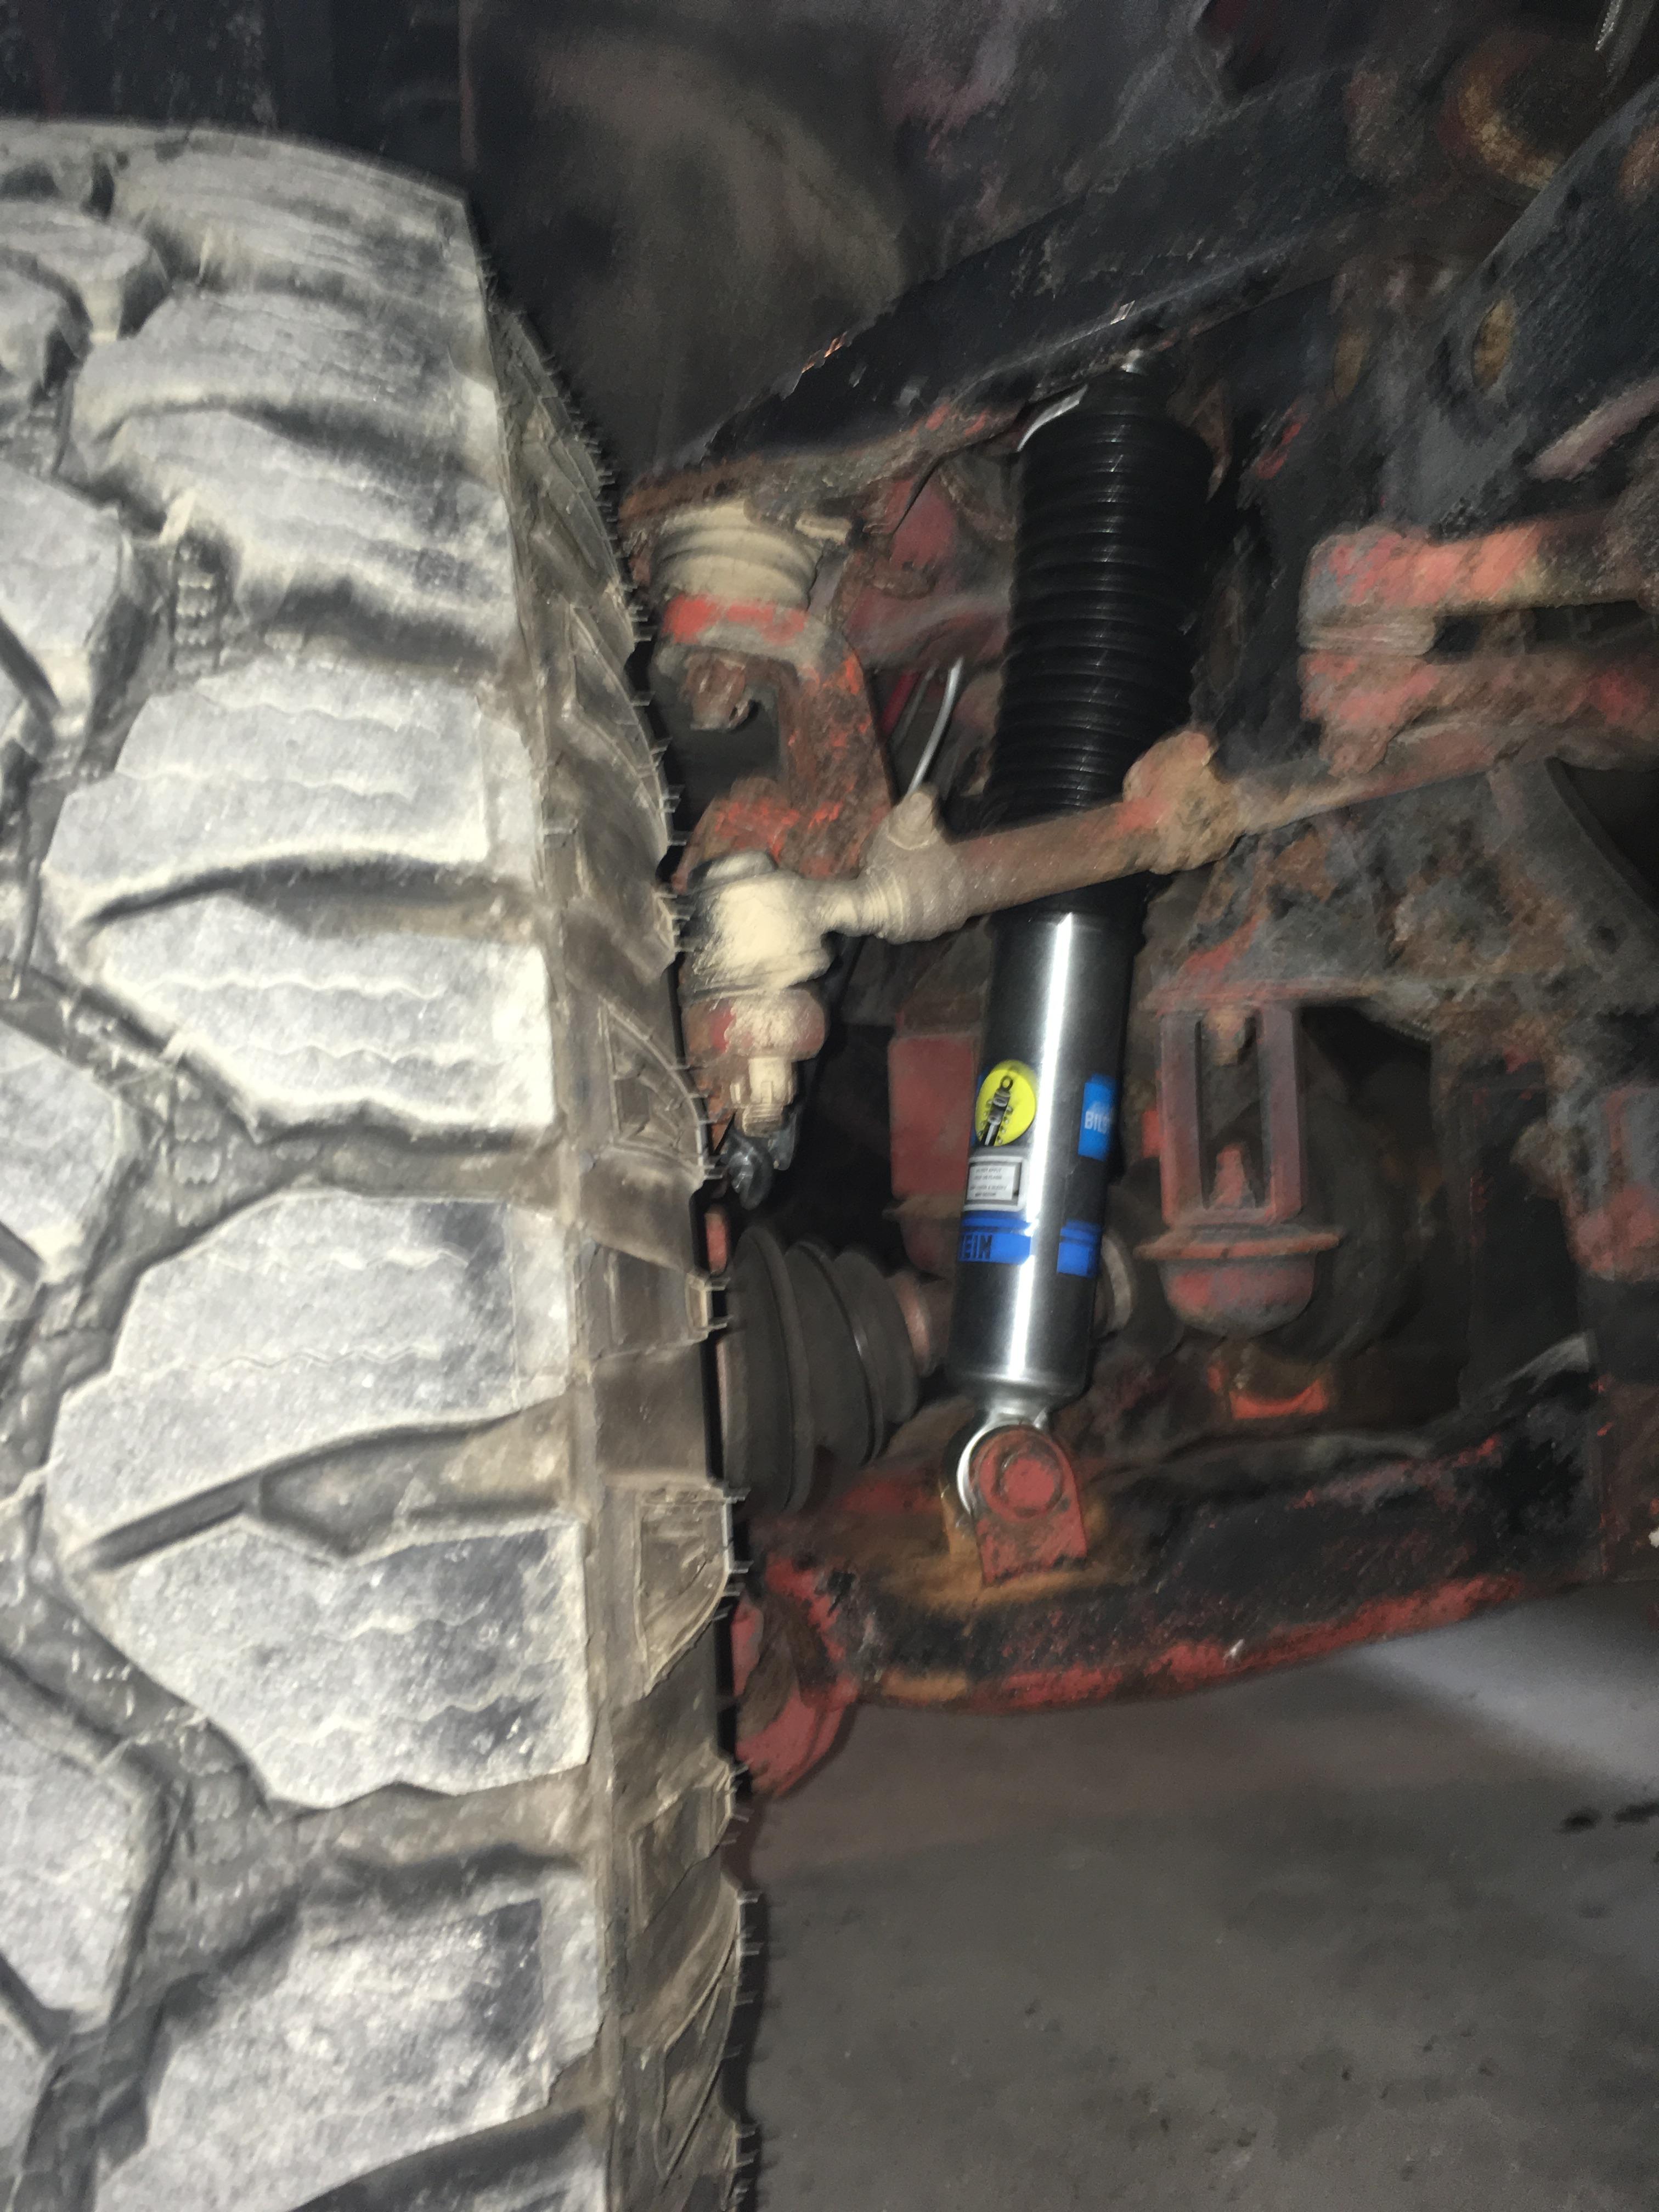
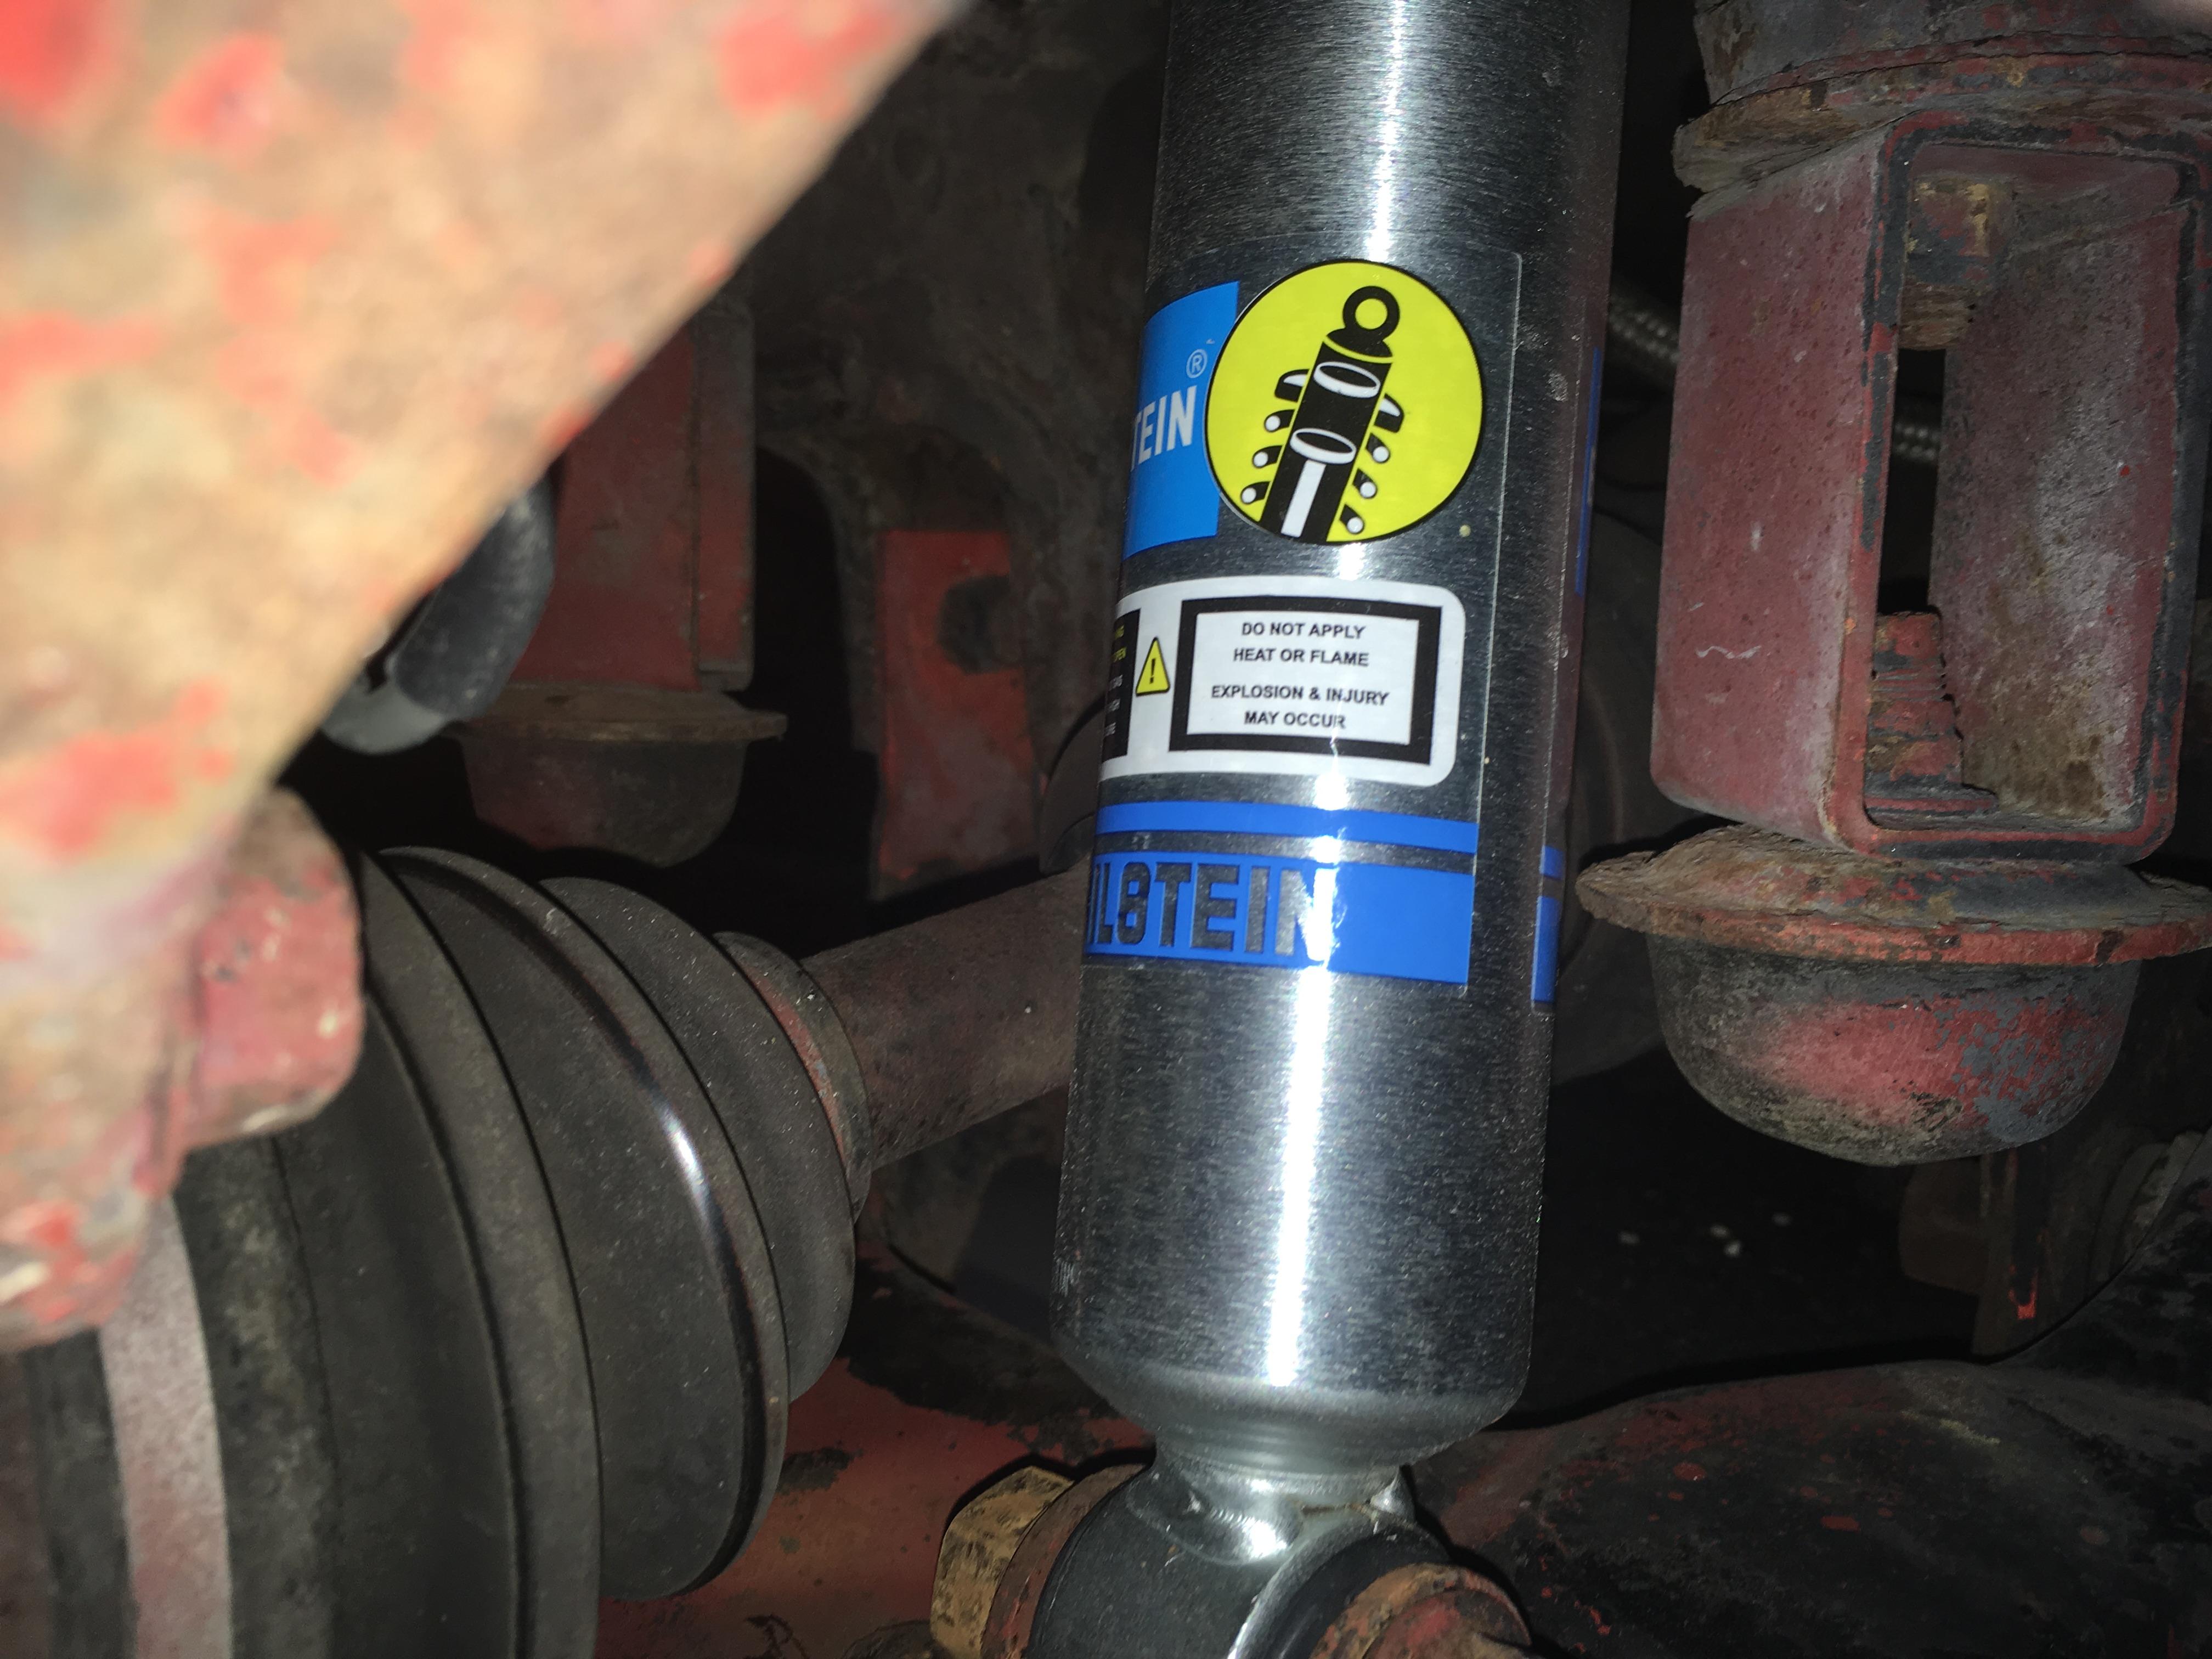
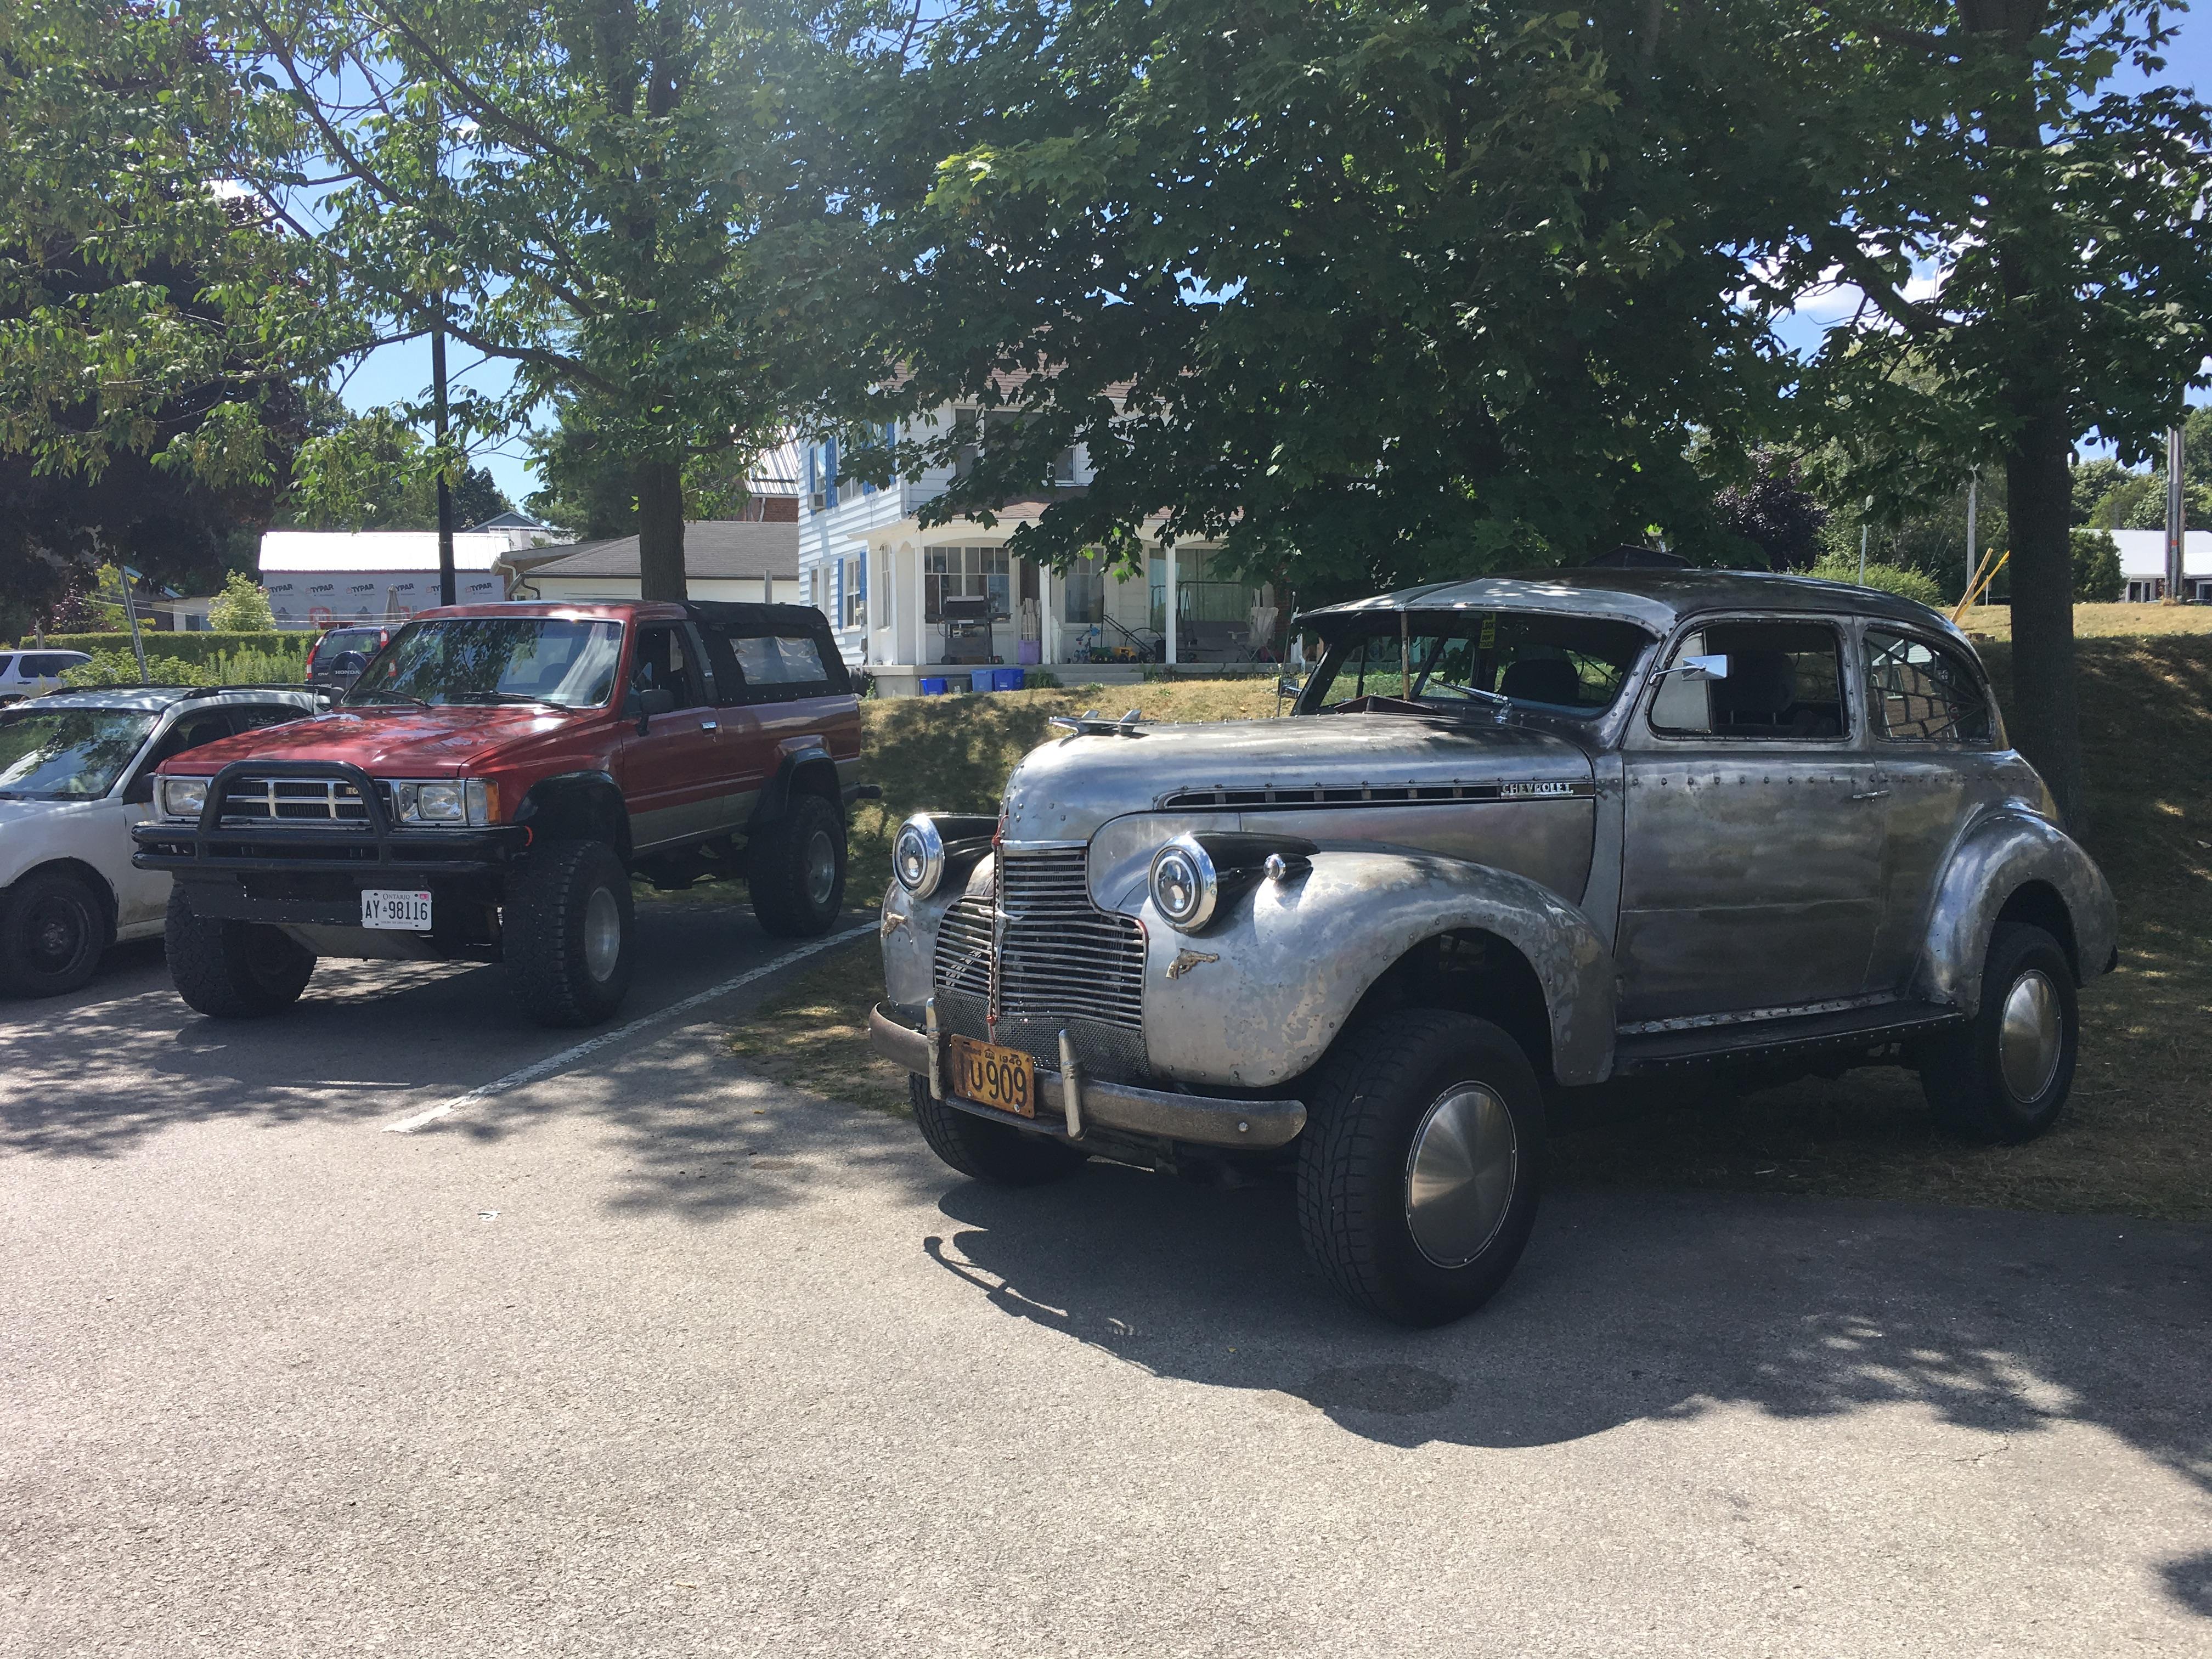
Took my girls on a sideroad trip to Meaford beach from Shelburne. Redee cruised like a champ, no idea how much fuel she drank. Almost didn’t get to start our trip with 10-mins of “click-click-click no-start” in the driveway.
 toys-n-yotasKeymaster
Sounds real classy!!
I don’t know that 3rd gen fellow. Lotsa bikes pass through Shelburne on the weekend, a couple tracks North of me.
 toys-n-yotasKeymaster
Oh man that’s a sweet new ride. What trim level is that? Interesting combo of dealer installed options, and debadging.
-
This reply was modified 6 years, 5 months ago by
 toys-n-yotas.
-
This reply was modified 6 years, 4 months ago by
-
AuthorPosts
