Forum Replies Created
-
AuthorPosts
-
 toys-n-yotasKeymaster
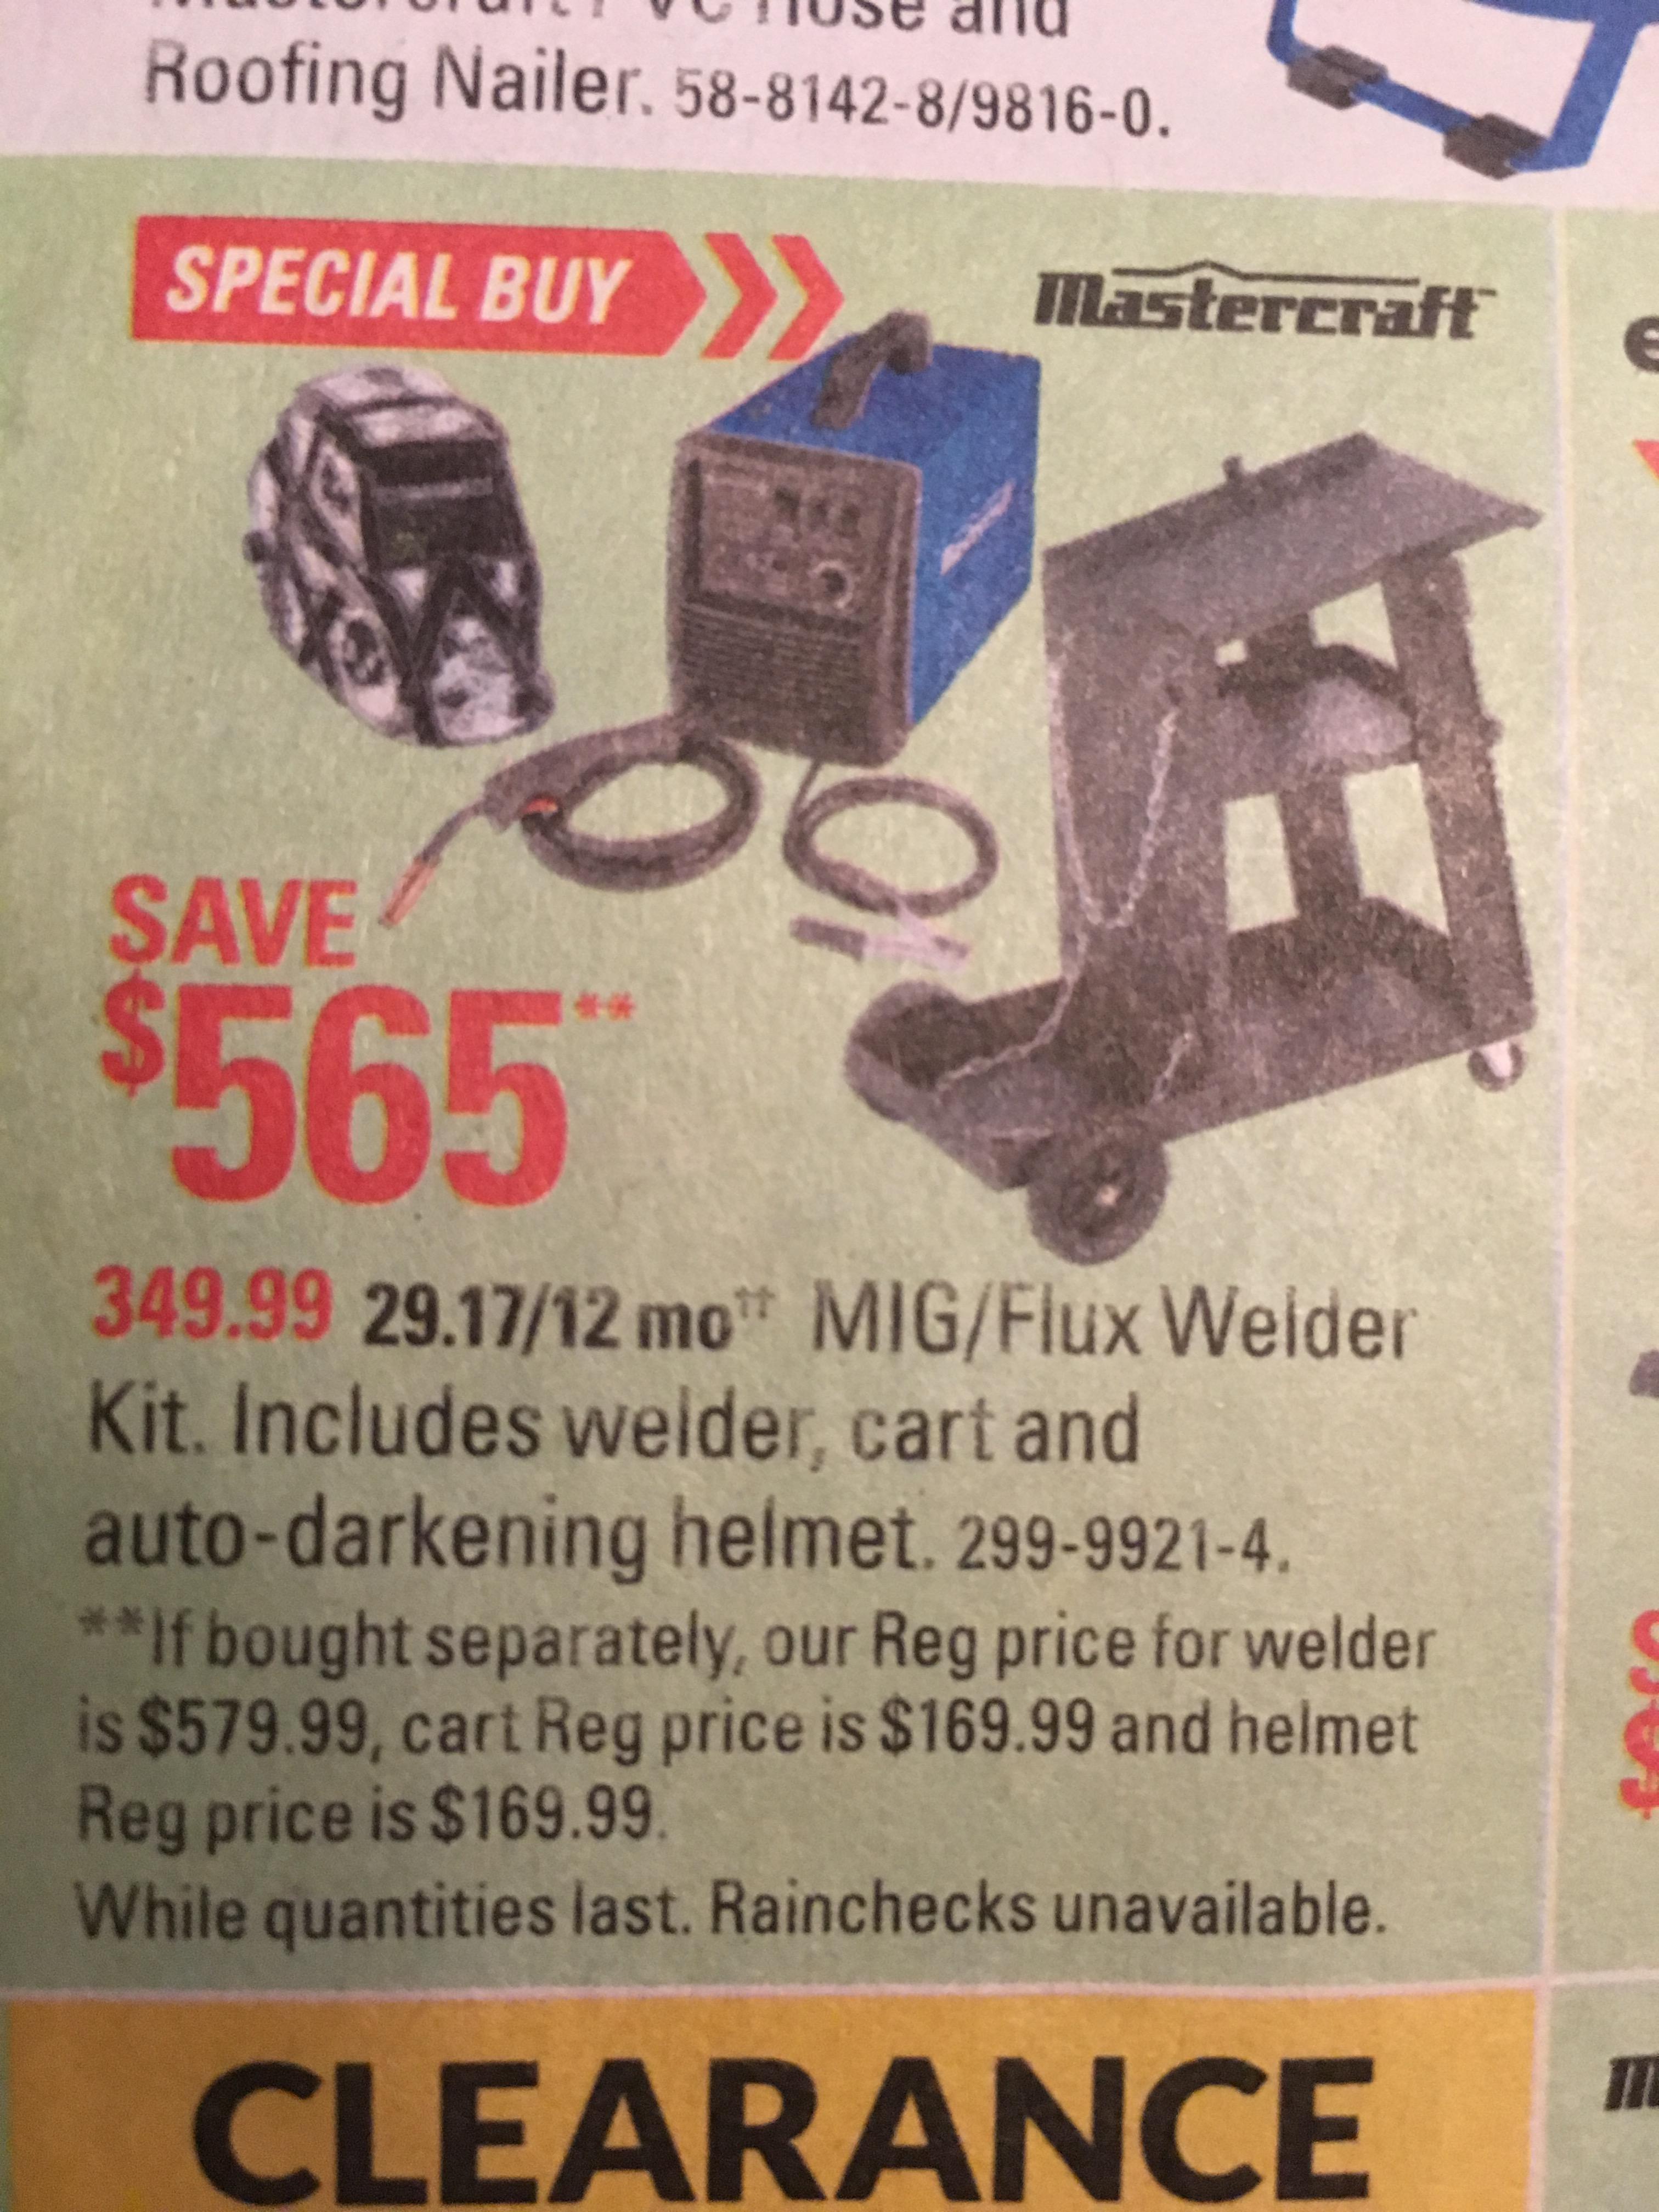
I’ll prolly swing by CT this week to grab the welder. Can’t beat 65% off. I have awesome gloves, will just need some consummables and tons of practice.
toys-n-yotasKeymasterHey Steve, did you break in your Christmas welder yet? Looking for a thumbs up or thumbs down.
 toys-n-yotasKeymaster
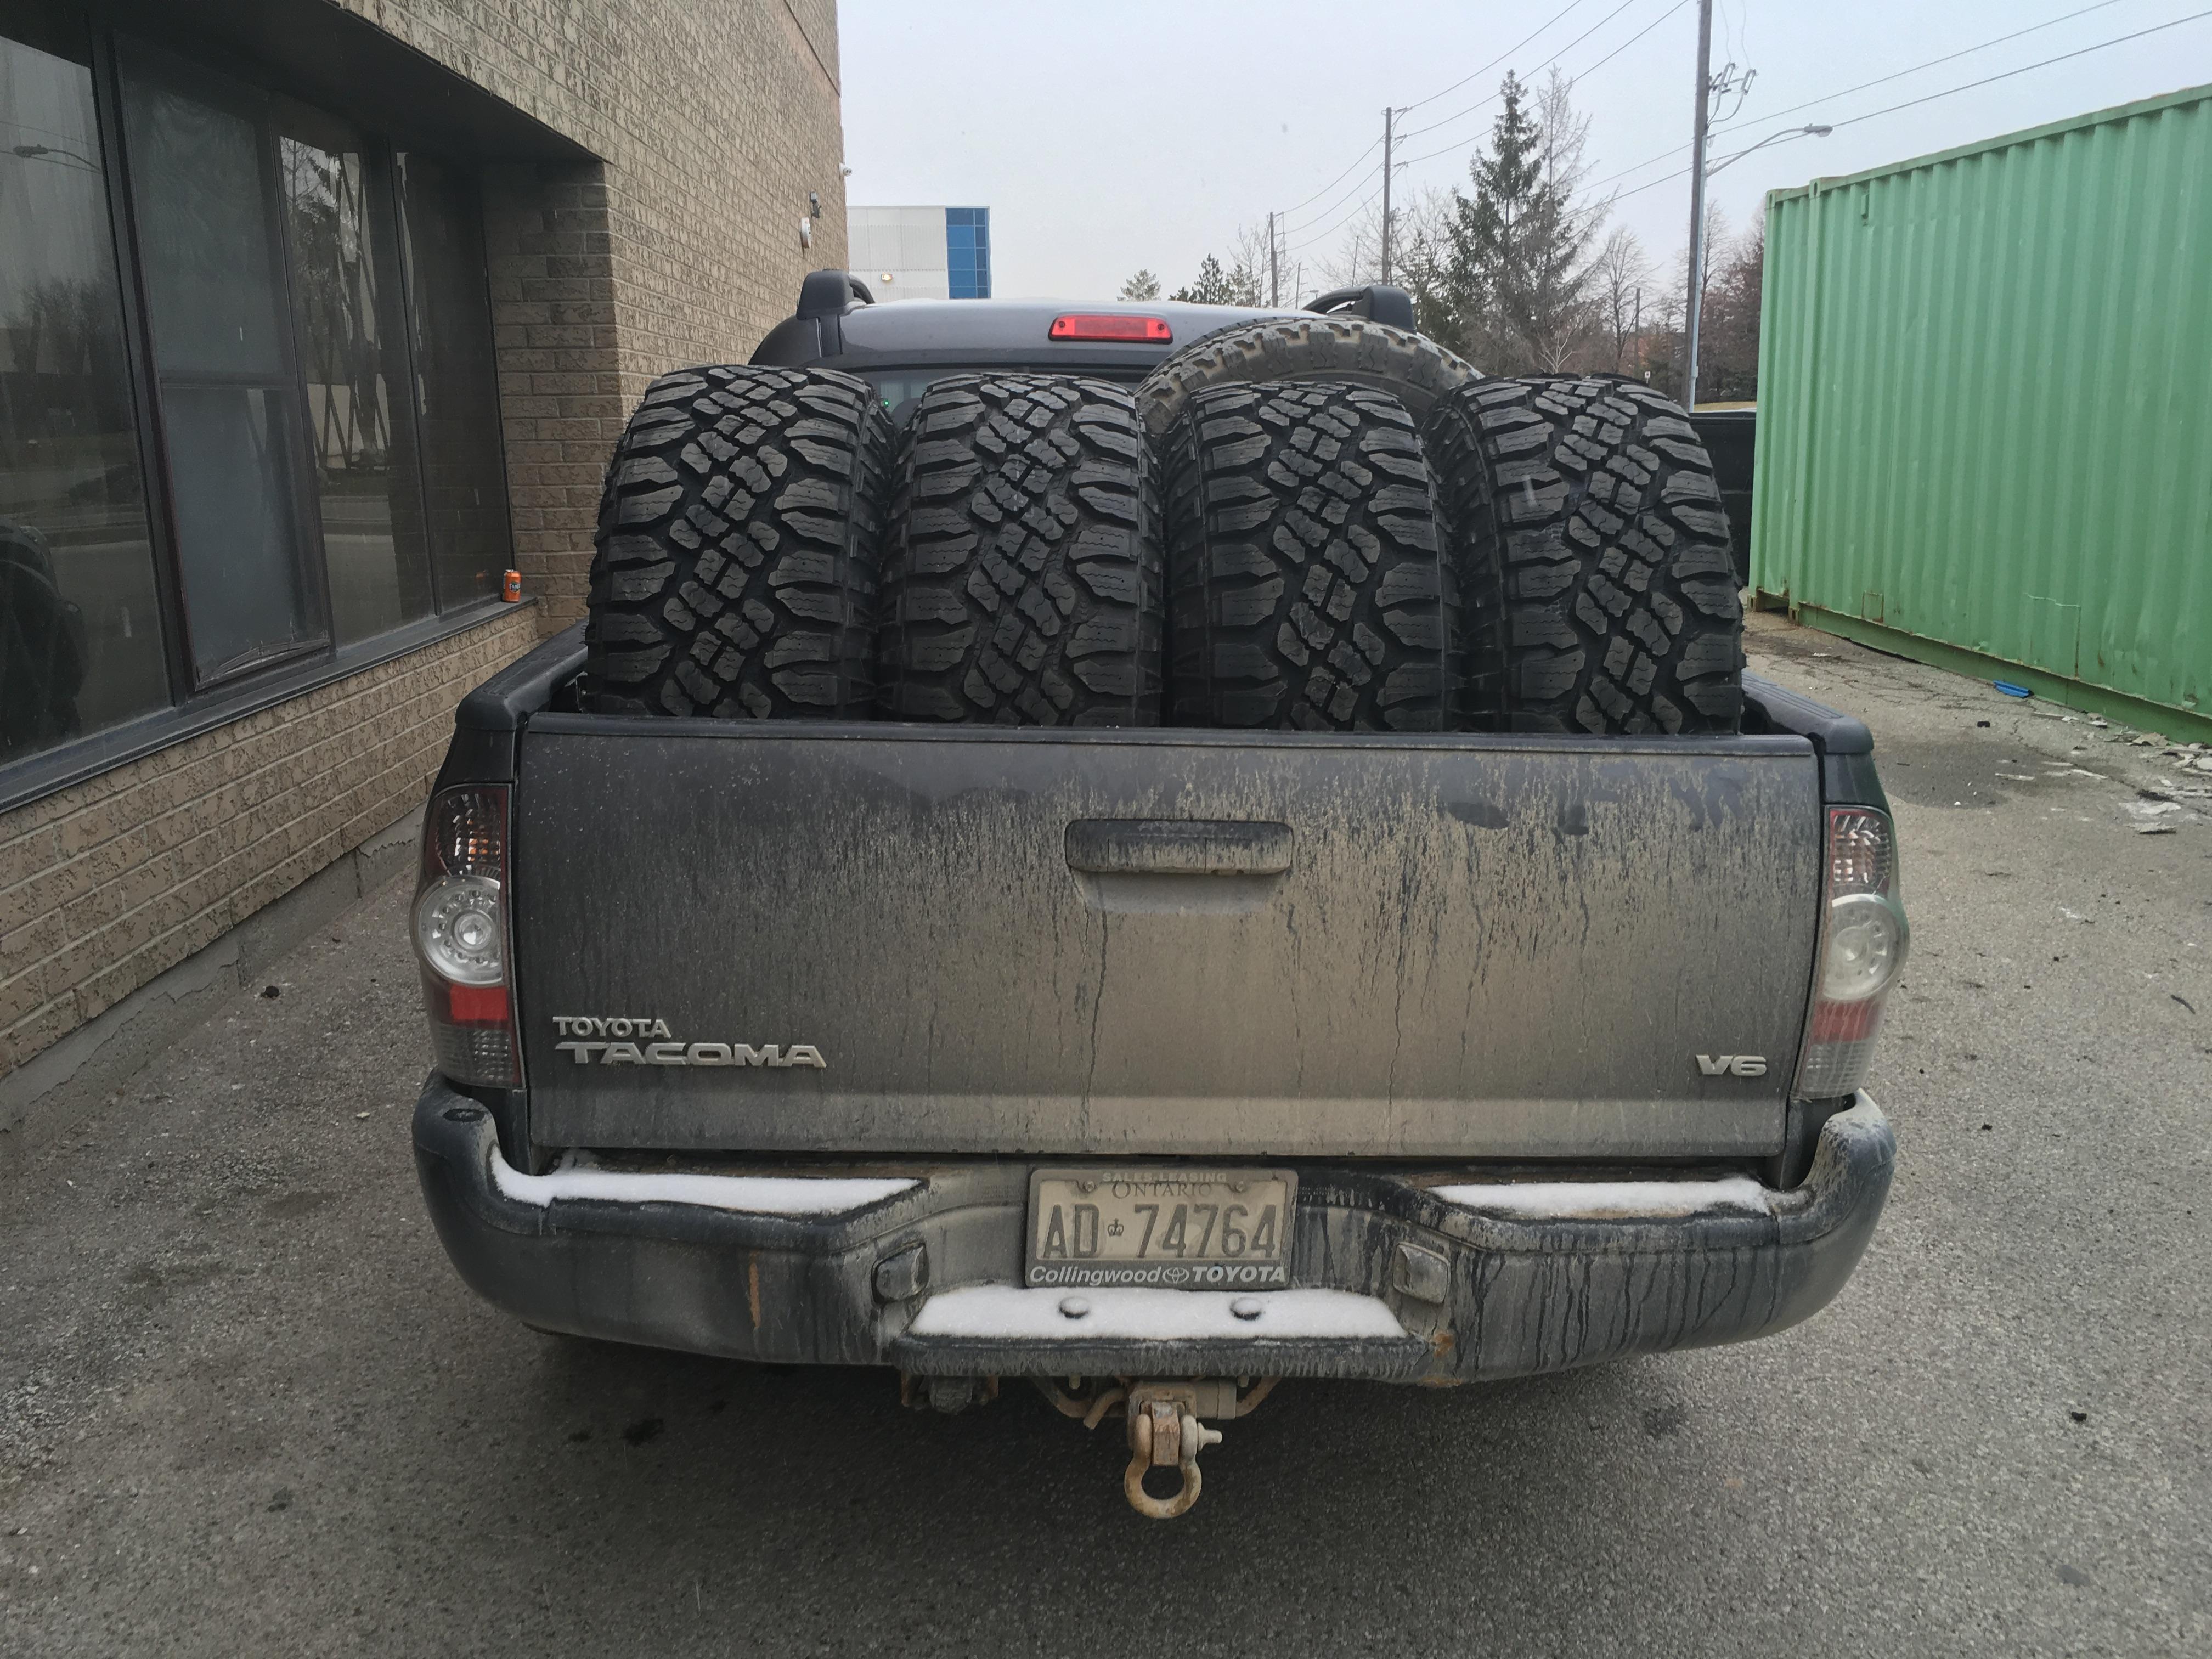
A pretty successful day OUT of the shop while I do Daddy daycare today.
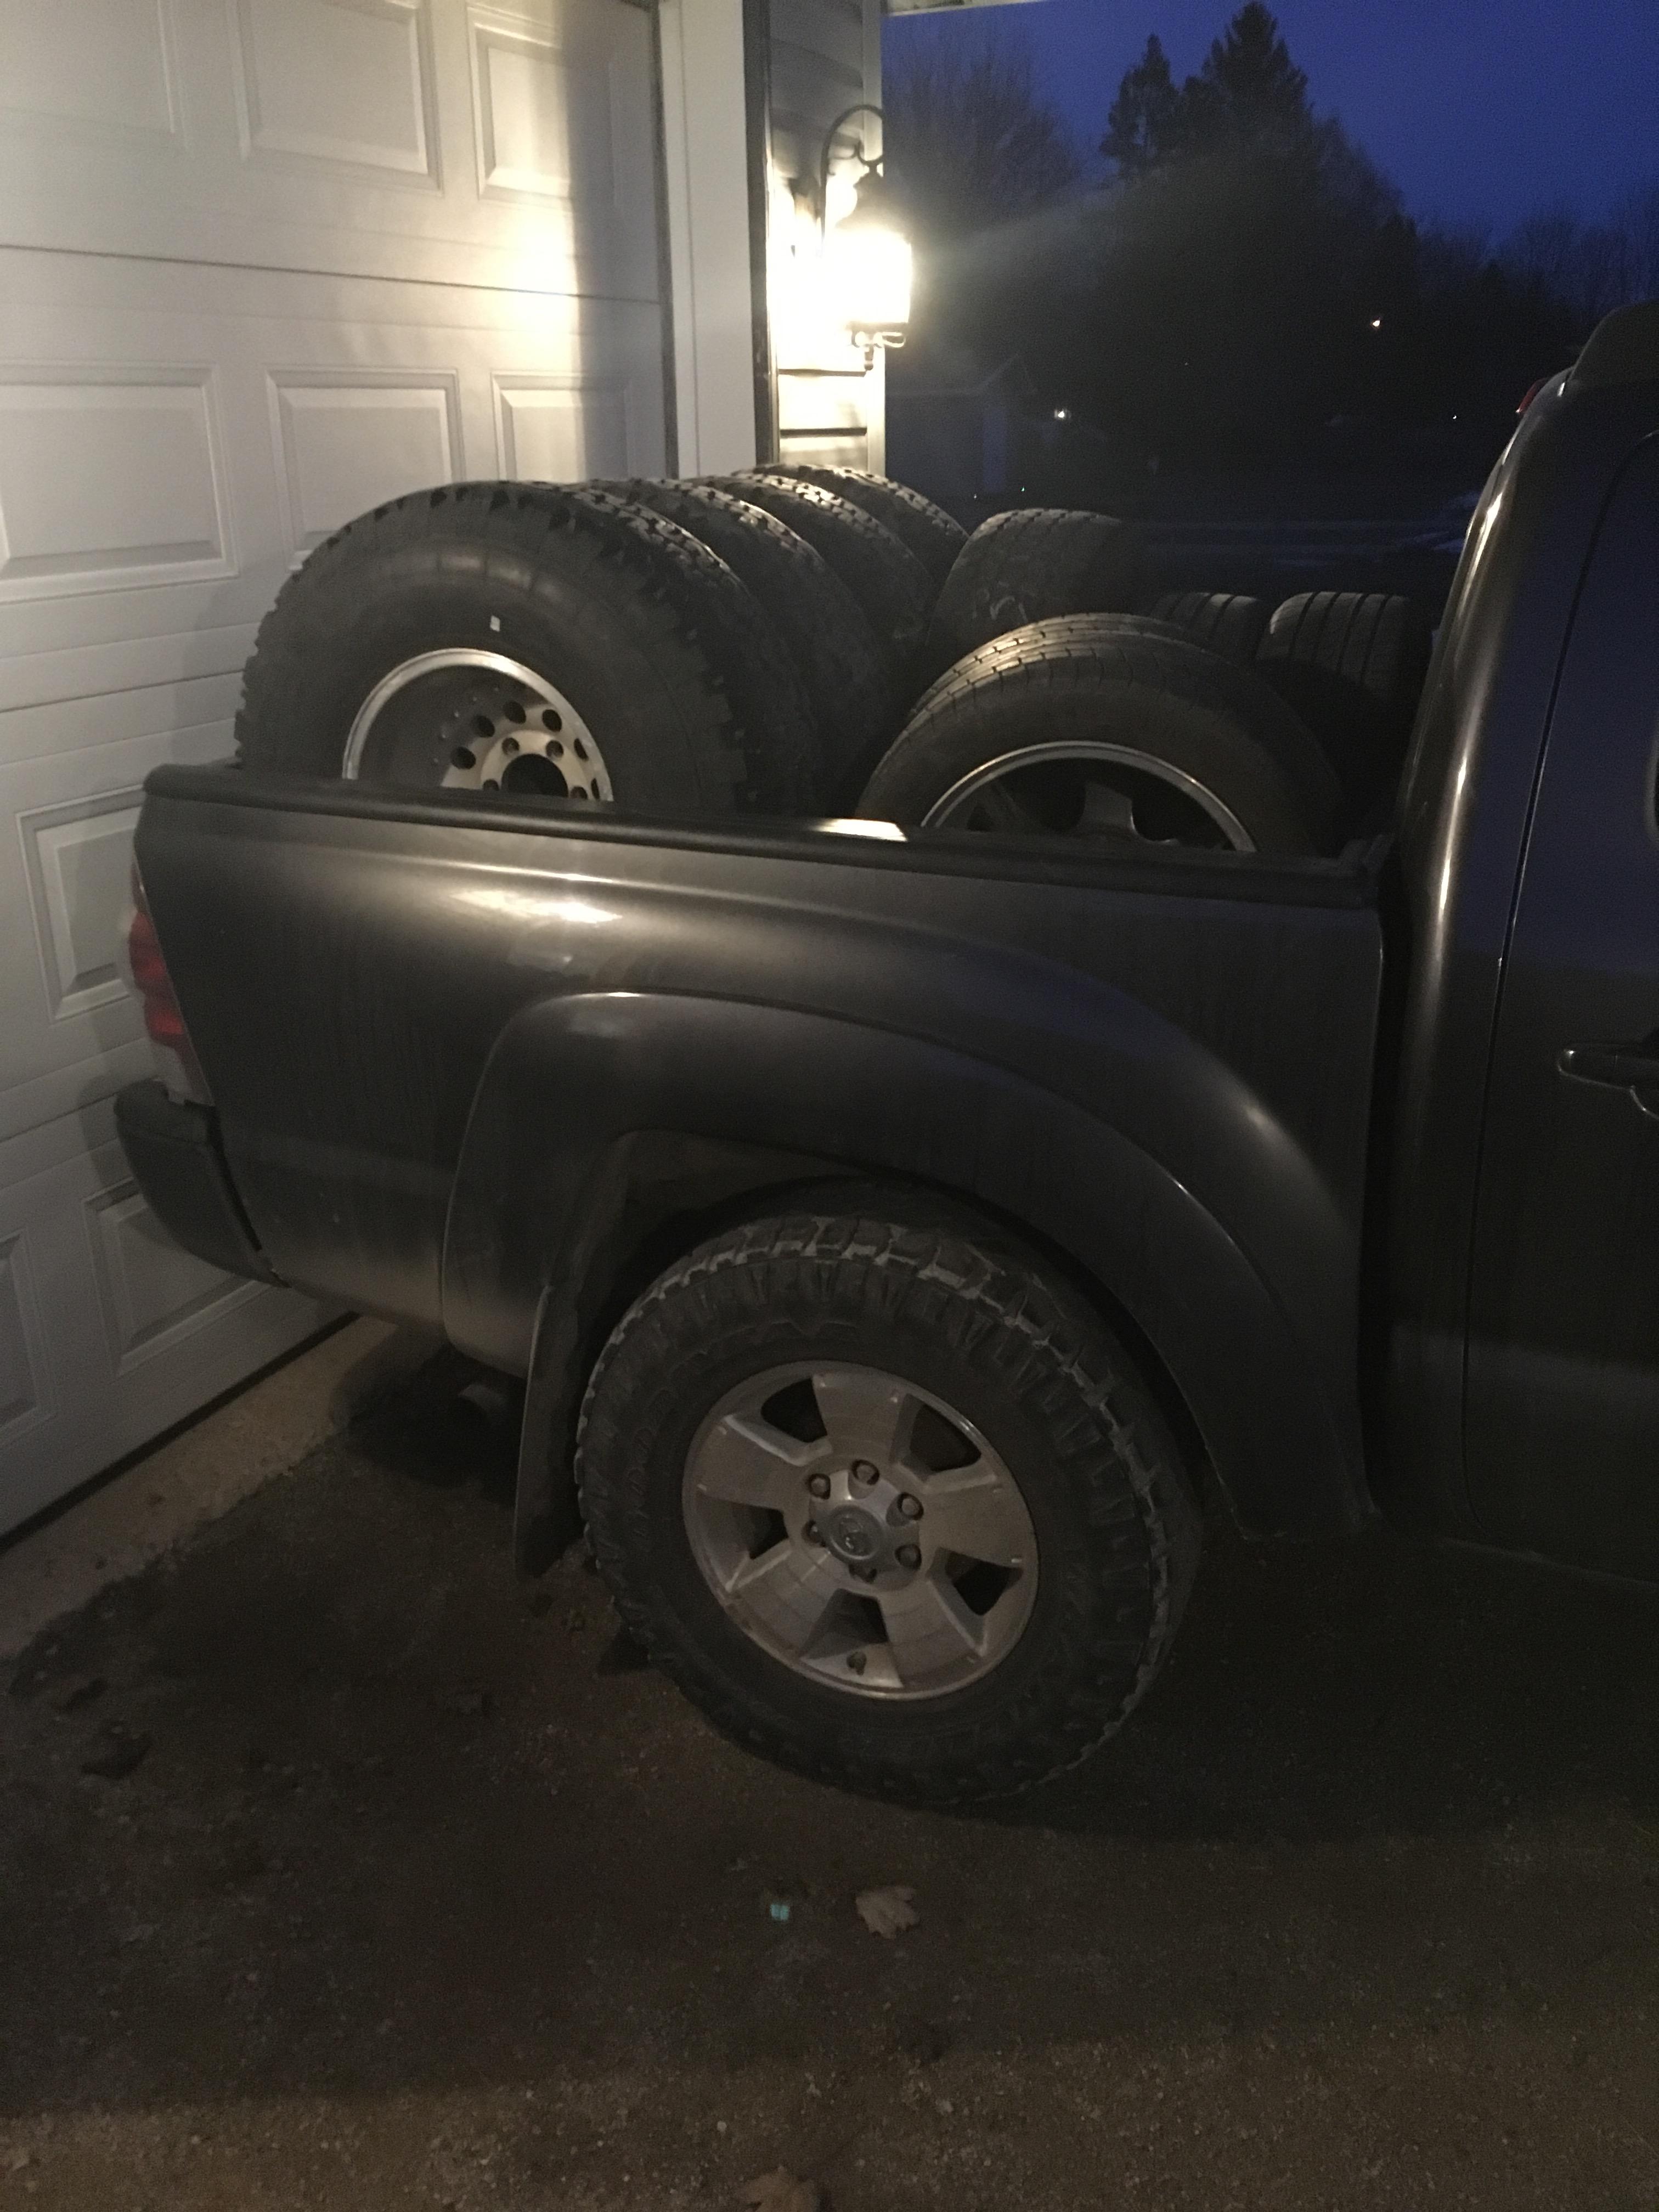
Duratracs, mounted balanced and paid for.
Appraisal, completed over the phone and in person verification of details.
Insurance, quote filled out, awaiting ownership transfer to finalize and start paying.
UPS guy arrived with some ARB parts from Marlin Crawler. Should have bought them elsewhere, $45 shipping didn’t include duty….a suprise $43 bill a week later. Crap.
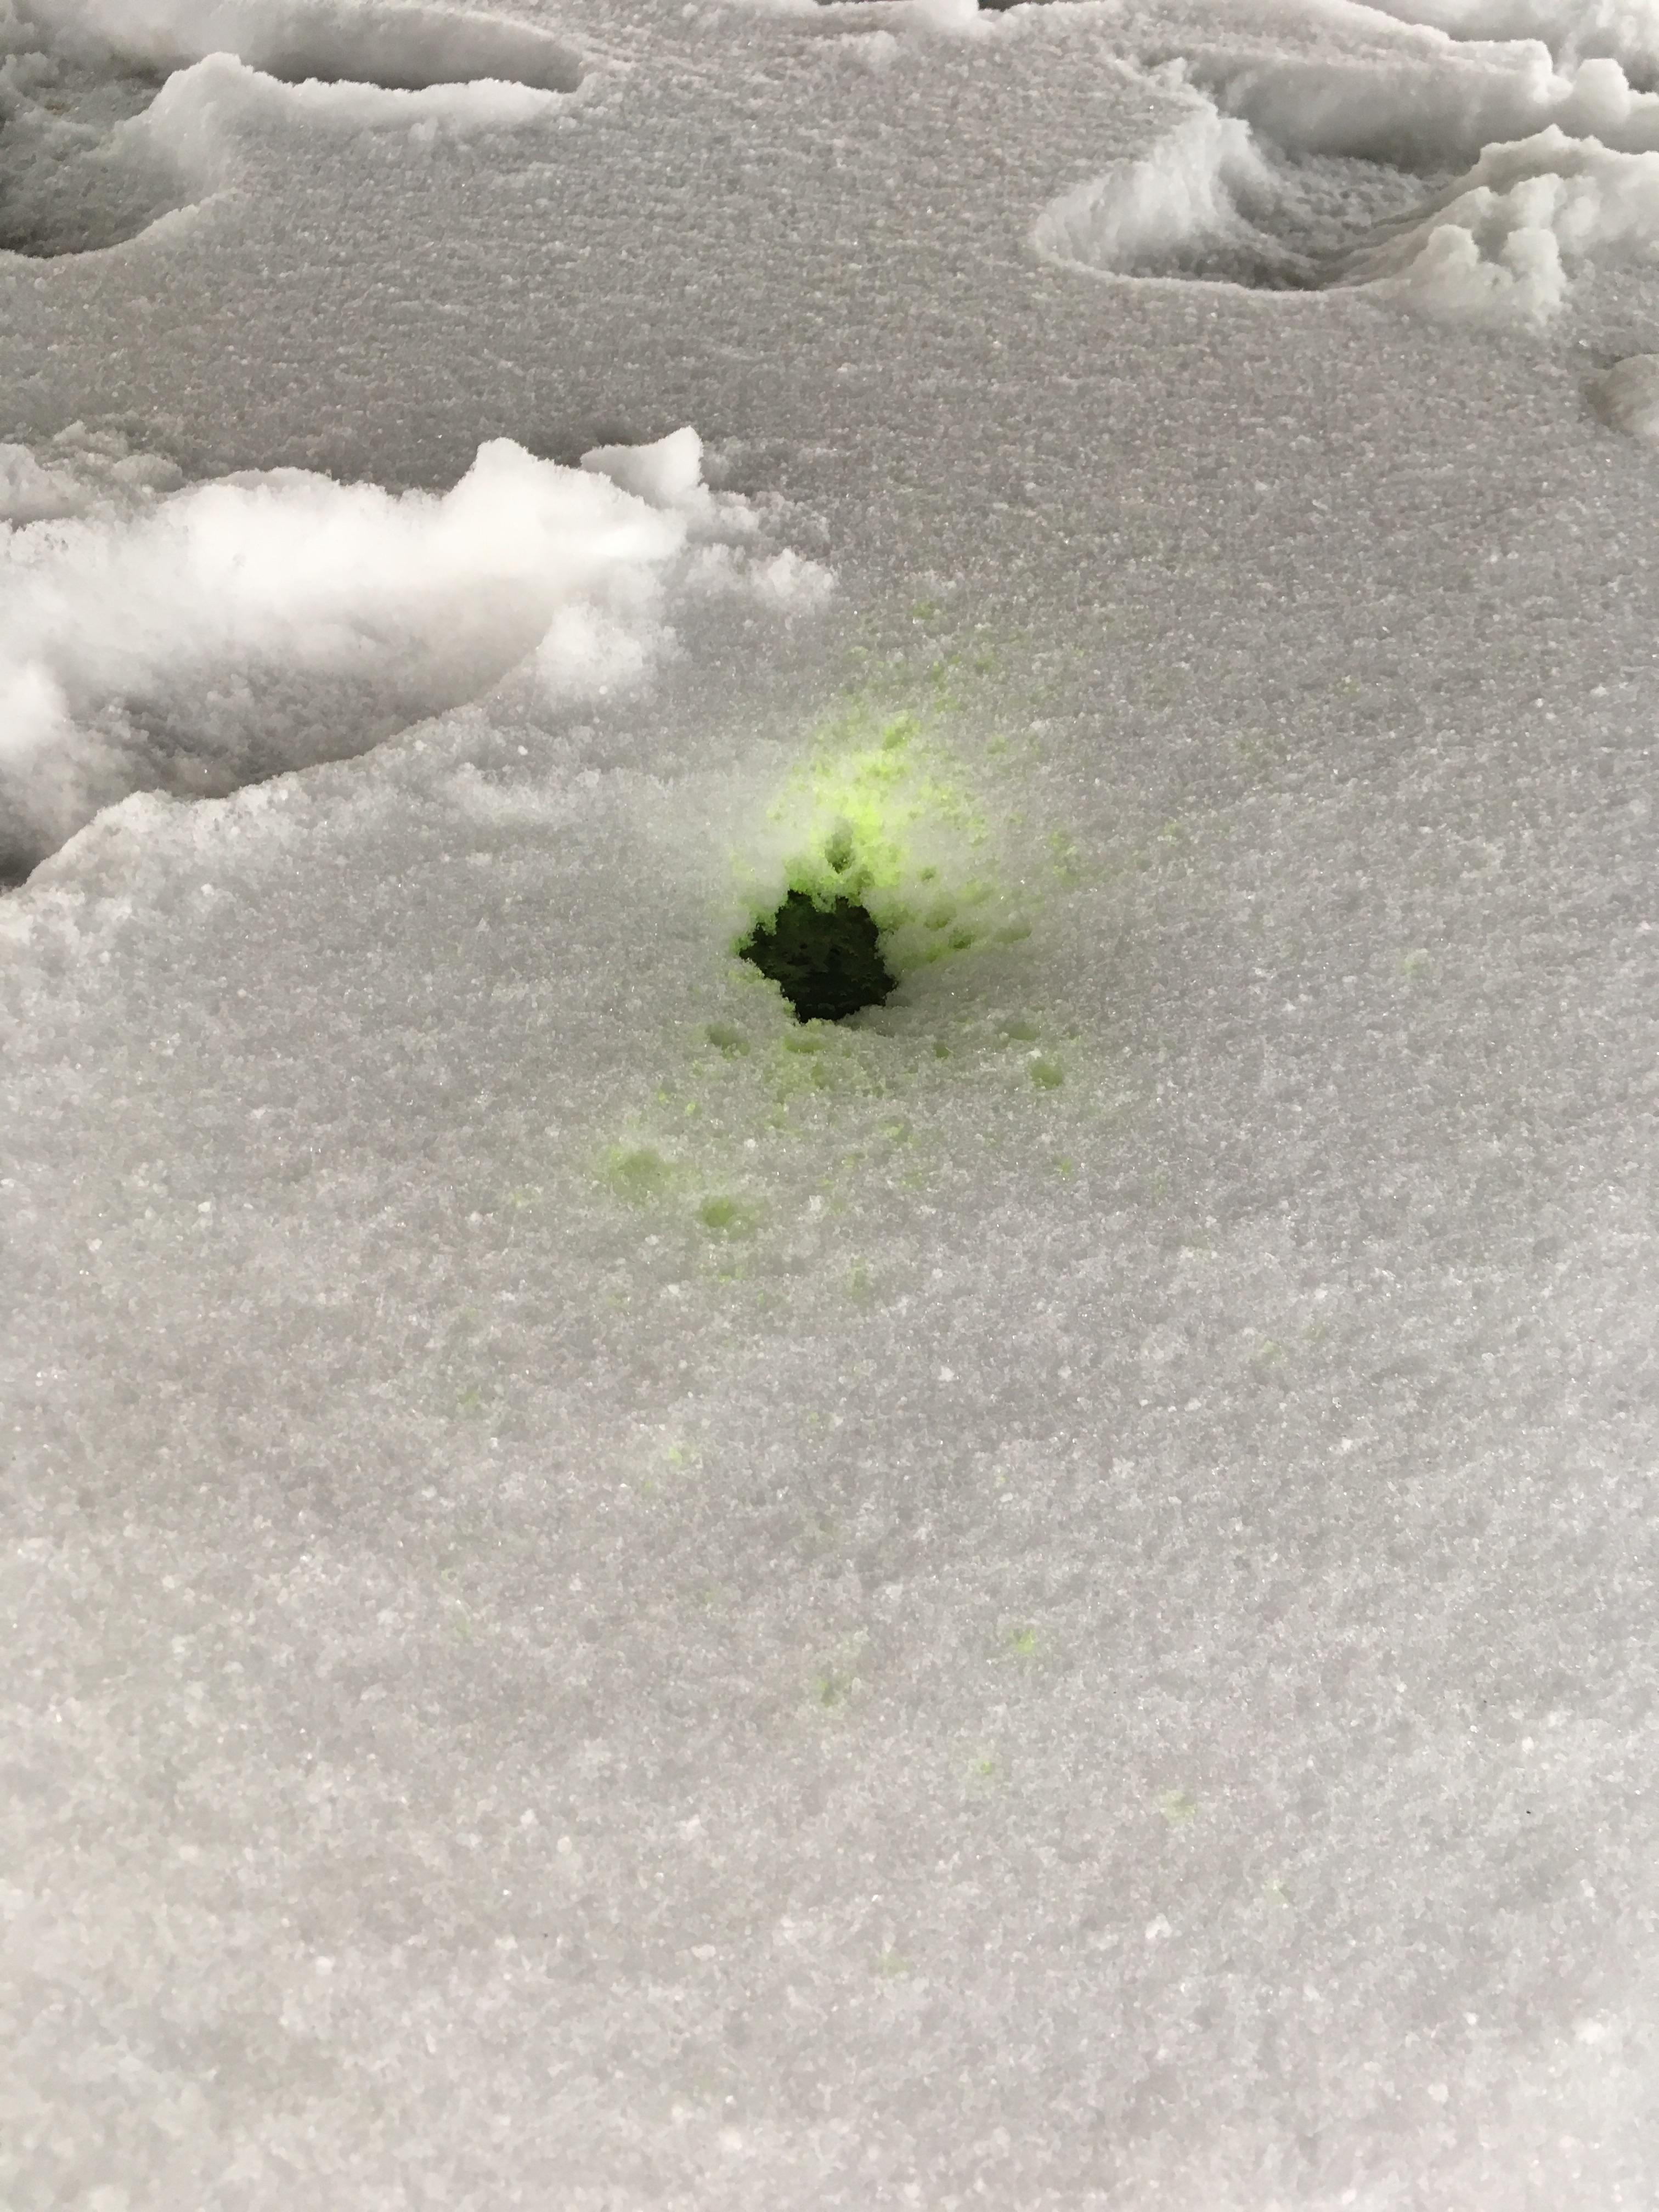
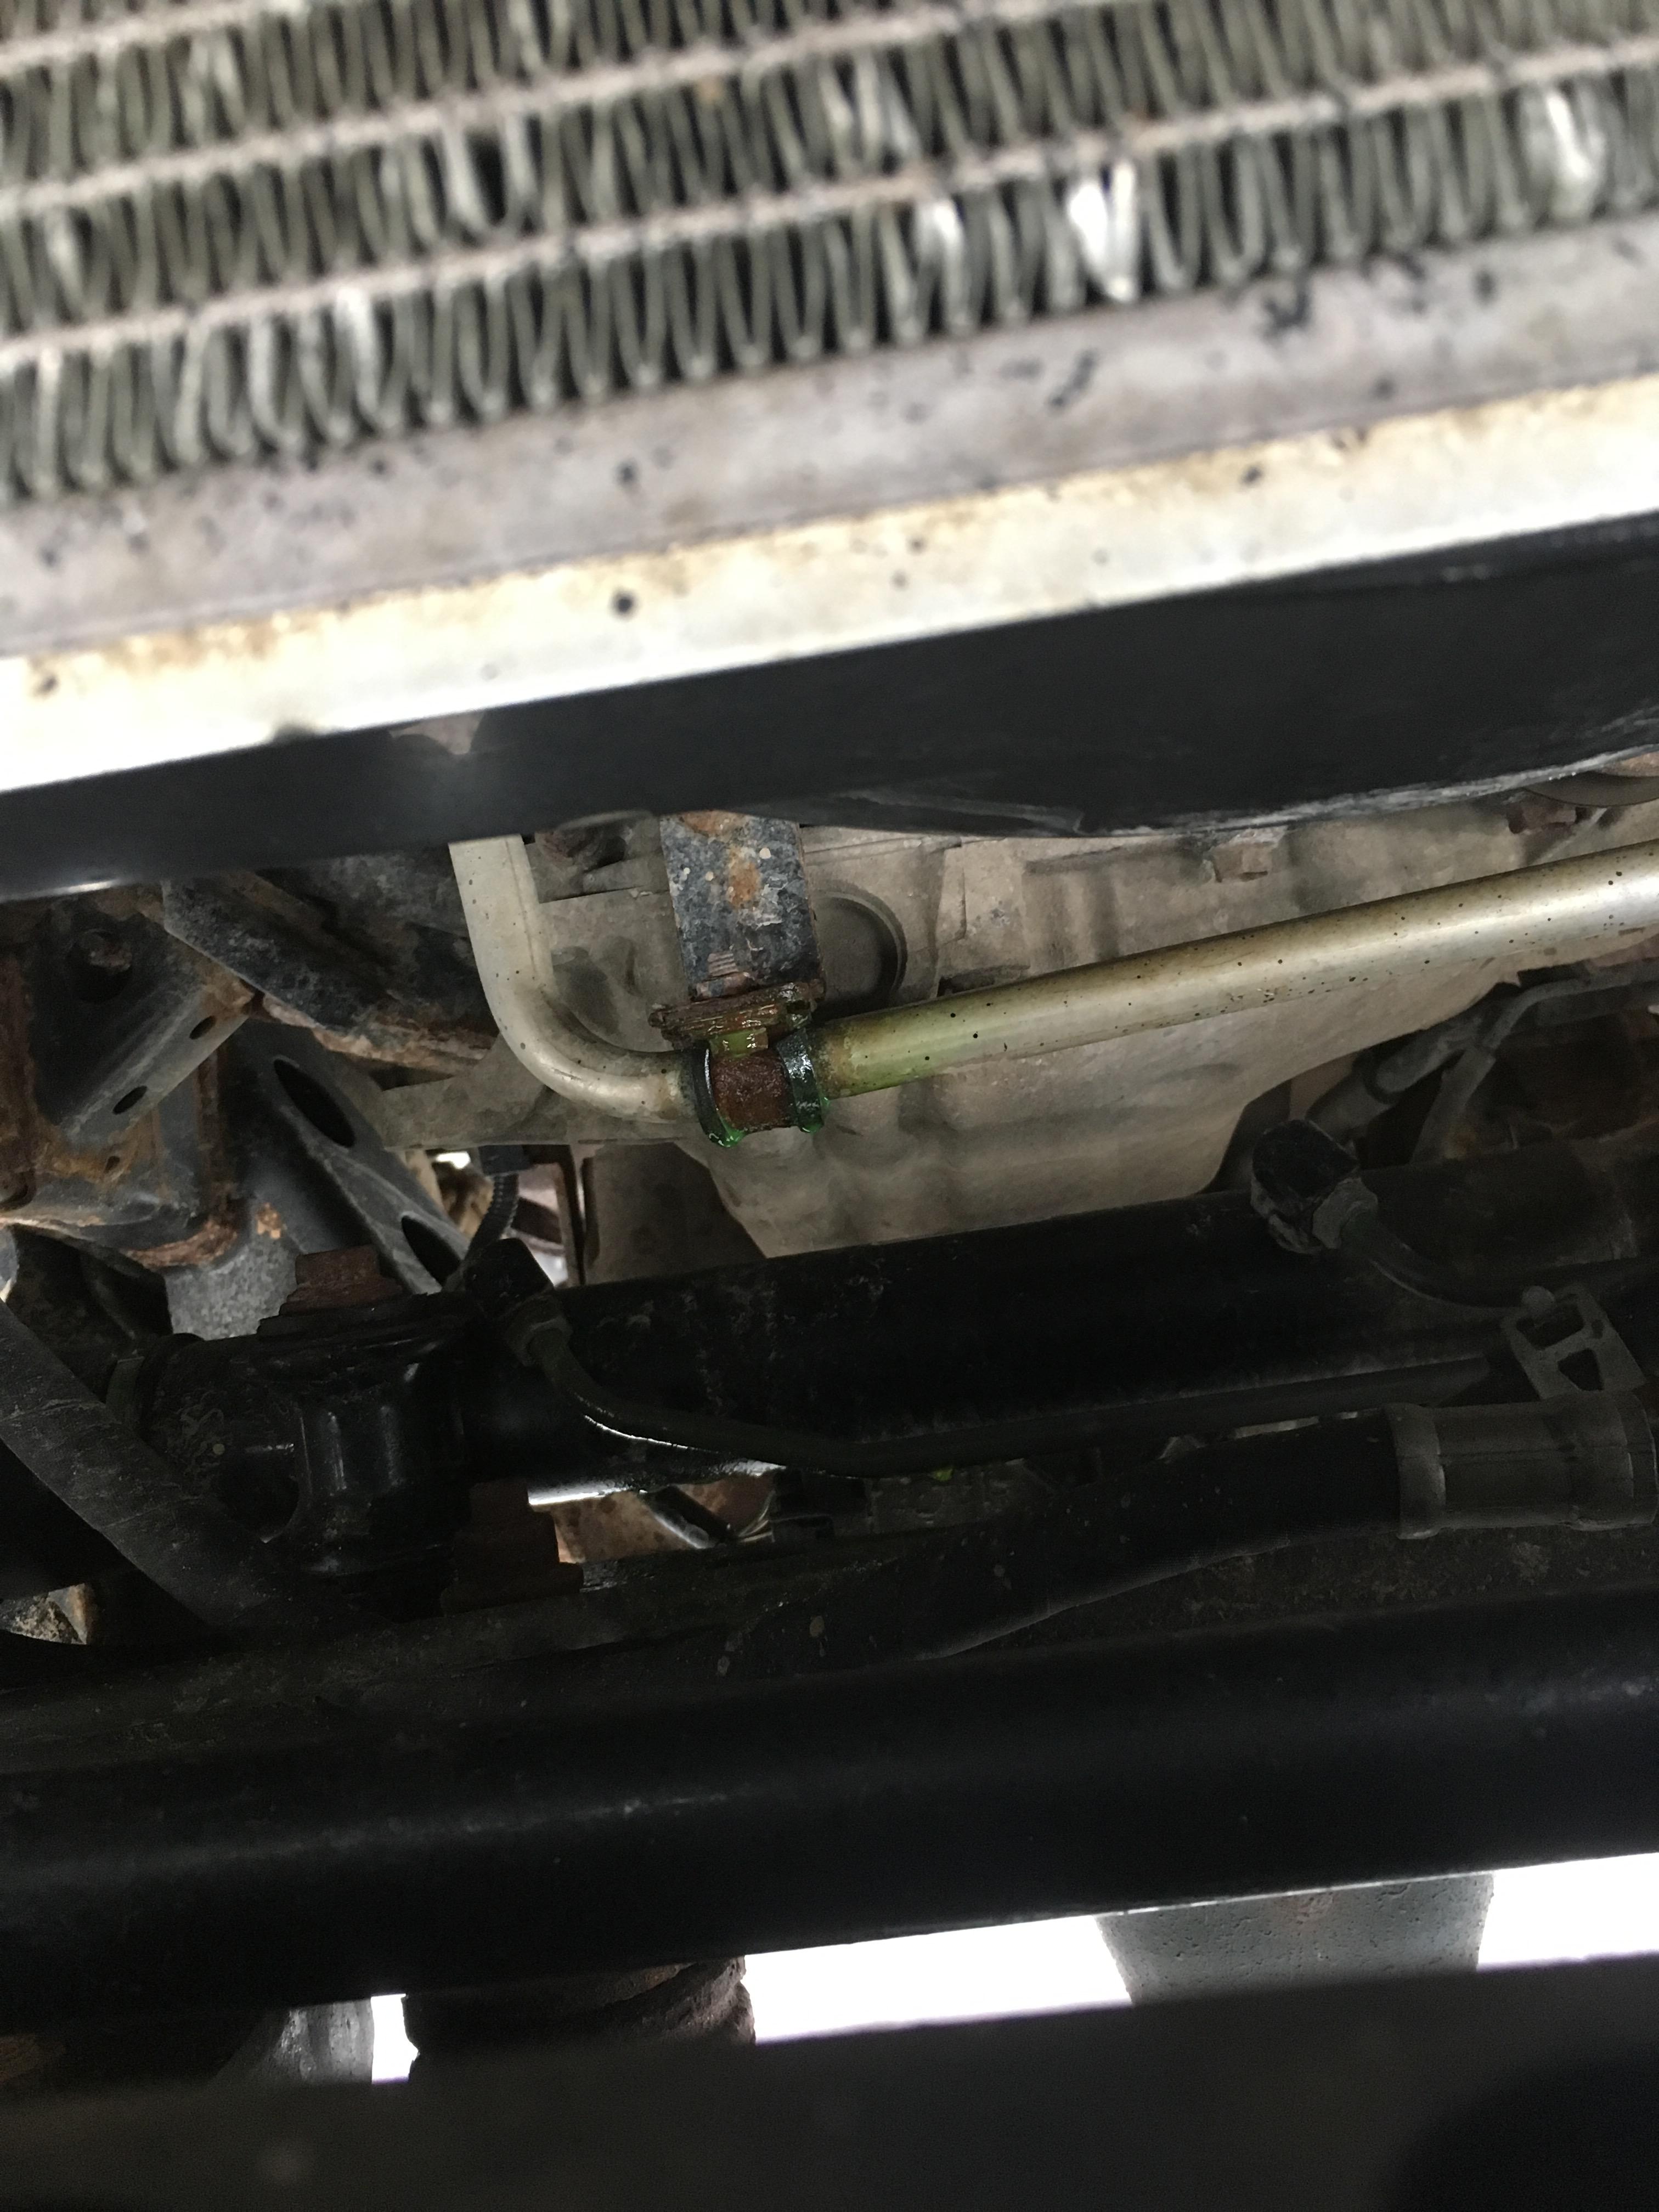
On a much less awesome note, a bright green puddle of A/C refrigerant was spotted in the fresh snow on my driveway. More warranty claims coming my way. Truckee (Tacoma) has had two issues in his life, both of them being failed steel hard lines (corrosion perforation) behind the front skid plate. I wonder what I’m doing wrong.
 toys-n-yotasKeymaster
More electrical work last night. I made the executive decision to pull the Holley ProJection EFI system from the engine bay, to redo the install. It’s a 12-wire hookup, but even easier since 2 are grounds, and 7 are a part of Male/Female connectors. My intention is to remove some of the splices and butt connectors, while re-routing the main feed through and existing grommet in the firewall. Hoping it’s cleaner when I’m all done. Hoping even more I don’t fudge something up and have a “No start” condition.
I also refurbed a door jamb courtesy light switch rather than replacing it for $42. Took me 10-mins to dismantle, sand blast, reassemble and install.
Hooked up the AutoMeter triple gauges to the dash illumination so I can read at night. Trimmed back the old stereo harness, adjusted the reverse light micro switch that was unintentionally “Always ON”, ran a couple wires for USB chargers, and ran the temp probe for my digital thermometer for outside temp display.
Will stop to buy a few more male flag connectors, and eye loops tonight, hopefully to get the holley harness back in.
toys-n-yotasKeymasterSecond day in a row I forgot to bring my tank hanger nut plate to work for a little tack weld. Oh well, tomoorow.
Sunday night was a frustrating one. Successes, rigged up the rusted fuel sender to close the top of the tank, connected the last brake line, and removed some diamond plate from the front bumper.
Failures: Flare tool kept slipping on my fuel line, kinked the fuel line shut on the final bend, 5/16” rubber fuel line won’t fit all the way up the pump barbs, and finally the Holley fuel pump dripped gasoline all over me giving me an awful gasoline buzz and nausea.
Monday night I avoided gasoline and played with electrical. I traced tons of connectors behind the dash, and created functional Reverse lights off the shifter, and a Neutral safety switch off the shifter. Ready to put the dash in for good now!
toys-n-yotasKeymasterHey man, perfect timing for that tidbit of tank info. I had to make a new plate to replace those mounting nuts. I can put a tack wels on them now before the tank goes in just as you suggest. Thanks! I was going to anti-seize the crap out of them, and glob some grease on top to make a barrier of sorts for dirt / dust / debris. But a small tack is still one-step better yet.
The root cause of the problem you identified (in my viewpoint of course). The original nuts are M8 square nuts that are “projection welded” by 4 little feet to the top side of the crossmember. Trouble I found is that the crossmember fills with dirt and moisture, and the exposed threaded section of the bolts gets gunked up really bad. Trying to remove the bolt later, it’ll gunk up tbe nut, and break loose the projection weld. Lucky for me, I sheared off all three tank bolts trying to remove them before the projection weld failed. When the tank “fell out” I ground the rusted nuts off. You can see some of the rust/dirt/gunk in the right corner of the pocket there. I had already removed 3 lbs of crap from that pocket before the nuts were even visible for the photo op.
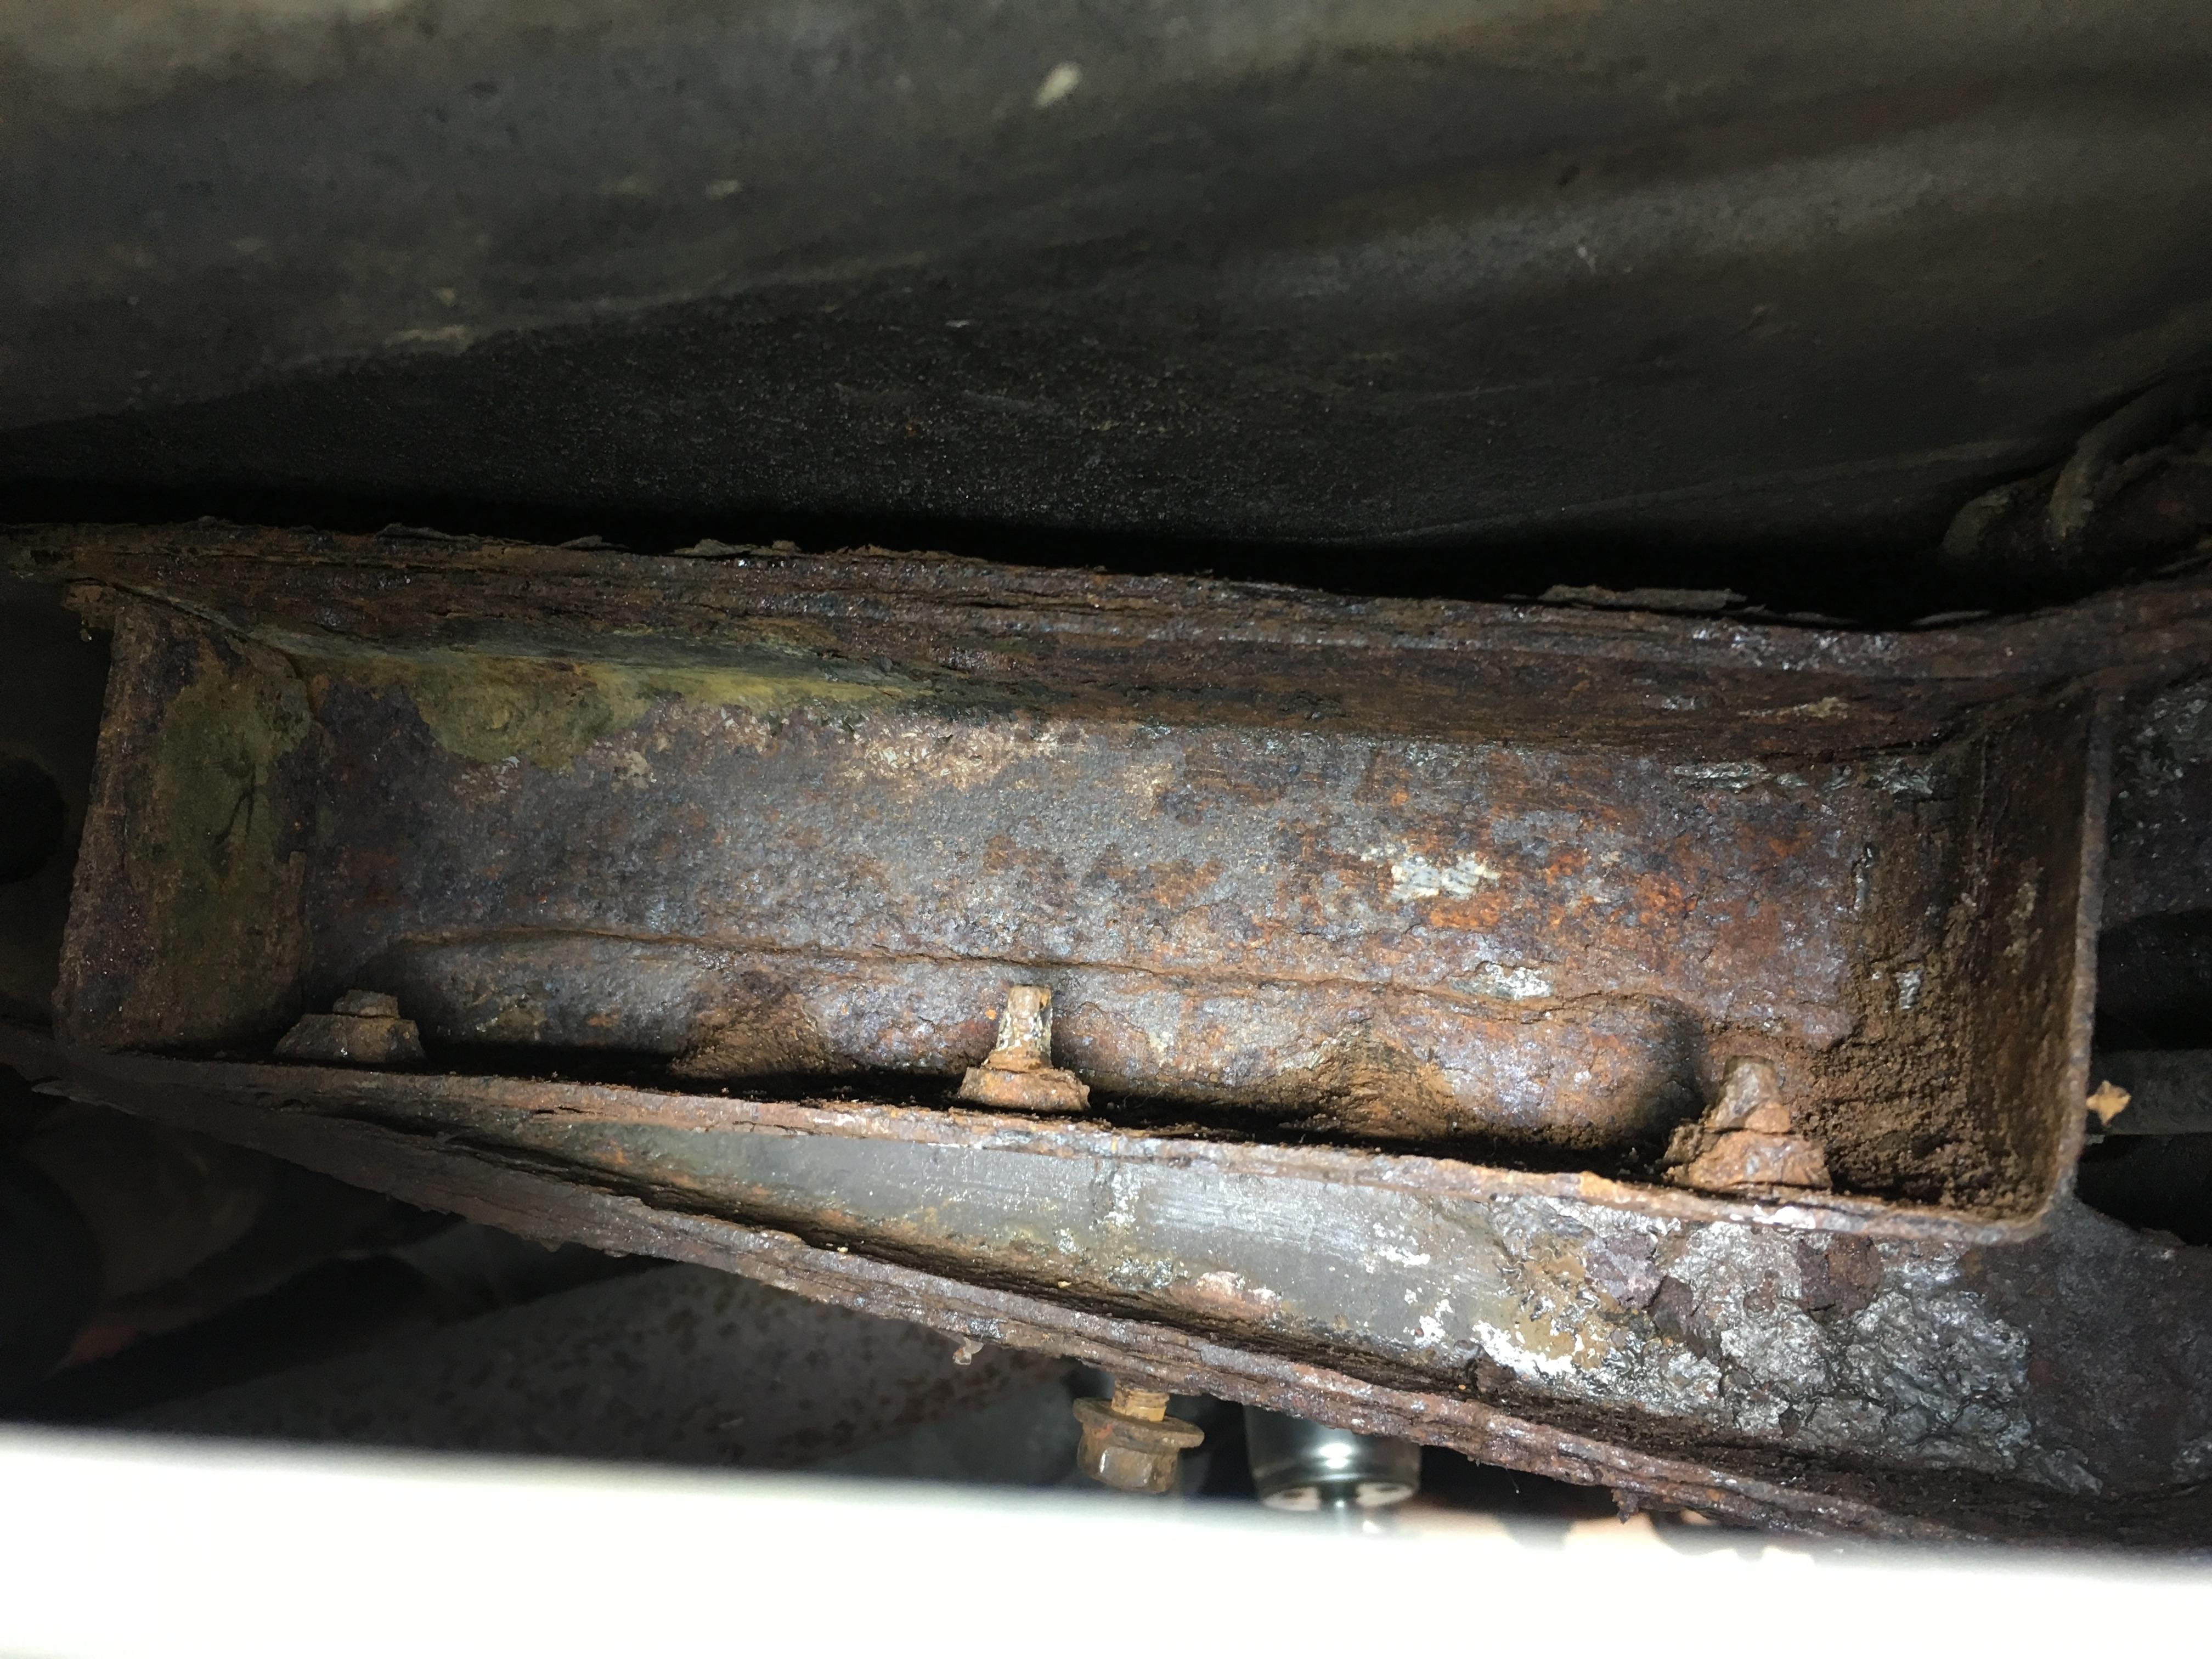

In the picture above, I added new M8 weld nuts to the top of the plate, but don’t have a finished product picture. Will bring it to work to put a little tack on.
-
This reply was modified 6 years, 10 months ago by
 toys-n-yotas.
toys-n-yotasKeymasterMy electrician buddy couldn’t make it out tonight, but anotber bud from work came over to socialize and help drink a couple beers.
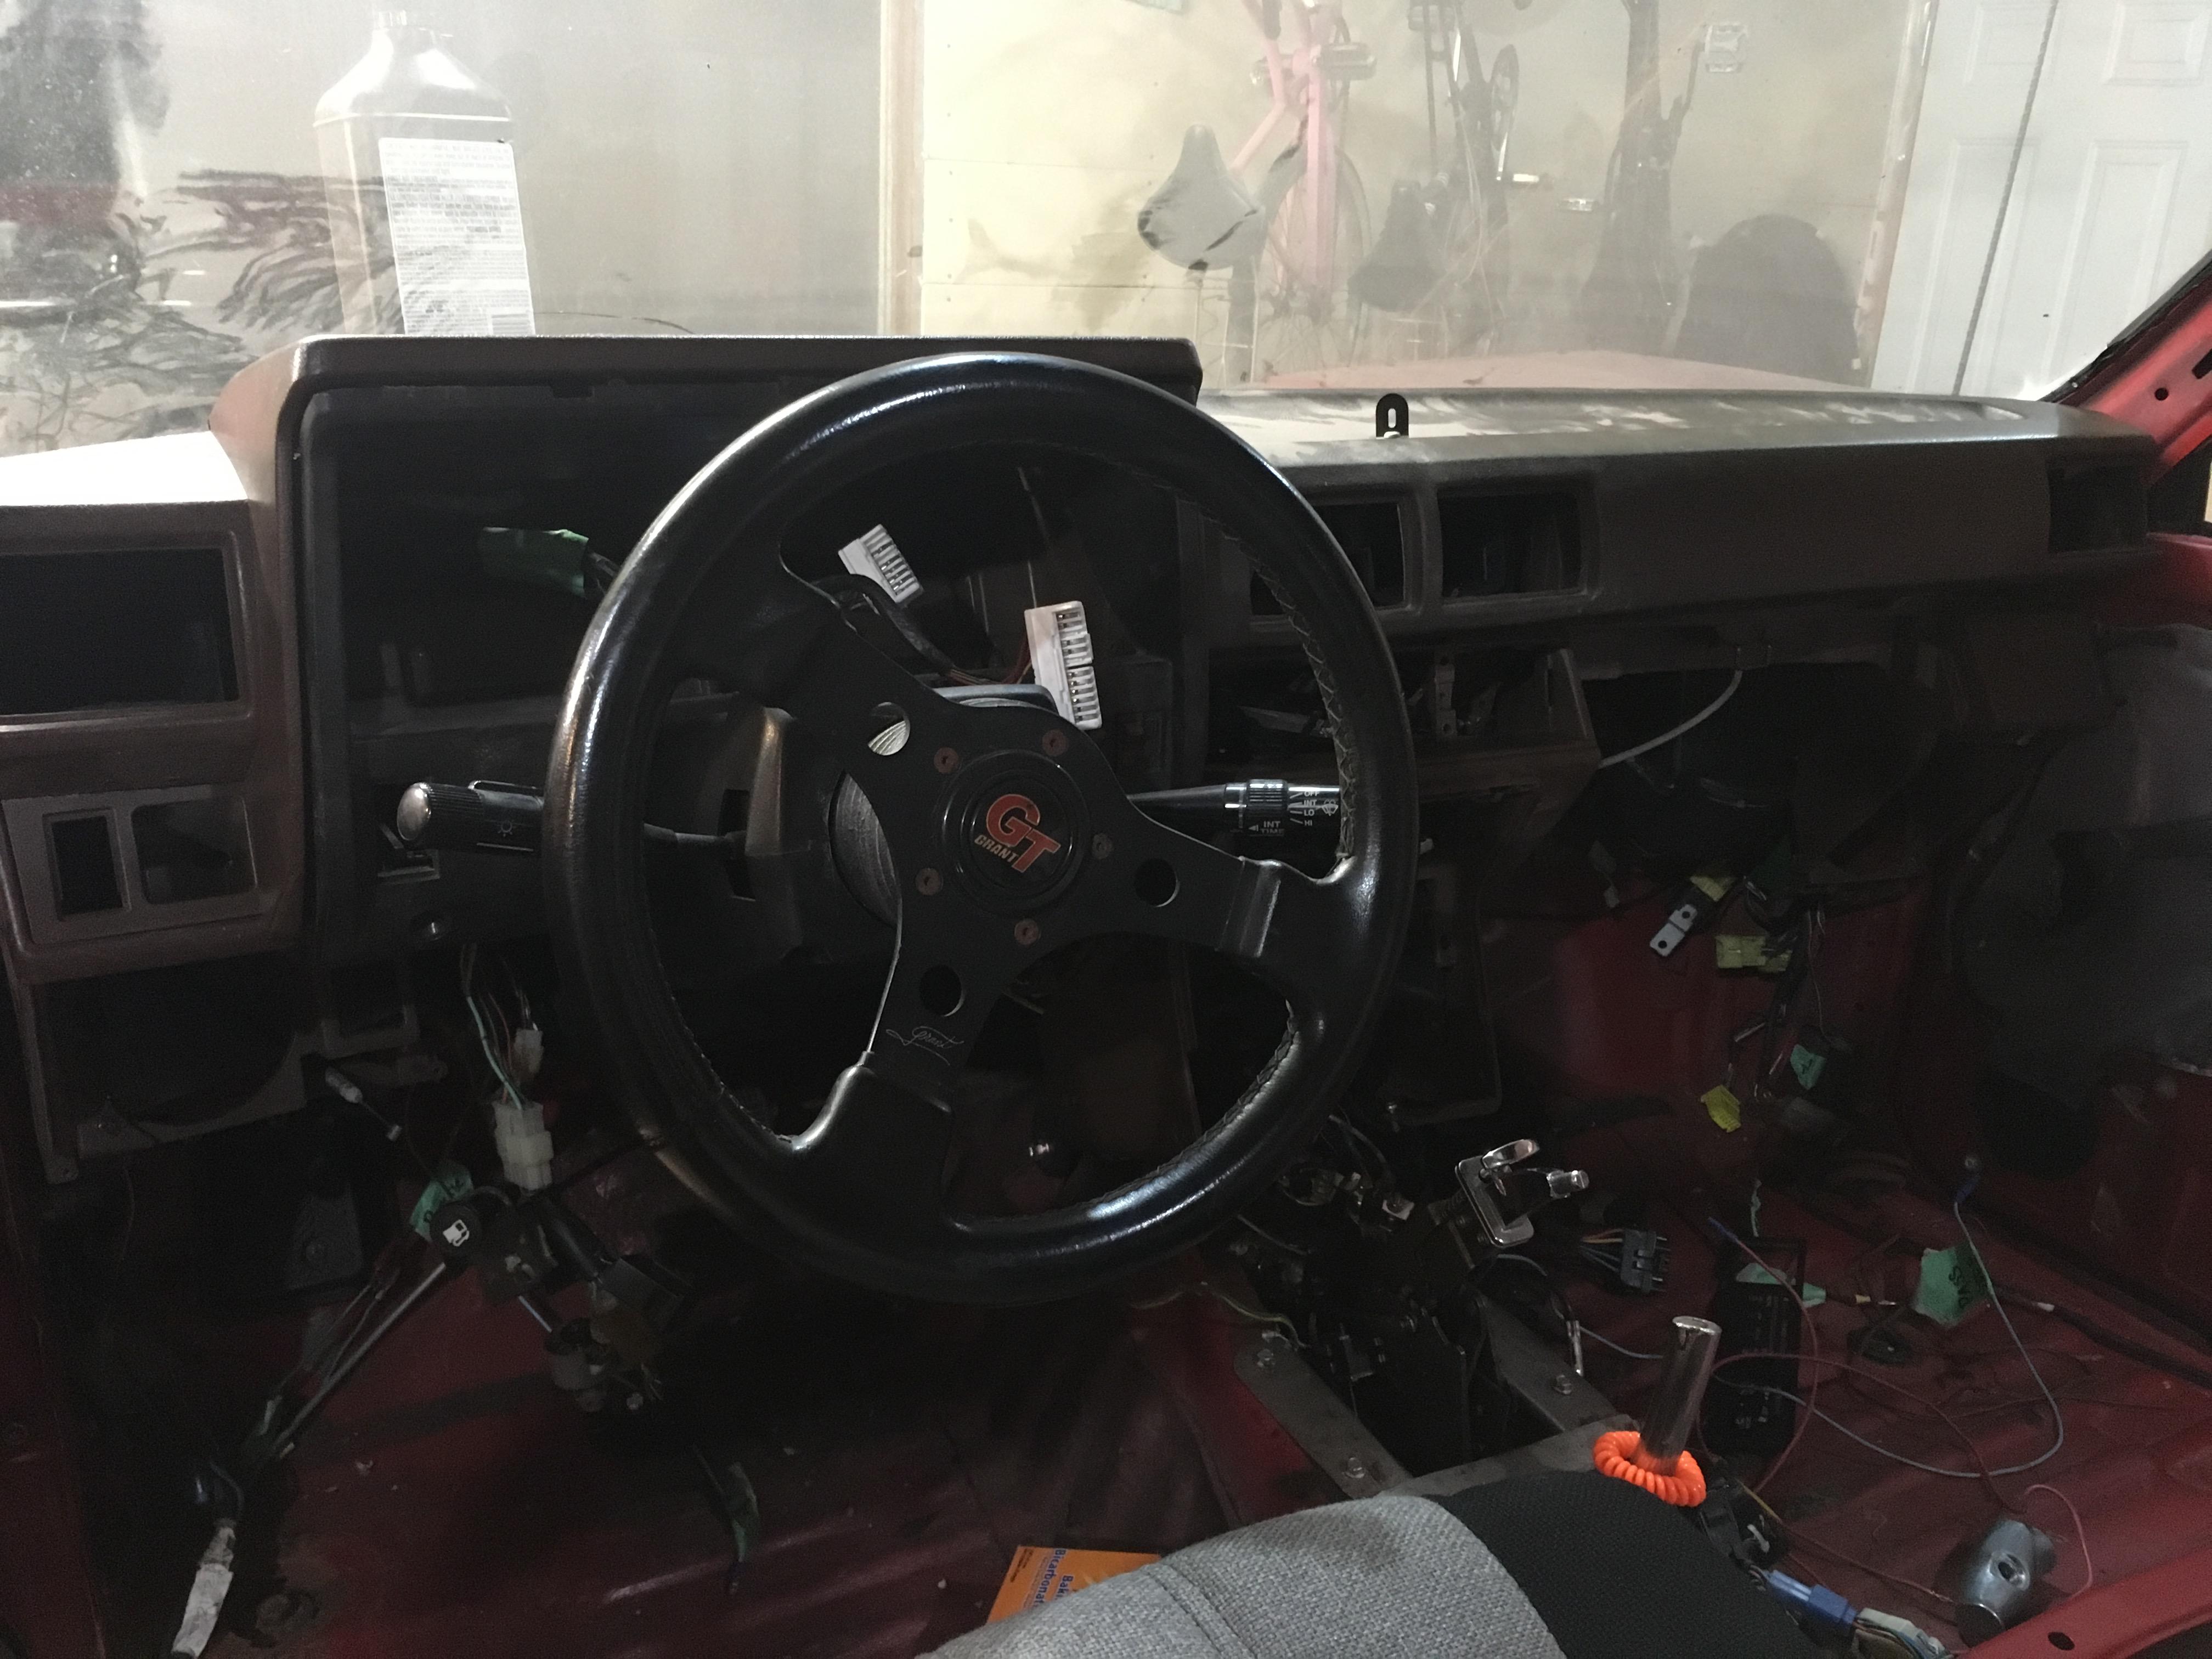
Tonight I got a new horn wired in, traced a ground fault for it behind the steering wheel, and proved fully functional.
Replaced a broken side mirror with a cheap rockauto replacement.
Assembled the new fuel pump onto the pump hanger, and dropped it into the new tank.
After that milestone, beer and socials took over snd progress stopped. But a great night in the shop regardless as more items were crossed off the list than were added.
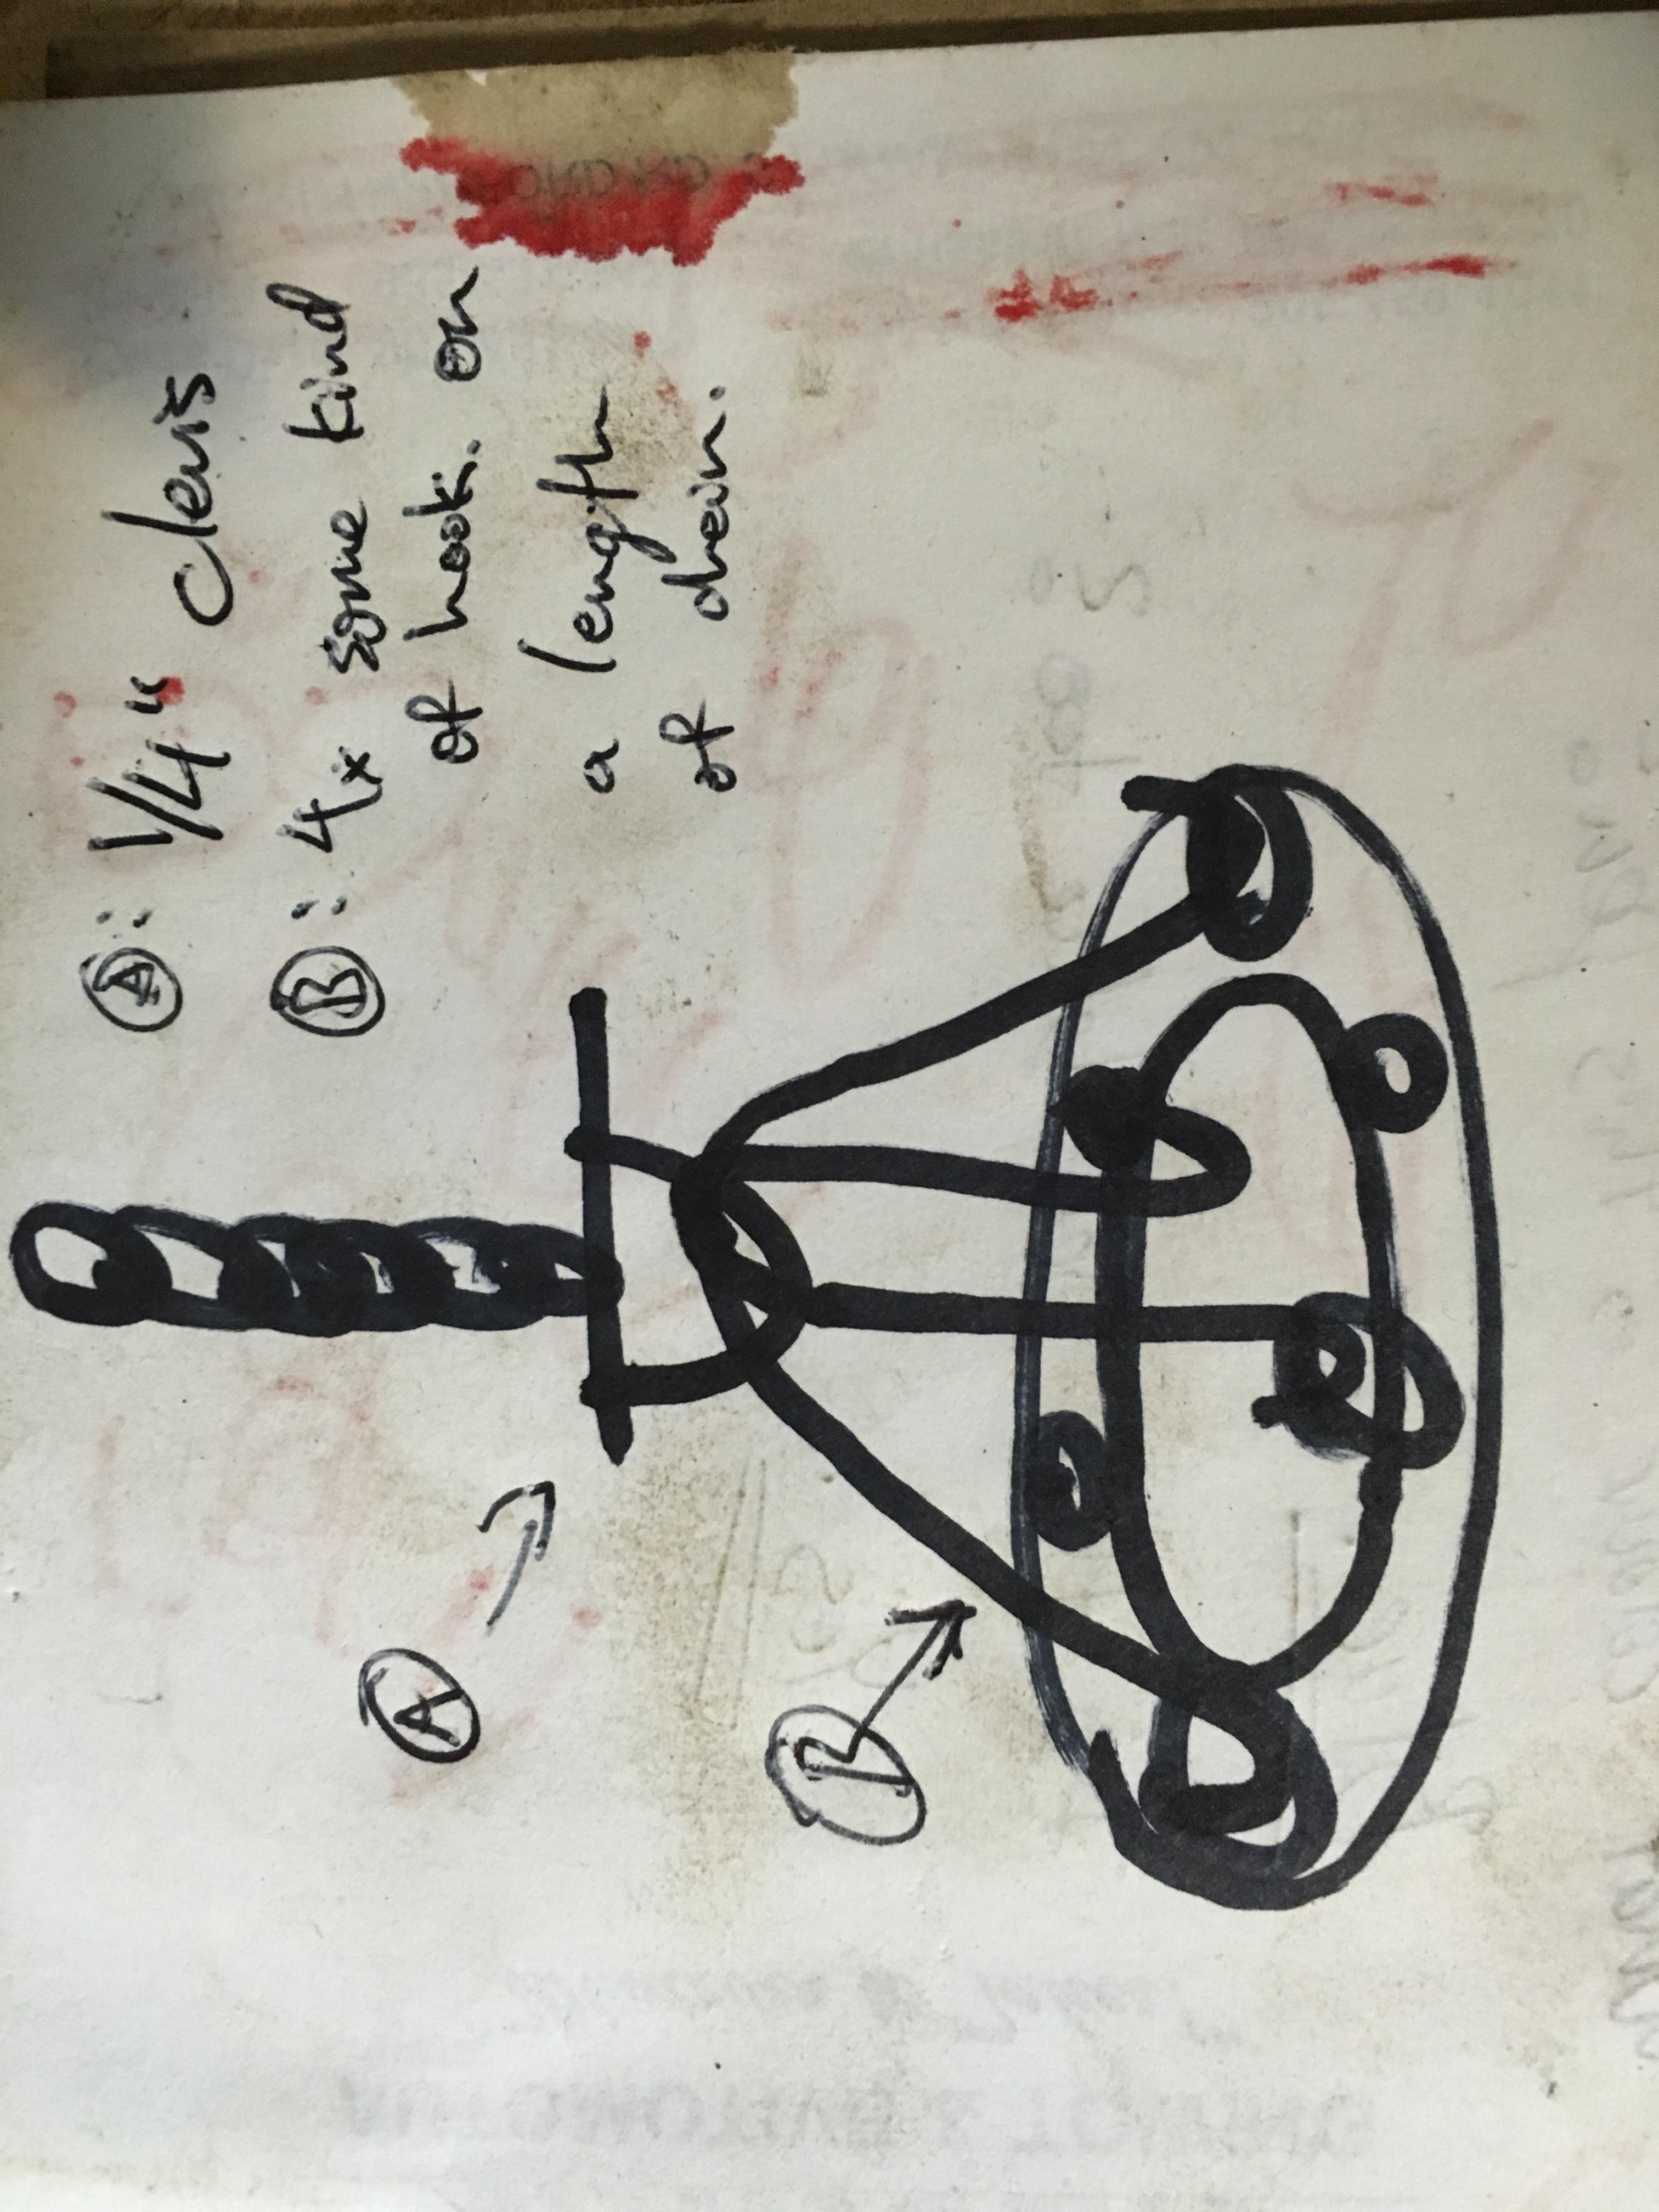
toys-n-yotasKeymasterHey Finn, you’re right on the money that’s bleeding on that paper, however its Red Sharpie, not life juice. My girls like to draw me pictures on my note pads, so I use the backside of Artistic masterpieces for my sketches.
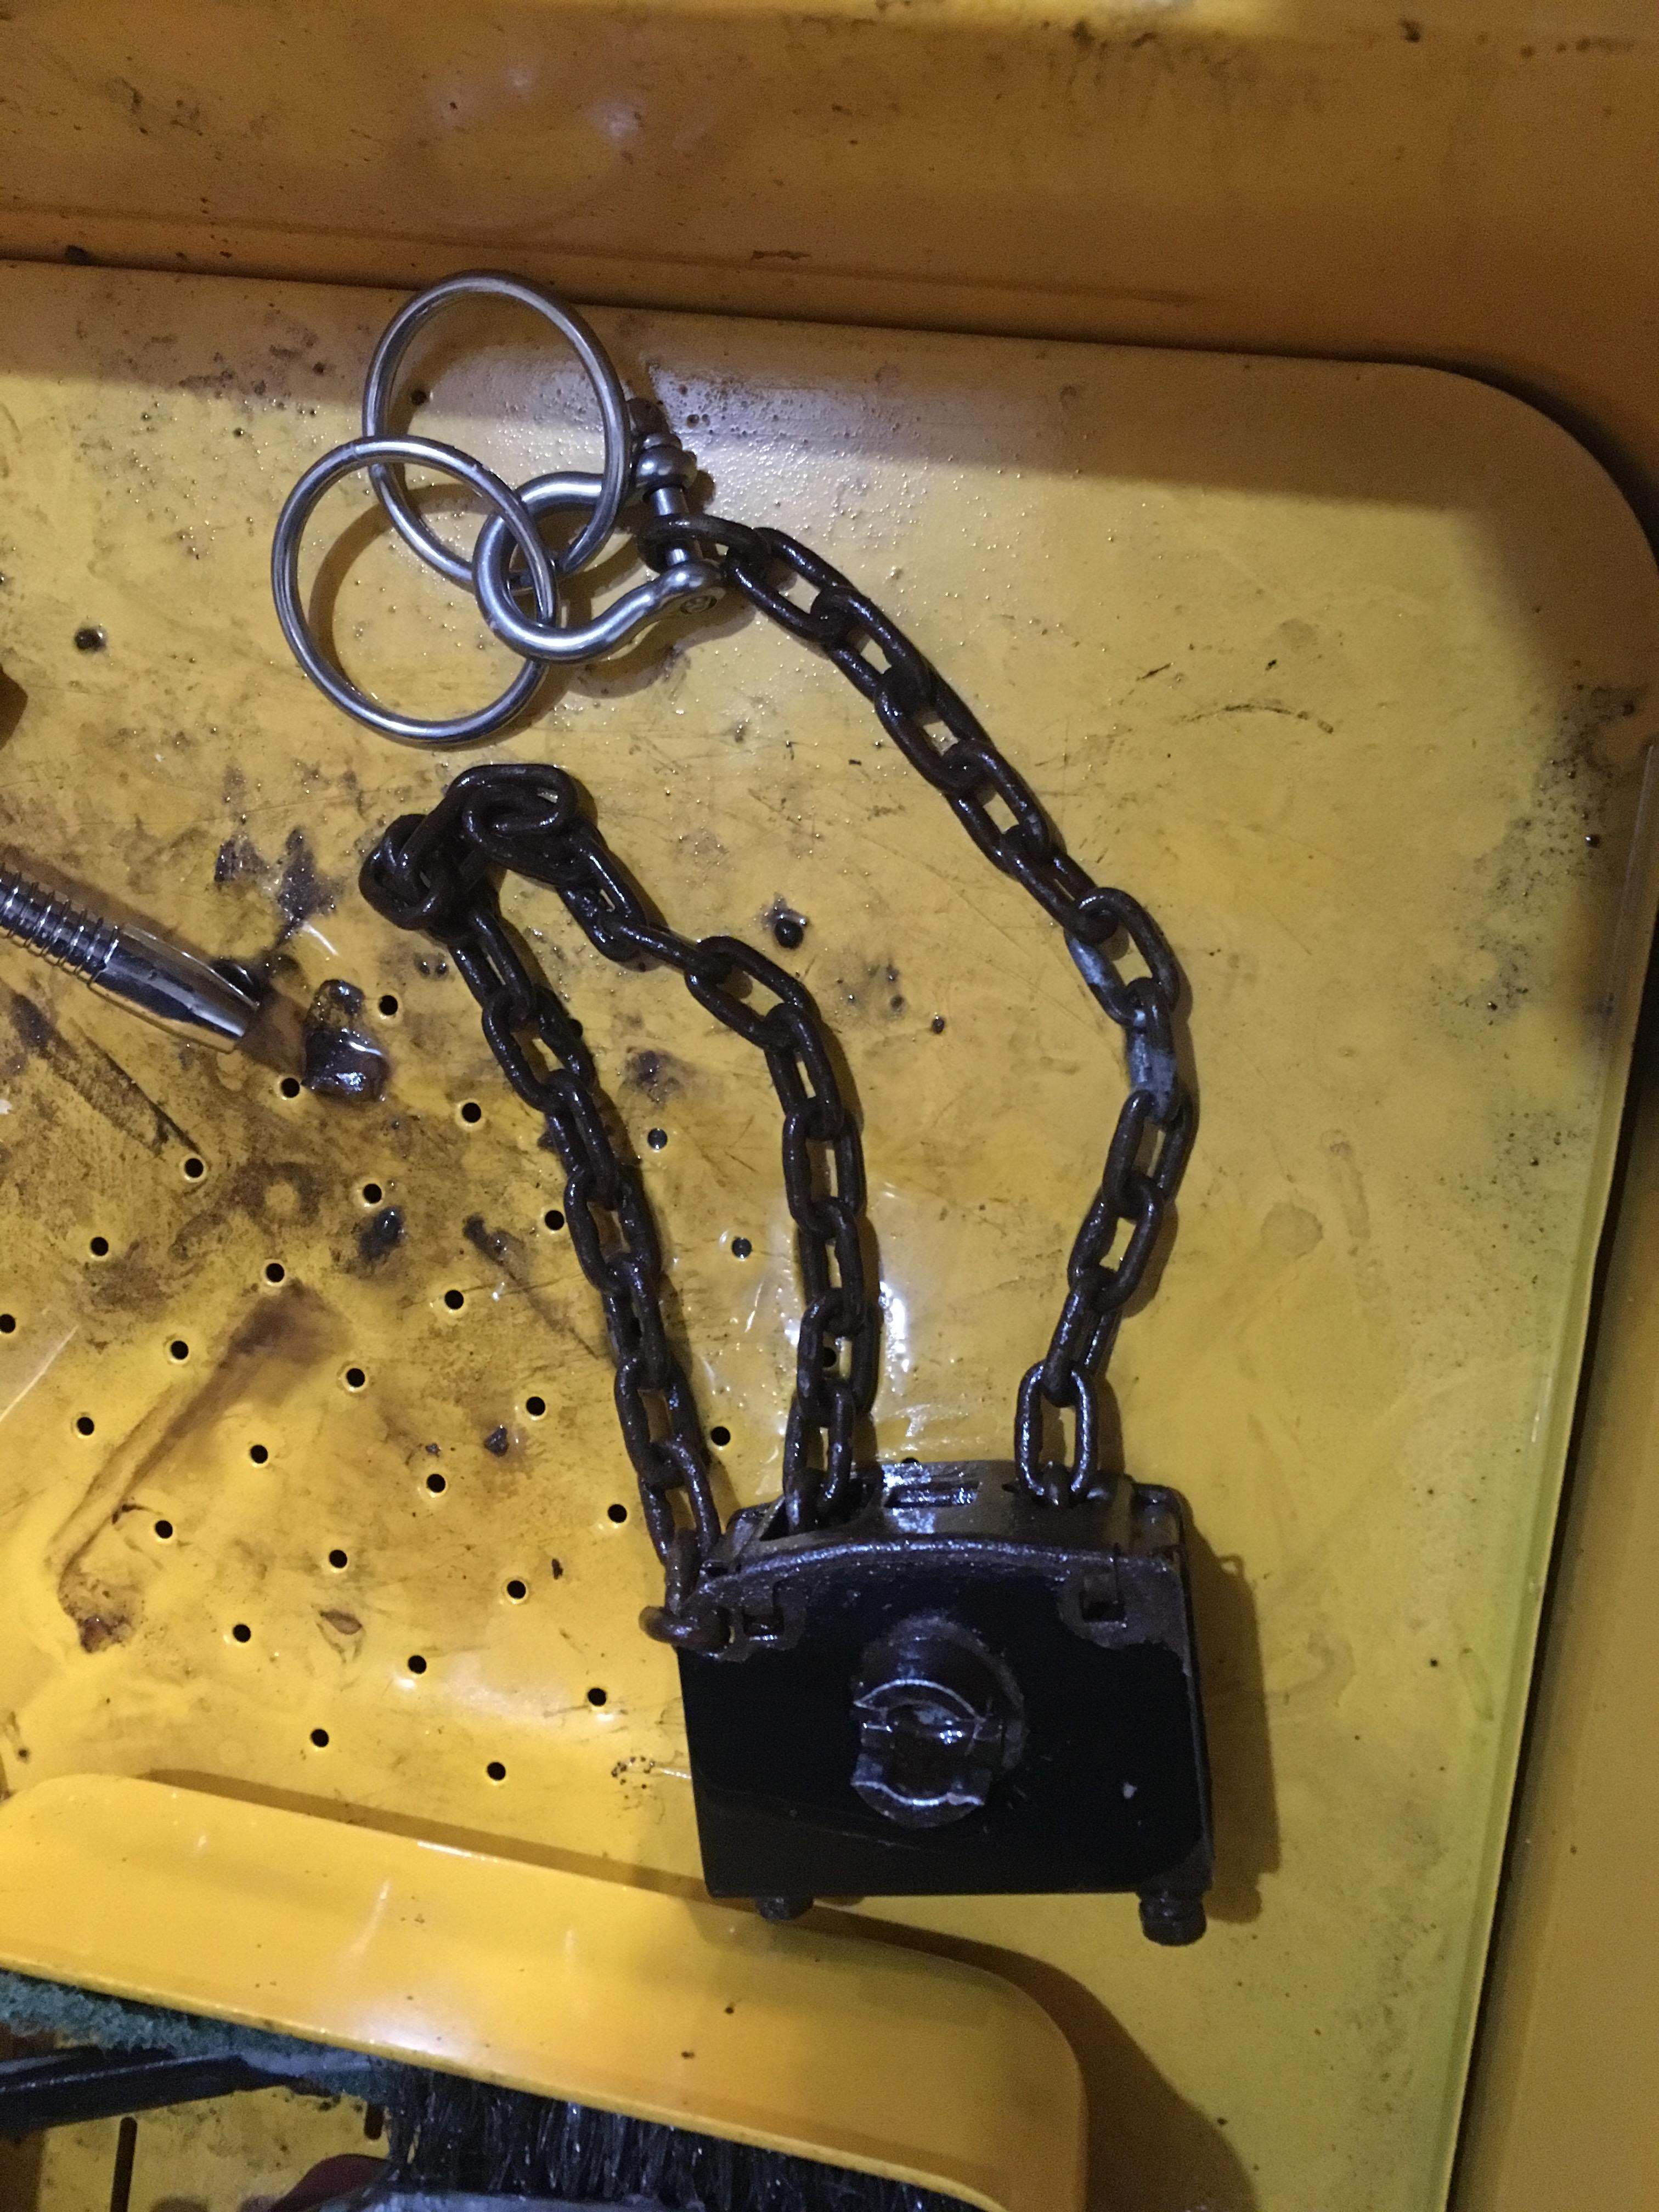
The handcuffs are to wrap through the D-window of spare tire. The original hoist chain had been cut as it was partially seized with old grimey grease.
I am pushing hard to have Redee at the M&G. Pick up my new tires a day next week, maybe Thursday. My task list is still pretty big, but getting nuch closer.
- Brakes: fill with fluid, pray for no leaks, bleed air out
- Fuel: replace hard lines, hang tank & skid, assemble & install new in-tank pump
- Wiring: neutral safety switch, horn, secure EVERYTHING under the hood, reconnect everything under the dash
- Interior: install dash & gauges, scrub some yucky mouse poop from a tote full of interior odds and ends, driver / pass seatbelts at minimum. Radio would be nice, but not essential for safety
- safety & appraisal
- insurance
- Test drive
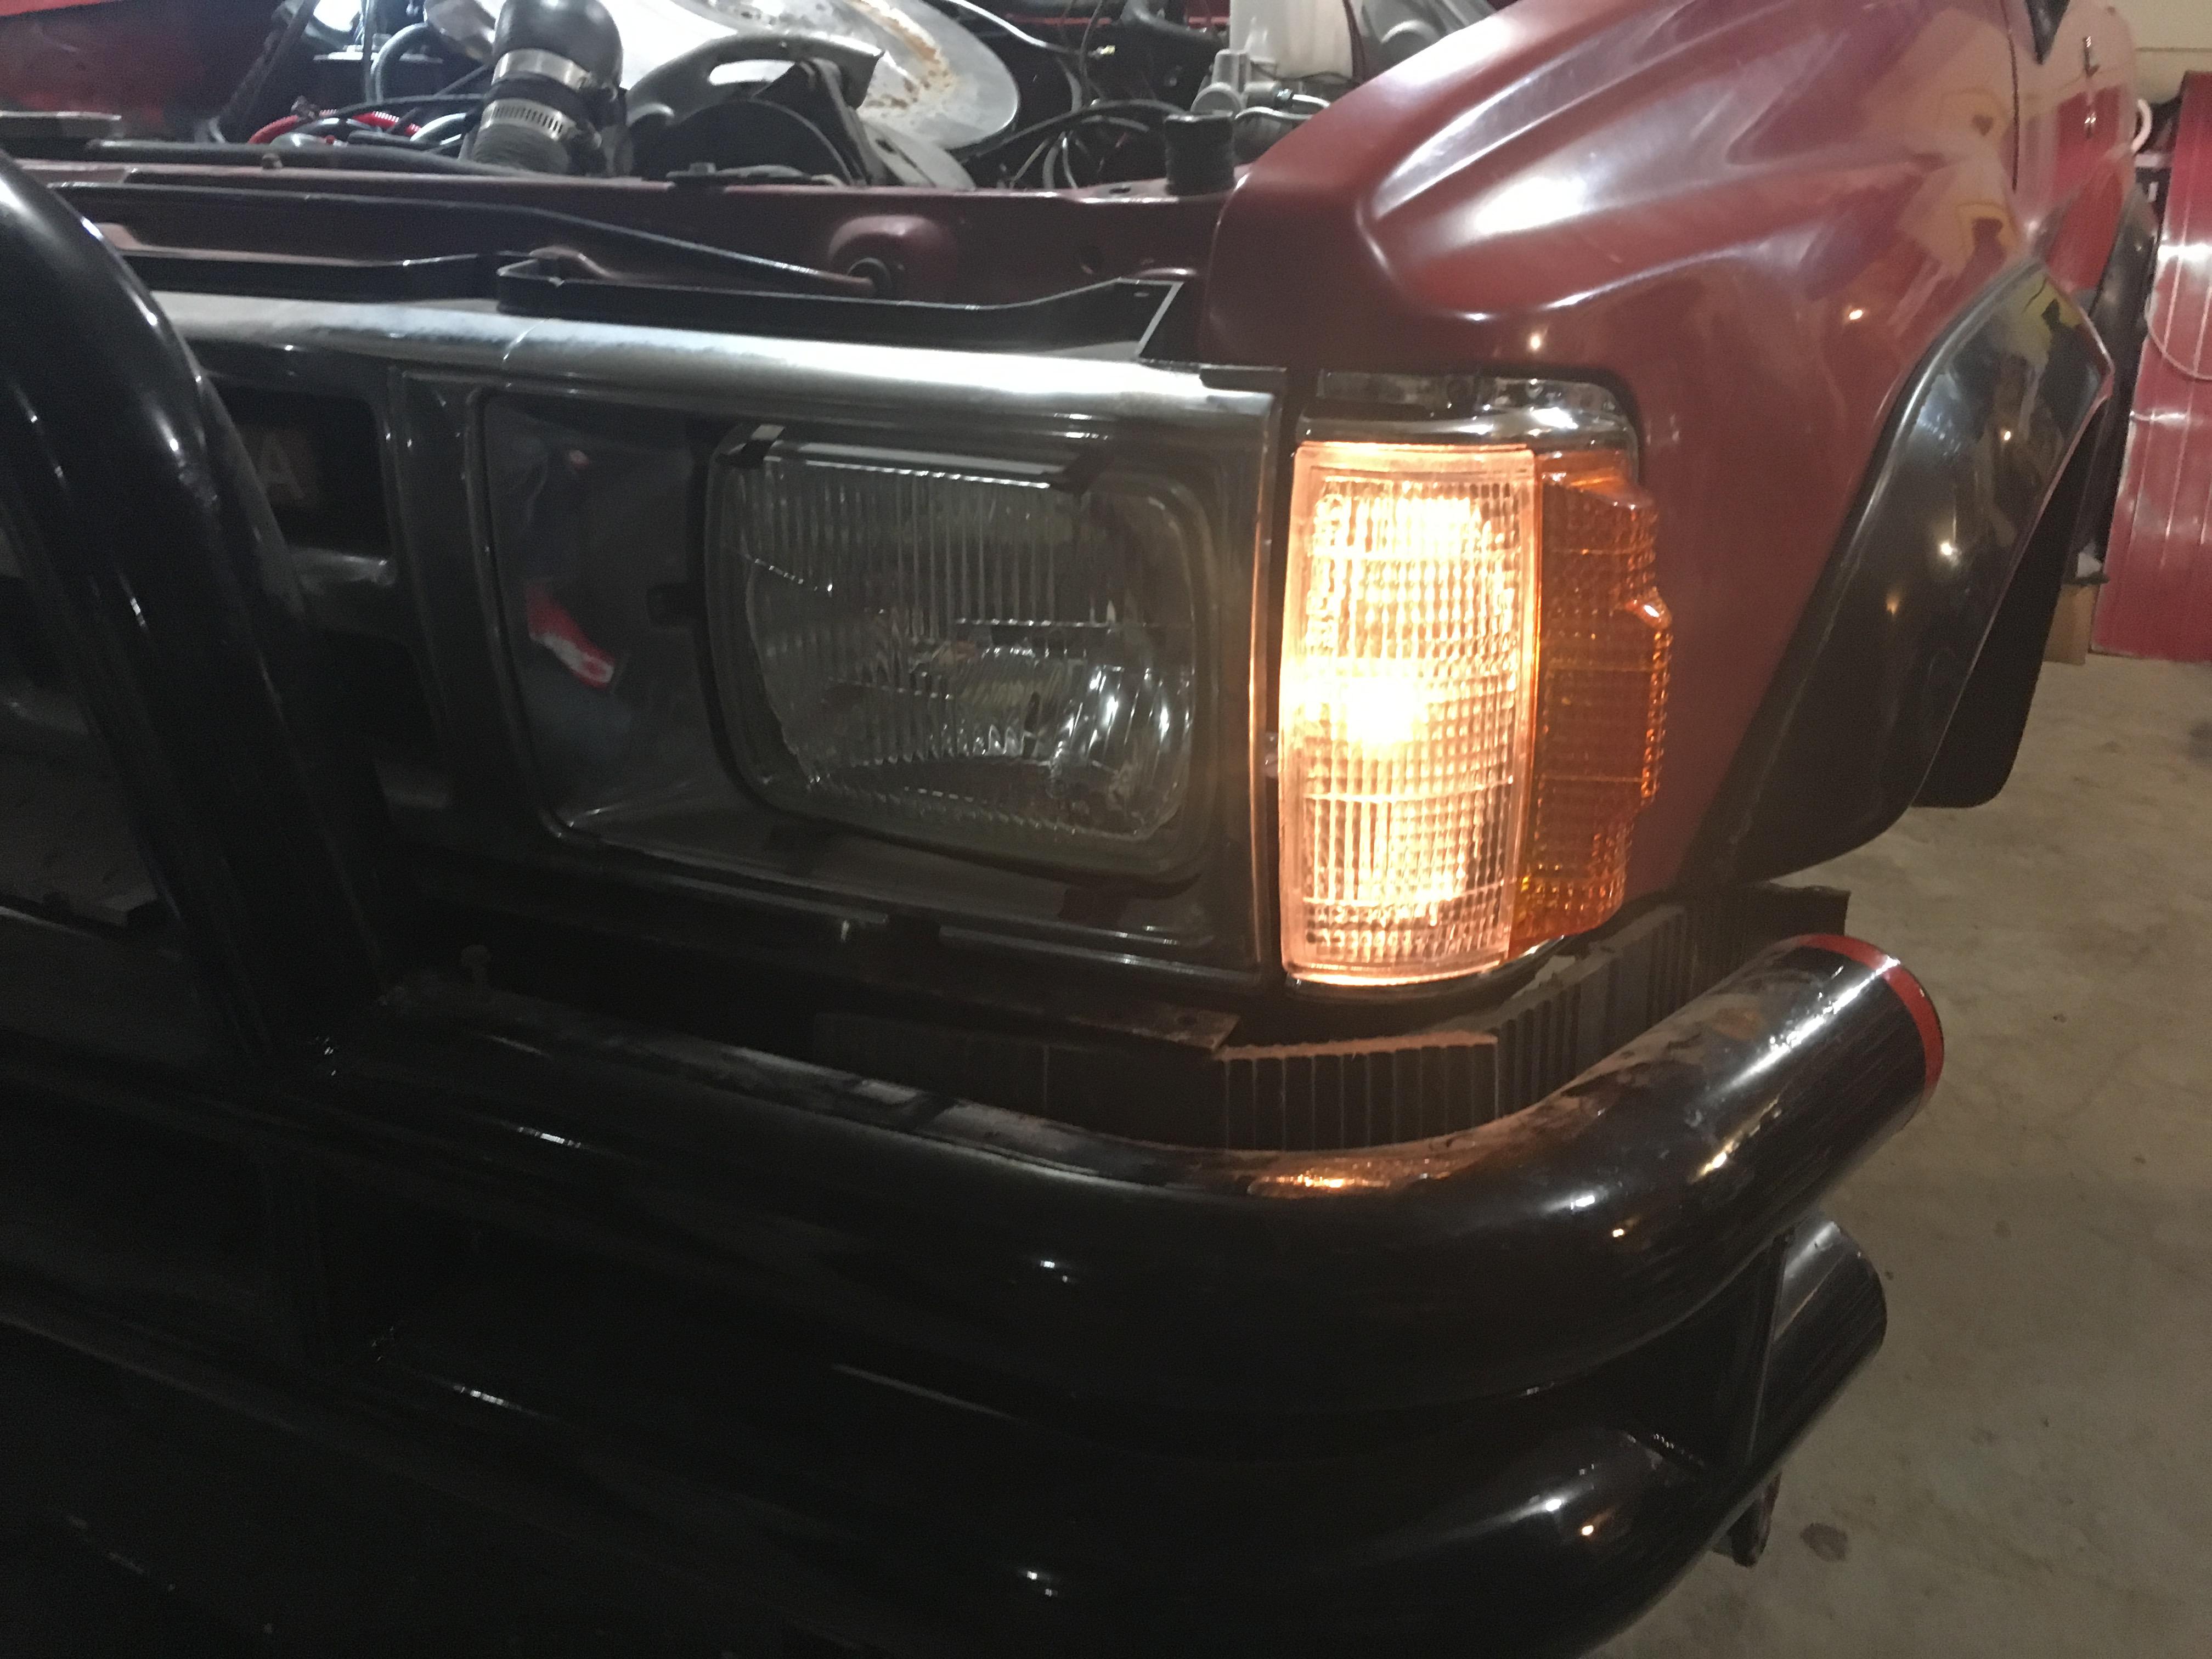
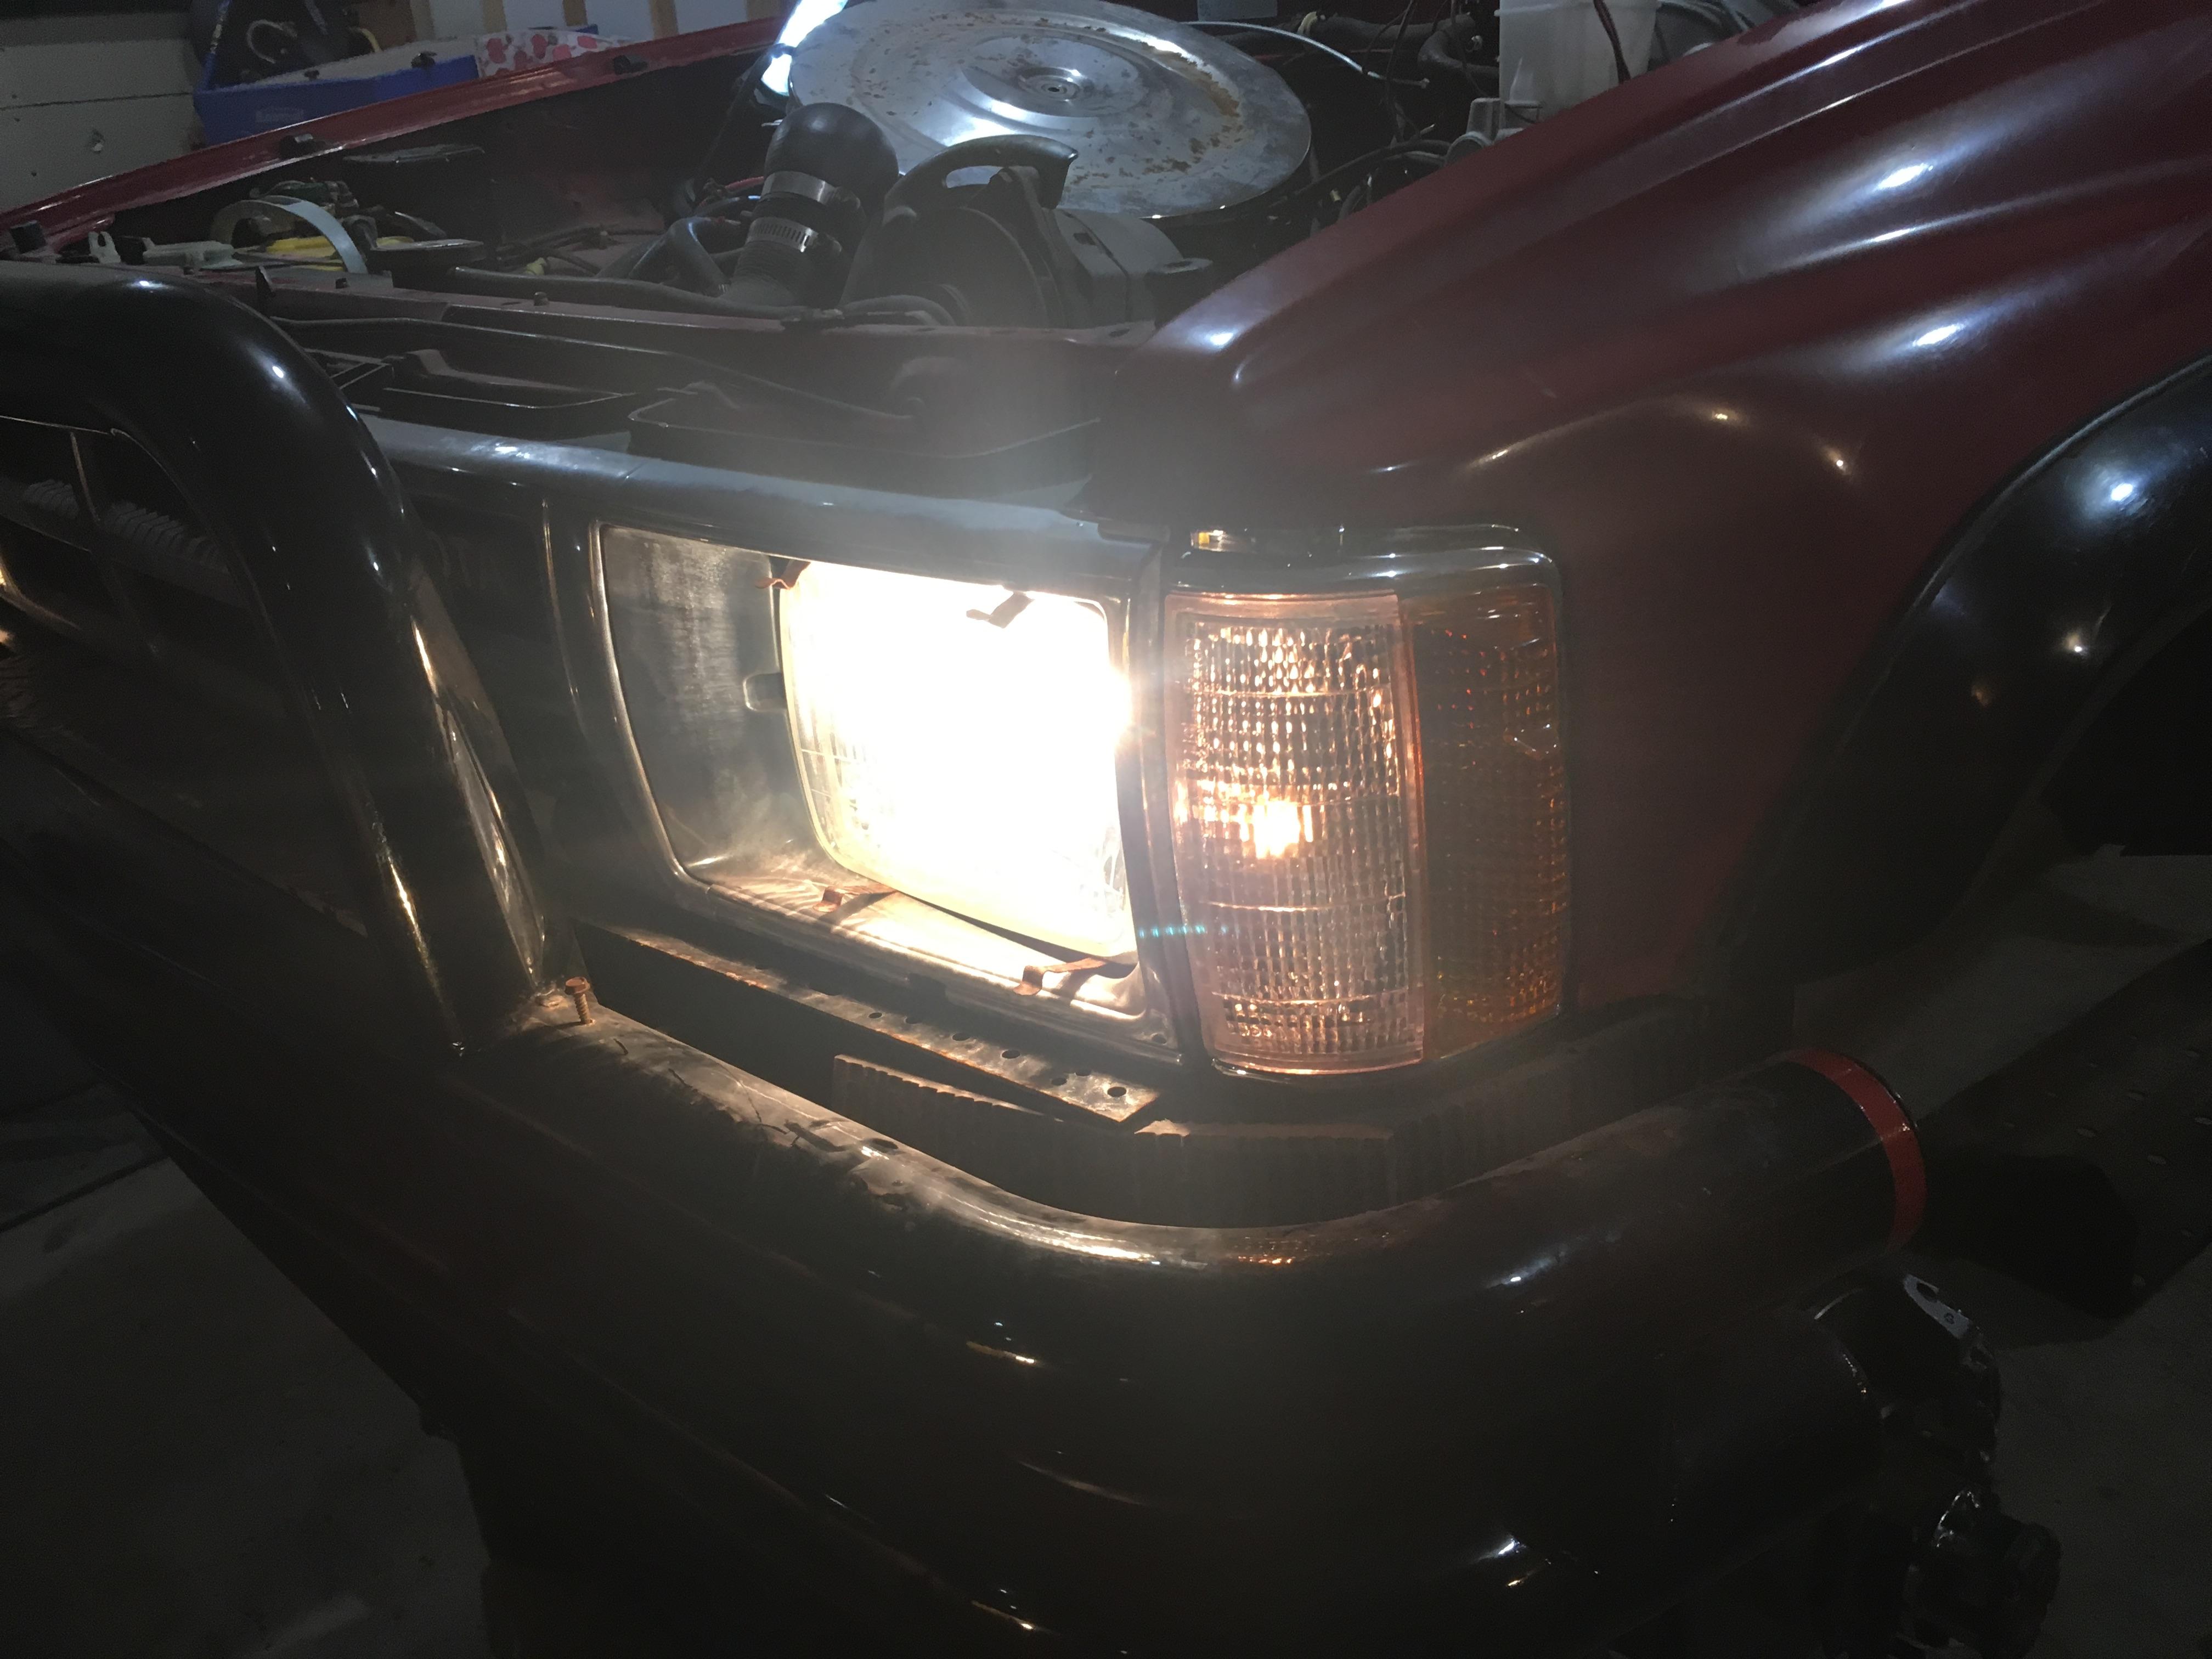
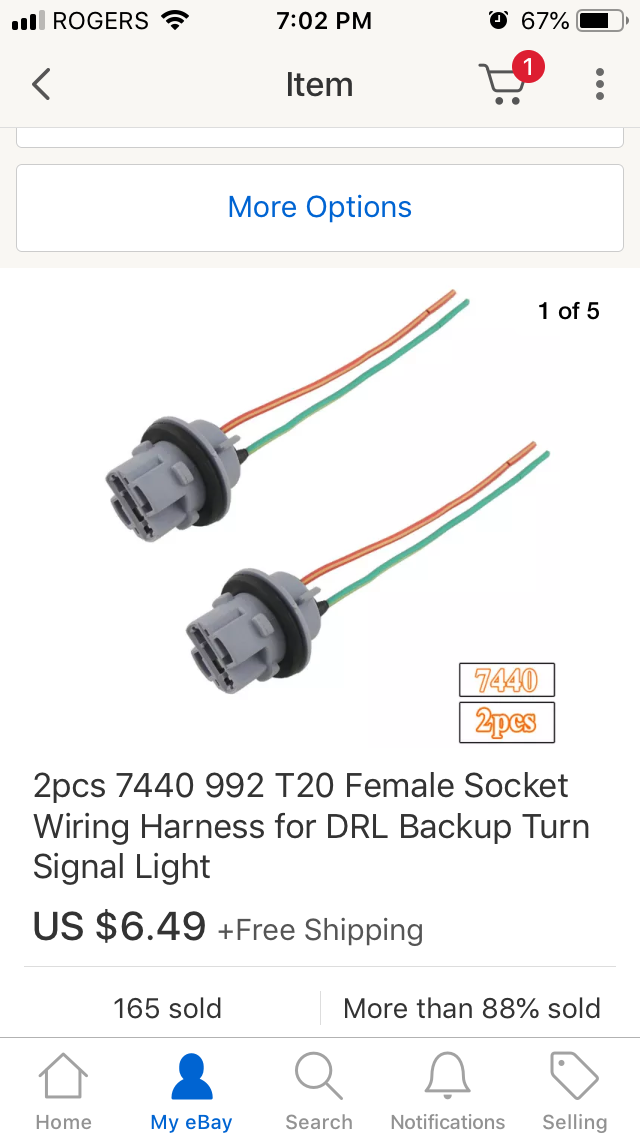
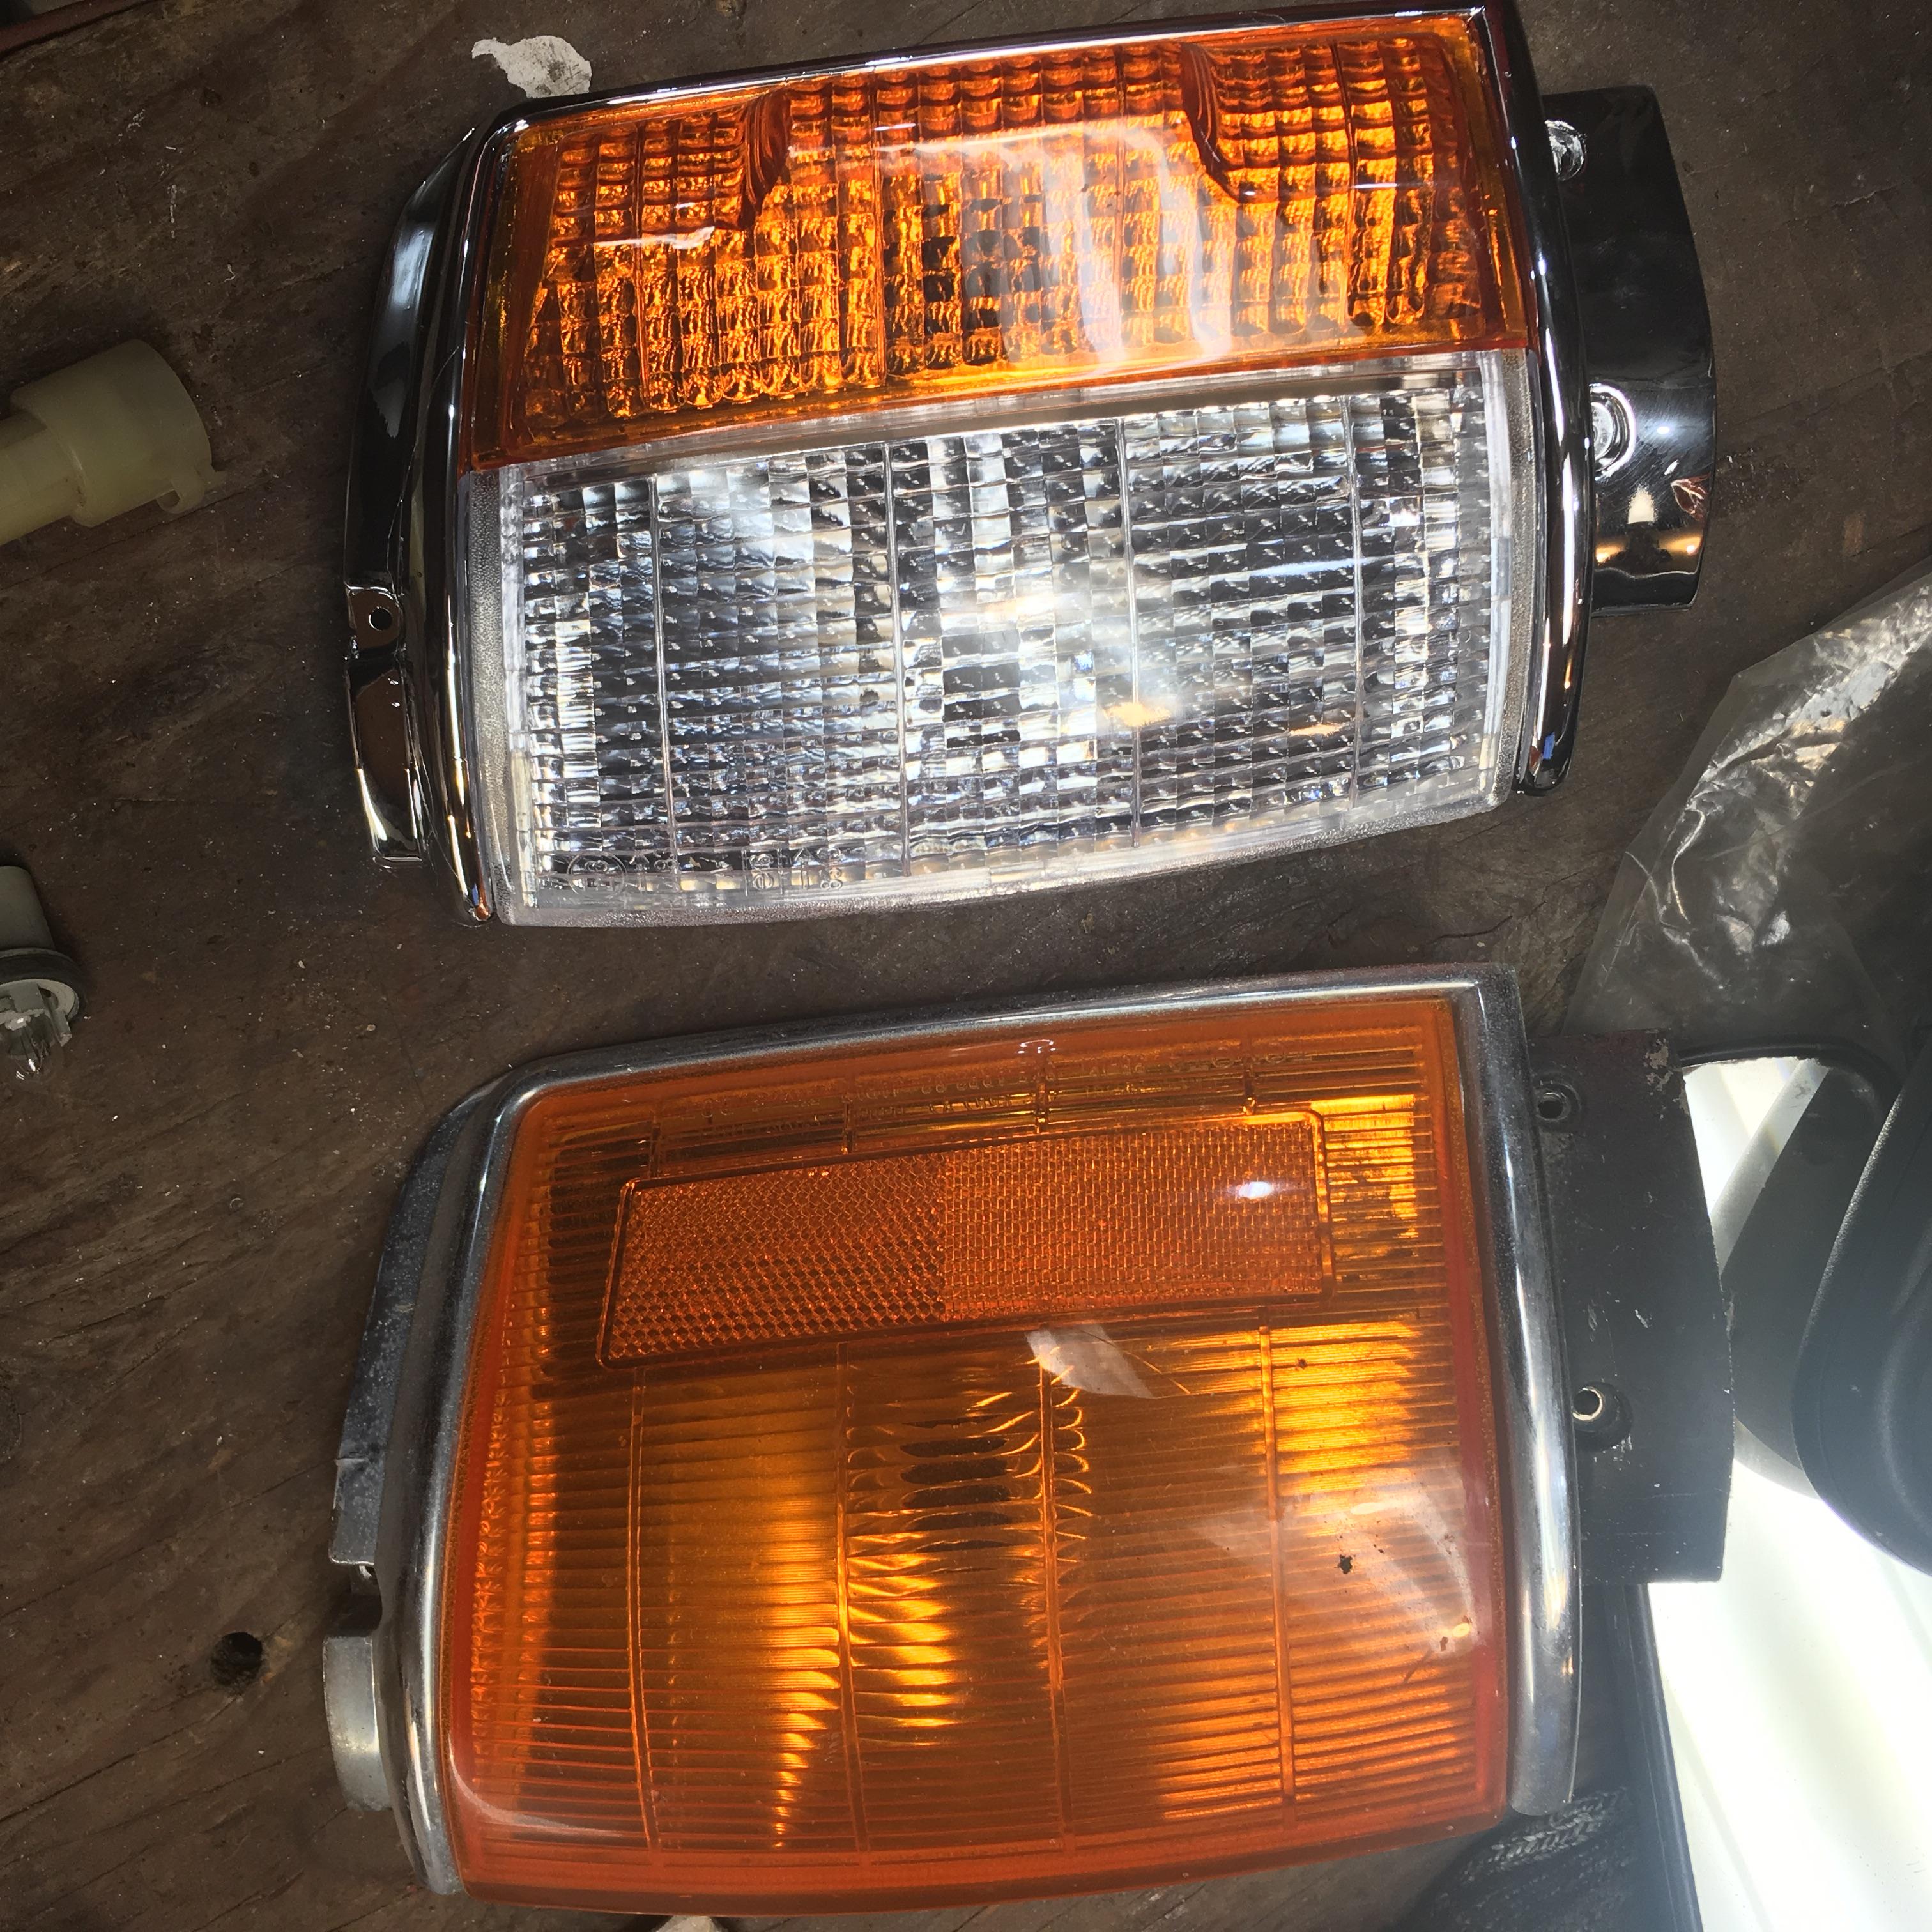
Ps. The ebay combo parking light / turn signal fit pretty well. $40 well spent.
toys-n-yotasKeymasterEvan, thanks for the picture! I’m gonna return the horn I bought yesterday to try to find one that will clip directly into the OEM harness. I saw that style horn hanging on the shelf, but grabbed a different “Universal” one instead.
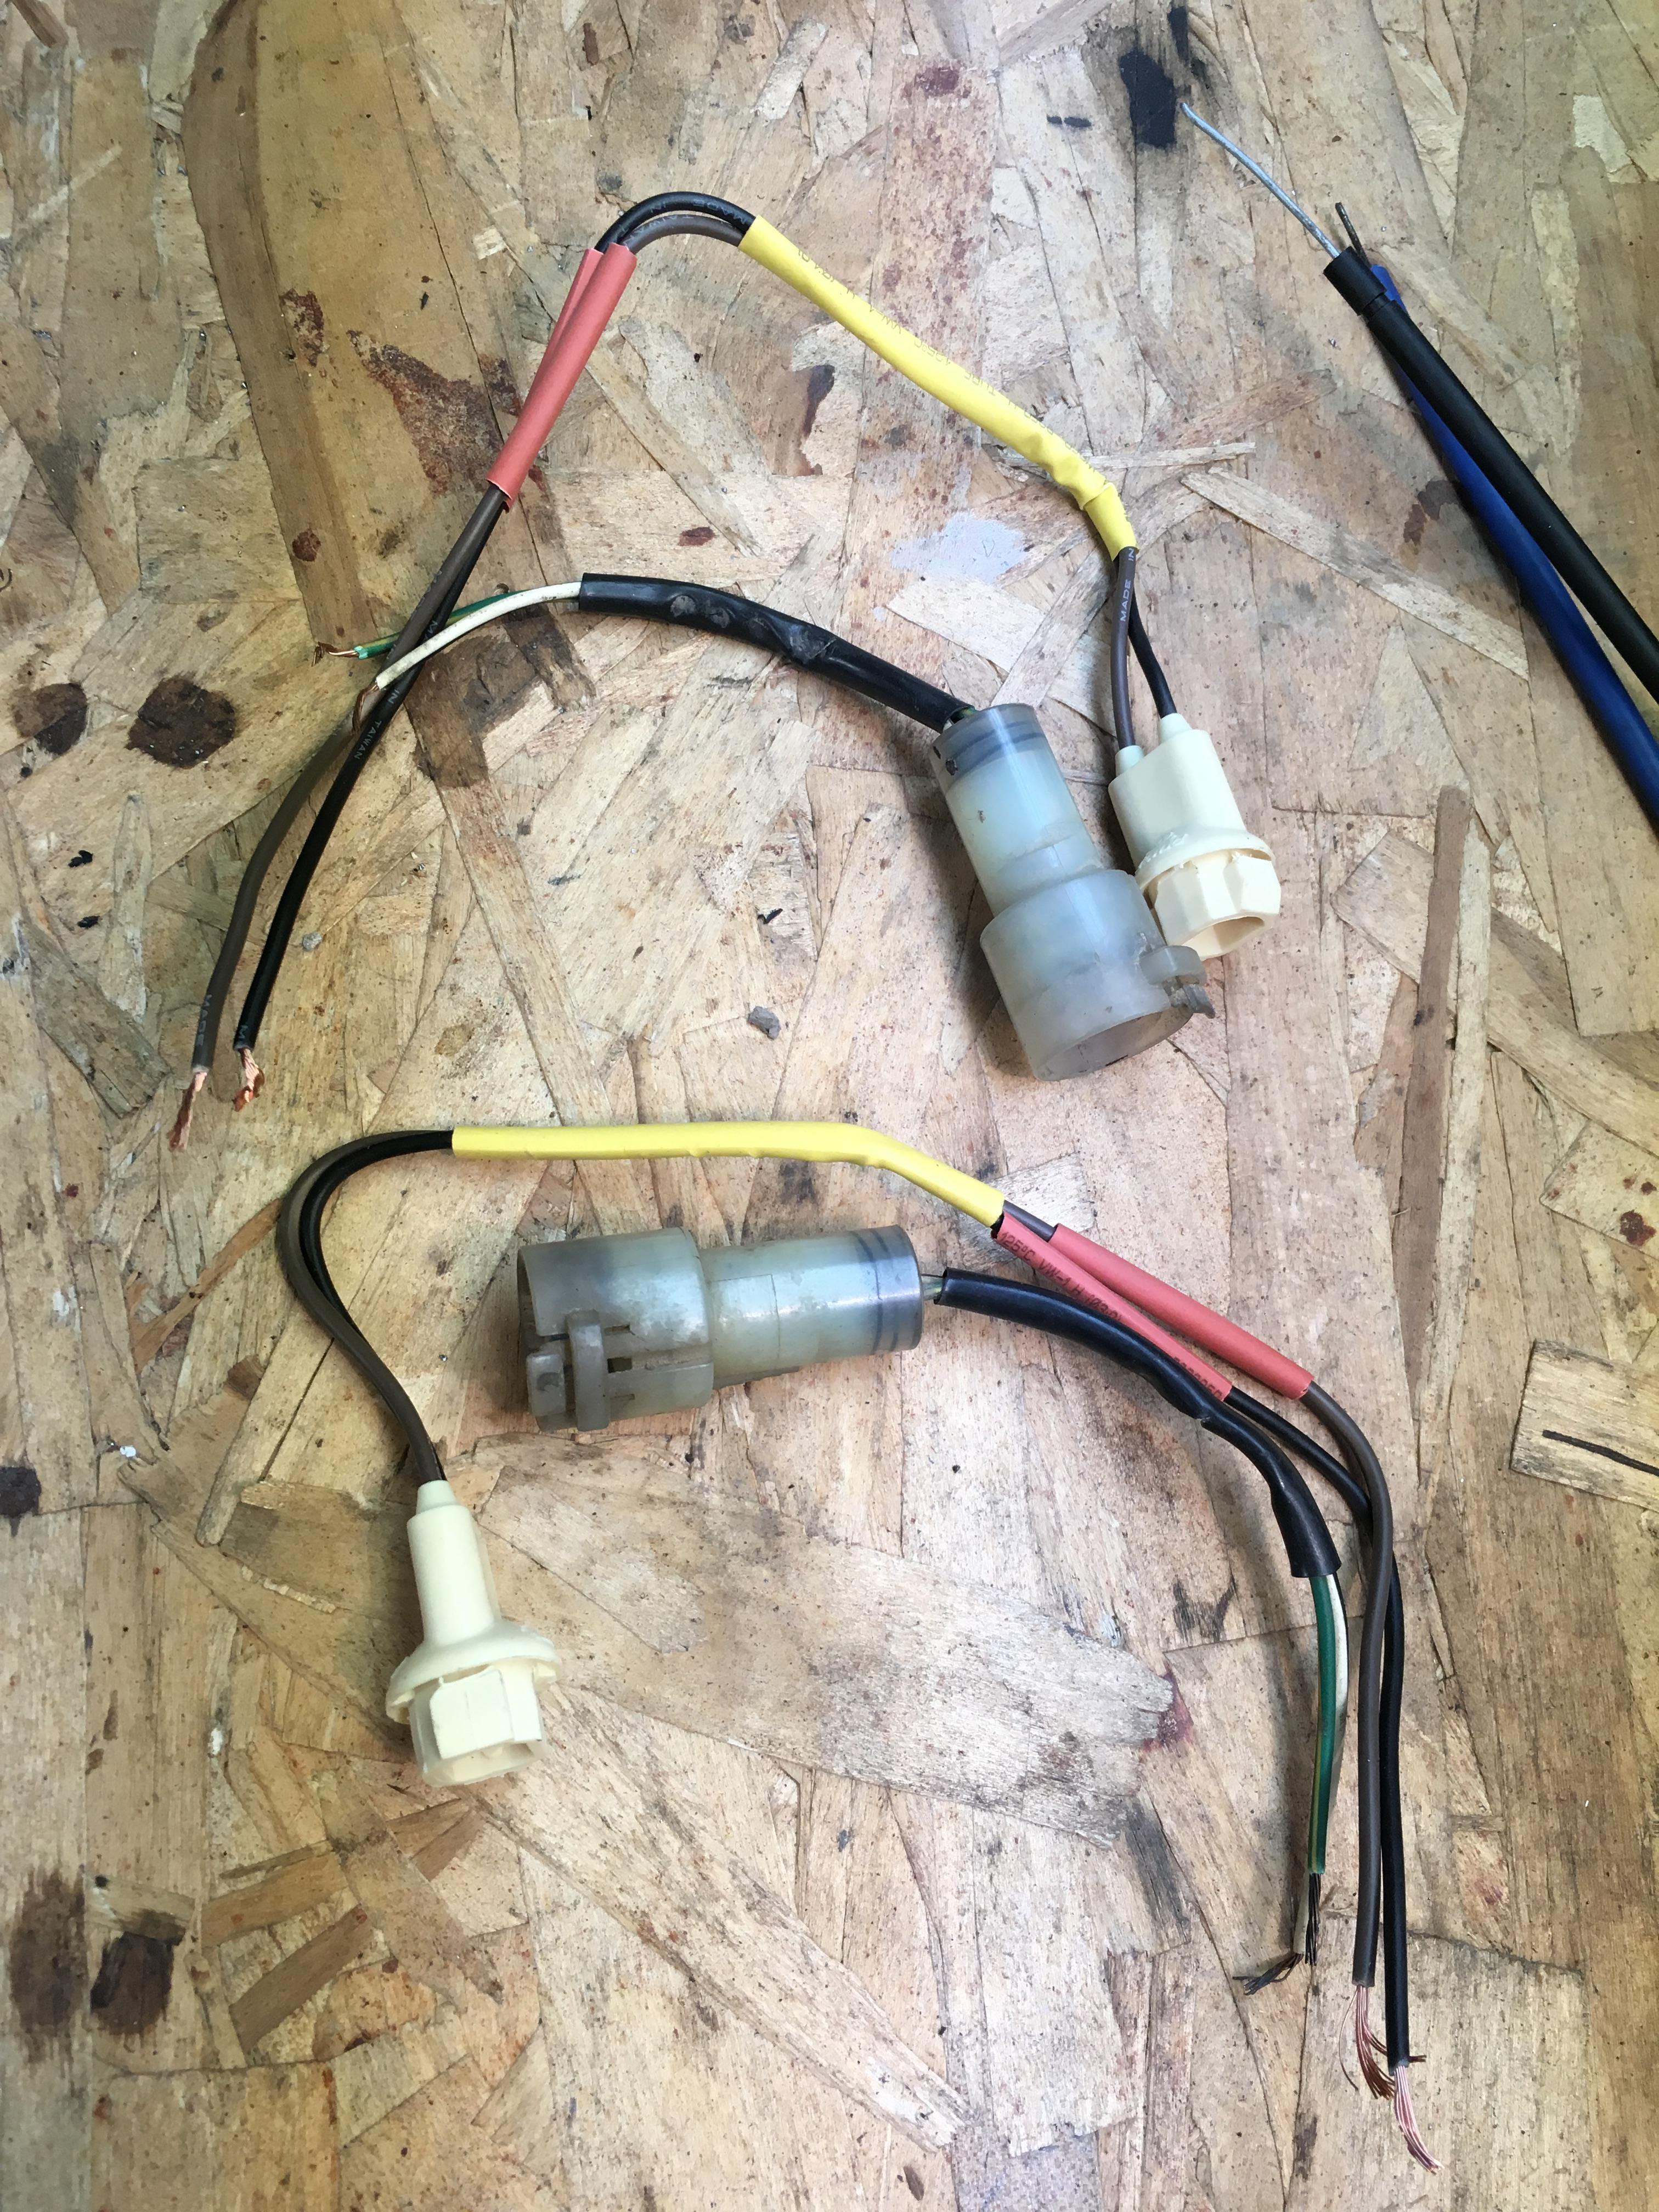
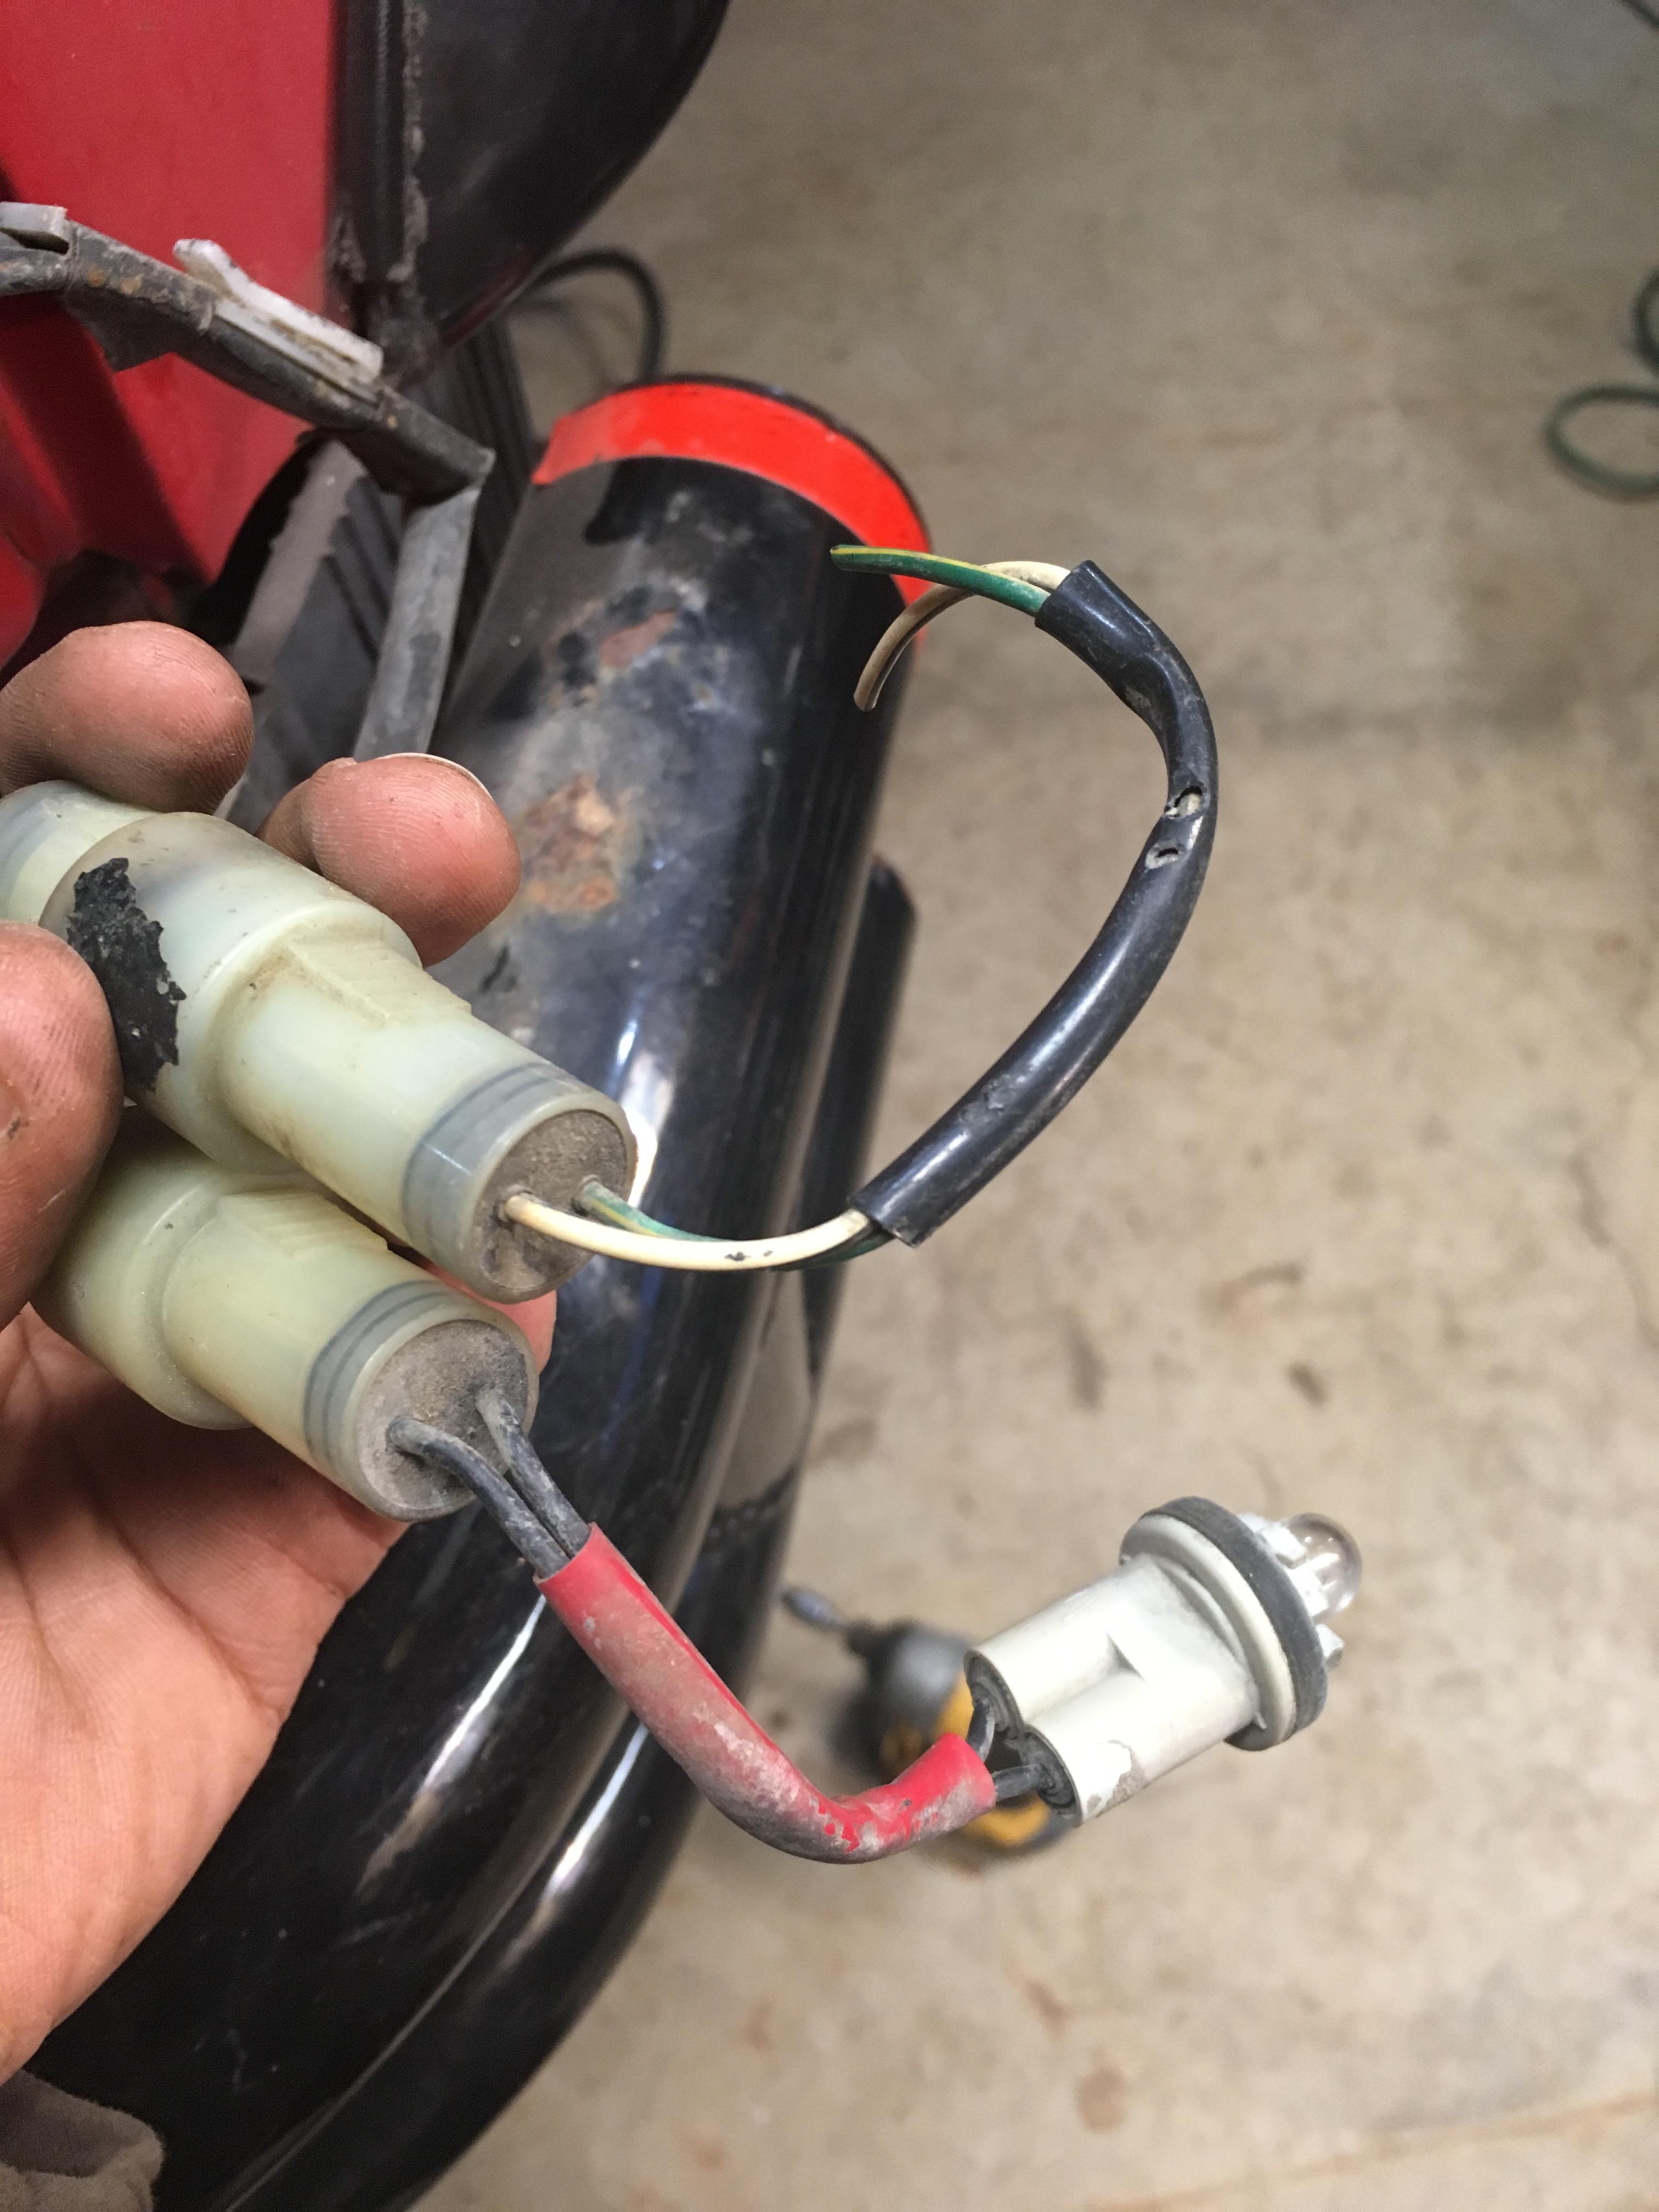
Also, my buddy James used his awesome soldering skills to connect my OEM harness to the generic fit 194 bulb holder. 10 more mins work and I can completely cross that item off my list.
Heading to visit my buddy Eric @ Bramalea Tire in Brampton for a fresh set of 33×12.50×15 Duratracs! Love those tires. I was considering MT/R or KM3, but I don’t want to live through Mud Tire drone in my summer cruiser. Not kind to my girlies ears, and I want them to LOVE cruising in Redee. I’ll pick up the new rubber a day next week. Tire shop closes at 5:30, and I work till 4 everyday, an hour away. Thanks again Eric for your amazing customer service. There’s a reason He’s the only person I buy tires from.
toys-n-yotasKeymasterPictures… had a writeup lost to iphone BS. Now too unmotivated to do it over.
New tires tomorrow.
Spare tire hoist refurb 90%. Must reinstall after varsol dries, and repack with grease.
bought light bulb holders locally, will get a buddy to solder on my behalf tomorrow.
bought a horn.

 toys-n-yotasKeymaster
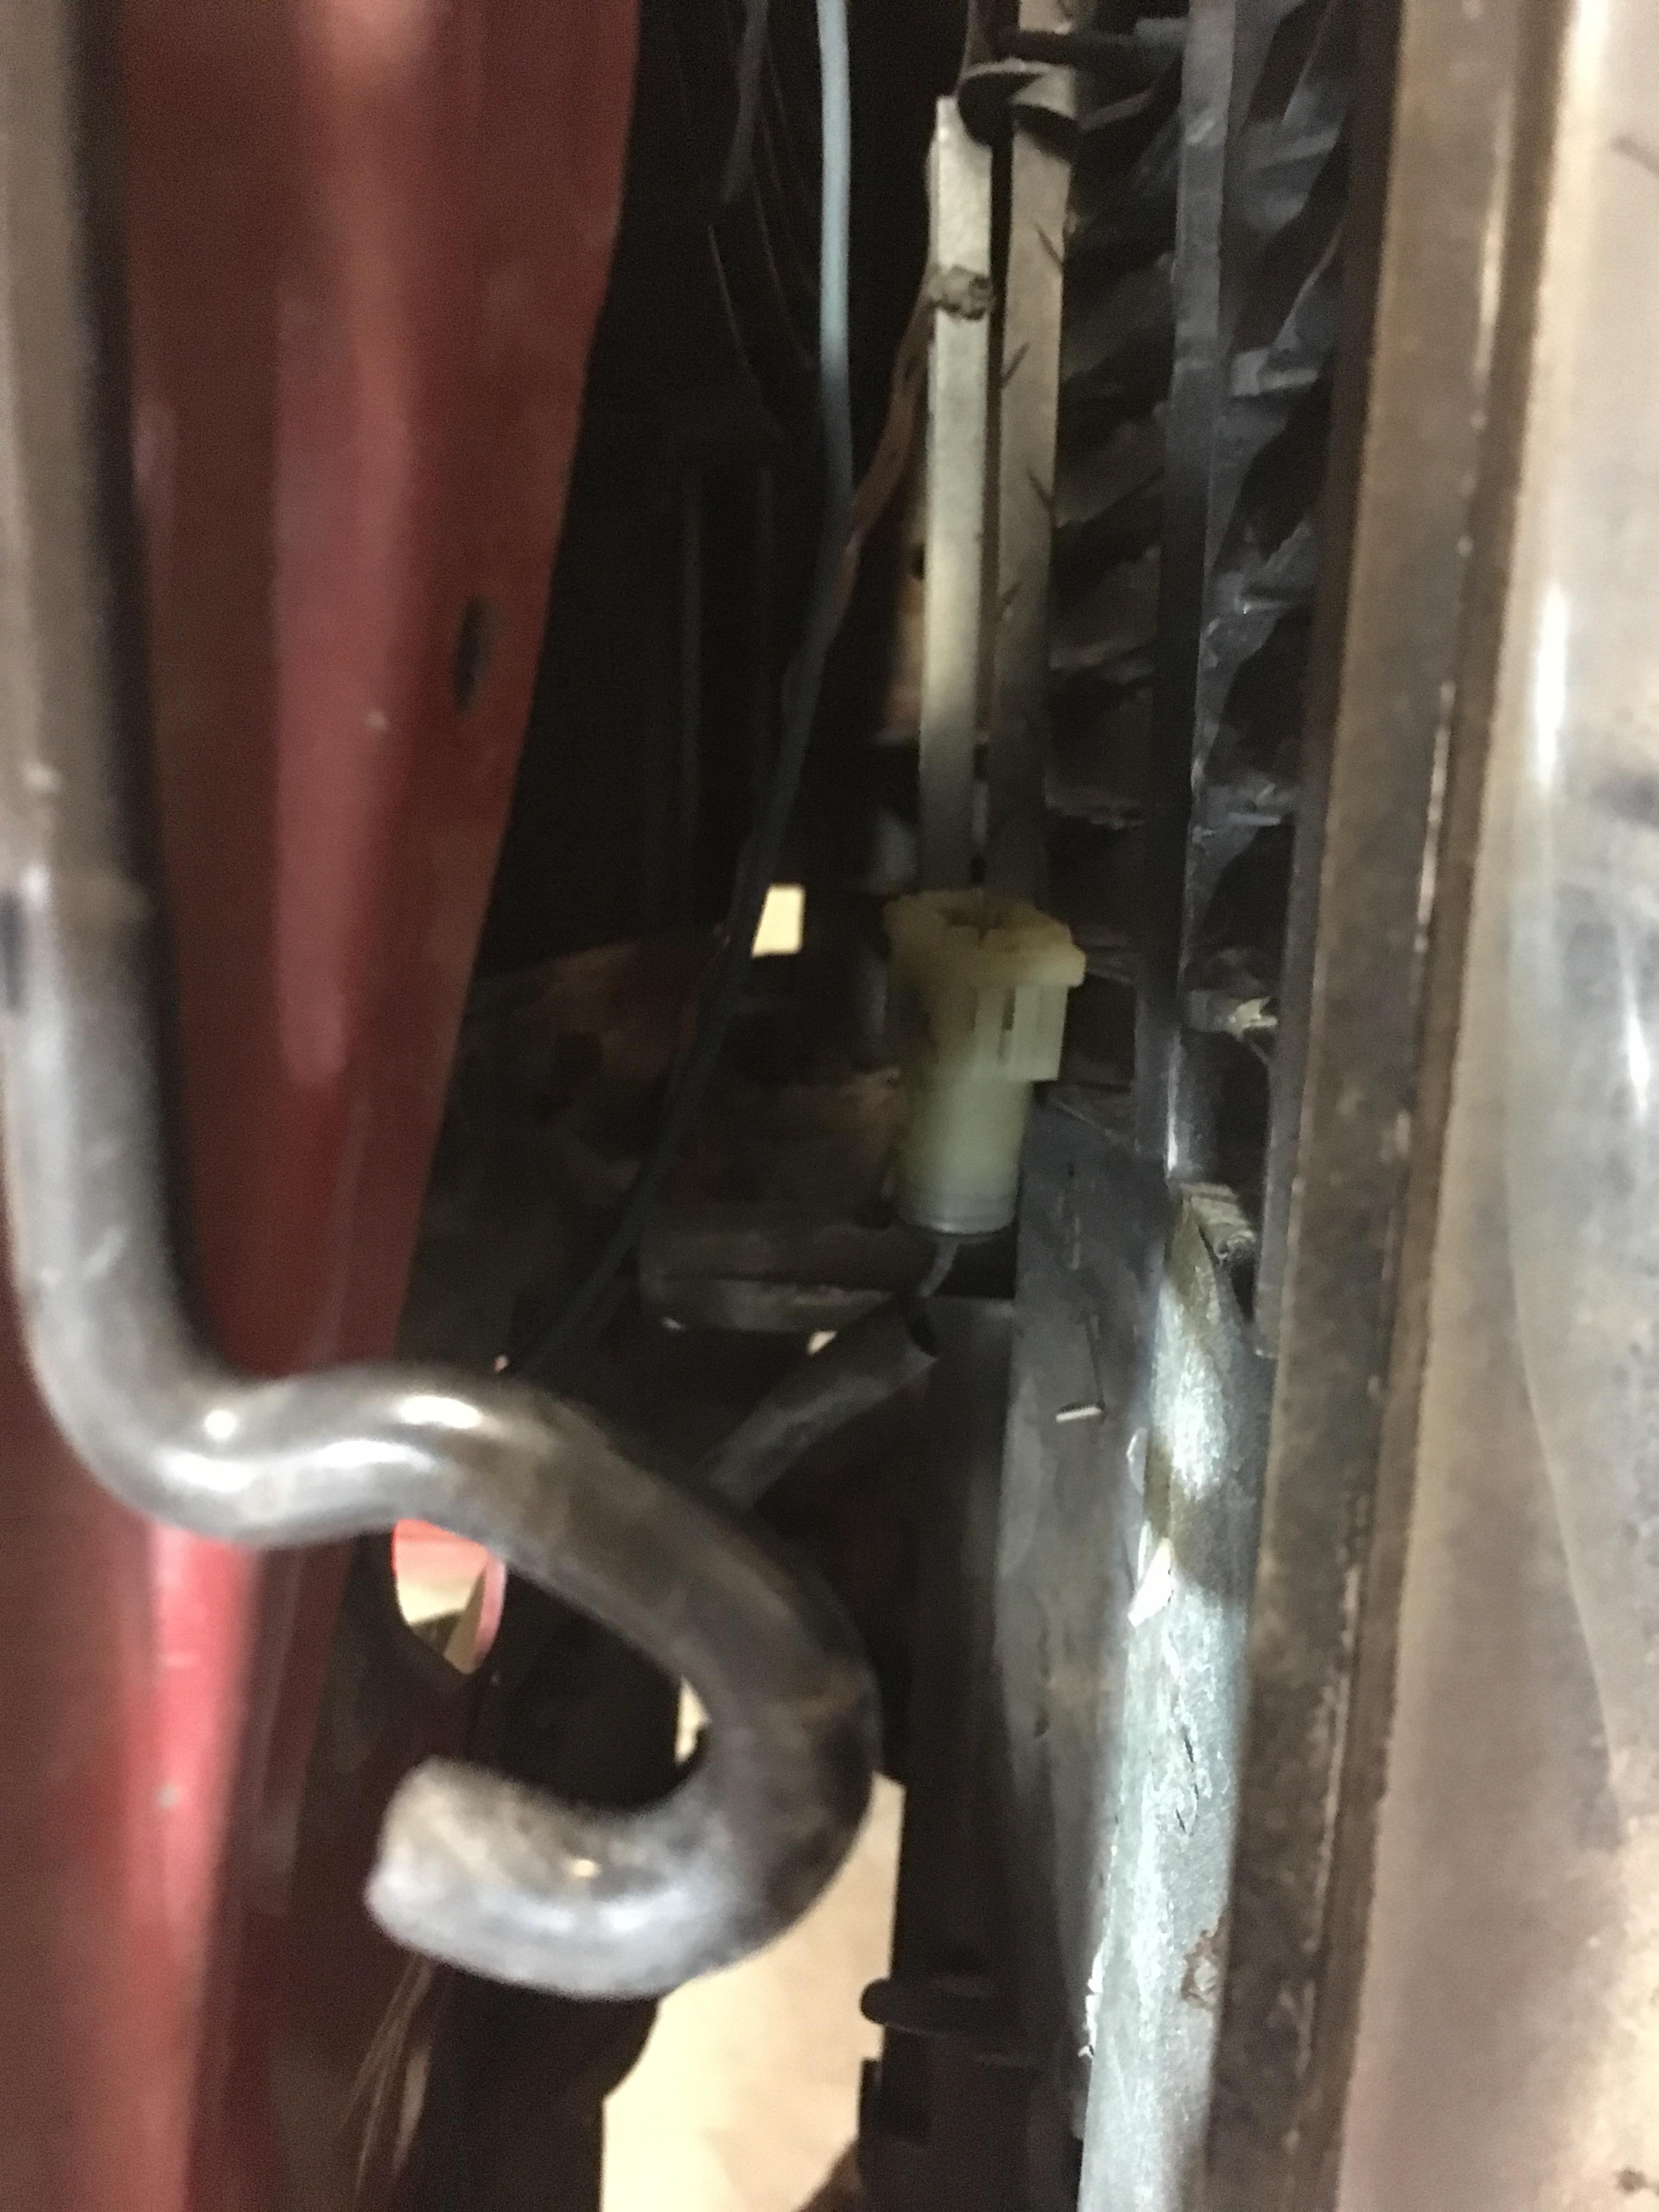
Hey Evan, I found the wiring harness for the horn, it terminates just inboard of the pass side headlight. I have the harness up to the 2-pin connector for the horn.
Last night was SUPER productive in the shop.
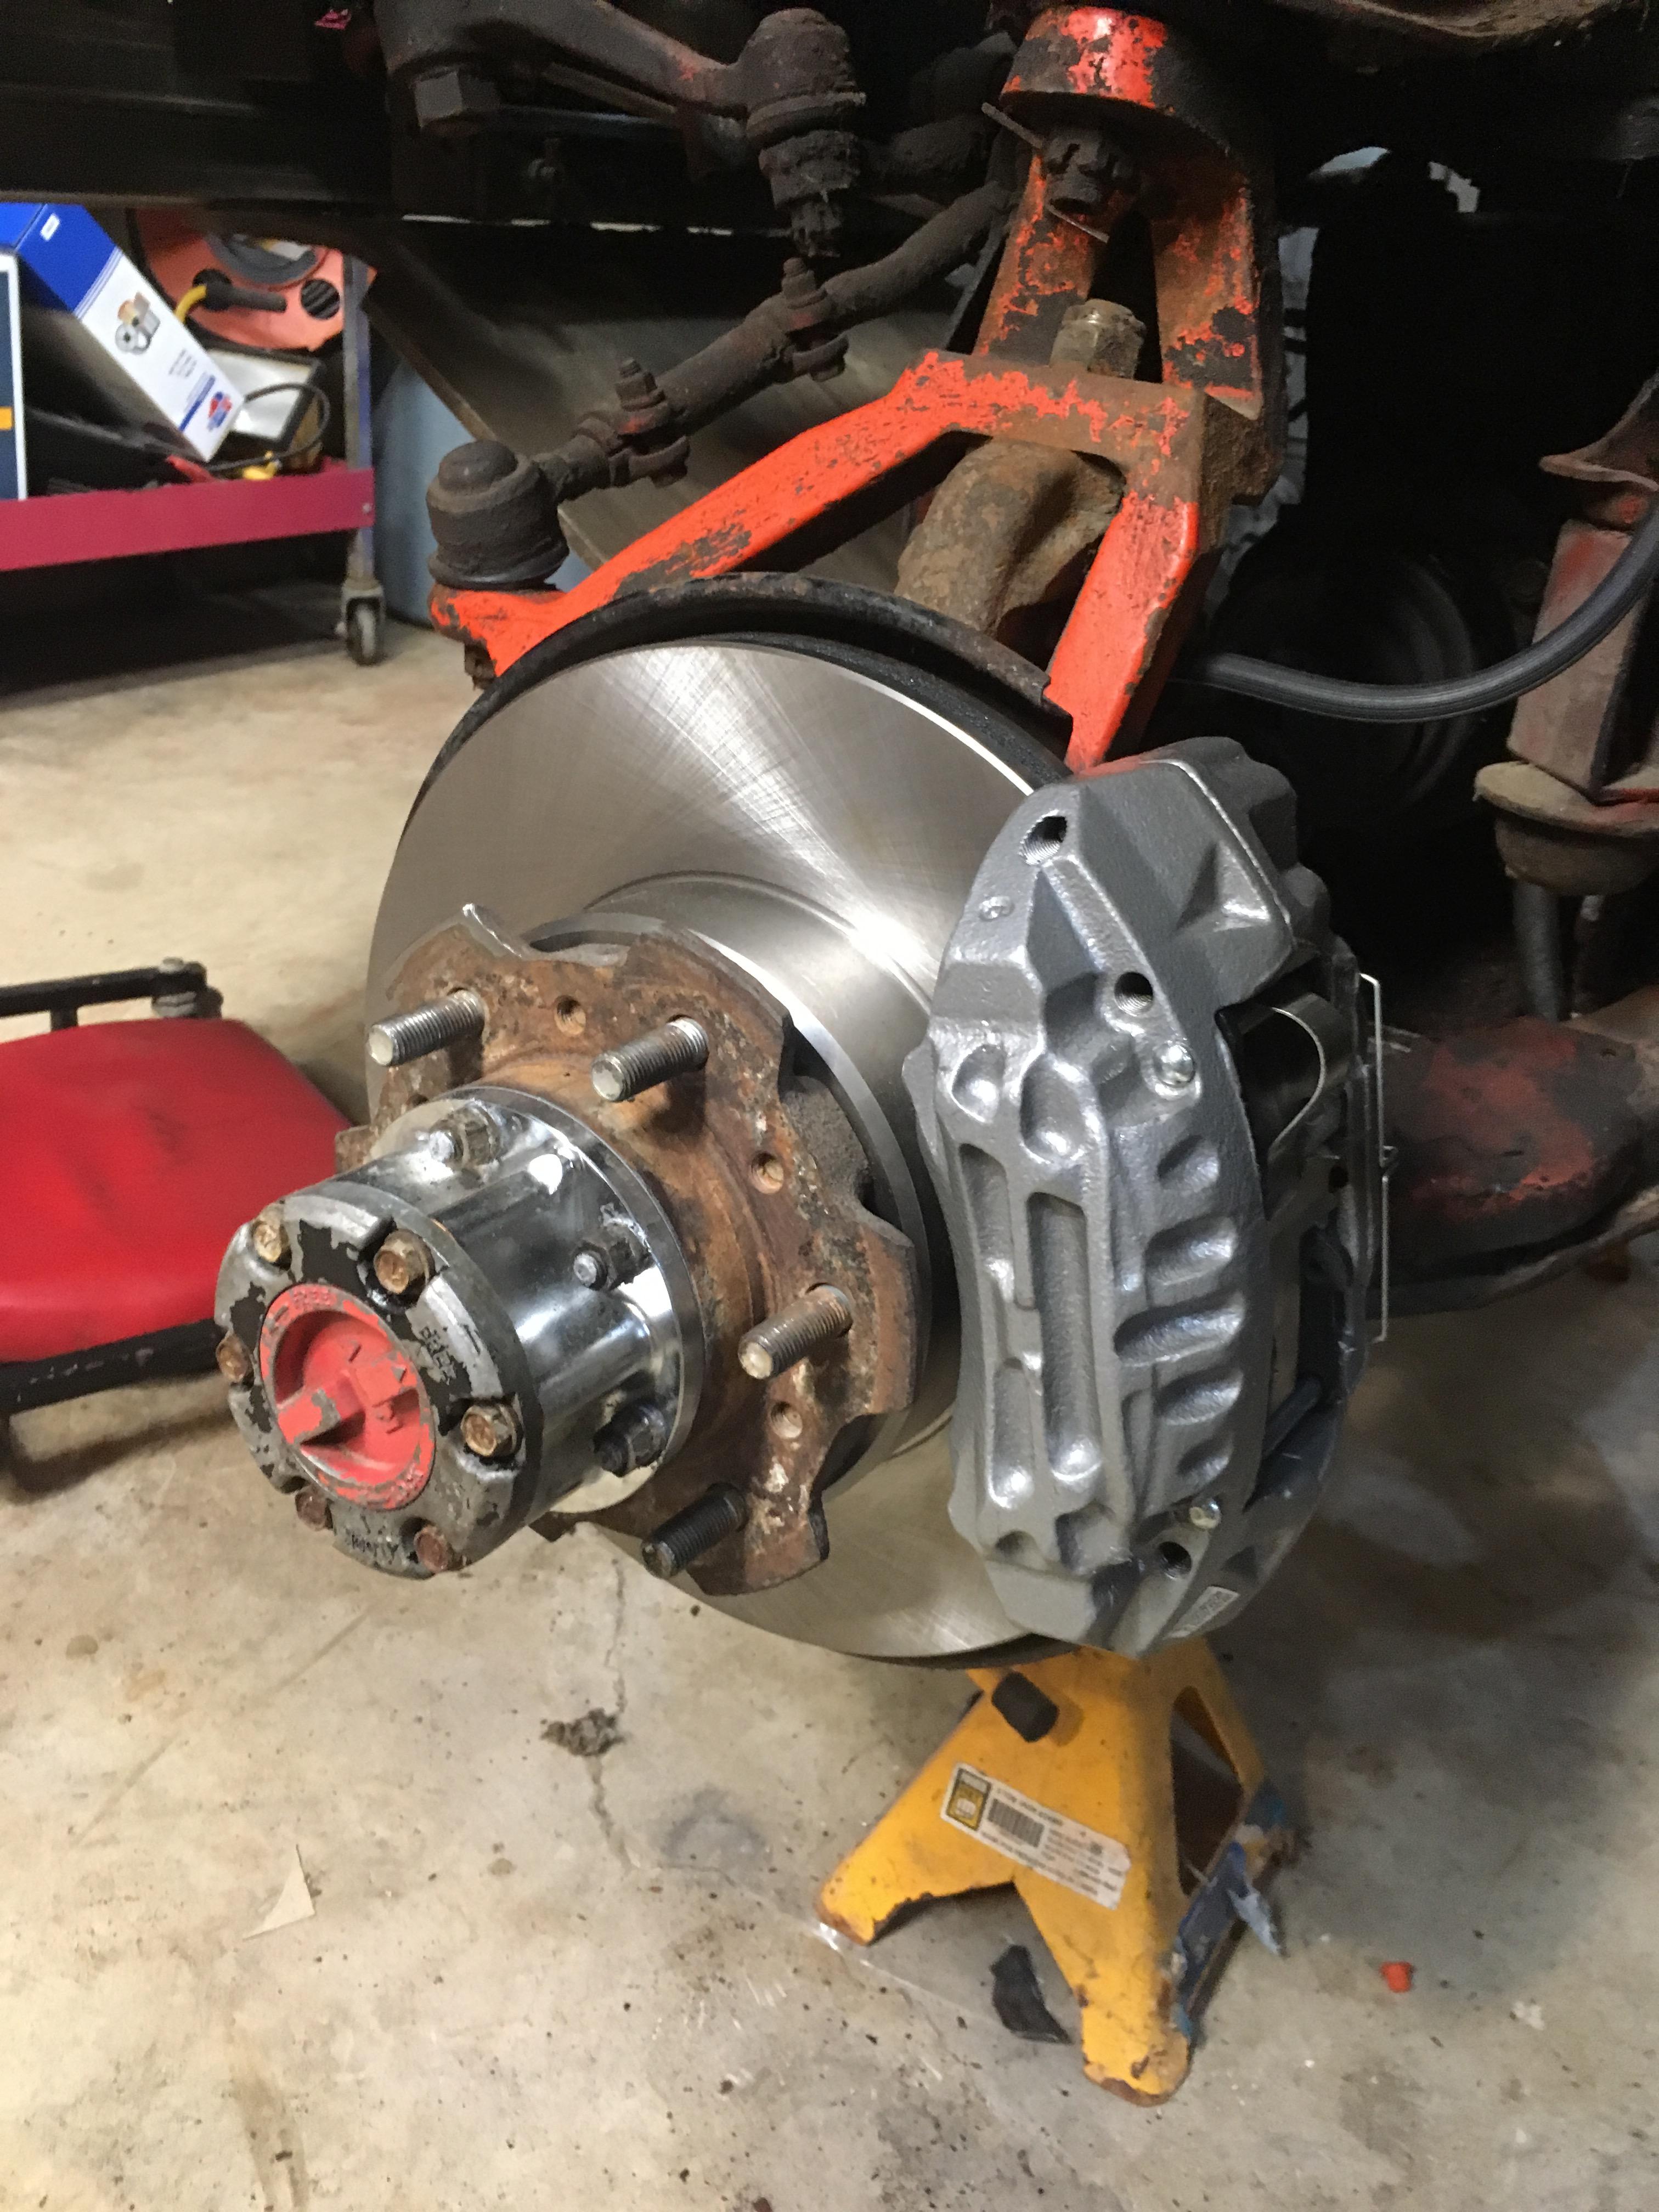
- Front hubs fully rebuilt, installed, torqued to spec. Both sides. Bearing preload was approx 14-15 lbs (on fish scale) of rotation after following service manual procedure.
- Front calipers lubed up and loaded with pads, torqued to spec.
- Horn, located.
- Brake hard lines, completed. Just need to add a couple retainer clips to secure to the frame.
- Spare tire crank freed up and chain lowered. Penned out a concept to rig up a rim holder
- test fit 31” spare in place. Hoping a 33” spare will fit in its place. Didn’t feel like lifting the 33 under there @2am
- Loose part fit the dashboard to determine assembly sequence. I still have some wiring to clean up (and reconnect) before the dash goes in for good.
Called it a night just before 3am.
 toys-n-yotasKeymaster
I don’t think the rims are too flashy. A little concerned about their relative strength when bouncing down a trail compared to a steel rim though. Steel would bend, aluminum will crack (chunks break off)
That looks like Darwins 60.
Evan, can you take a picture for me of where the horn bolts to the front bulkhead, and which way the wiring runs towards the firewall? I don’t even know where to begin looking for it on Redee.
toys-n-yotasKeymasterMade two ebay purchases today.
1: turn signal bulb holder to fit into my new combo housings. $8 total for a pair. Hopefully they arrive prior to April 31st quote.
2: 0.79mm diameter pushrod cable and support tube to replace the broken cables for the HVAC air mixer and flow control valve. $14.
I’ll just buy a horn locally, and try to find where the original wiring terminates.
toys-n-yotasKeymasterI made it out to the shop yesterday, twice actually. before work (4am-7am) I was mainly tidying up workbenches, and shuffling of parts totes to isolate between MUST DO, and will do eventually. After everybody was asleep (9pm-12am) I got a couple items knocked off the list which somehow keeps getting longer.
Anyways, I made a quick block-off plate for the clutch master cylinder hole one the firewall. Nothing fancy but it works. Kept the momentum going by plugging more holes in the firewall and floor with grommets/plugs from a cheap princess auto kit.
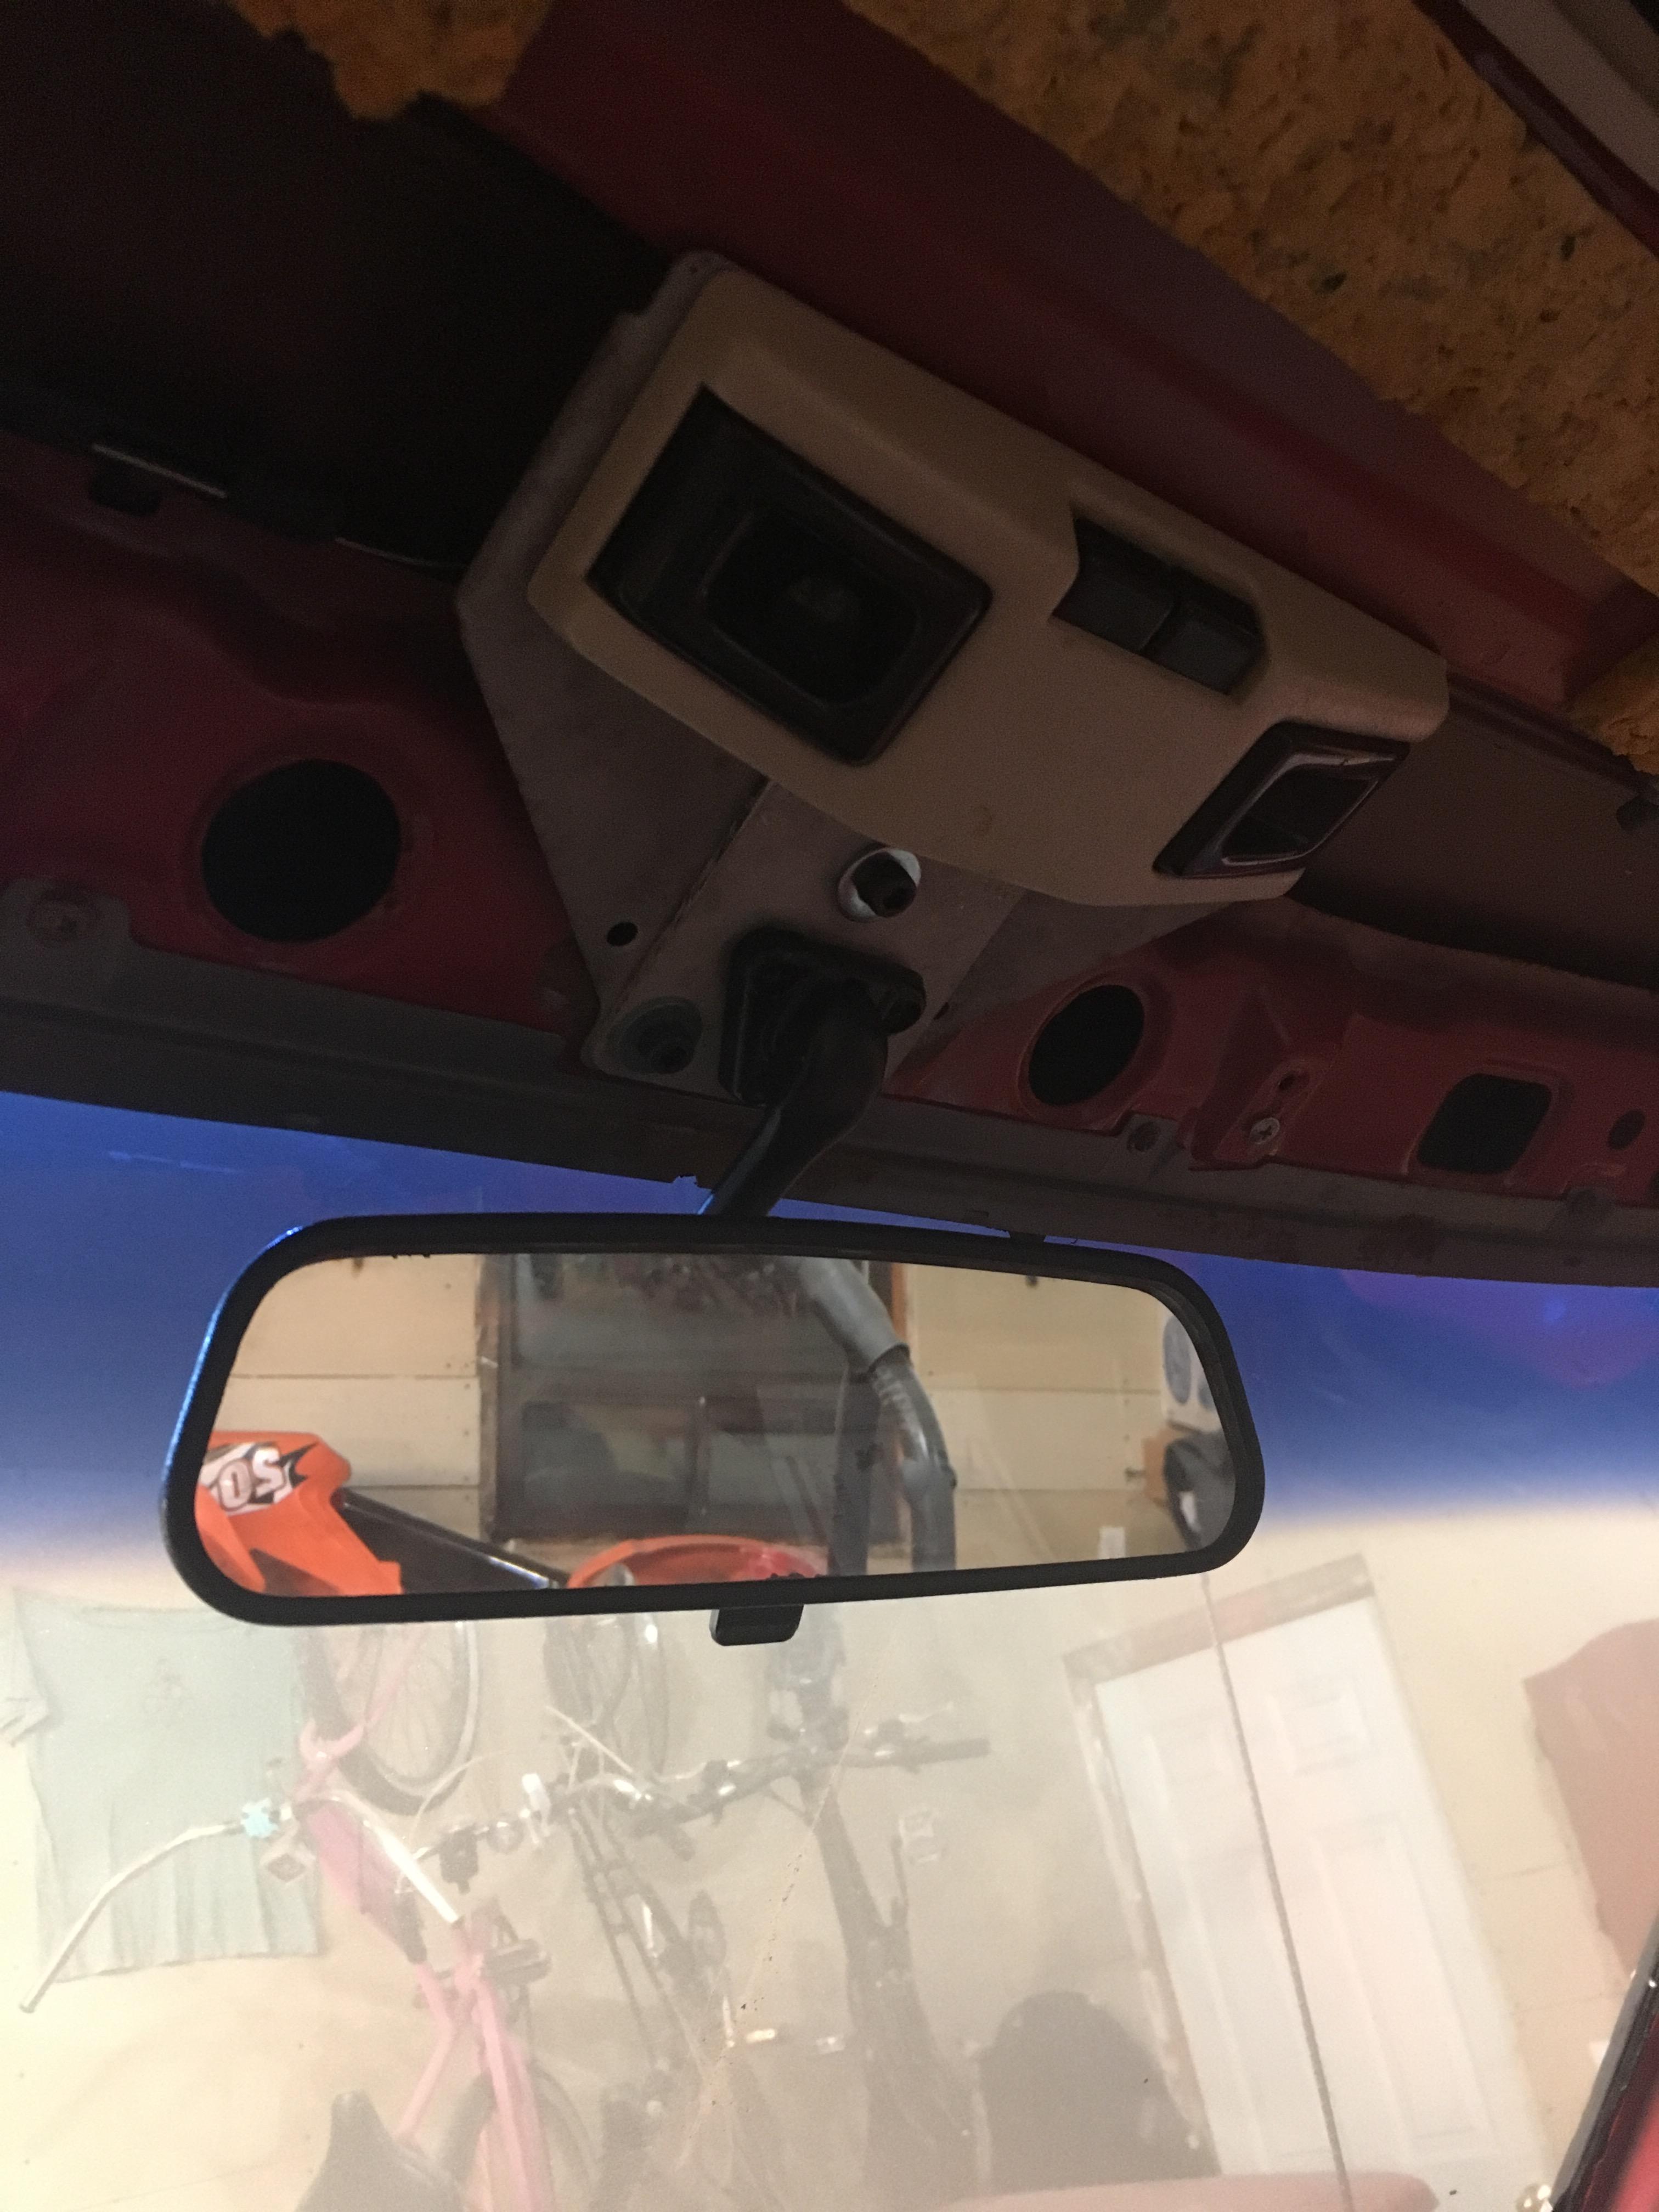
Next up, I made a rearview mirrow adapter plate to allow a Jaguar mirror (free parts from Dad’s part hoardings) to hang in place of the yucky pee-filled OEM unit. After sandblasting all the pee-rust off the dome light plate, I cut out a filler plate from a piece of aluminum I had kickin’ around fromy old golf cart. I drilled and tapped the plate for the Jag hanger, and attached it to the roof with some “free” metric hardware. $0 spent, and one big step closer to Road Legal.
Next up, started to continue legalling-up by reinstalling Side Clearance Lights and a horn. Once again I was digging through parts bins and came up with almost everything…..except the horn is really dead, not even a peep out of it. Easily replaceable.
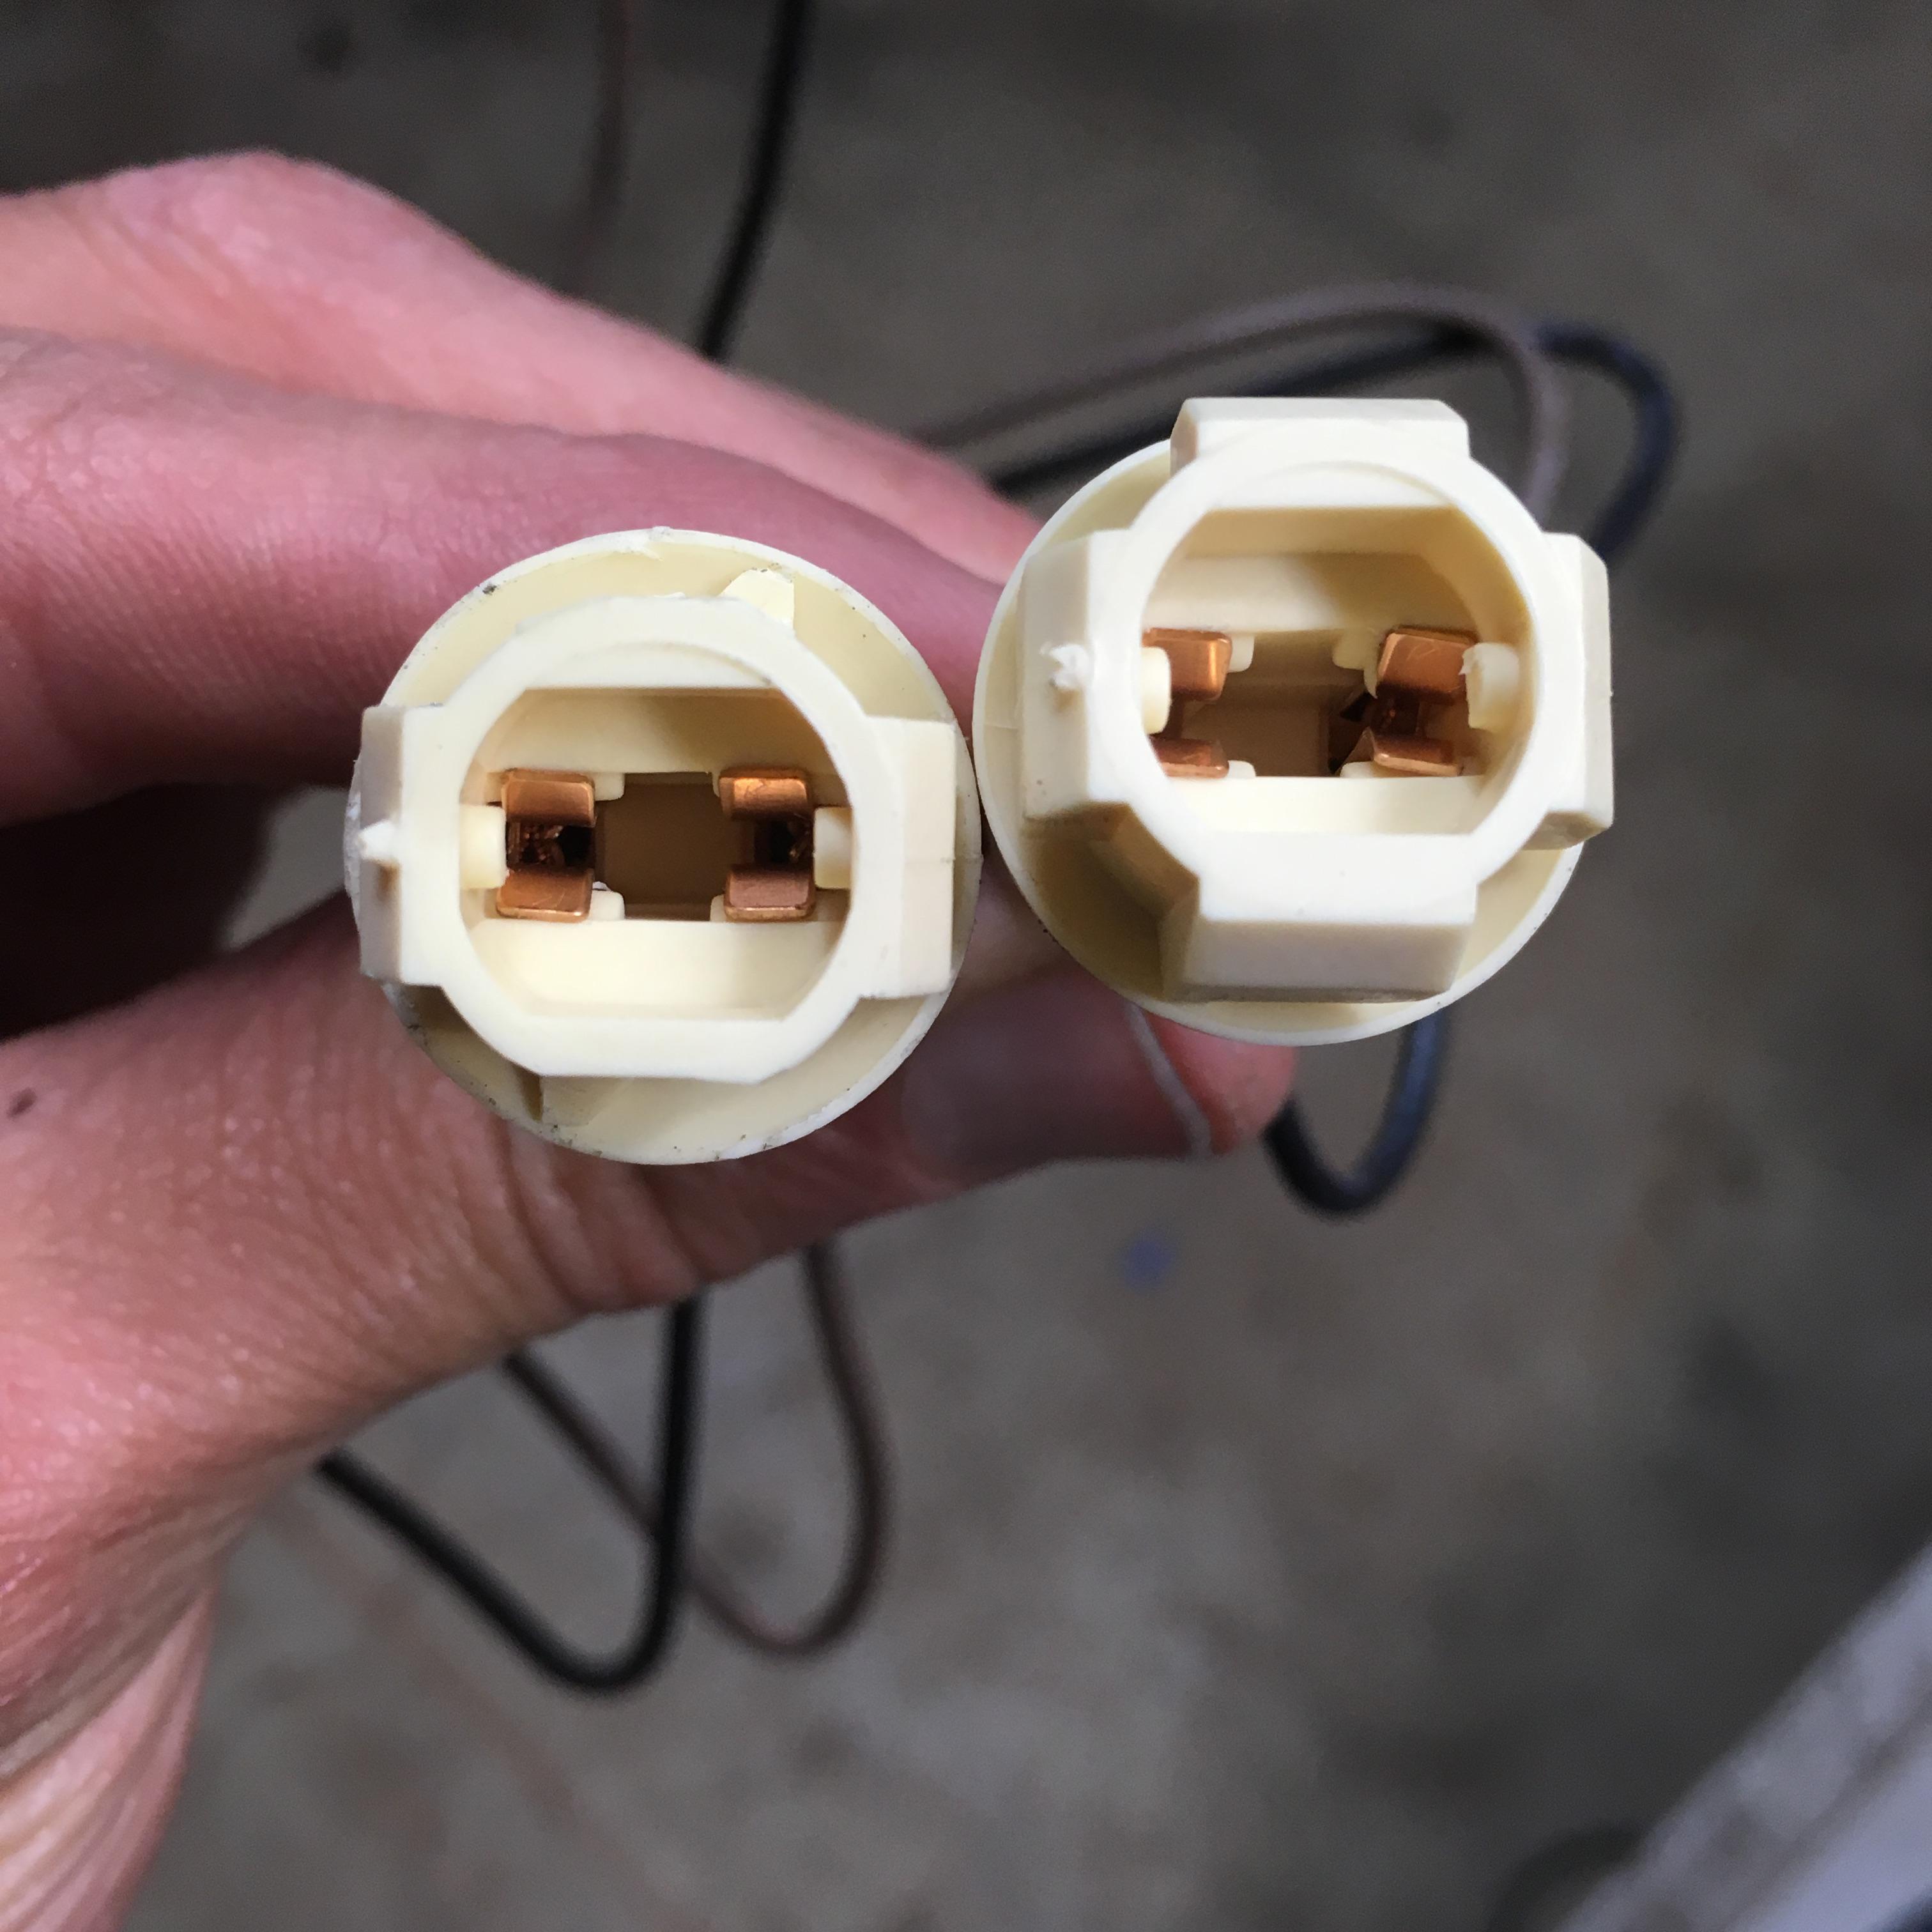
For the side clearance lights, I started putting in my ebay housings, but I am missing about 6” of the wiring circuit. I must buy (prolly used) two of the female 2-pin connector which has the bulb holder on it. See pic below.
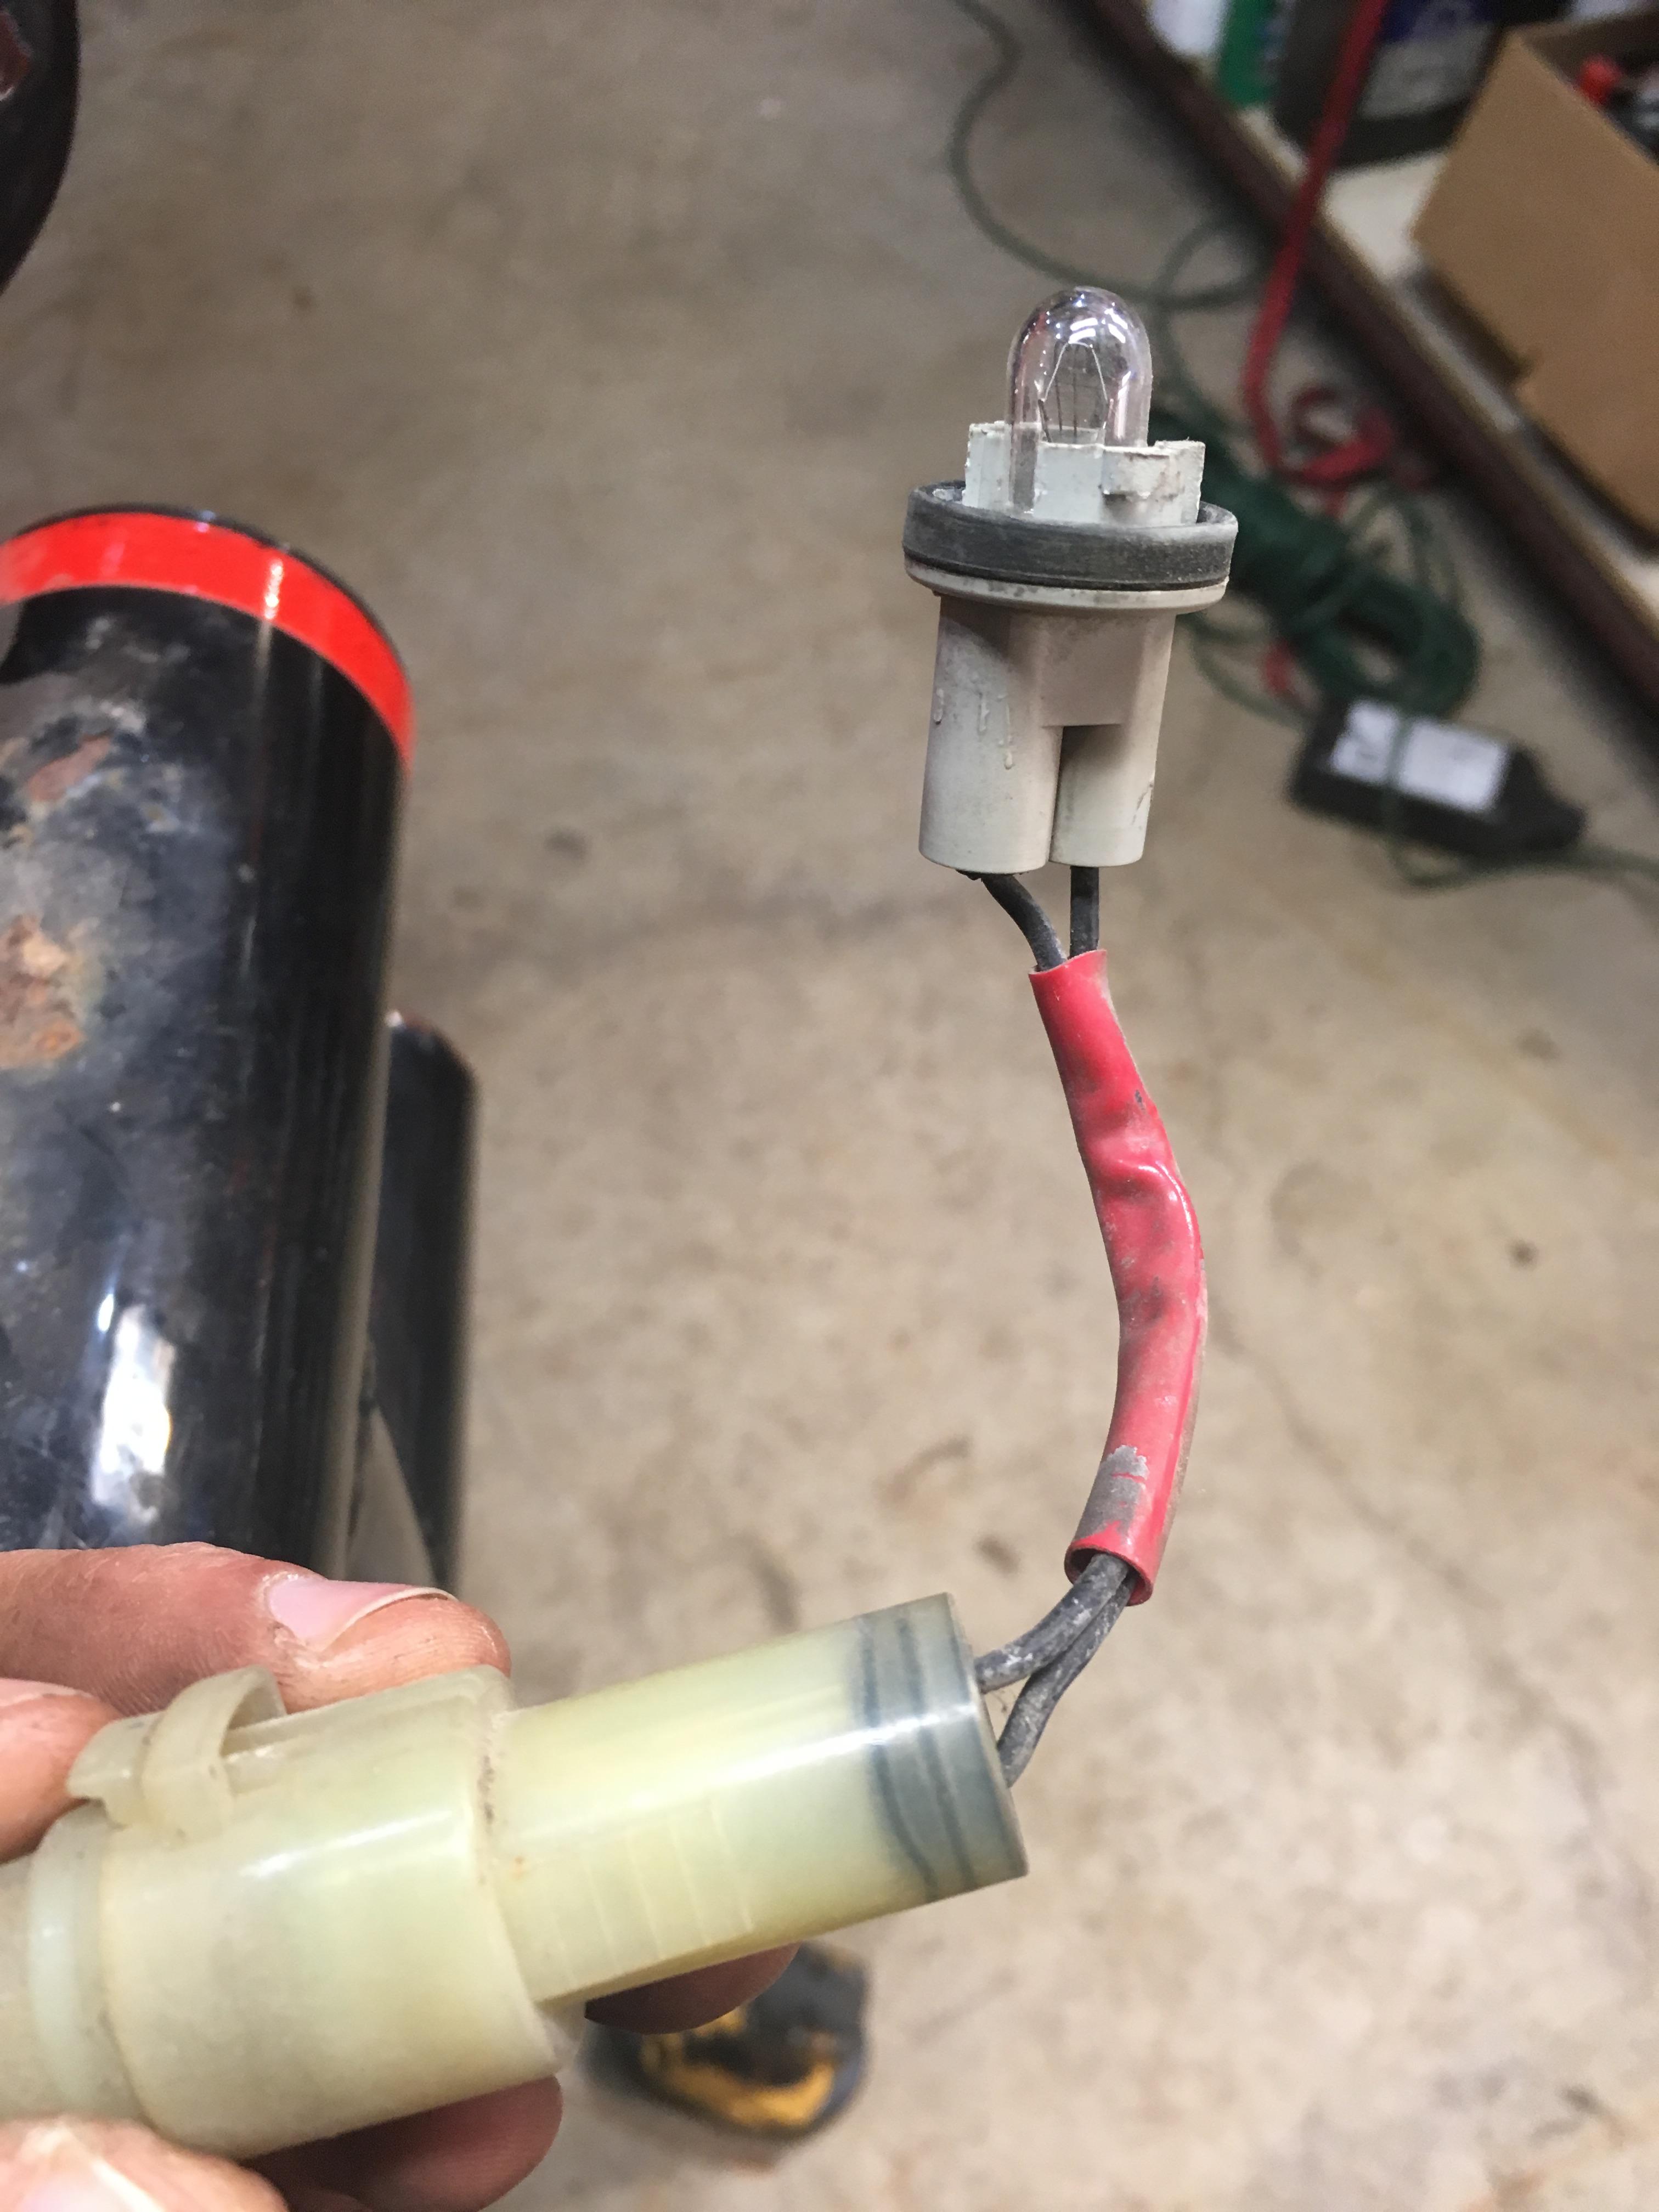
I found the correct connector in a parts bin from 2011, but the bulb holder was cut off it.
Once I get a new-ish bulb holder, I can plug in my ebay 2-in-1 clearance light / turn signal housings.
Perhaps tonight I’ll feel like getting greasy, and finish installing the front hubs and brakes.
Stupid question alert! On which parts SHOULD I smear disk brake lubricant in the front brakes? Just the pins which hold in the pads? On the backing plates of pads too? Honestly, for the first 25-years of my life I neglected (disk brake) lube. Now with age, I’m getting adventerous. But am I using it correctly?
-
This reply was modified 6 years, 10 months ago by toys-n-yotas.
toys-n-yotasKeymasterGot it up on the calendar!!
Hoping birthday celebrations don’t interfere like last year. Oldest daughter turns 5 on the 3rd. Father-in-law has a bday on the 7th. Fingers crossed for Saturday festivities.
-
This reply was modified 6 years, 10 months ago by
-
AuthorPosts