Forum Replies Created
-
AuthorPosts
-
 toys-n-yotasKeymaster
Today I adjusted the tach 1/4 turn lower, will see how it affects as the rpm gets above idle.
I also swapped out a couple led bulbs which have the polarity indicated for the turn signals. Now they illuminate in the gauge cluster. Sweet.
Also power washed Redee. Girls should be happy to see when ai get them from school.
 toys-n-yotasKeymaster
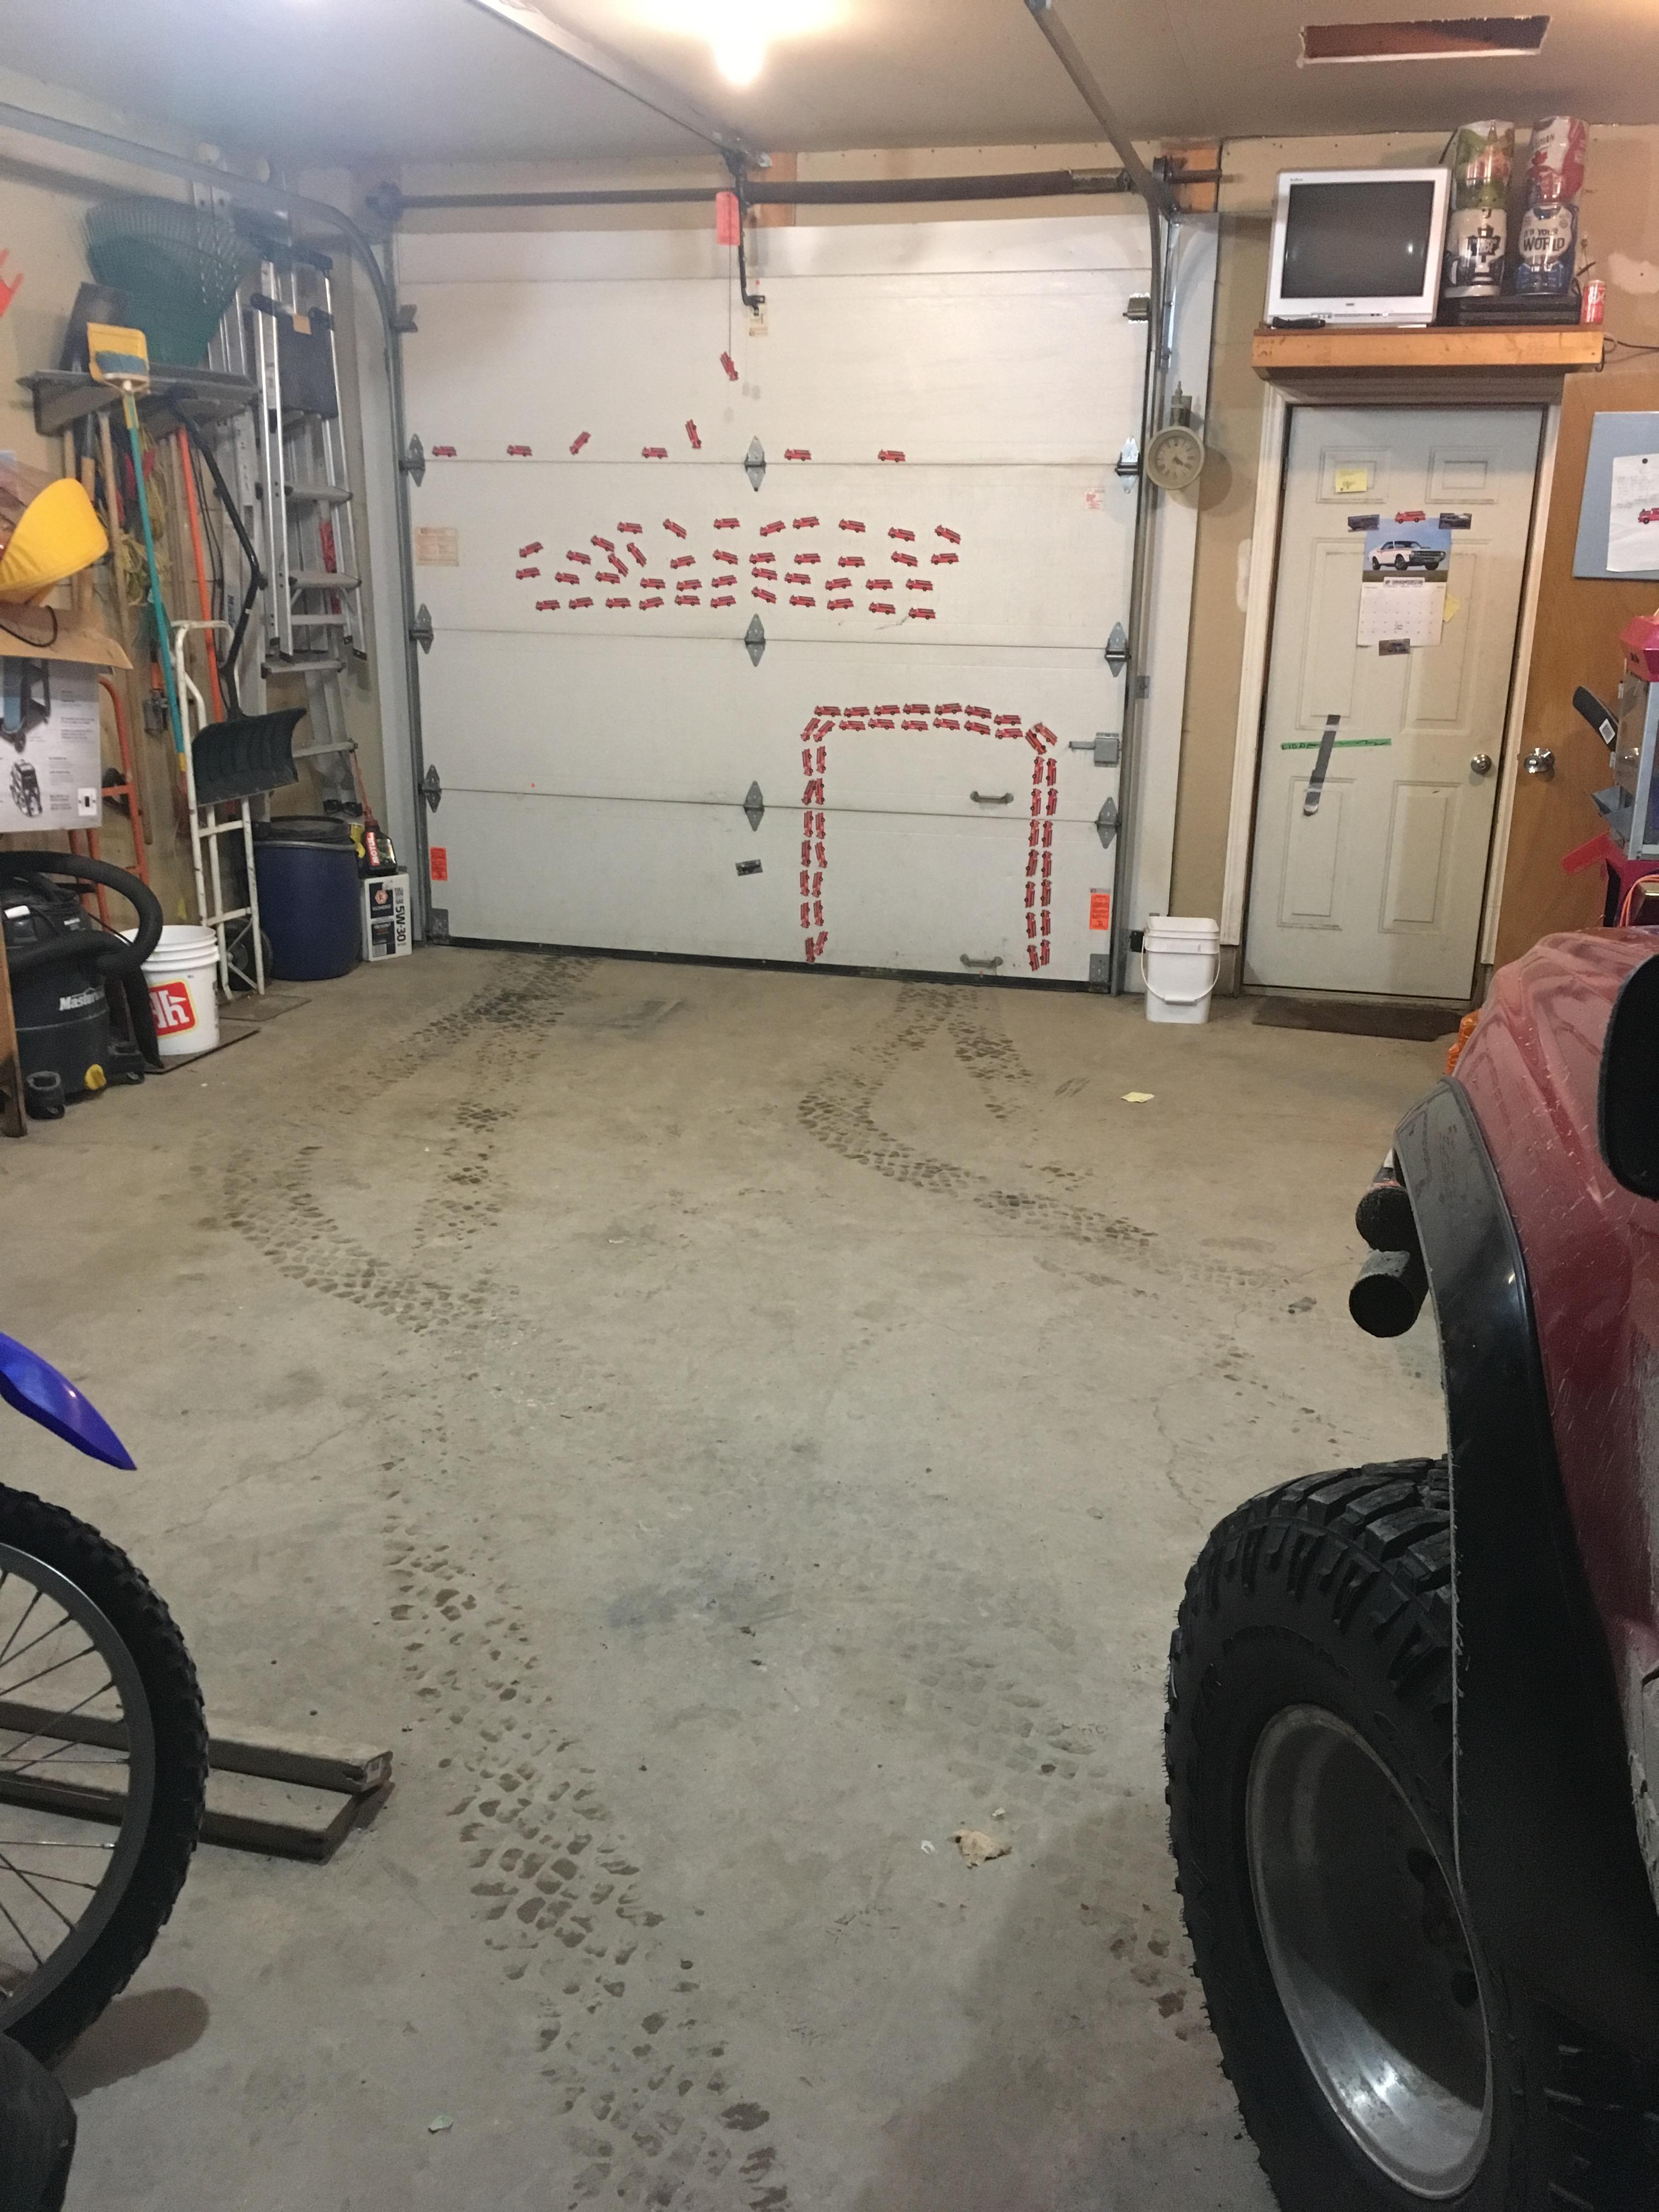
Gott’r in first try. Wet treads don’t lie.
 toys-n-yotasKeymaster
Redee tucked in for the night after burbling my kids to sleep. Teamwork right.
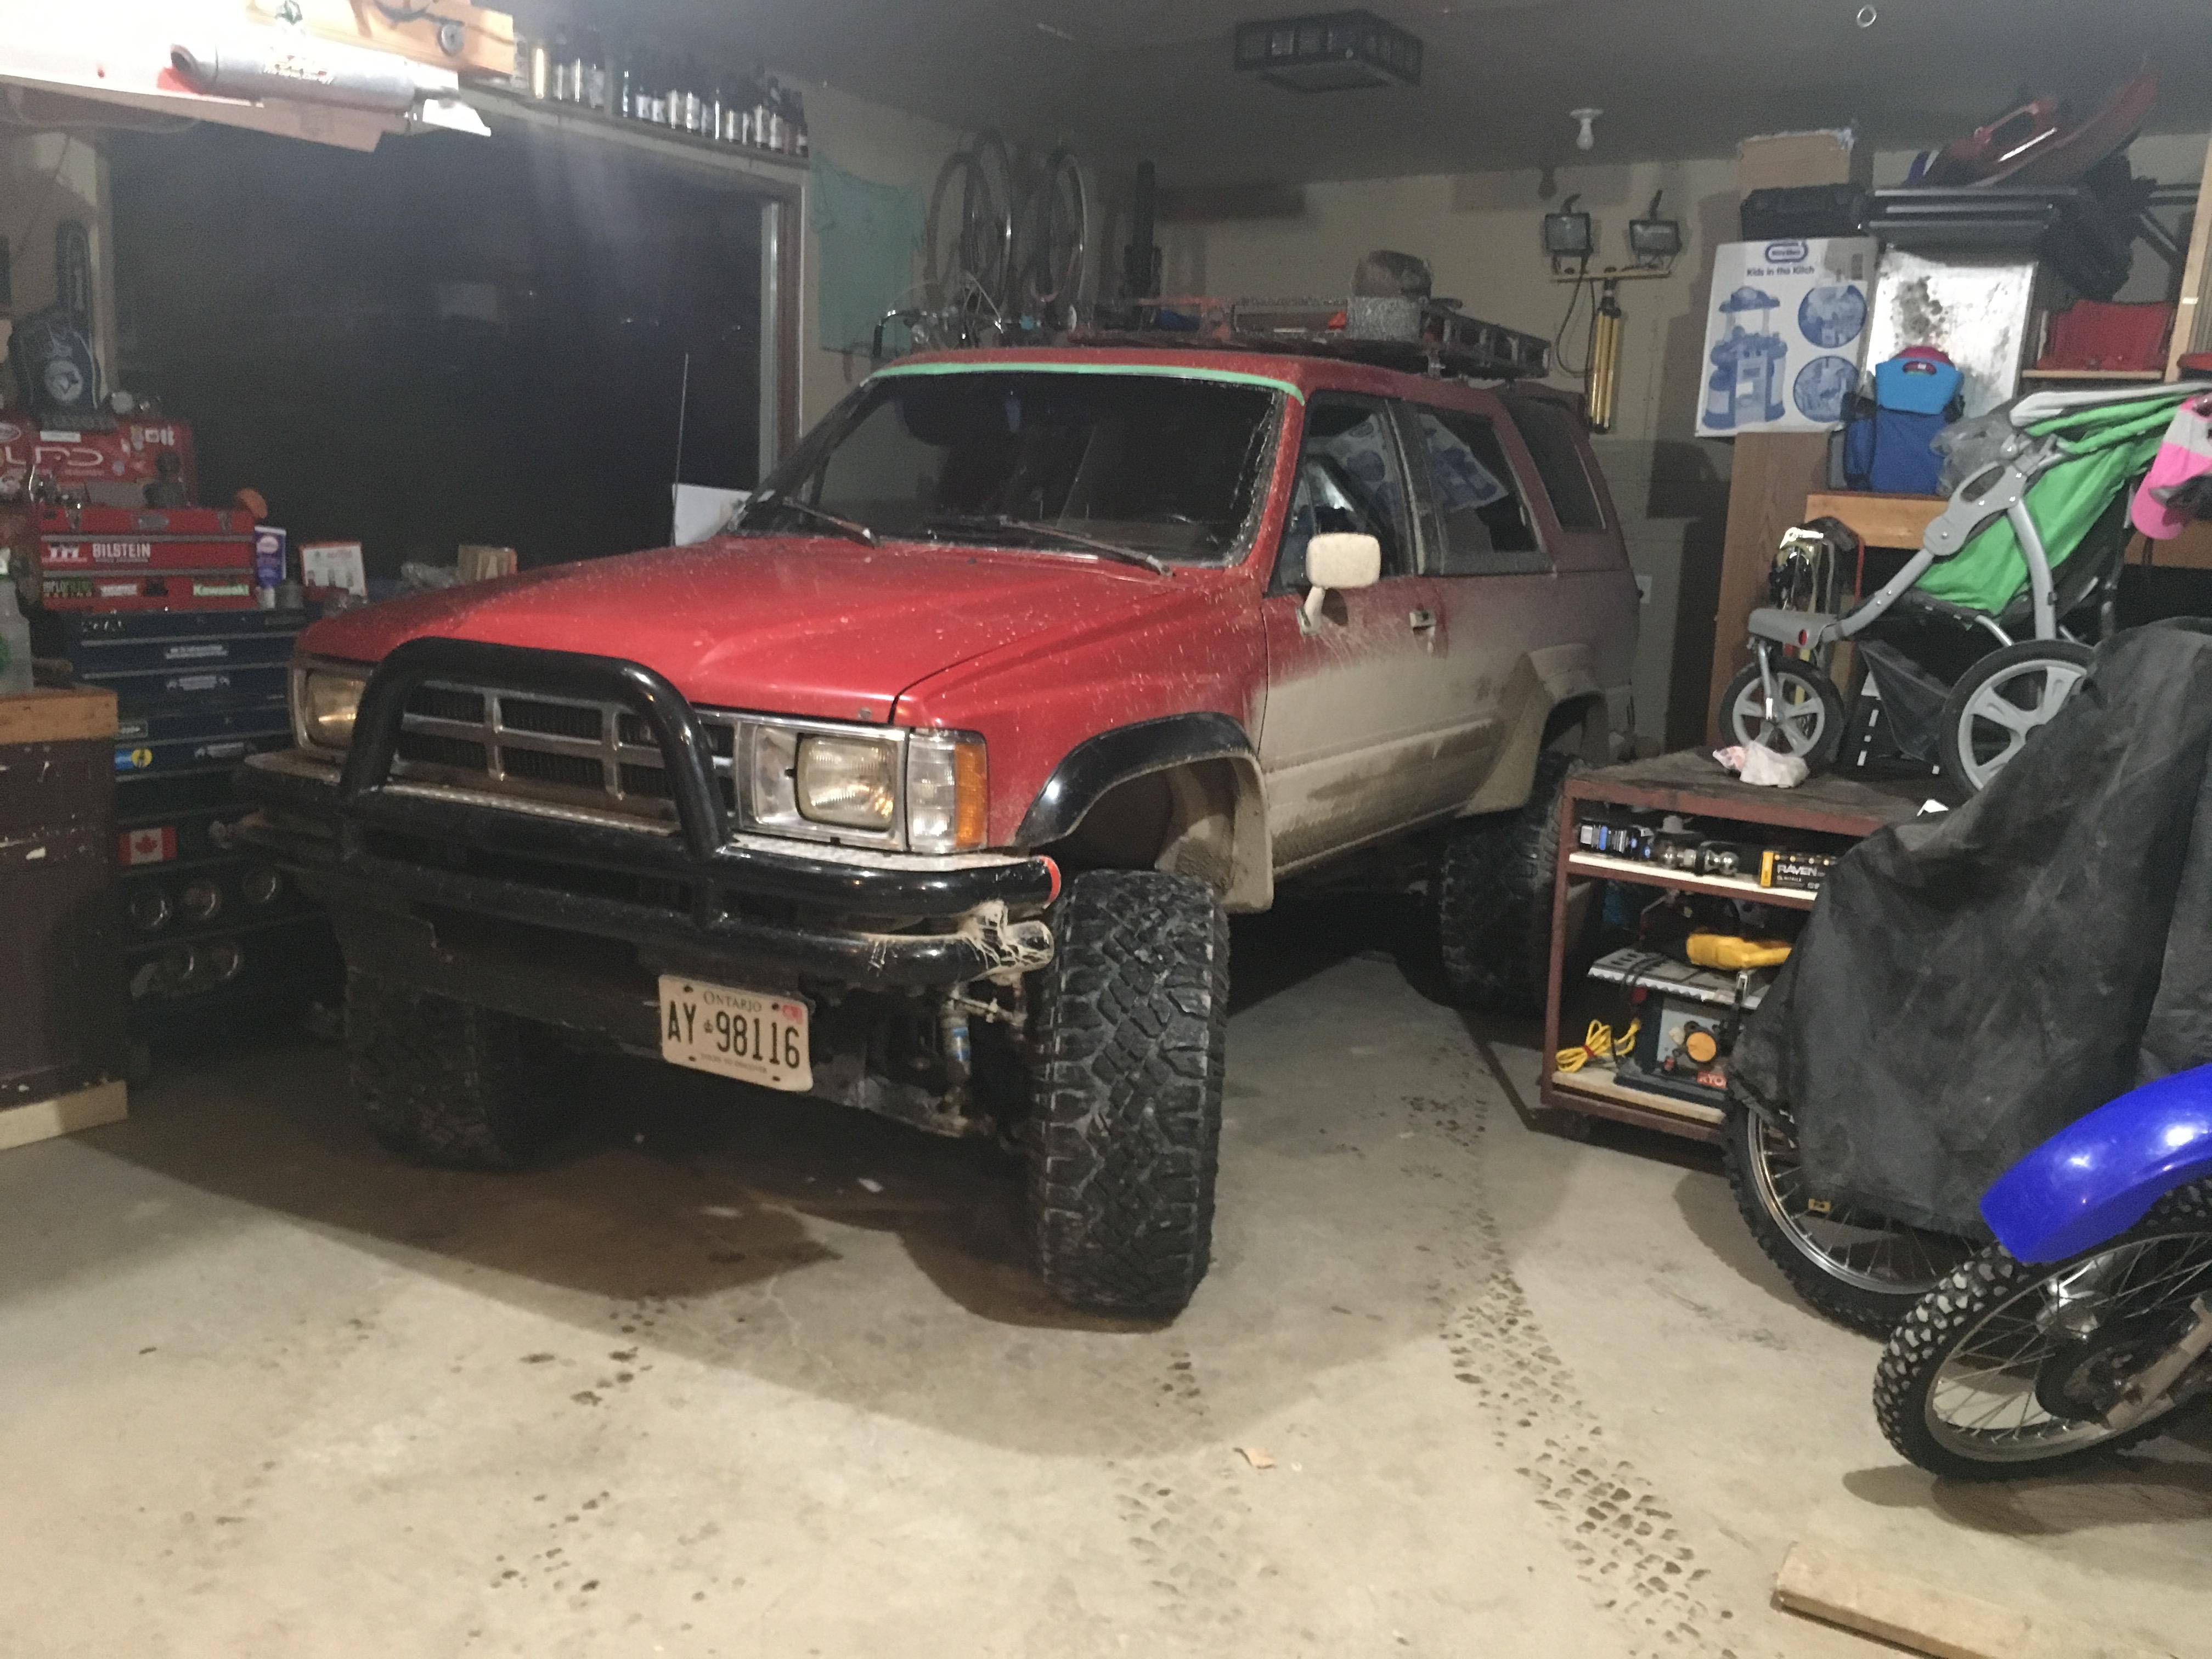
I had to put the fender flares back on, at least till I get skinnier tires. I am trying to get Matt’s pitted OEM 17’s off his 4Runner for $50, the Michelin LTX’s on them are worthless, and rims need some refinishing. Perhaps next winters project. Back to the flares, On Saturday we went out cruising and my side windows were 80% covered by road spray, with the flares on it went down to about 10% coverage. Worth it.
 toys-n-yotasKeymaster
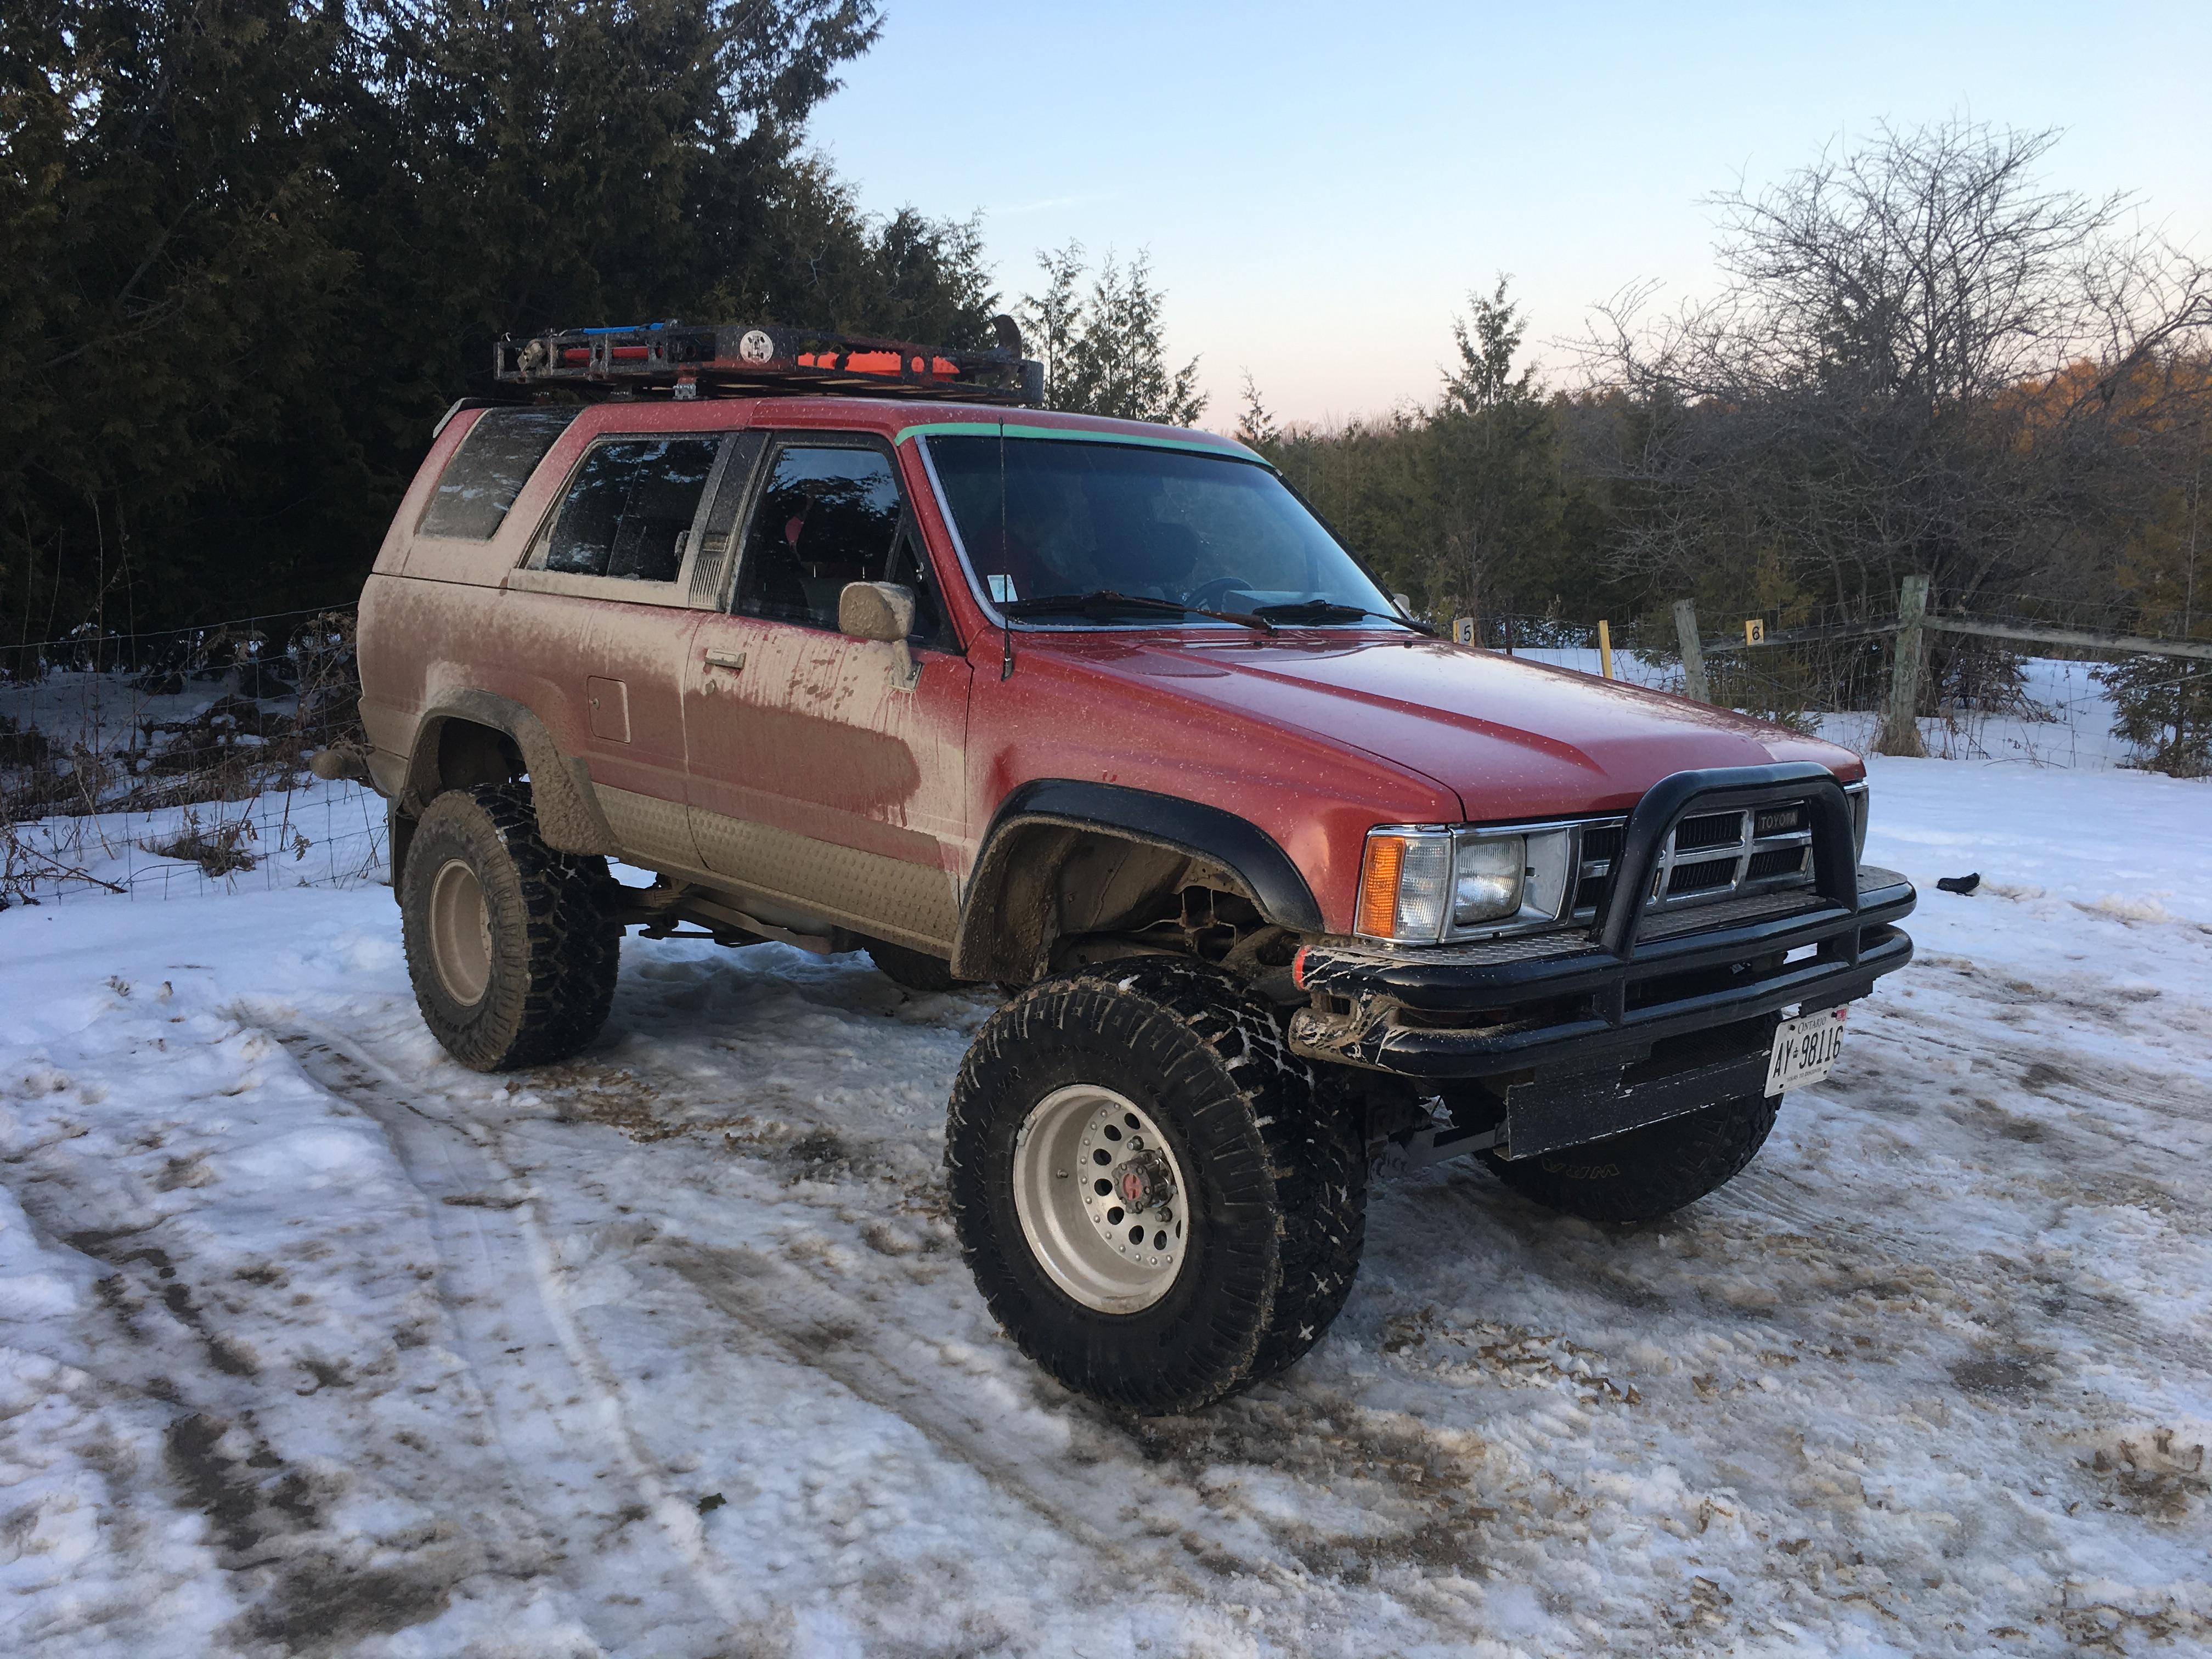
Meet “Brownee” as per my daughters.
 toys-n-yotasKeymaster
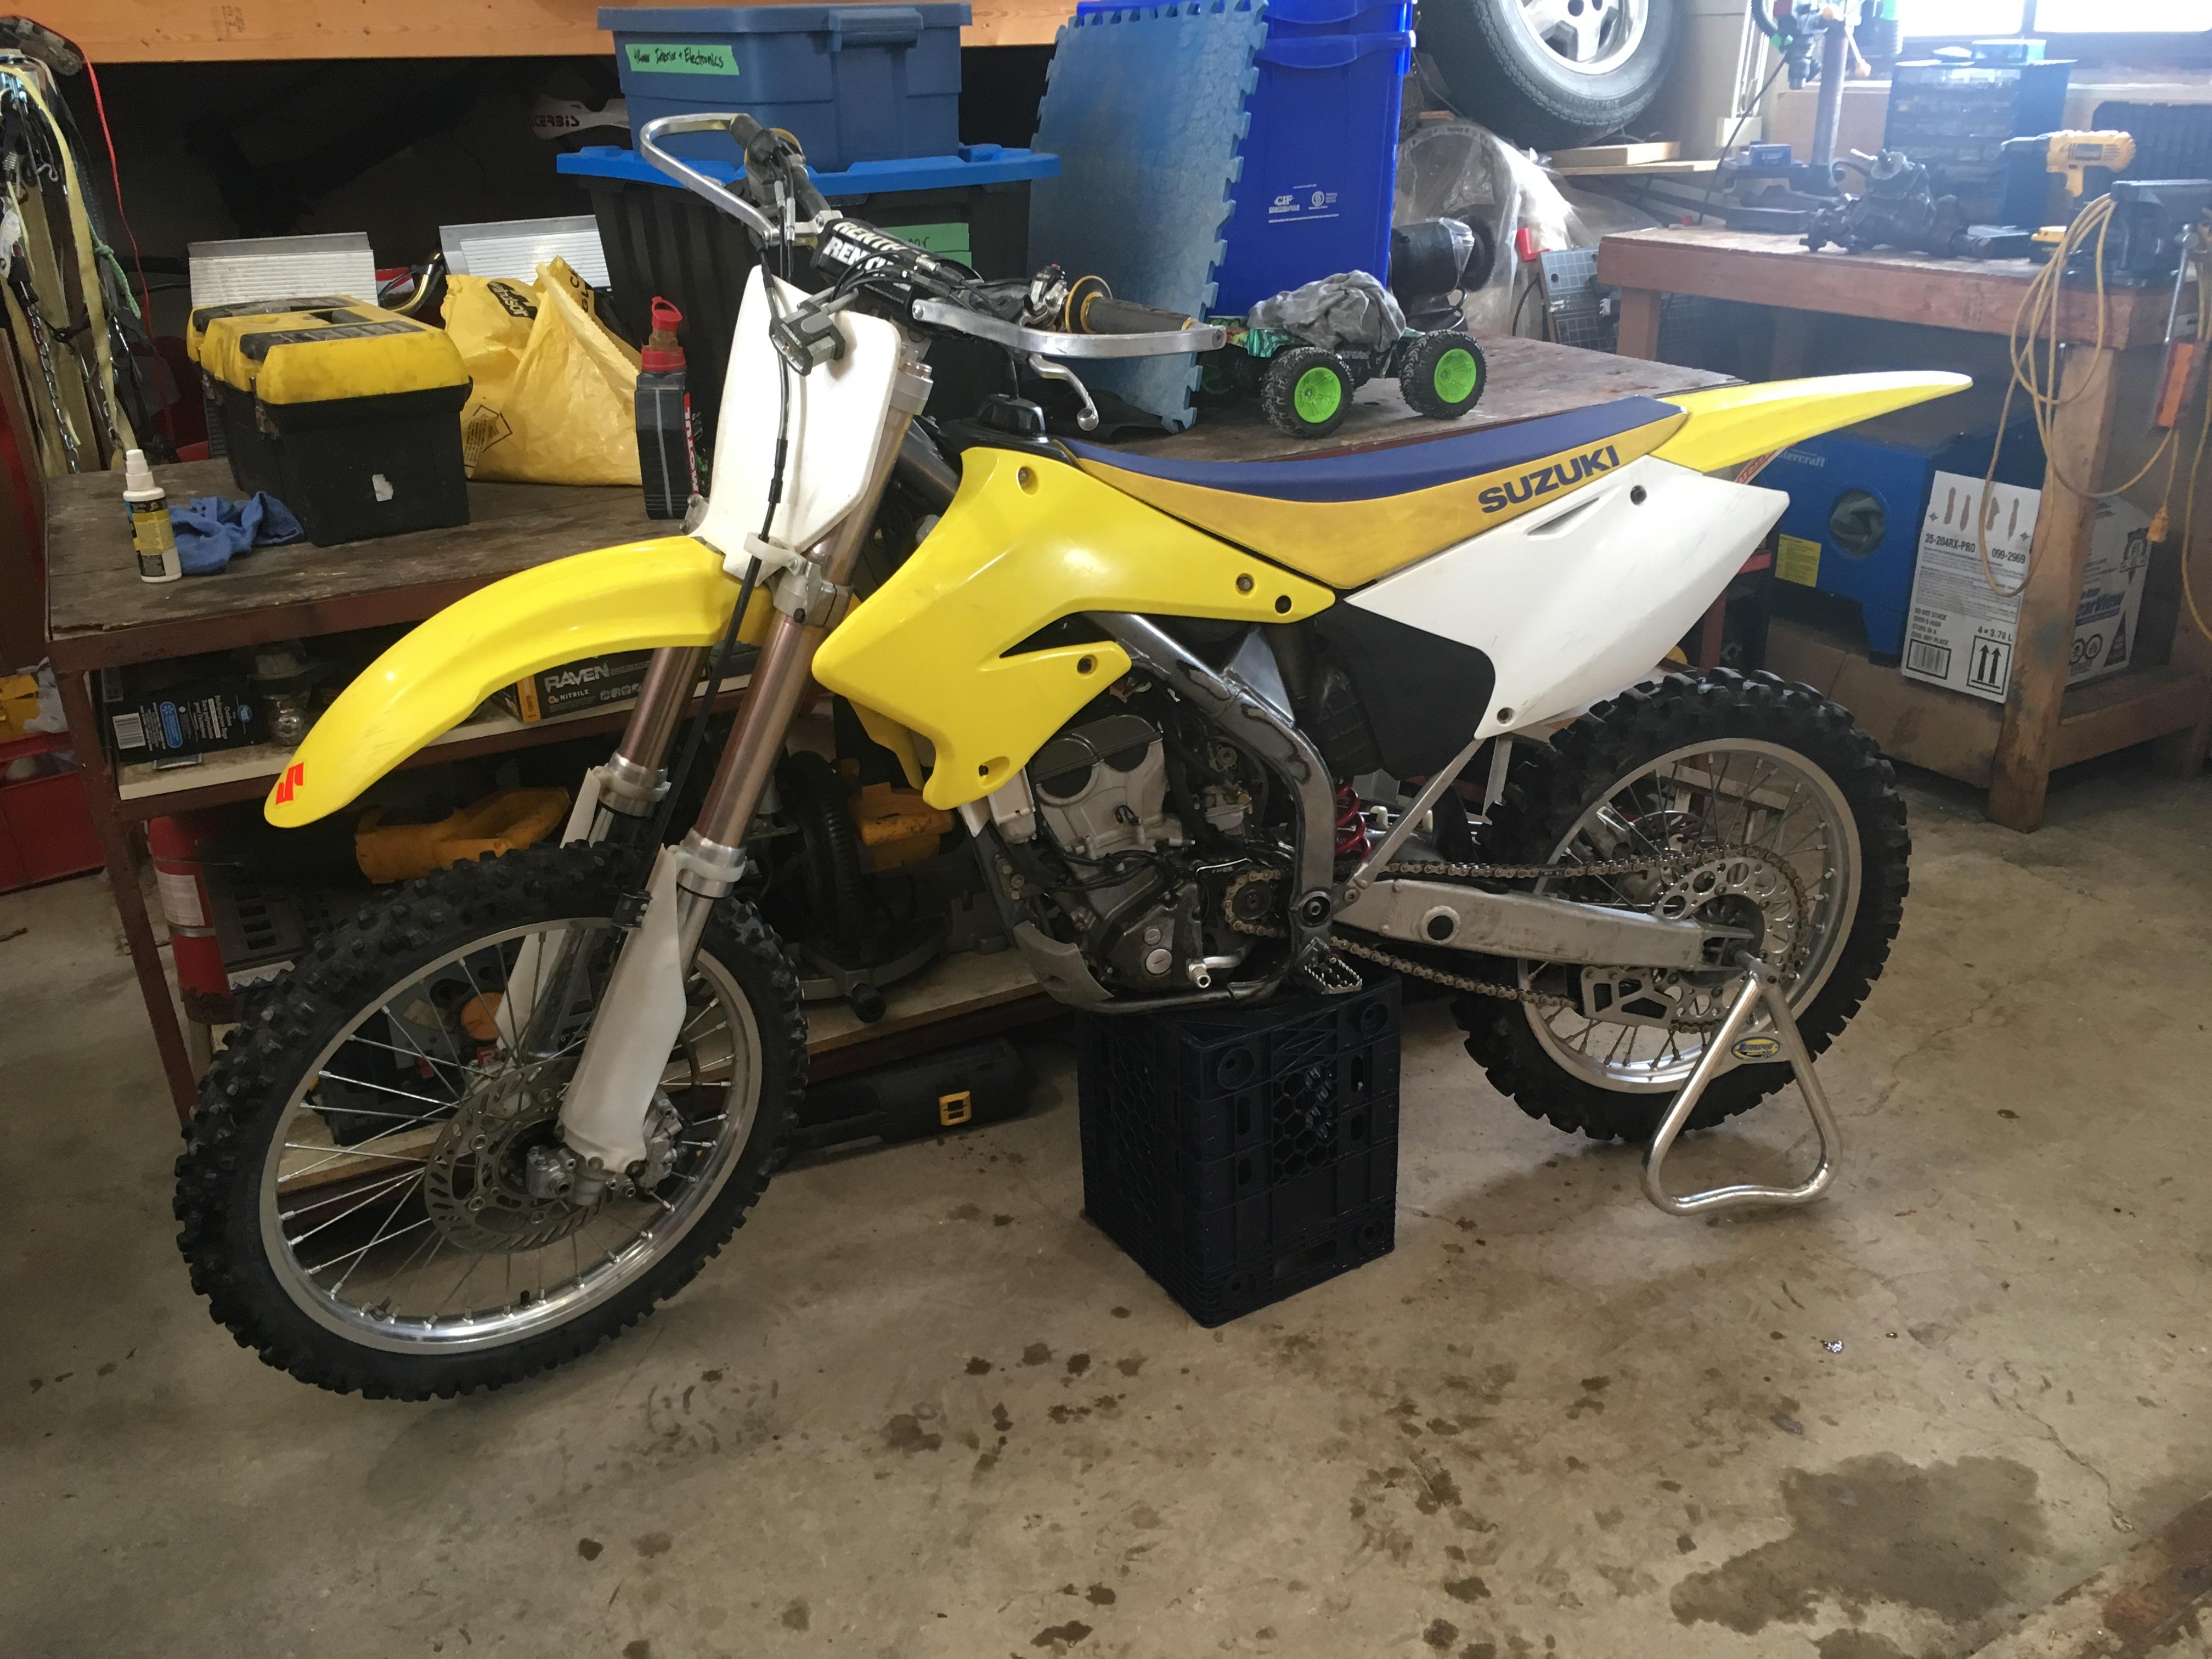
KLX guy came, inspected, and left.
Shortly thereafter, the potential buyer for the XT came, inspected, shook hands on an offer, and will be back tomorrow with cash in hand.
The girls got their cruise in Redee yesterday…the girls have started to call her “Brownee” on account of her new earthy tones. I used a Bruce Trail parking lot as a turnaround spot, and nearly got stuck. A little 4-by engagement, and mountains of sloppy wet snow were sent flying, so Redee the girls and I were able to continue on our tour.
In the next couple weeks I’ll test that the rear locker works, and hopefully proceed to wiring up the ARB compressor. I gotta make a home in the dash for the new bank of switches I’ll require.
 toys-n-yotasKeymaster
Only half a celebration today.
Redee had her frame welded up solid, and now tracks dead straight heading down the road, even when she hits a bump. Brian and Justin knocked it out the park!
Unfortunately, a POS F250 was on the alignment hoist too long before me, so I wasn’t able to host the kijiji bike guy today. We talked on the phone, and both want the same thing….each others’ bike with no money out of pocket. So my fingers are crossed we’ll link up this weekend still.
And, no cold beverages yet, waiting to see if I have to go out driving to pick up my oldest daughter from a sleepover. Figure I’m within 60 minutes or so from Beer-O-Clock.
 toys-n-yotasKeymaster
Yea it wasn’t fun hitting up the coin carwash this morning I had mud still on my bike from when I got chucked and broken July 2018! Super clean now, fresh oil, and started on the first kick!! I gave her about 10-kicks holding the kill switch to prime the fuel/oil a bit.
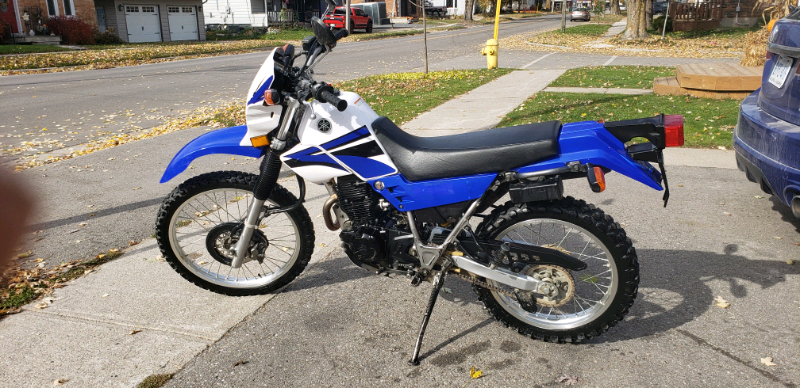
Kijiji is really heating up this past week. Matt and I have two kijiji’rs lined up to buy the flipper bike on Sunday. It’s a low km 2007 Yamaha XT225 that we got in the fall. Clean, but a little too slow for us to keep, and tons of room to make a profit, even with some negotiation.
Tomorrow should be fun day, lots on the agenda. Wasaga road trip, alignment, potential new bike (to me) and regardless of the outcome, a cold beverage or two.
-
This reply was modified 5 years, 11 months ago by
 toys-n-yotas.
 toys-n-yotasKeymaster
Fingers crossed she passes inspection.
 toys-n-yotasKeymaster
I really considered putting it on the roof, but I think it’s too much weight for the fiberglass topper. The roof rack is attached with Rivnuts, and I would hate to punch through, or tear out one of the fasteners. I had the tire up there for a few hours last year, but once I got it strapped down, I just wasn’t comfortable with it. I should weigh both the tire and high-lift for comparisons sake. Causes me no concern to keep that chunk of iron up there, maybe the problem lies between my ears….
In regards to 285’s, The 4Runner will be getting a set of adjustable Bilstein 5100’s, in a week or two (or 3 or 4) which I think we’ll set around 1.5-1.75” initially. He briefly googled “285’s on 4th gen” and when the CUTTING & TRIMMING guide popped up, that put an end to the 285 talks. Maybe for the next set, once the mod bug is more deeply rooted haha.
New topic. I’m Finally getting some bites on my kijiji TRADE ad for my dirtbike. I was offered a trade on a KLX400 a week ago, then the guy went silent as he checked out some other bikes. Guy came back today inquiring about a Friday visit. Fingers crossed my bike is just what guy is looking for, cause his KLX is what I’m after. C’mon square trade, Daddy needs (wants) a new-to-me bike with no money spent out of pocket.
 toys-n-yotasKeymaster
Redee has an appointment for an alignment and cam bolt repair on Friday at 10am, pretty excited.
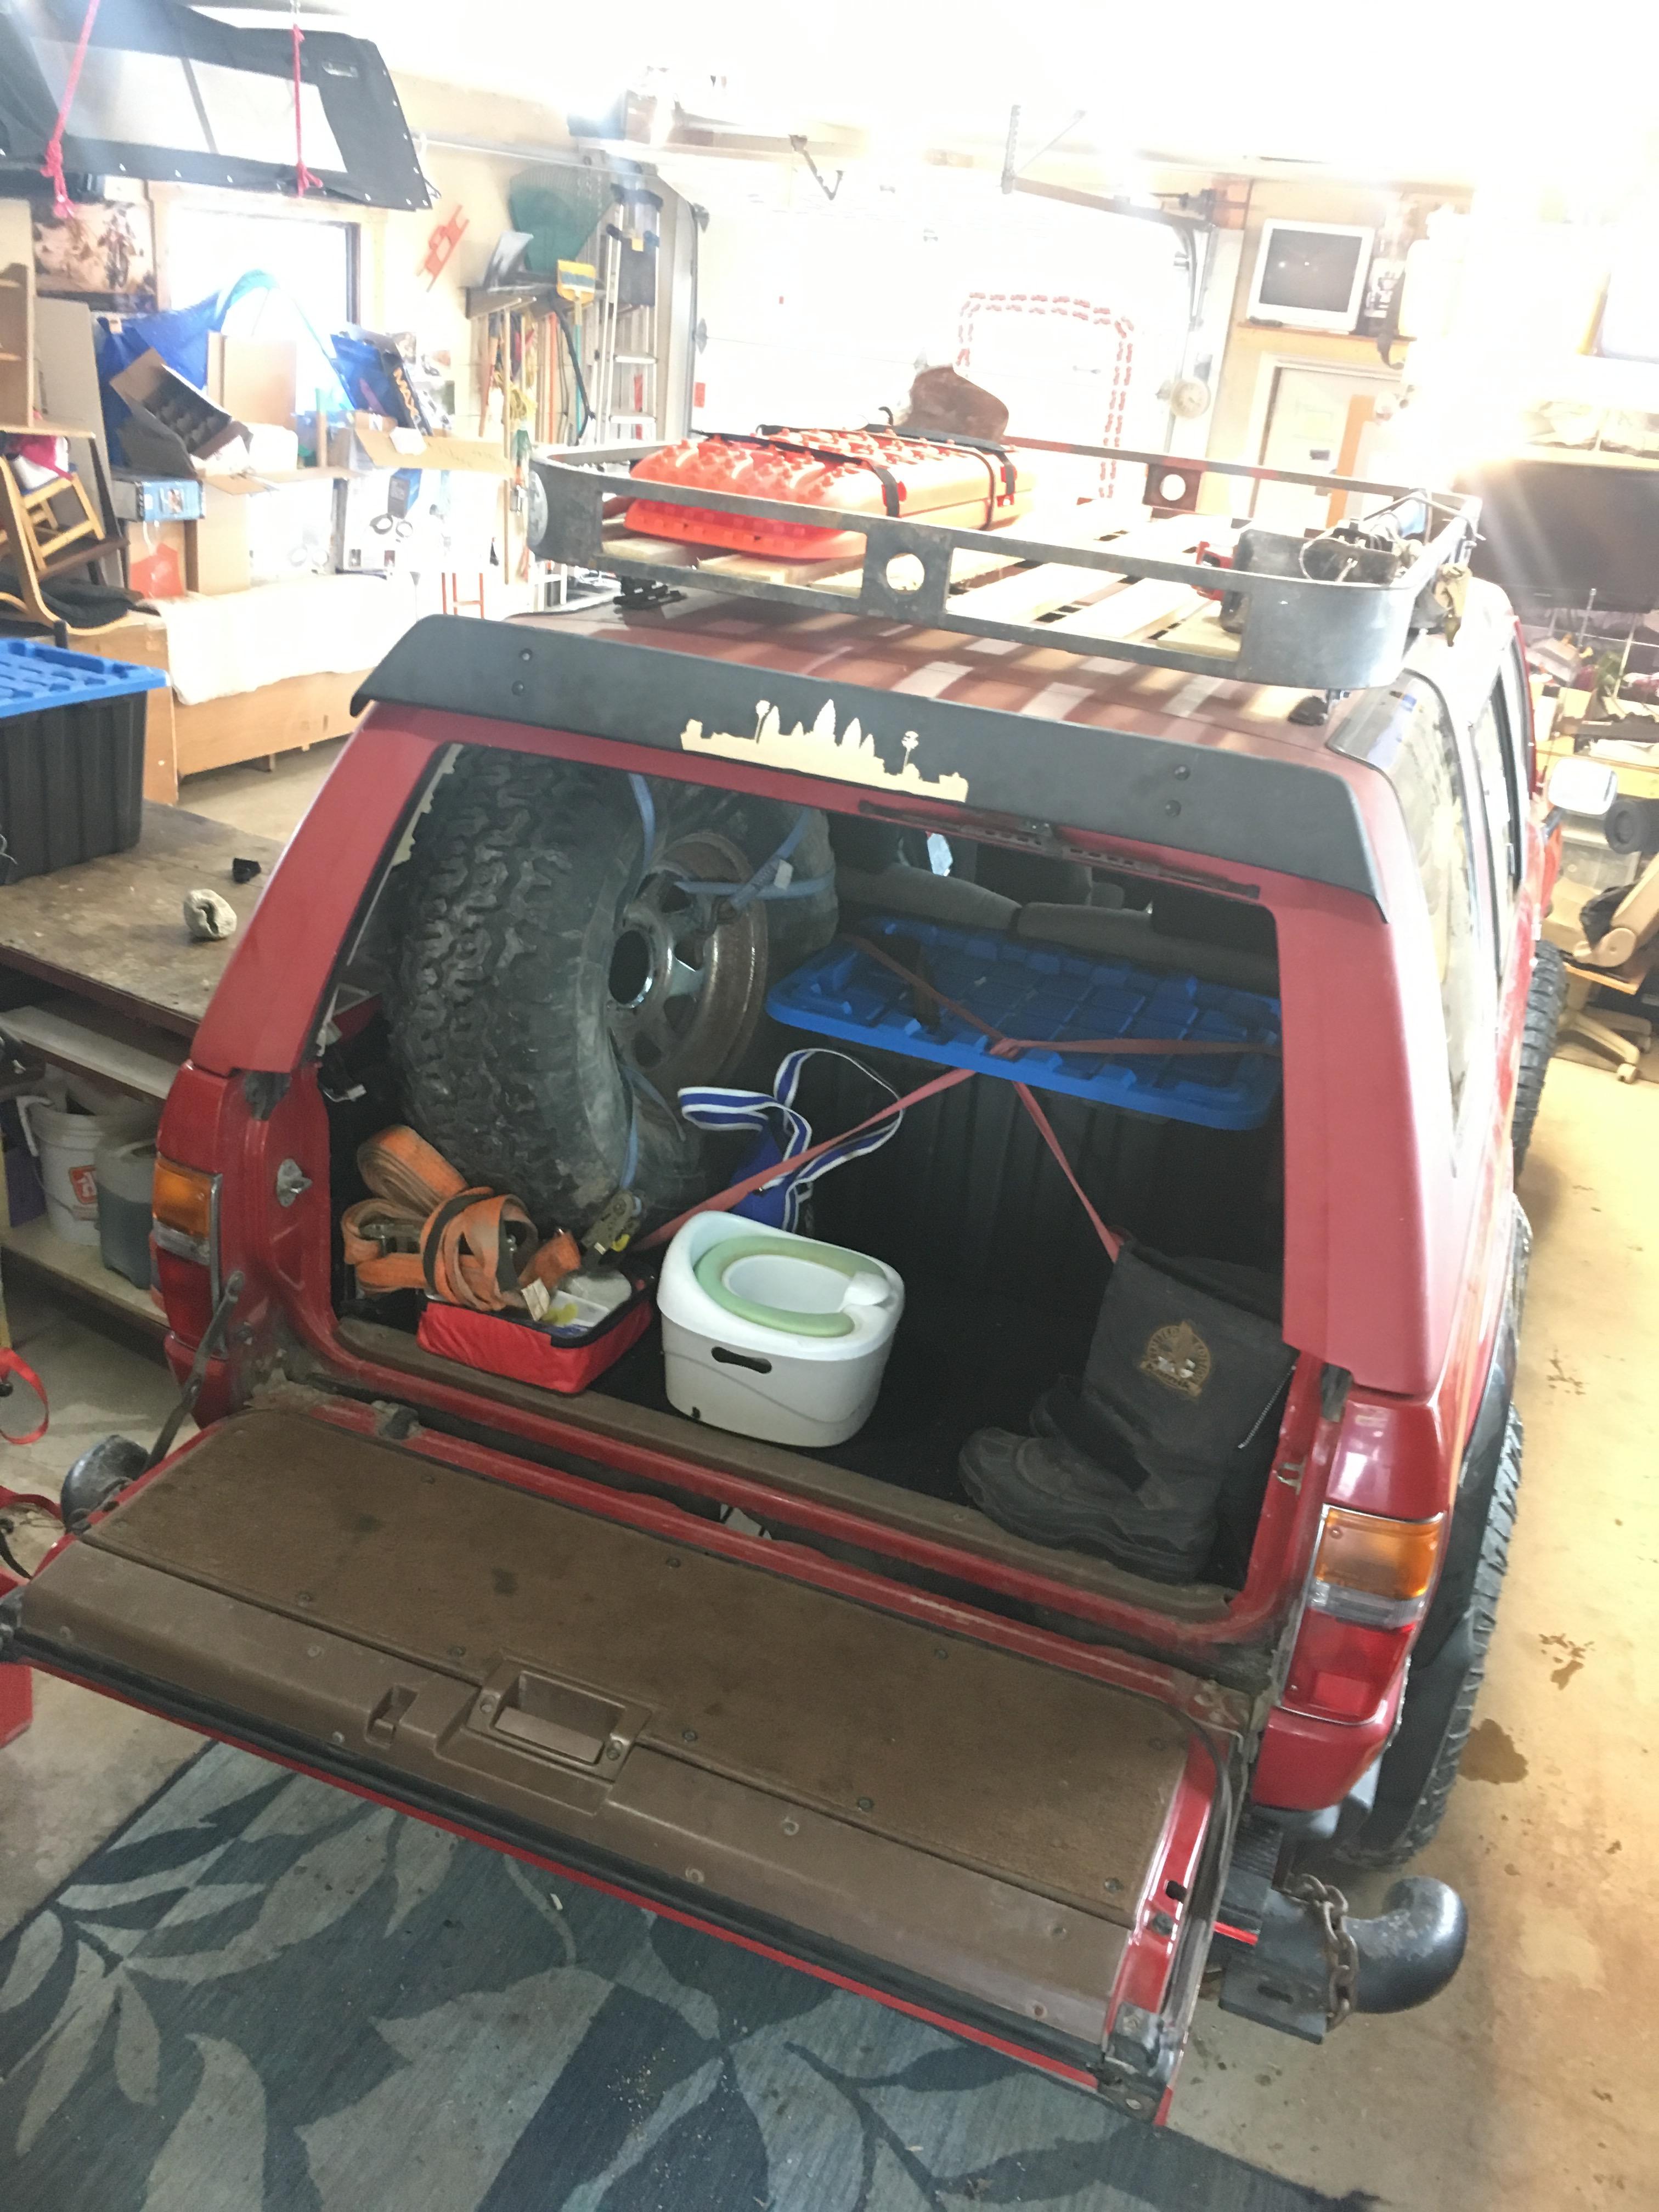
Took a bit of time today to re-pack Redee, and against all my best attempts I had to put the spare tire IN the trunk. A few months back I got a spare tire crank and the tool kit from Norilsk on TacomaWorld, but my SmittyBilt rear bumper completely impedes line of sight to the crank. I either have to notch the bumper, lower the crank mounting about 5”, or deal with the tire in the trunk for now. Seeing as my eventual plan is to have the tire on the rear bumper, in the trunk will have to do….for now.
While I was under Redee, I re-routed the air line for the rear locker to the trunk, cause I plan to mount the compressor behind the drivers side wall.
My buddy Matt (2003 4Runner) popped over for an hour and I removed his running boards, and we mocked up my spare LT265/70-17 Duratrac to gauge fitment. He’s sold on the size, so he’ll get rims this week and be rollin’ on Duratracs soon.
 toys-n-yotasKeymaster
I do my best to save a few tasks the girls can help me with. I cherish when I have helpers in the shop. It’s why I’m breaking my own rules to bring Redee out into the snow. The girls’ love for my trucks is about 85% of my own, but they have WAY MORE FUN than me haha. When I had Mikes BigRunner, we drove about 20,000km imaginary kms through the everglades, dessert, jungles and cow pens haha. I actually drove it about 100km, and most was in Low range.
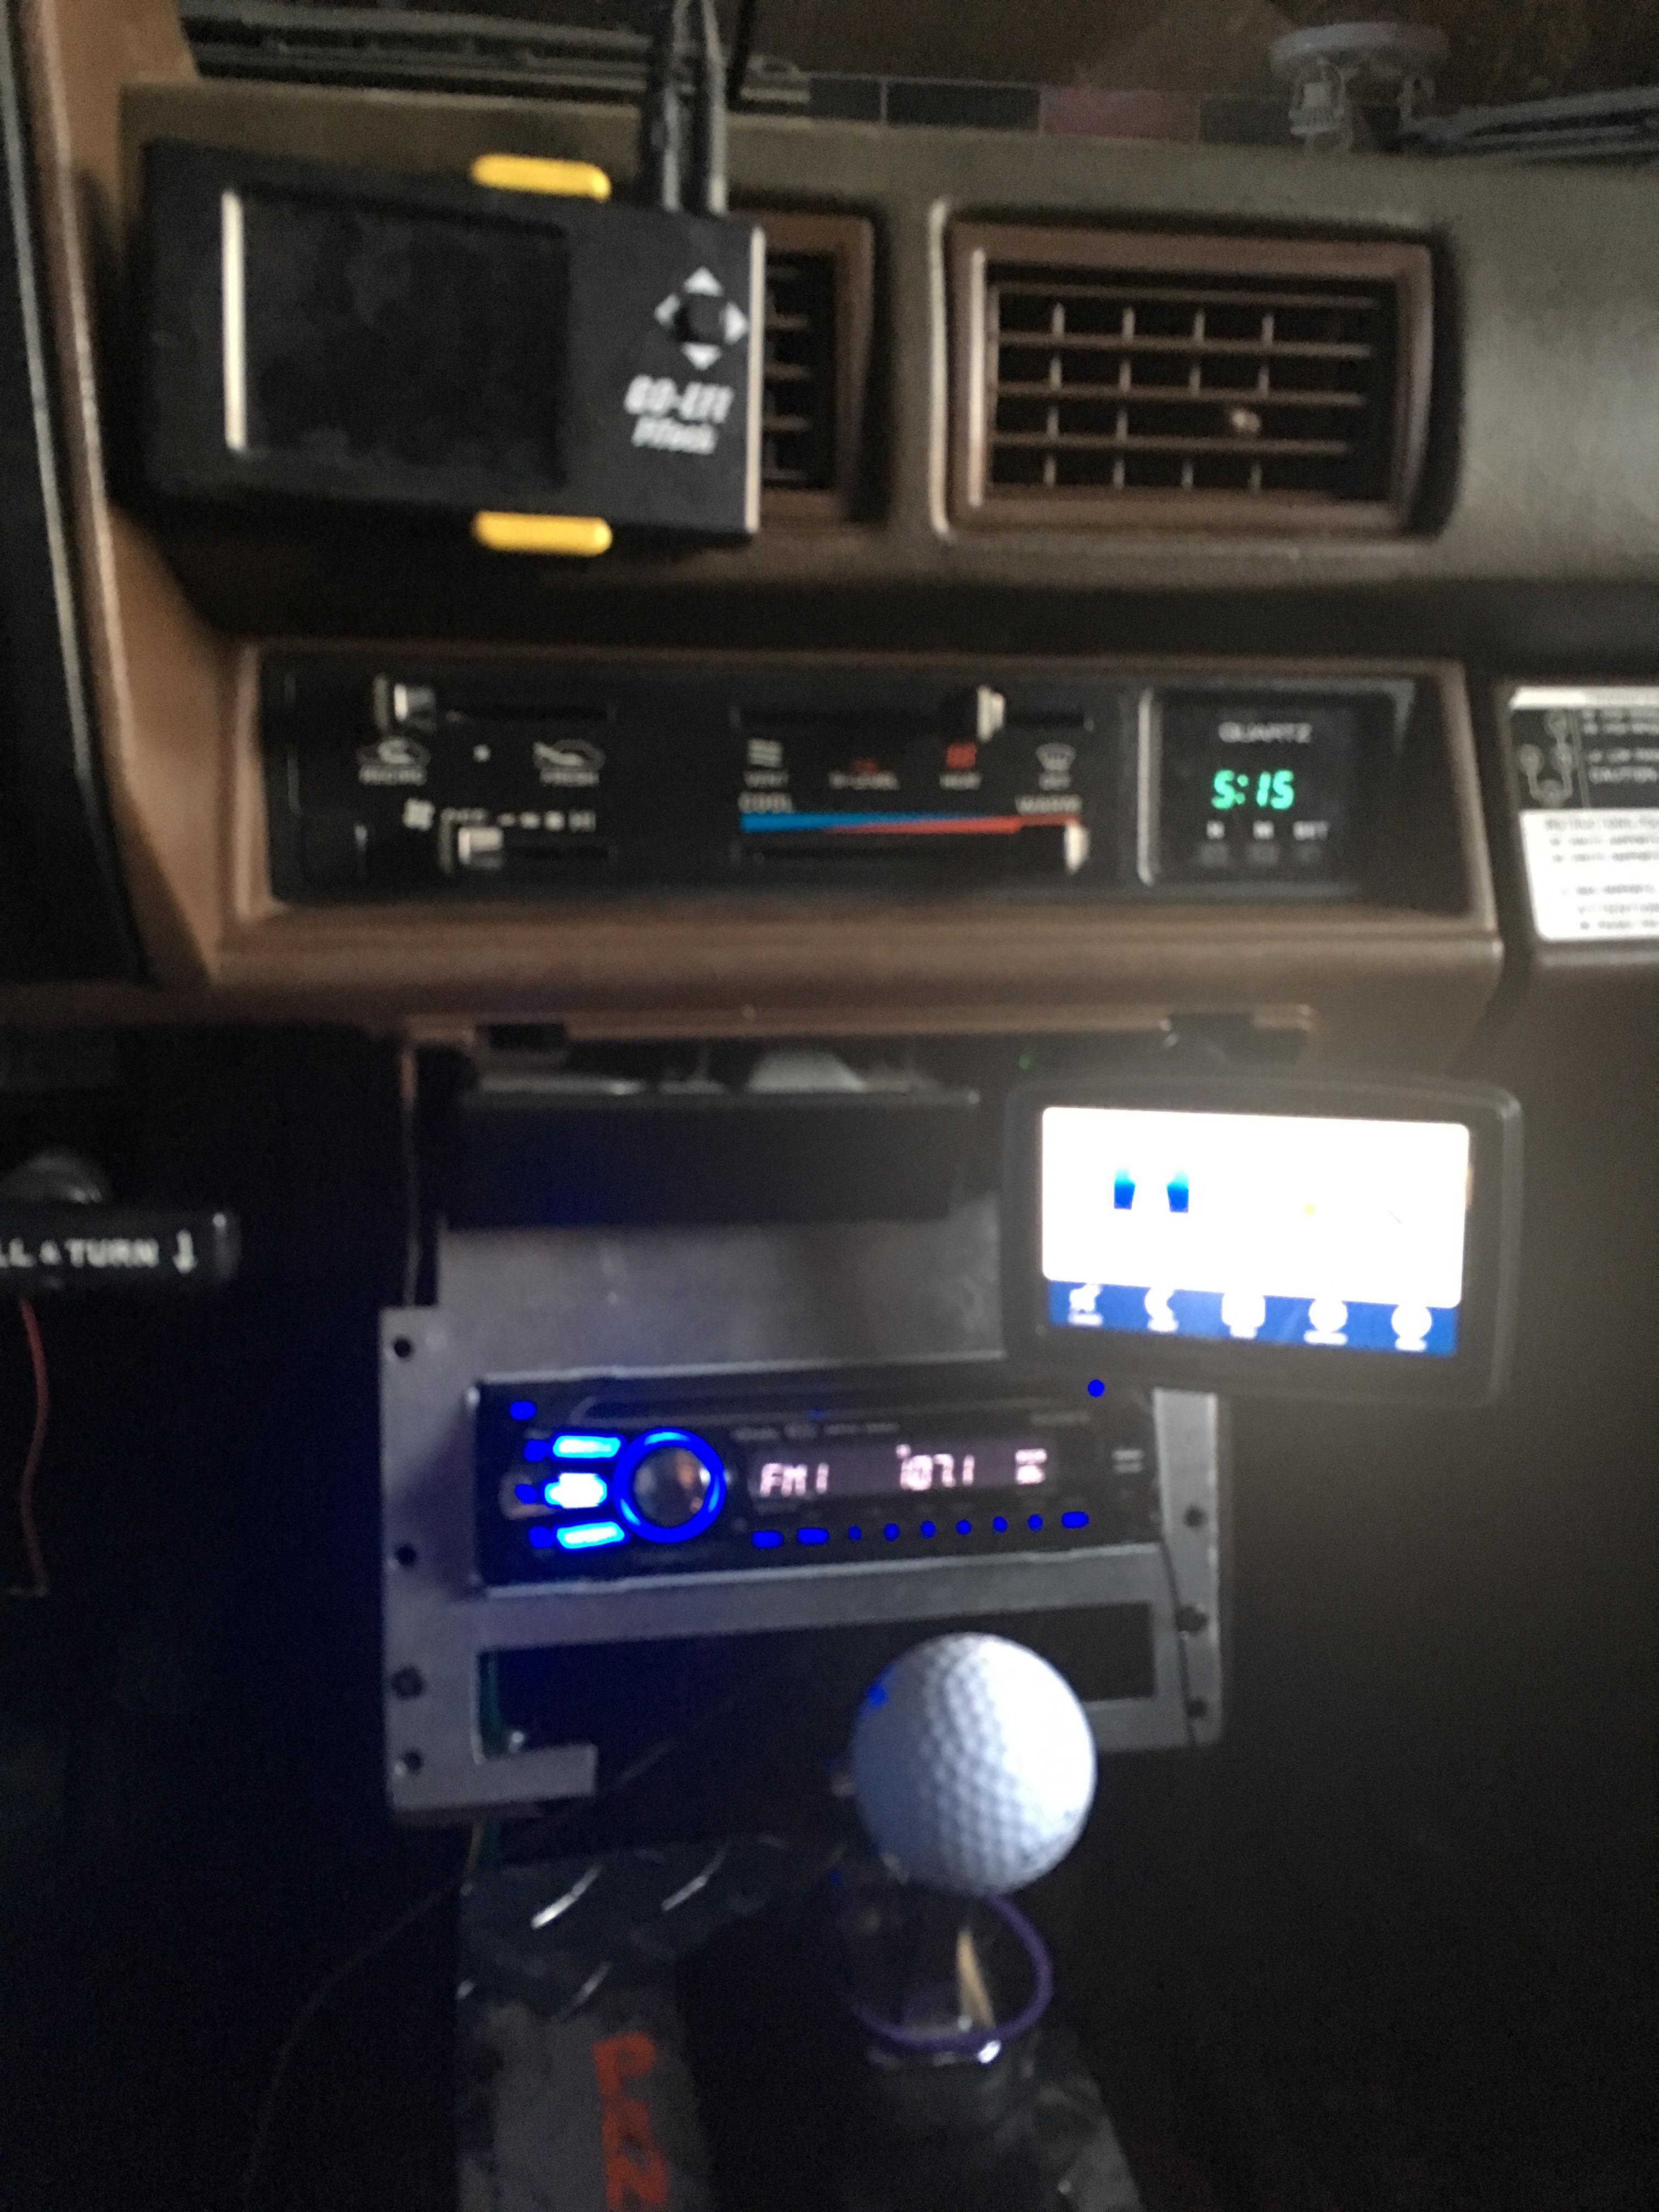
Last year I was using the GPS to verify my road speed, speedo is out 17%…hard to calculate on the fly.
Now I just aim for 5km/h under in a 60km/h zone, and aim for 10km/h under in an 80. When the Speedo reads 78, GPS says 90. Honestly, I don’t know why I bothered to mount it, other than to fill the hole in the dash where the cigarette lighter used to be.
 toys-n-yotasKeymaster
Thanks Steve, been busting my butt all week.
I was texting my buddy Brian (@ Lakeside Auto in Wasaga) in regards to the LCA repairs and alignment, he assured me that if I bring it to him, he’ll fix it up right.
Brian’s offer sure beats the quote I got locally of “Well it starts at $149, + tax, + shop supplies, + adjustments.” Wtf? Plus adjustments?? What kind of alignment makes no adjustments?? So that turned me away pretty quickly.
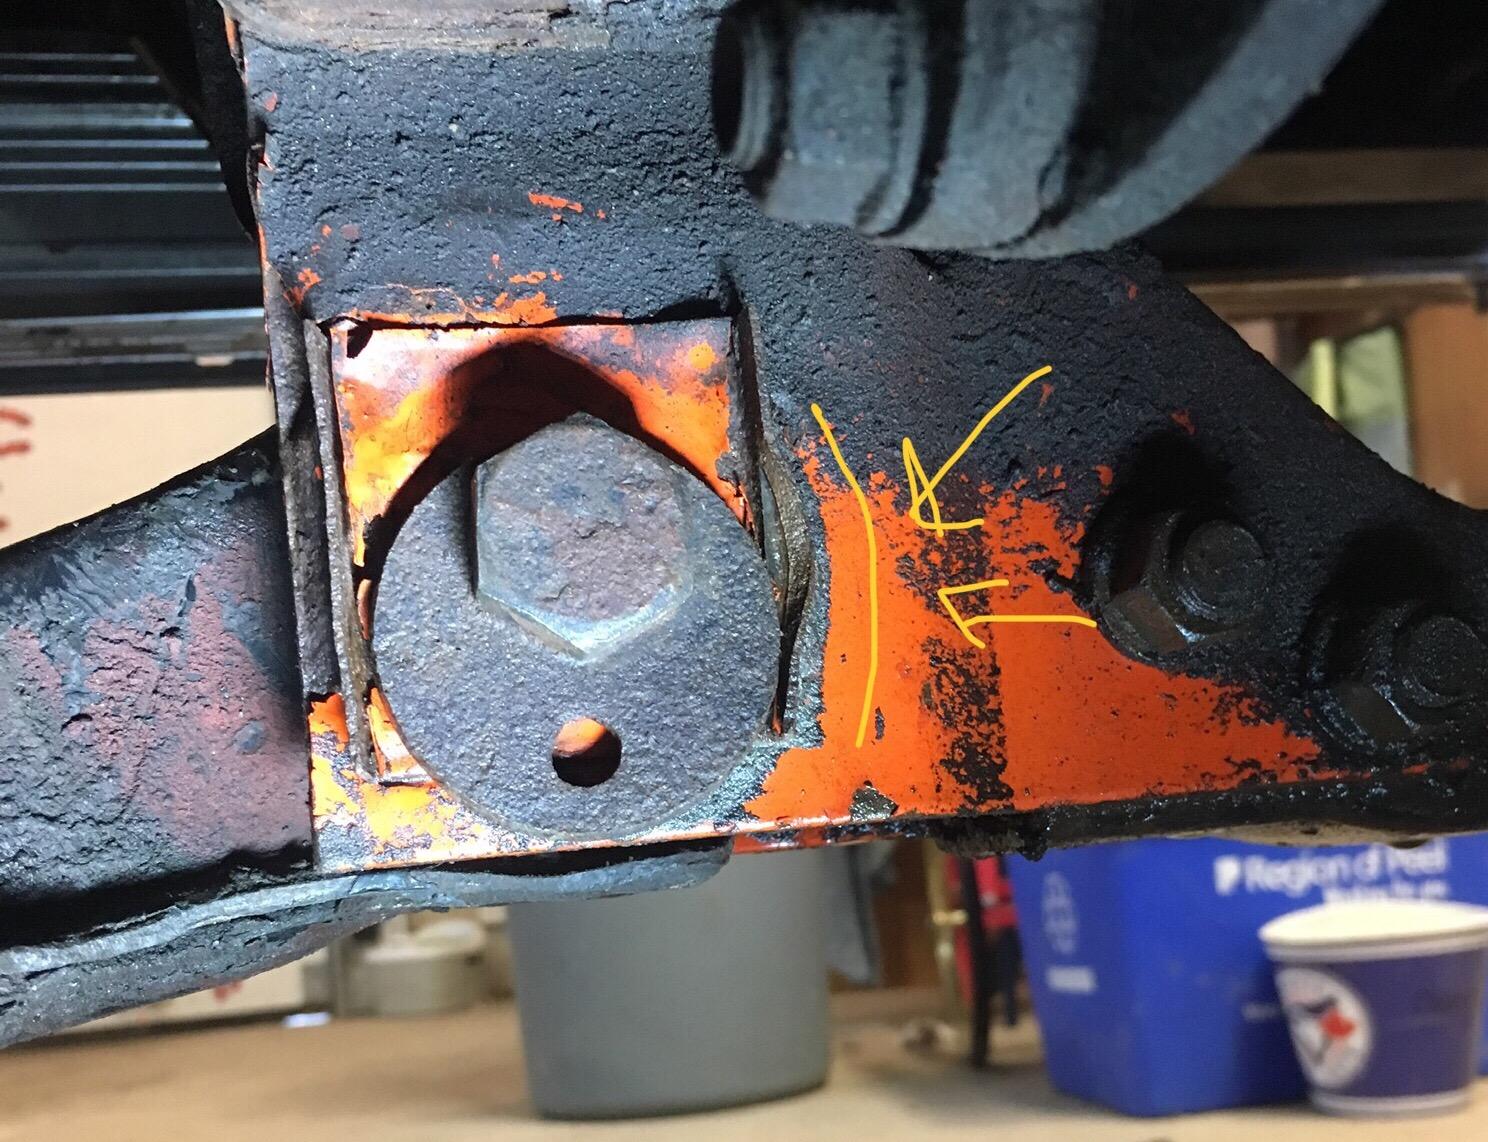
4 of the 8 cam bolt channels looks like the one below, NFG. I’m gonna do my best to set the TOE in my shop, then drive cautiously to see Brian a day next week. After my 10km test drive yesterday I adjusted the TOE slightly, bringing it more TOED IN, especially on the drivers side, but no test drive as Redee is tucked back in the shop for now. I did a good enough job parking in the same spot, my daughters didn’t notice I took Redee out, without them. Woulda been Hell to pay had they noticed!
Today my older daughter helped me rig up my TomTom GPS mount onto the dash. She was so excited to use zip ties, so I let her use about a dozen haha. That GPS is in there rock solid now! Better than dangling from the ash tray like last year.
 toys-n-yotasKeymaster
Some good news! My gauge cluster looks factory, and everything works as it should! I was able to adjust the “china potentiometer” with the engine running, and got the tachometer dialed in within 100 rpm. The water temp needle sits right where it should, oil pressure responds with RPM and no leaks from either sender. The 4wd indicator works too. Like a whole new truck, from the drivers seat.
I have to swap OUT the led bulbs in the gauge cluster, because the turn signal greens aren’t visible. Perhaps the voltage isn’t correct to them.
Once I get the alignment done, hopefully cruising will be relaxing. Currently she’s a handful pulling left and right as traction levels change, and the brake bias needs way more rear brakes. Fronts lock, and rear keeps pushing forwards.
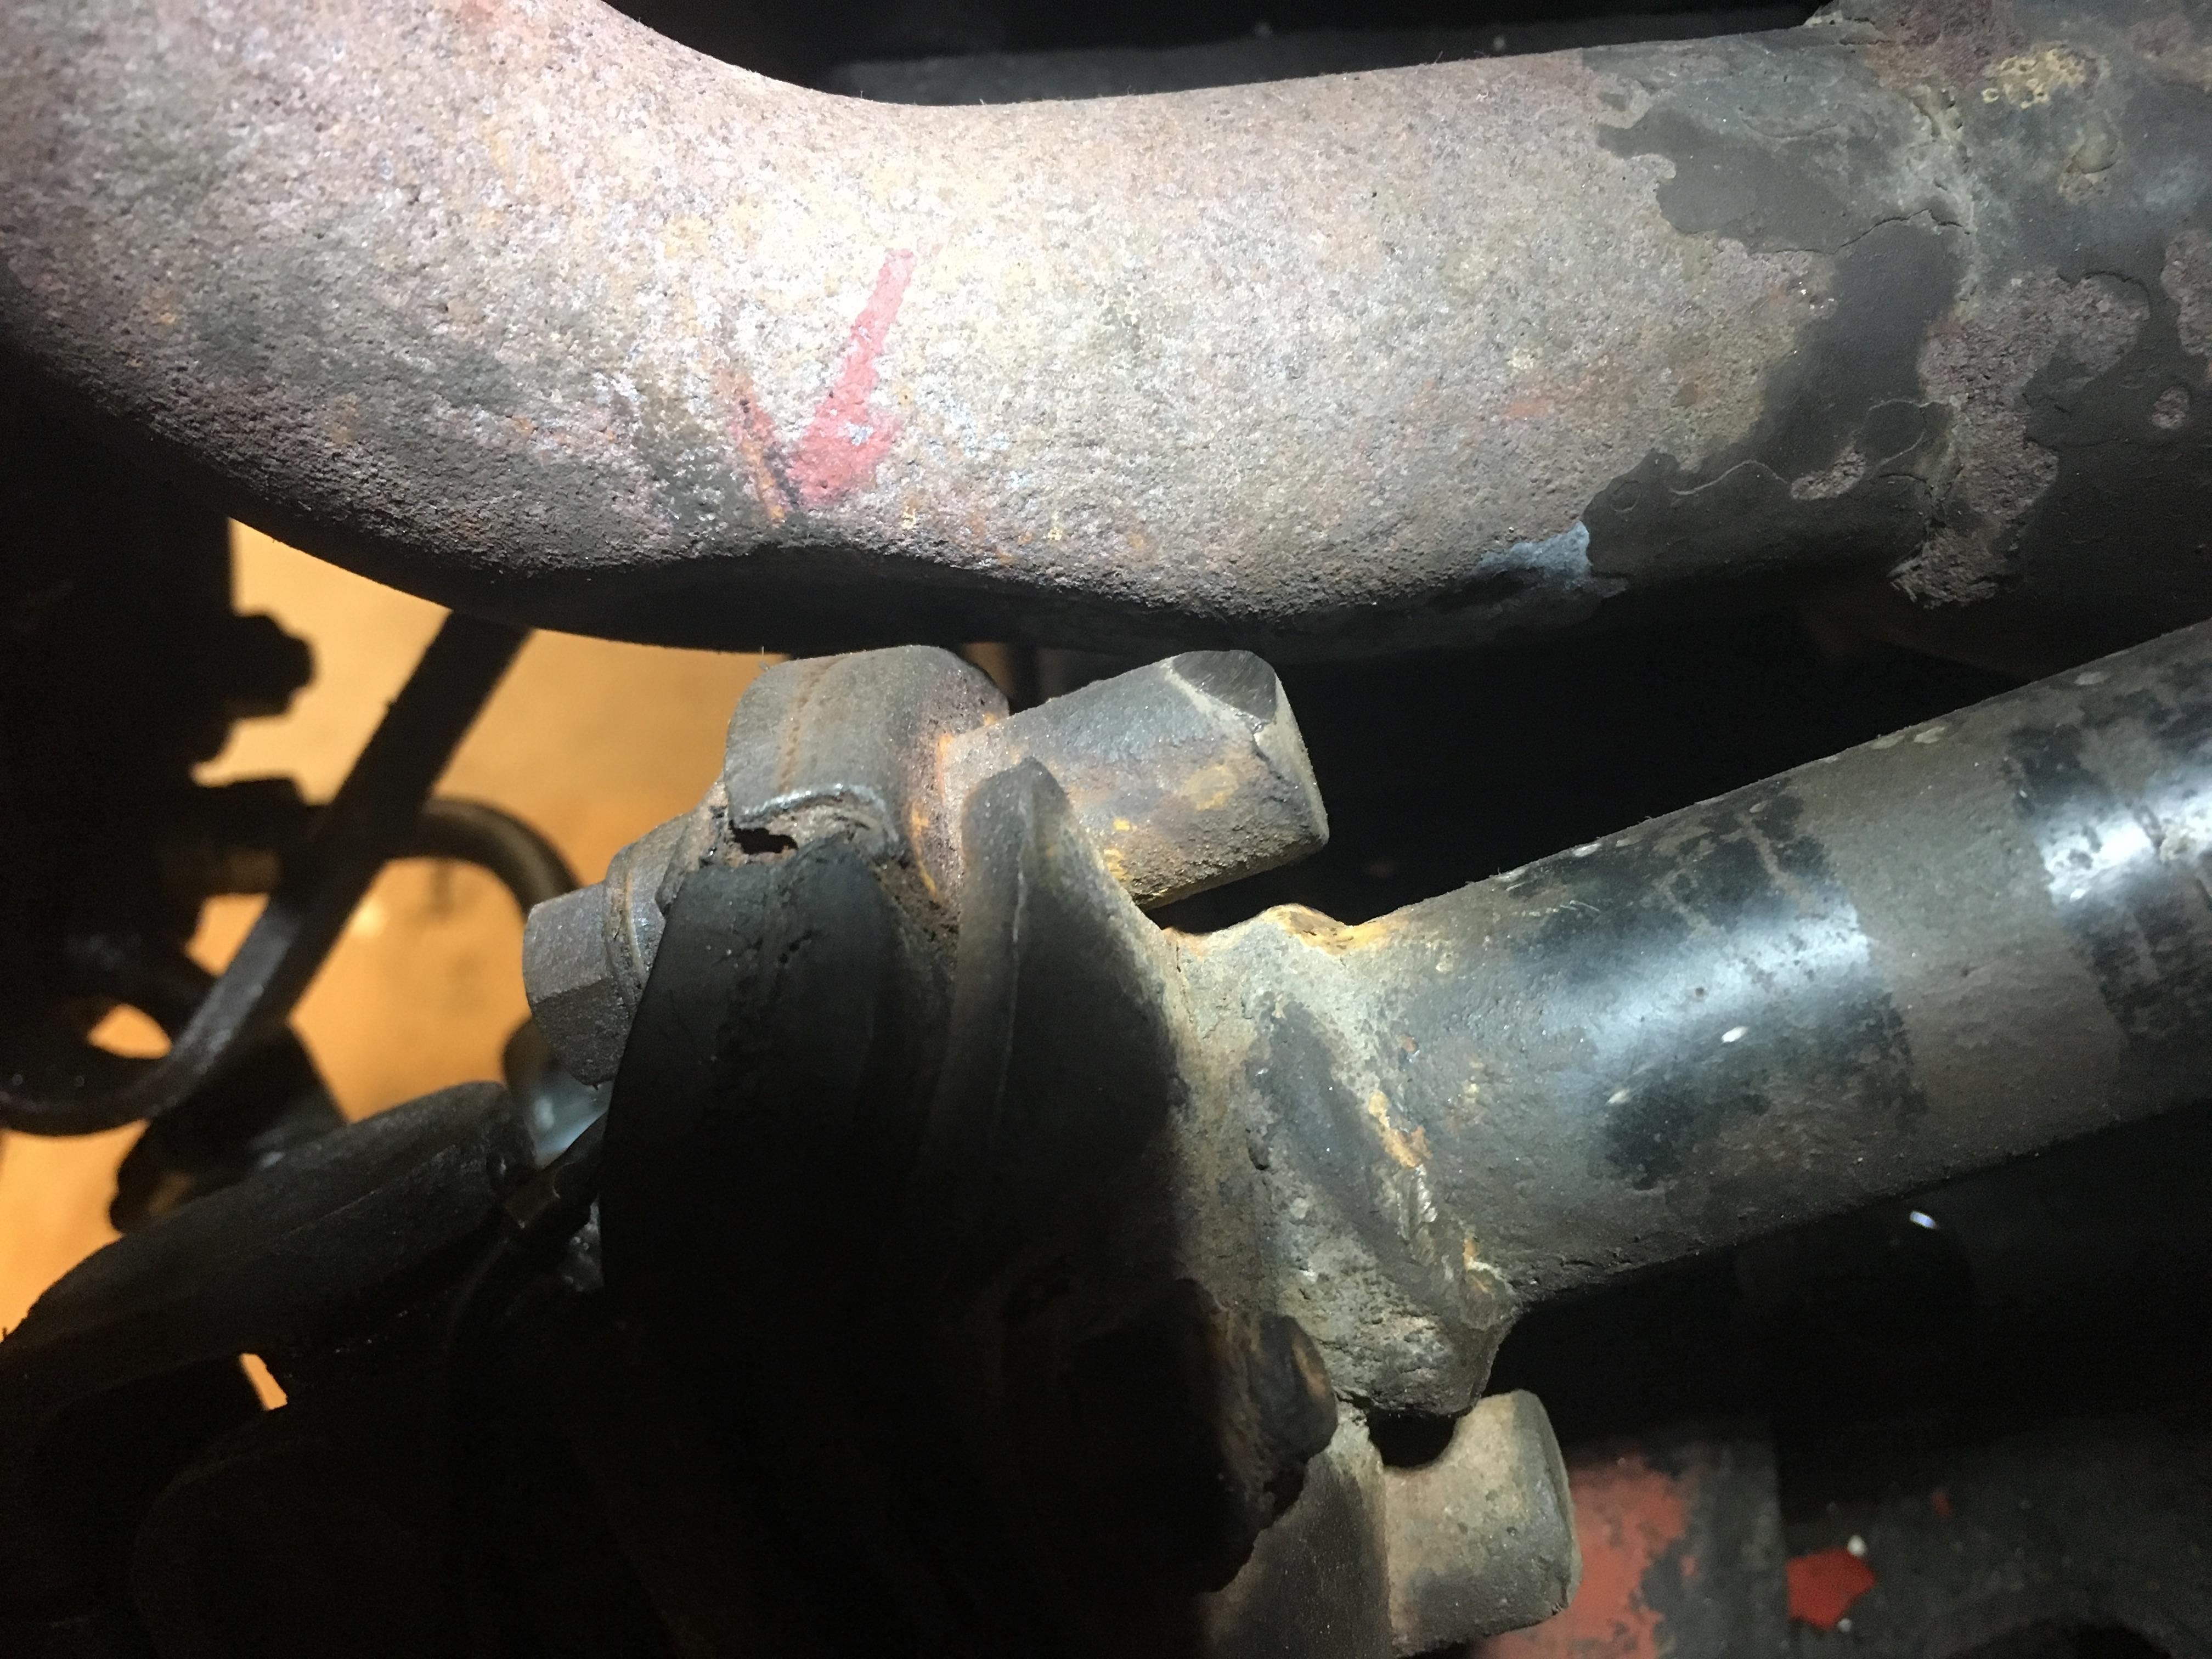
BFH work to the header and a custom grind on the intermediate shaft.
 toys-n-yotasKeymaster
Part 2 got stuck in internet limbo, so I’ll put the pure text version in.
Holy crap I’ve had a long 3 days in the shop, buttoning up 55 tasks to get Redee back on her wheels, and under her own power again. But I did it, see
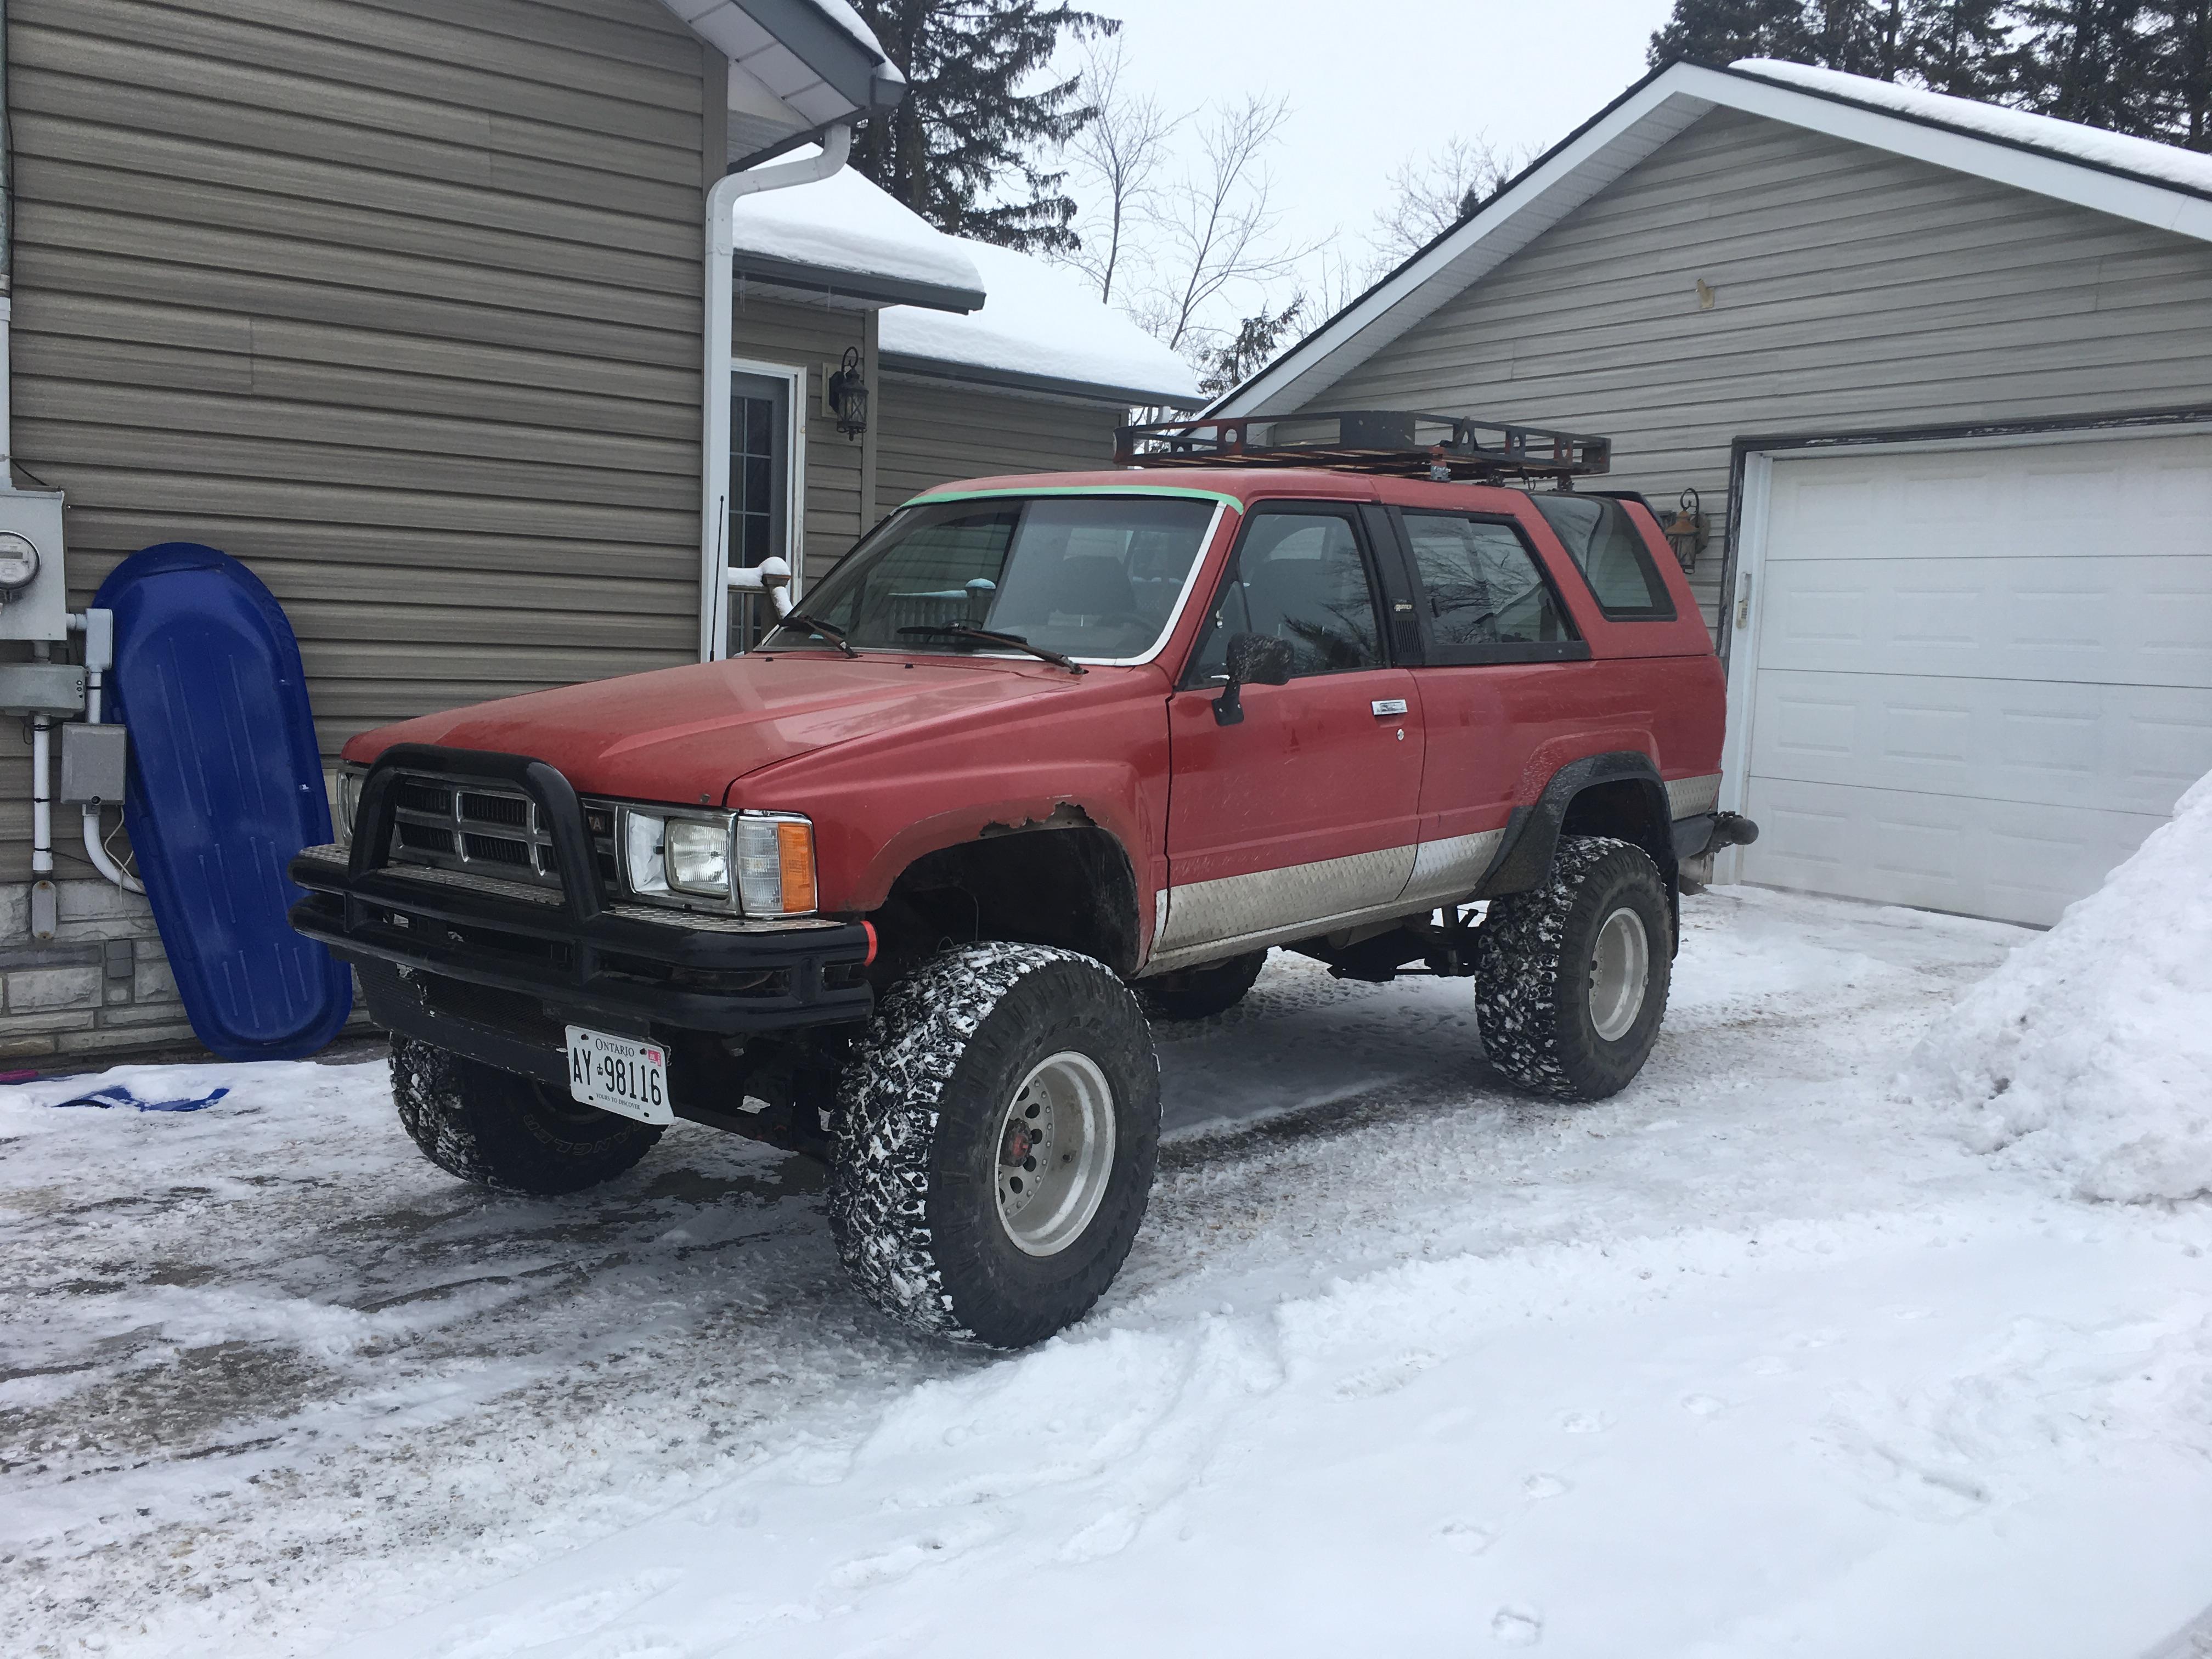
Anyways, this came after tons of challenges, but mostly overcome. The only task on my list before an alignment (which I desperately need), is to strengthen up those LCA adjustment bolt channels. Two of them have been pushed out wide, and that won’t stabilize the cam bolt well enough (I think?? Please correct me if I’m wrong). But I still gotta break out my mig, and play around before I can get Redee sorted out.
The steering box from Evan is compatible, but 25mm had to get cut from the steering intermediate shaft, and some custom clearancing was required on the exhaust header. BFH for the win!
 toys-n-yotasKeymaster
Huge shout out to @Toy-Yota for giving me a spare Power Steering Gearbox. I made the drive down Sunday, and the last 10 minutes are a real scenic treat. Pleasure to meet some friends and family Evan.
Today I spent an hour cutting off the old pitman arm, such a pain but it came off eventually. Only nicked the pitman arm splined shaft a couple times. Put another 20 minutes afterwards into wire wheel the exterior before my arms got tired, haha. My next bench grinder will be more than 2.5 amps, needs more power.
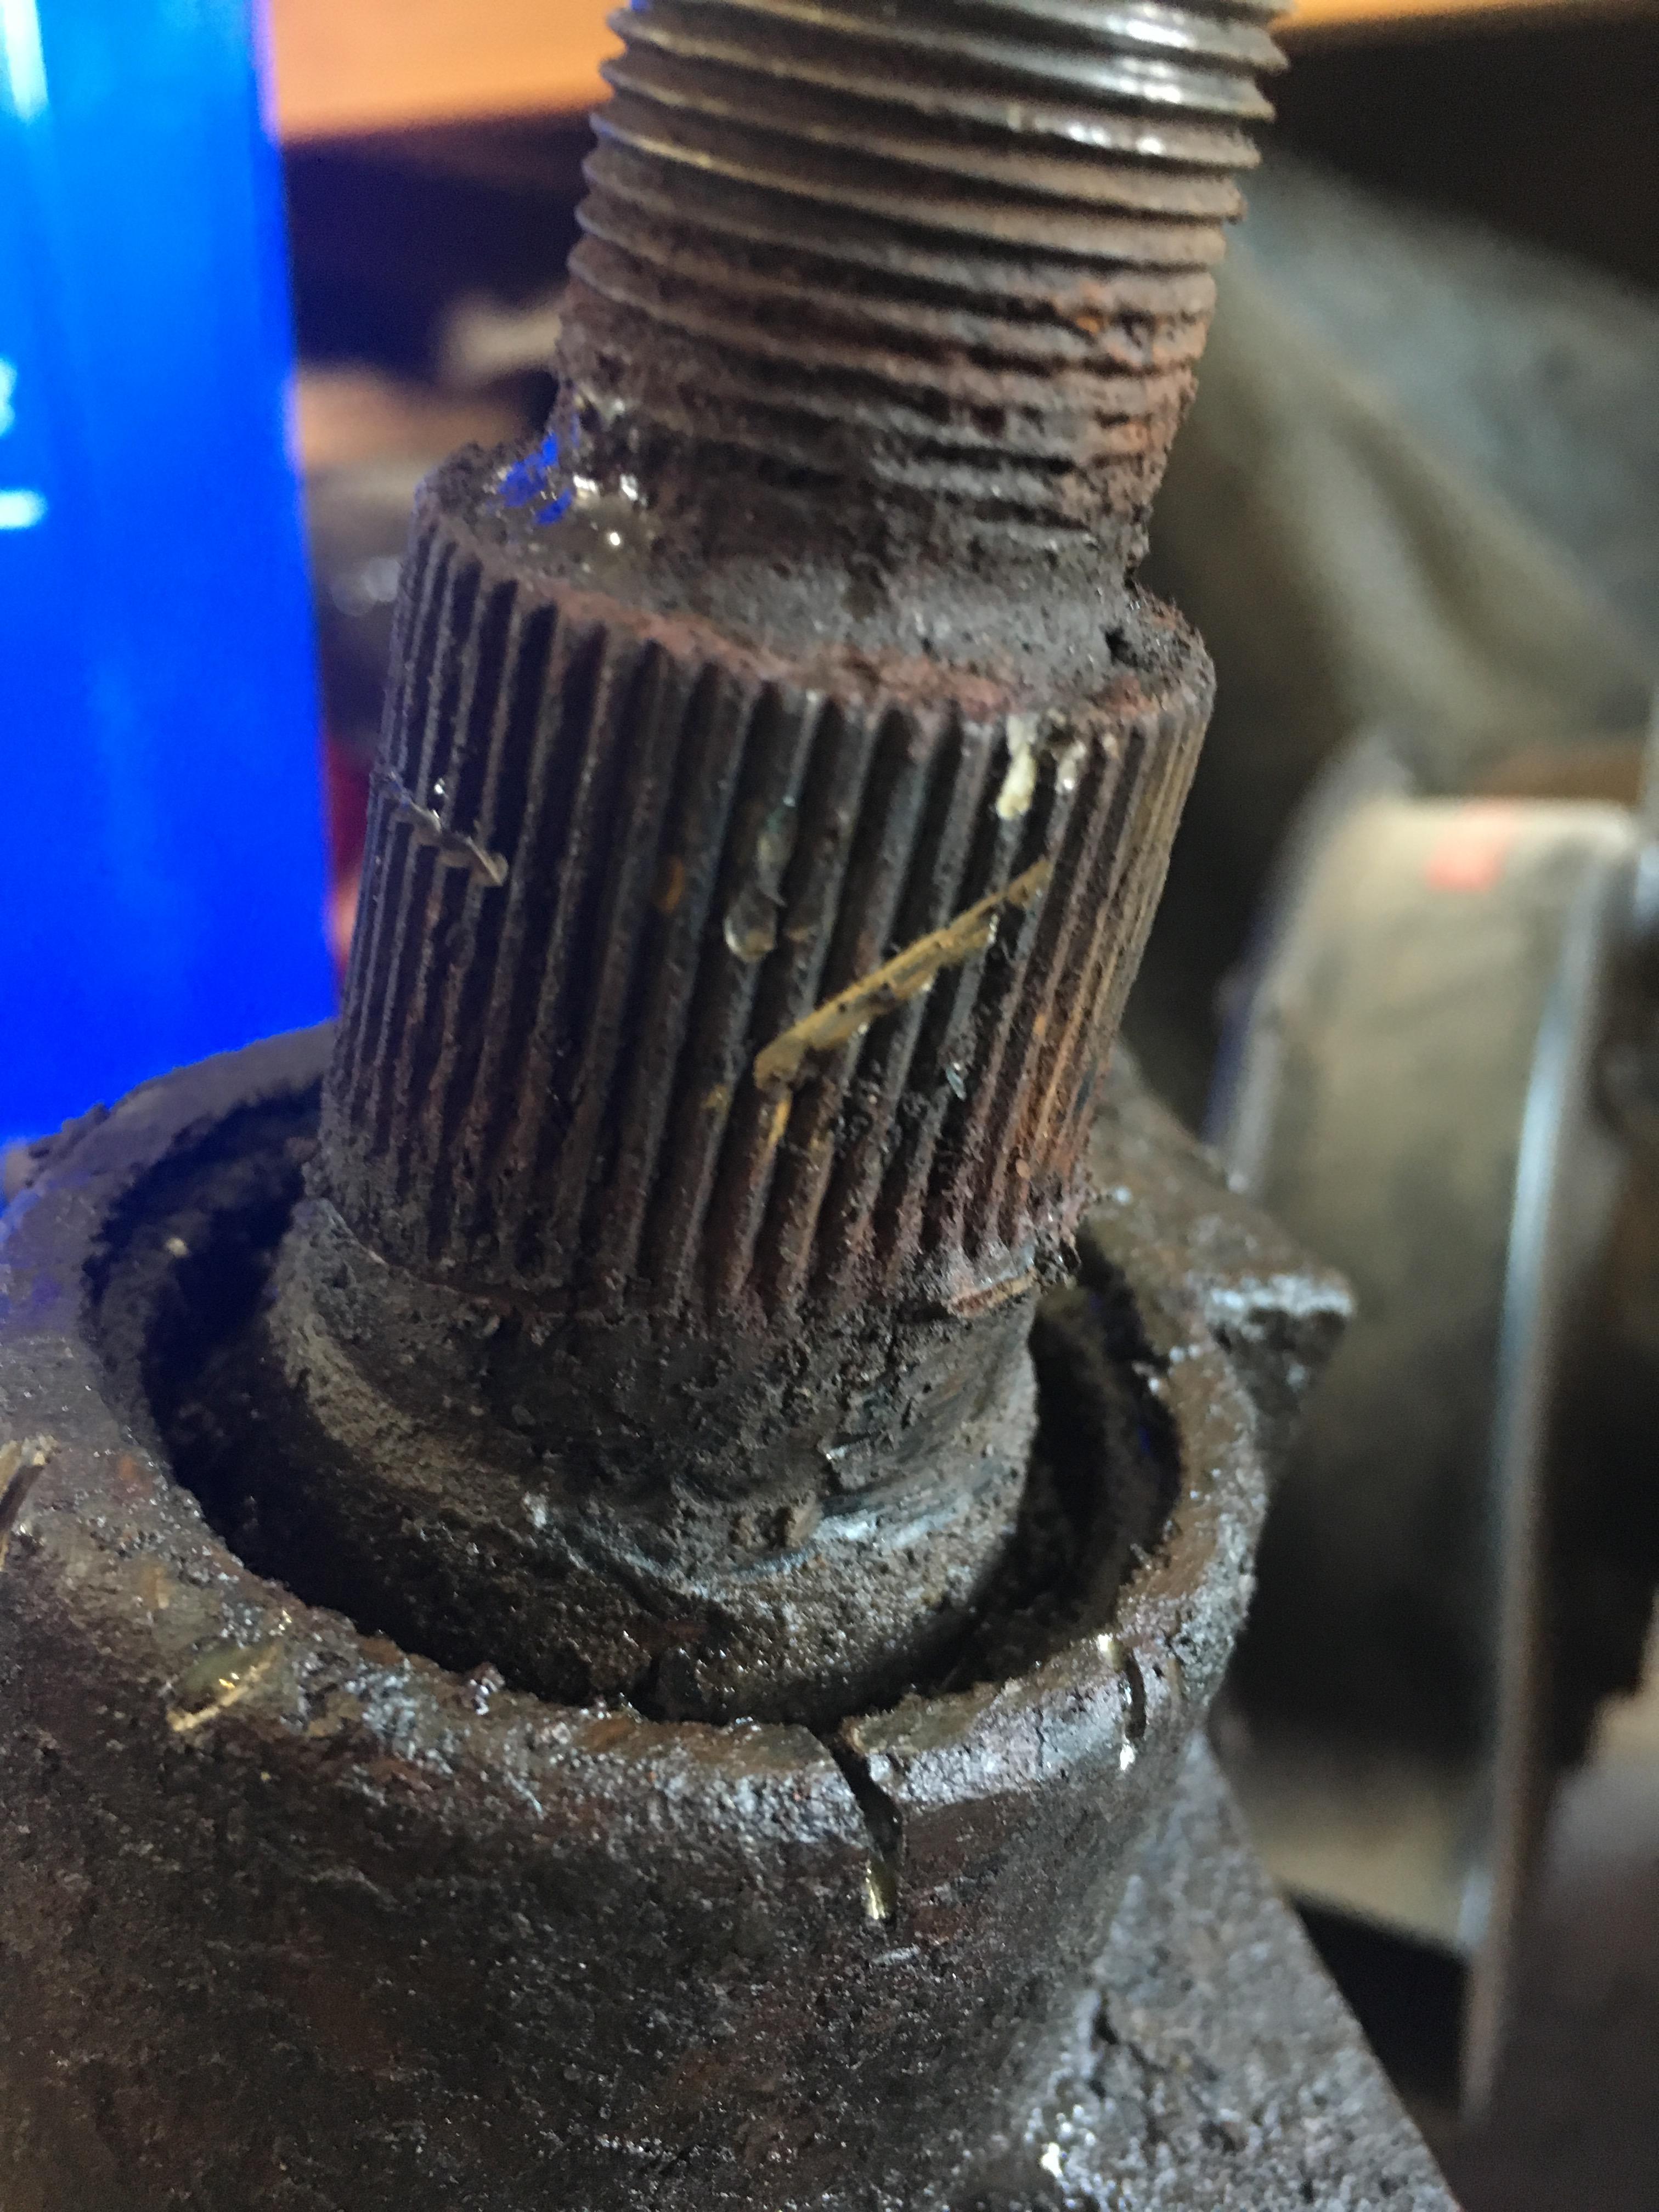
Stay put for part 2
-
This reply was modified 5 years, 11 months ago by
-
AuthorPosts
