Forum Replies Created
-
AuthorPosts
-
 toys-n-yotasKeymaster
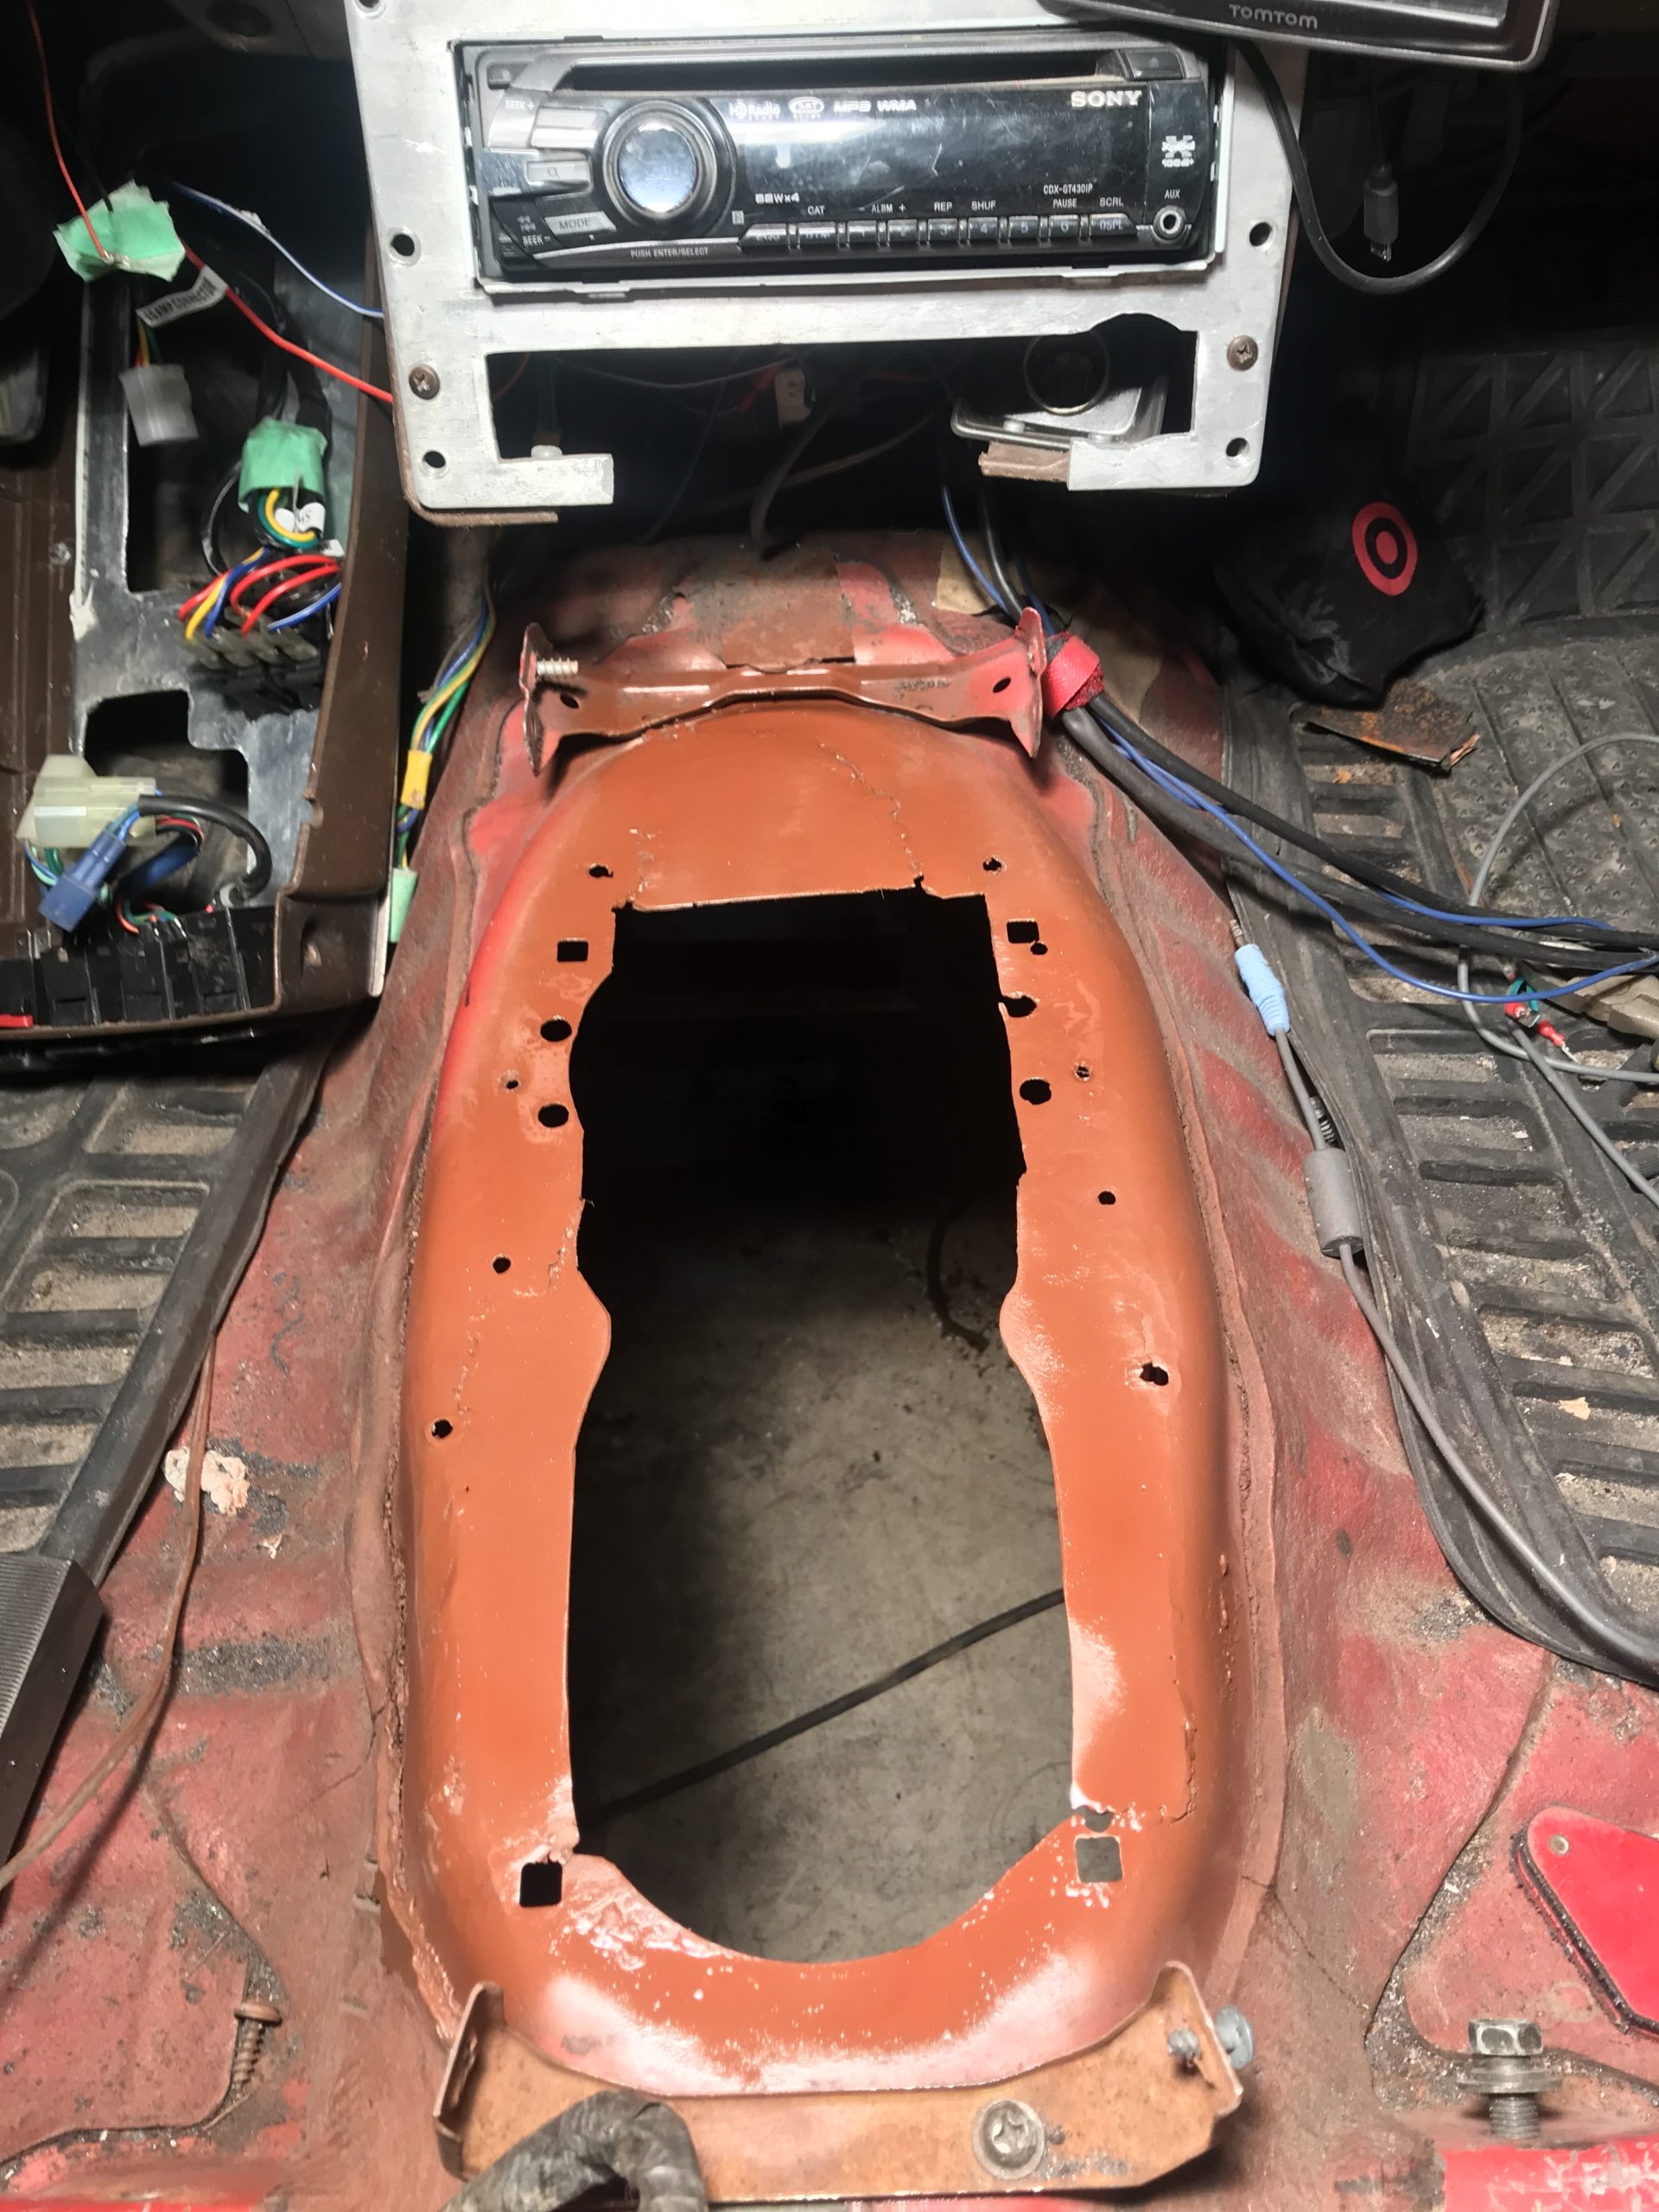
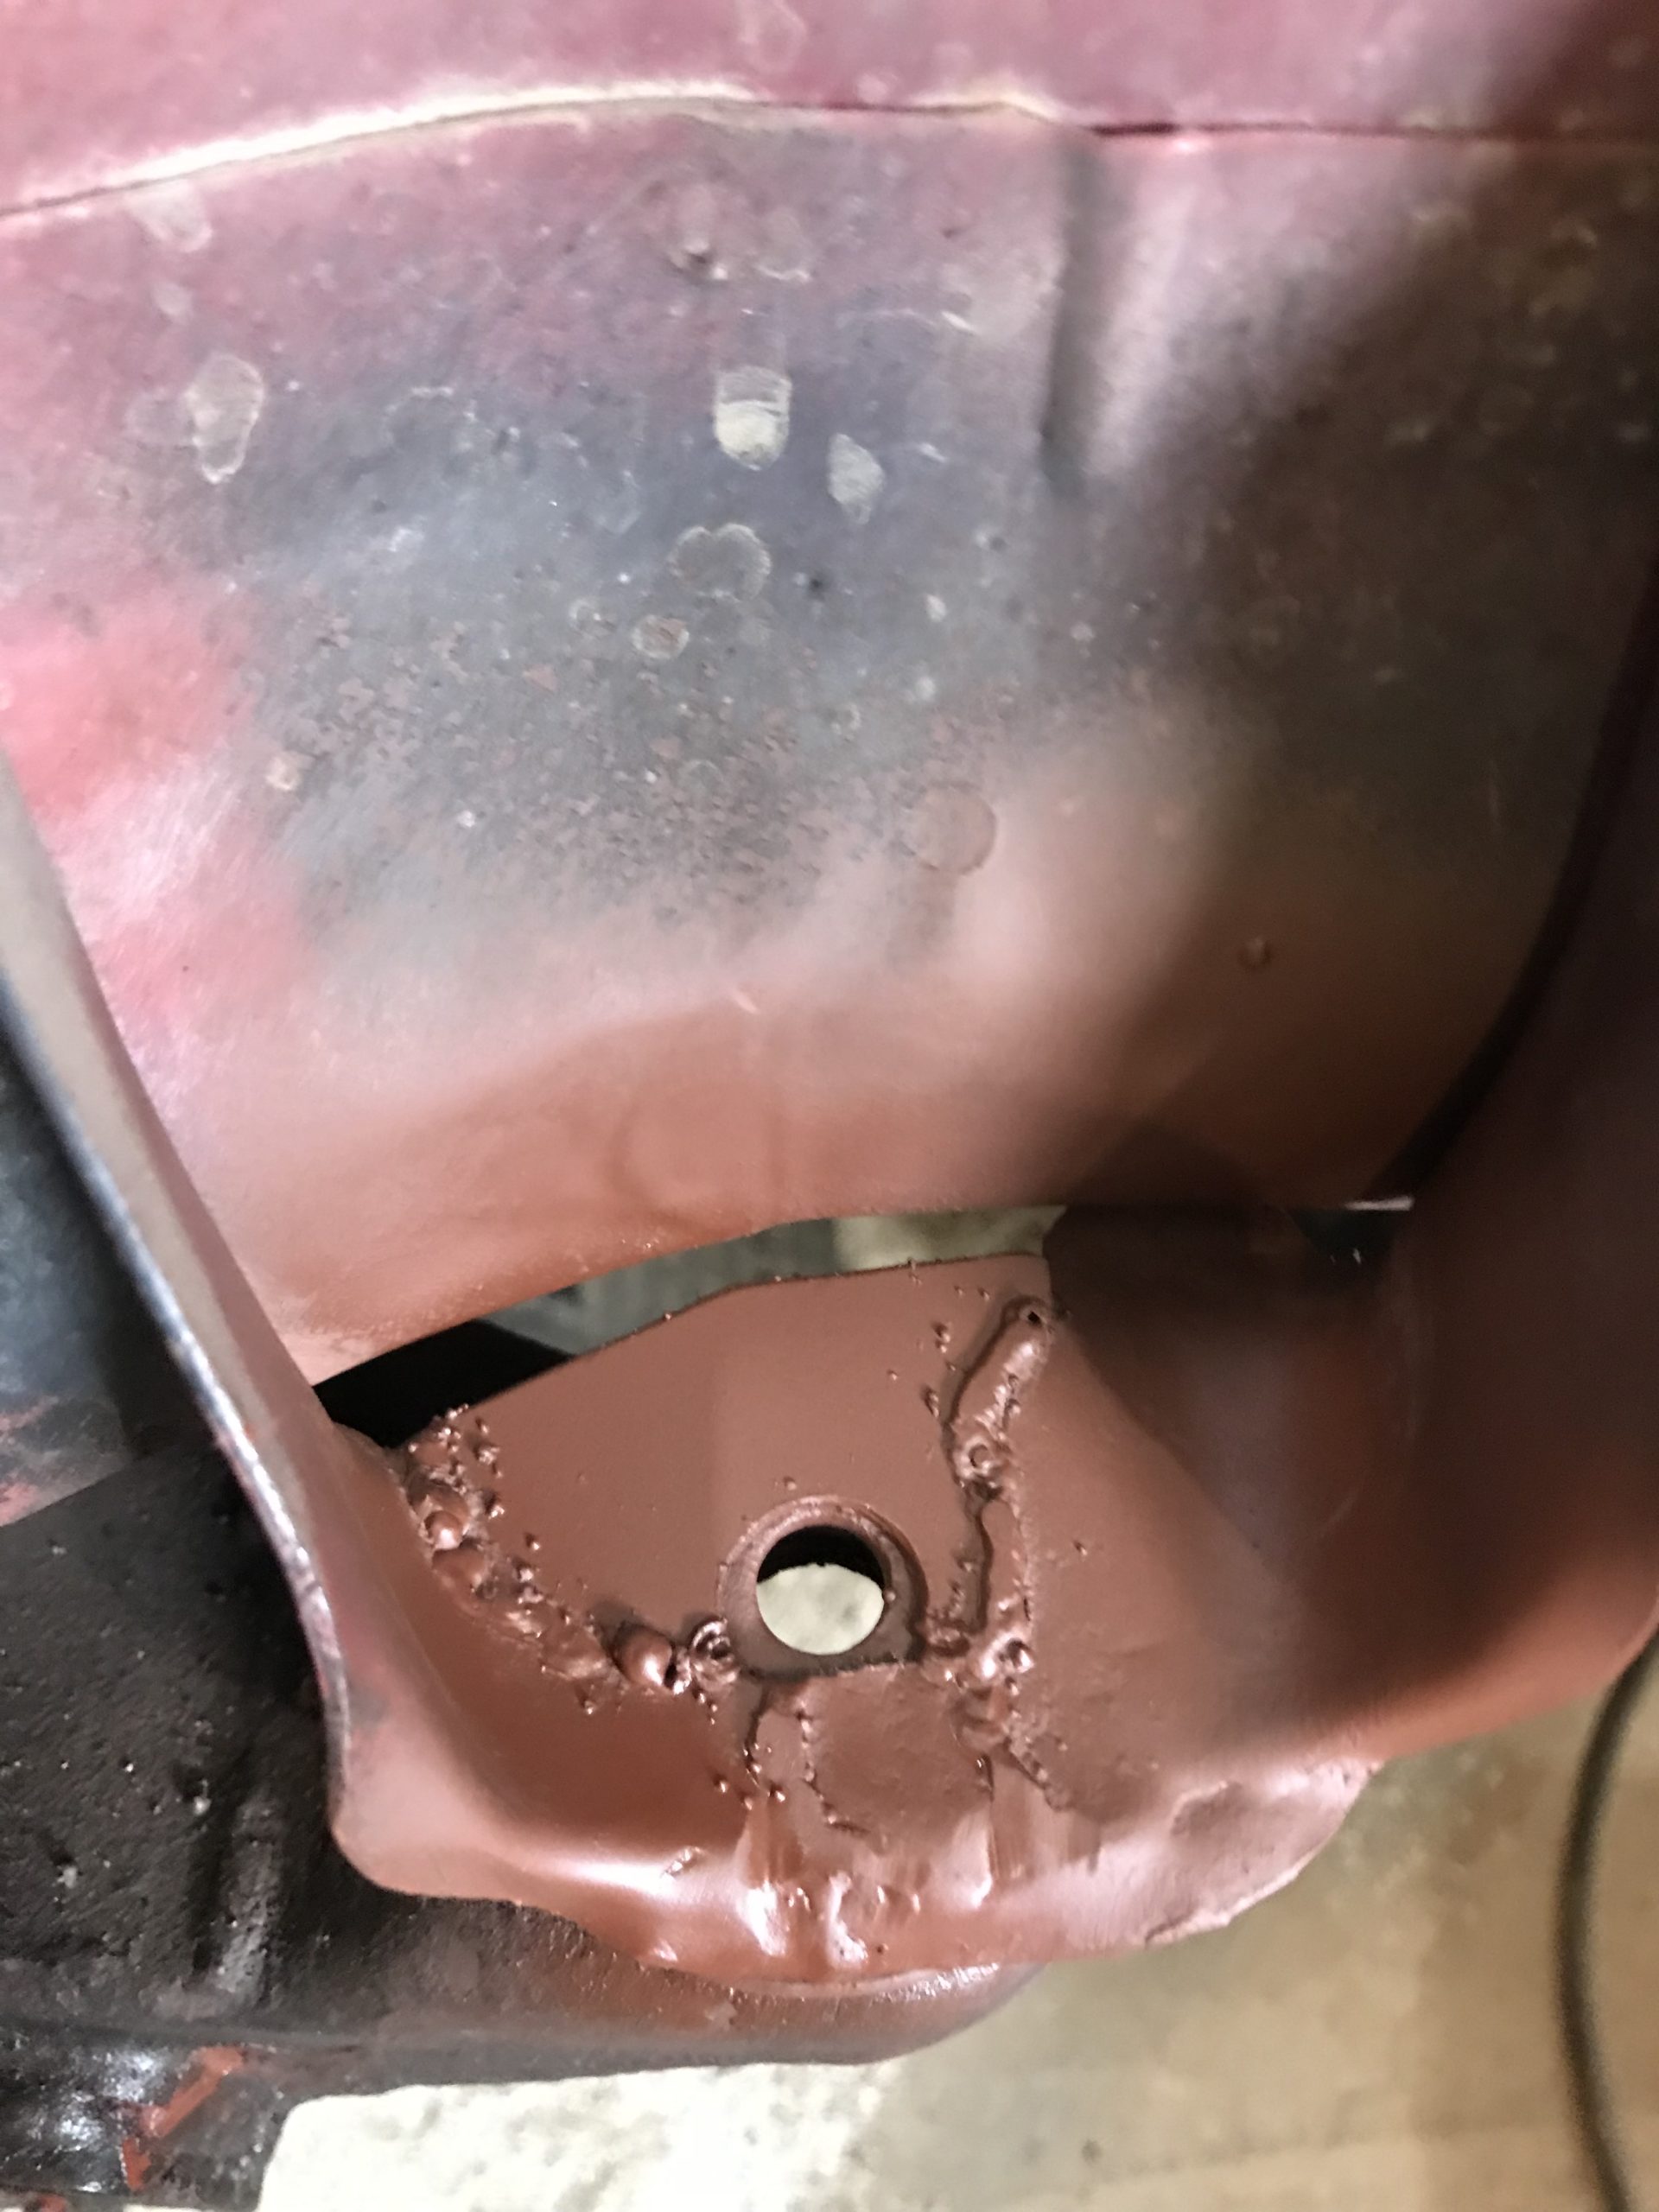
I finished welding the tranny tunnel patches Saturday evening, ground the spatter off, and hit it all with red oxide primer.
To finish the task, I just have to install the plate with 4/6 oem locating holes, then mark and drill the two holes into my new plates, then file the holes square.
I am going to buy some seal sealer to cover my welds as there are a couple pin holes that absolutely refuse to close up. As for the self-tapper holes, I’ll simply fill them with seam sealer or RTV.
Grabbed a bunch of parts off @Finn yesterday. I got 4.88s, some rear axle lockers, a CV, some IFS locking hubs, and a clutch pedal assembly.
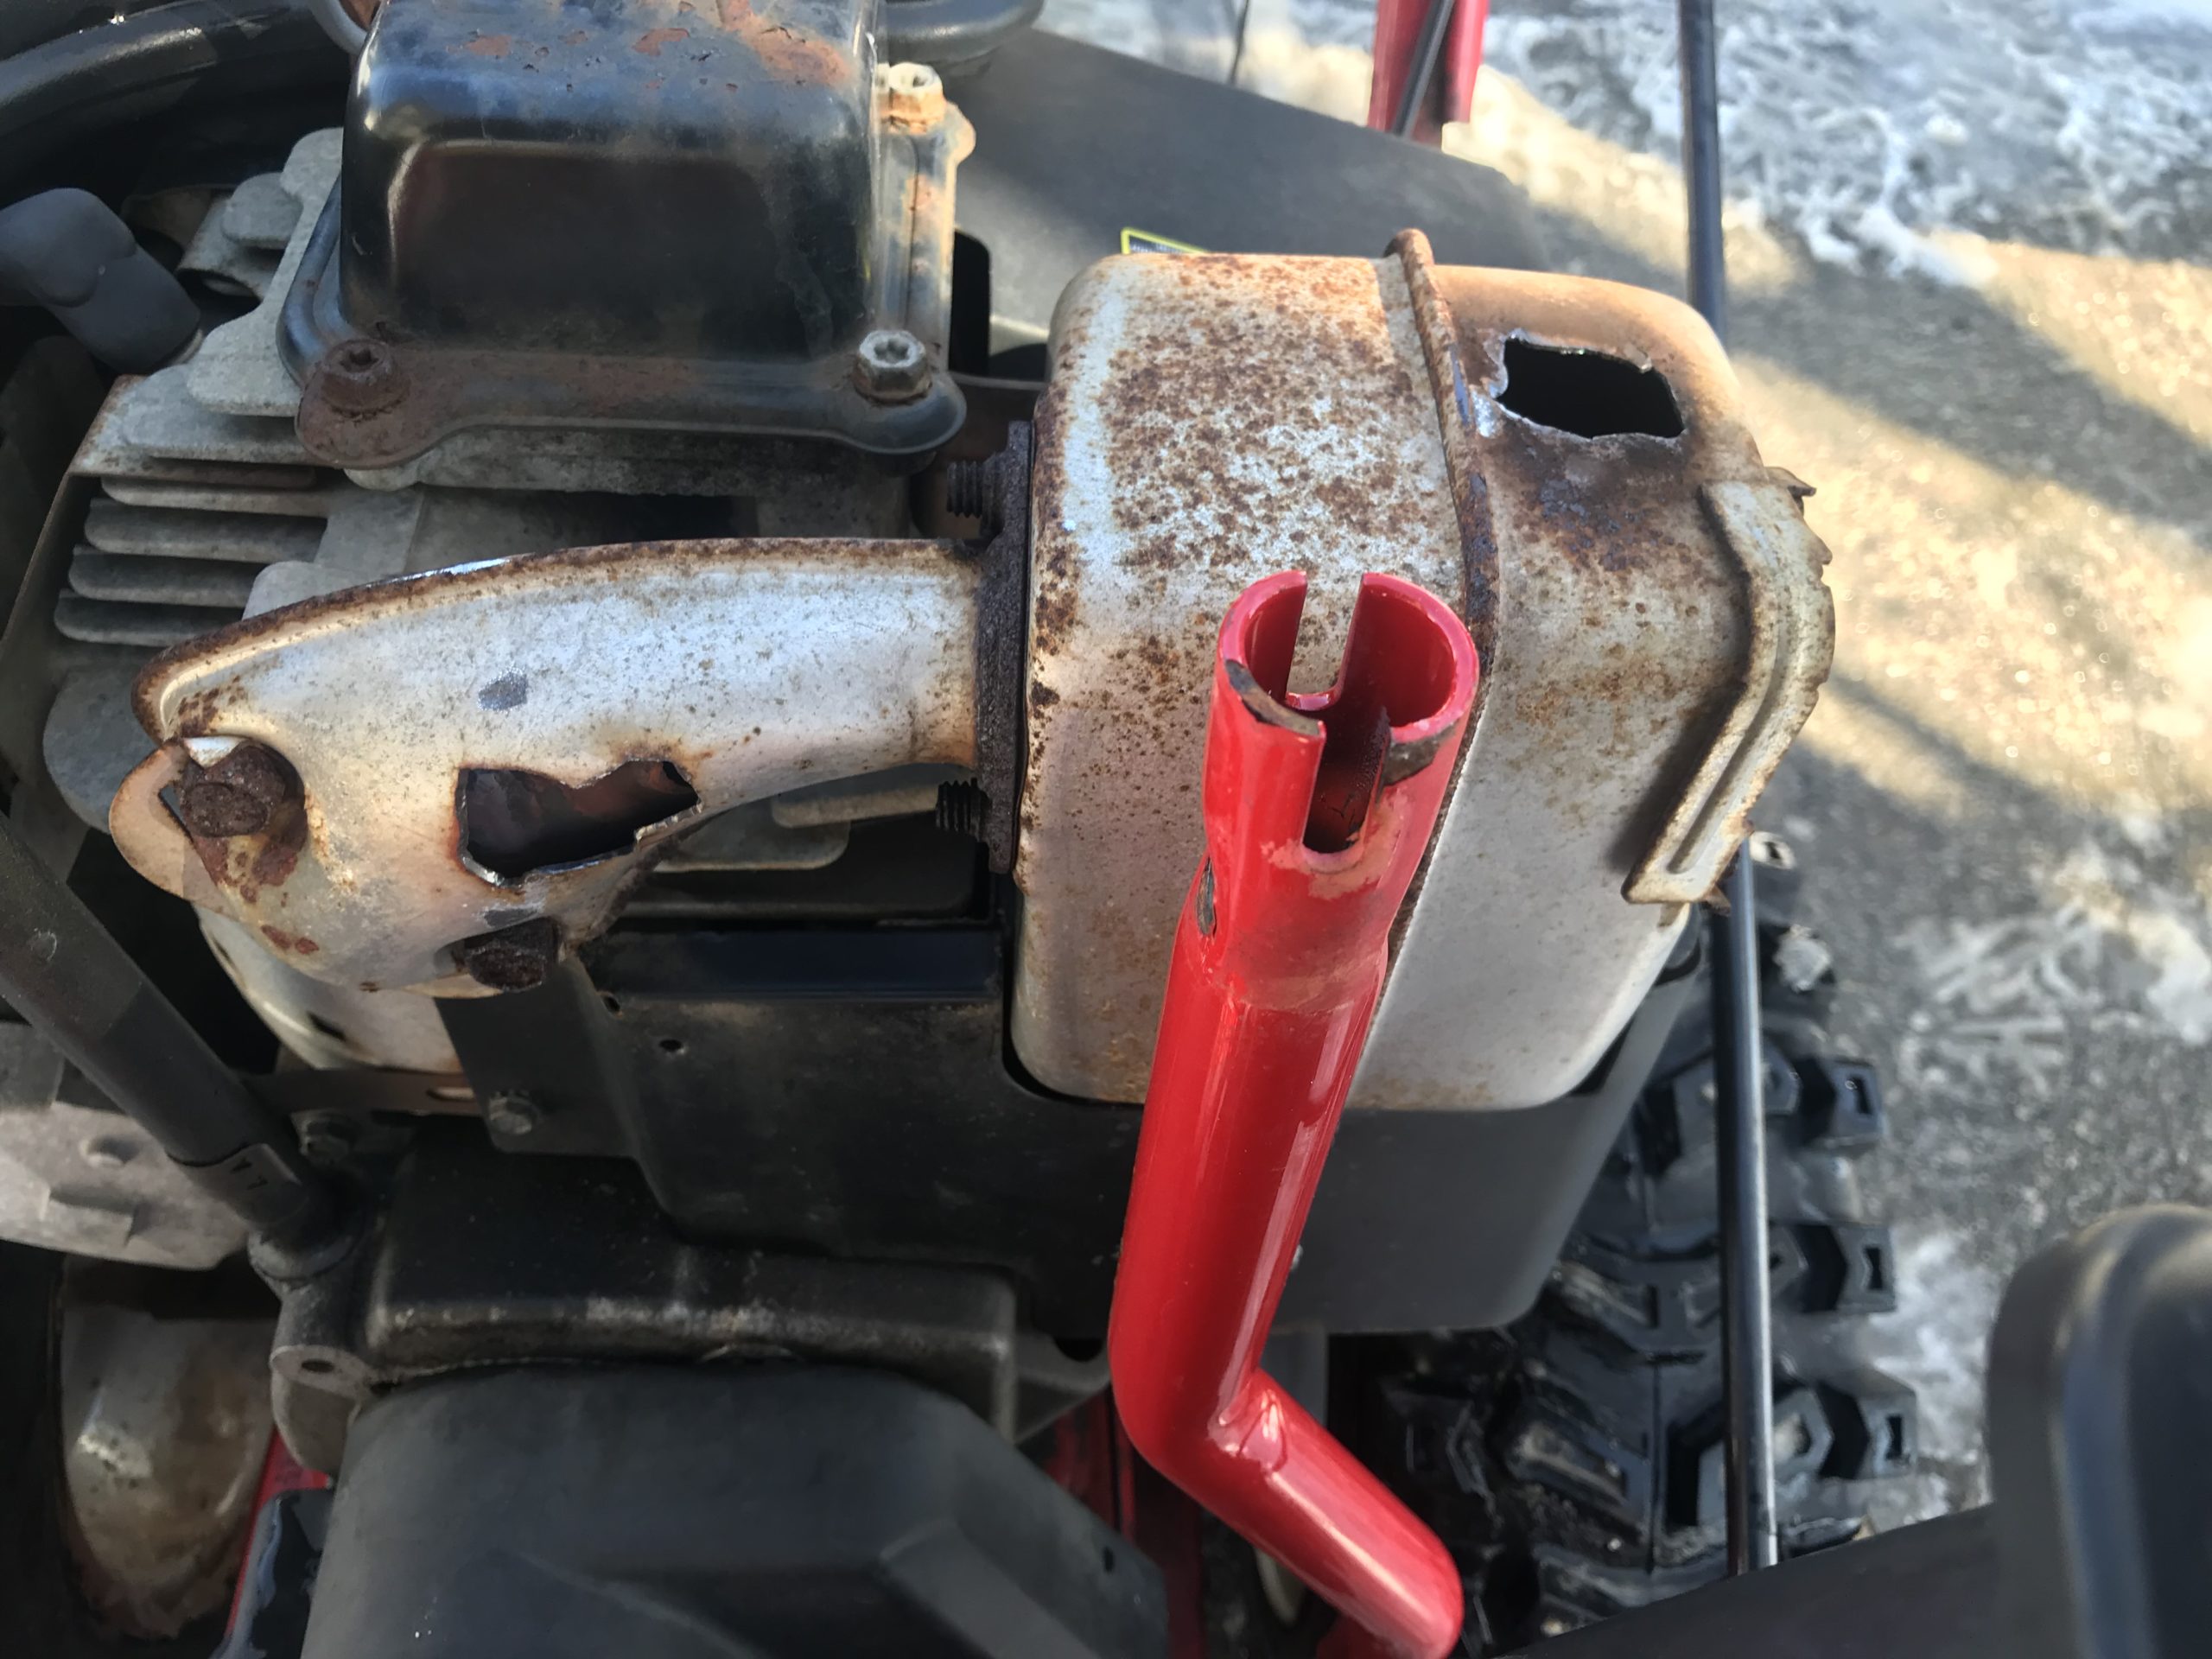
toys-n-yotasKeymasterNoticed my snowblower getting louder the last couple days. This morning I confirmed my suspicion when the heat shield rattled off with the welded bracket still bolted on. Gonna try my best to reattach the brackets effectively plugging the holes, but not replace the heat shield afterwards.
toys-n-yotasKeymasterHad a great night working in the shop last night. I got one of the two transmission tunnel patches cut, welded, ground and primed…..while the second patch was only cut and partially welded into place. My welding skills seriously deteriorated after 11:30 for reasons unknown, so i called it quits for the night. I decided that I will just RTV all the self-tapper holes closed from both sides.
I’m looking forward to being done patching this hole so I can move onto a new task. I plan to remove and replace the front diff from 4.10:1 to 4.88:1. Tomorrow I’m heading west to raid the Viking parts hoard.
I hope to sell this SBC soon, I am jonesing to test fit the 3RZ with Chilkoot conversion mounts for the first time.
toys-n-yotasKeymasterMade 1/3 progress on my tranny tunnel repair this afternoon while kids are at school.
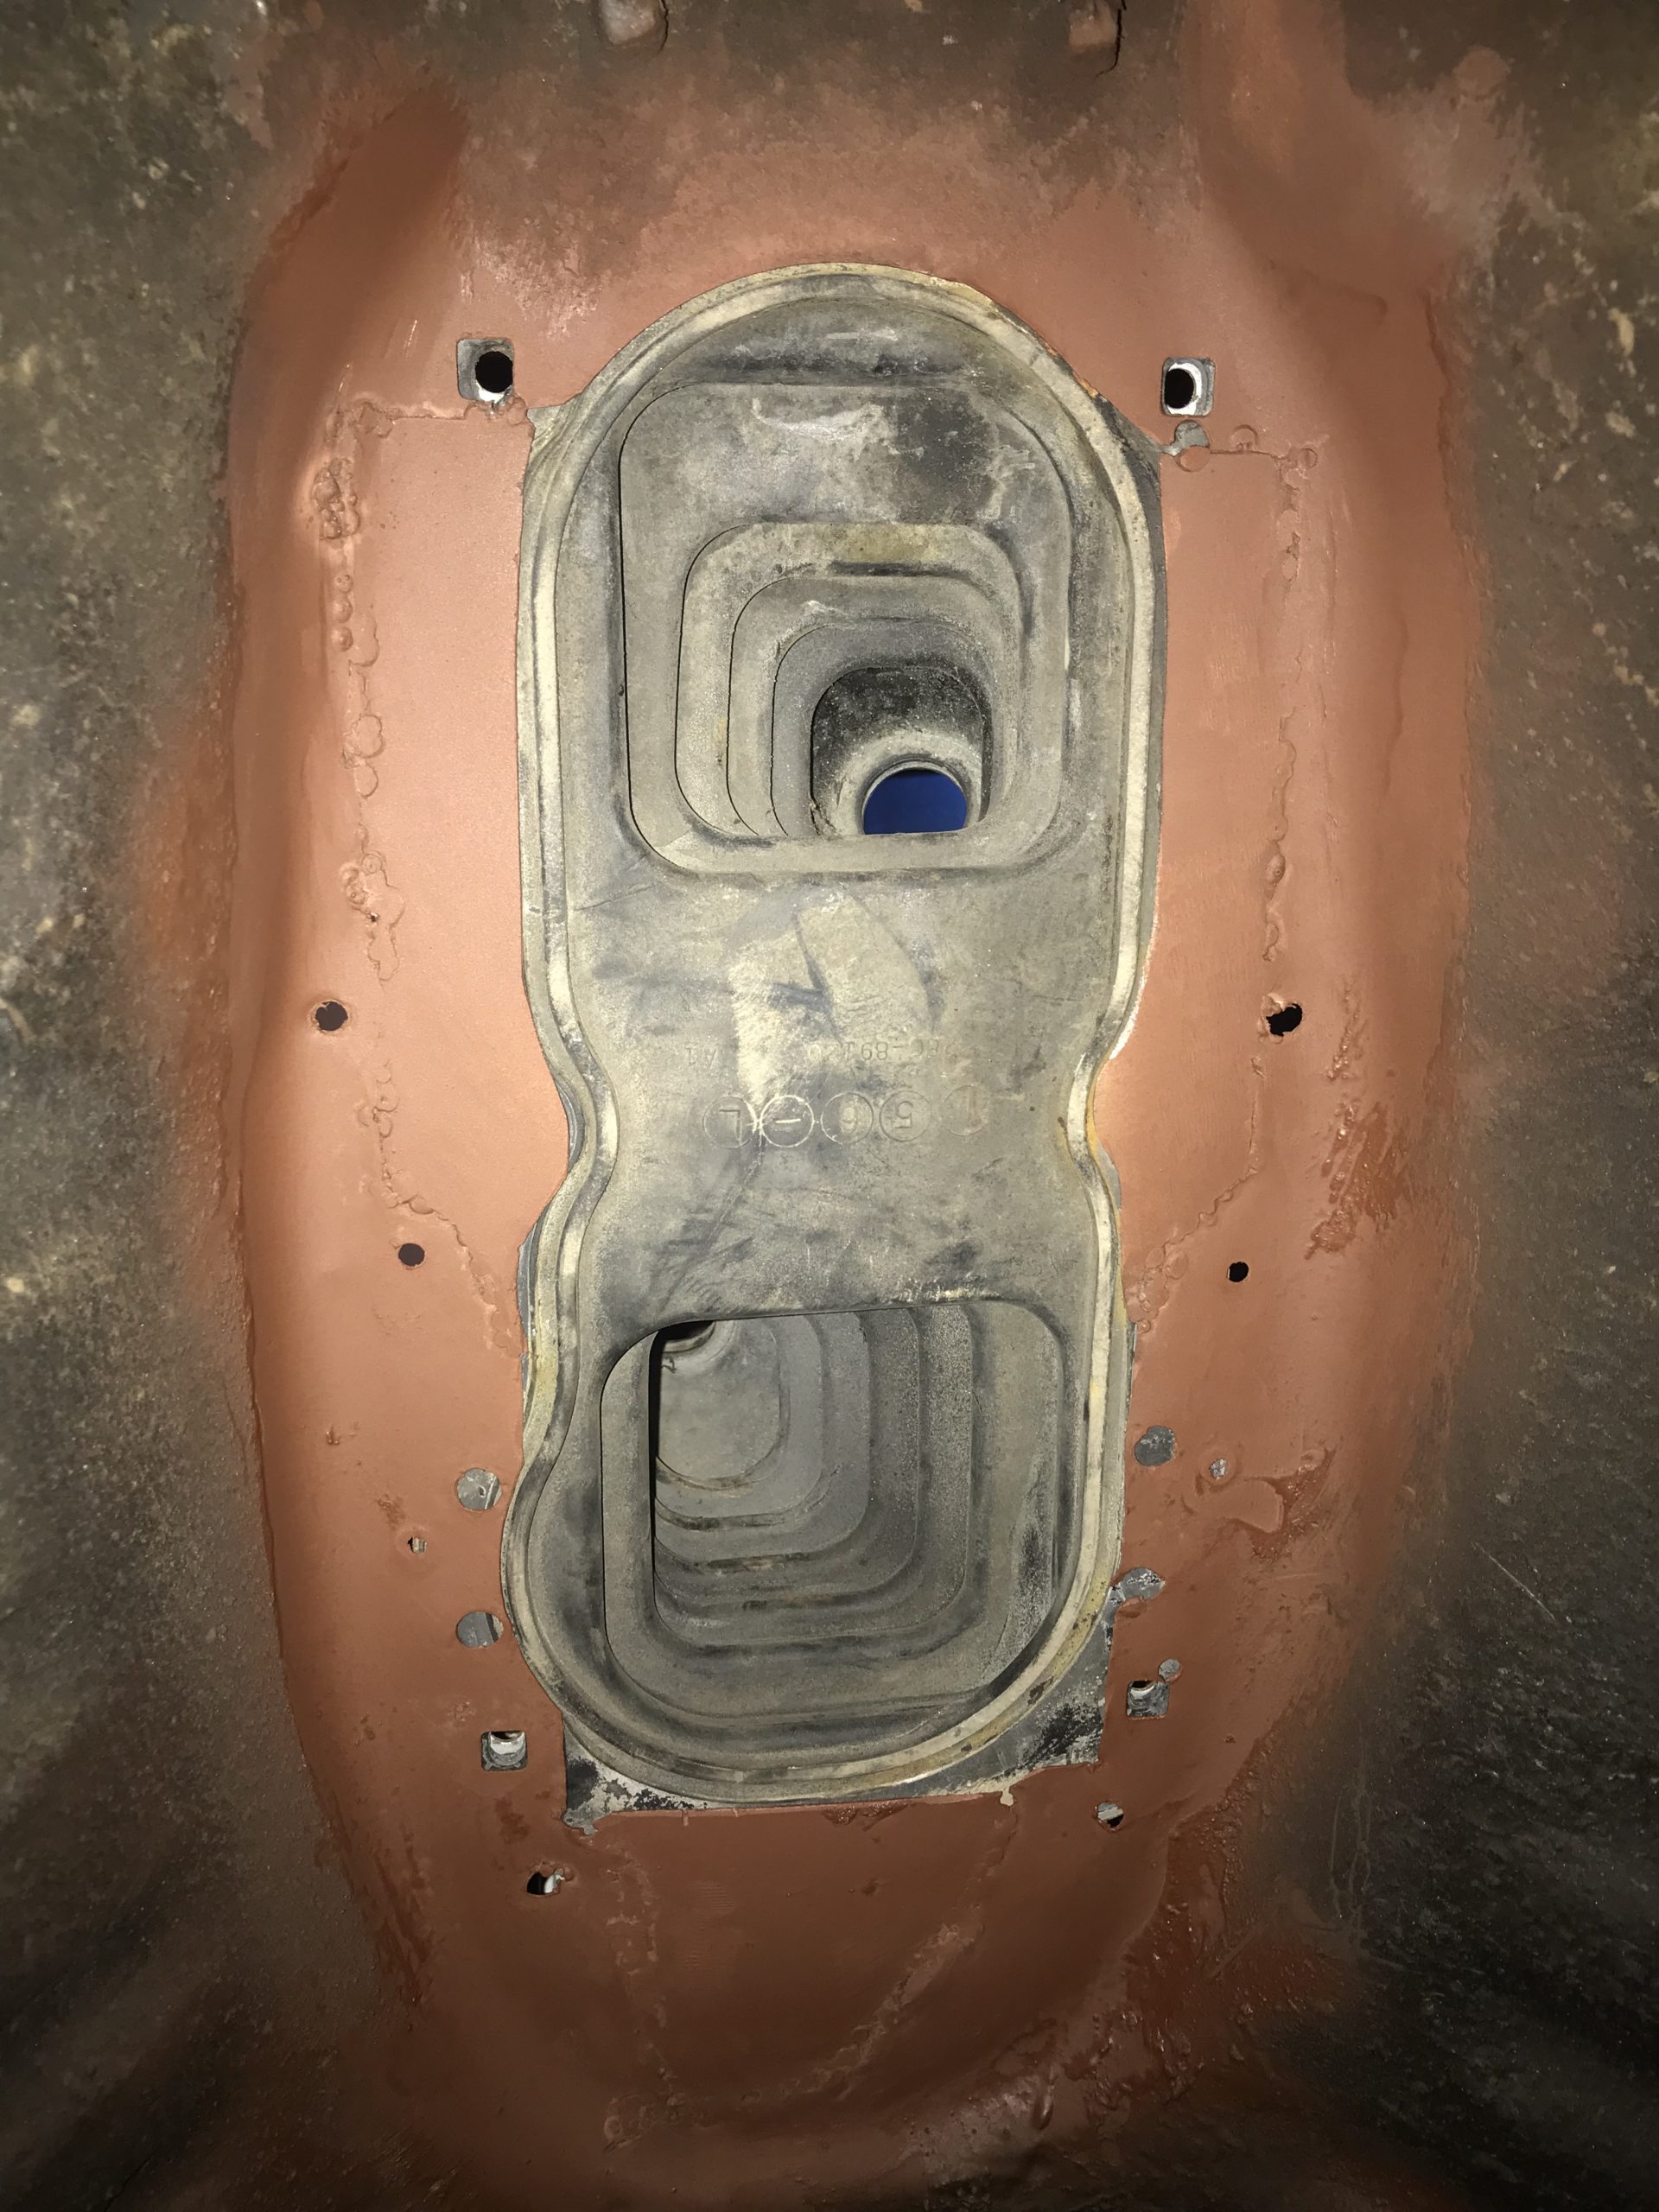
There were 3 places on the transmission tunnel that were trimmed to make clearance for the automatic trans shifter, however I need to close the gaps around the shifter base gasket.
I got 1 panel fully welded in, arguably the two remaining panels will be easier because I have better access to it. Time will tell haha. Hopefully I can get 1 out of those two remaining finished tonight.
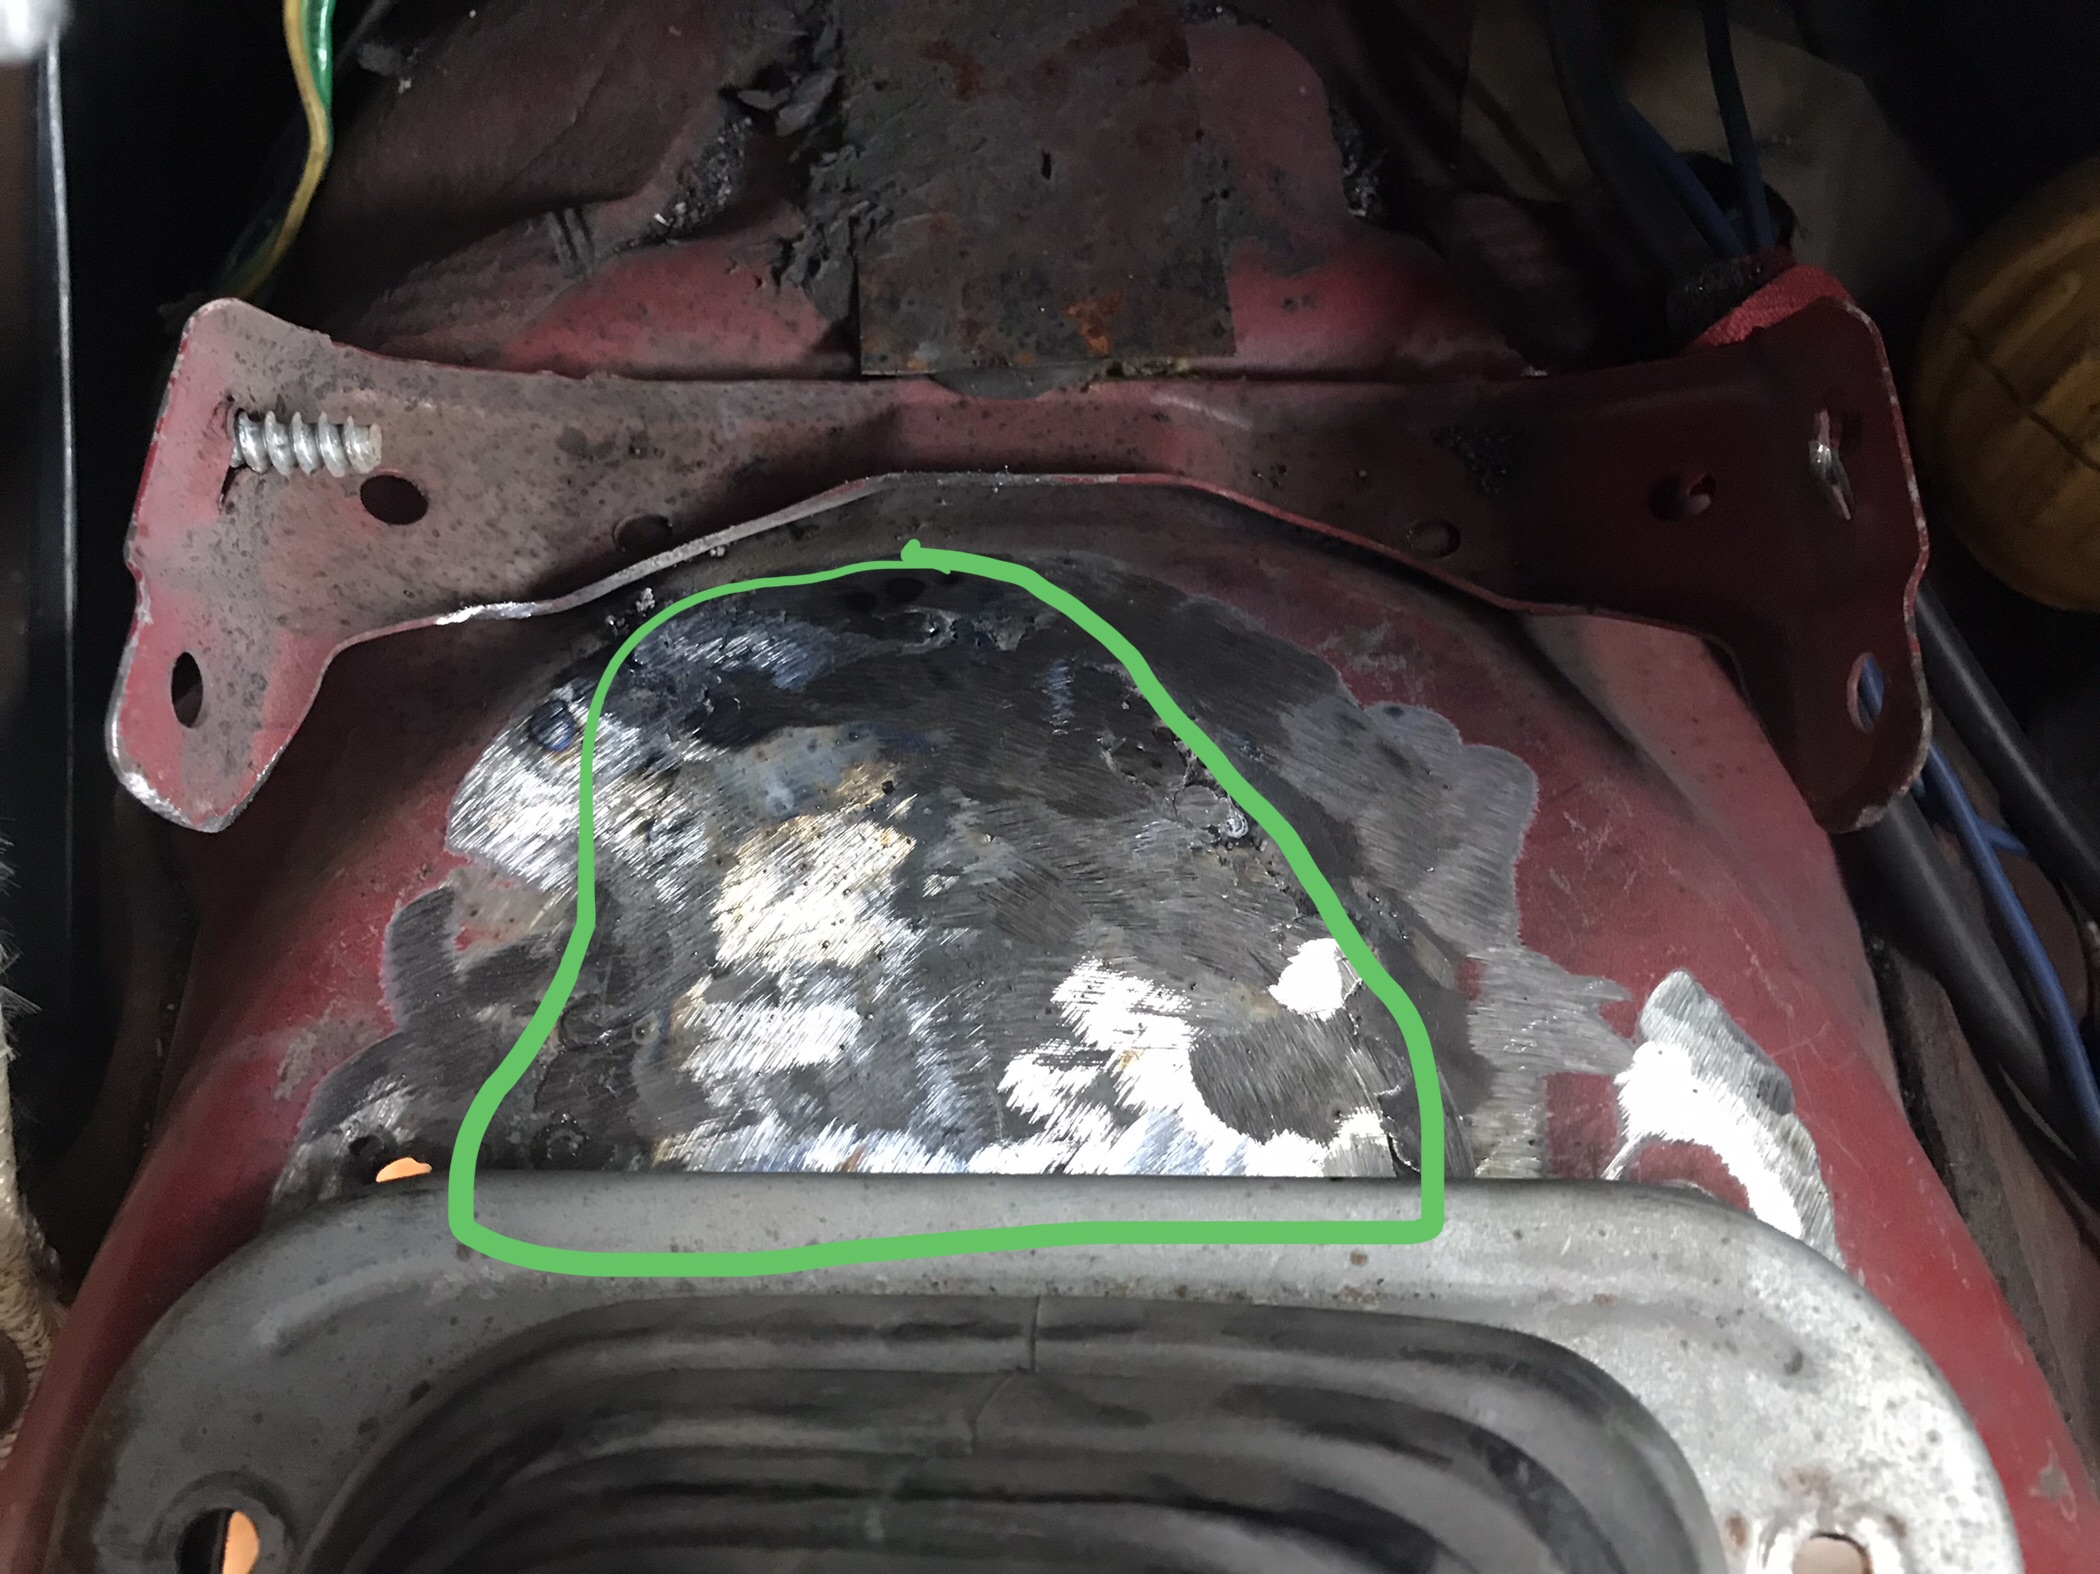
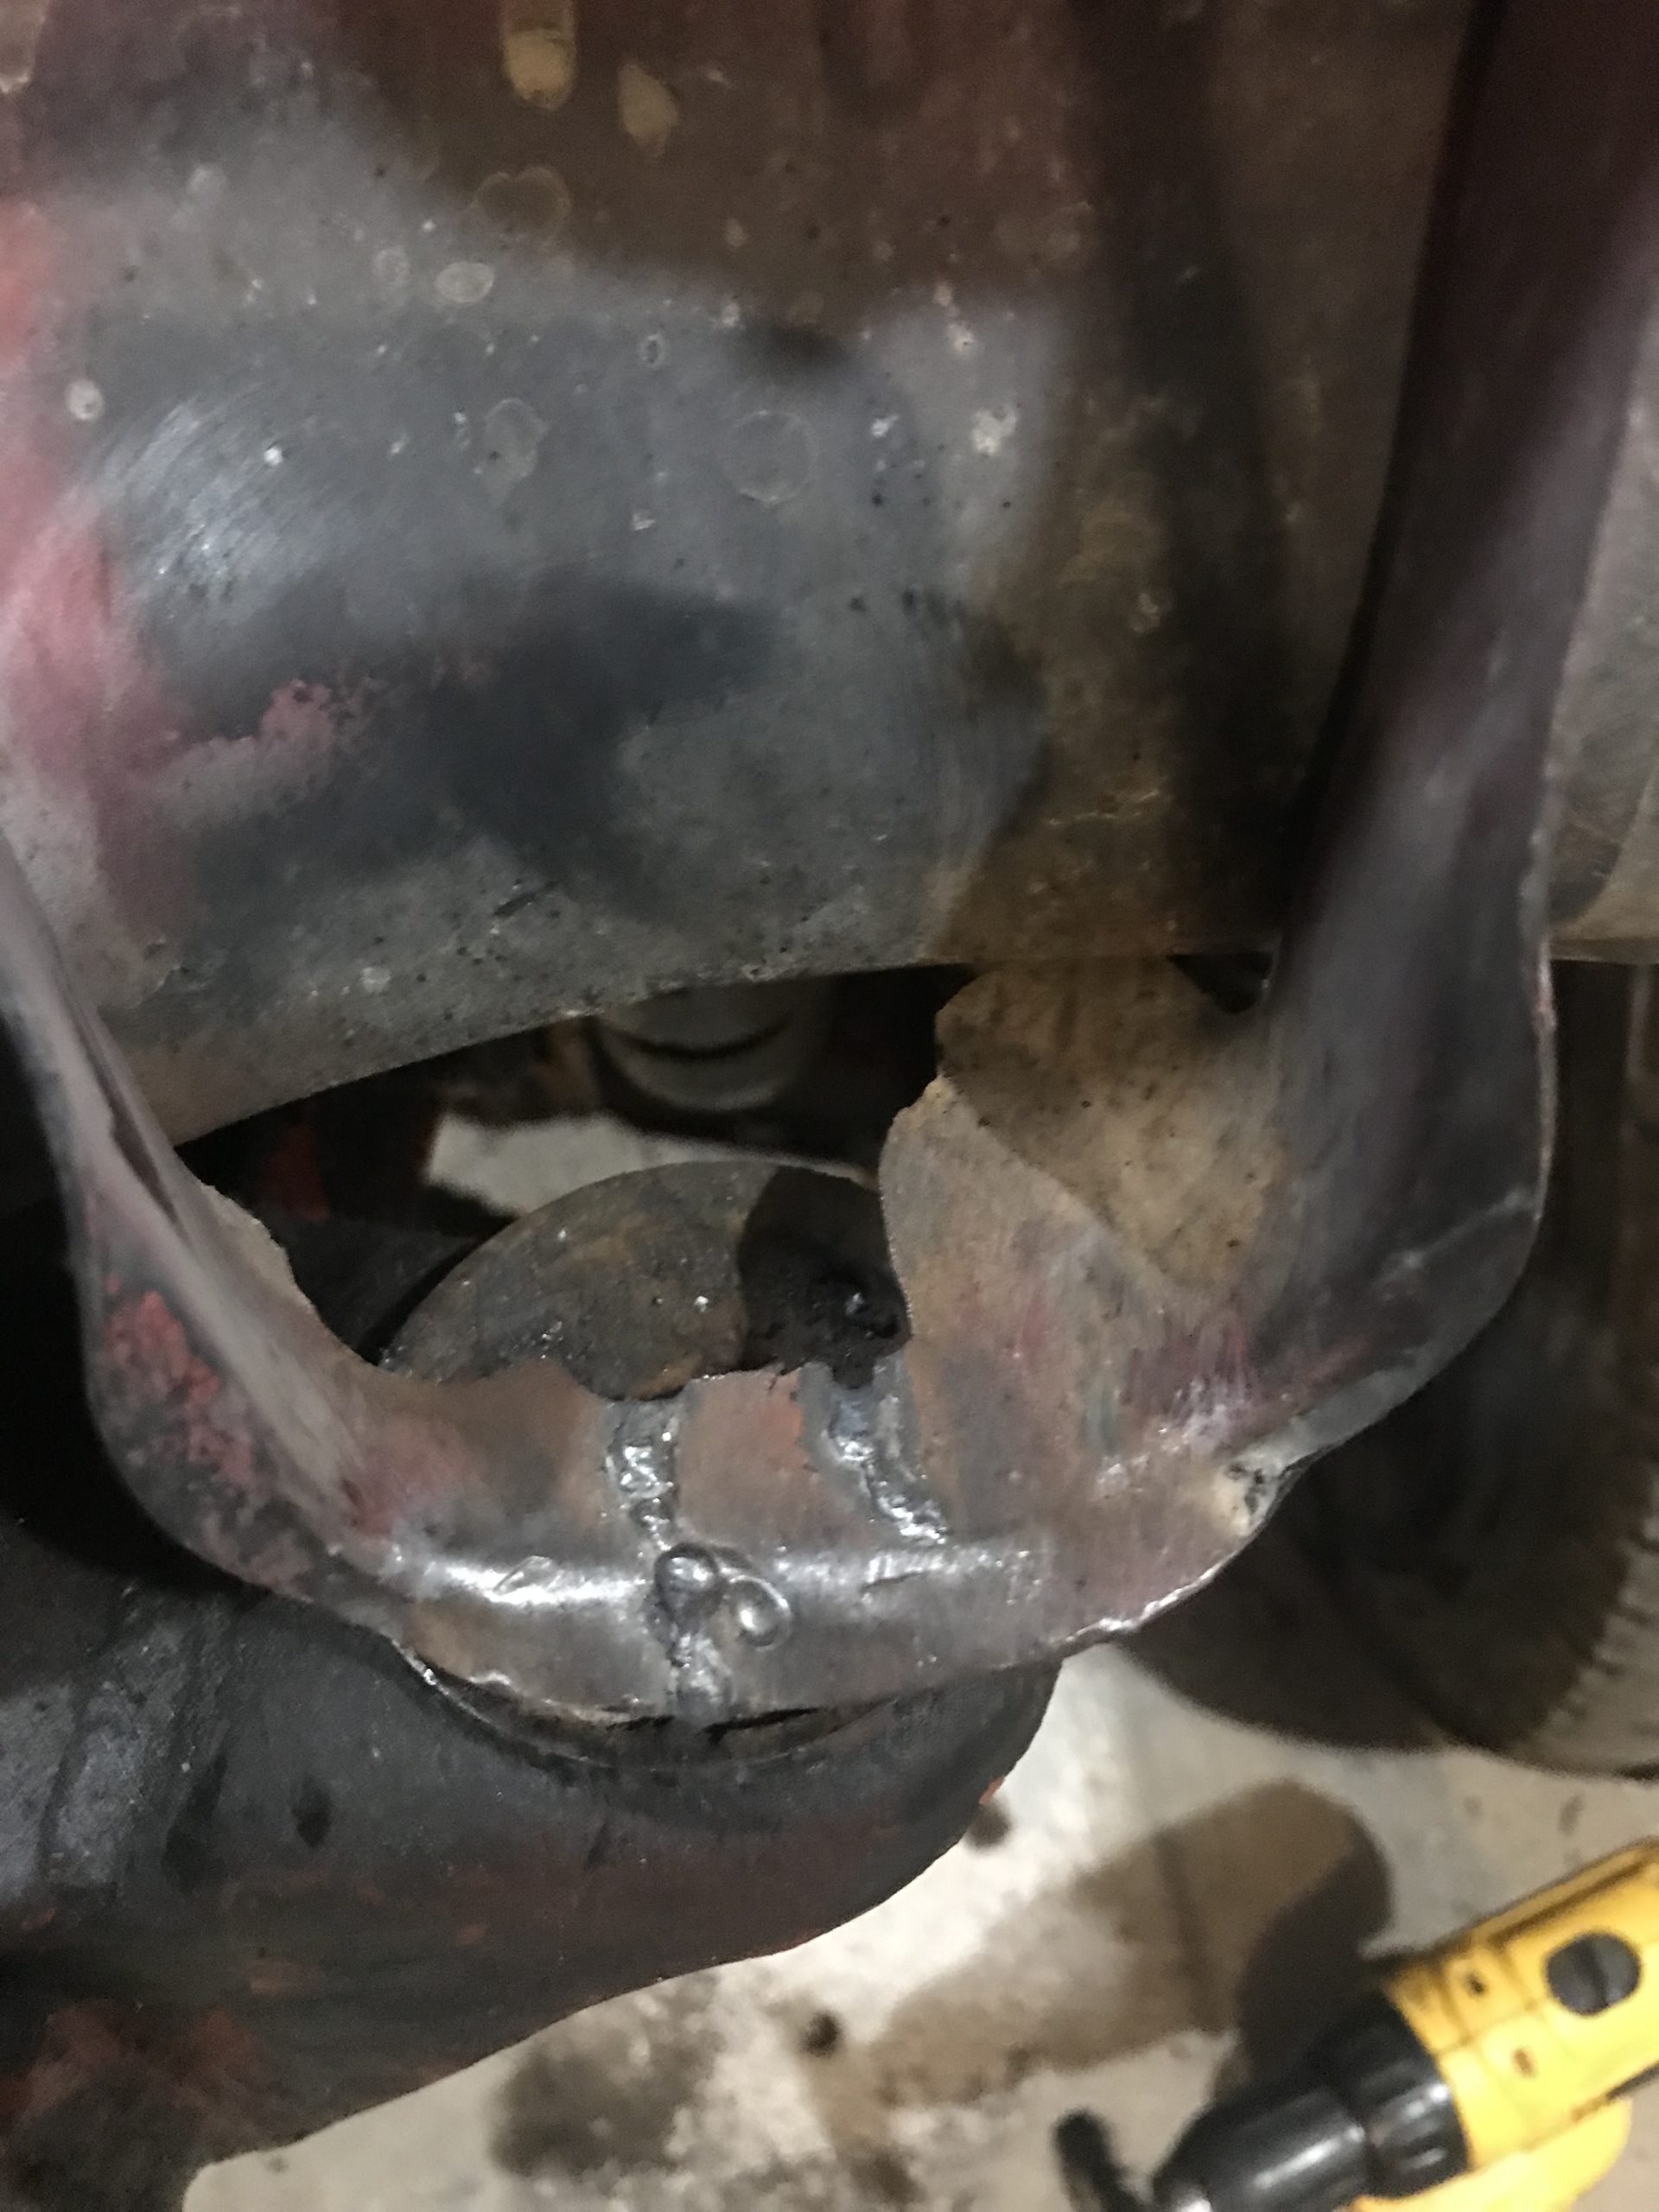
toys-n-yotasKeymasterHaha good one Steve, I have proof of penetration here, 3 proofs actually.
I found a pneumatic die grinder in my chest of weapons, and set out flattening the bumpiness and knocking off the spatter. The lumpiness would have interfered with the fender washer that goes on the top side of the body mounts.
Now I’m happy to cross this item off my list and carry on. Thinking I’ll weld up the tranny tunnel while I’m in this wonderful welding mood. Another instance where aesthetics is not going to be crucial to performance 👍🏽👍🏽
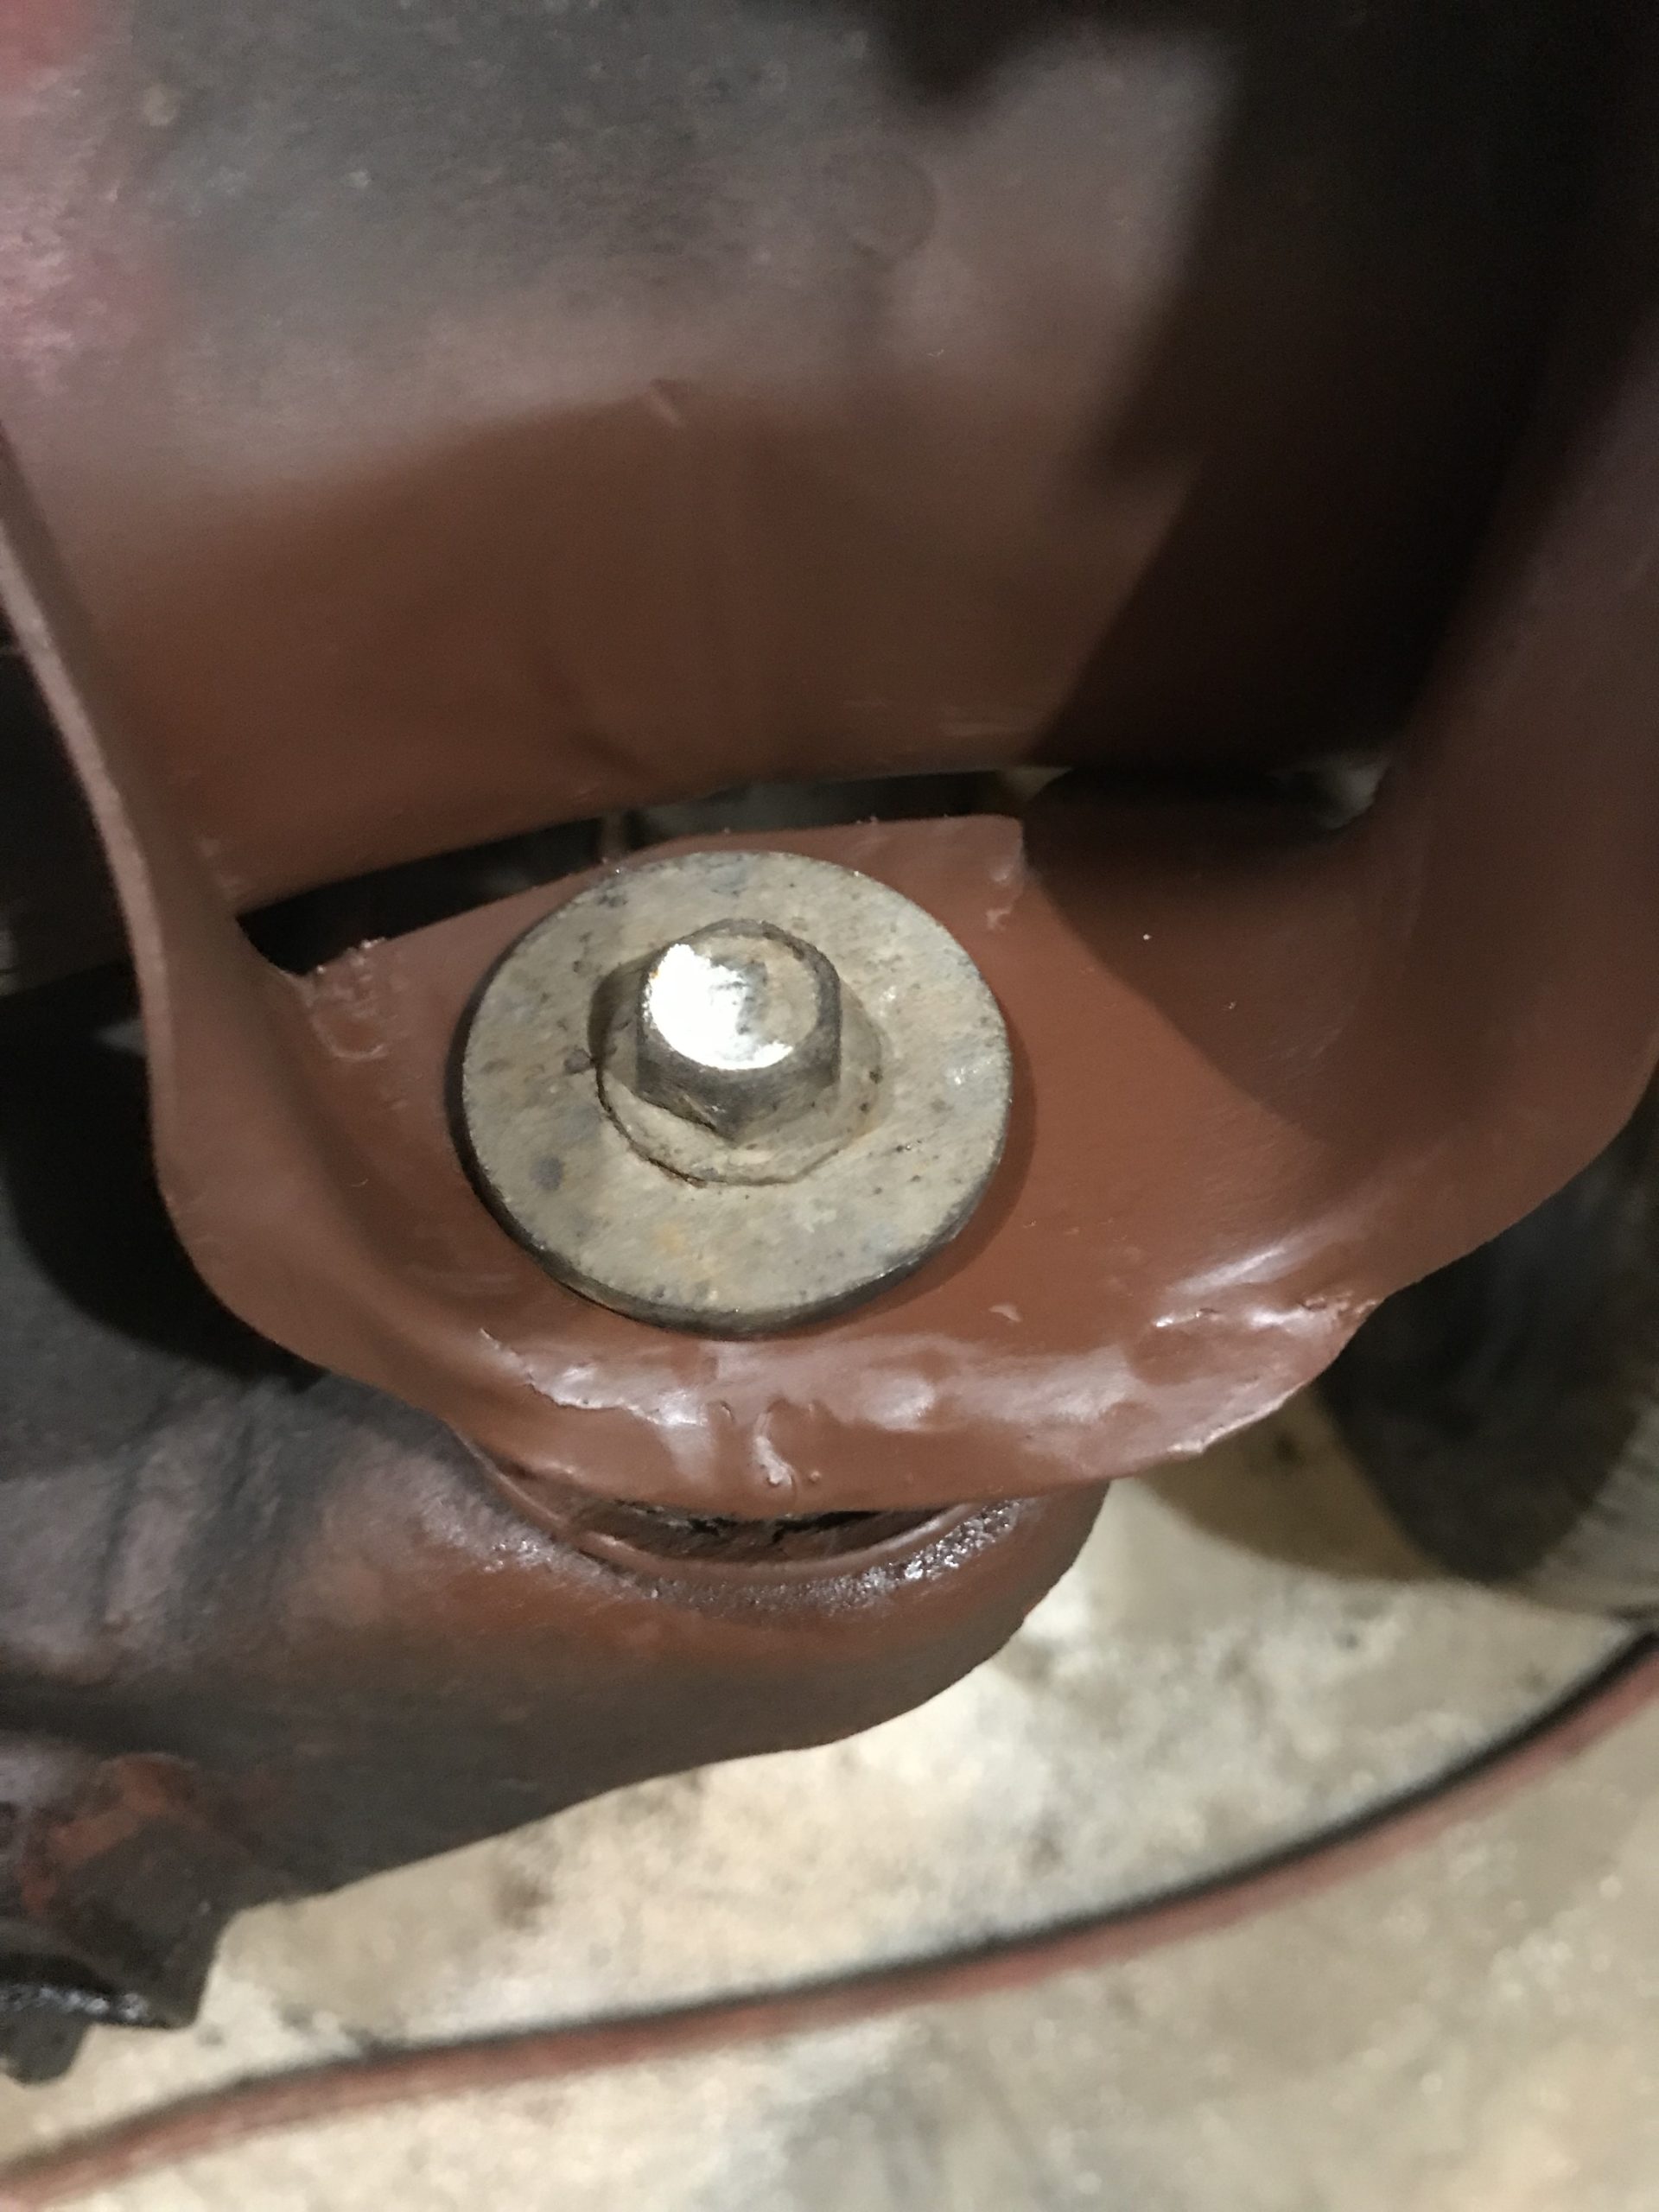
toys-n-yotasKeymasterWell, it is not the prettiest, but much strength was added to the front body mounts today. It’d look a lot better if I was able to grind the welds down flush (or at all), but I don’t have a narrow enough sander/grinder to fit within the pitch of the body mount. So ugly and bumpy it will remain.
Tonight I will either attempt to remove the front diff, or continue making patch panels, moving to the tranny tunnel next.
toys-n-yotasKeymasterBought some 10, 12 & 14 gauge offcuts from a local machine shop today, should be more than adequate for my patch panels. I think the front mounts are roughly 12 gauge (0.080” or 1.8mm), all I know is that my old washing machine is only 0.060” and far too bendy to be useful.
toys-n-yotasKeymasterPictures uploaded strange, tried twice to put my temp patch panel, but I guess even the Internet was uninterested haha.
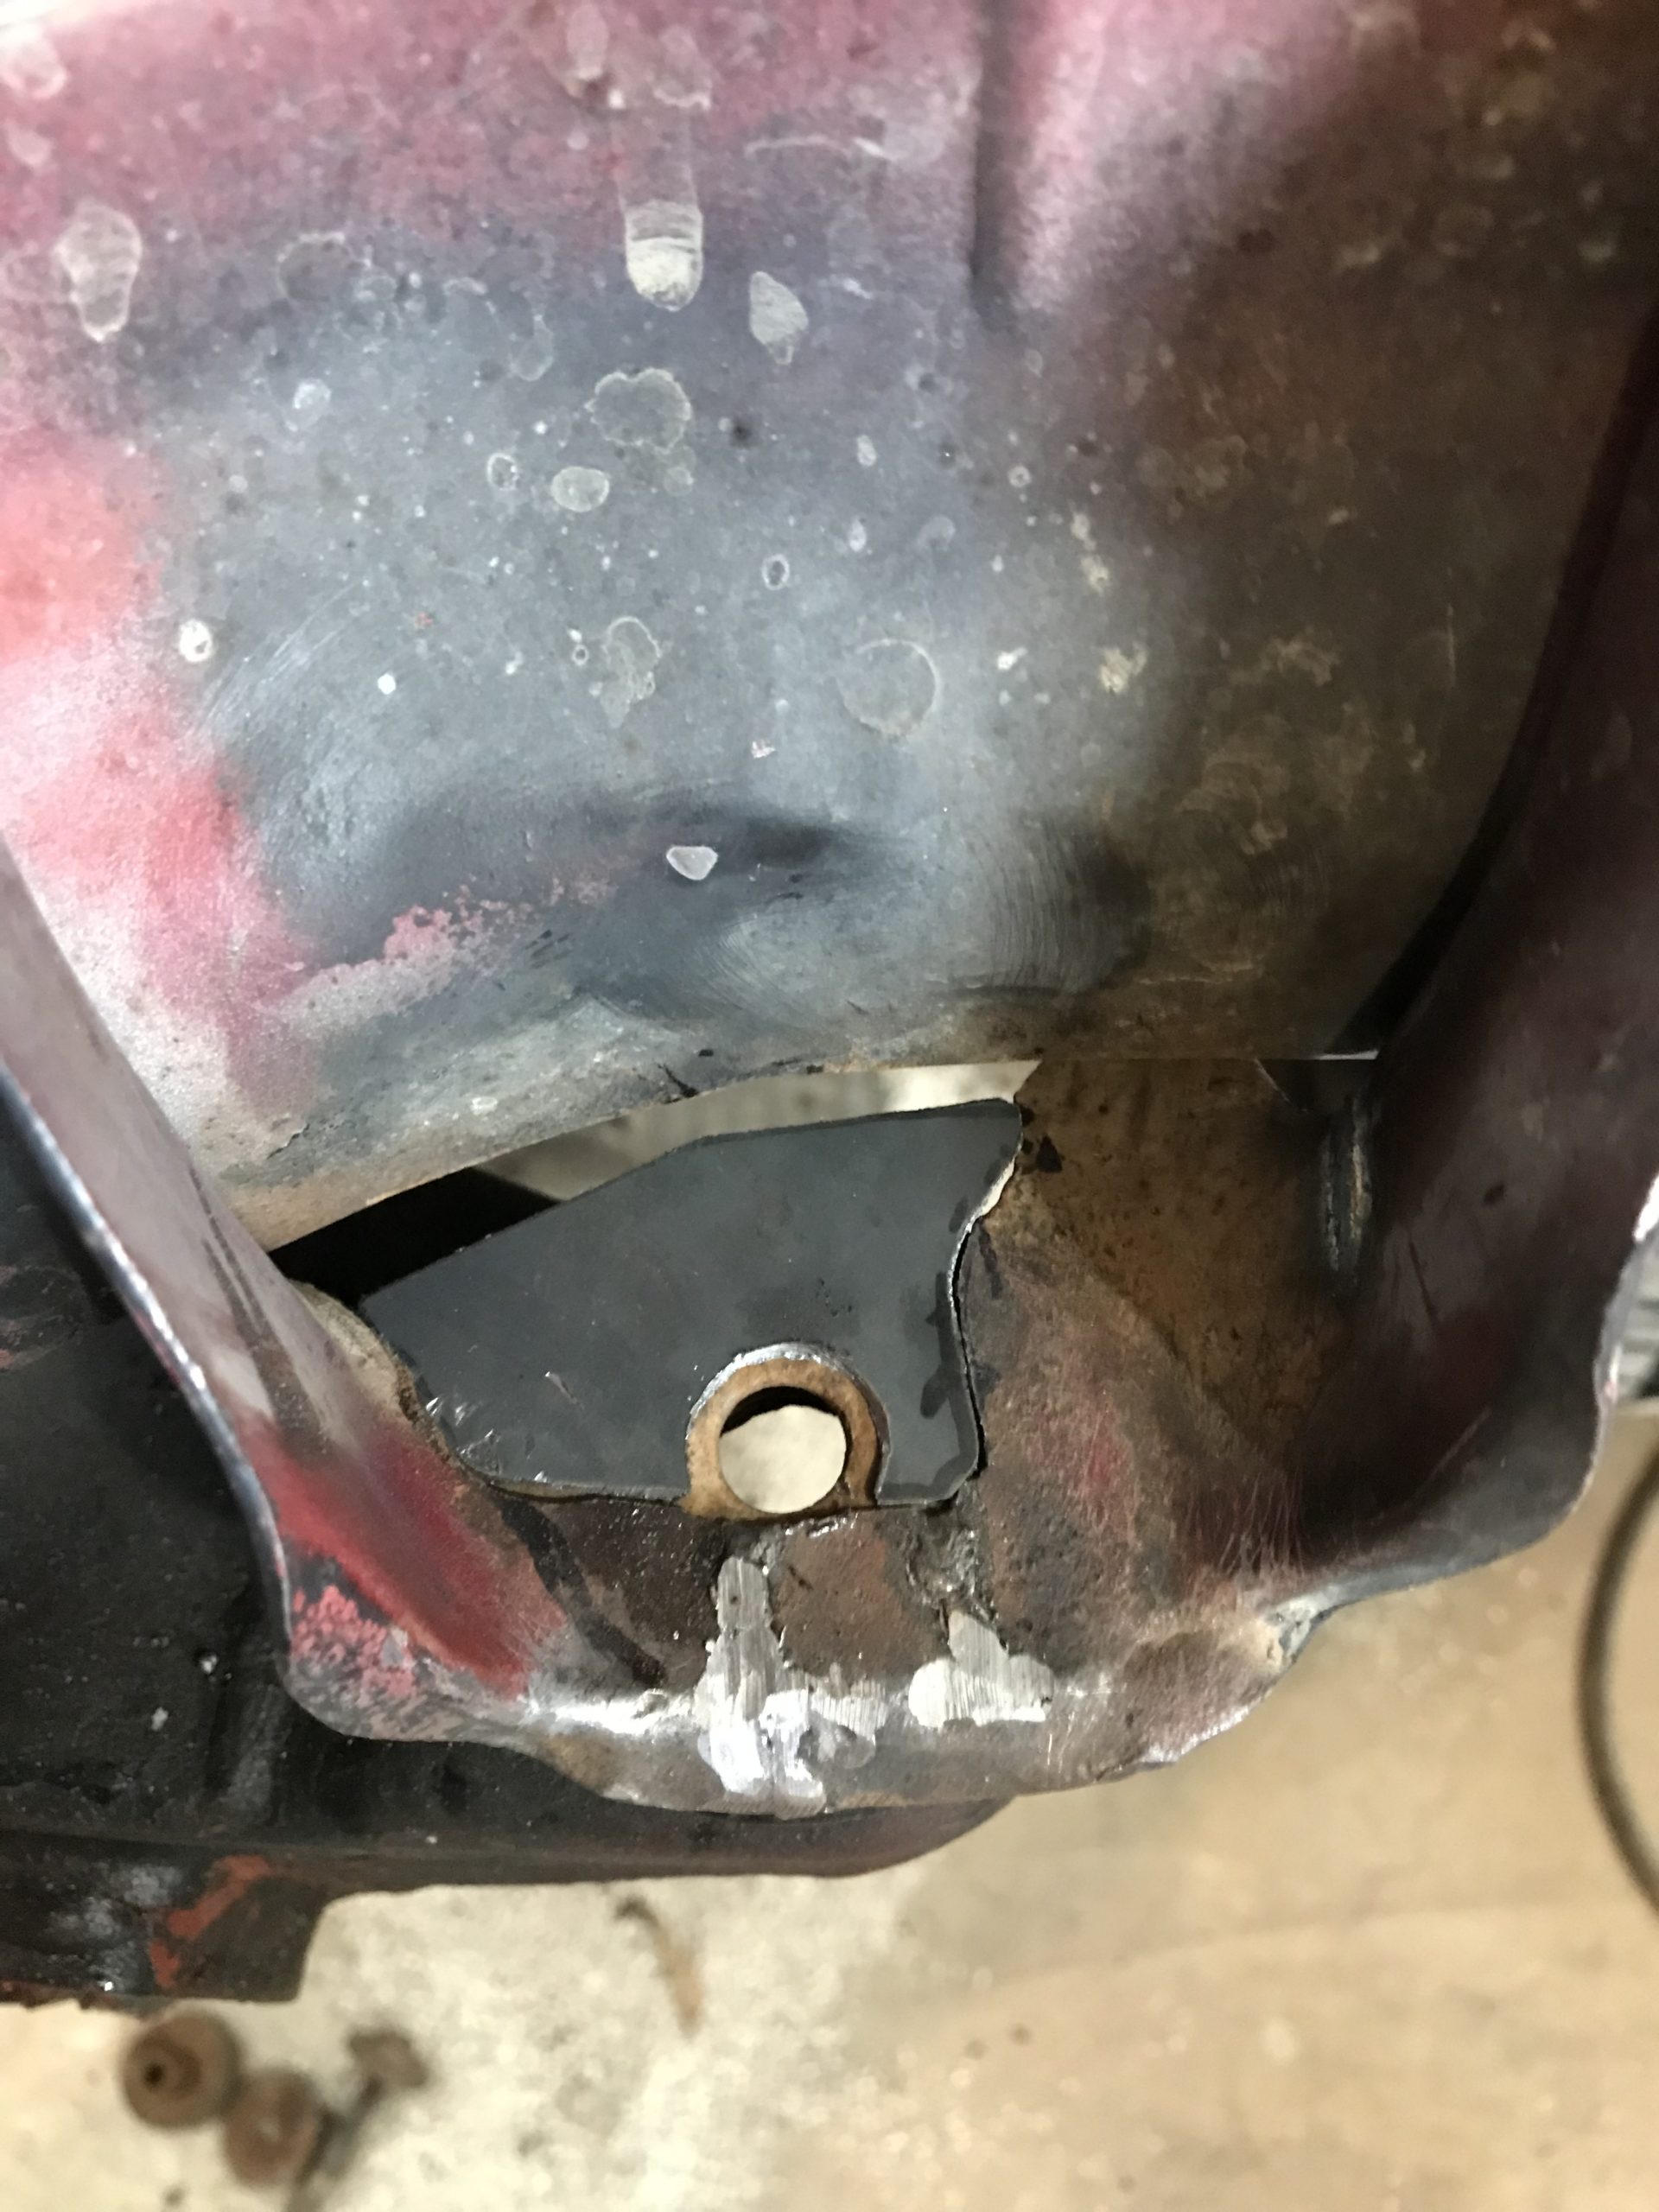
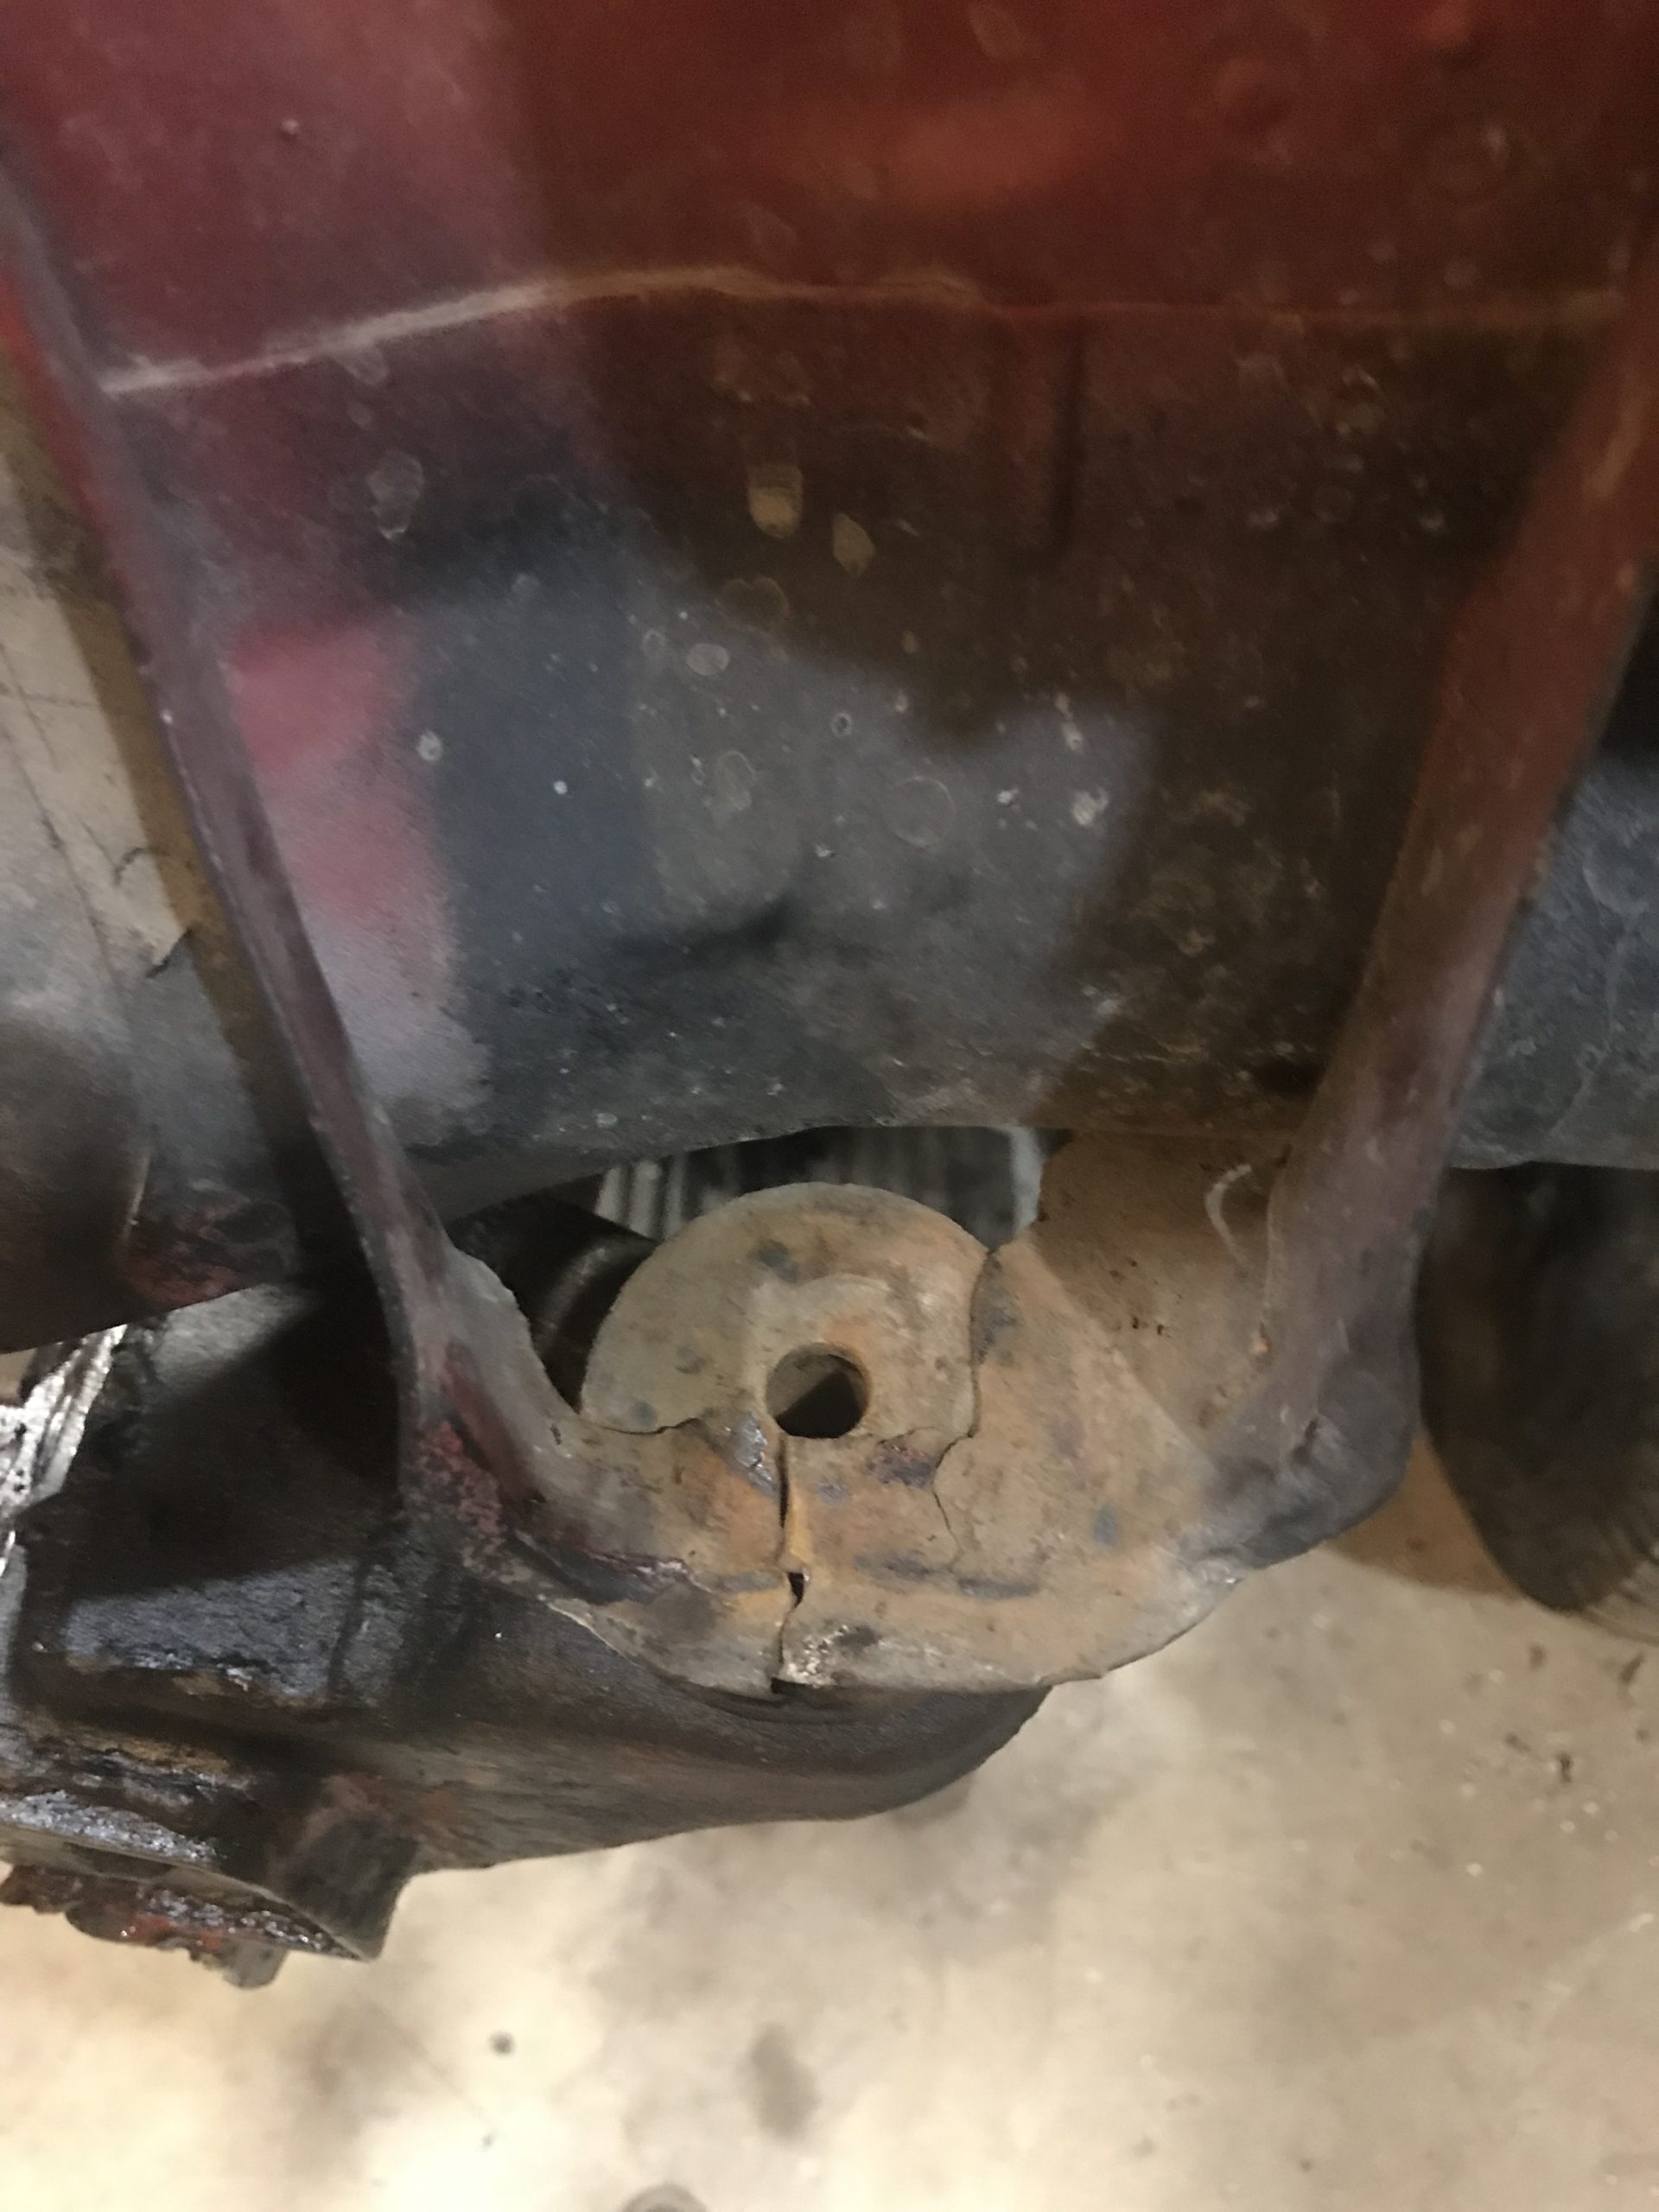
toys-n-yotasKeymasterLast night I broke out the welder and started repairing the front body mounts that we’re both cracked and torn. I have started by simply welding closed the cracks after beating them into submission. I made cardboard, then very thin steel templates, but I must recut the filter panels out of a thicker gauge steel. I don’t quite need twice the thickness of what I have, but almost twice.
-
This reply was modified 2 years, 10 months ago by
 toys-n-yotas.
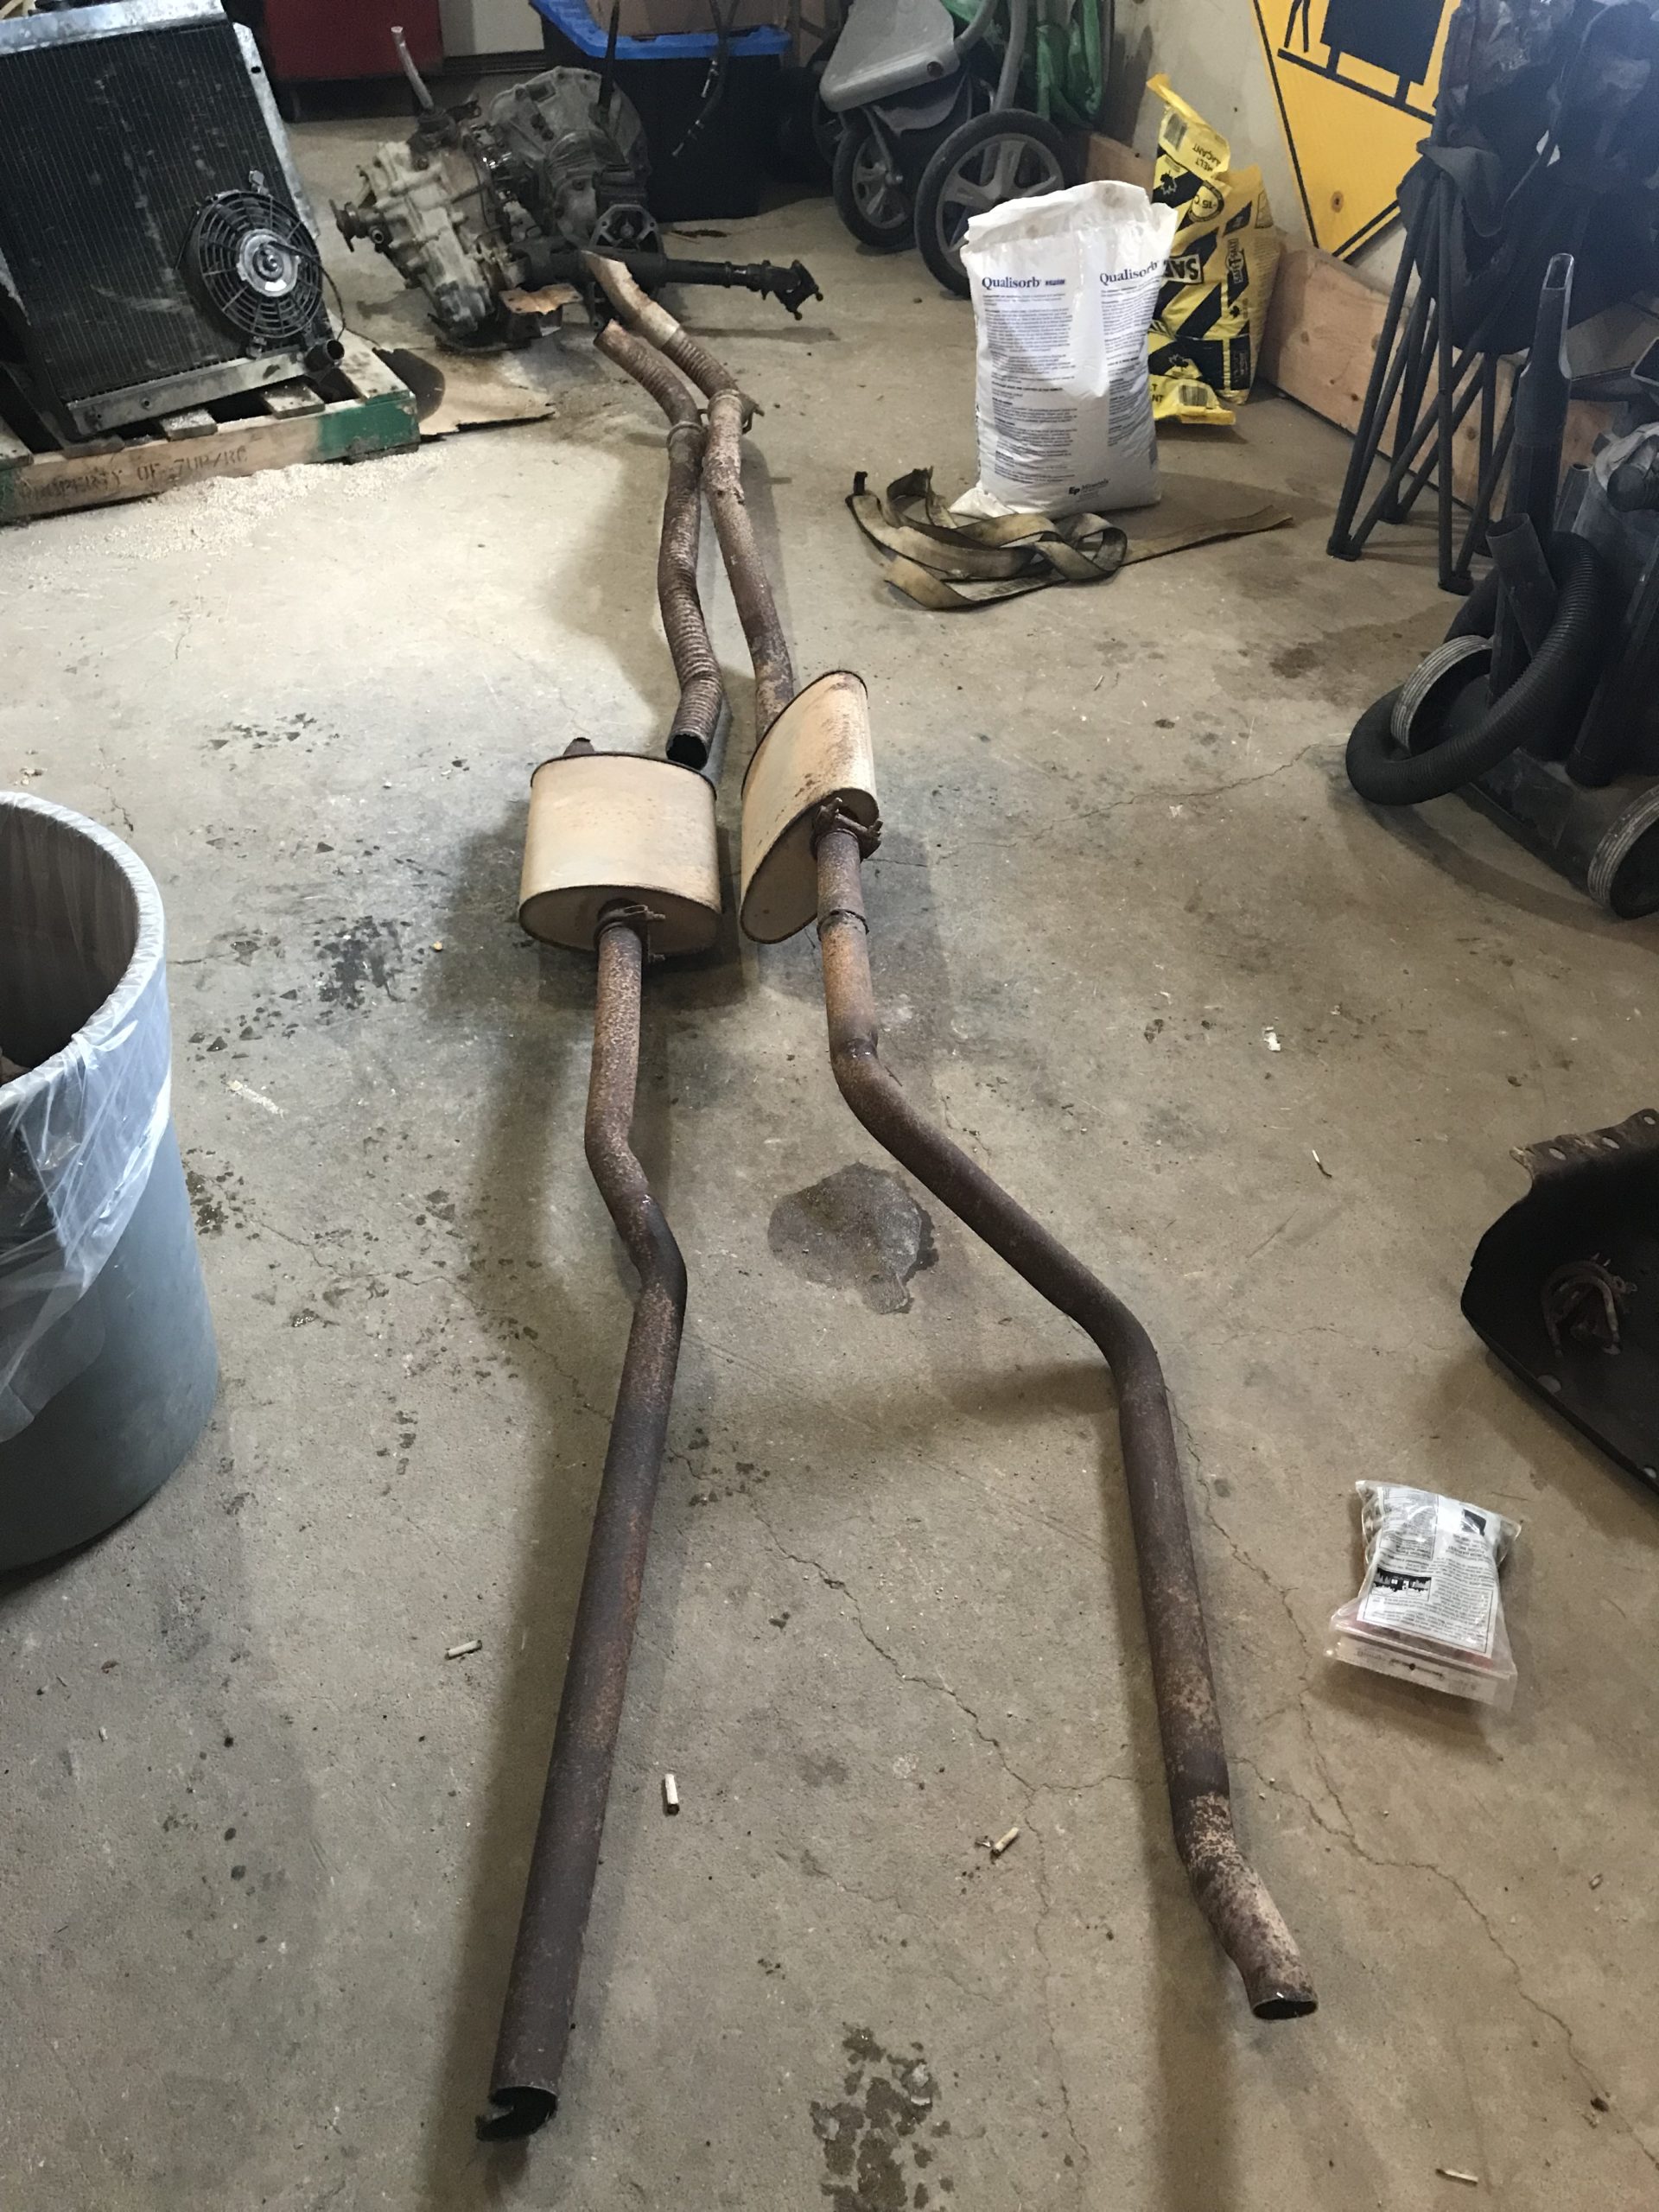
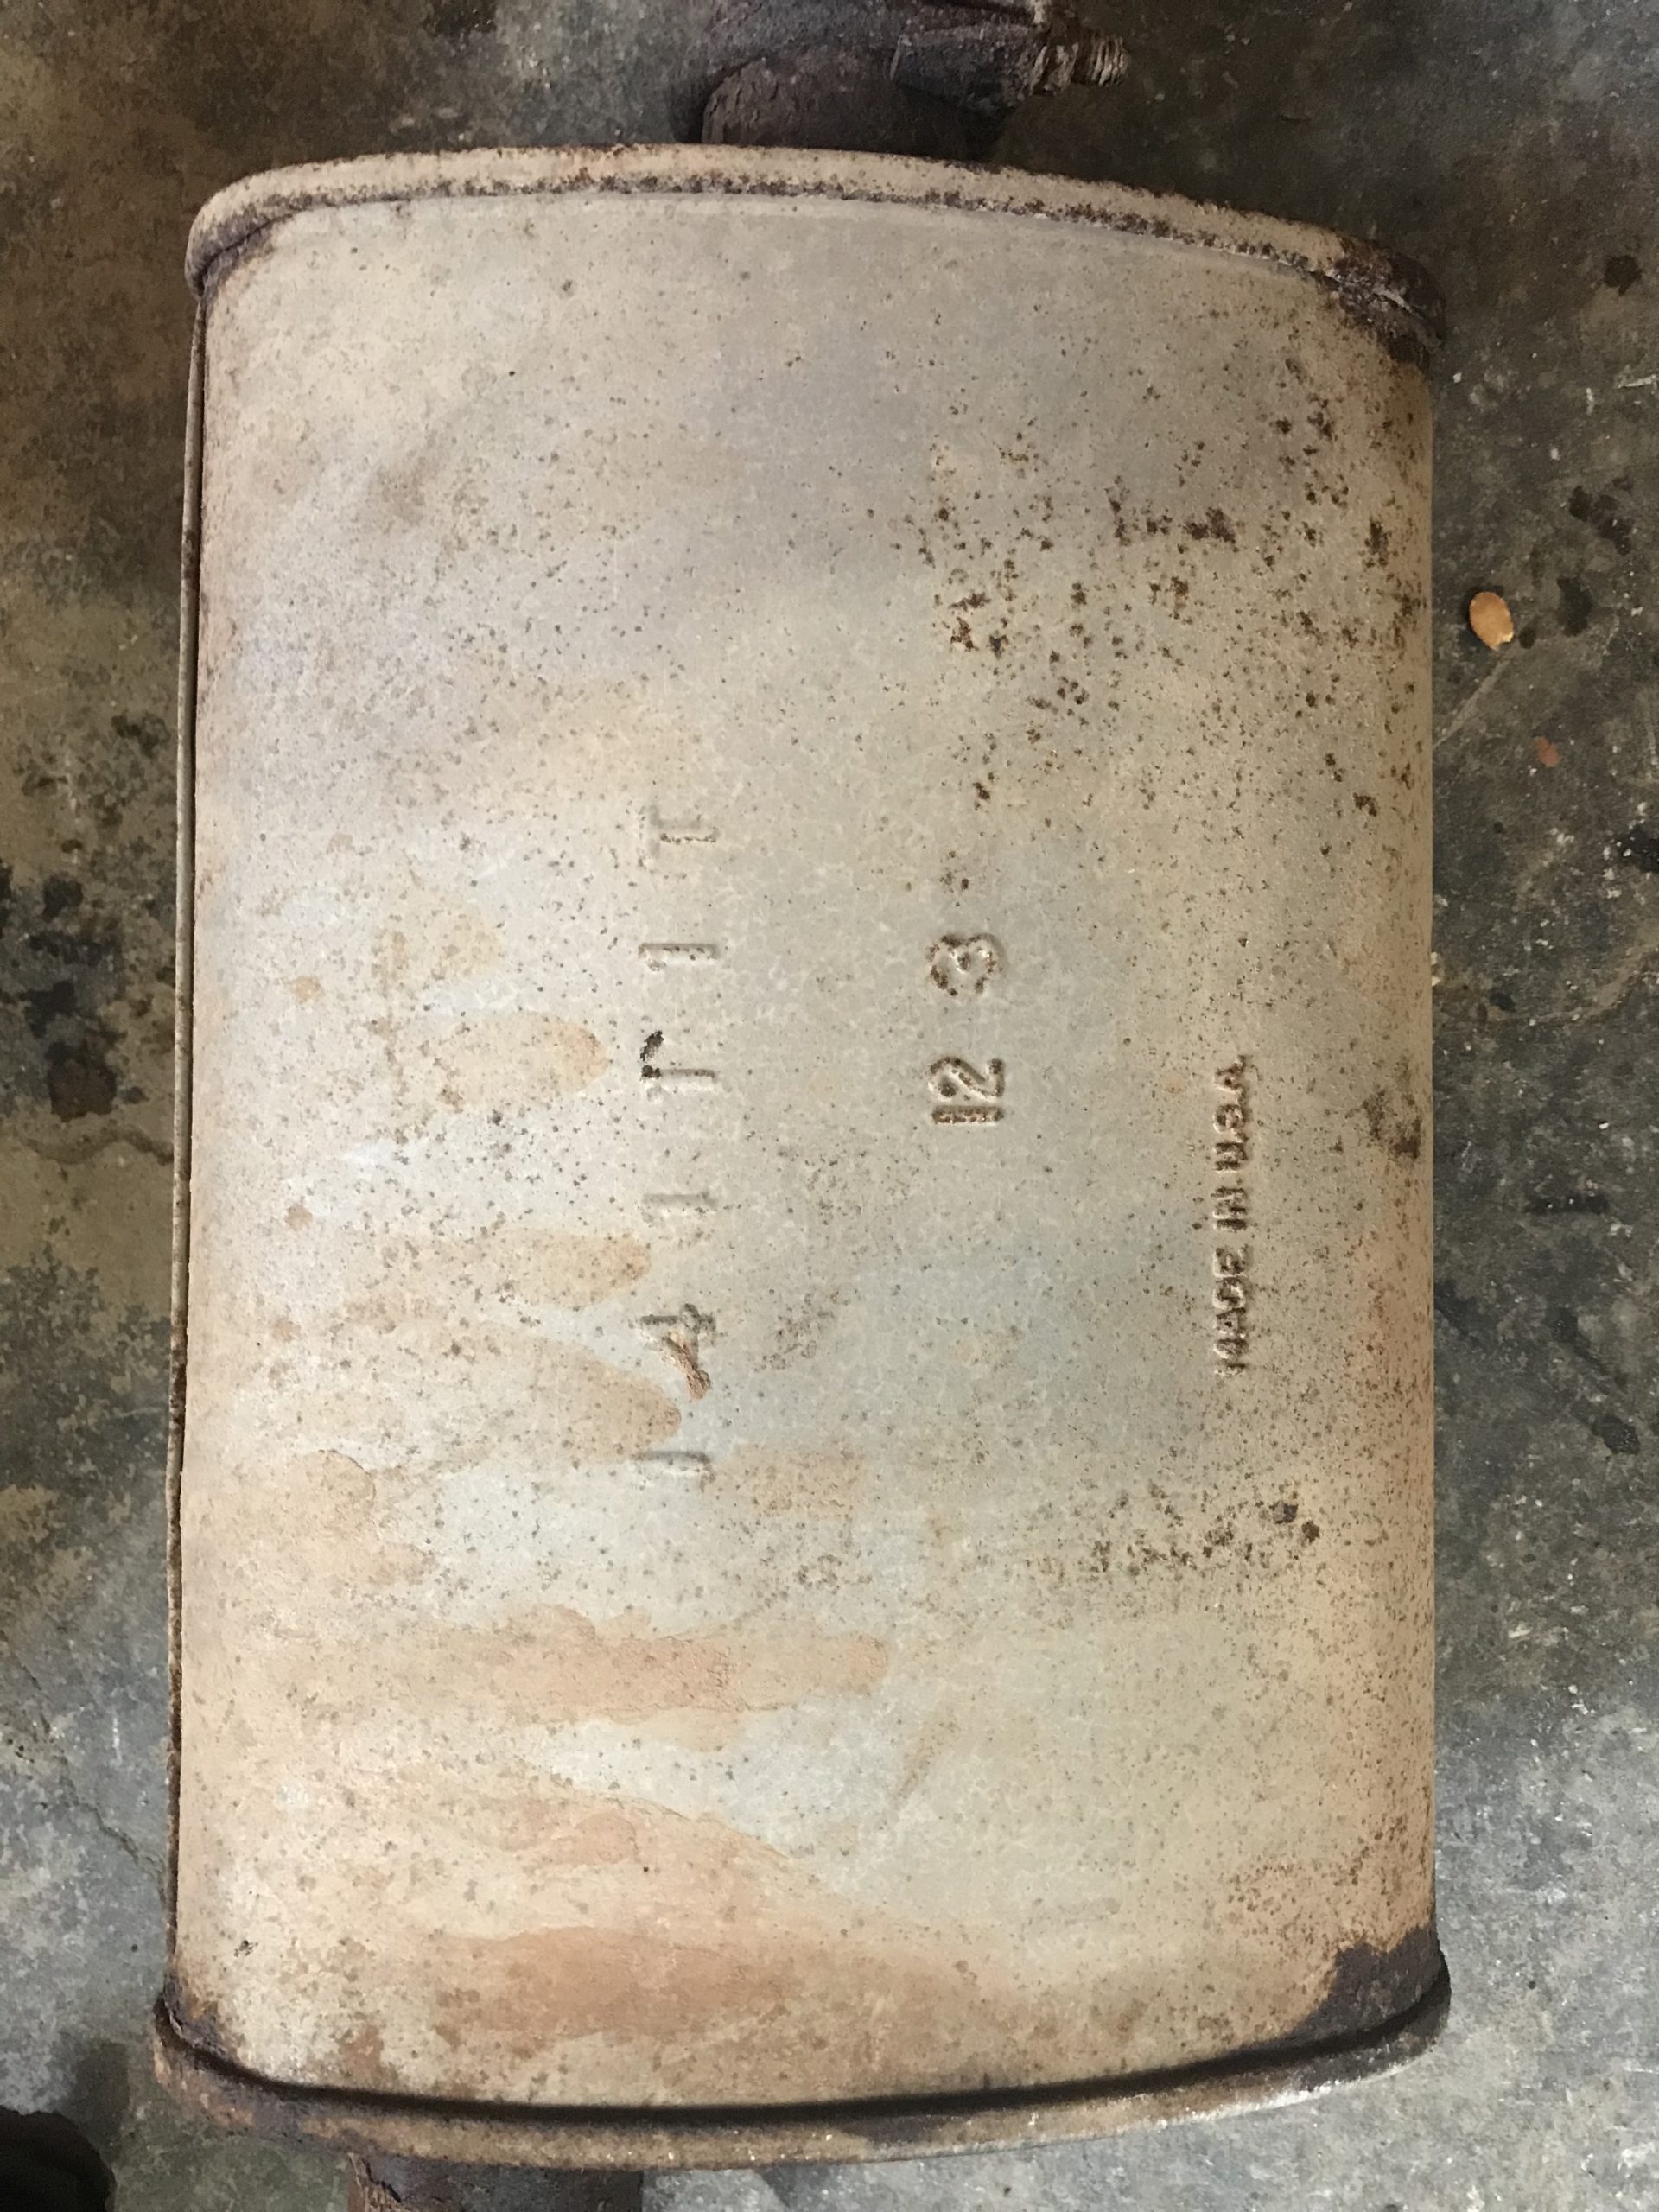
toys-n-yotasKeymasterTwo successes last night to write about. I got the rest of the exhaust removed after lowering the section from downpipe to tailpipe, after much closer visual inspection I can probably only reuse one muffler, the rest is quite rusty not sure I can weld to it even.
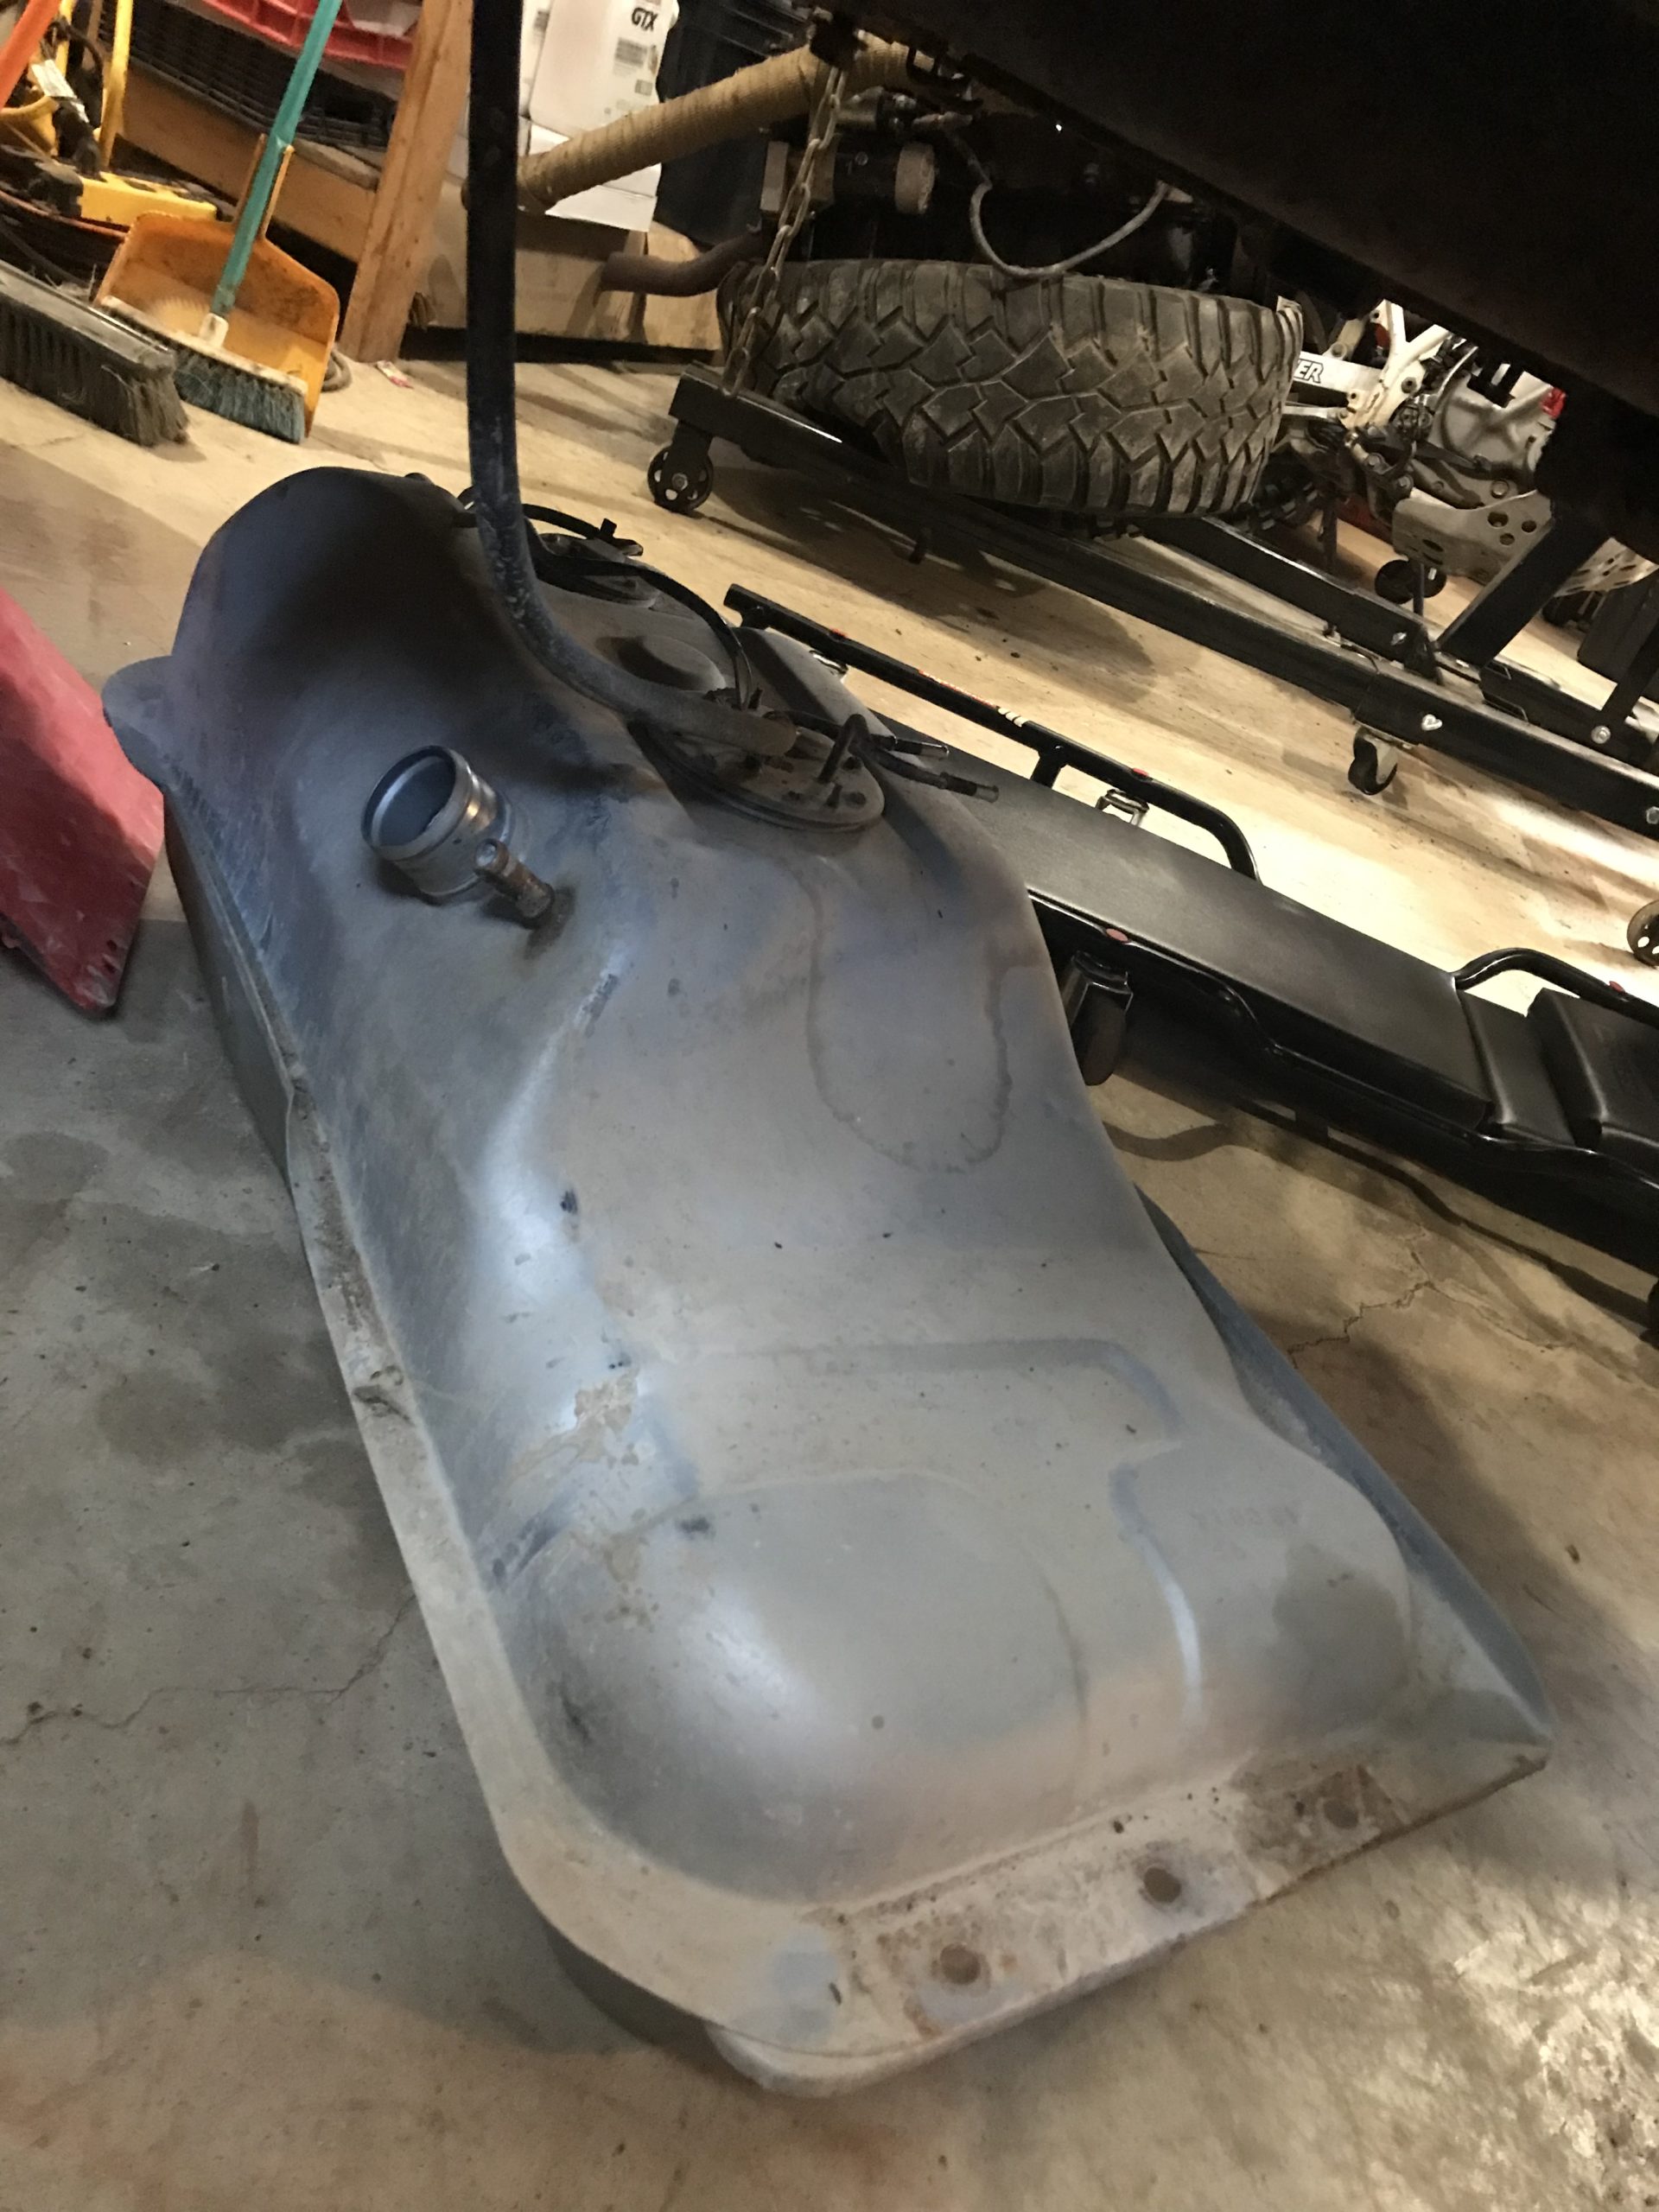
The second success was successfully separating all connections and dropping the fuel tank. I broken out the floor Jack to help myself lower the tank, however as doon d the last boot was out I realized just how empty the tank was. Maybe there is 2 litres of gas left in it. A super slow leak since July of 2021 has practically fully drained it.
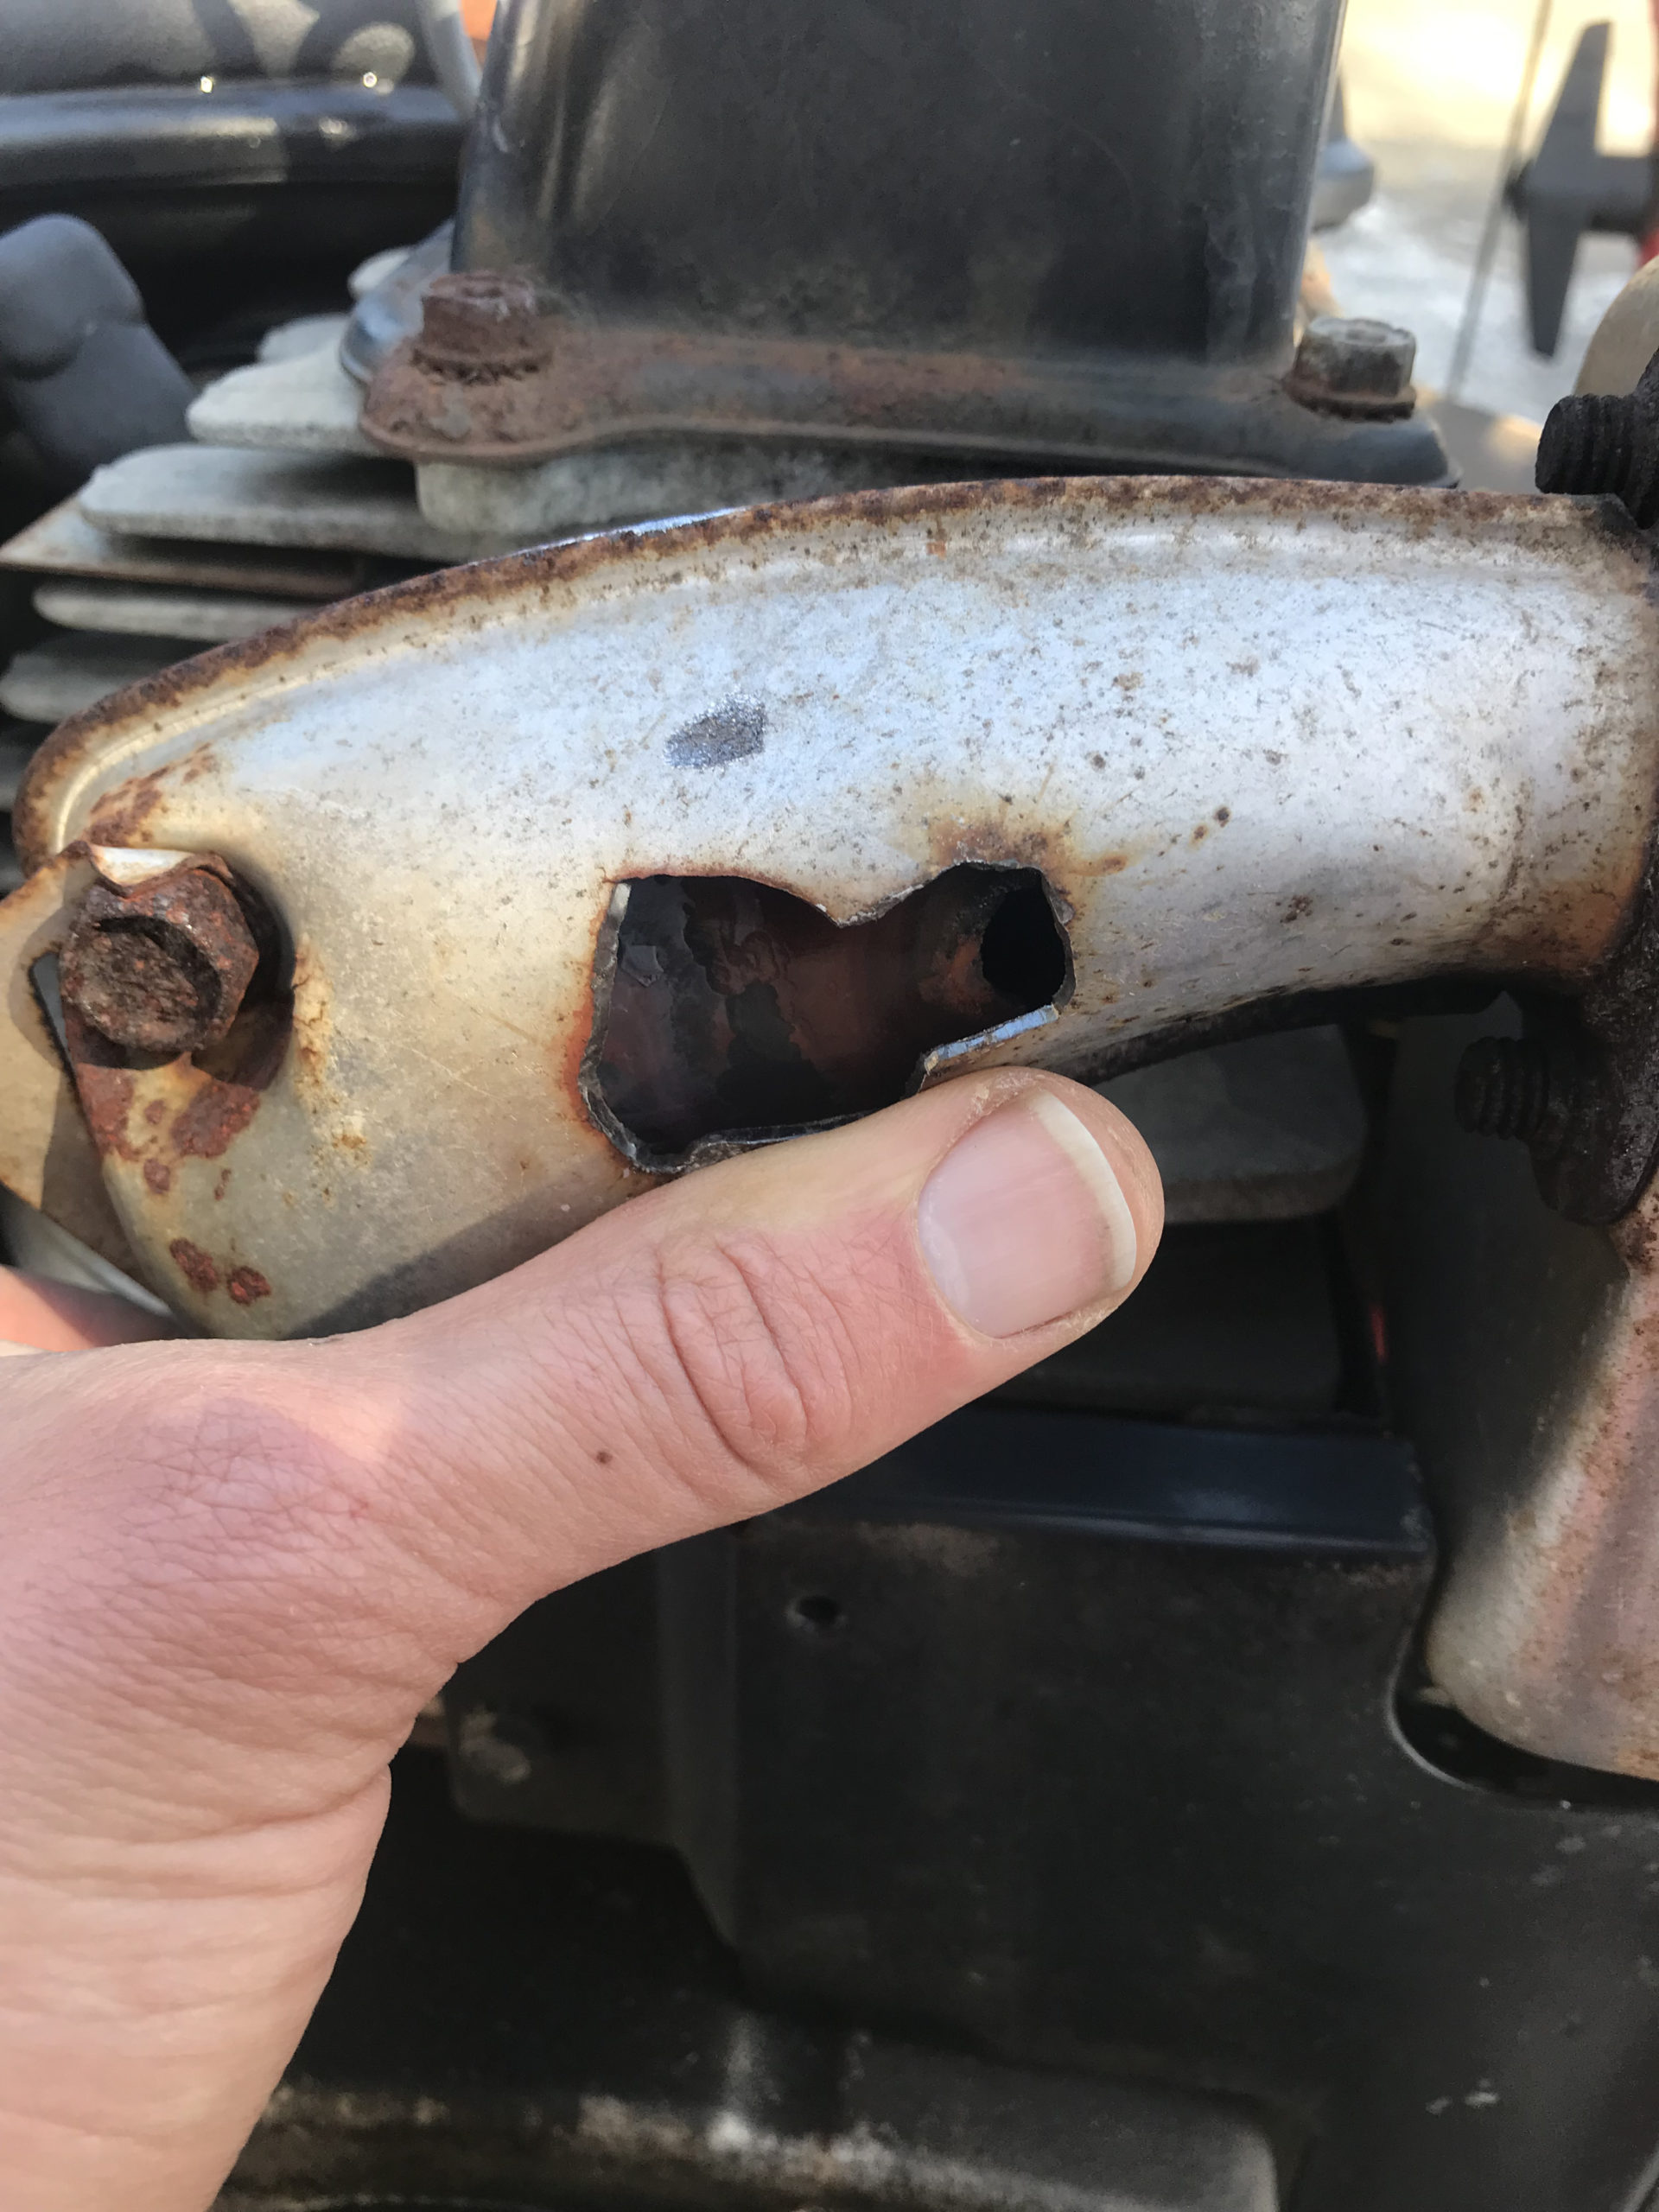
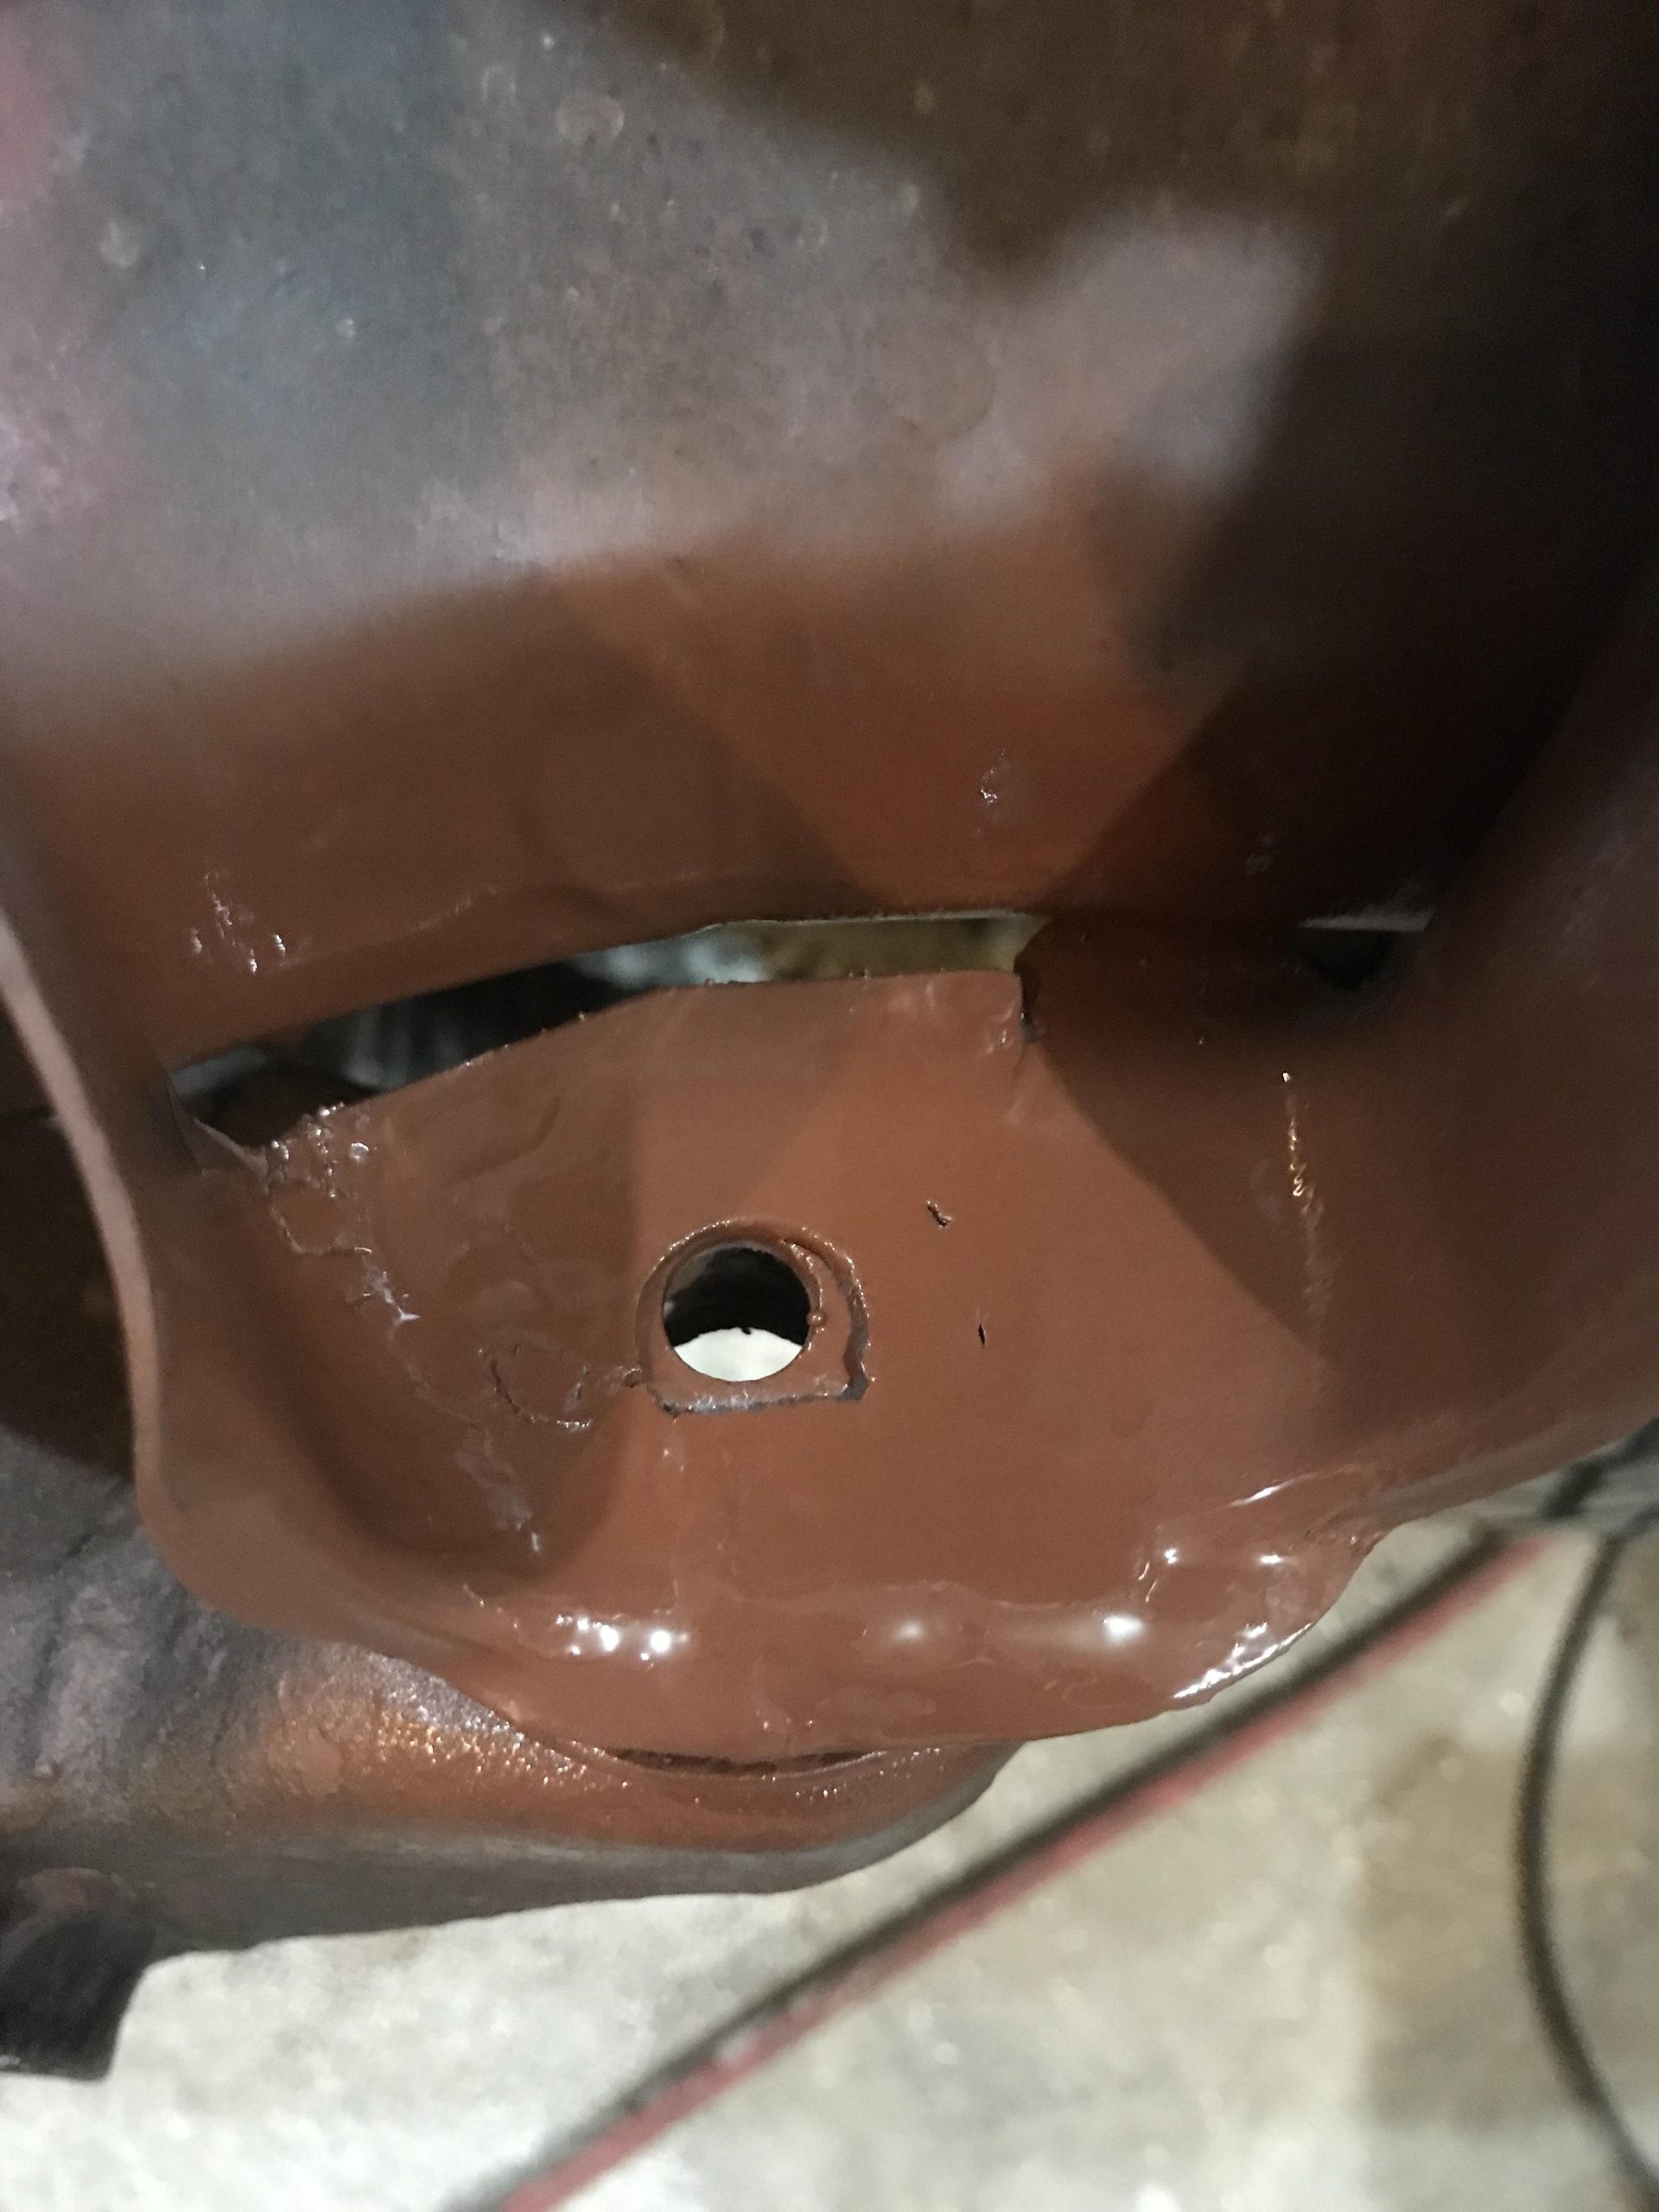
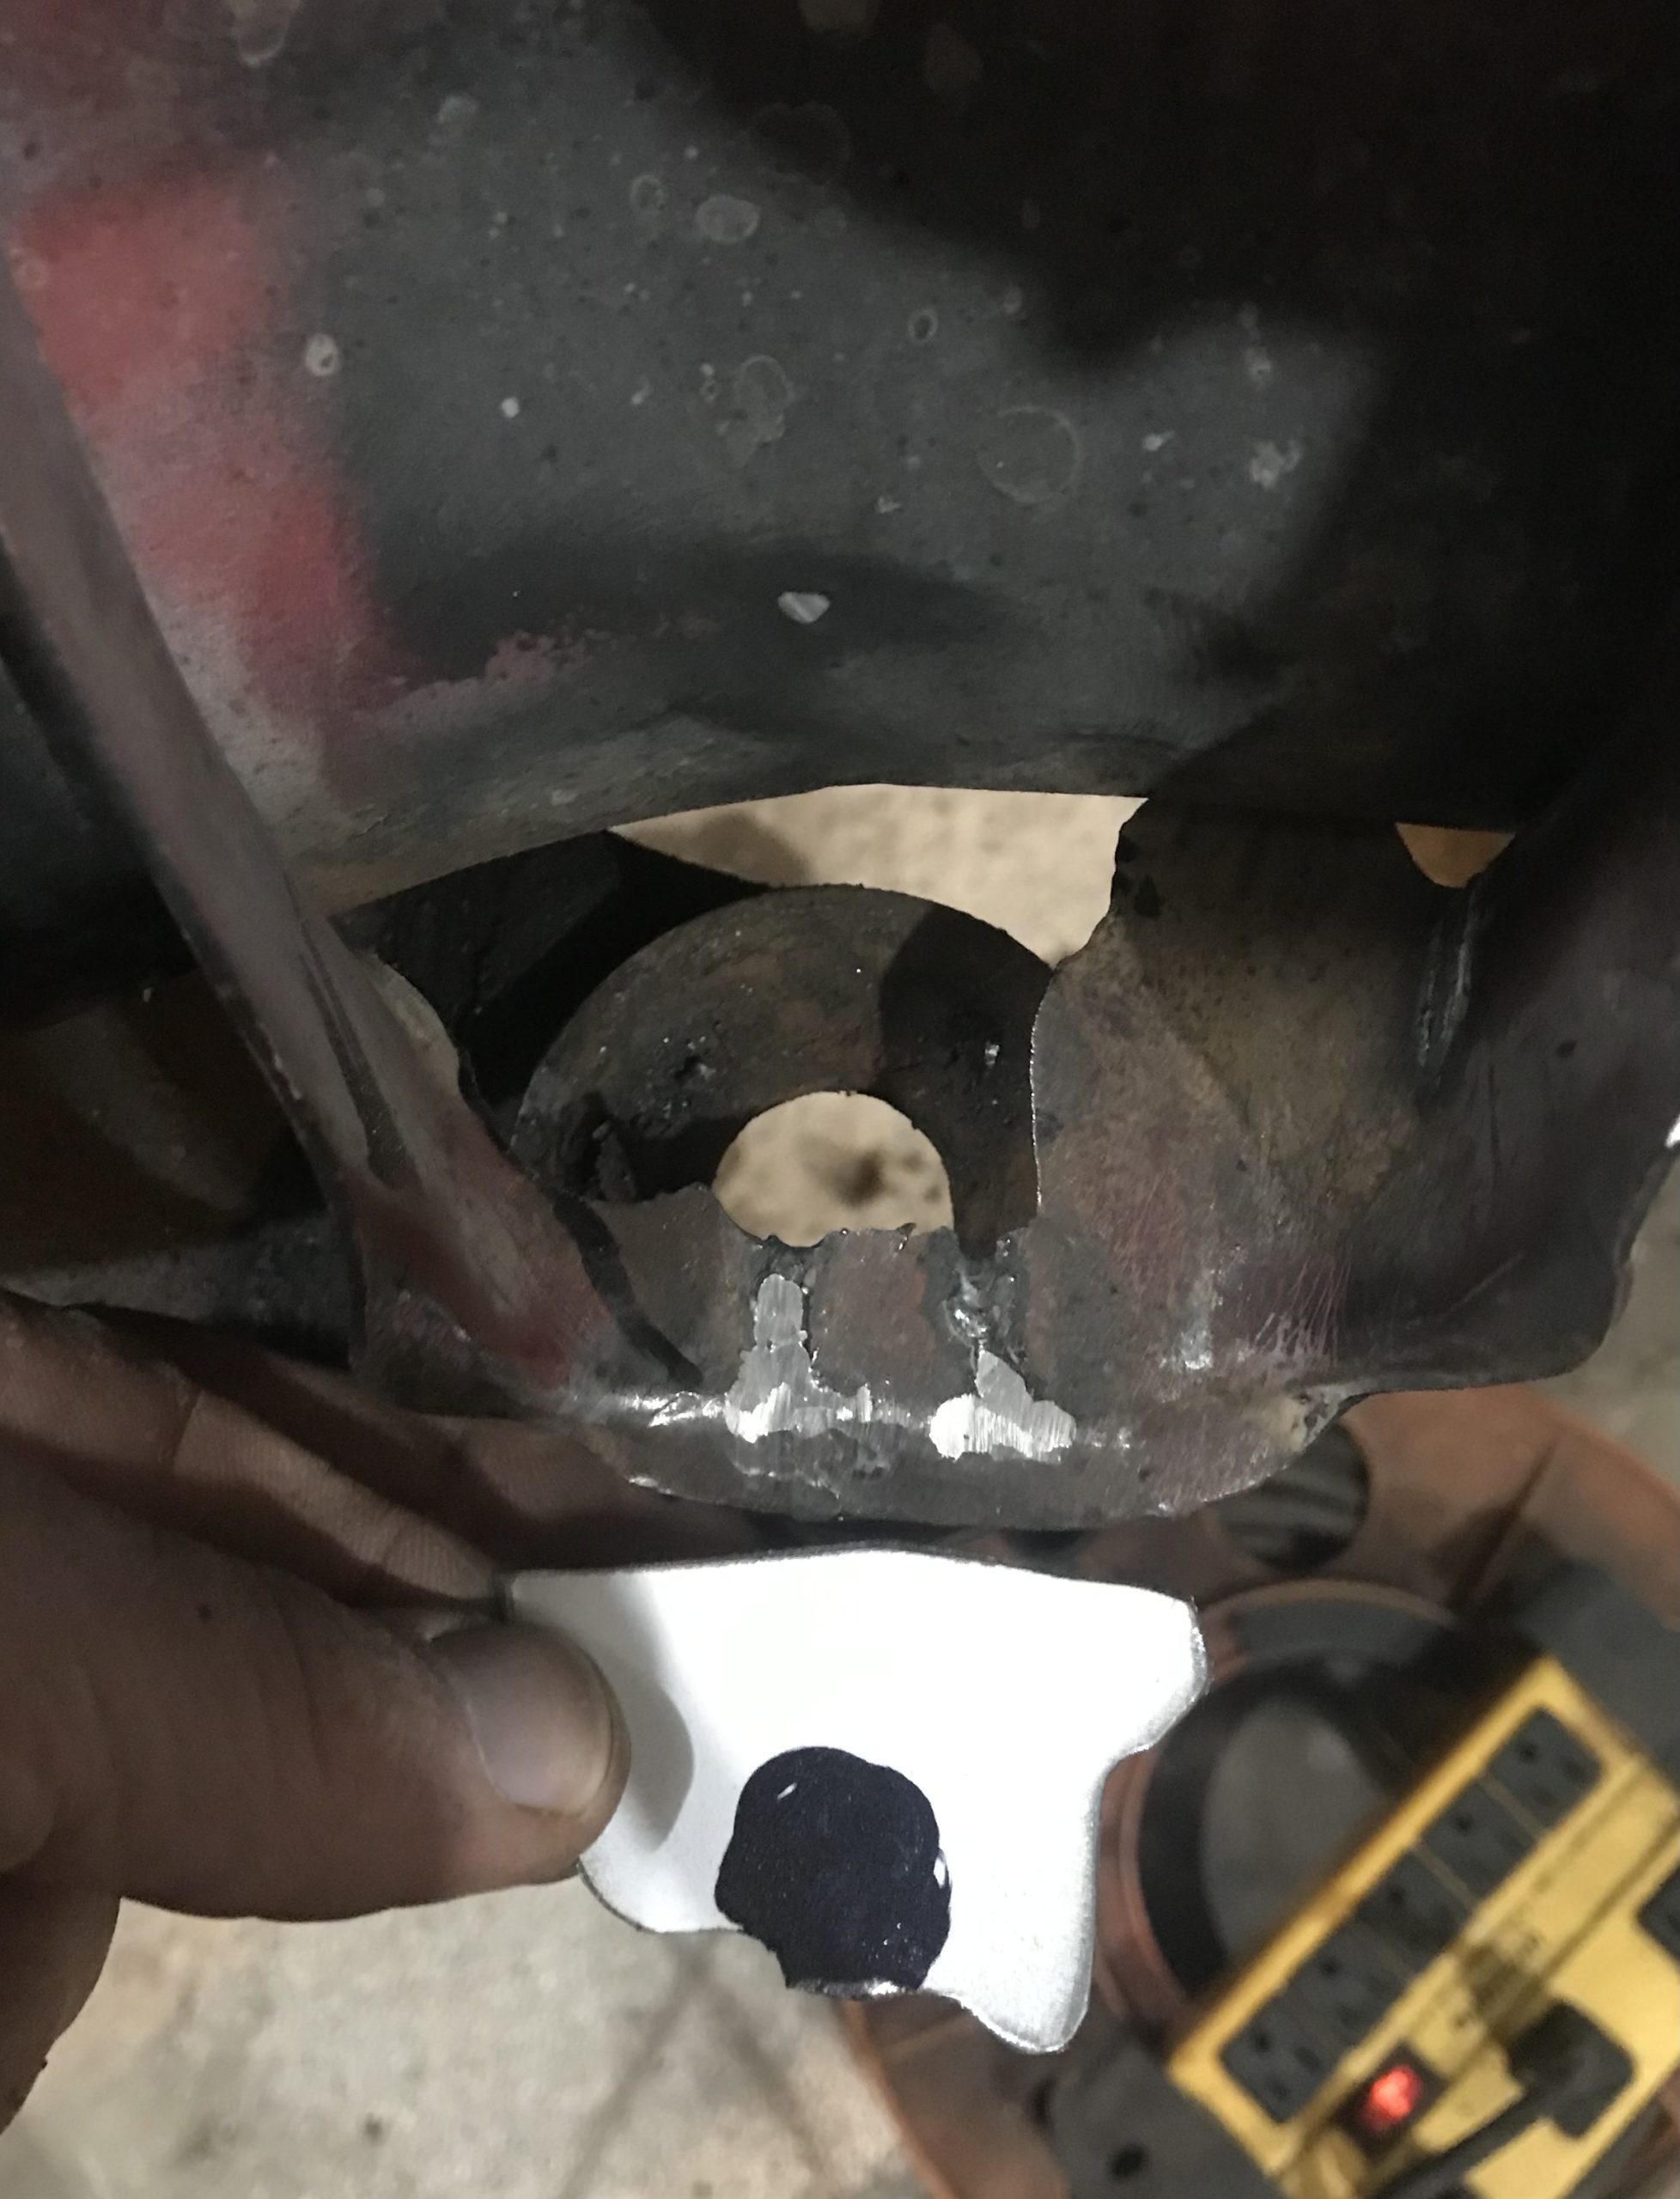
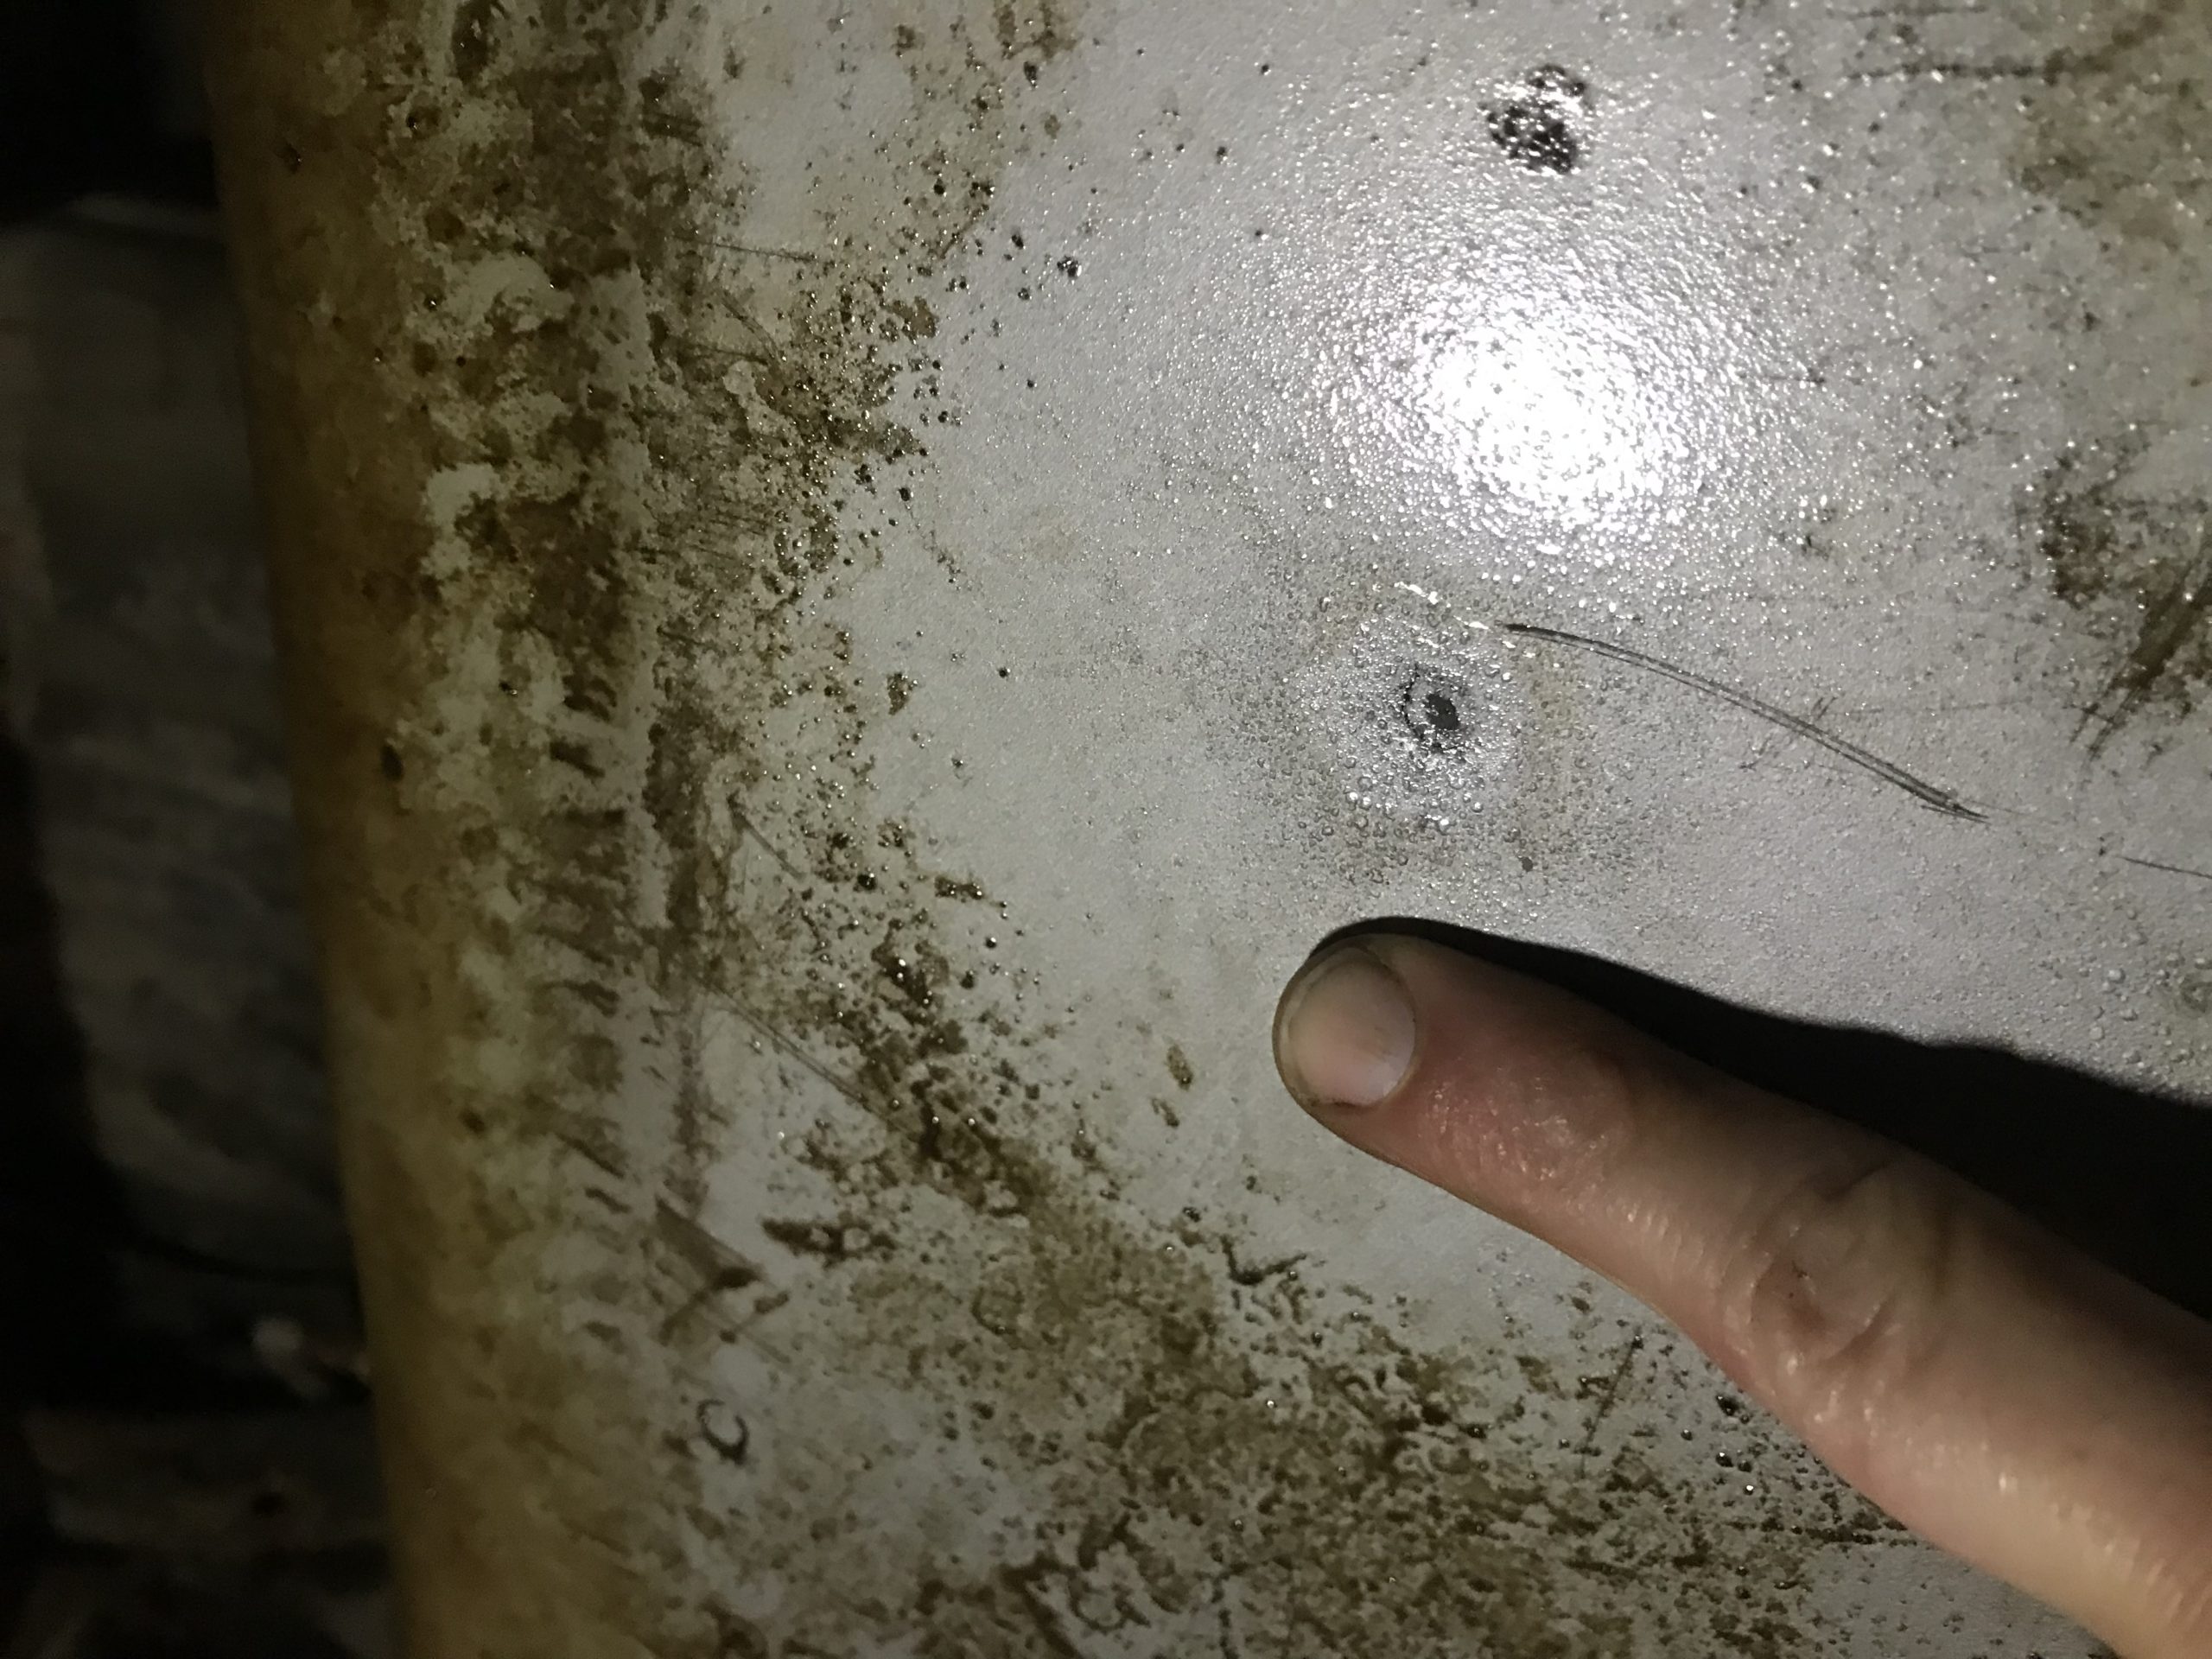
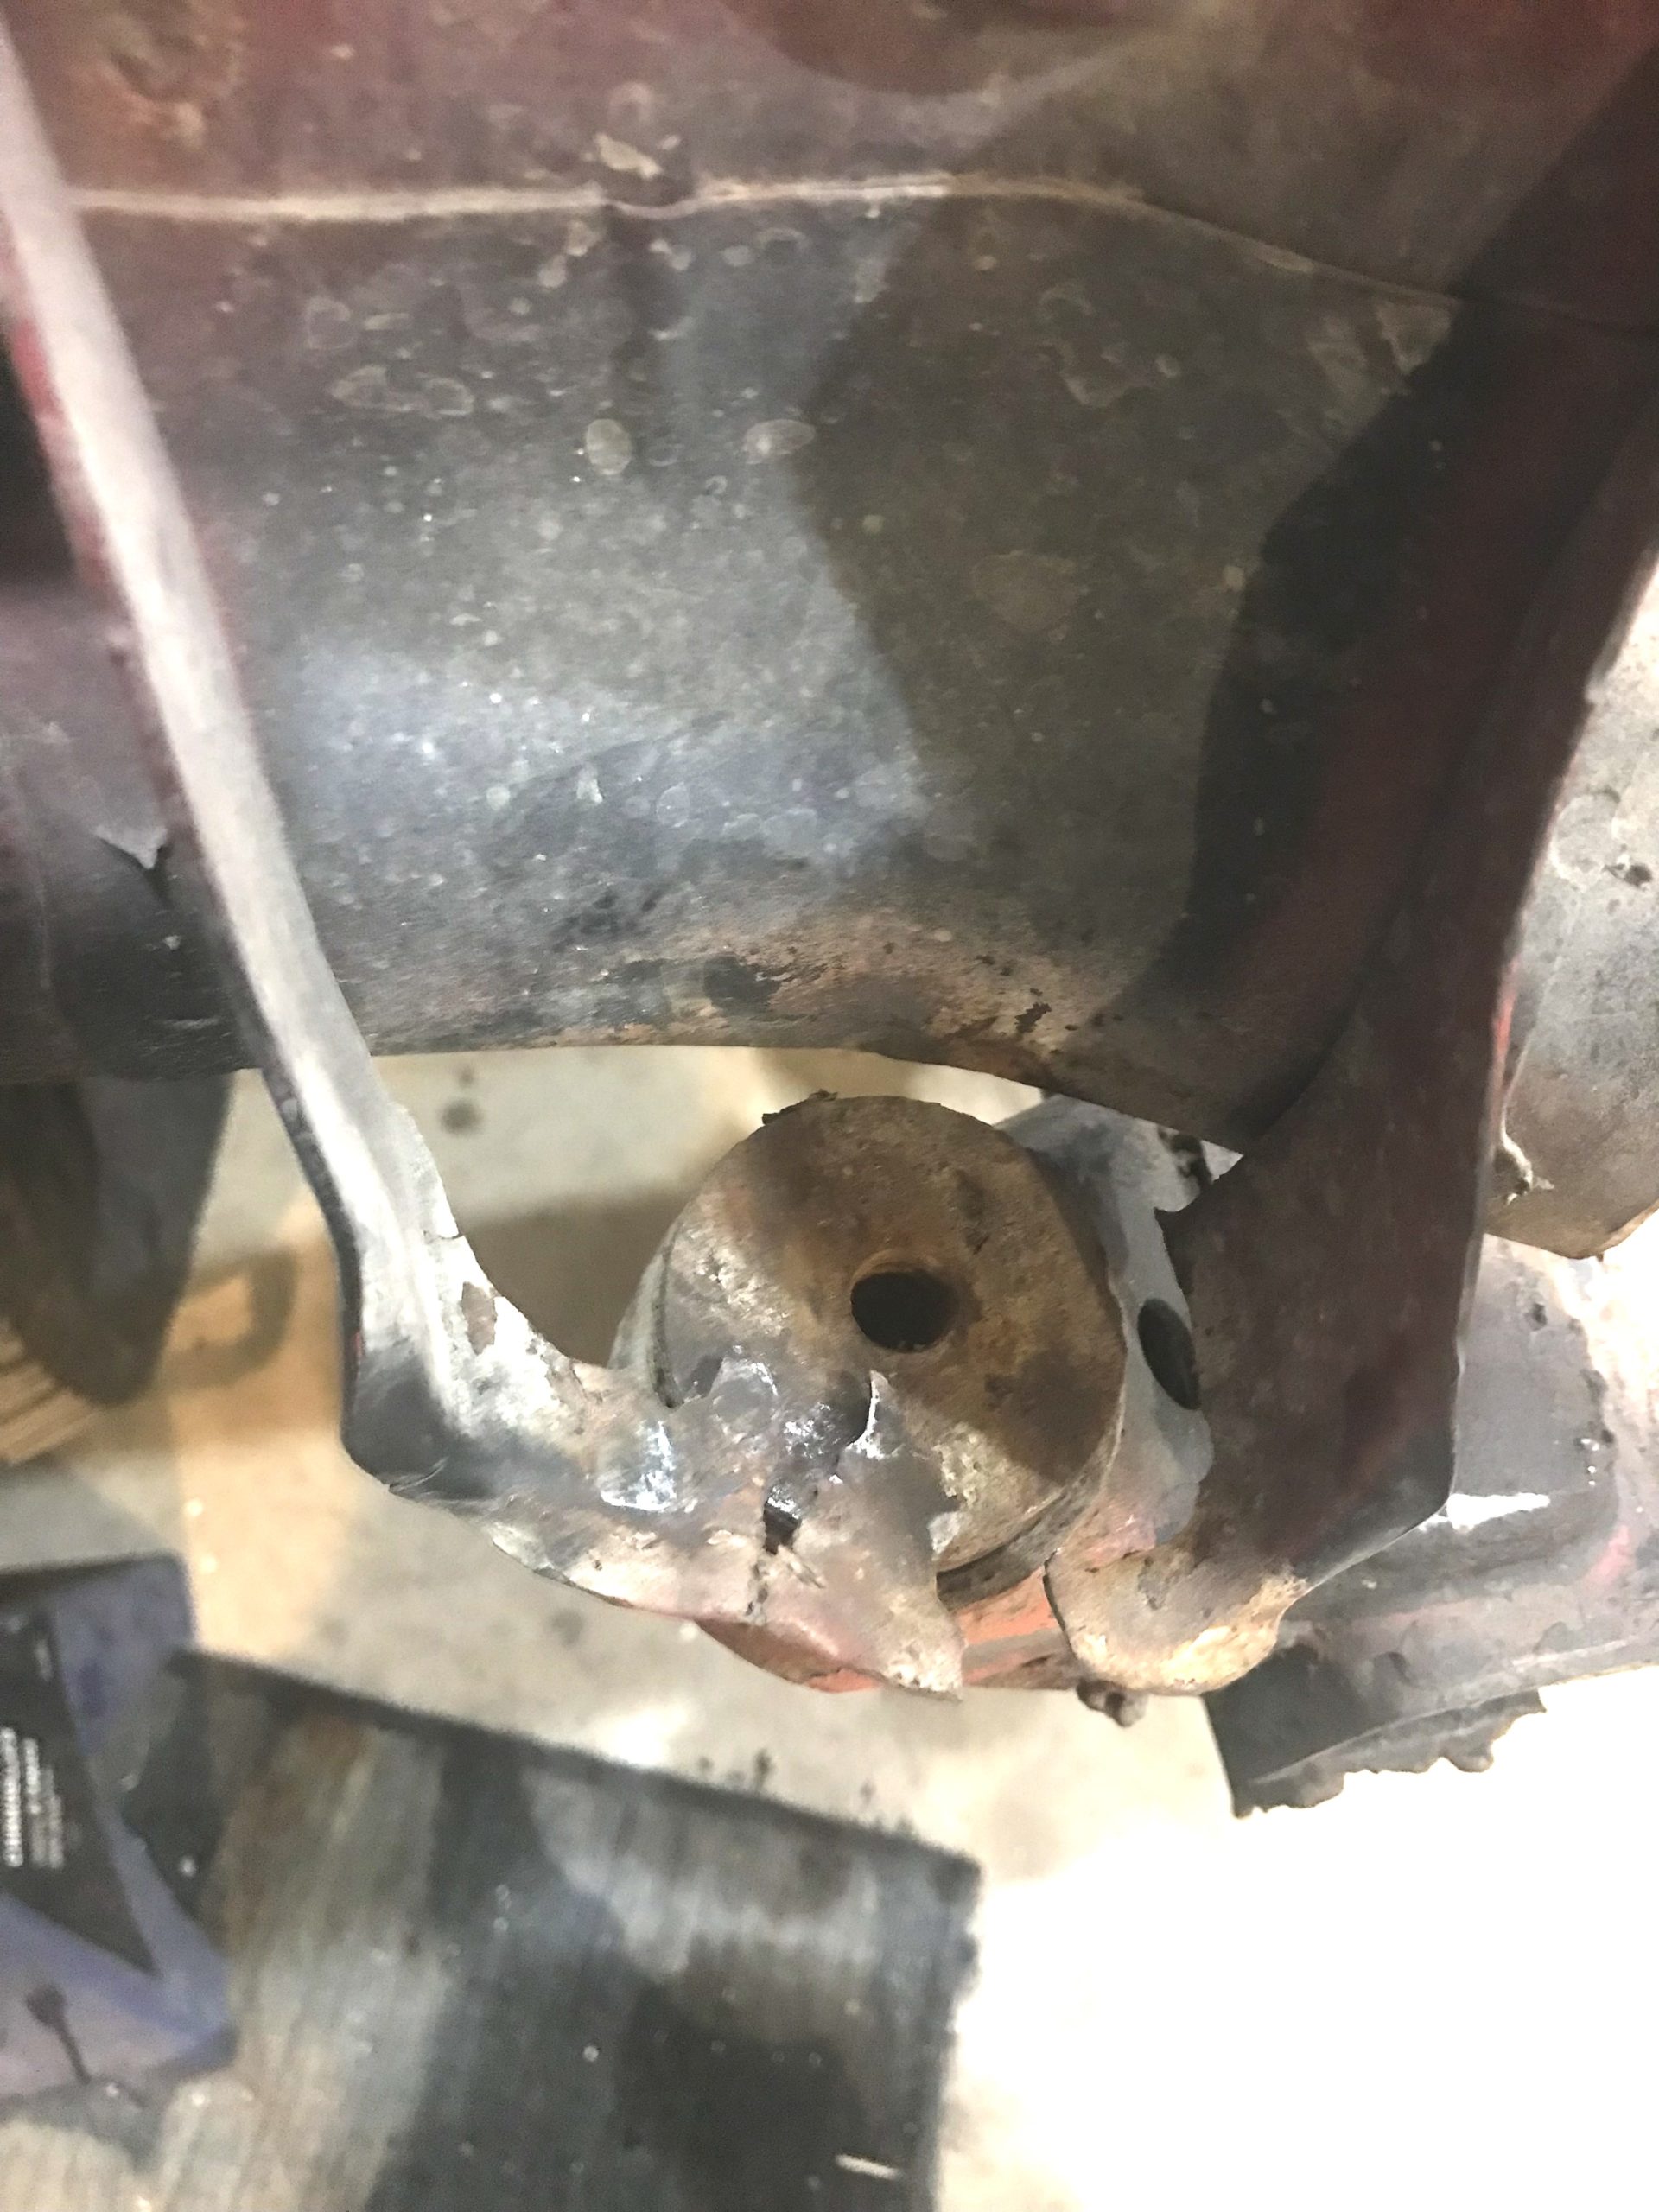
toys-n-yotasKeymasterGahhh!! Dropped the skid plate today to find a BB sized failure point in the very bottom centre if the gas tank. (My finger not pointing, but used to show scale). Pretty sure there’s no way to repair it, pretty annoyed to have to replace the tank, AGAIN!
Attachments:
toys-n-yotasKeymasterSpent the weekend participating in a Subaru rally experience, so I got nothing completed in The Shop. Upon returning home I checked in on Redee and got a crazy potent whiff of raw gas, and found a small wet spot under the fuel tank, and the skid plate is saturated in gas **angry face **.
So this week I’m gonna drop the skid plate and try to locate the source. I’m hoping it’s a feed or return line, and not the tank itself which is leaking. That tank was new 4 years ago and shows no physical damage to the sides. Hoping I didn’t puncture or crack the underside of the tank.toys-n-yotasKeymasterI’m scrounging around the shop for steel to repair my front body mounts, but have either come up too thin, or way too thick. I will keep searching cause I’m sure I have the winner somewhere, otherwise I’ll pop into Hunter Steel across from work and try to buy some offcuts.
See below my two main areas of concern. I’m glad the repair won’t have to be pretty as the bumper will cover it up when it’s all completed.
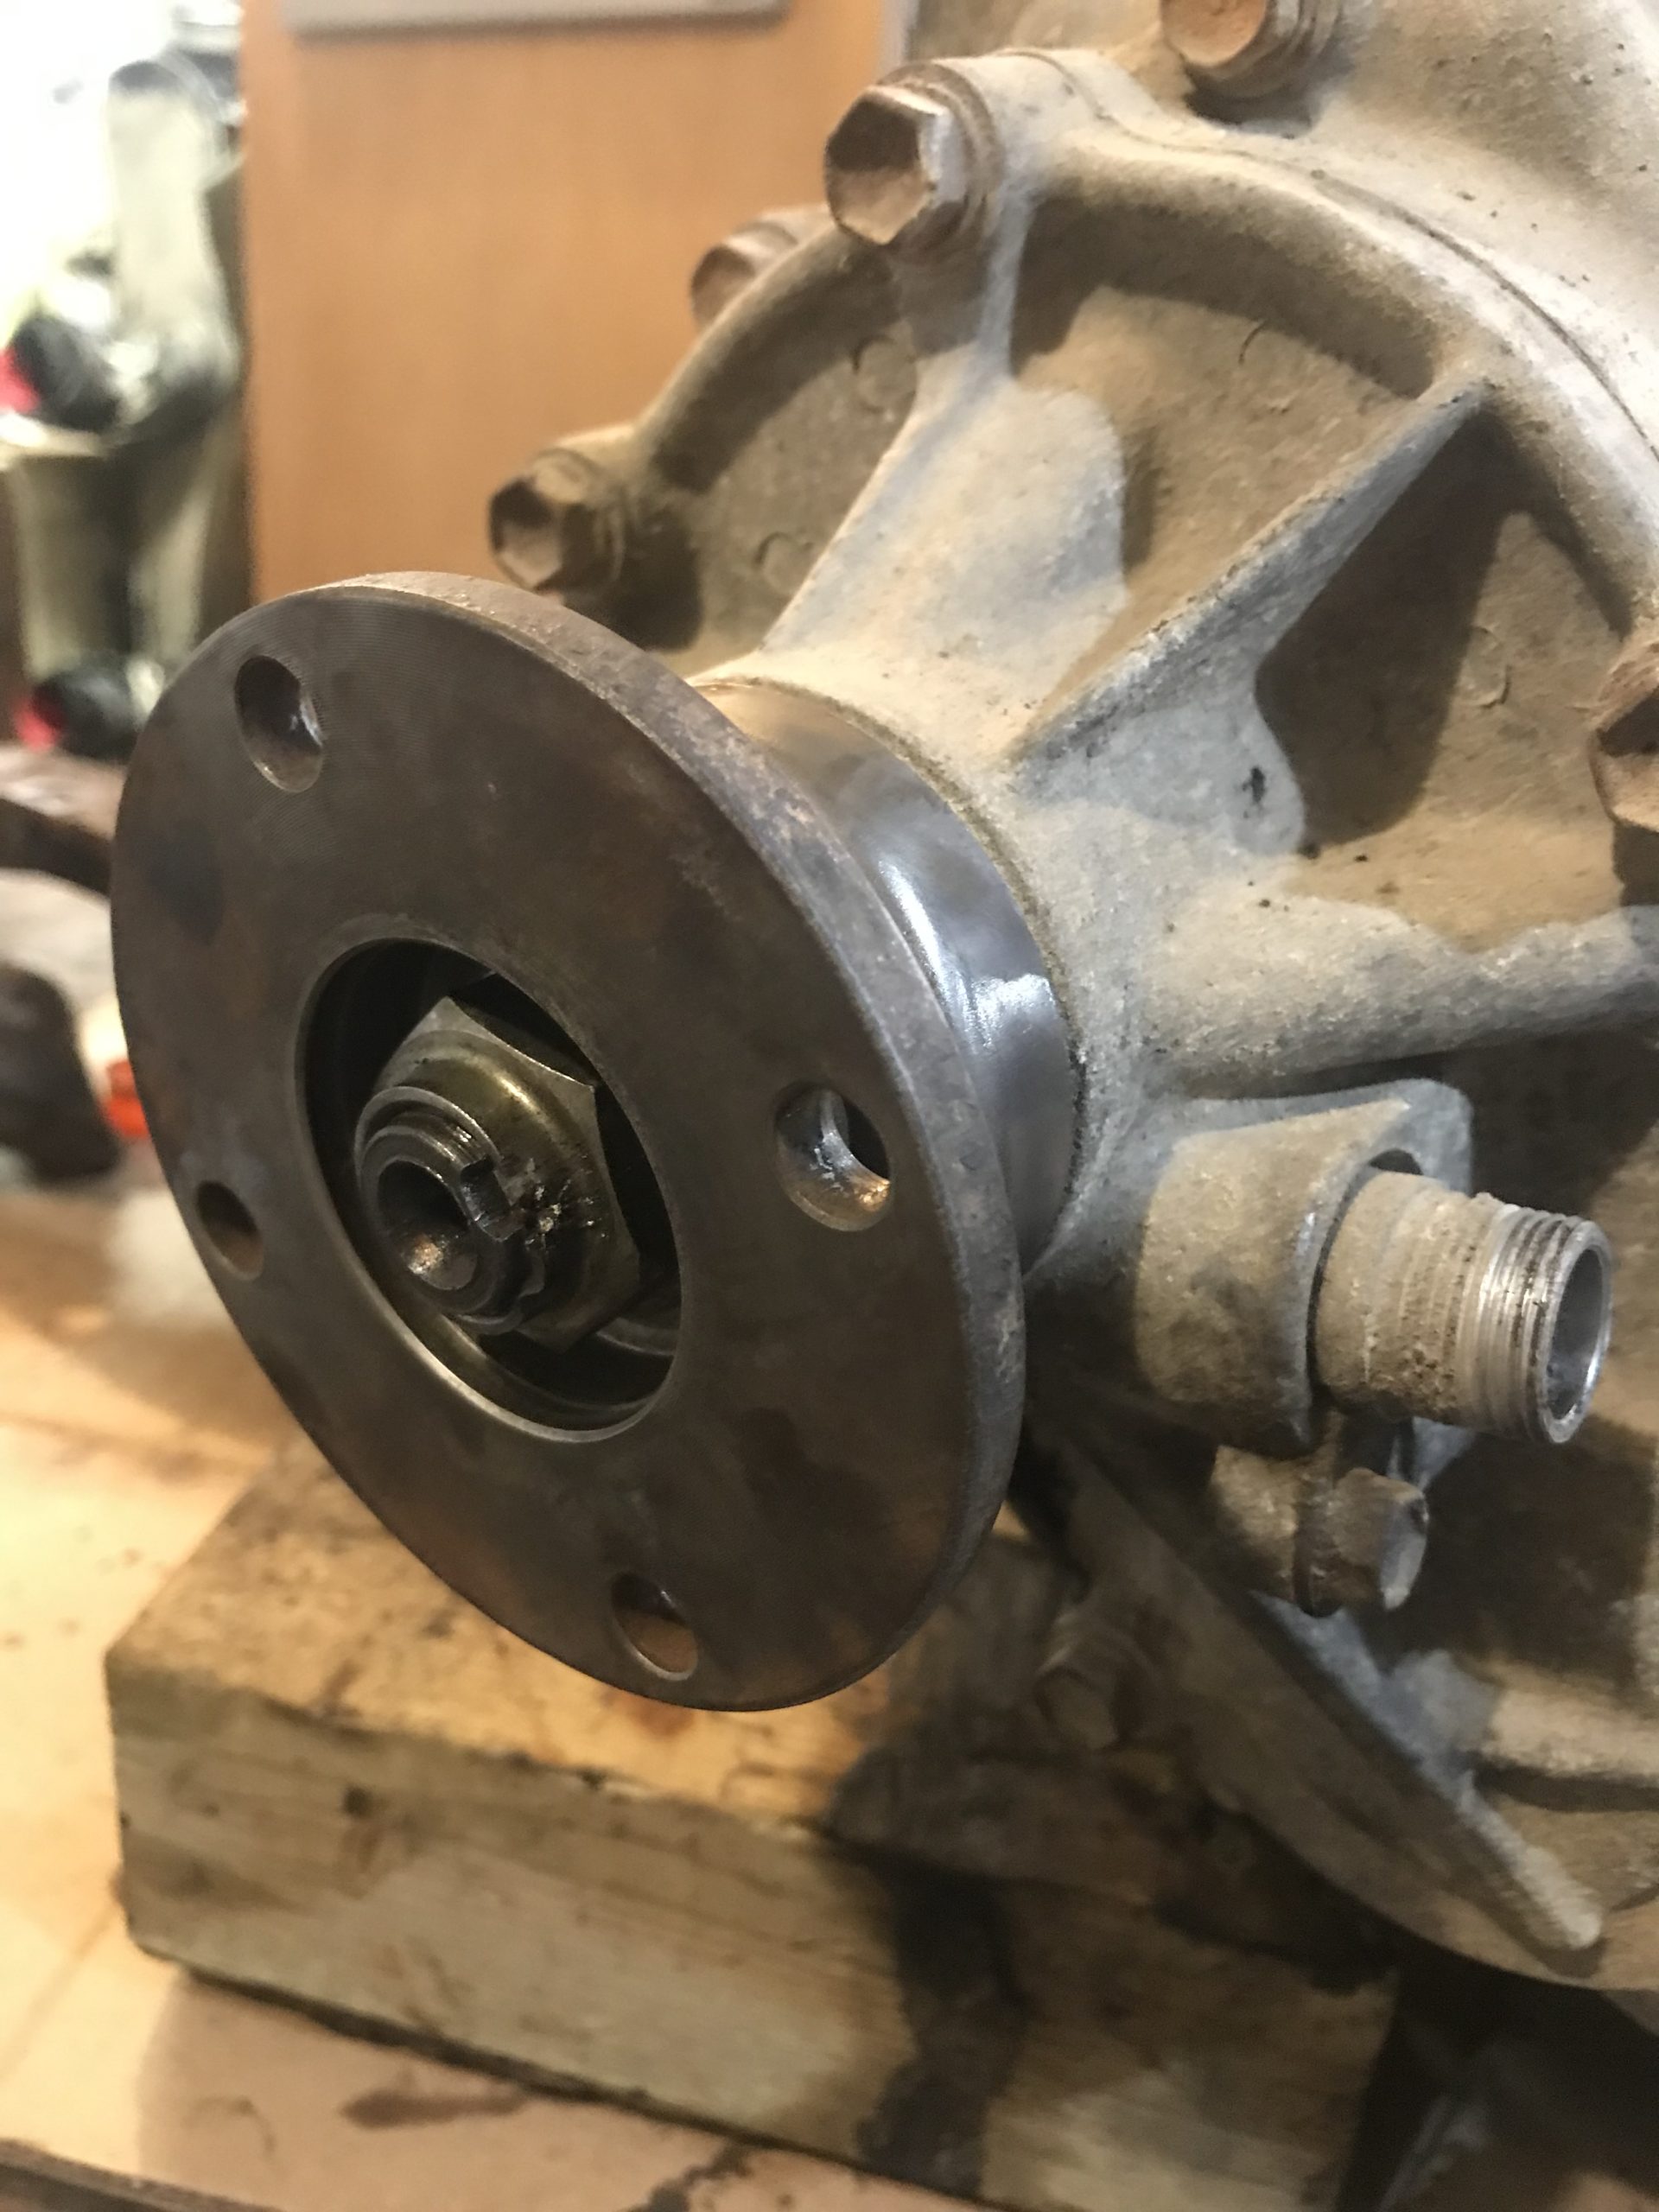
toys-n-yotasKeymasterI got back out into the shop last night, but I didn’t give it my all haha. I put two hours into replacing the rear seal on the Tcase, and clearing a blockage from a grease fitting. While I had great access to the front drive shaft, I hit the 5 zerks but one just splooged grease all over the nipple. Picks, mechanics wire, PB blaster and compressed air finally broke up the blockage, and I filled the U-joint.
Afterwards I tidied and chilled with Matt getting no further work completed.
This week I hope to do the front diff, and start welding front body mounts and Centre tunnel patch panels.
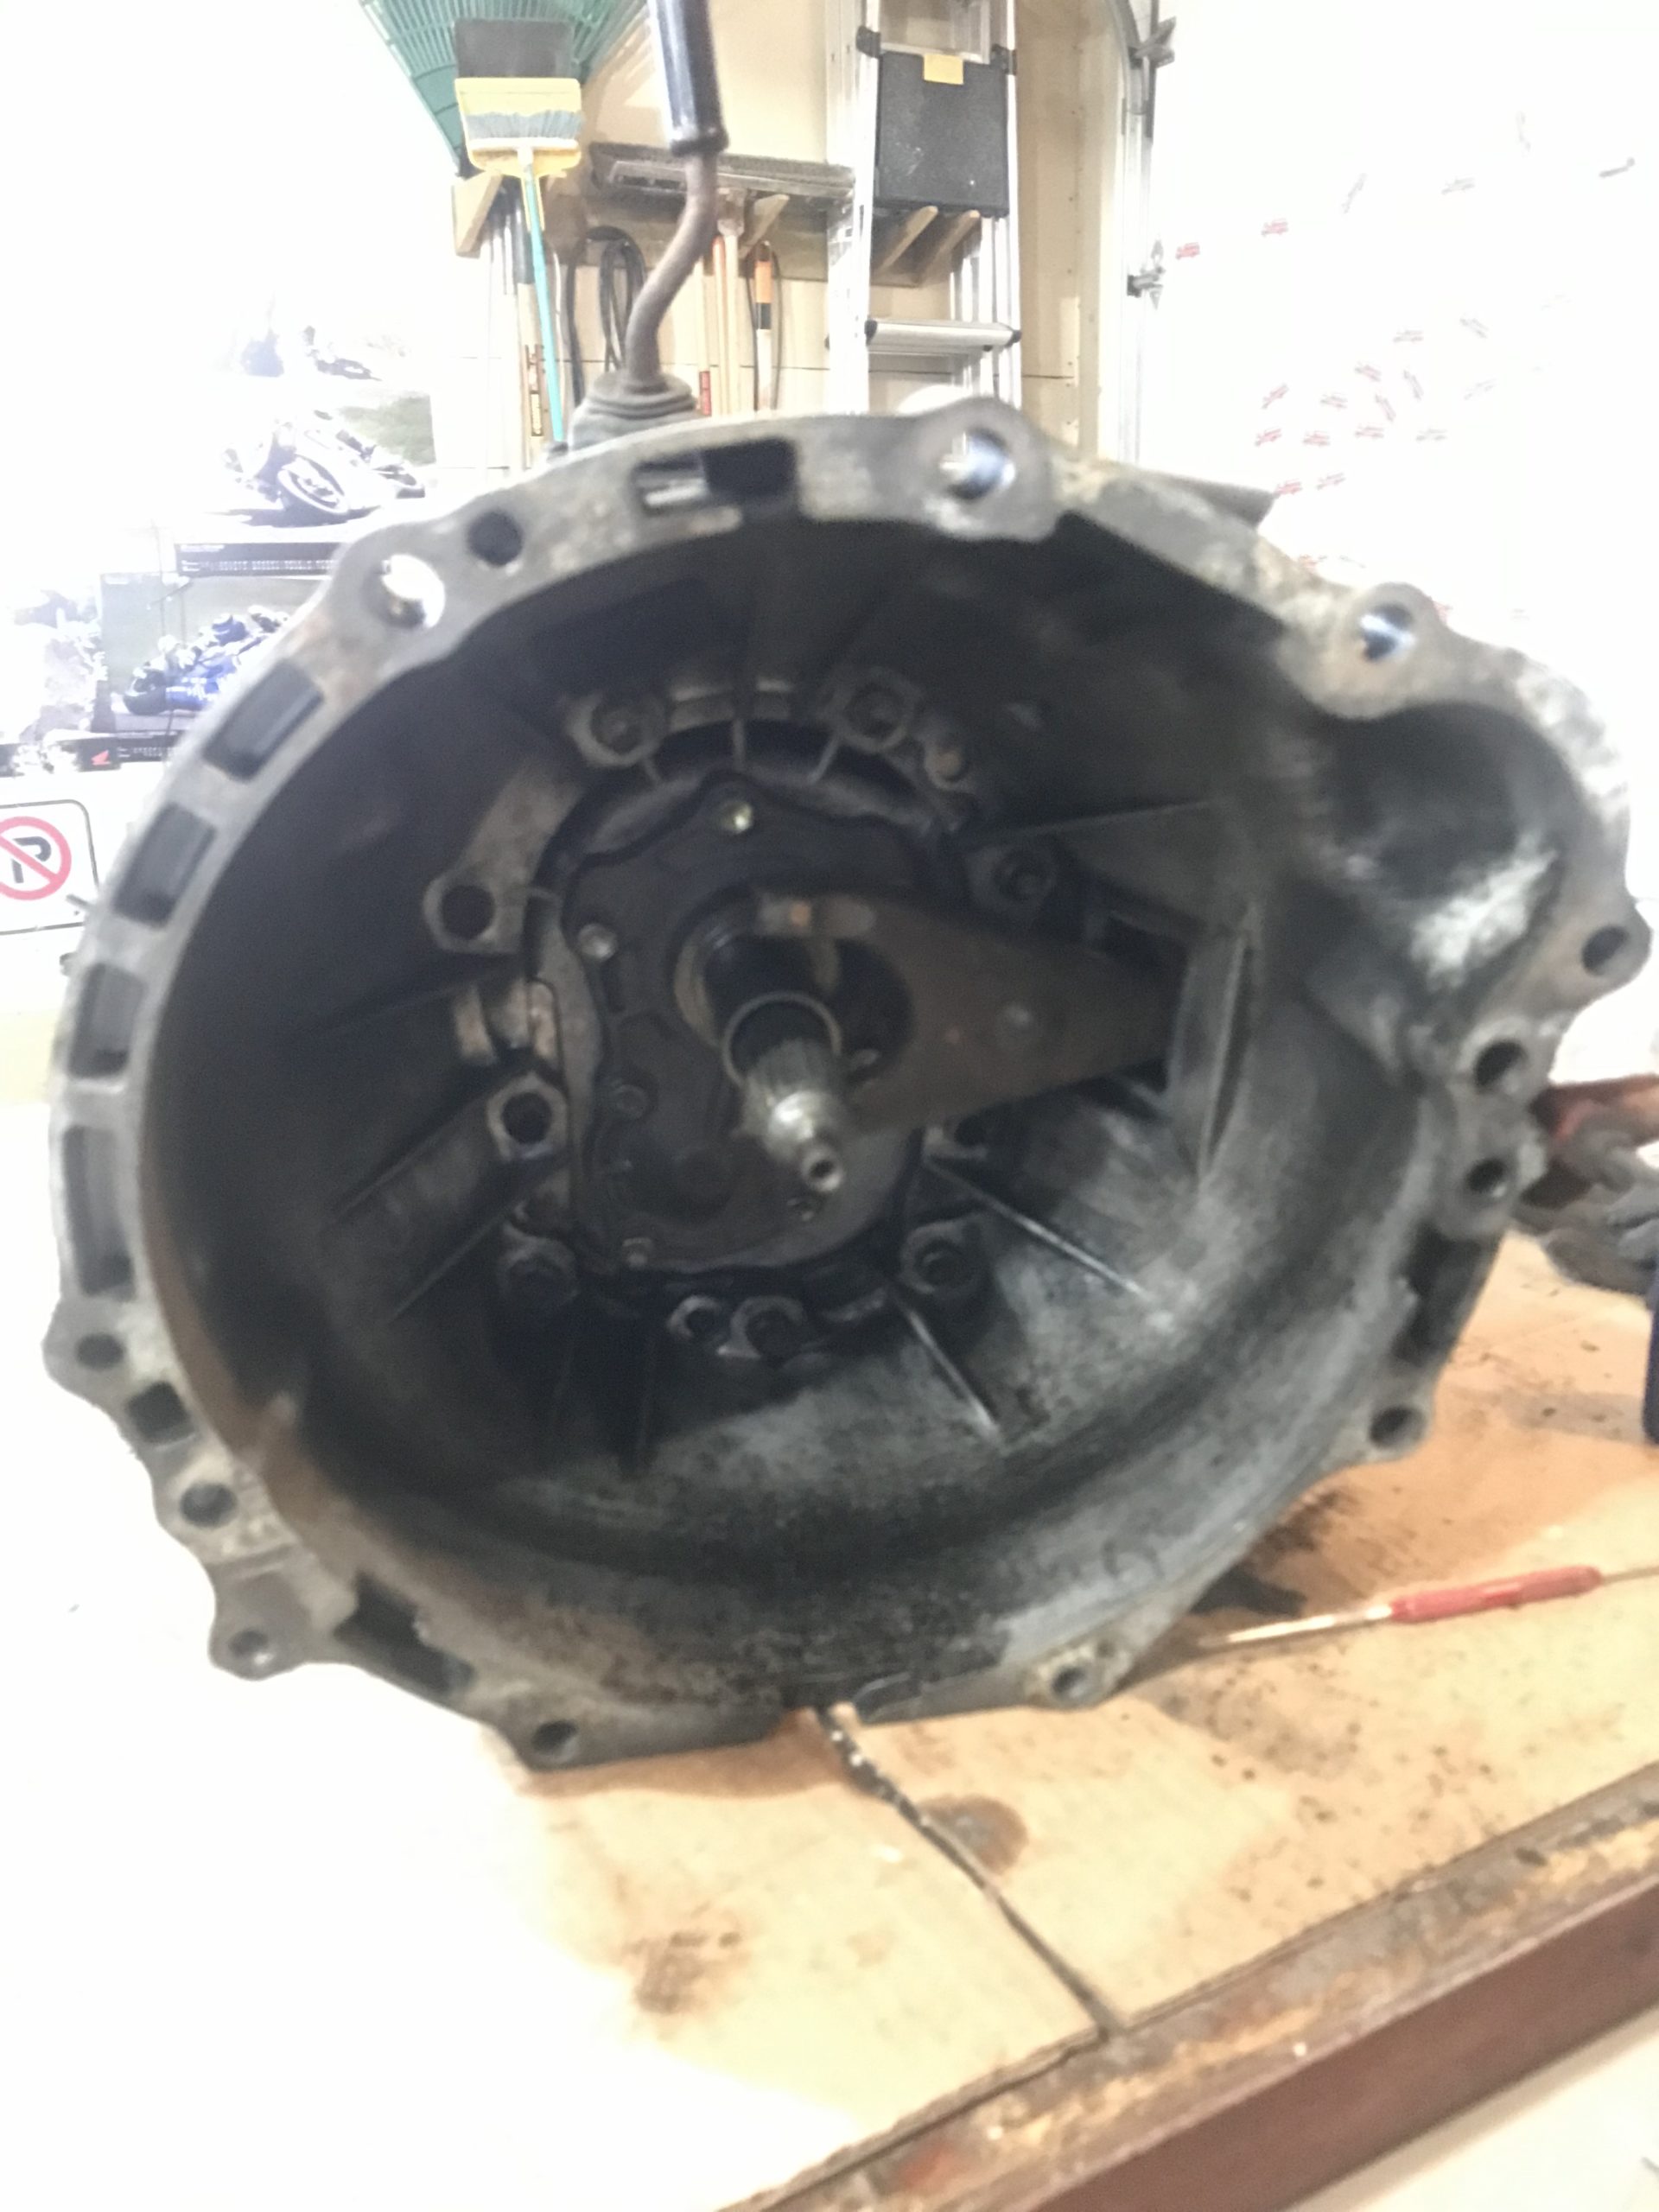
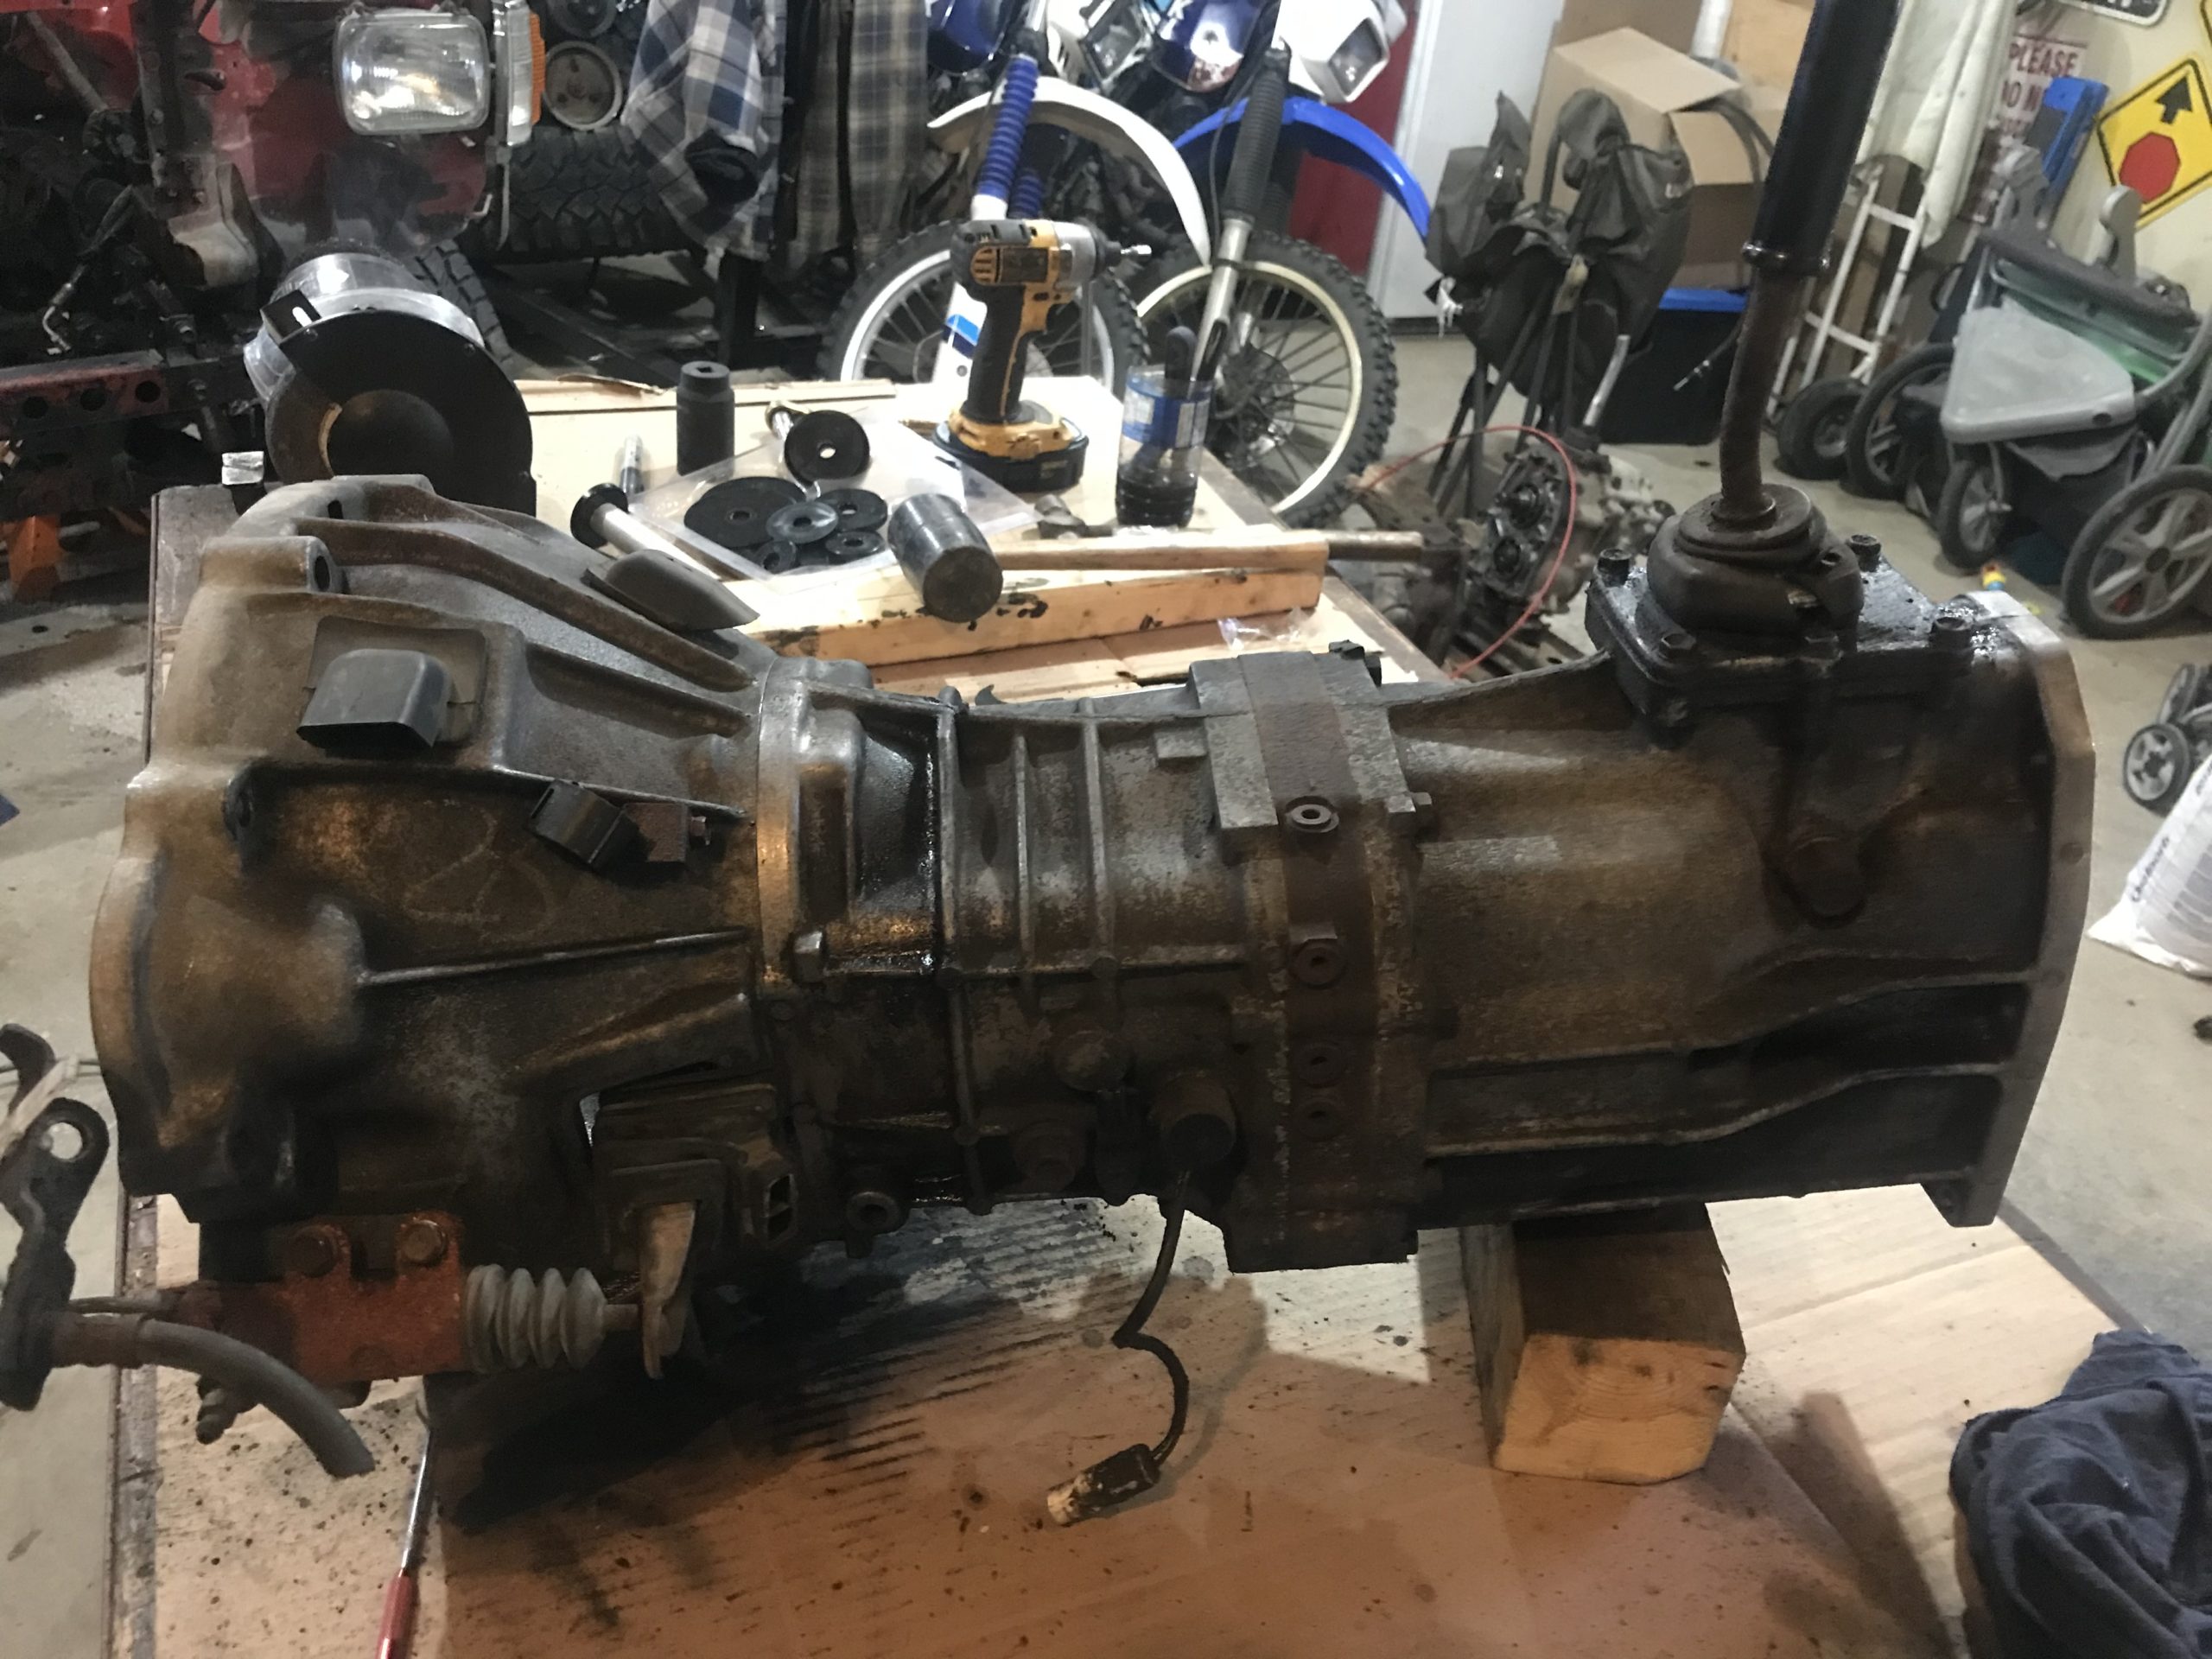
toys-n-yotasKeymasterCouple more pictures
-
This reply was modified 2 years, 10 months ago by
-
AuthorPosts