Home › Forums › TRUCK BUILDS › Toys-N-Yotas: The Shop
- This topic has 368 replies, 5 voices, and was last updated 1 day, 15 hours ago by
 toys-n-yotas.
-
AuthorPosts
-
January 17, 2021 at 11:45 pm #210486
 toys-n-yotasParticipant
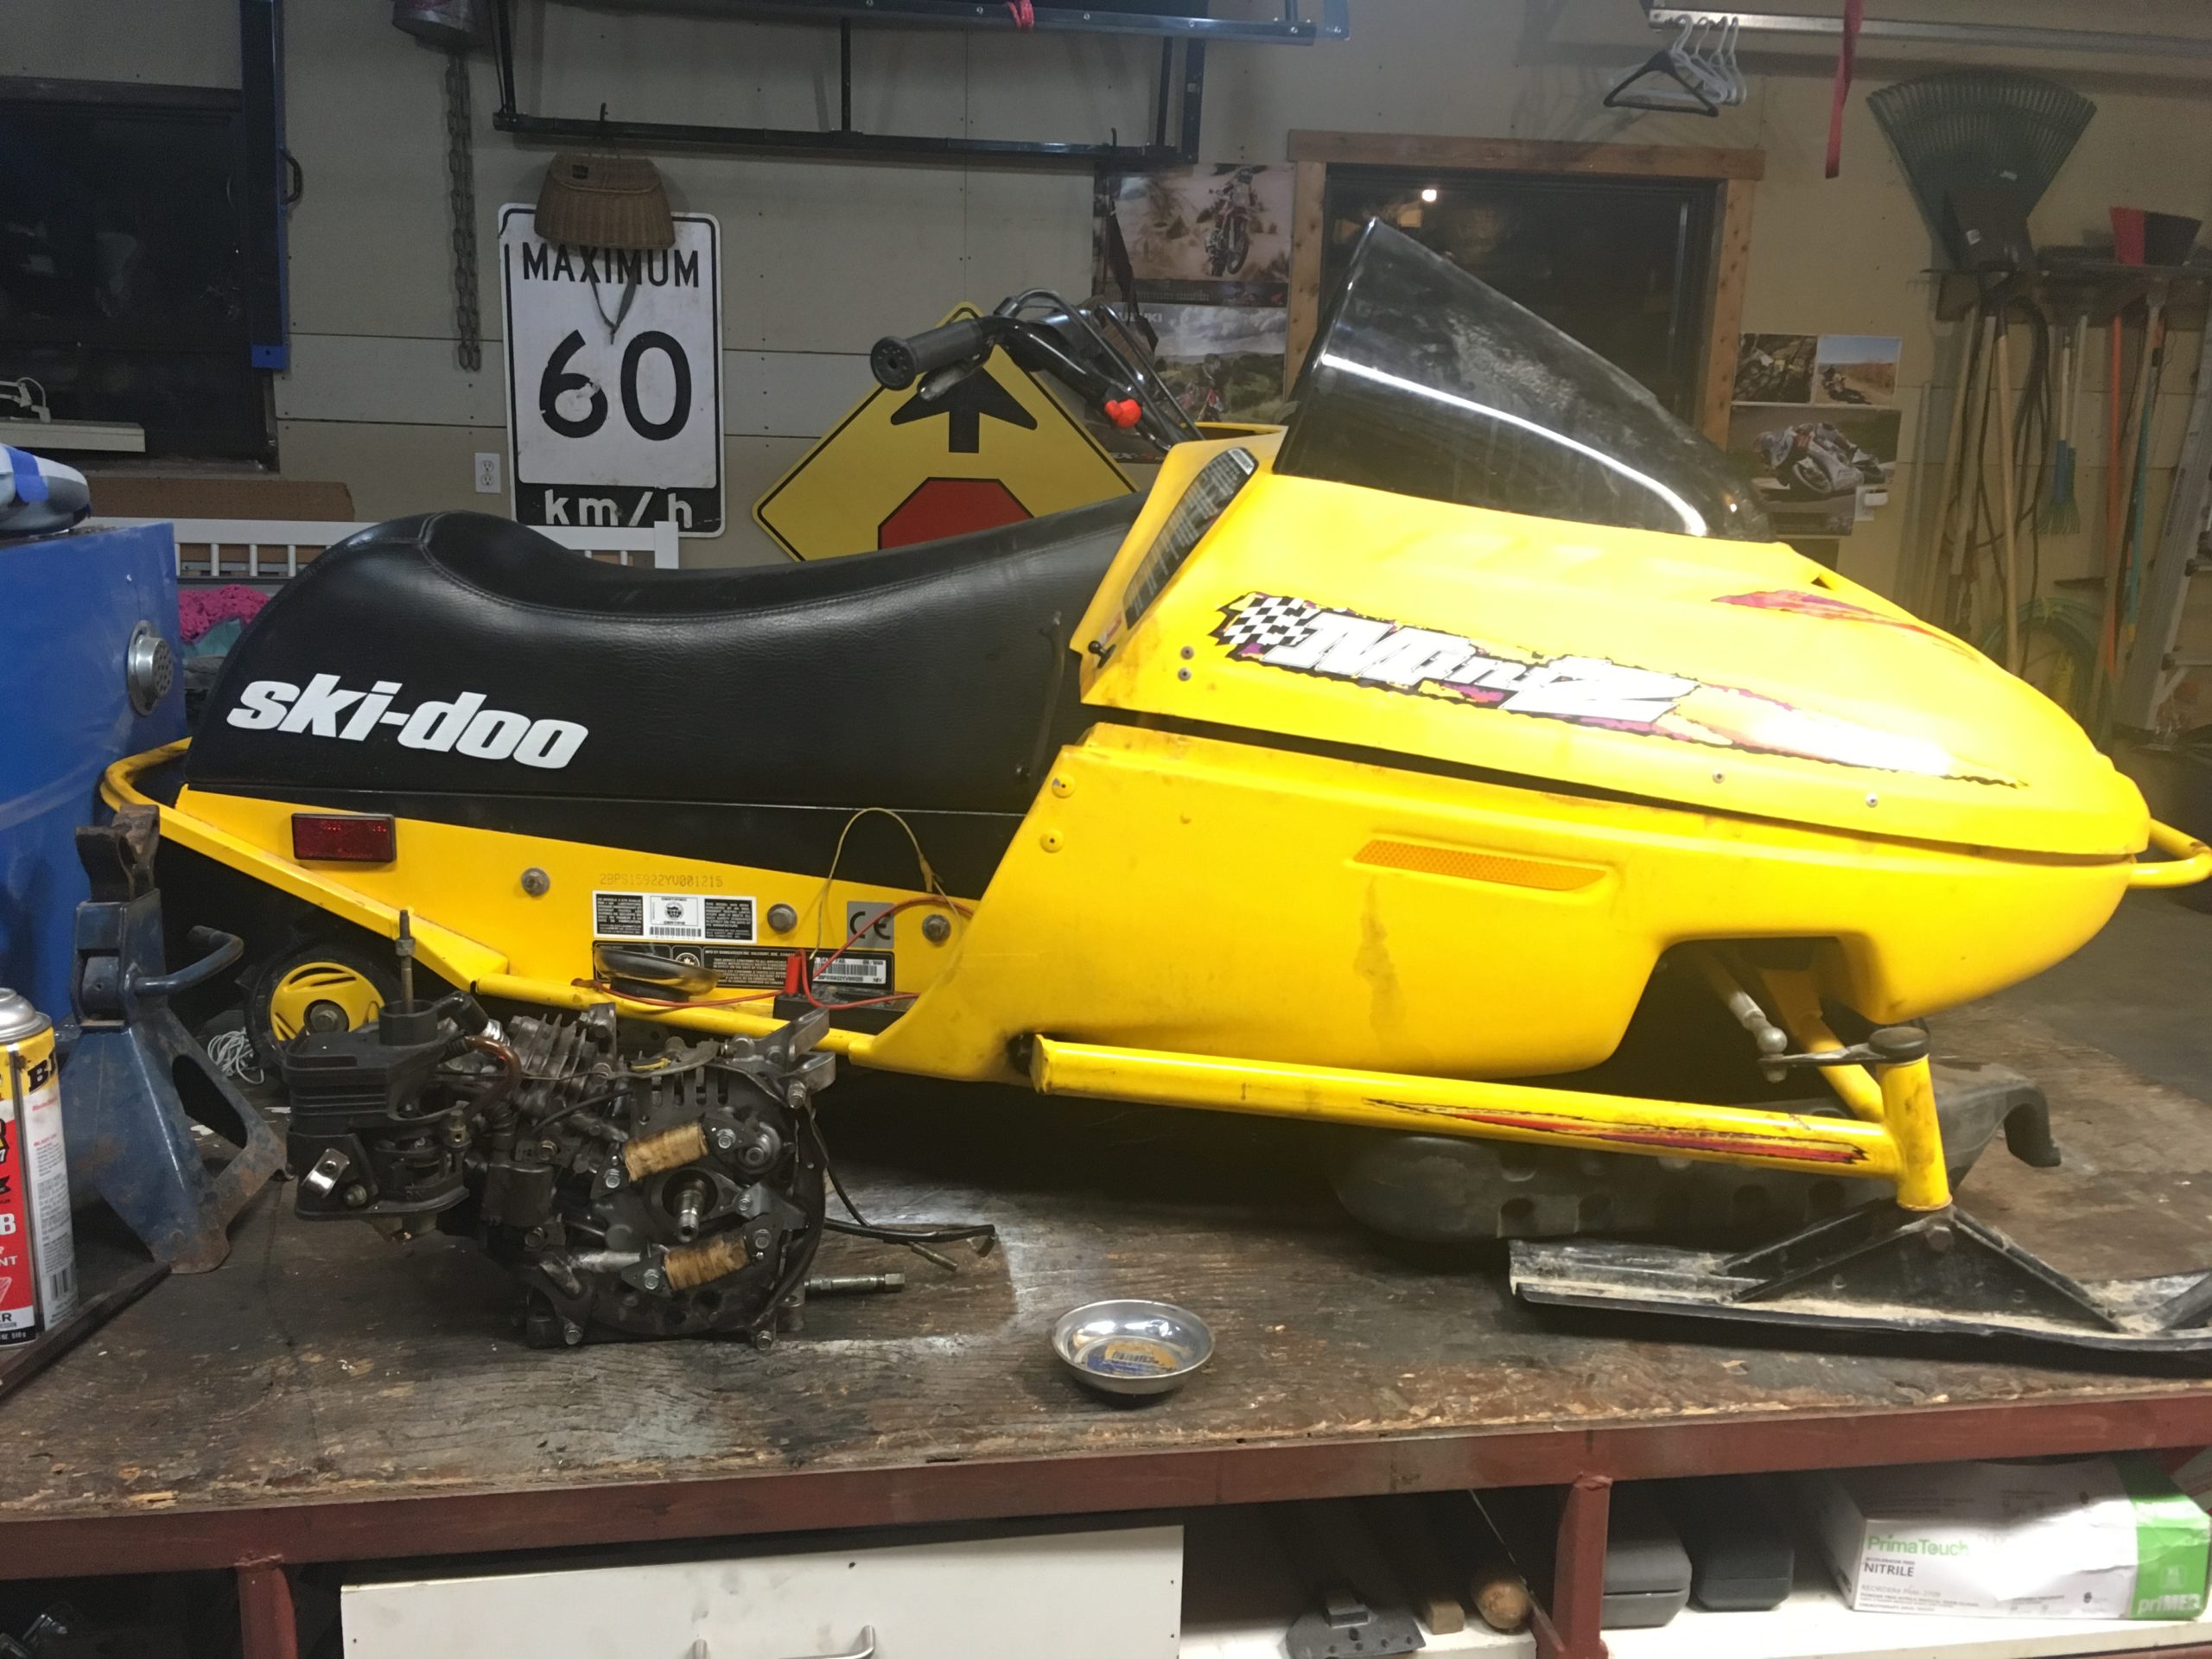
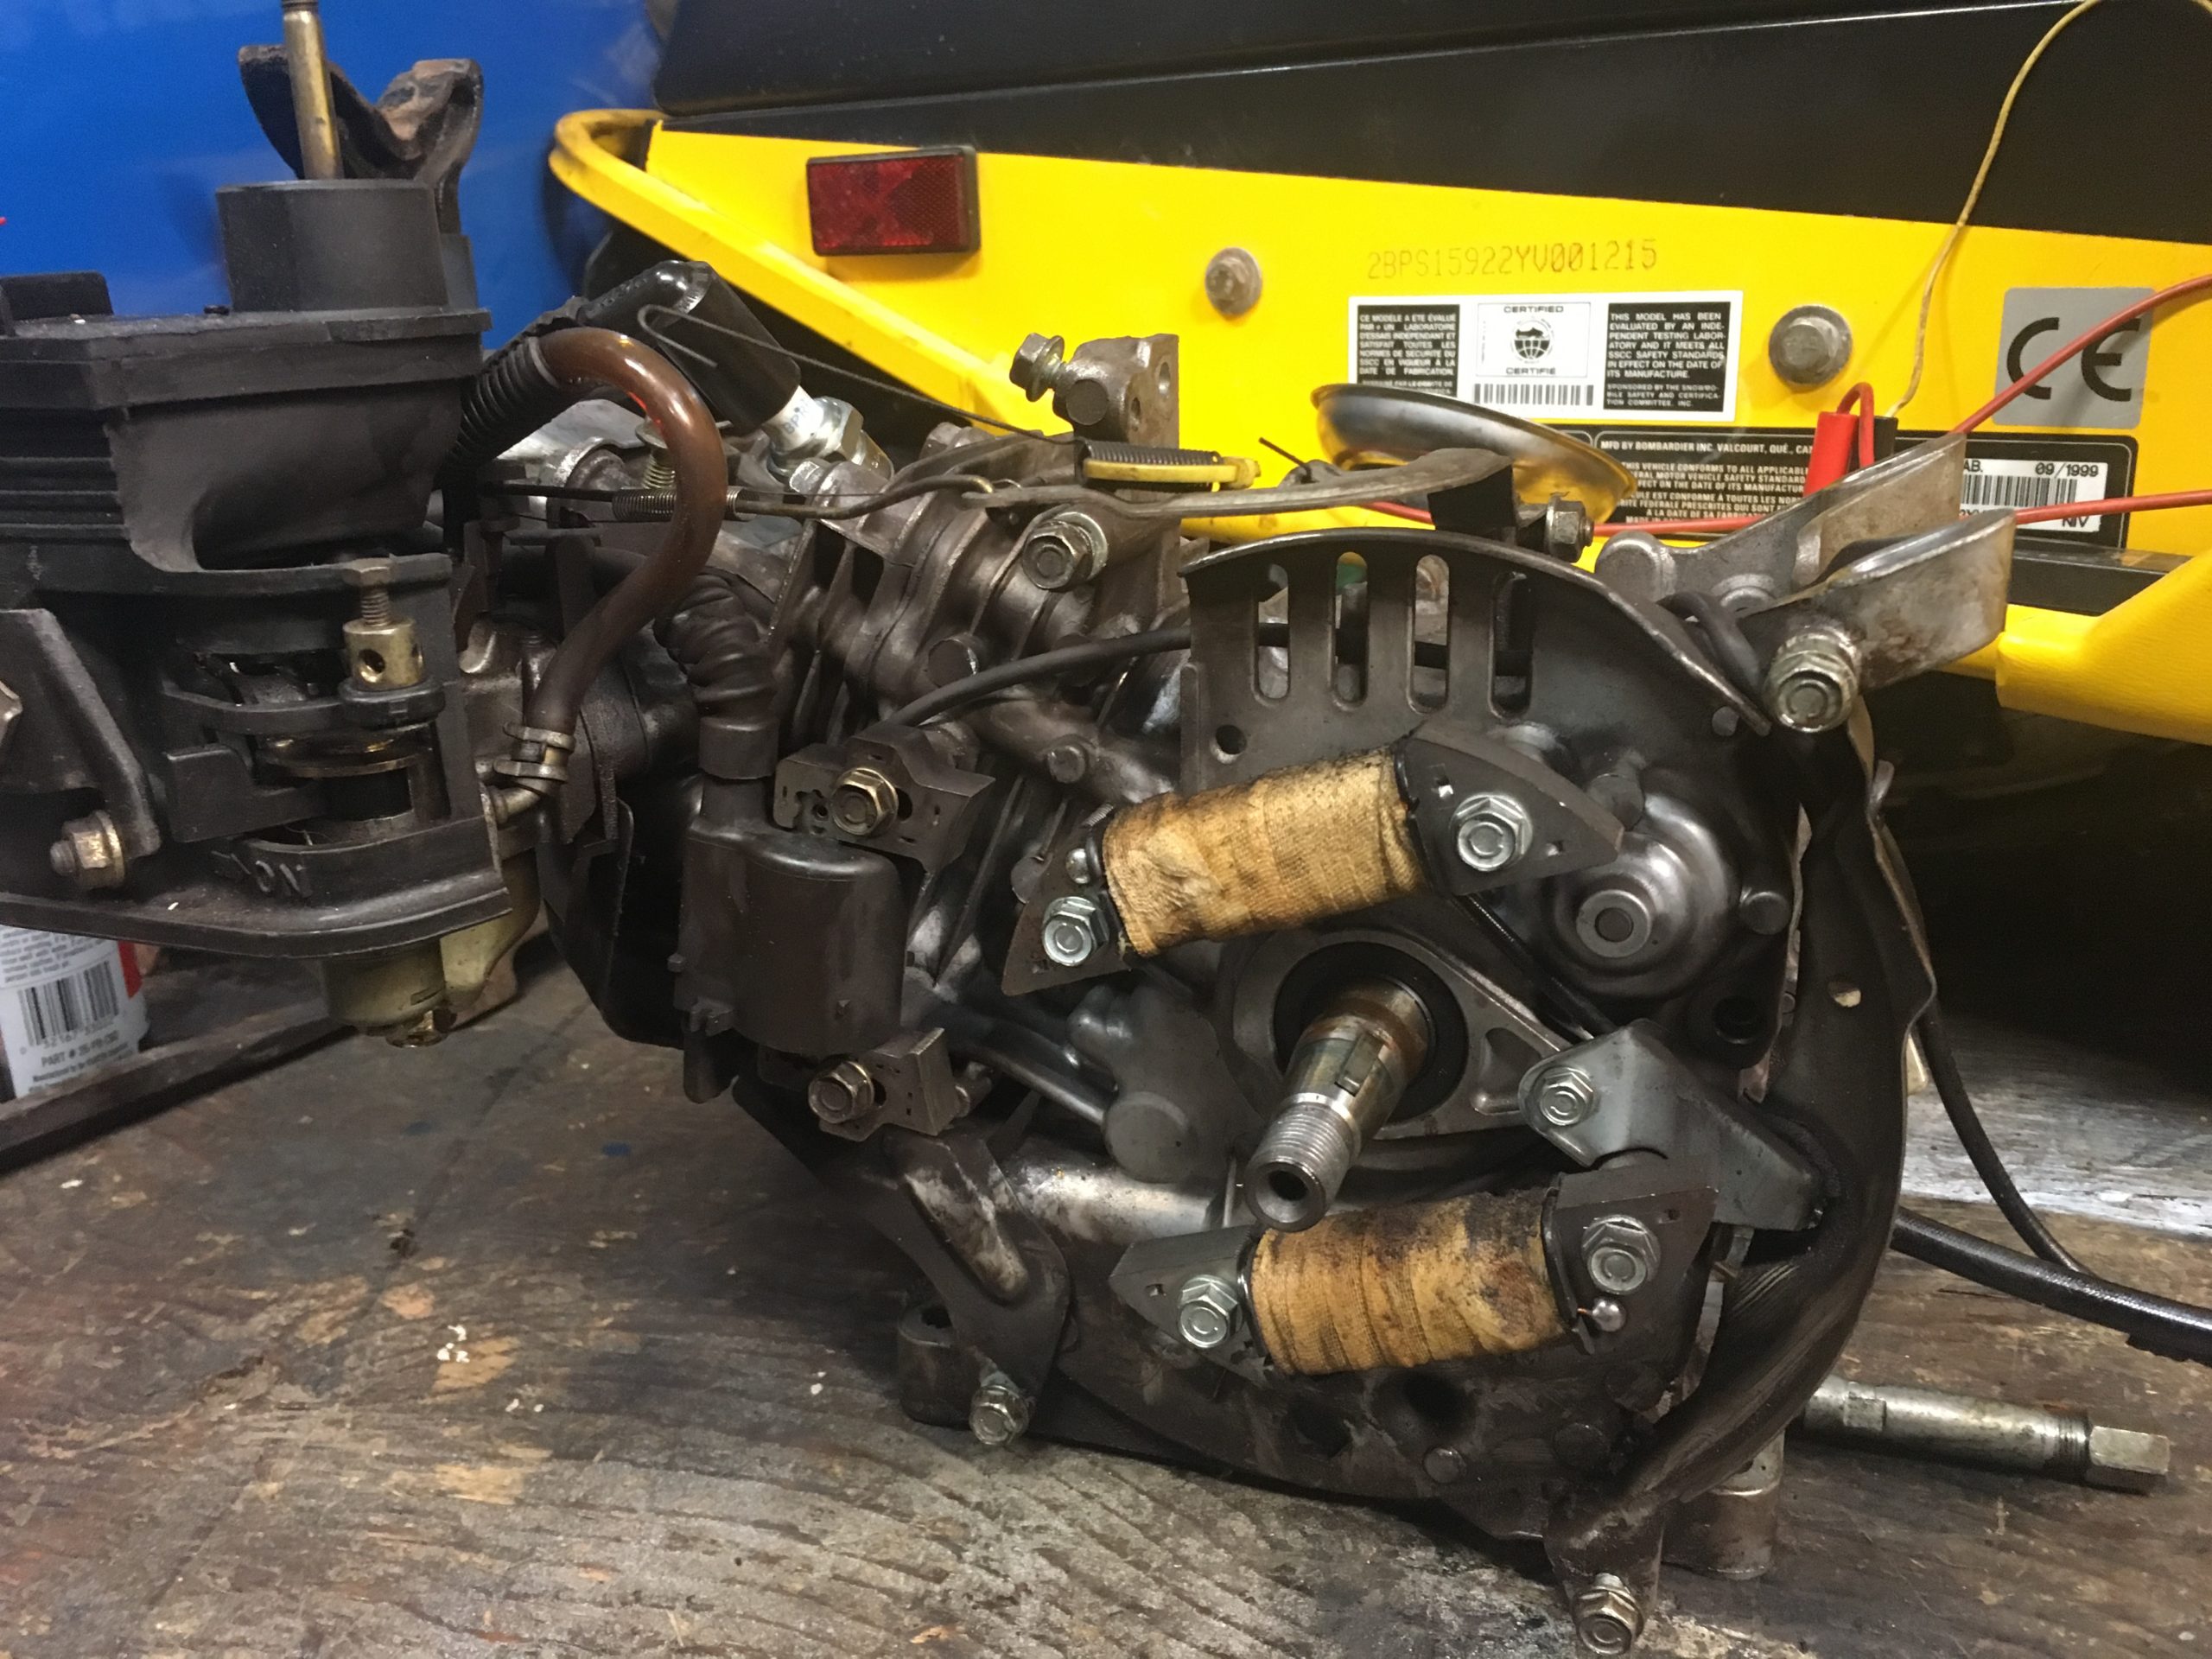
Today in The Shop, I managed to yank the motor out of the MiniZ in less than an hour, and expose all the electrical bits on this tiny motor. Unfortunately my multi-meter has taken a poop, and my backup meter is still with my toolbox in Wasaga Beach. So I’ll borrow one from a neighbour tomorrow, check coil resistance and hopefully order parts from Amazon before days end. Sooo close.
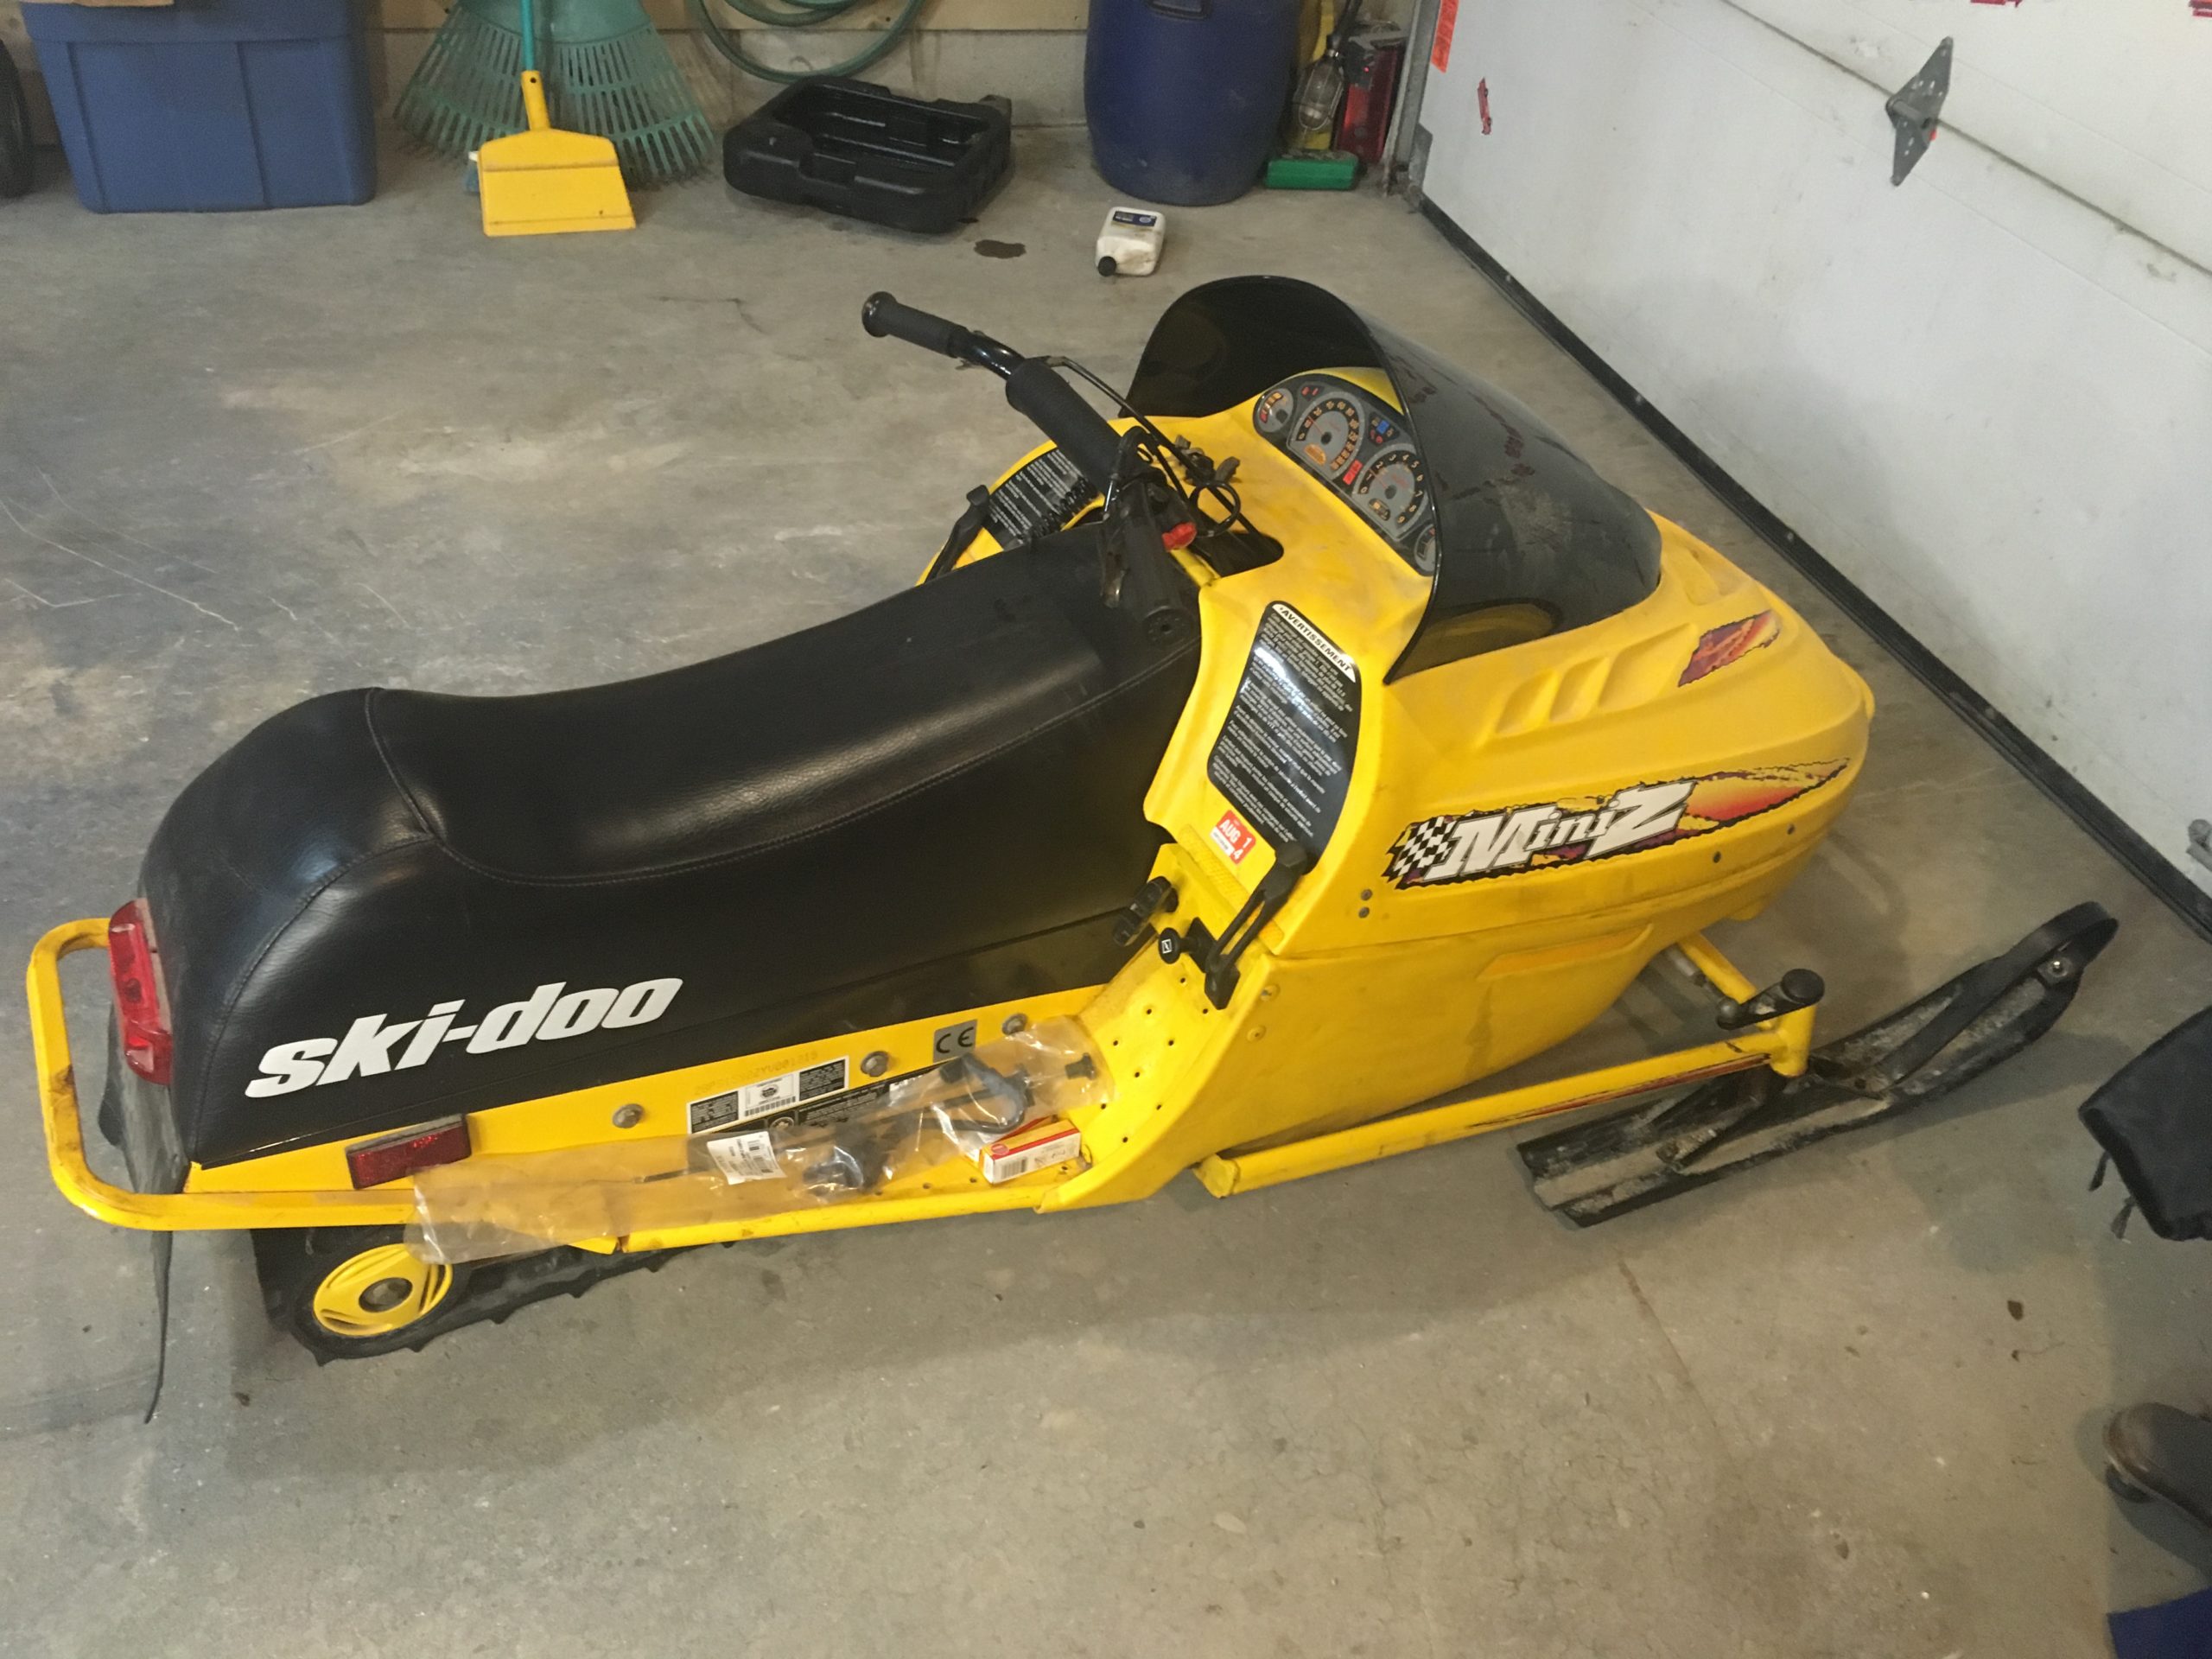
January 21, 2021 at 8:52 am #210500toys-n-yotasParticipantYesterday afternoon, the Amazon man dropped off the new coil for the MiniZ. So, Last night in The Shop, I tested (successfully) then reassembled the MiniZ.
Took a bit longer to assemble the beast, but once again she fires on the first pull.Gonna call my buddy to come pick it up, but gonna let my daughter give it a good rip first!!
Attachments:
January 21, 2021 at 12:15 pm #210504 Slick_YotaKeymaster
nice work! watch she doesn’t get bitten by the bug – then you’ll have to buy one yourself!
January 21, 2021 at 5:10 pm #210509toys-n-yotasParticipantOhhh too late Steve, she’s caught the bug already. It’s a shame cause I hate being cold and sledding is not conducive to keeping warm….except fpr days like today when I was running behind the sled prepared to correct steering or hit the kill switch. I’m exhausted, but it was amazing to see her confidence grow.
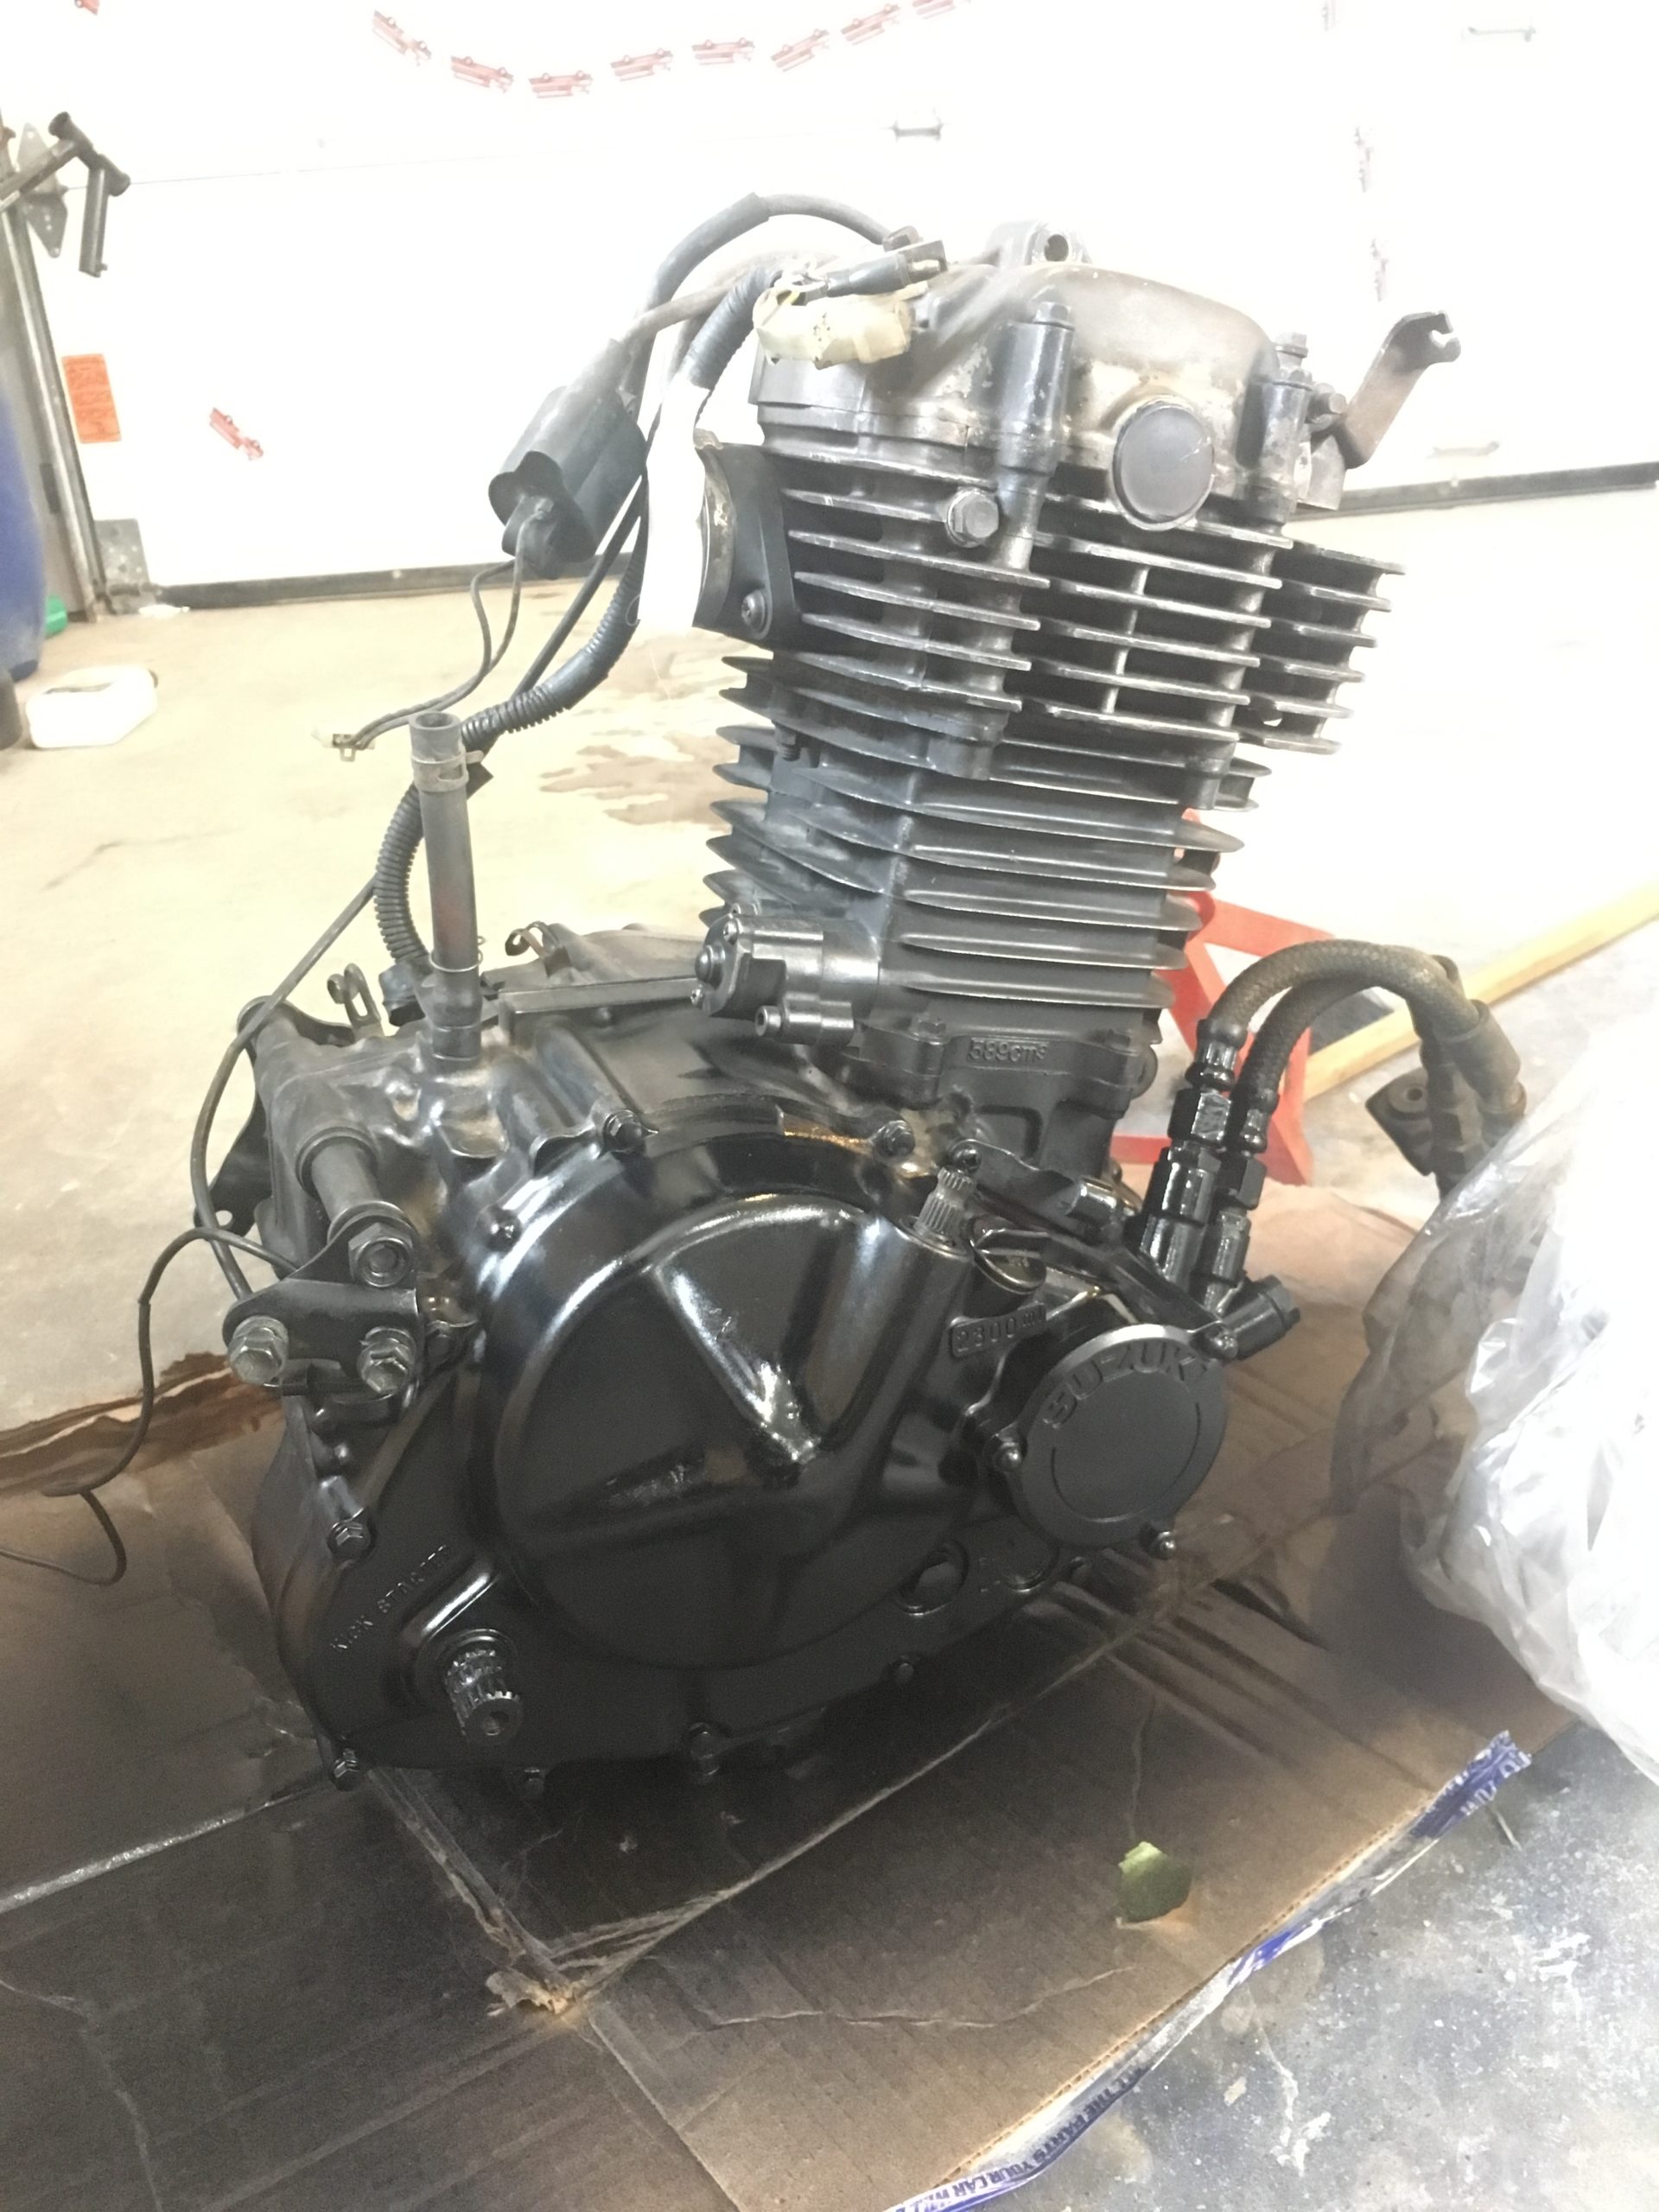
January 22, 2021 at 2:18 pm #210517toys-n-yotasParticipantToday in The Shop, I painted the engine on the DR. I did a total half-assed job and since it’s still wet, it’s impossible to say whether it looks good or not. But, the really bad spot which made me say “Eww, I gotta paint this engine” have been repaired. So I’ll let it dry, and heave it back into the frame. Time for me to start piling on the small victories.
Attachments:
January 22, 2021 at 6:36 pm #210519 Toy-YotaParticipant
Paint always spruces things up, even if it’s not a great finish like you wanted
January 23, 2021 at 2:56 pm #210523toys-n-yotasParticipantWell the paint is dry now, doesn’t look terrible, but I assume my laziness in the task will show through eventually. I didn’t prime, or even clean the surfaces that well. And no taping/masking at all…so really just a little lipstick on a pig haha.
But at least now I can bolt it back into the frame, then start putting major components back in. The Carb, airbox, rear suspension are all ready to go in once the engine gets located. Hopefully seeing a 30% bike will motivate me some more, these random mismash piles of parts are defeating me.
January 24, 2021 at 7:33 pm #210530toys-n-yotasParticipantToday in The Shop, James did some wrenching on his FJ, while I socialized haha. While in the Shop, James replaced his sticking caliper on the front Left and a new hardline, and new pads on both sides. Afterwards he added an OEM cruise control stalk for some long-range comfort.
He’s loving the design of the FJ, very maintenance friendly so far.
Good day in the Shop, my hands are still clean haha.I might get back out there later tonight to work on the bike….might just crack a beer instead.
January 25, 2021 at 4:15 pm #210532Slick_YotaKeymasteror both!
January 25, 2021 at 6:13 pm #210533toys-n-yotasParticipantDecided on neither. Started a very small and controlled fire, then watched adventure bike reviews until my eyelids won the battle vs the tv.
Today in The Shop, I greased the pins on the Taco’s brake calipers, and adjusted the brake shoes a little tighter to help break them in faster. The E-brake handle pulls well, but I don’t think the shoe-to-drum contact area is very large.
I am finding the Taco has been pulling to the left slightly, and today while haulin’ down the 401 it was pulling more significantly. I was hoping to find something visibly wrong, but everything seems tight and alright. Gonna have to book another slot on the alignment table and sort this out.January 26, 2021 at 9:10 pm #210534Slick_YotaKeymasterIs it a pull that increases with braking or a continuous pull. Tire air pressure can cause a pull as well… I have a slow leak in my left front tire – when the truck starts pulling, means I need to air up. A couple days later, the TPMS light comes on.
Usually my air holding issues are from too much mud and sticks in the bead.
-
This reply was modified 3 years, 3 months ago by
 Slick_Yota.
January 30, 2021 at 9:05 am #210536toys-n-yotasParticipantIt’s a continuous pull which requires me to do some counter steering (turning to 1 o’clock). If I completely let go of the wheel while slowing down, the steering wheel will turn hard (to 10/11 o’clock) especially as I get very slow.
No air pressure concerns unfortunately.
I’m heading into work on Monday to try to get an atv up and running, so I’ve asked Brian to put the Taco on the alignment table. My guess is the left front is Toed out a hair compared to front right. Hoping it’s something simple.January 30, 2021 at 12:52 pm #210537Slick_YotaKeymasterDoes sound like alignment then, since you’ve already serviced the brakes.
February 10, 2021 at 3:10 pm #210590toys-n-yotasParticipantToday in Wasaga, I swapped out a badly bent rim for one of the spares I got from Matt. The finish is kinda shitty and pealing, but free is free, and I ain’t complaining.
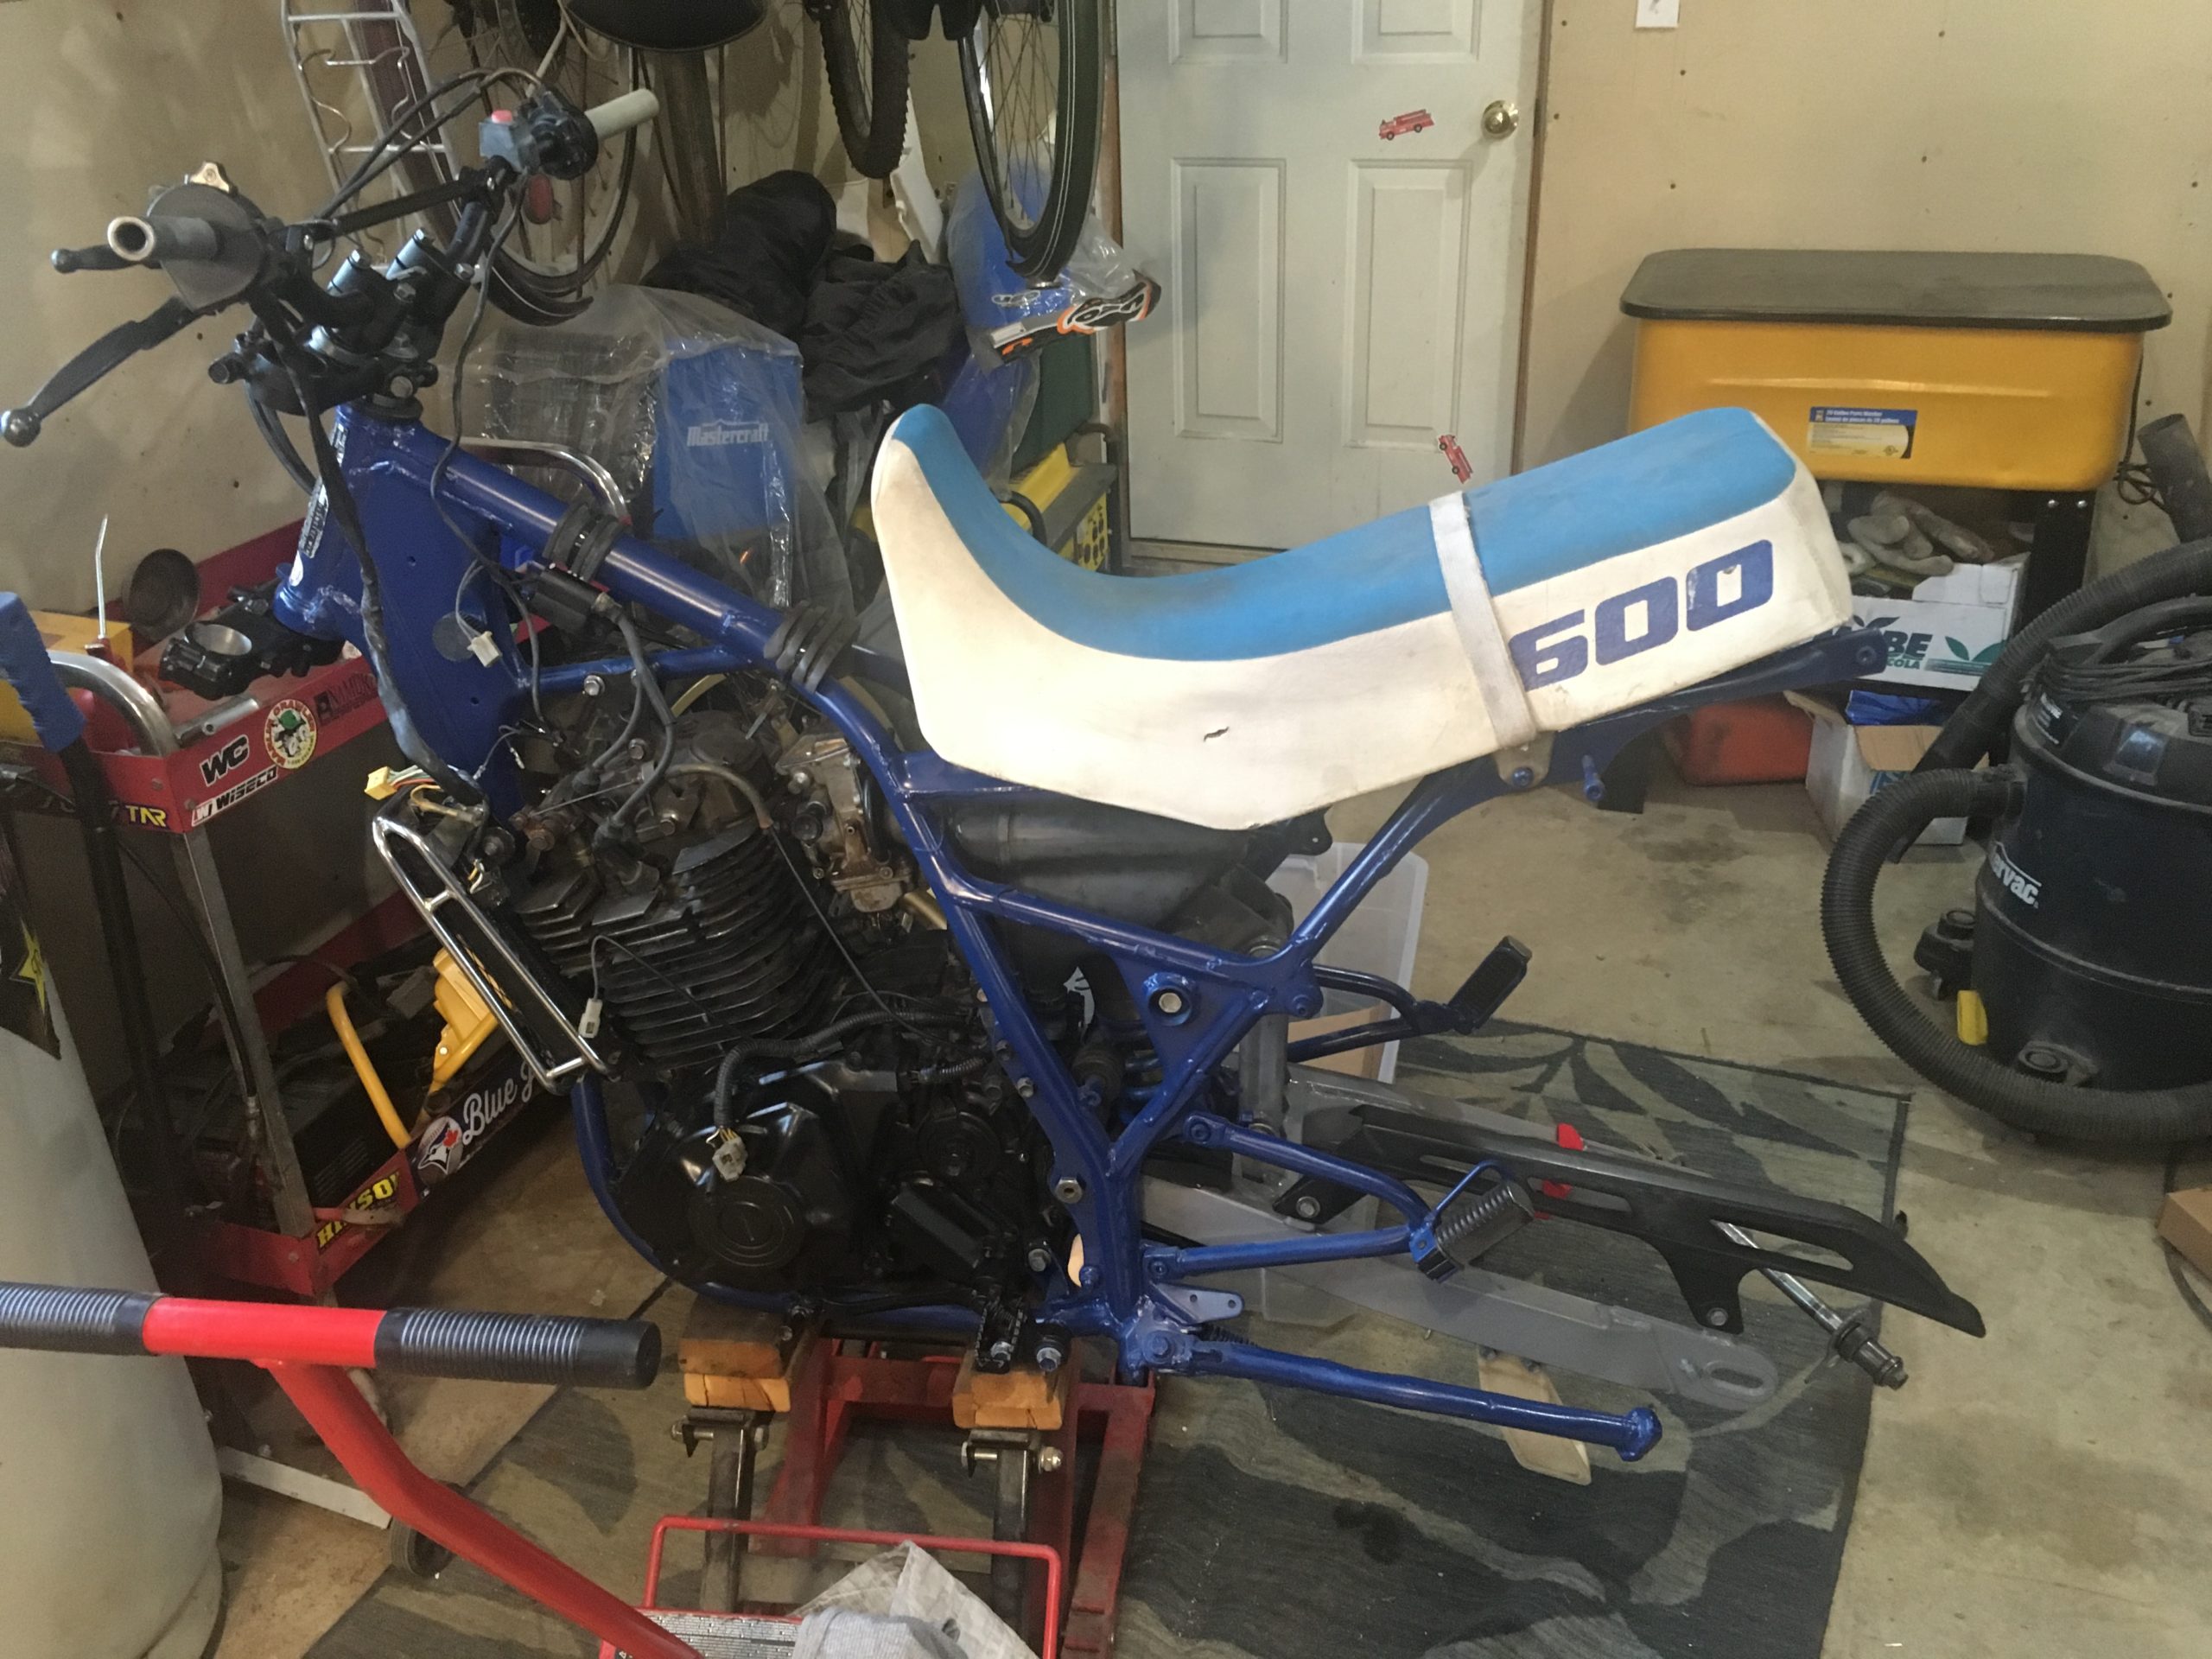
Brian then hooked me up with an alignment, and Truckee drives way better now. I was confident to drive hands-free coming down Hey 124, until the crosswind blew me outta my lane haha. Brian thinks I’ve tweaked the right side suspension somehow (my guess is Ardbeg, or the +70,000km of dirt road I’ve hammered down) because that side just refuses to keep Caster and Camber in spec. One or the other sorta deal. I guess I’ll have to investigate replacement UCA when it’s time to replace my struts. The LCA have about 20k on them since replaced by Hallmark Toyota about a year ago.February 10, 2021 at 3:46 pm #210591toys-n-yotasParticipantYesterday in The Shop, I made huge progress on reassembling my DR600! Long overdue, felt good to marry some major parts back together.
Installed the motor, mounts, pegs and foot controls. Only chipped a little paint.
I disassembled, straightened,
Scuffed and painted passenger foot pegs, oil cooler mounting brackets and horn bracket.
Cleaned and assembled all the boots and guts to the airbox. Followed by Installing the carb, throttle linkages, and airbox.
After drilling an anti-rotation hole in the Renthall bars, I Installed all hand controls including the missing decompression perch and lever, as well as the cable, mechanism and spring onto tbe motor.
Installed the rear swingarm finally!! And topped it with the gas tank and seat temporarily.
EVERYTHING needs to be torqued still, most bolts are only finger tight. I didn’t bother torquing until I’m sure I don’t have to take it apart again.
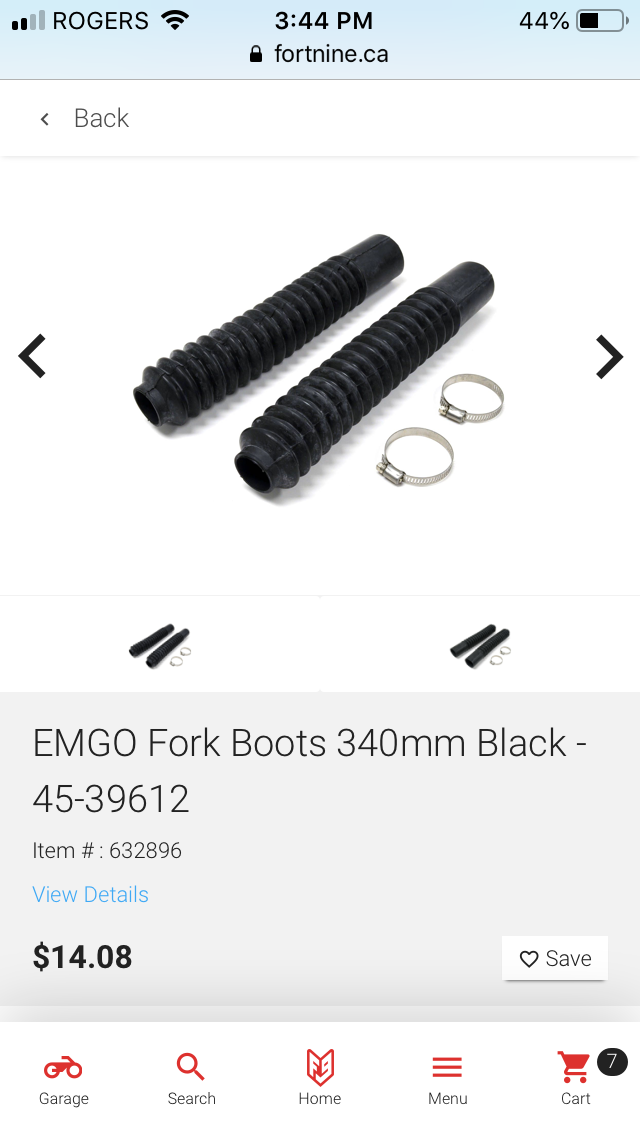
Either way, she’s starting to look like a bike again!!Must find Fork Boots in stock somewhere, the next major task is rebuilding the forks and those pesky boots have been outta stock at F9 for weeks.
-
AuthorPosts
- You must be logged in to reply to this topic.