Home › Forums › TRUCK BUILDS › Redee – 1986 4Runner
- This topic has 691 replies, 9 voices, and was last updated 1 week ago by
 toys-n-yotas.
-
AuthorPosts
-
April 2, 2023 at 11:03 am #211750
 toys-n-yotasKeymaster
Sold the Small Block this morning!
April 4, 2023 at 9:20 pm #211751toys-n-yotasKeymasterWell pocket full of cash, it was fun while it lasted. Sorry you had to leave so soon, but RockAuto and I have a good thing going.
Incoming parts: clutch kit, 2.5” cat, 2” aluminum rad, steering gear, rear main seal, front seal, motor mounts, diff gaskets, and a bunch of thermostat gaskets/seals.
I will still have lots of parts to purchase, including clutch flex and hard line, 2.5” exhaust pipe from cat back, some weld on flanges, accessory belts and pulleys, oil & filter, rad fluid, power steering hoses, fuel filter and rad hoses….just to name a few. Maybe ill need a new oil pan and dipstick if the stock 3rz pan interferes with the steering. OEM T100 pan has a rear pickup as opposed to front pickup in the 4Runner/Tacoma
Here’s to reassembly!!
April 13, 2023 at 9:15 am #211752toys-n-yotasKeymasterWhaaat? Could it be? Progress on Redee? DAMN STRAIGHT!!
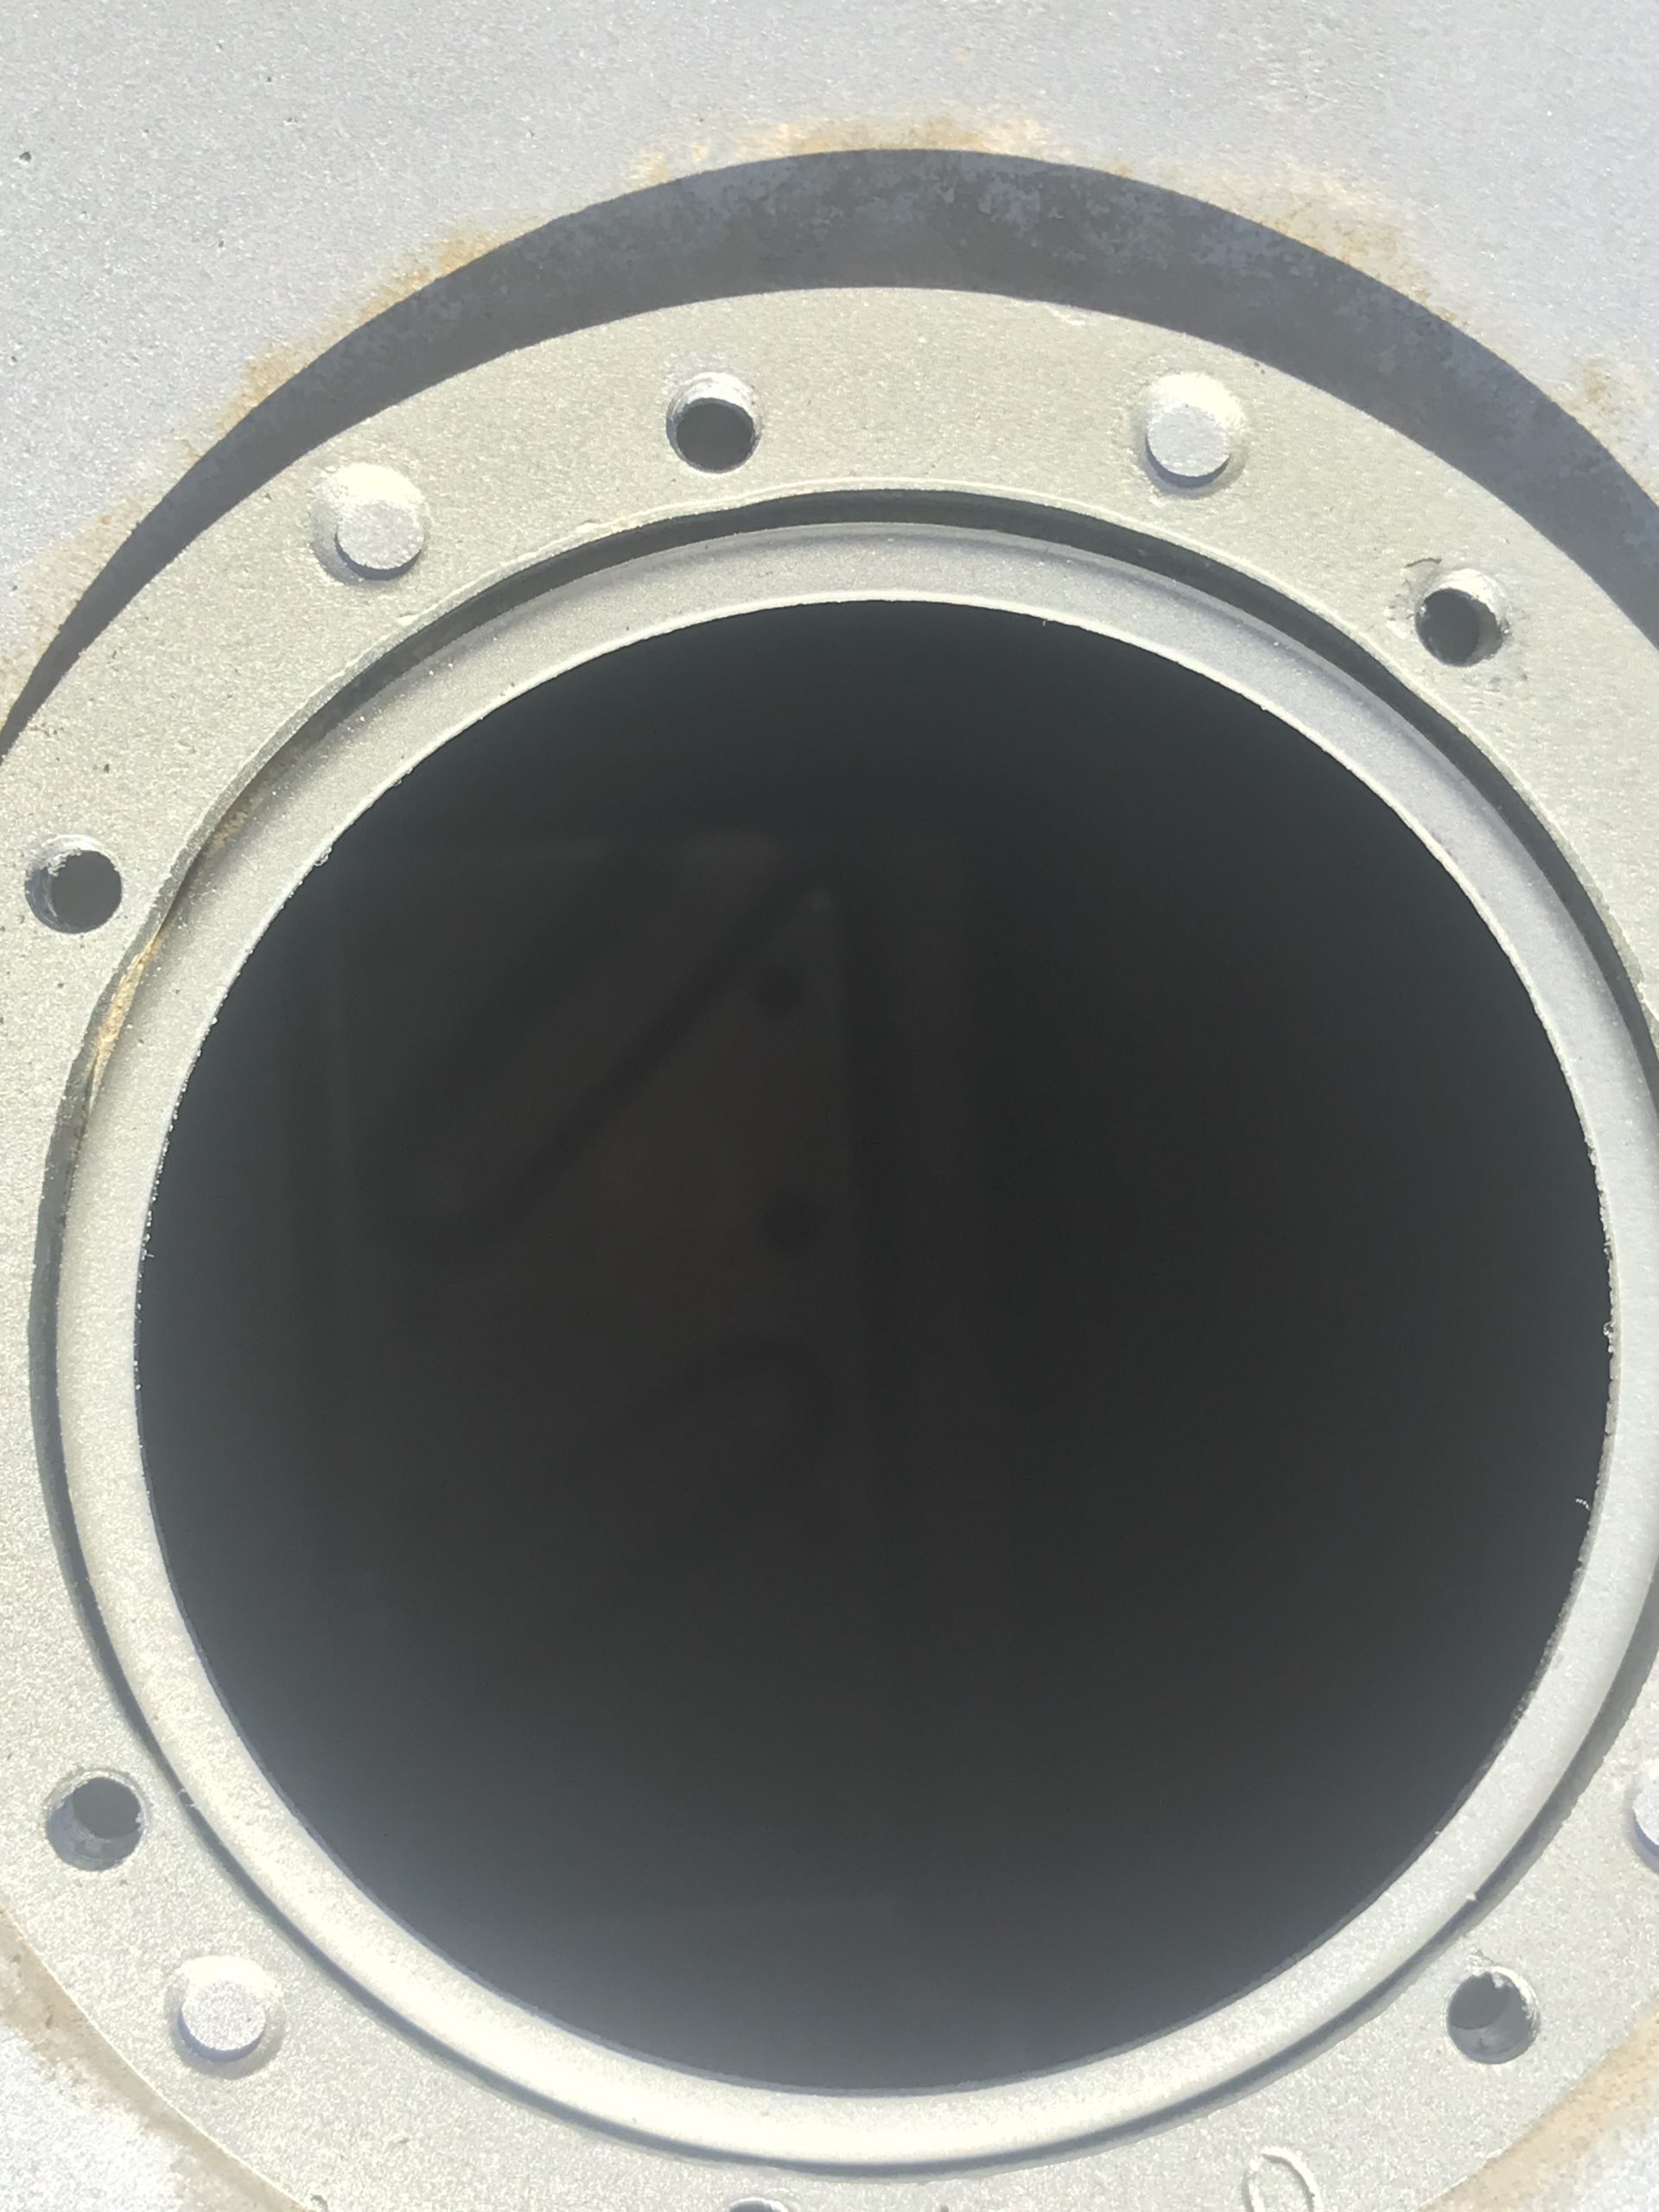
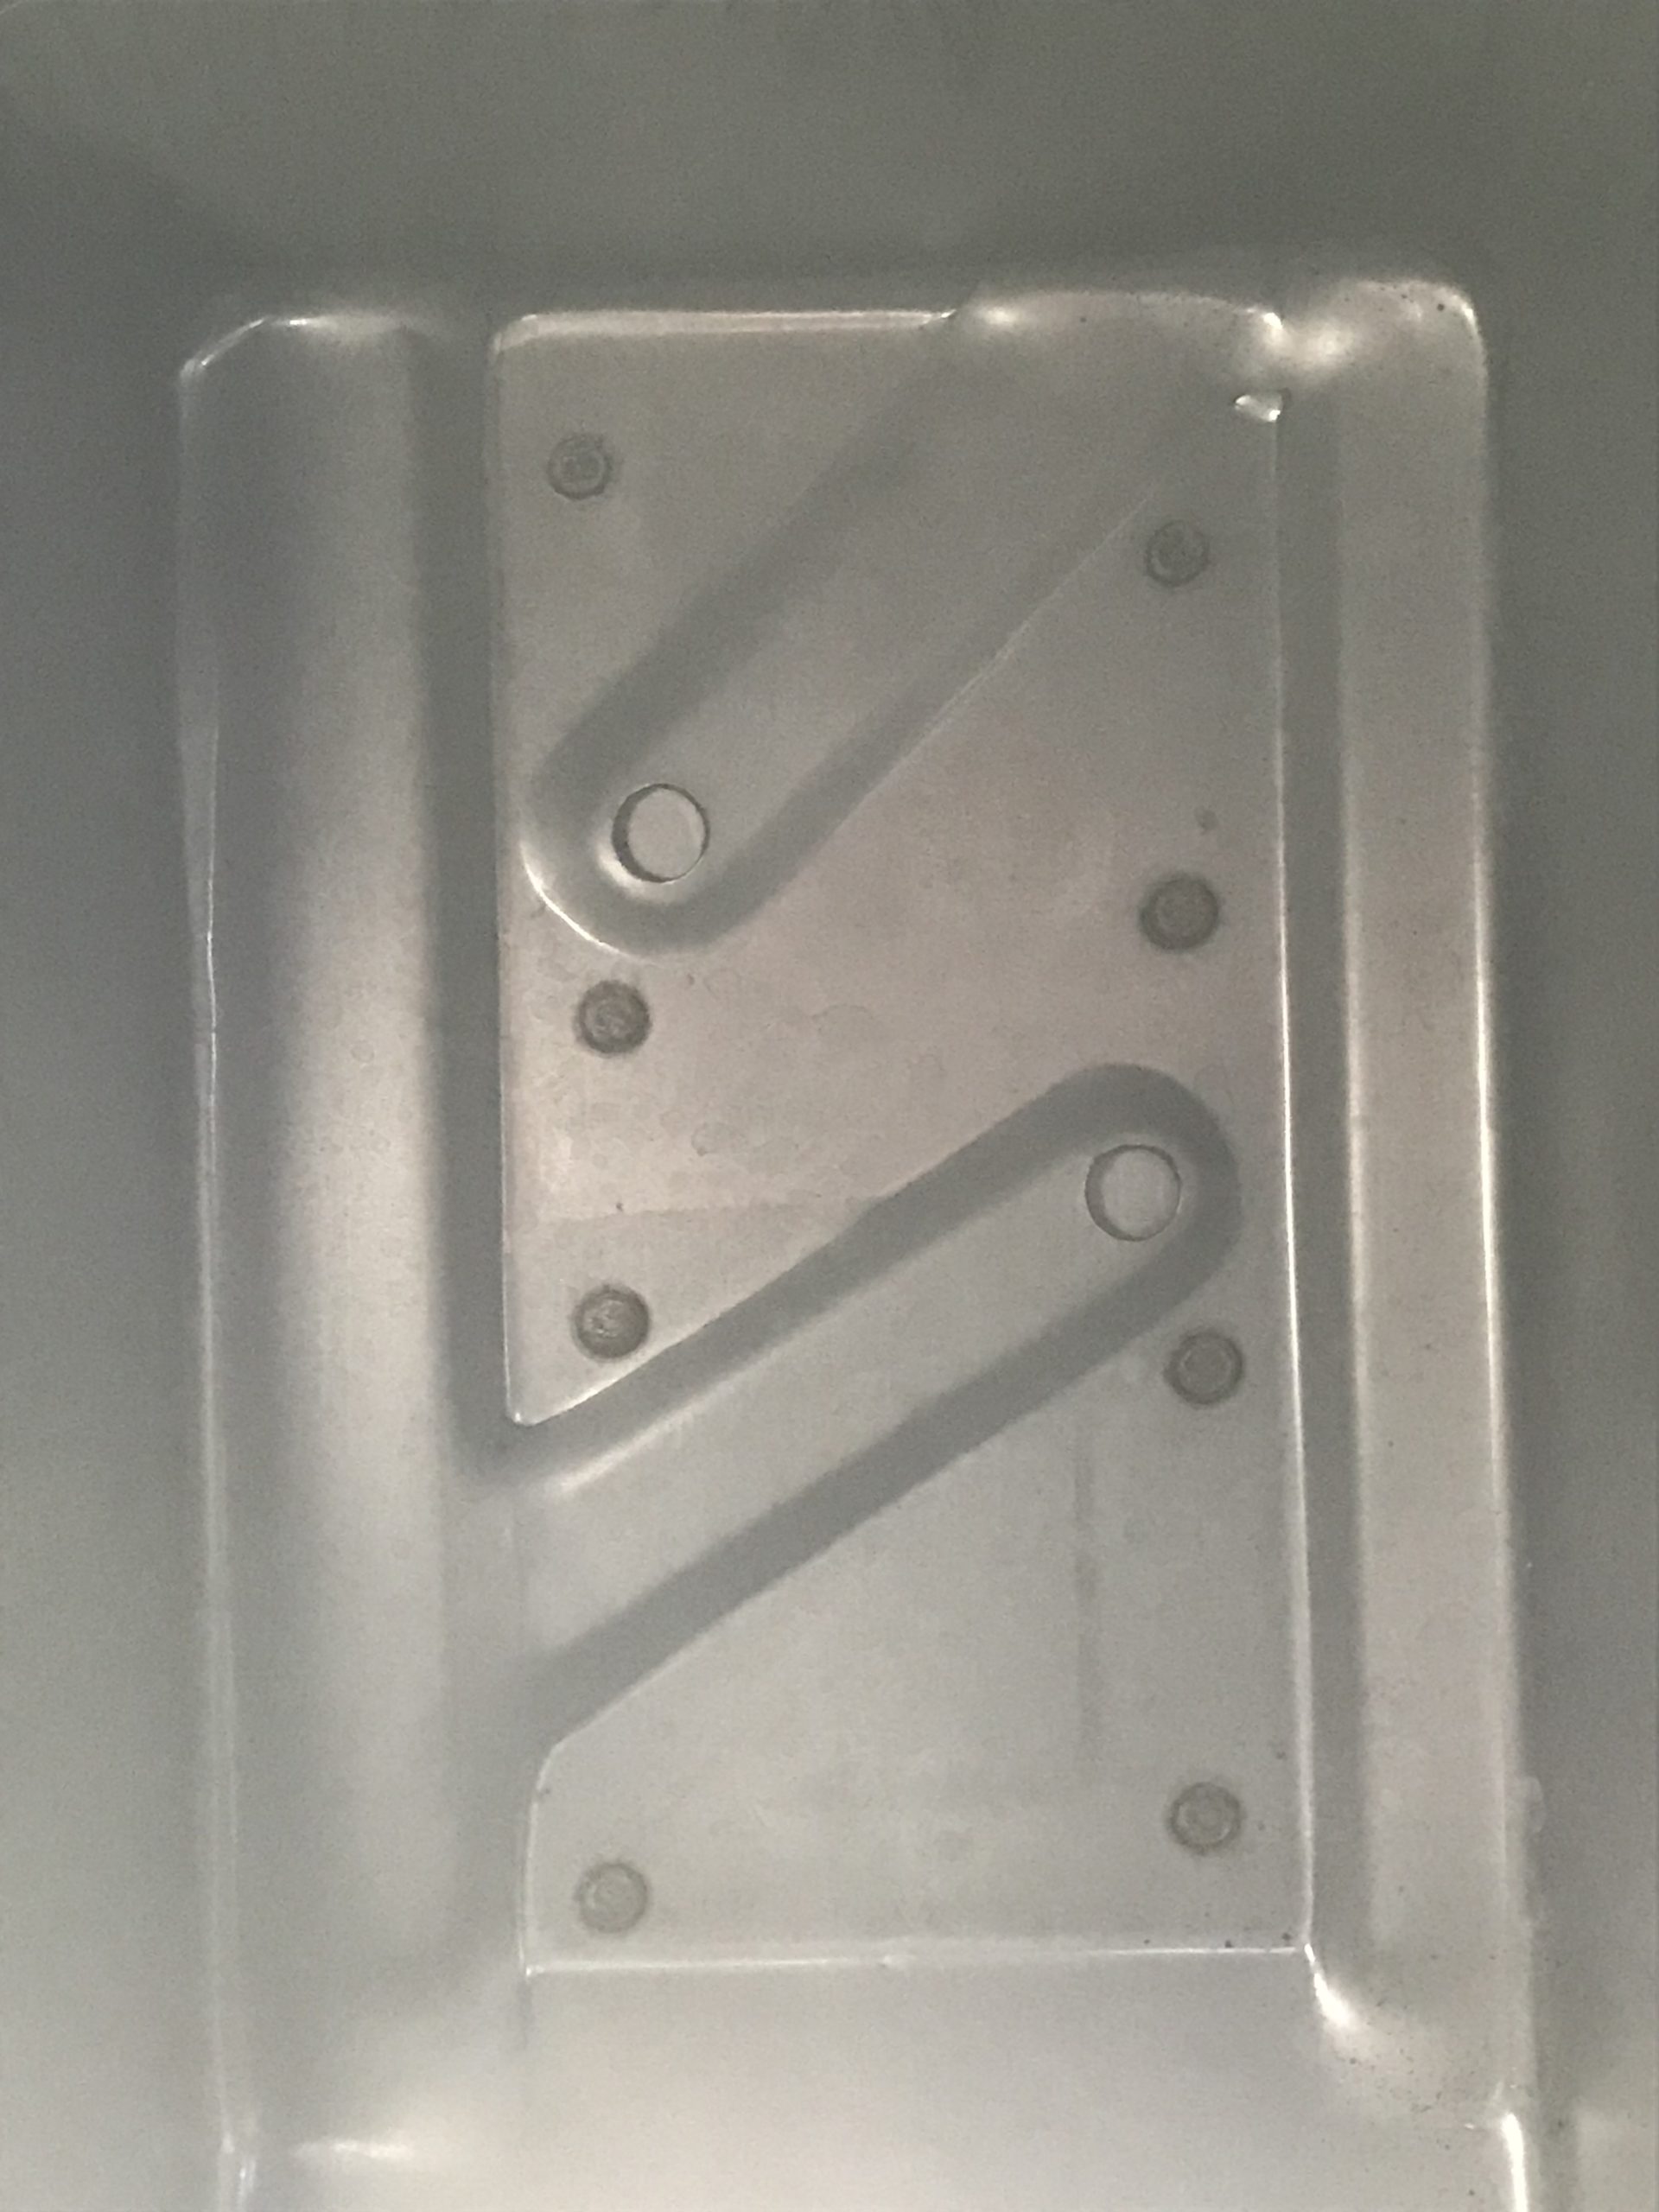
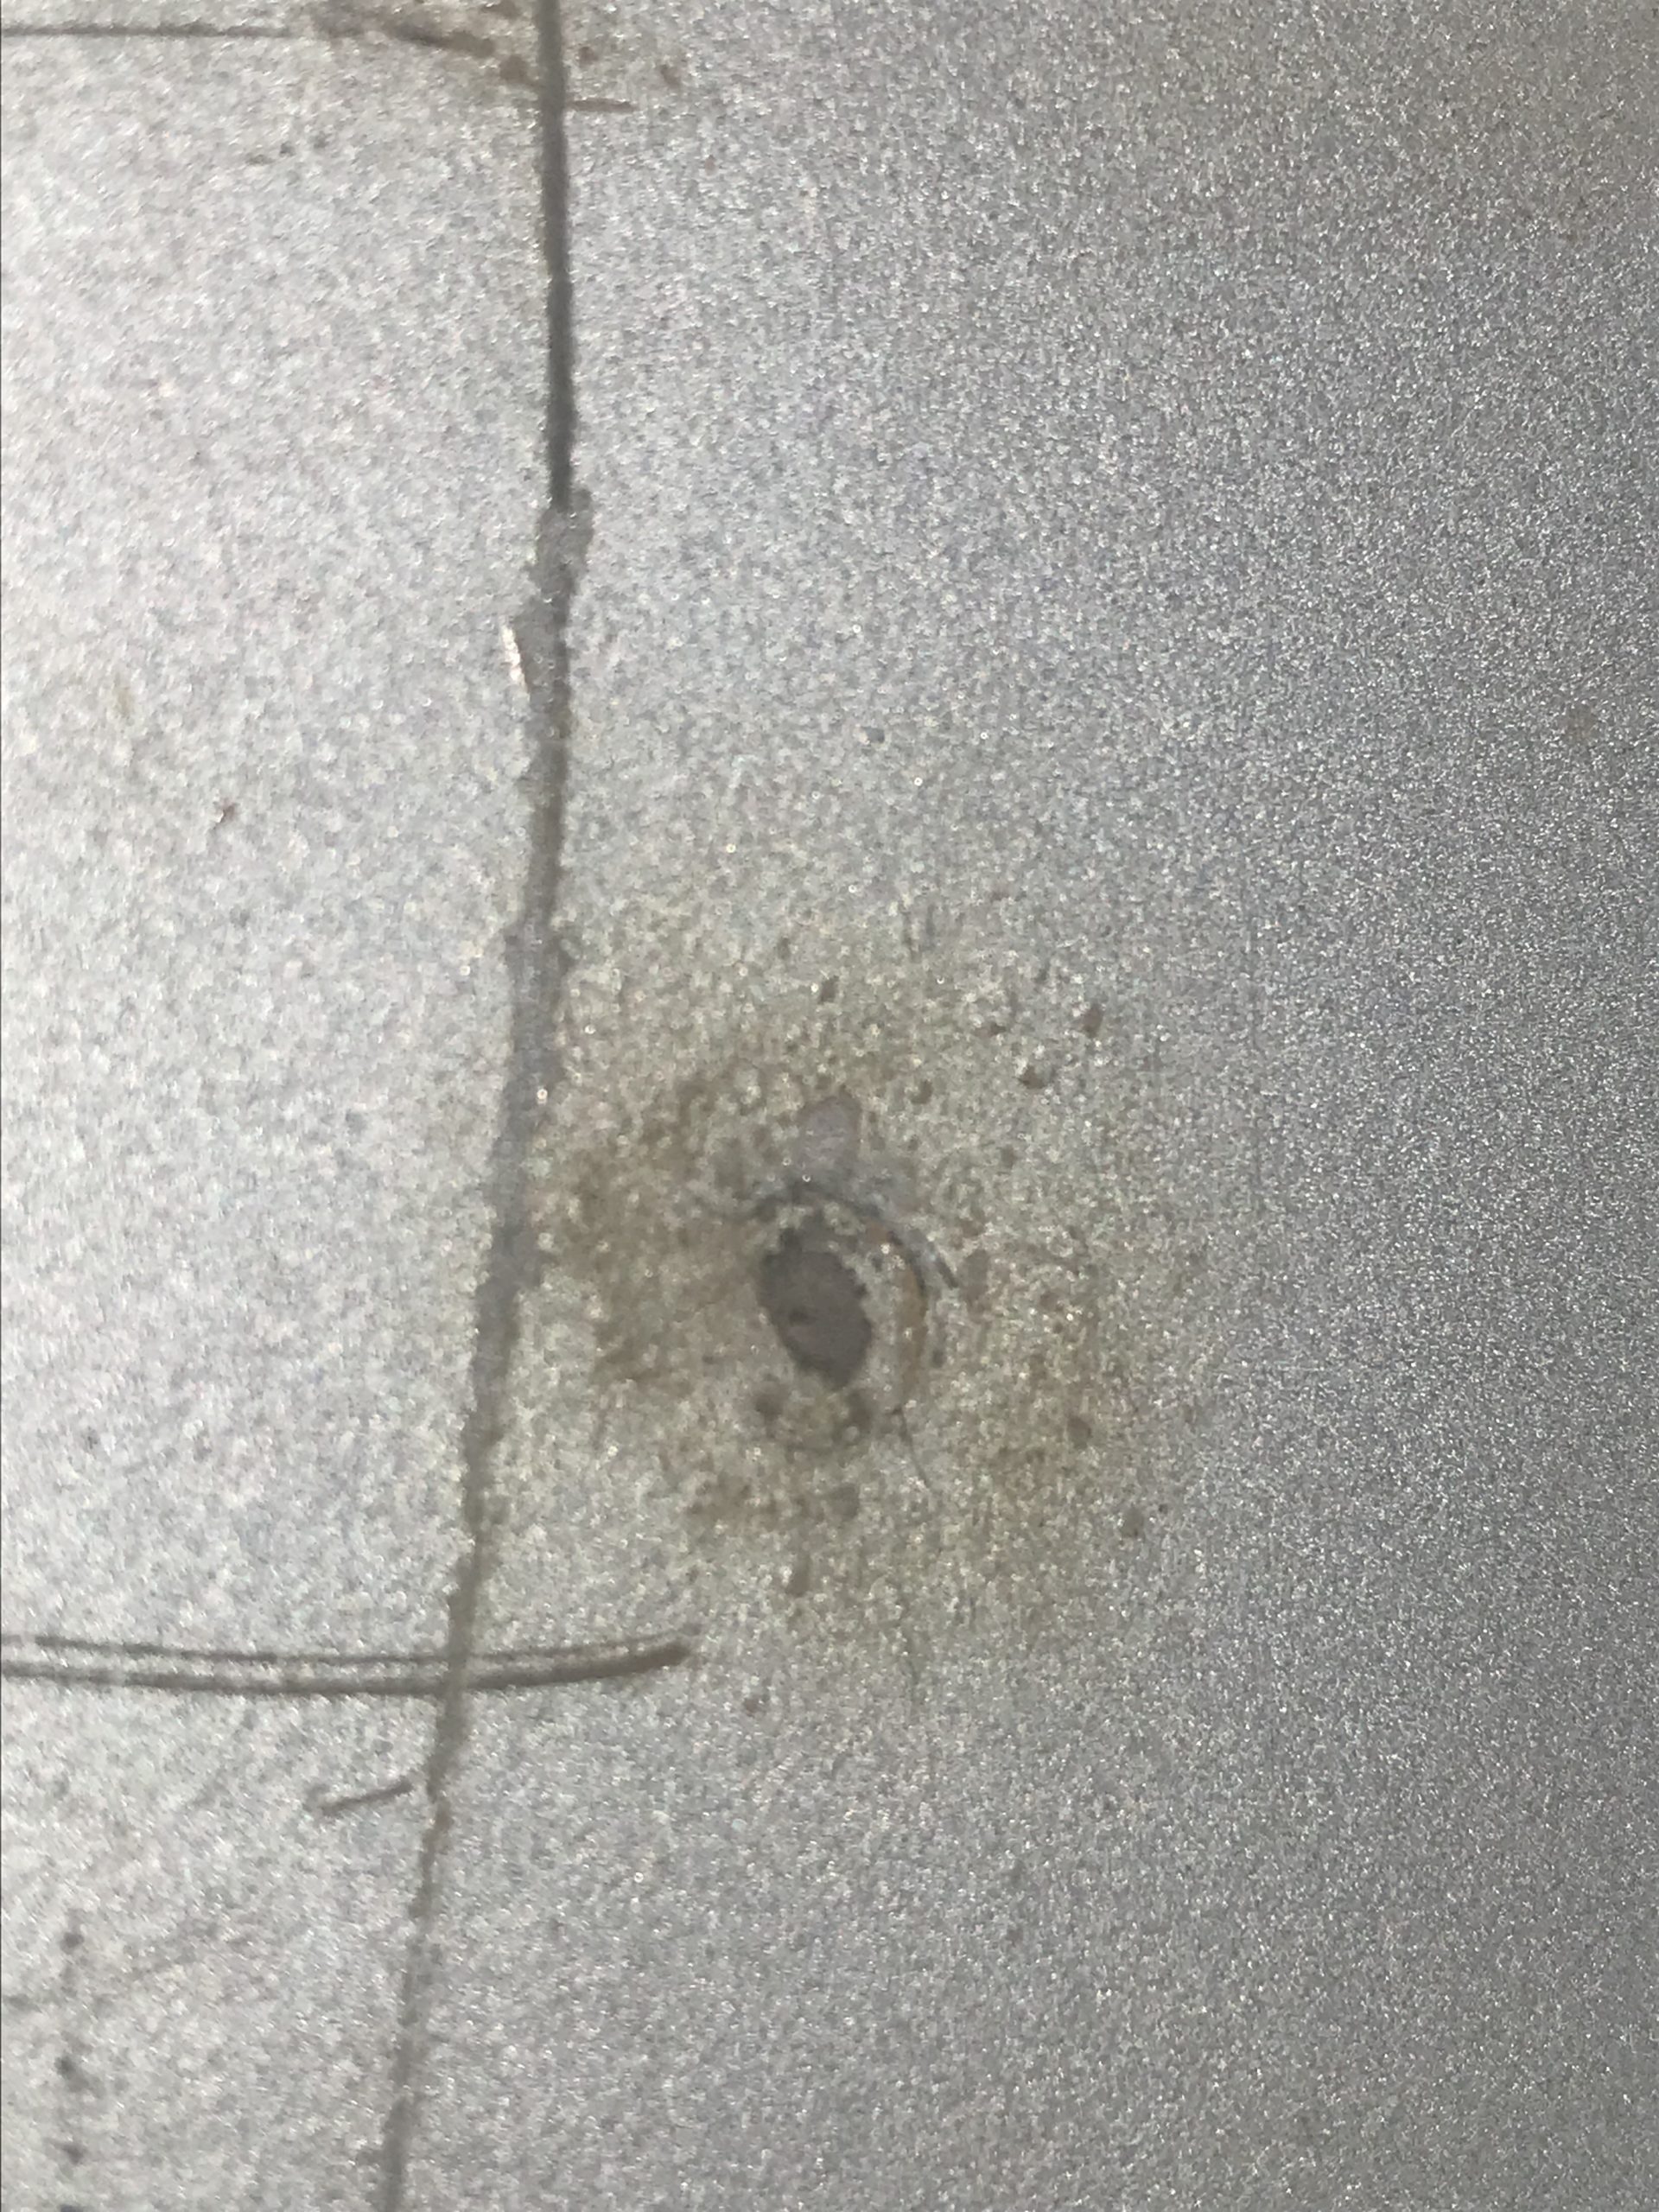
Over the last couple nights I got my fuel tank leak 100% verified as a manufacturer defect. Where I thought a rock punctured it, turns out the spot weld for the anti-slosh tray is cracked. Torn between using POR-15 tank sealer, or getting a pro-welder to hit those spots with some tig.
Last night I installed a brand new steering gear. What a nightmare, it seems to be 1/8” larger than the one that cane out, so I needed a larger shoe horn to stuff it in place. But she’s torqued down now.
April 23, 2023 at 7:42 am #211779toys-n-yotasKeymasterProgress has been sporadic at best, been busy last couple weeks.
On Friday night I put seam sealer down on the floor around the edges of my patch panels mainly to fill the pin holes and self-tapper holes I couldn’t fill with the welder.Yesterday I made another big purchase, buying all the parts required to convert my 3RZ to have a rear oil sump. This uses all OEM parts, so it was stupid expensive, but the motor wouldn’t (technically still doesn’t) fit around all the steering linkages. This rear sump pan should do the job.
This week I’m gonna see if I can get the gas tank repaired for a few bucks, rather than replaced for about $300.
April 24, 2023 at 1:39 pm #211781toys-n-yotasKeymasterCalled and talked to a local welder, he said to bring the tank over and he’ll see what he can do.
Ordered a replacement engine mount because one of my rockauto units that arrived. It appears to be out of process, appears “unfinished” as compared to its supposedly matching brother.
I also touched up a few spots with seam sealer where light shine through after drying.
I think tonight I’ll aim to replace the speedo drive cable, while I wait for the oil pan conversion parts to arrive.
April 28, 2023 at 4:11 pm #211782toys-n-yotasKeymasterSo my 3rd RockAuto engine mount arrived and looks as shitty as the one I was hoping to obsolete. I sent a refund complaint for two of 3 engine mounts to RA stating that it appears “incomplete”, and within 2-hours they replied and issued a refund. They said they dont want the parts back either. So I have 3 mounts for the price of 1. Guess I’ll just use the matching pair of “incomplete” mounts.
I ordered the oil pan conversion on apr 22nd, the company accepted my money, but has yet to finish processing my order. Not very efficient there, so I guess it has balanced out RA’s super efficiency.
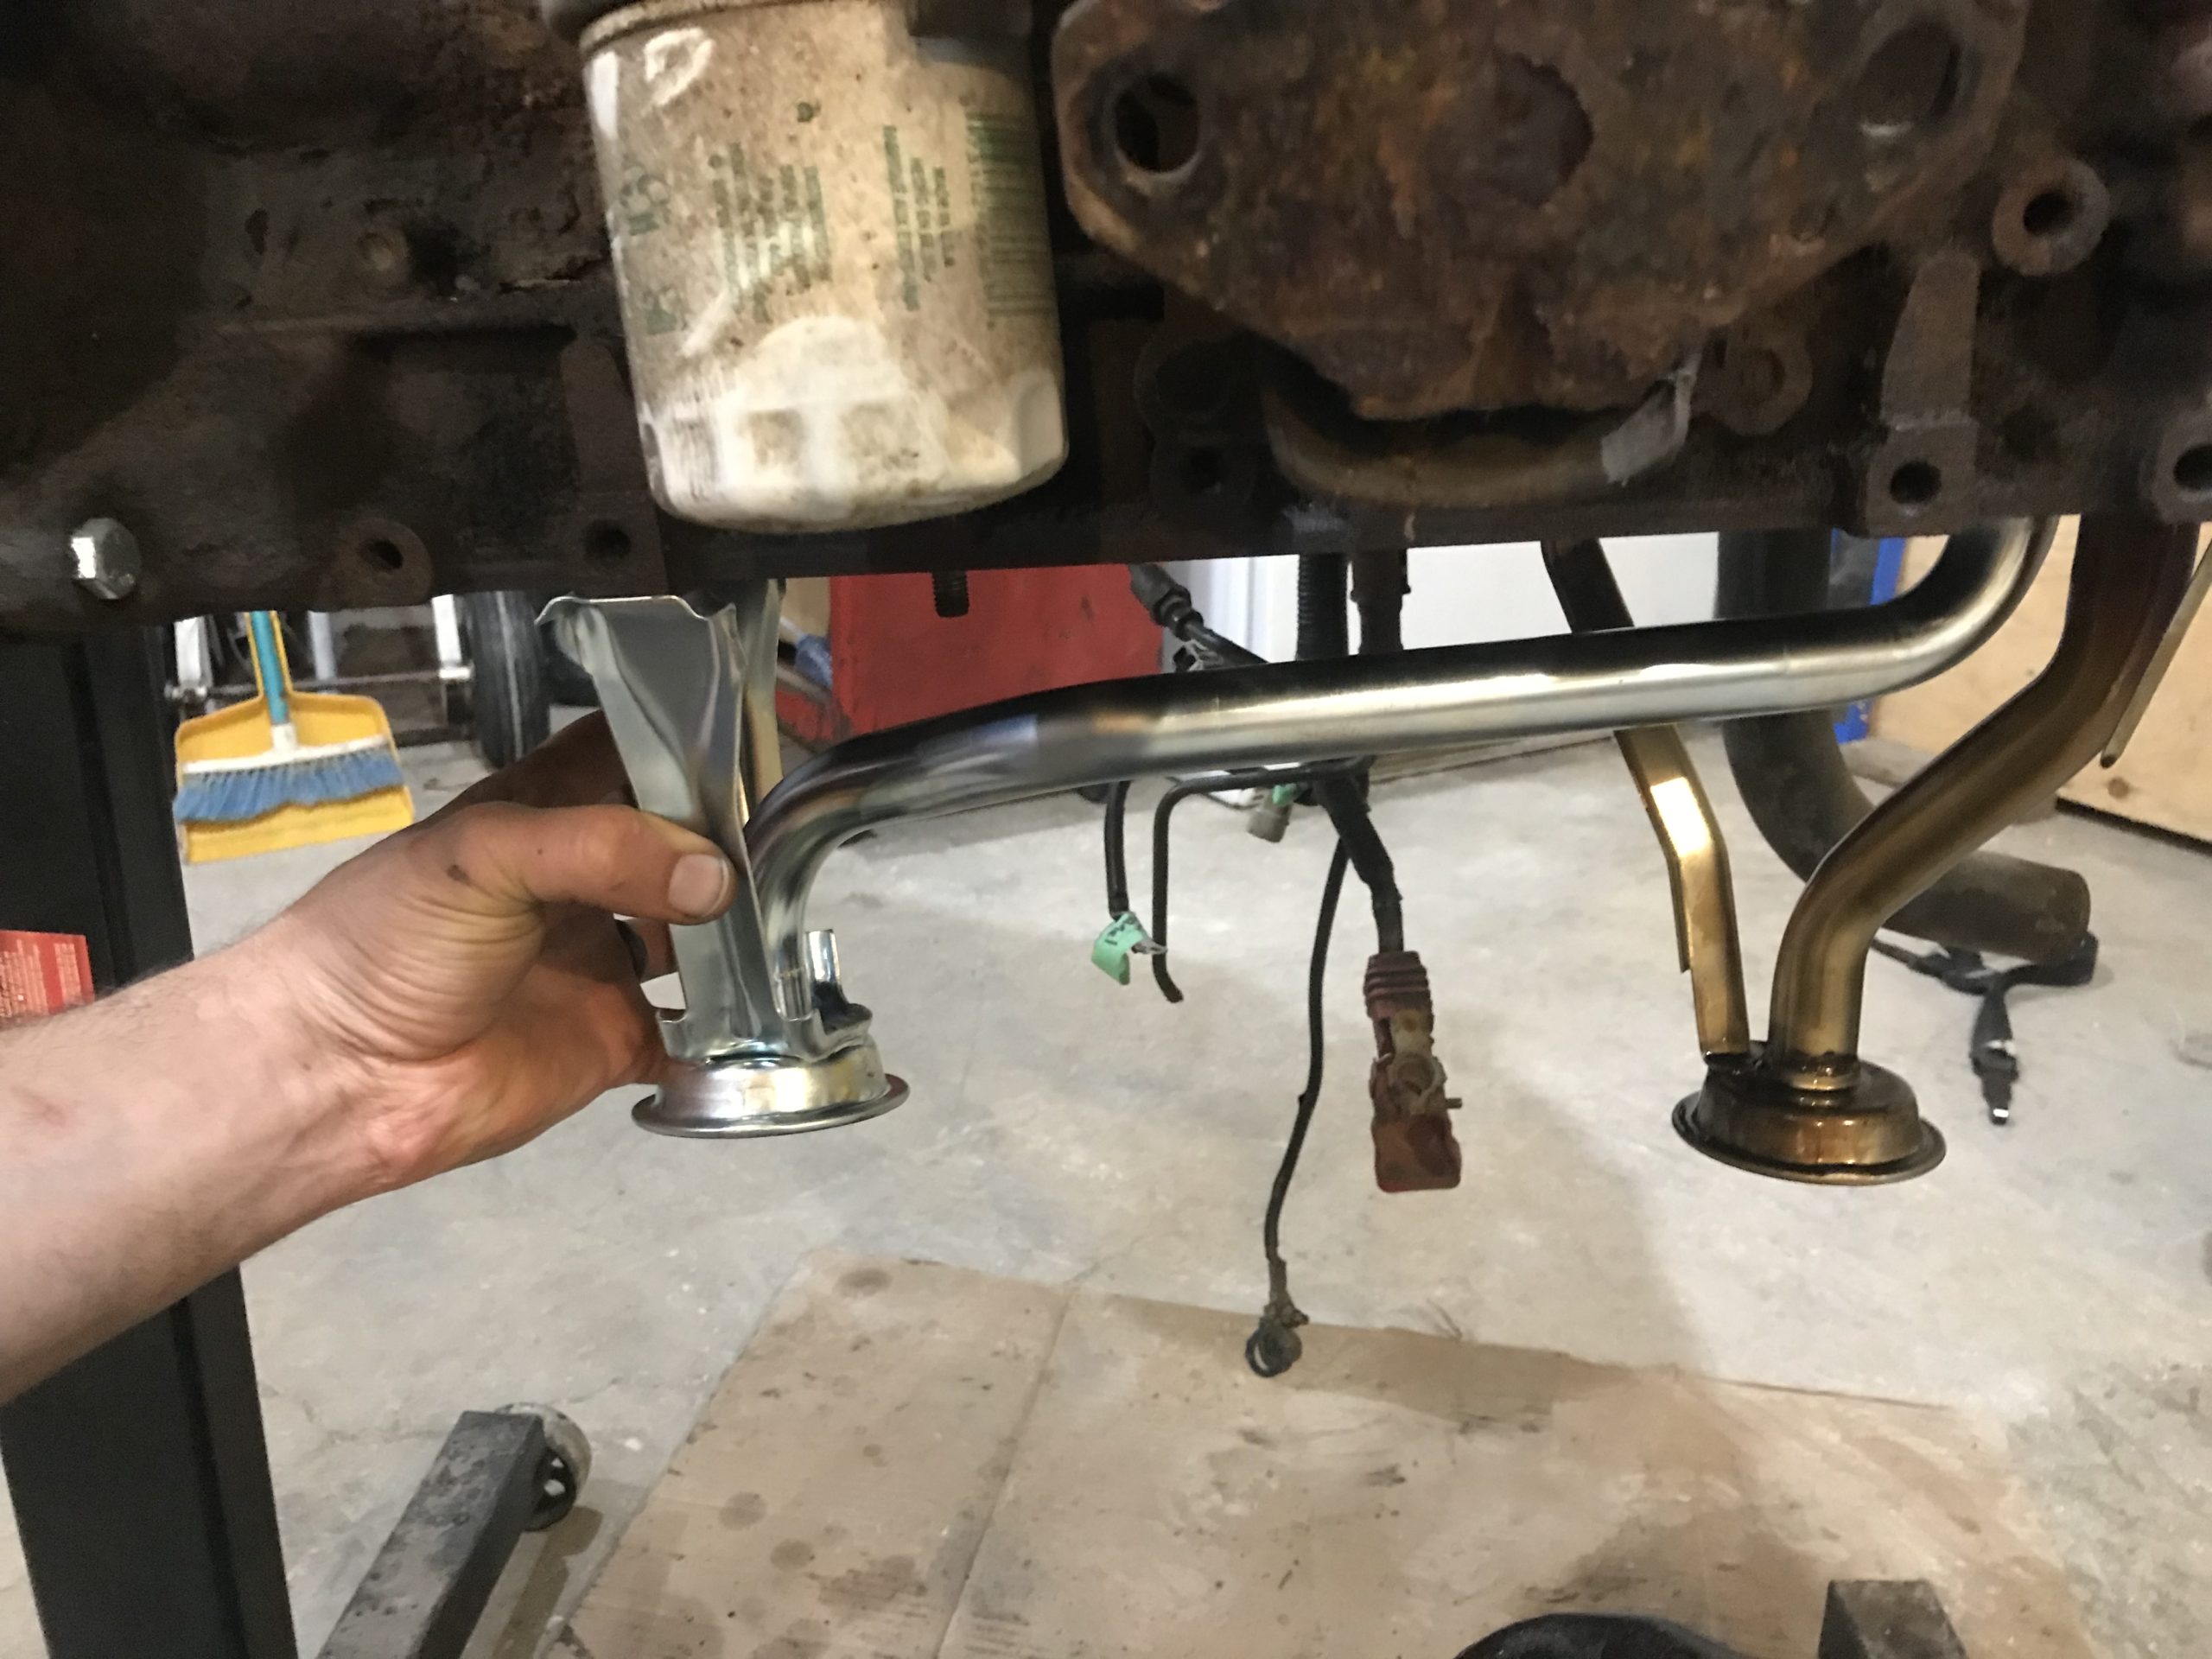
May 20, 2023 at 10:34 am #211786toys-n-yotasKeymasterGot my oil pan conversion kit from the post office this morning, only $42 of customs fees! I’m excited because i was expecting +$100 in fees. Marlin Crawler usually costs me $100-200 in fees for smaller orders than this oil pan.
Anyways, I may get to play in the shop tonight after the kids asleep. Looking forward to what $850 of oil pan and conversion bits looks like.
Think I’ve sold the headlights off the donor for $100, buyer is “on their way” currently, but we’ll wait and see.
June 1, 2023 at 2:00 pm #211787 FJTTSEKeymaster
Great progress Tom. Betcha can’t wait to hit the trails!
June 5, 2023 at 12:34 pm #211789toys-n-yotasKeymasterI’m quite ready to hit the beach and/or do some camping. But unless I’m camping in the shop, it may not happen till Fall or next year 😒
Over the weekend i got about halfway through my oil pan conversion task. As always, some unexpected slow downs showed up. Long story short, I need to replace my rear main seal before I put the new pan on, but I must take the motor off the rotisserie (and onto the hoist) to replace the rear main seal. It was such a pain in the ass to get onto the rotisserie that I don’t want to put it back on after.
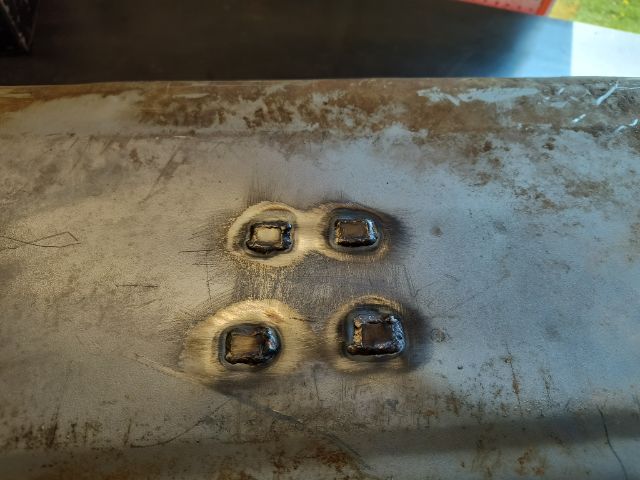
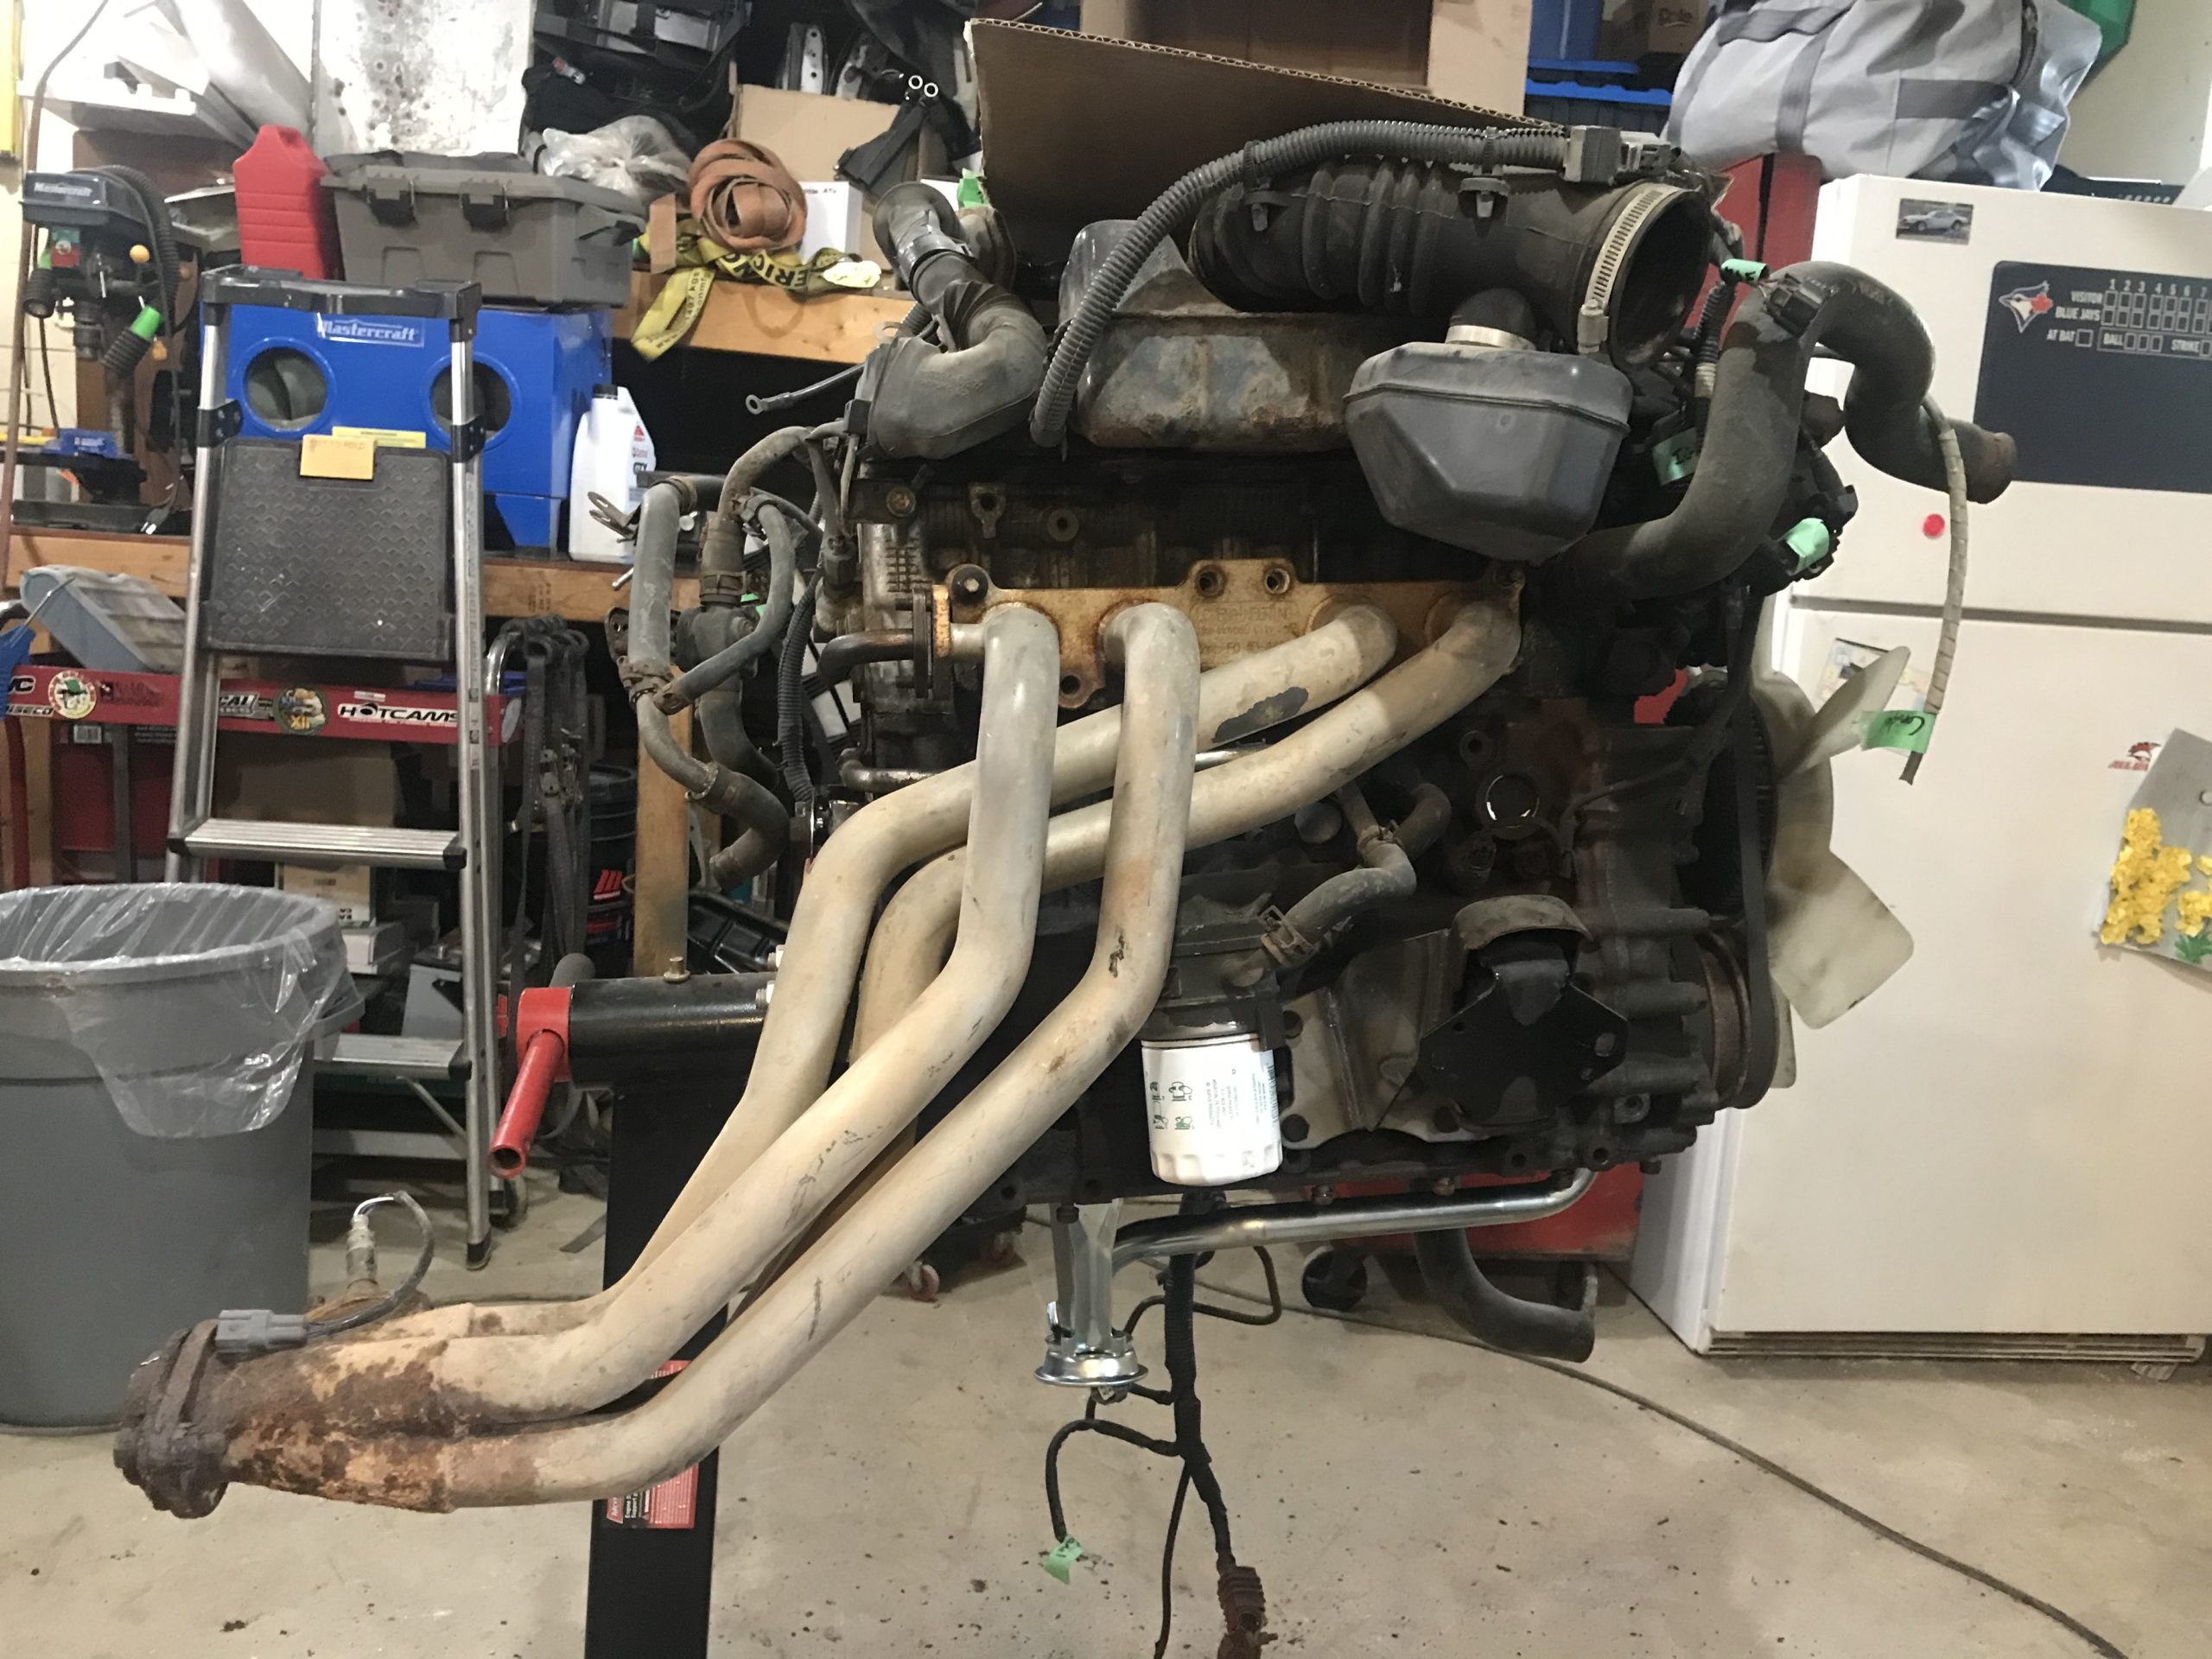
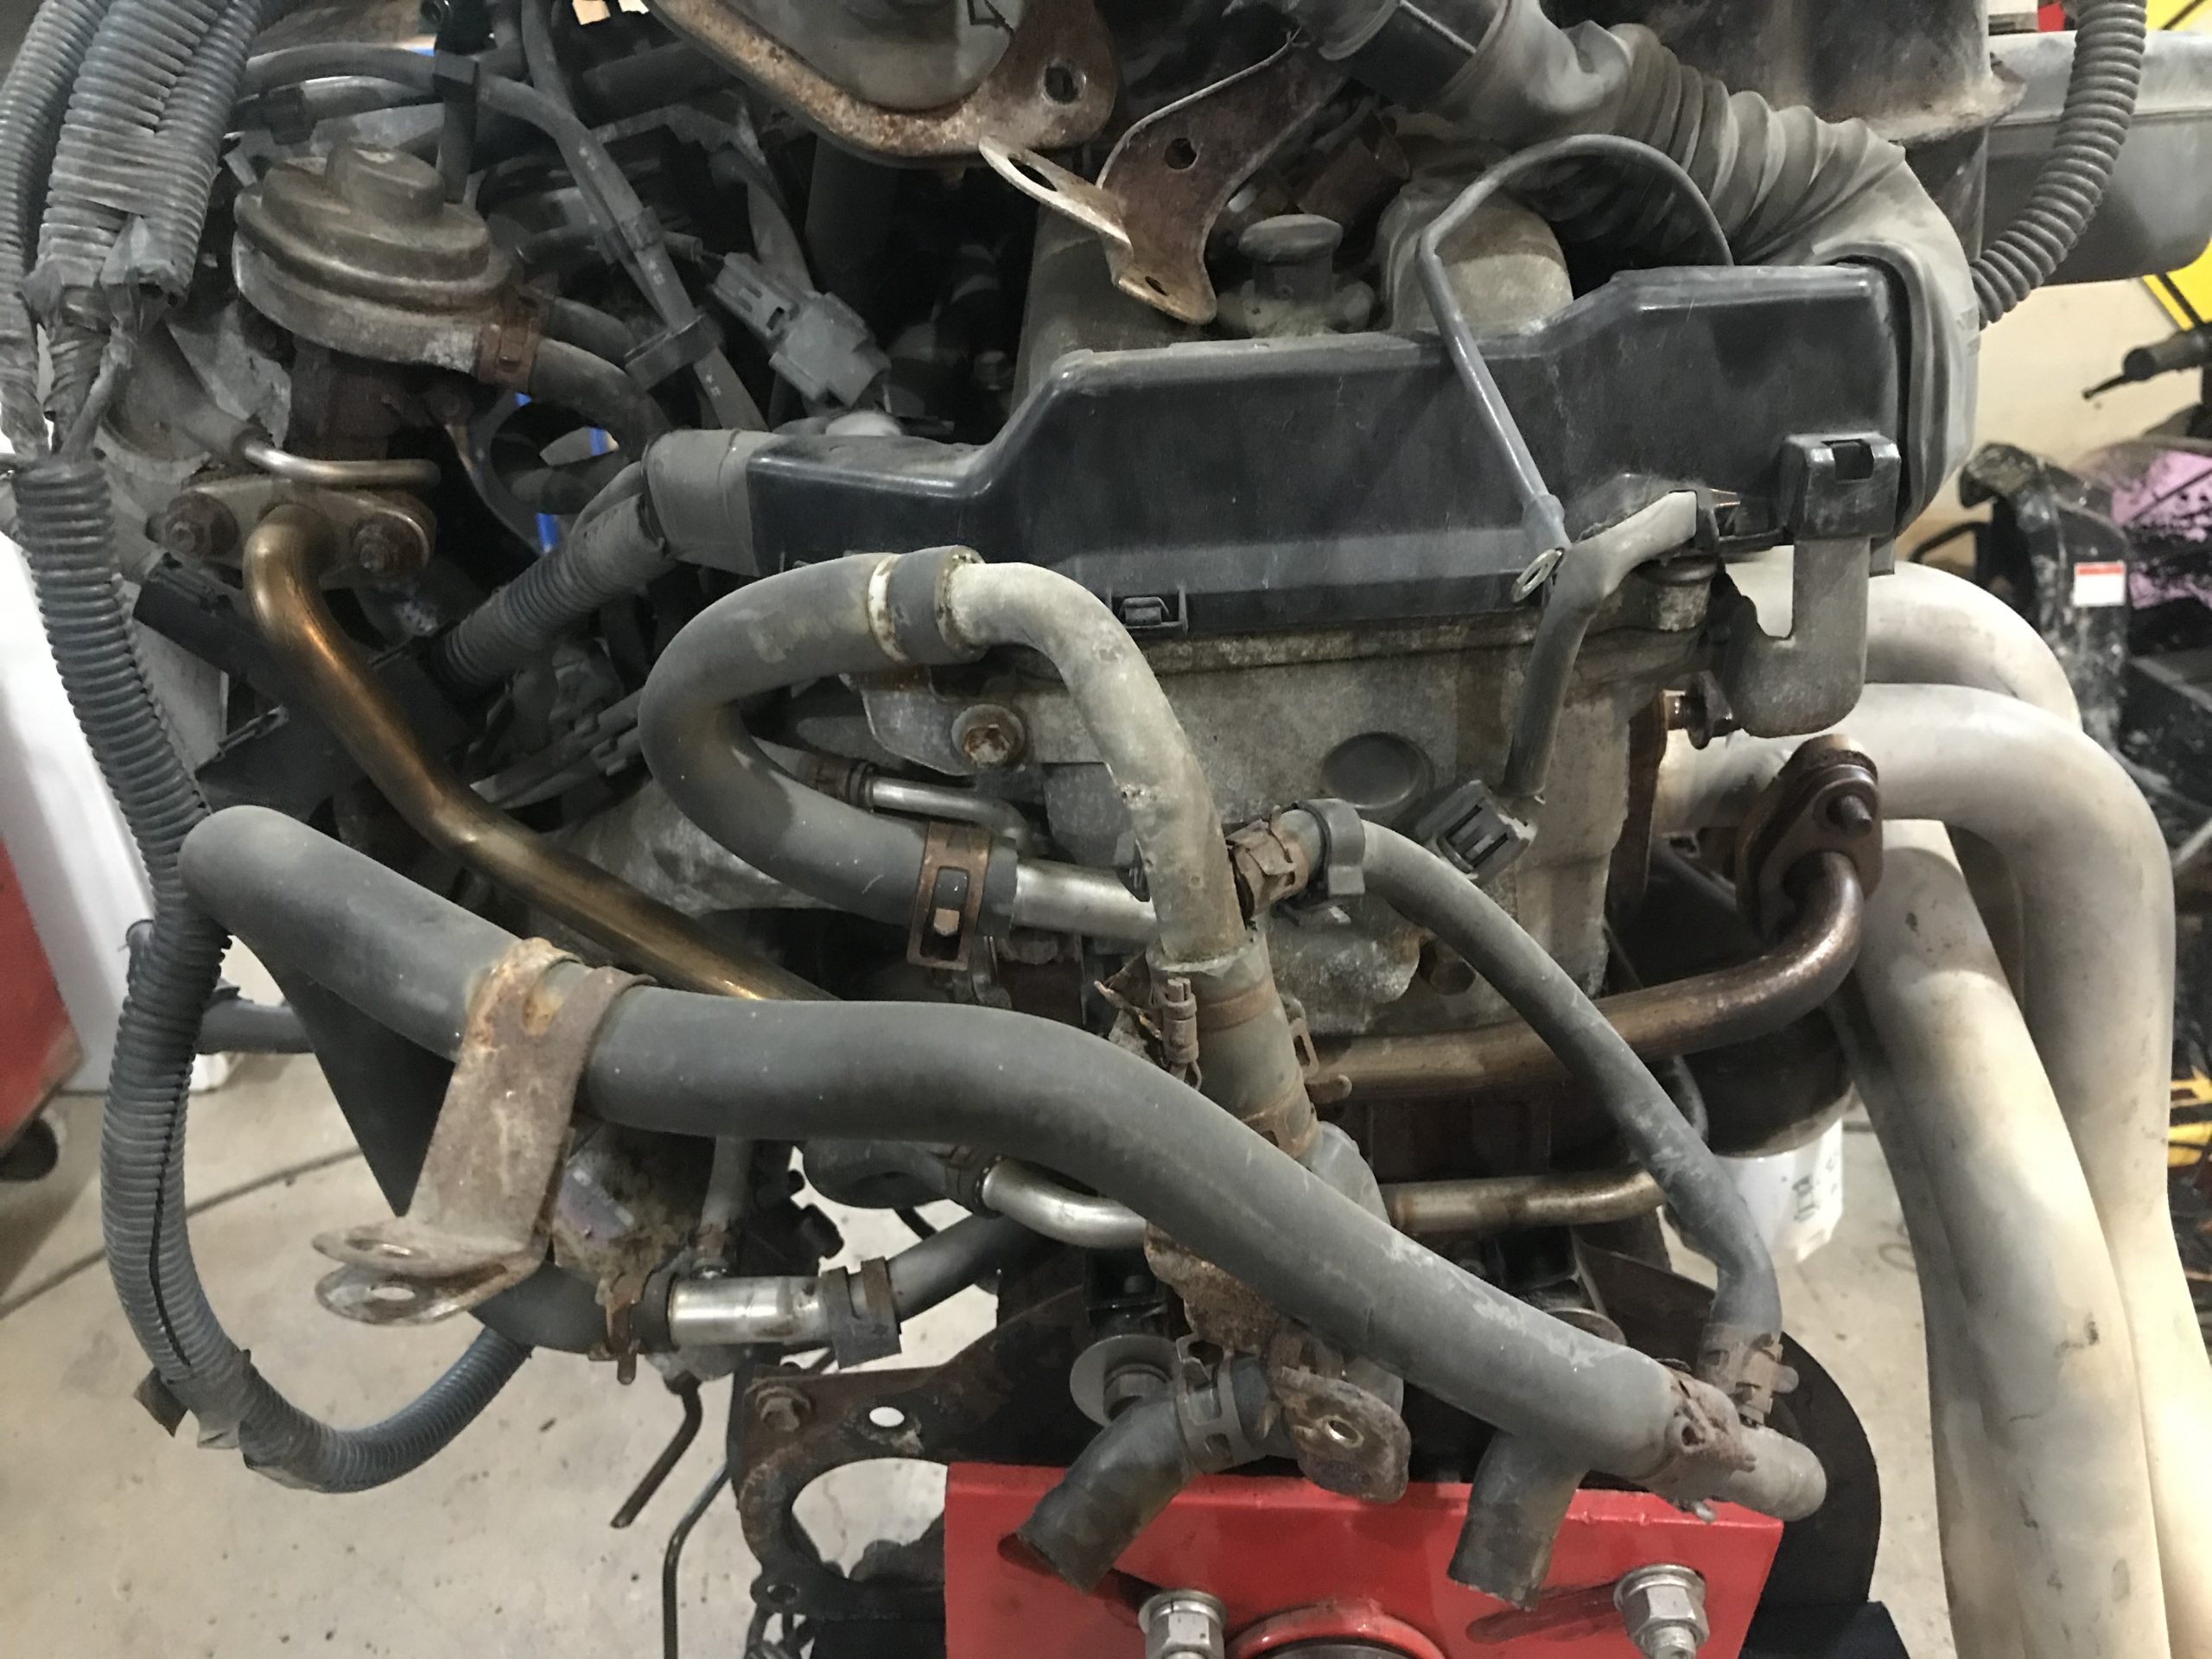
While still stationary, I swapped the new engine mounts on, pulled the old exhaust manifold off and test fit the LCE Header. I must tweak the EGR tube slightly as the pitch is just too wide to fully bolt in. Gonna use a torch to warm the egr tube while I tighten the header nuts in place to narrow the pitch a bit. Gonna grab a yellow bottle of Map gas to expedite the process.Last week I got my repaired gas tank back, primed and clear coated the underside then bolted it all back in. Finally crossed off the list.
September 27, 2023 at 11:51 am #211843toys-n-yotasKeymasterAlright, time for a mini update. In the last 3.5 months nearly nothing has changed, but I’m gunning to change that this weekend.
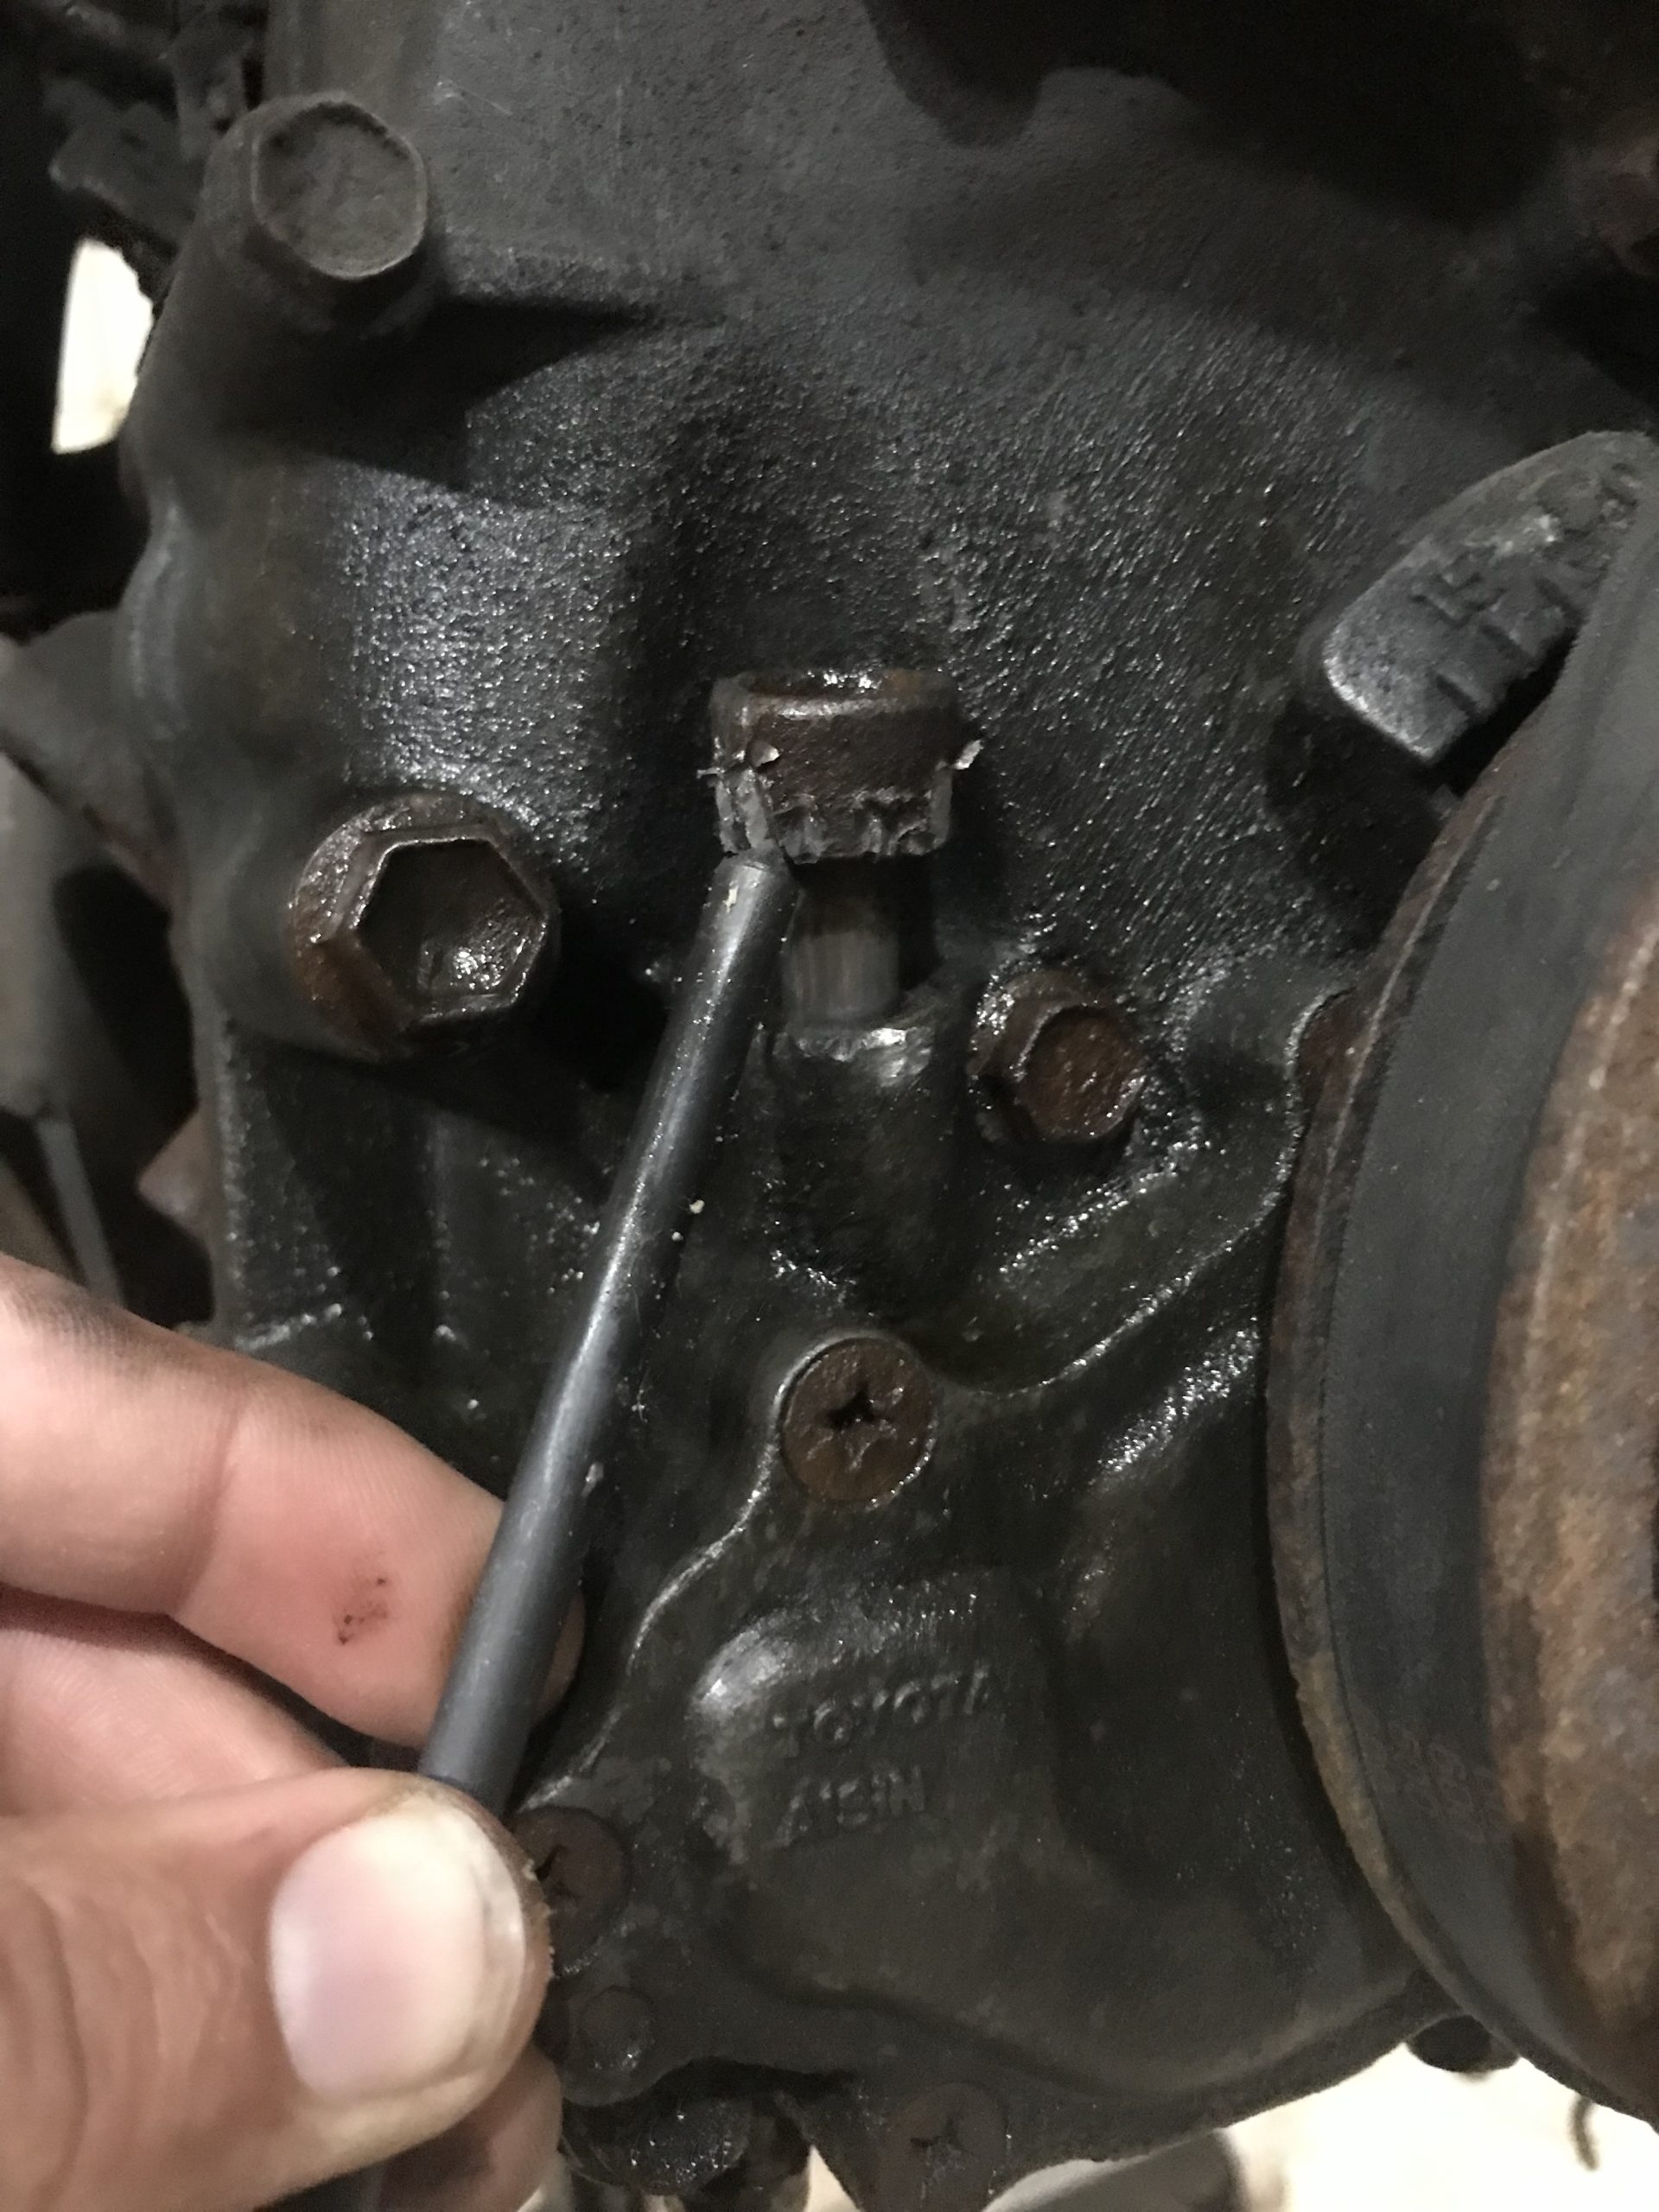
Since June, I painted and primed the gas tank, cleaned the mating surface for the oil pan, modified the new dipstick tube so it’ll fit the conversion engine mounts, removed the old dipstick tube bushing, then drilled/tapped/plugged and sealed that bushing. Tonight i intend to reinstall the old bushing, and install the new dipstick tube. Currently the tube is in the freezer so it’s a little easier to drive into the block (having shrunk ever so slightly).
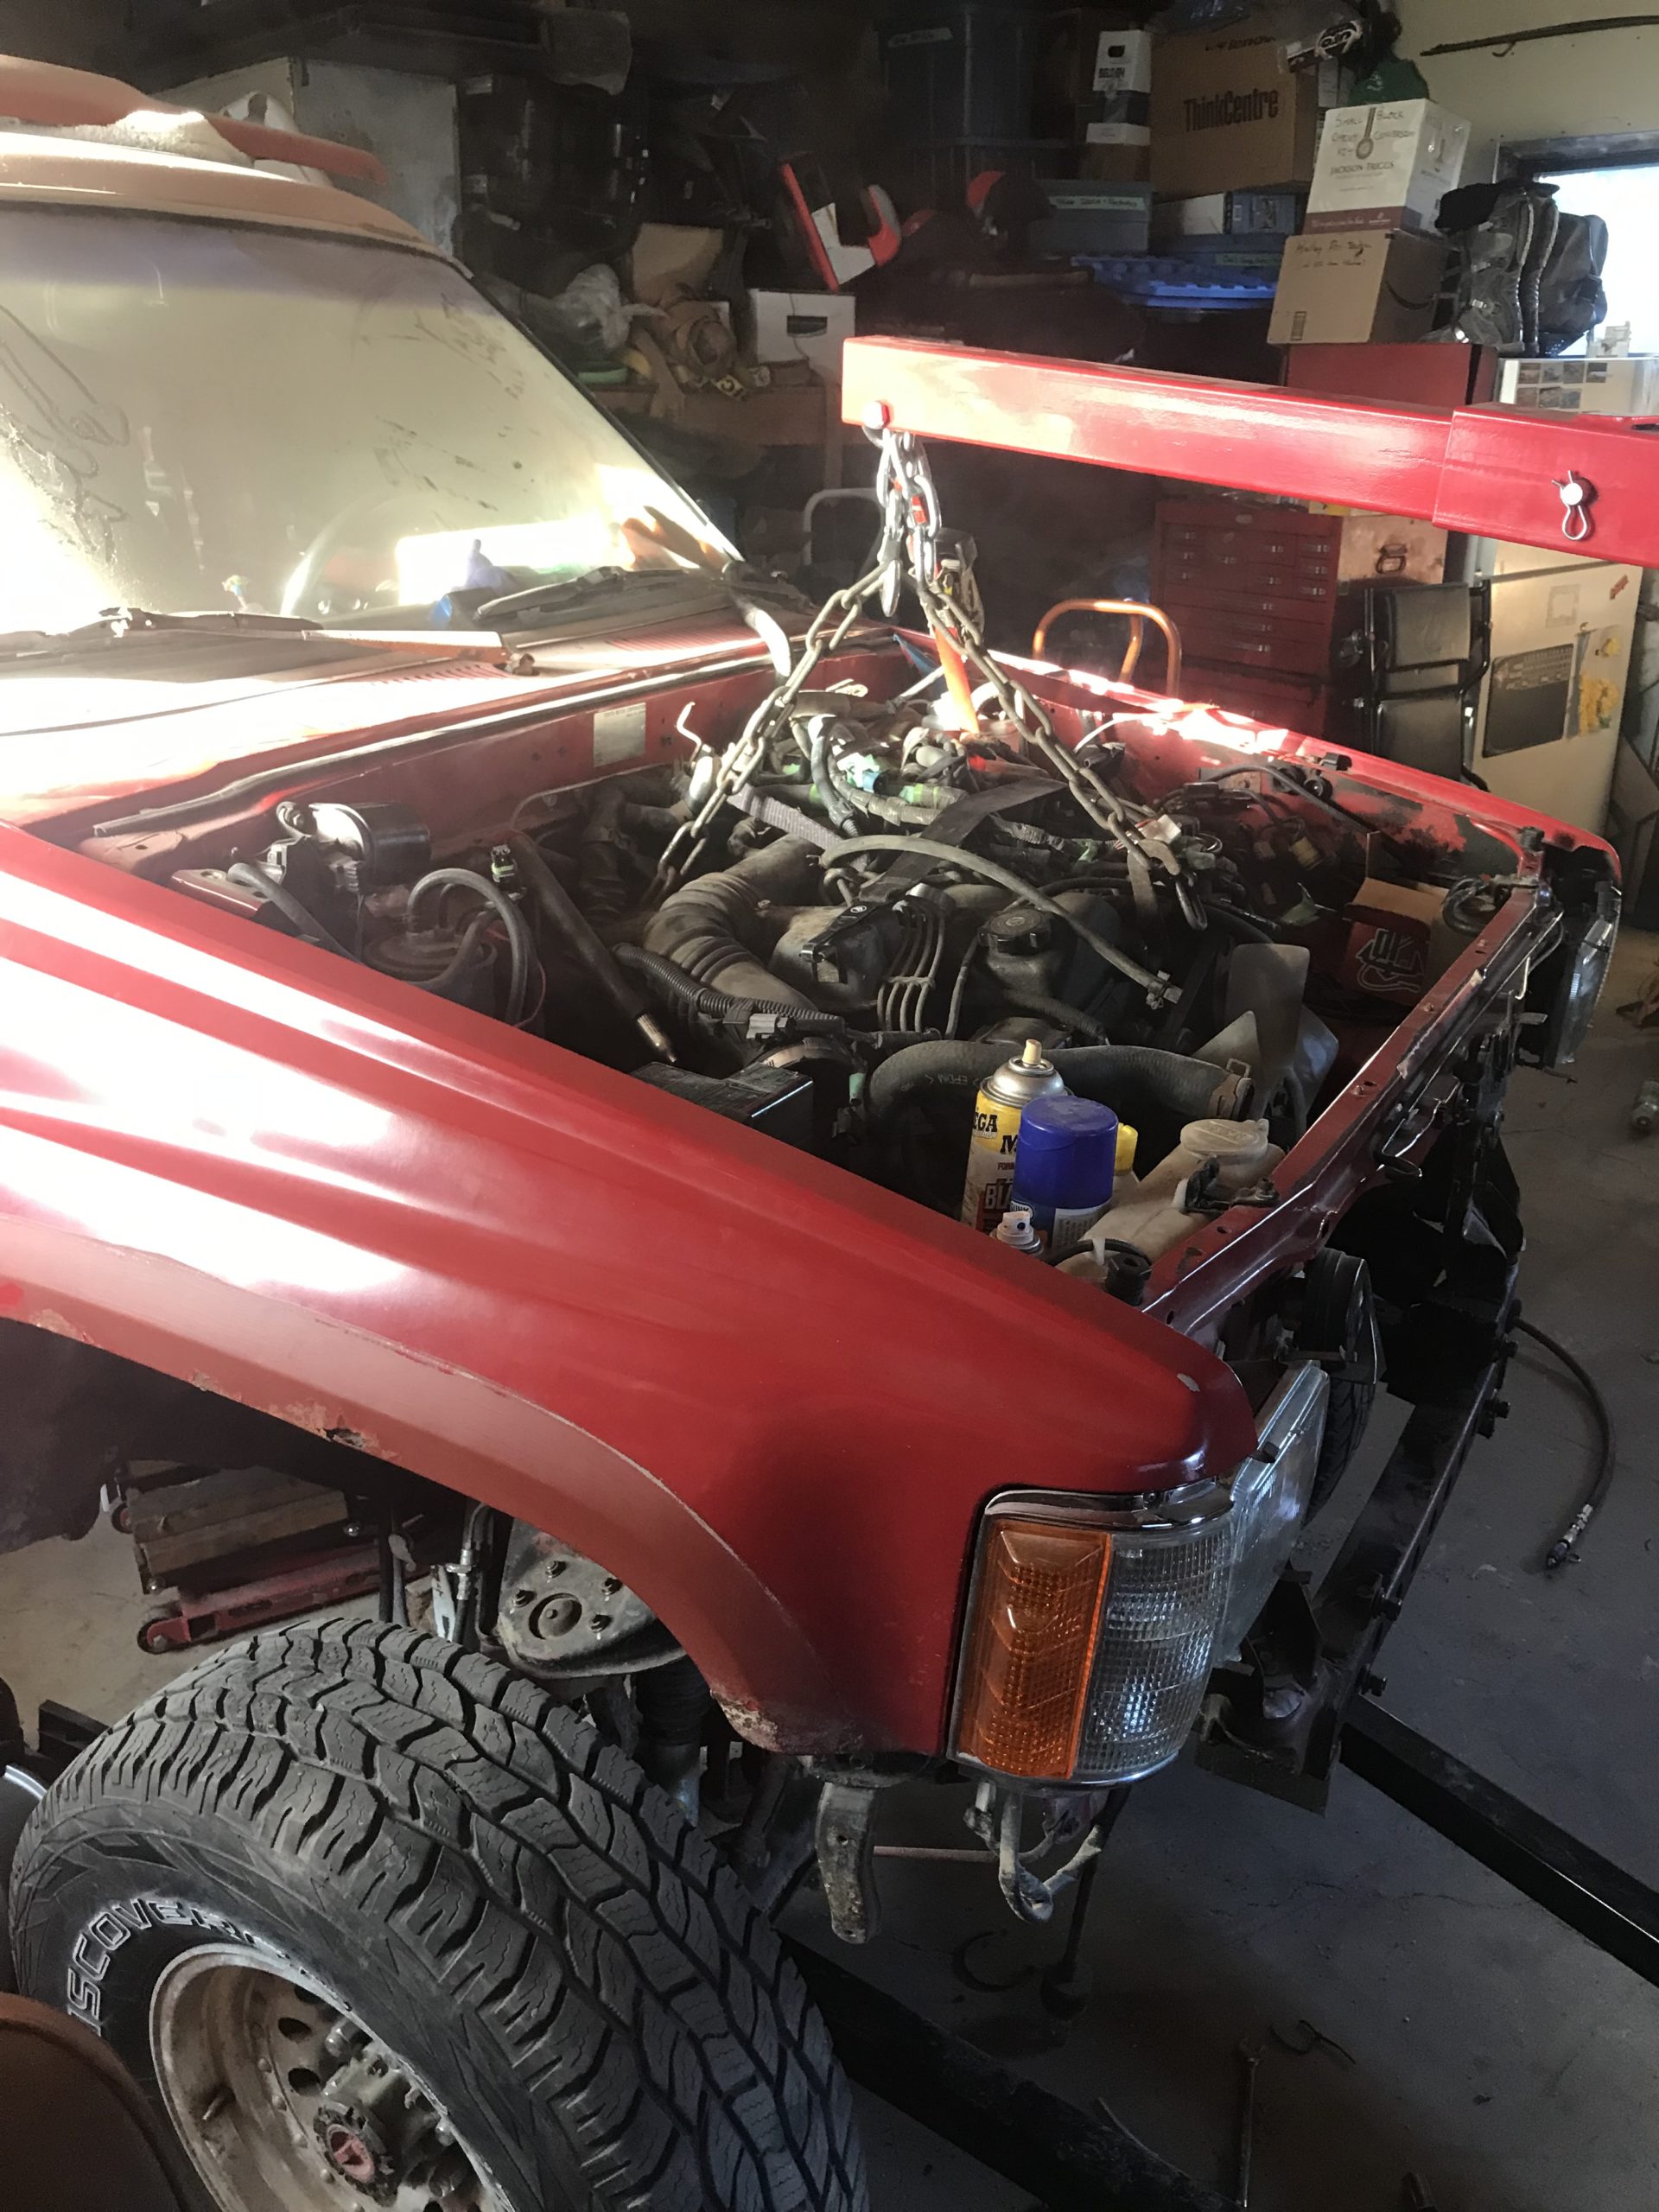
The plan for this weekend is to test fit the 3RZ in the engine bay! Prior to Saturday (when I’ve got the day to myself), i want to get the motor onto the hoist so I finish this oil pan conversion……I must replace the rear main seal, and glue the new pan in place.
Hoping for big update with pictures by end of weekend. Fingers crossed.
I also finally sold the old TH350 trans to a cool Kijij dude building an Iroc Camaro. $70 in my pocket.
-
This reply was modified 1 year, 9 months ago by toys-n-yotas.
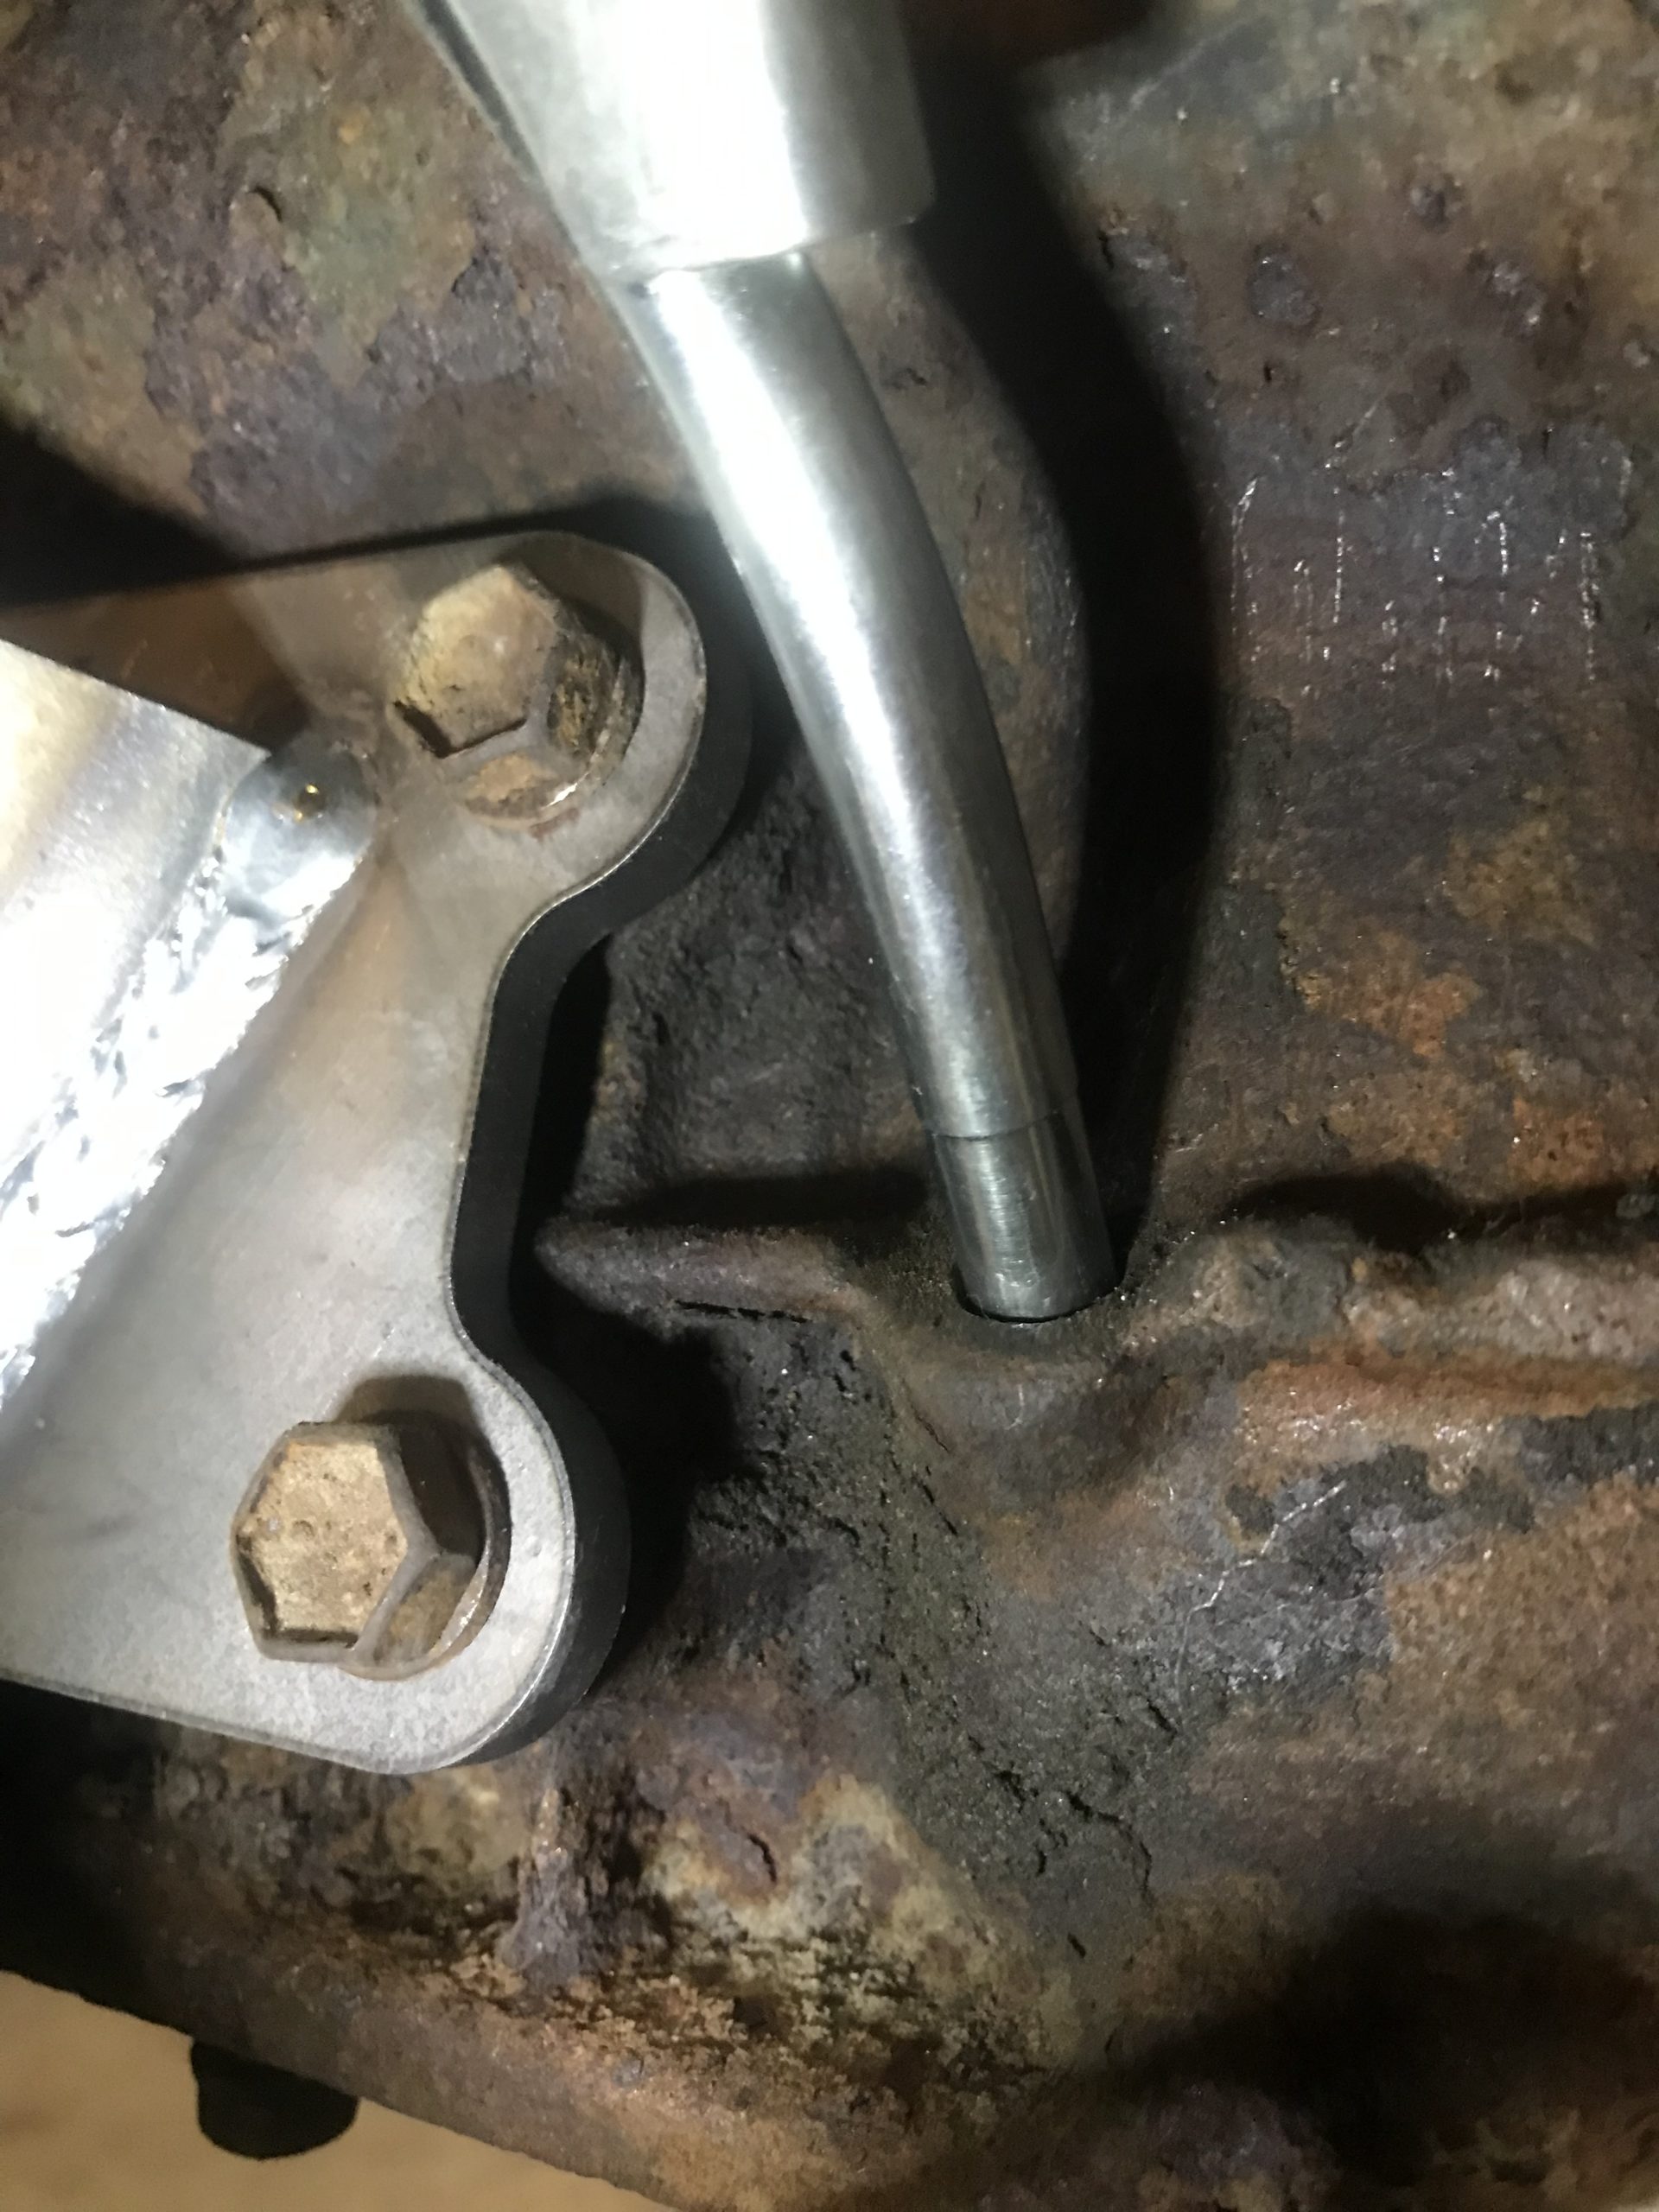
September 28, 2023 at 9:15 am #211847toys-n-yotasKeymasterSmall victories last night, got the old dip stick tube hole plugged using the original bushing, therefore I did not need to drill and tap the block. I hammered in the new dip stick tube, only bent it a little when i gave it one extra tap to be sure it was fully seated…but i straightened that by hand after. Thirdly i reassembled my hoist and have the 3rz dangling off of it. The rotisserie is still attached, wanted to have some reassurance the hoist wasnt gonna lose pressure overnight. Perhaps tonight I’ll pull the rotisserie off, and start on the rear main seal and glue on the new oil pan.
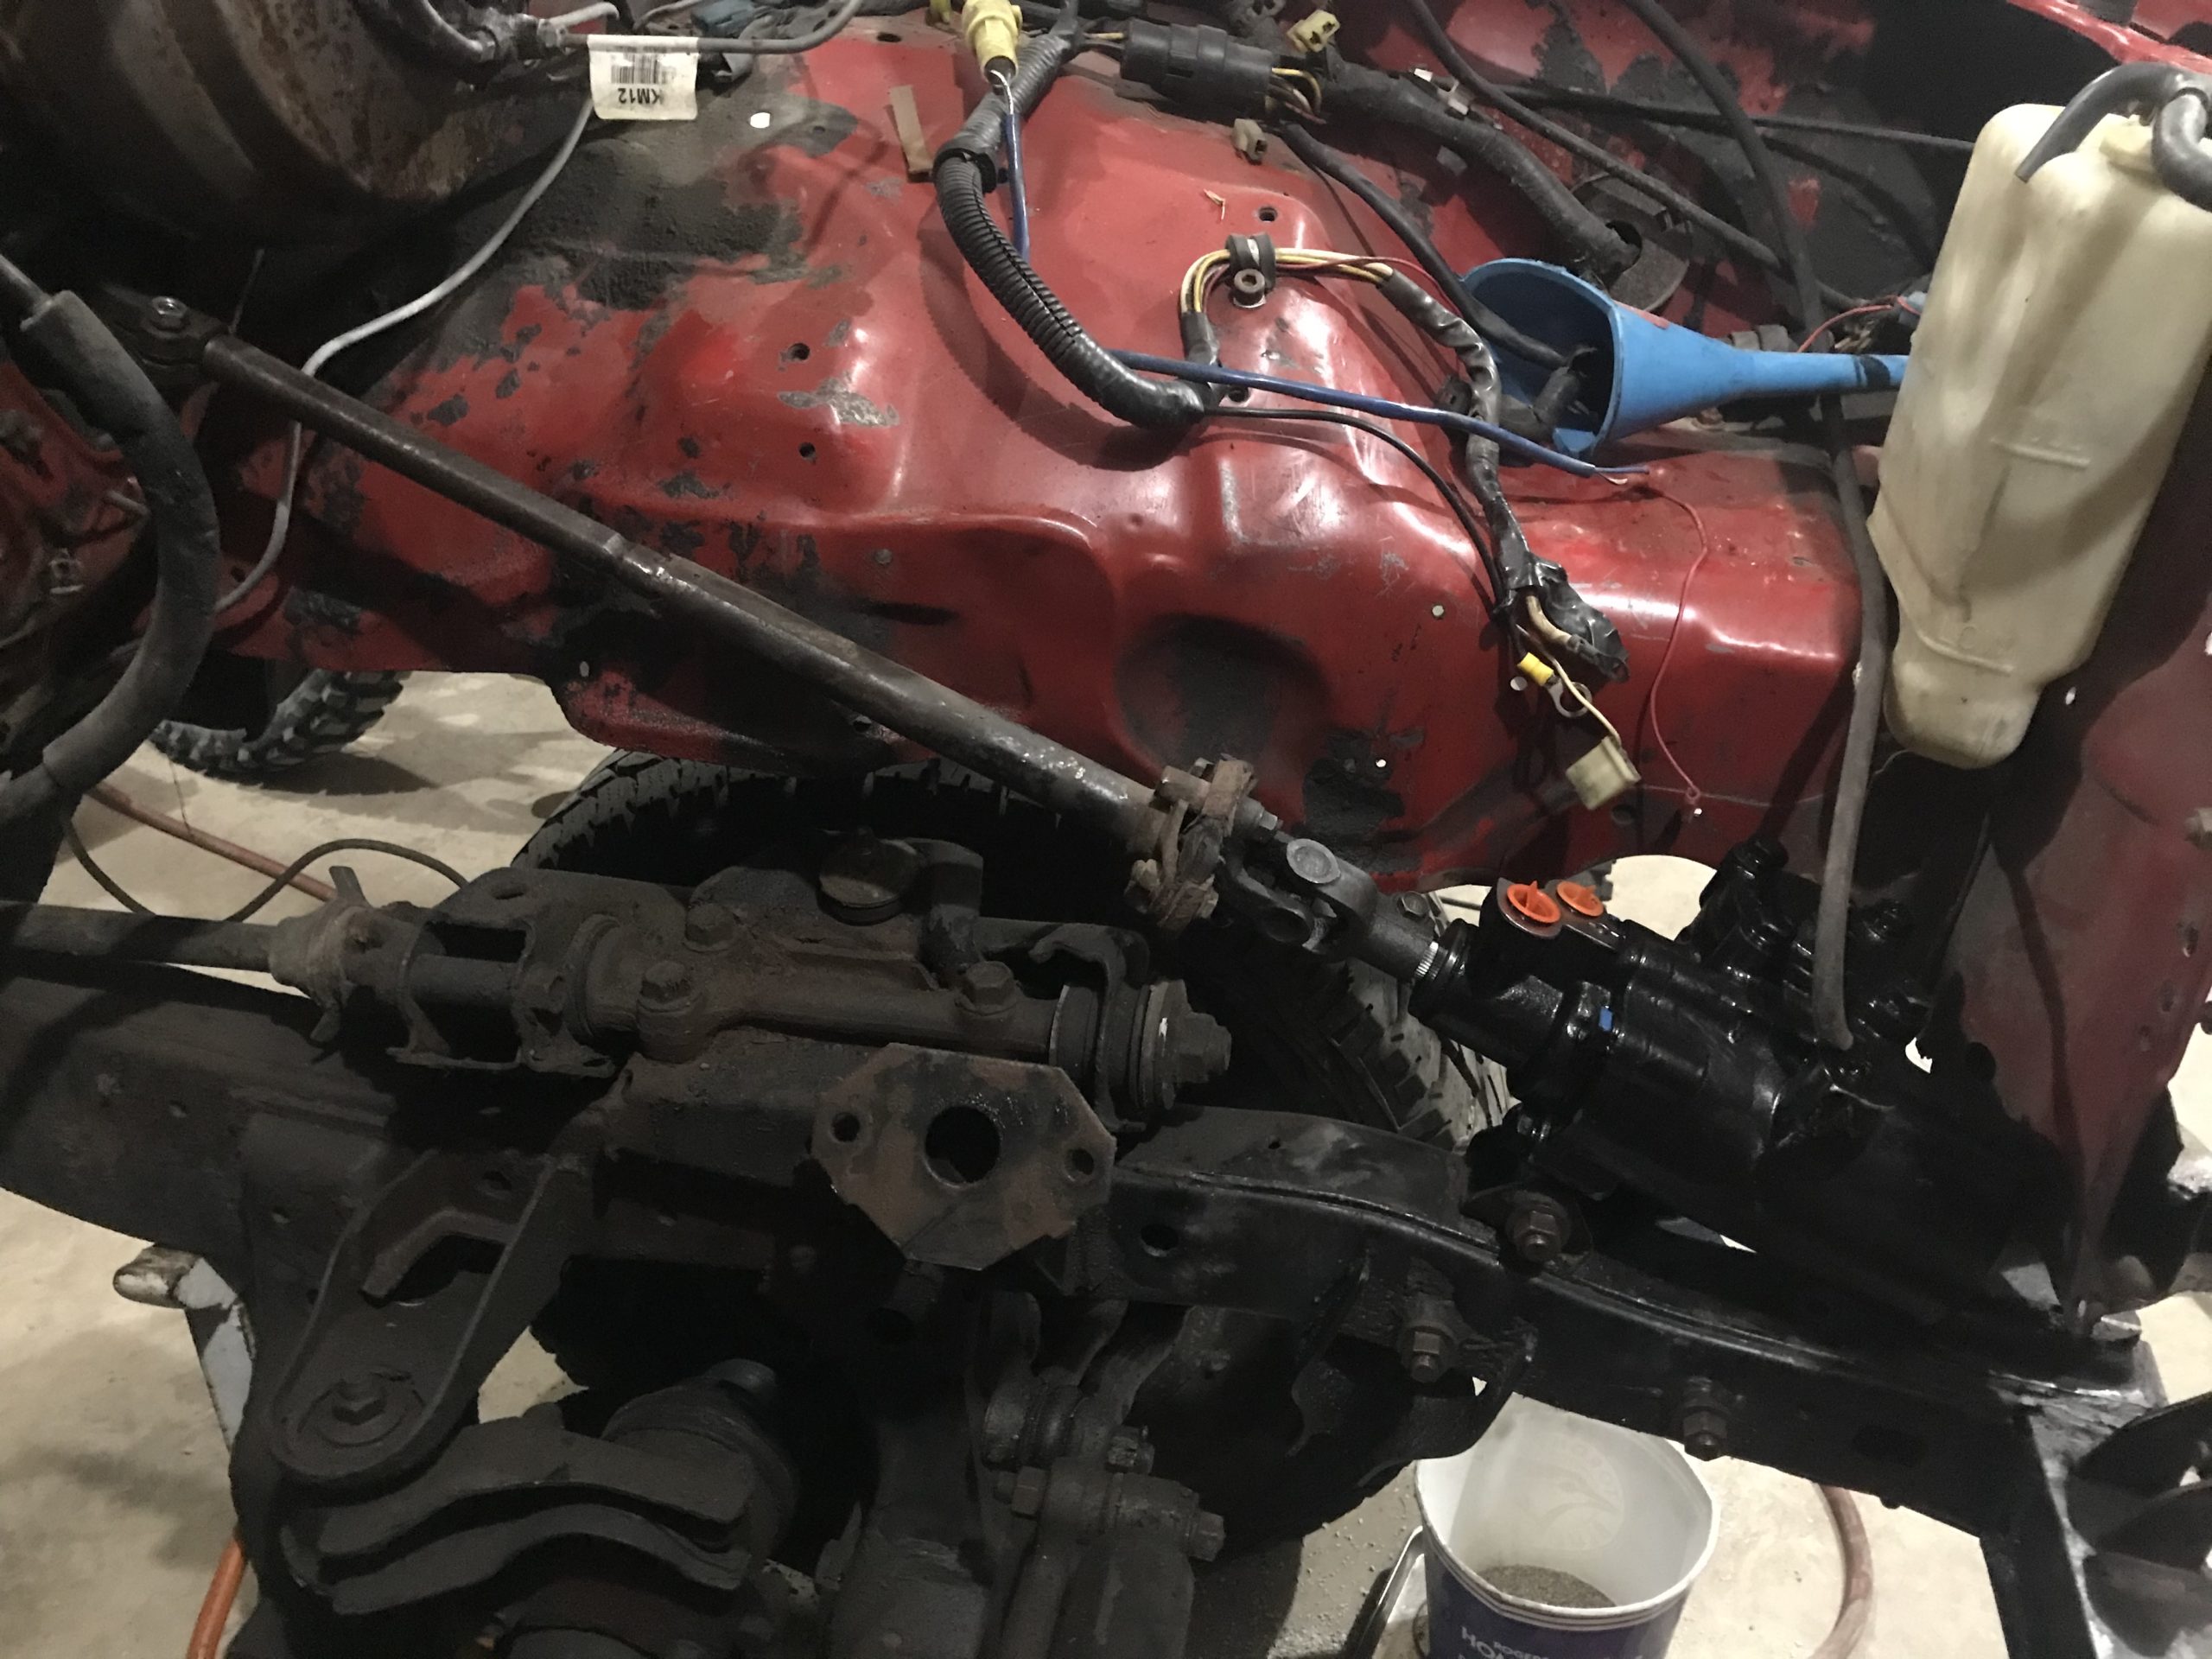
September 28, 2023 at 11:45 pm #211848toys-n-yotasKeymasterStarted to figure out which bolts go where for the bell housing, turns out I’ve misplaced two of them. Not even drawn on my cardboard template, so I misplaced them during the initial separation nearly a year ago. Gonna buy the replacements tomorrow at lunch, they’re a M12 fine thread about 50 mm long.
I got the engine and trans mocked together, but still didn’t replace the rear seal.
Attachments:
September 29, 2023 at 6:55 pm #211850toys-n-yotasKeymasterGot two new bolts at Bolts+ for less than the cost of one lug nut at Ideal Supply. Struggled to find appropriate washers in my garage, but alas two were located. All buttoned up, just in time to take it apart in the morning to continue progress.
September 30, 2023 at 6:38 pm #211851FJTTSEKeymasterGlad to see you’re making progress although that windshield is an indication its been sitting to loooooong, LOL
October 1, 2023 at 8:19 am #211852toys-n-yotasKeymasterGreat day of progress yesterday, hit some milestones, then hit a hard stop and abruptly killed any further progress.
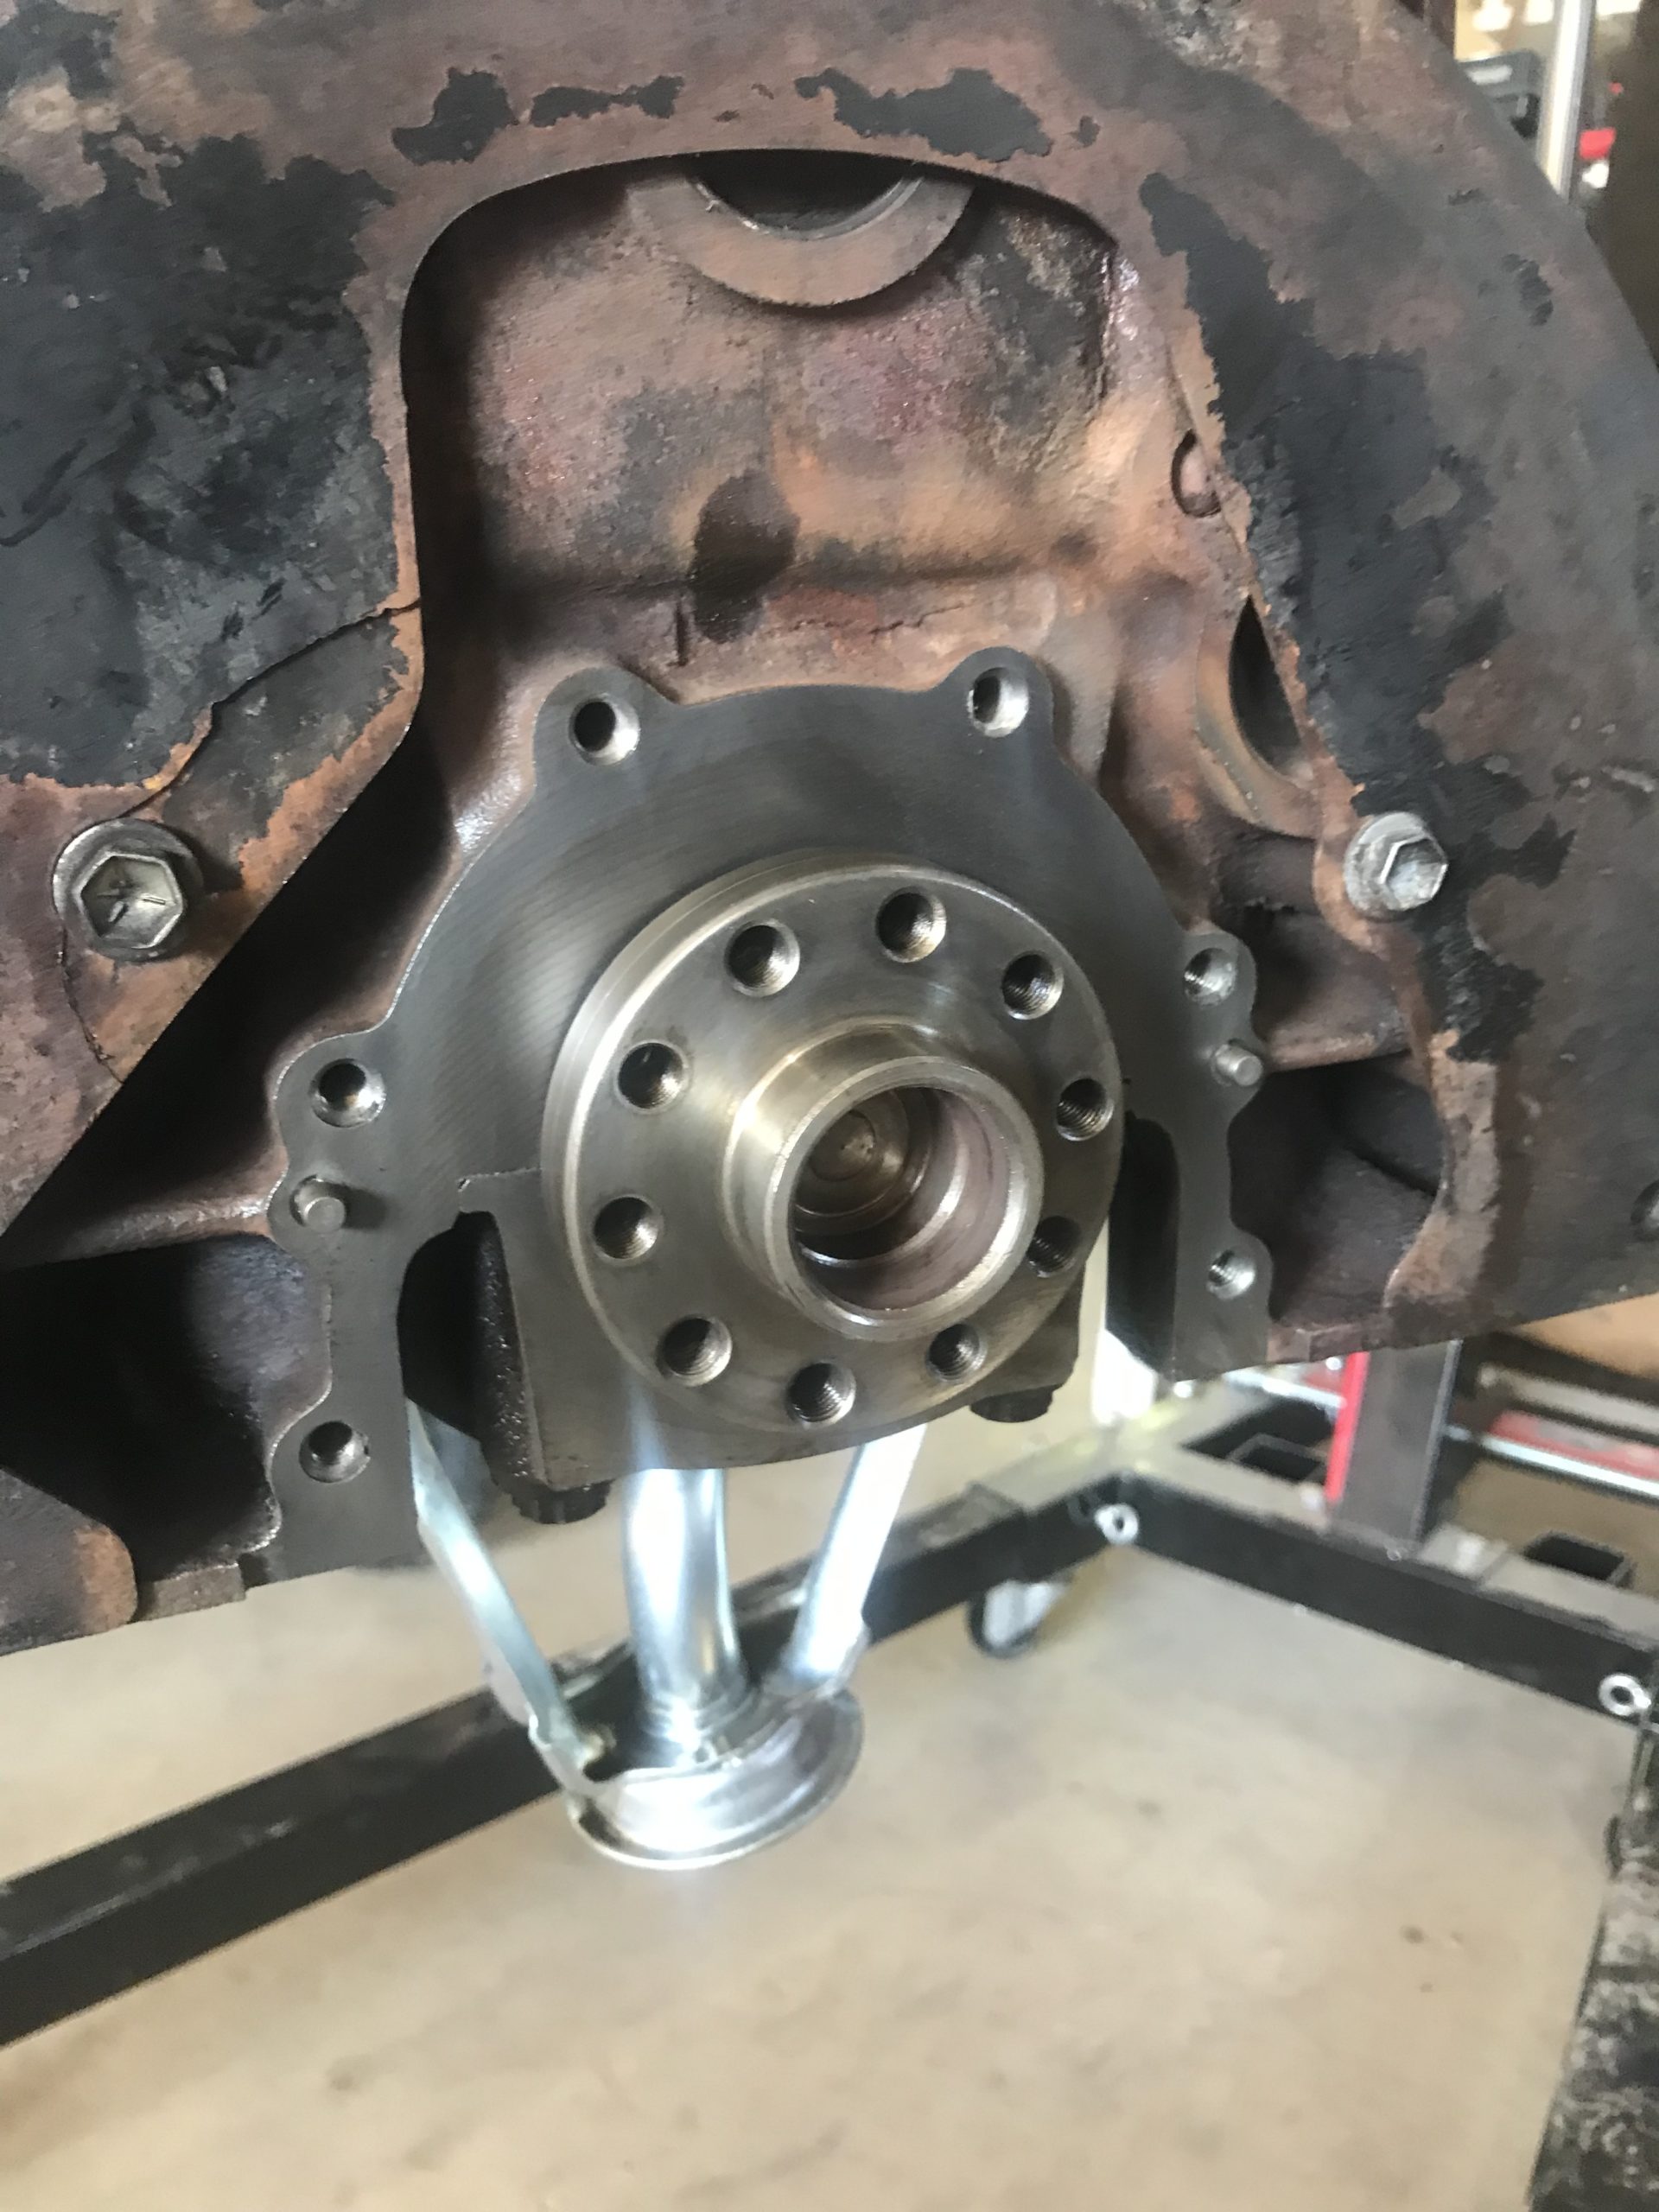
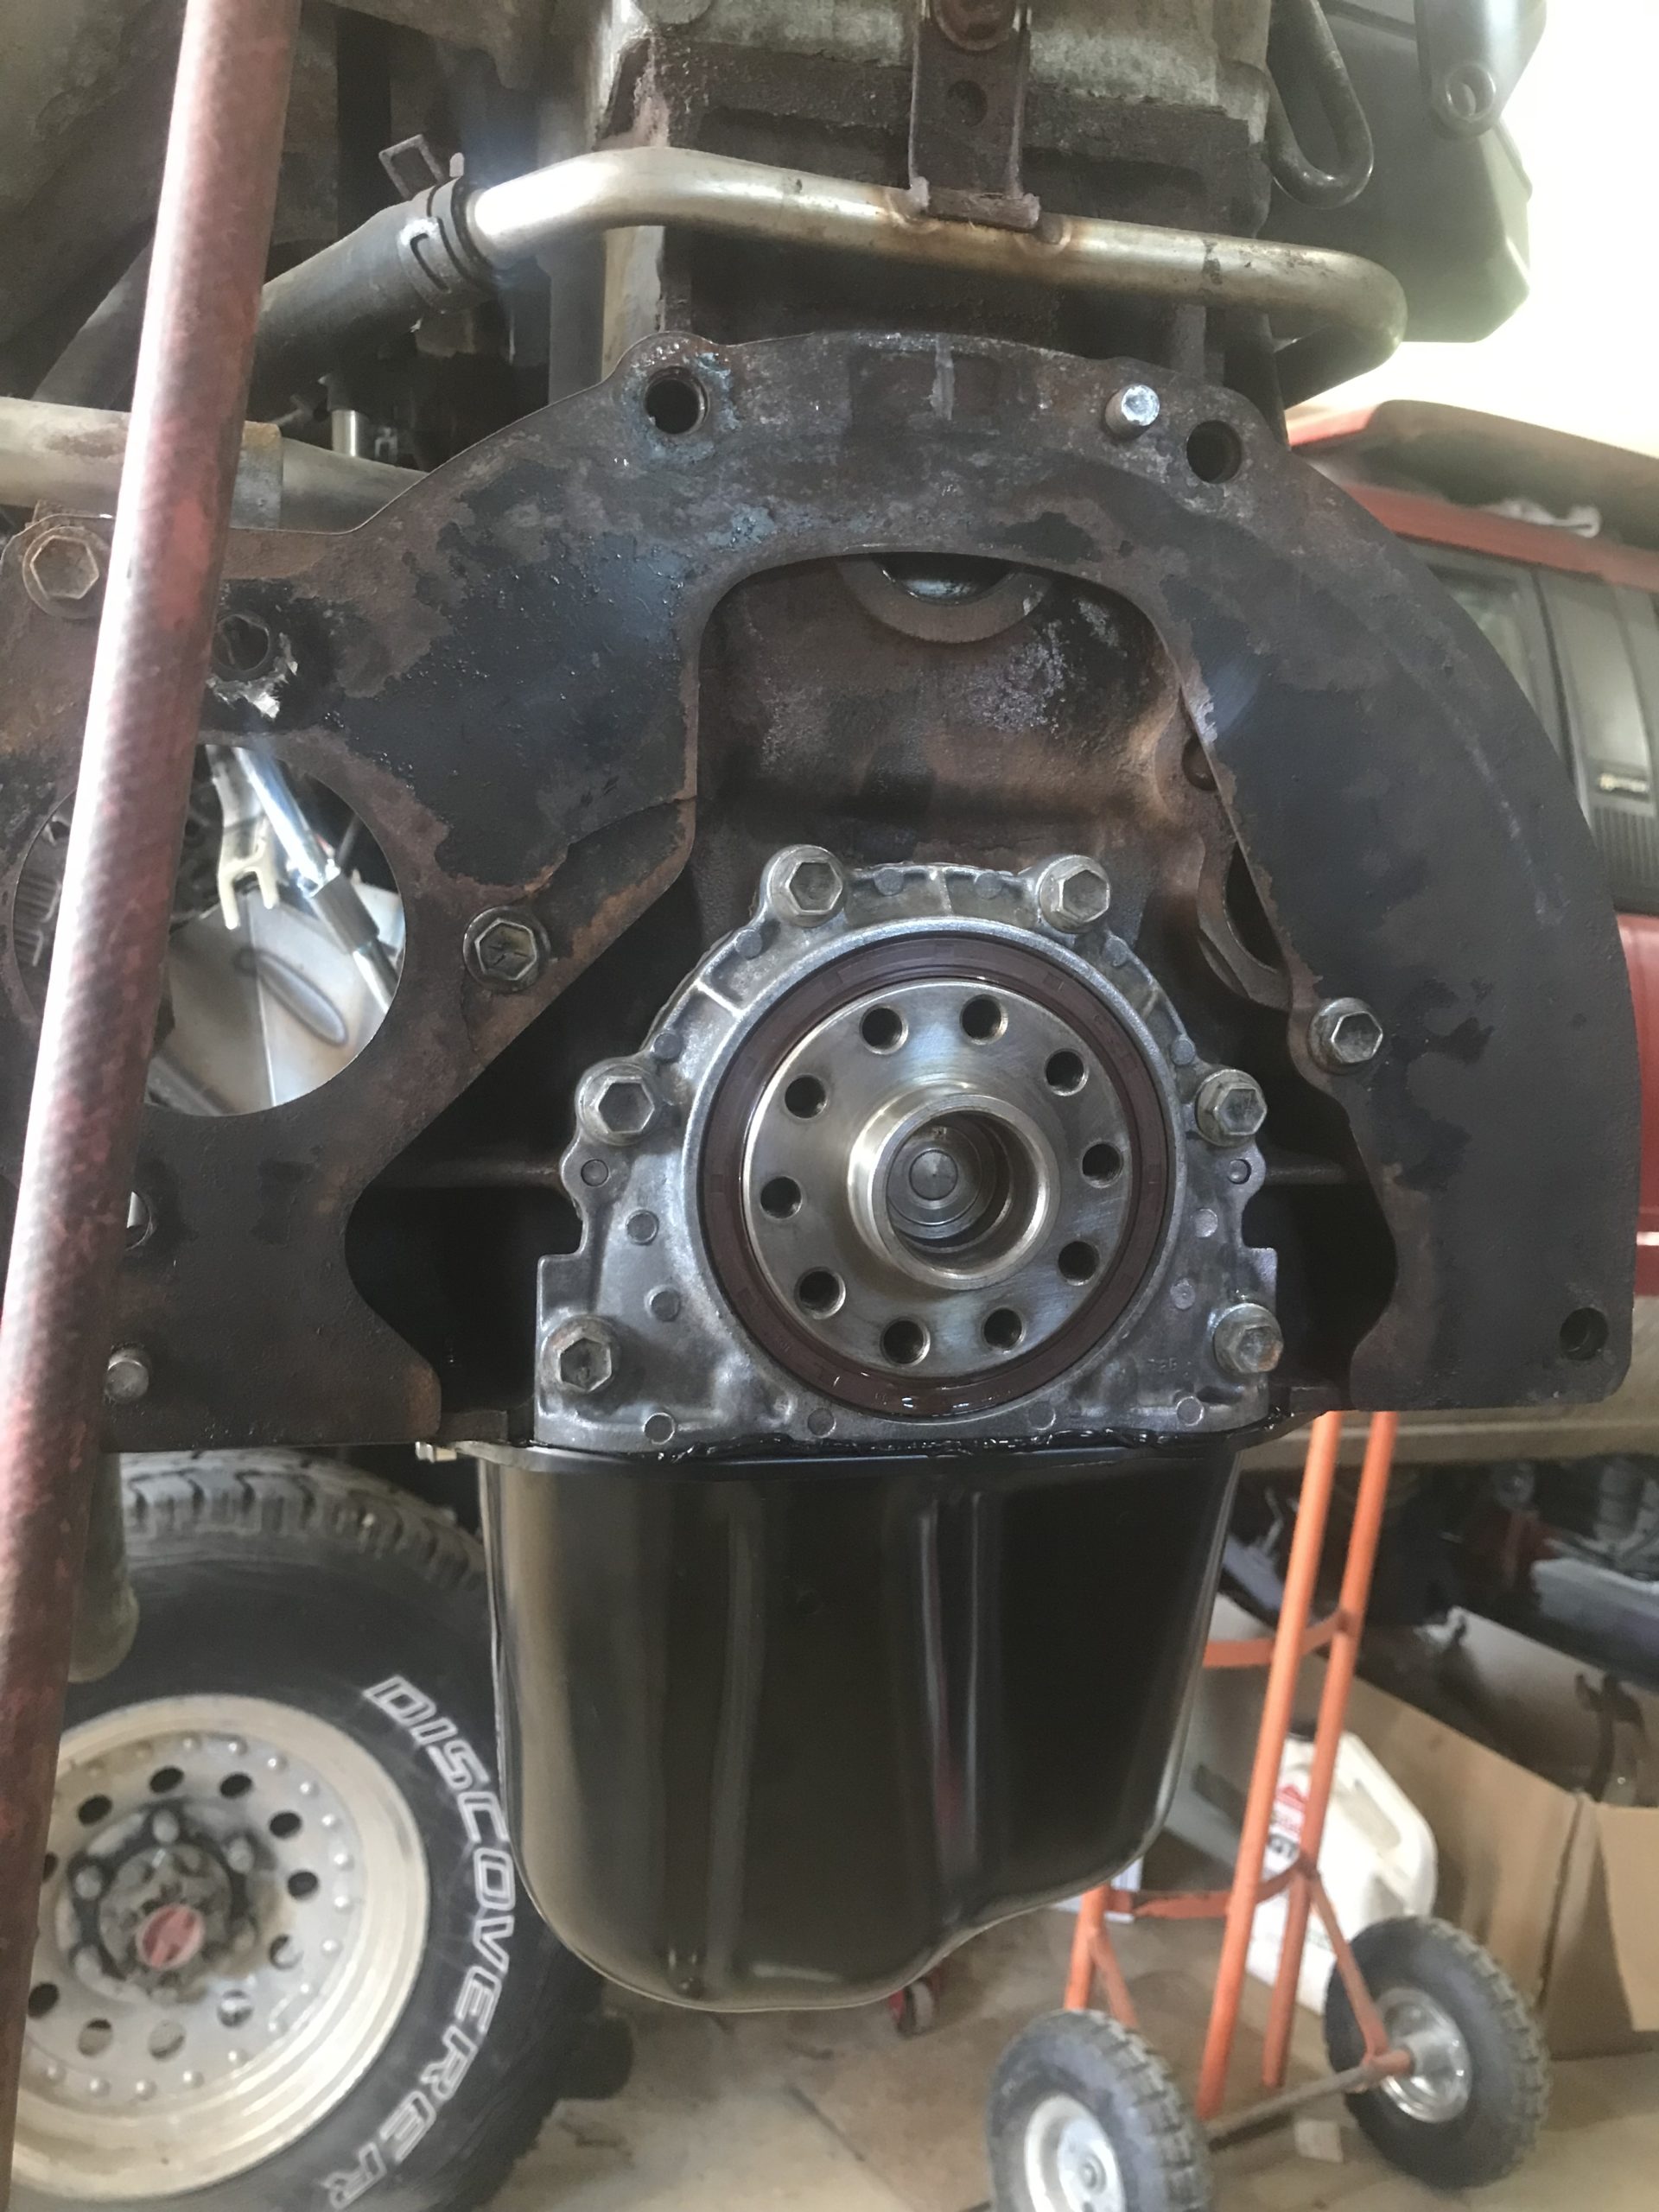
I started the day by cleaning and prepping for a rear main seal, and new oil pan. I had to buy a piece of PVC to drive the old seal out and new seal in, and buy RTV for the seal plate.
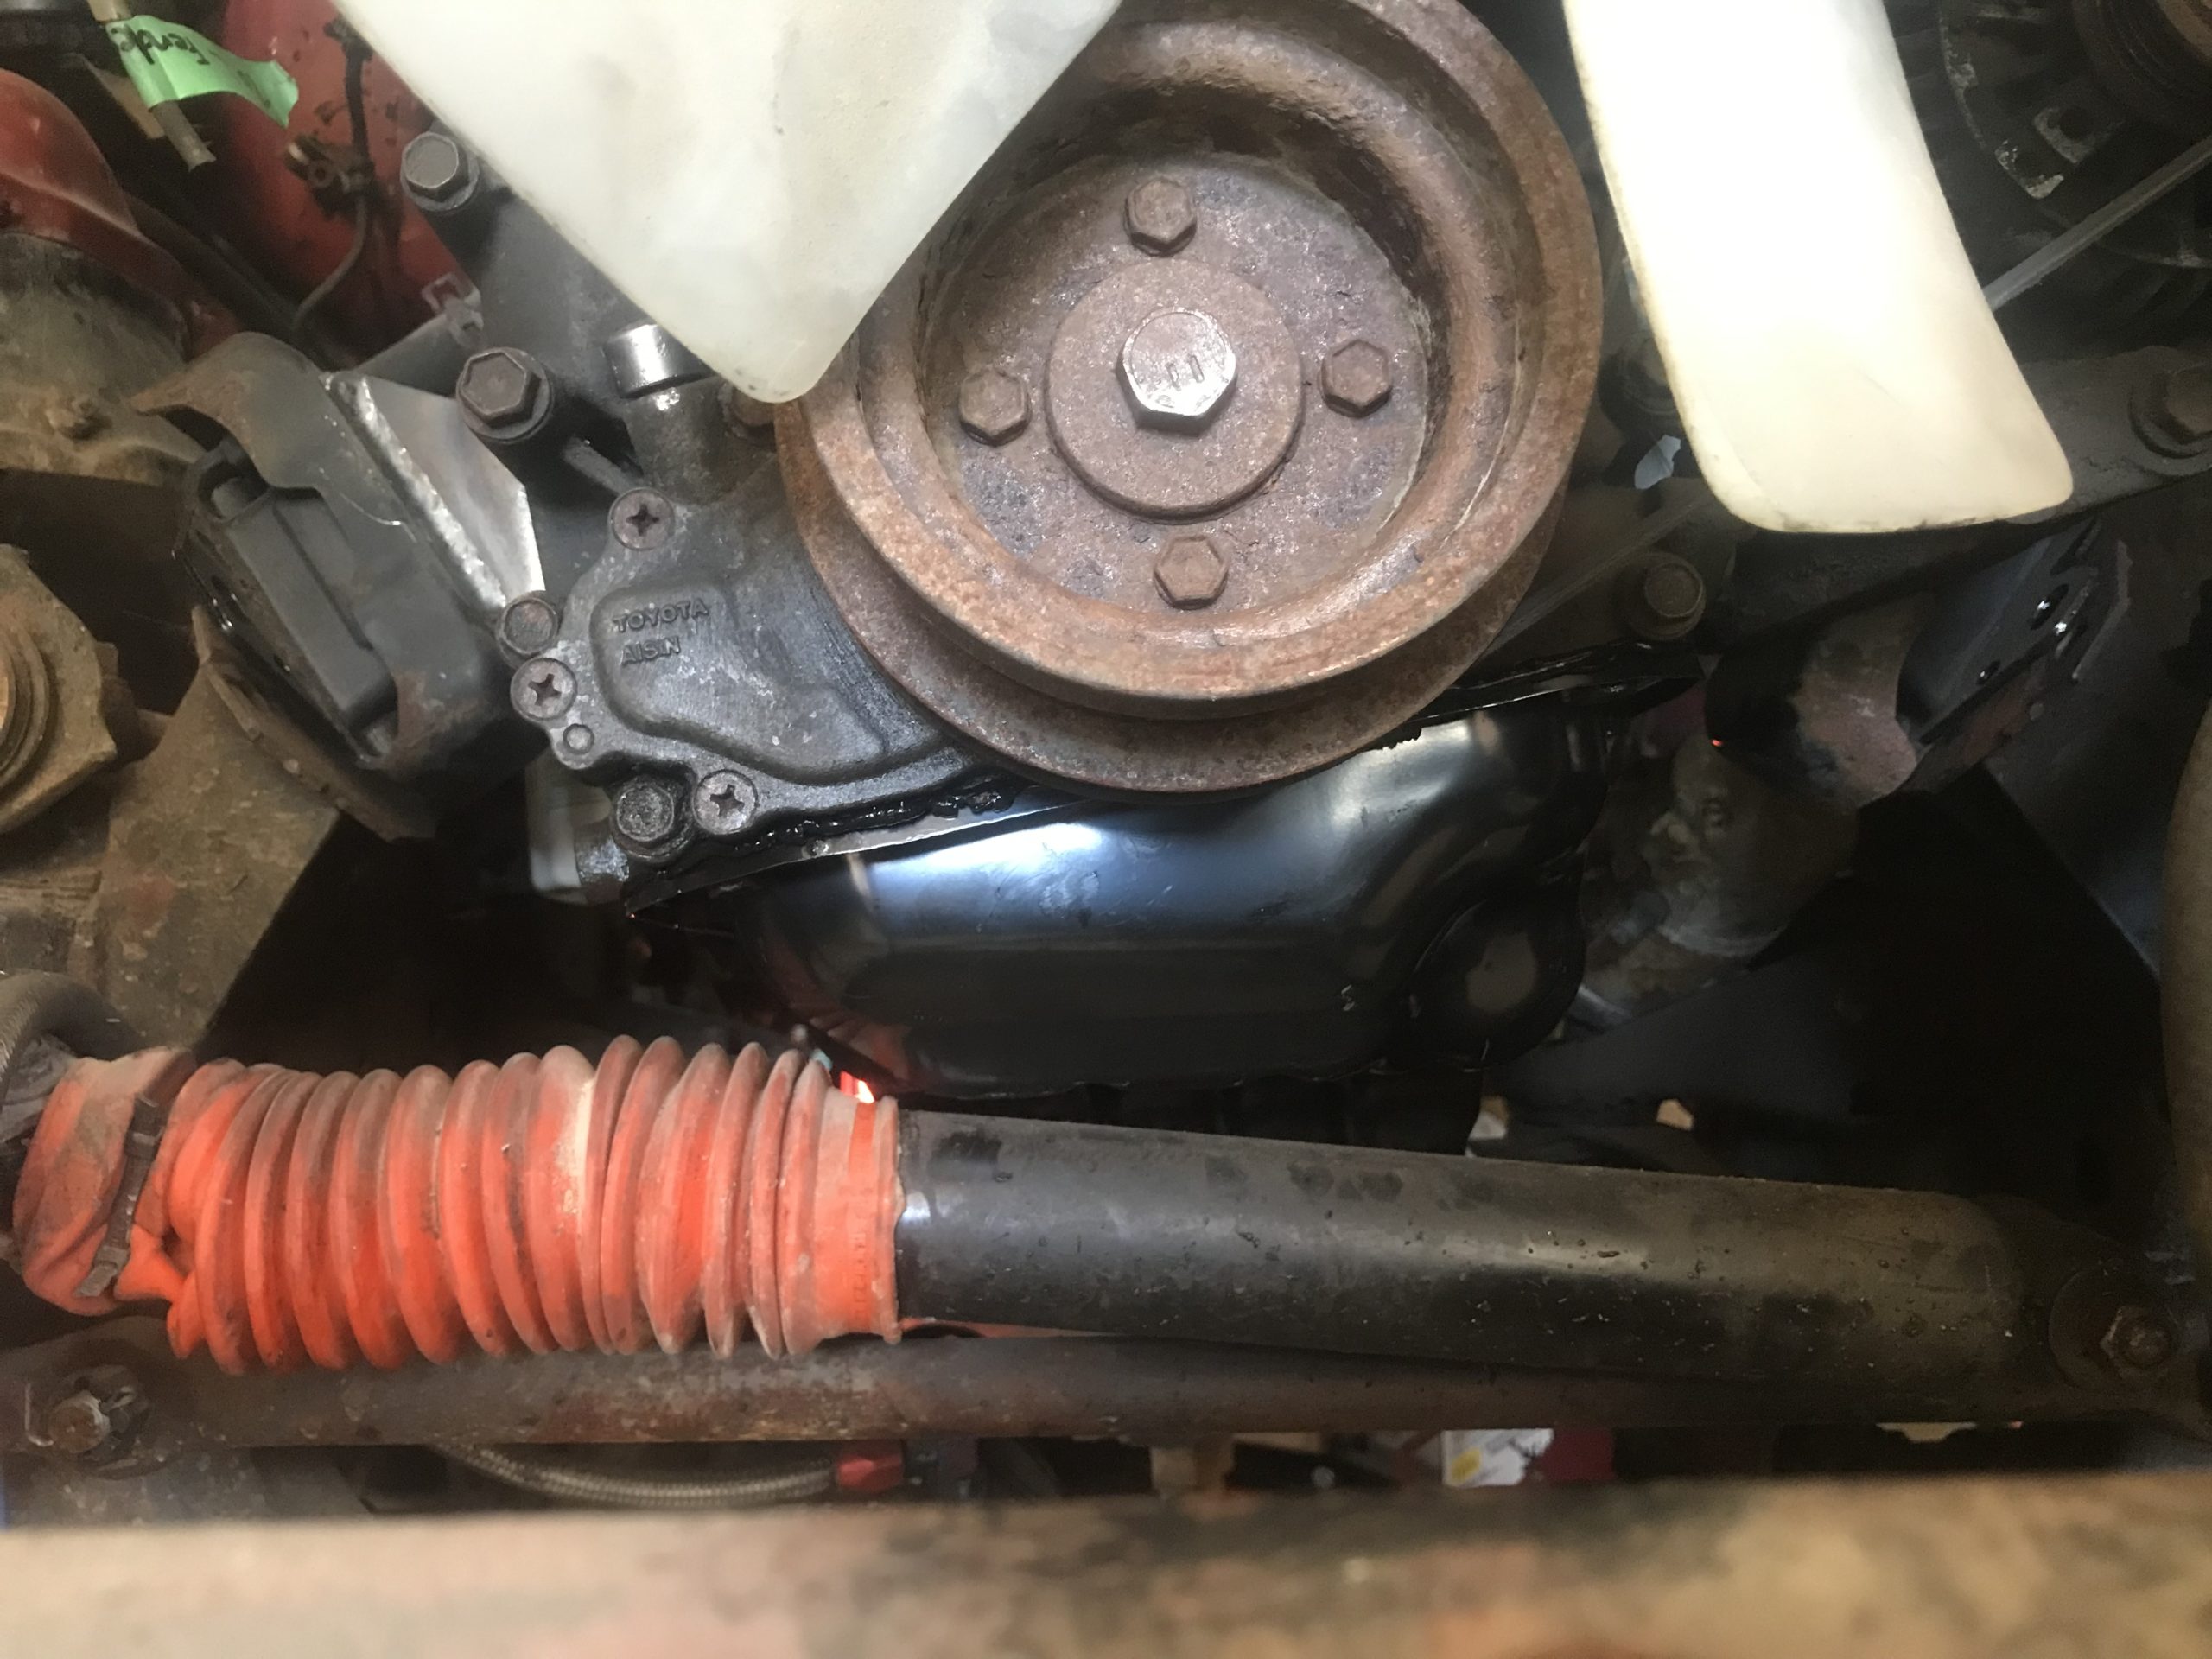
Once all was dry and set, I began stuffing the 3RZ into Redee. The ONLY interference point I came across was between the oil pan and steering stabilizer. I removed the damper, and will figure a way remount it under the original slot. A spacer and a longer bolt should allow me to mount it lower. That’s a later task.
With the damper removed, the 3RZ was able to sit fully on the conversion mounts, and have it fully bolted in place. I still must remove the 3RZ again to install the flywheel, clutch, pressure plate etc. think i want to install the trans too and stuff it in as one so I don’t have to reach bellhousing bolts, the firewall clearance is low.
Before I pull the 3RZ again, I’m gonna try to get the long tube header in place.
At about 3, Matt and I went for a ride on the old bikes, unlucky for me, my worn front tire washed out in gravel and I took a spill. Nothing broken, but my shoulder elbow and rubs all fight for supremacy, ribs lost. Very tender. Too tender to make any more progress this weekend. Crap.
-
This reply was modified 1 year, 9 months ago by
-
AuthorPosts

- You must be logged in to reply to this topic.