Home › Forums › TRUCK BUILDS › Redee – 1986 4Runner
- This topic has 697 replies, 9 voices, and was last updated 3 weeks ago by
 toys-n-yotas.
-
AuthorPosts
-
March 6, 2020 at 7:57 pm #209018
 toys-n-yotasKeymaster
Testing for error
March 6, 2020 at 9:48 pm #209021 Slick_YotaKeymaster
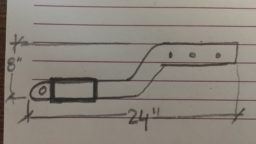
Build a bumper from scratch!!!
glad you got the hood open! I had mine freeze, so I couldn’t close it. That really sucked!
March 7, 2020 at 9:40 am #209022 toys-n-yotasKeymaster
Really leaning on building from scratch, now I have the motivation to get started.
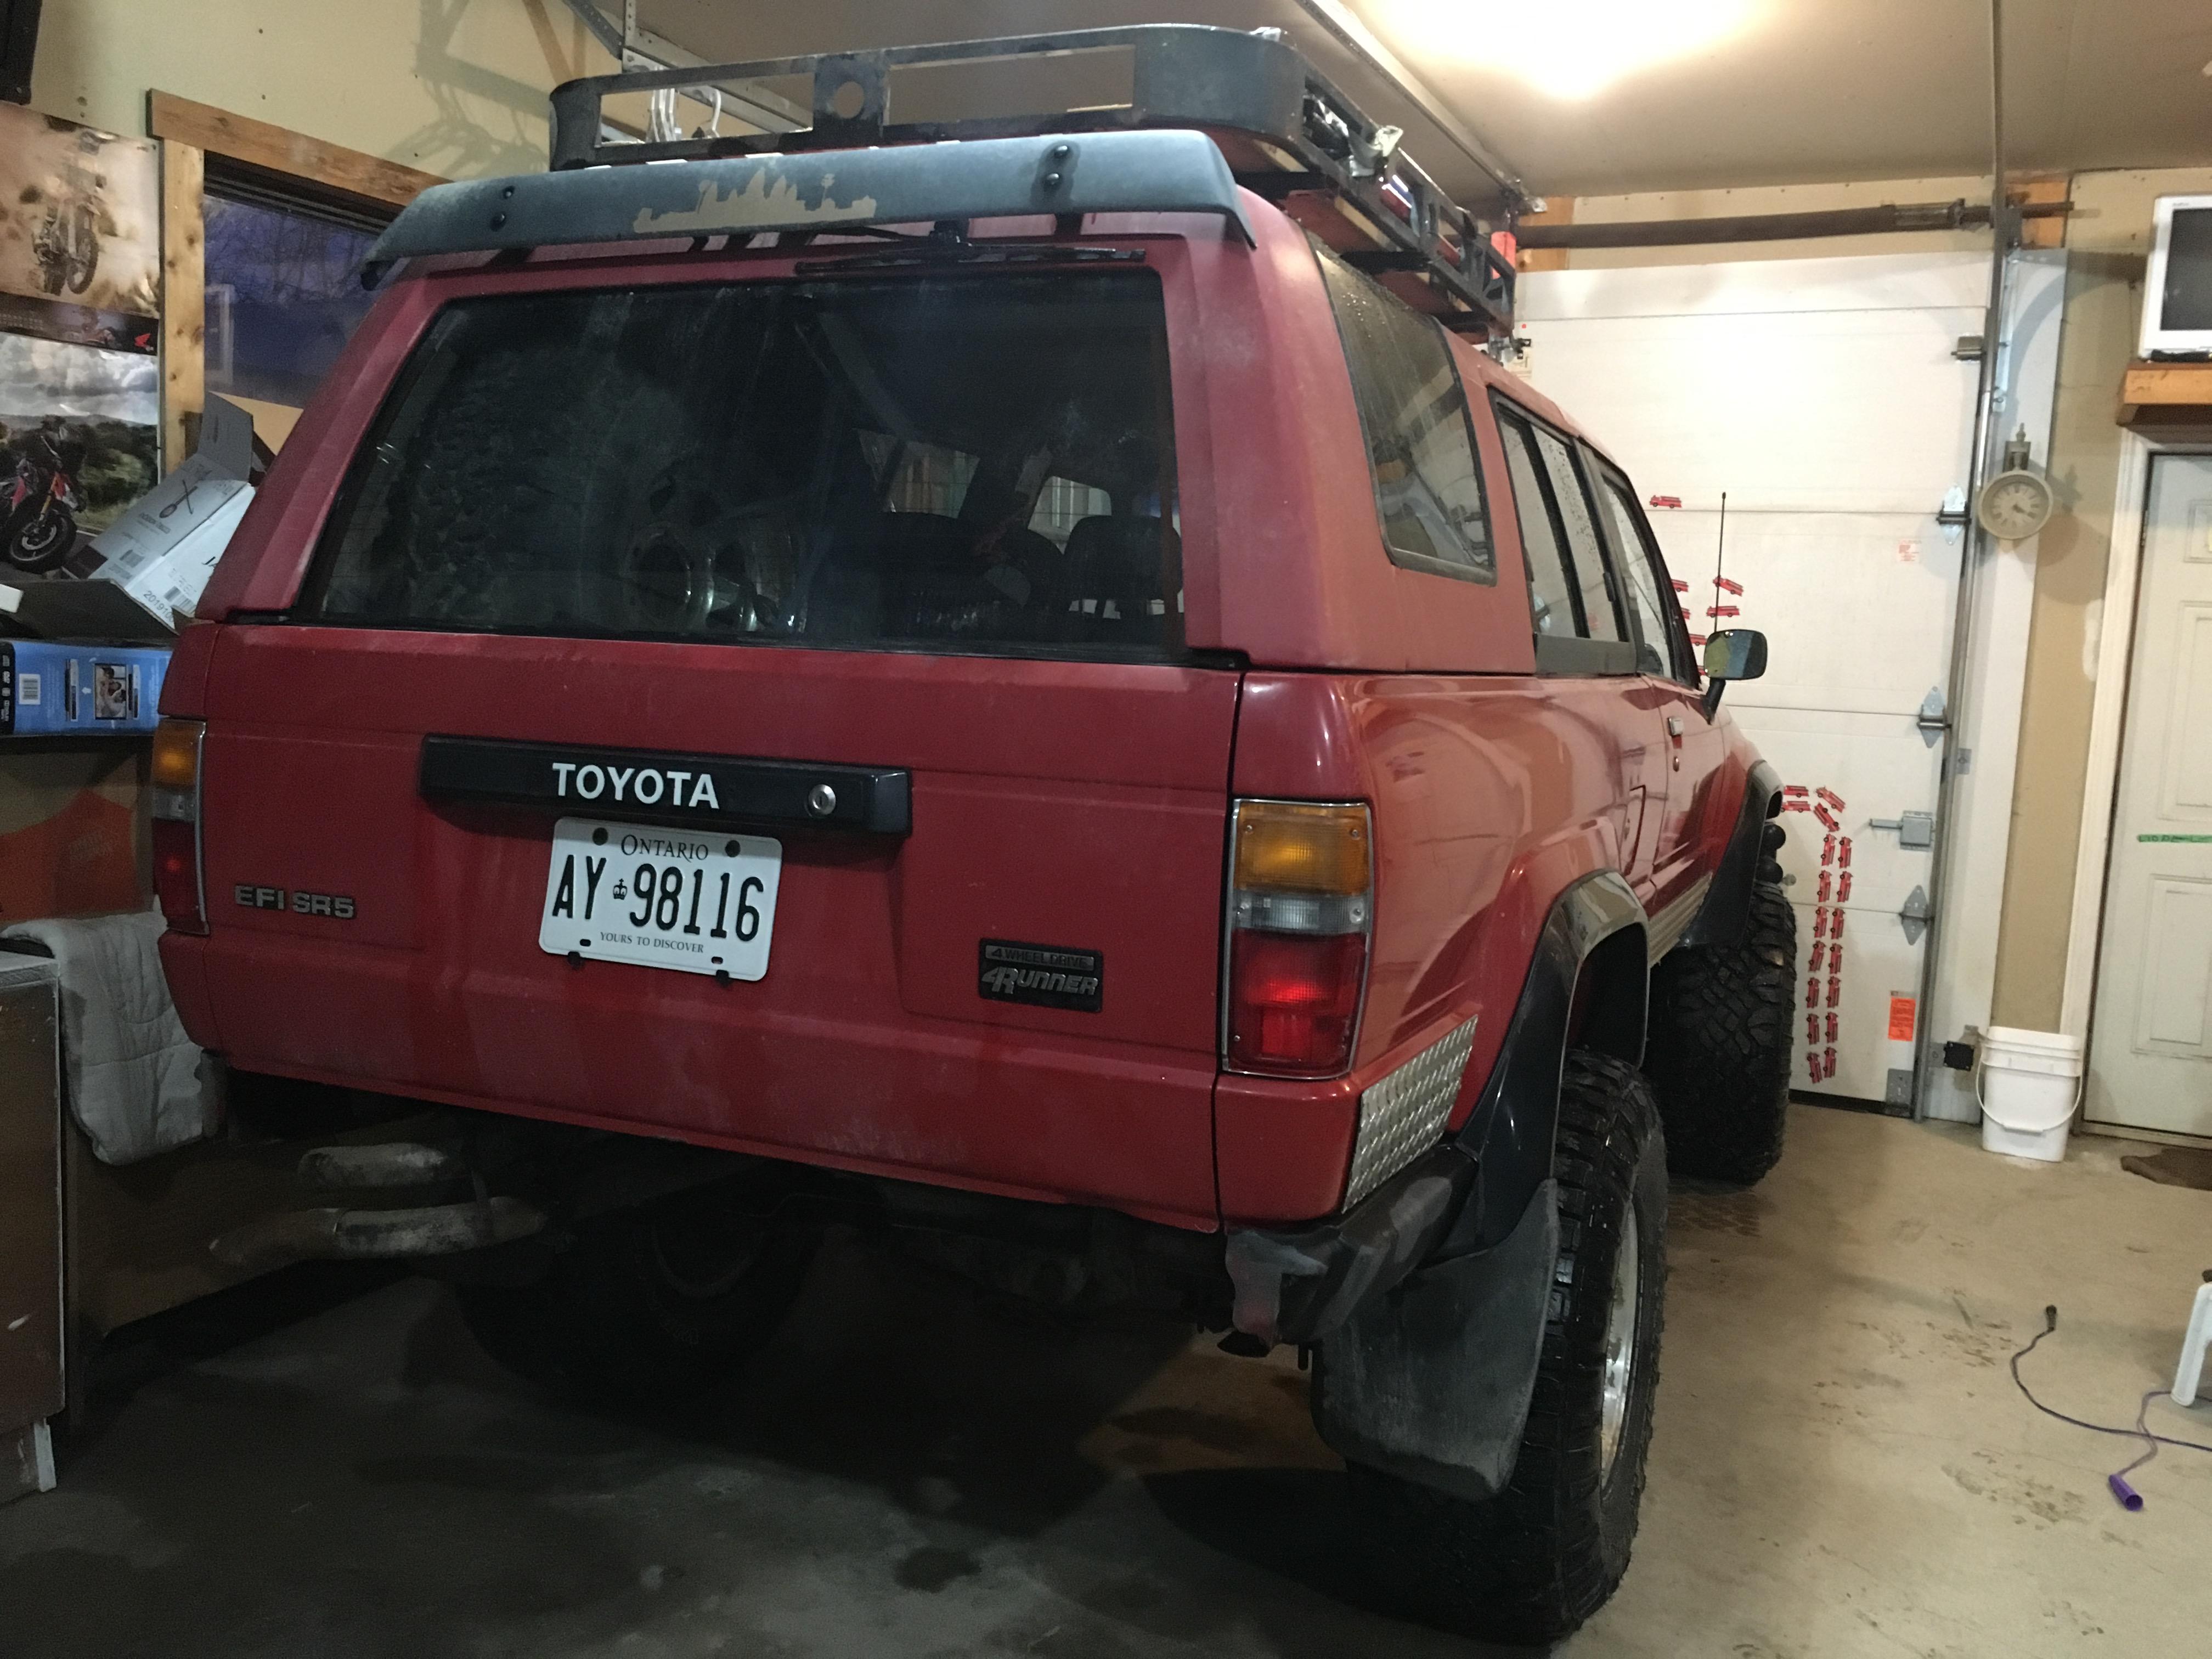
Practically a clean slate.
March 10, 2020 at 2:38 am #209047 toys-n-yotasKeymaster
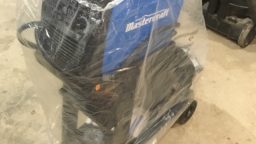
I put in some time in the shop today, biggest achievement was setting up and then playing with my welder for an hour. I still need way more practice, but at least it’s turn-key ready now.
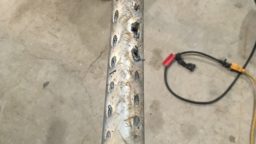
I also cut the remains of the old bumper off the frame rails, and hit them with some primer. Perhaps tomorrow I’ll make some cardboard templates and refine my steel shopping list.
March 10, 2020 at 8:46 am #209051 Toy-YotaParticipant
Nice! It’ll be a fun project, I have detailed pics of mine in my old thread or I can send them to you.
March 10, 2020 at 11:11 am #209058 toys-n-yotasKeymaster
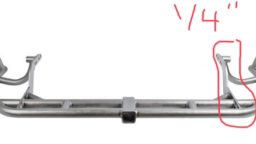
@Toy-Yota I saved a few pictures from your old thread to my phone. In regards to the main beam, did you use 1/8”, 3/16” or 1/4”? My guess is 3/16”, but I don’t want to over/underdo it.
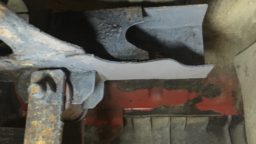
Hoping to make cardboard templates for the frame hangers today. Again, not sure what thickness is sufficient. Planning to investigate All-Pro, trailgear, marlin specs for what they use to hang the crossbeam to the frame.
March 10, 2020 at 10:24 pm #209064 Toy-YotaParticipant
I used 3/16 but the frame side mounts were thicker, I think they were actually 5/16 on my Runner On my landcruiser I didn’t beef it up enough. I still want to do that, I used 3/16 all around.
March 12, 2020 at 1:12 pm #209078 toys-n-yotasKeymaster
Thanks for the info Evan.
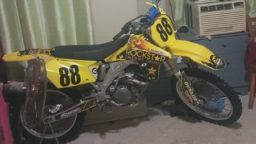
I Didn’t get to make any templates yet, spent a couple hours buying a kijiji bike. Matt and I picked up a clean 2006 RMZ 450 for 1/2 price, we will put on new stickers and grips, hopefully sell for full price within a couple weeks.
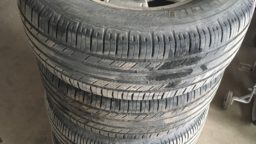
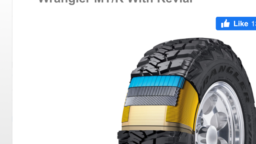
This morning I bolted on Matt’s new rims and Duratracs, I got his takeoff 17s and shit ltx’s to keep for Redee’s next set of tires. Looking to get LT275/85-17 MT/R in a few years. It’s roughly 34.5”x10.5” tire for a 7” rim. Perfect. I want them to fit within the wheel wells with the extension flares. I’ll put on Finn’s fenders once I get the new tires.
March 12, 2020 at 10:53 pm #209089 toys-n-yotasKeymaster
Hooray for receiving 5mm compression fittings in tbe mail.
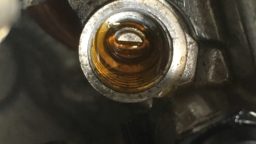
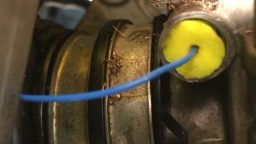
Not so hooray for having a leak inside the diff housing. With the locker engaged, the compressor runs for less than 5 seconds out of every minute. I pulled the diff fill plug and can hear a faint, but consistent hissing from the innards. Dang. Glass half full, it all now works at the flip of two switches.March 12, 2020 at 11:06 pm #209090 Toy-YotaParticipant
Lame! So you have to pull the 3rd? Don’t the air lockers have a copper air line that runs above the ring gear? Do you think it’s messed up or just a fitting?
March 13, 2020 at 8:19 am #209092 Slick_YotaKeymaster
Nice score on the bike… I’m avoiding Kijiji (which is hard to do now that I’m not working) to avoid seeing anything that I simply MUST have.
Sucks about the second leak detected!
March 18, 2020 at 2:54 pm #209096 toys-n-yotasKeymaster
I have a plan of attack for the rear diff air leak, but it’ll take some time to fully come together.
Step 1, re-do the crush fitting at the 3rd member. Keep it simple.
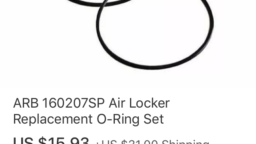
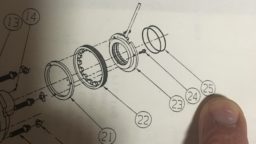
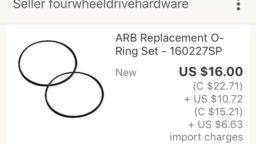
Step 2, if still leaking, pull the 3rd to find location. I have found the two replacement O-rings I may require for super cheap (before USD, shipping, duty). Marlin has them for $6, ebay for $16 for the pair. Just gotta decide which is cheaper after ALL the bullshit fees applied to my shopping cart.
I’m quite overdue for rear axle (Front diff,t-case and trans) oil change. And I could swap the pinion seal while I’m at it. That stupid crush washer for the pre-load makes me weary of swapping out just the pinion seal.
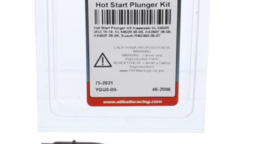
Steve, our new bike has already dipped into the pockets. The Hot Start plunger is seized to its bore in the carb. Gonna be a long night drilling that friggen thing out. As much as I don’t mind working on carbs, I loathe drilling stuck shit out of them. At least I charge an hourly rate haha.
I’m Hoping a kijiji person with an XR650L shows up tomorrow. Not the ideal bike I’m looking for, too tall and heavy, but for an even trade I can’t really complain.
March 18, 2020 at 7:58 pm #209101 toys-n-yotasKeymaster
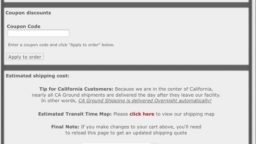
Haha I remember why I don’t buy anything from Marlin Crawler anymore…the shipping…and then surprise charges at the door.
See example.
My O-rings are $6.85 US from MC. Add on $42.77 shipping. Add on 10% sales tax. Convert to CDN @ 70cents. The very minimum cost is $77, before the mystery fee at the door. F*CK THAT!Ebay.
Same O-rings are $22.71 CDN. Add $15.1 to ship it, $9.41 to import it, grand total of $47.33 CDN.Still too damn expensive considering the parts are listed for $12US, but I guess there’s a 300% surcharge to NOT LIVE IN AMERICA, which is A-ok by me.
March 19, 2020 at 8:08 am #209104 toys-n-yotasKeymaster
Had a huge “Bike Win” last night when I was able to drill out the seized hot start plunger, with the carb still installed! Damn near perfect centre punch, steady hands, and soft metals saved the day.
Once the new parts arrive in 3-10 days, it will only be a matter of minutes before it’s fully assembled.March 19, 2020 at 3:55 pm #209107 Slick_YotaKeymaster
Lucked out with that plunger for sure!
Quite the hooping on those O rings… -
AuthorPosts
- You must be logged in to reply to this topic.

