
Home › Forums › TRUCK BUILDS › Redee – 1986 4Runner
- This topic has 721 replies, 9 voices, and was last updated 3 months ago by
 toys-n-yotas.
-
AuthorPosts
-
June 20, 2025 at 9:19 am #212433
 toys-n-yotasKeymaster
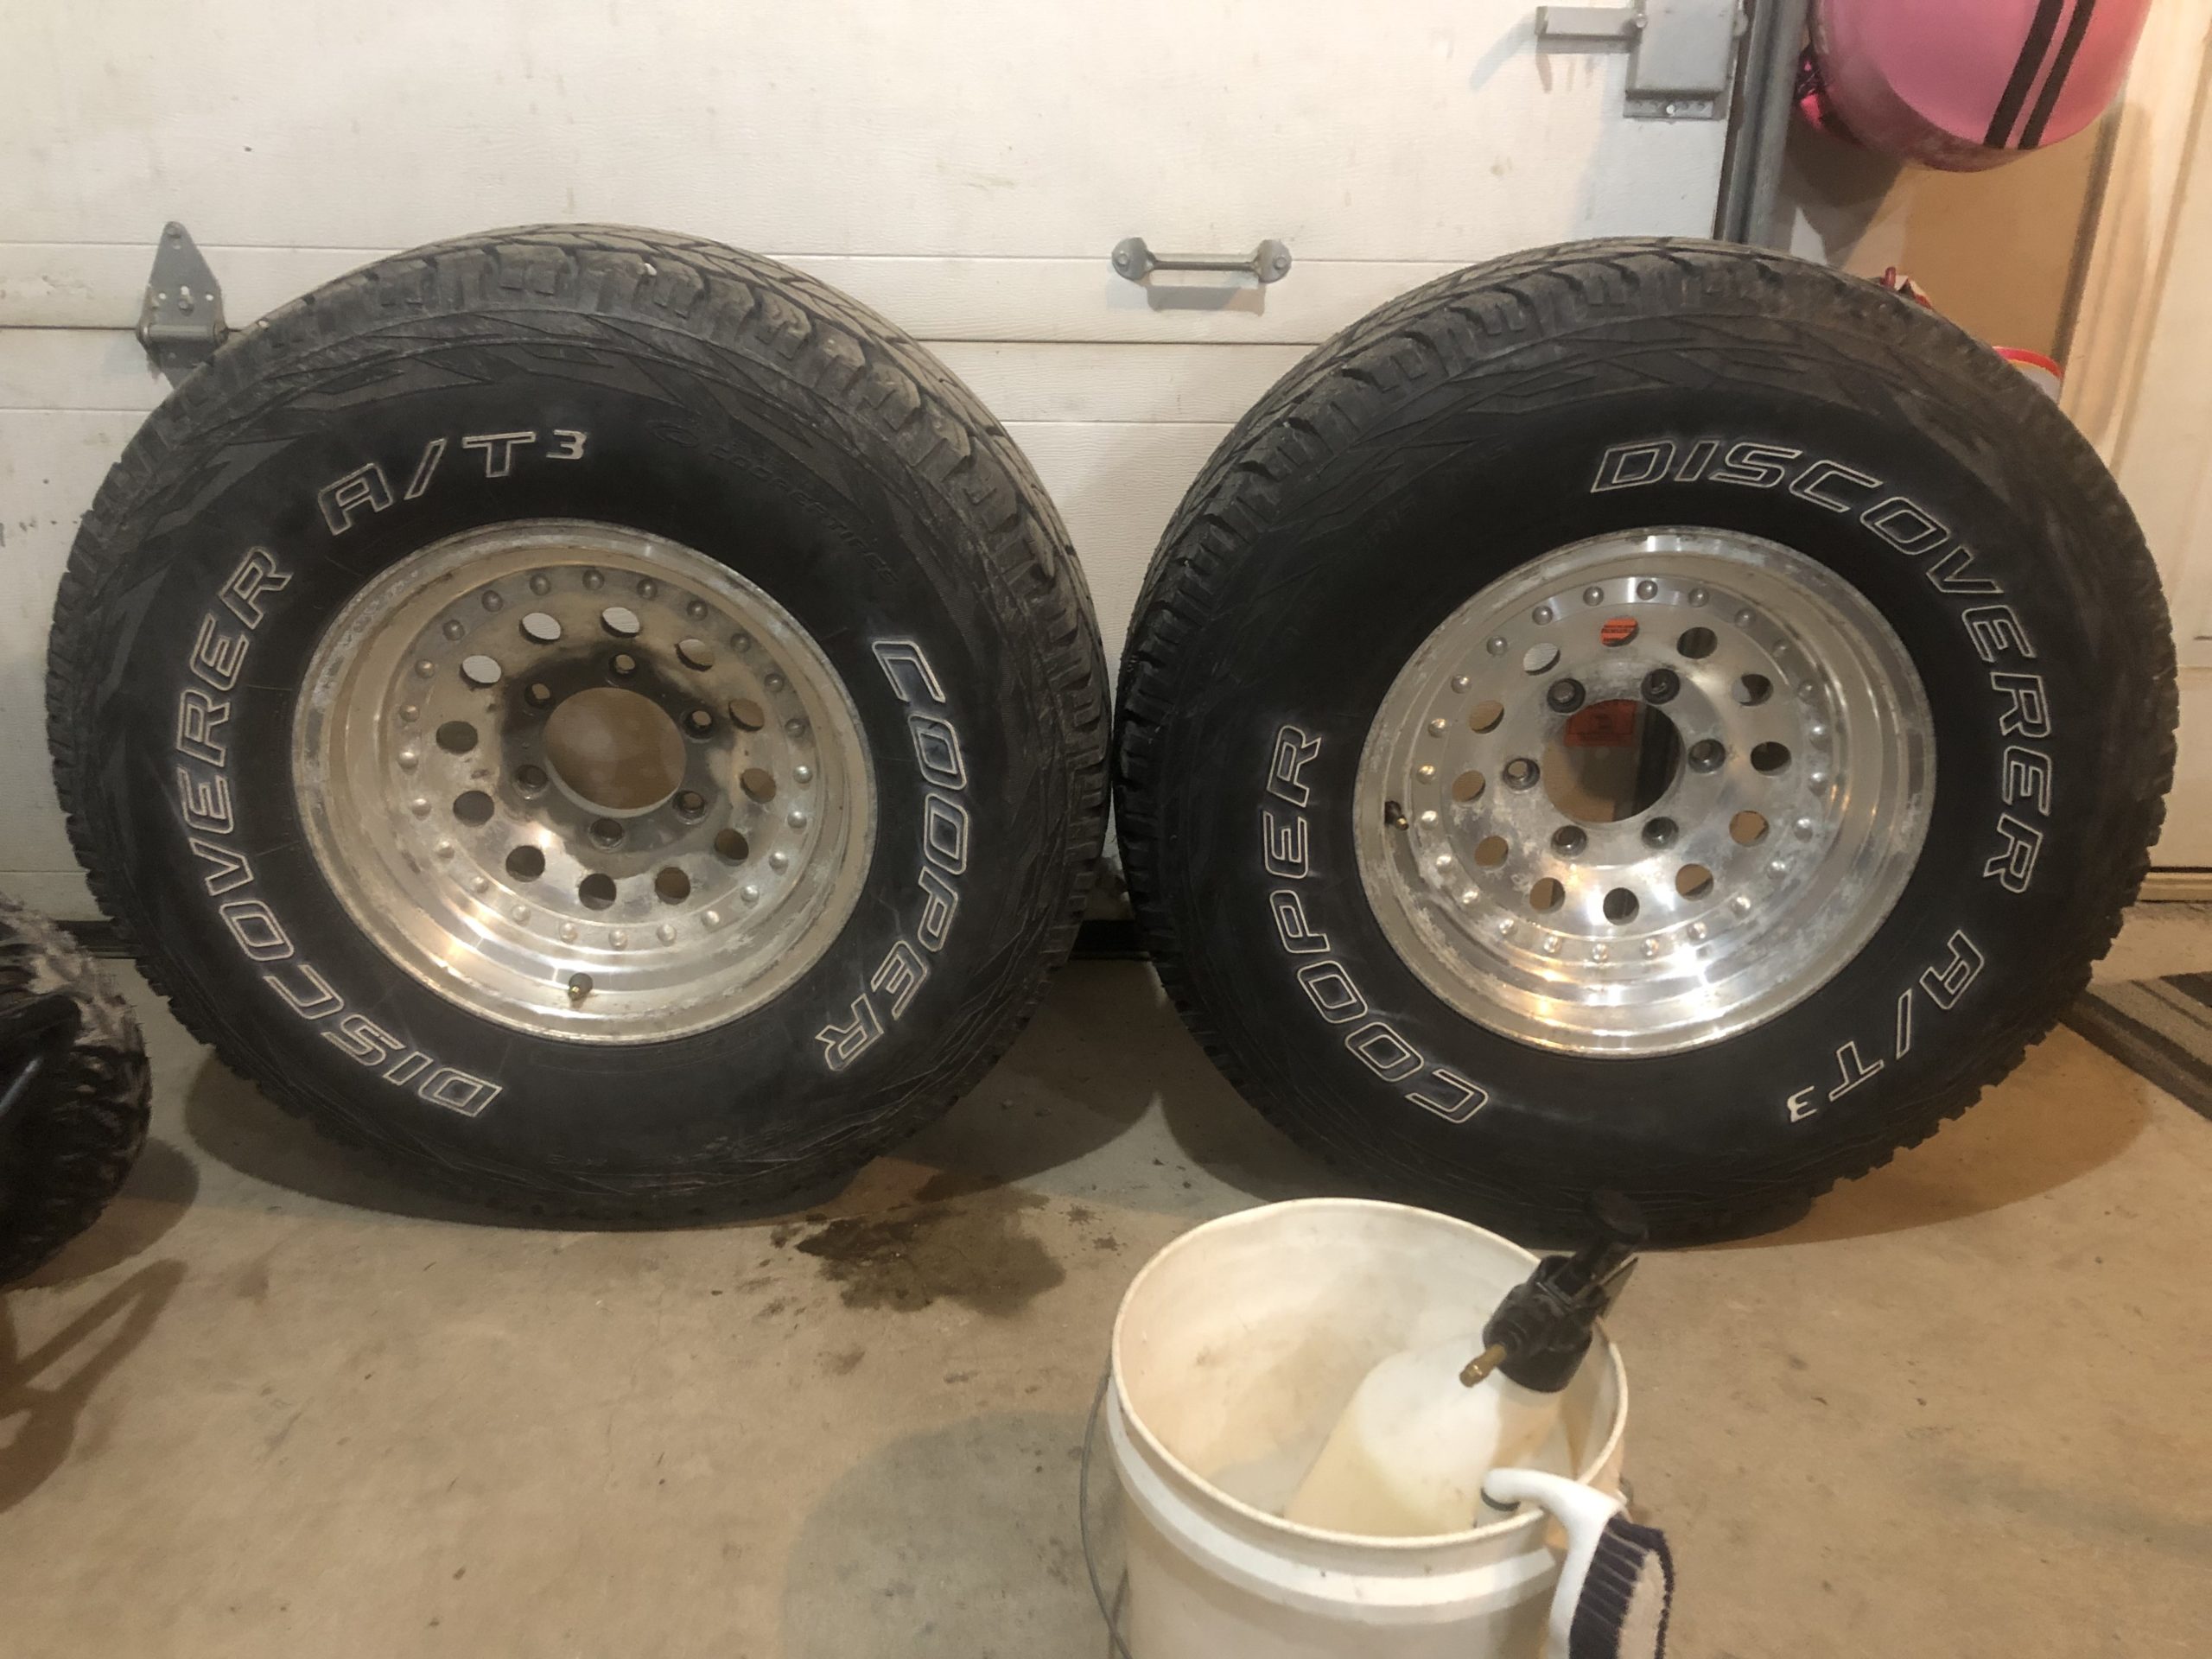
Redee is back on axle stands, but for a good reason. Last night i scrubbed grease grime dirt and crap off all 4 rims inside and out in preparation for new rubber next week. Tires have been ordered, another 4 days for them to arrive, and I have an install date penciled in for next Friday. I work a half day, then head to Mapleview Tire in Barrie to meet my buddy Eric at his shop. He’s going to road force balance my Duratracs too, they’ve been shaking since new and really piss me off.
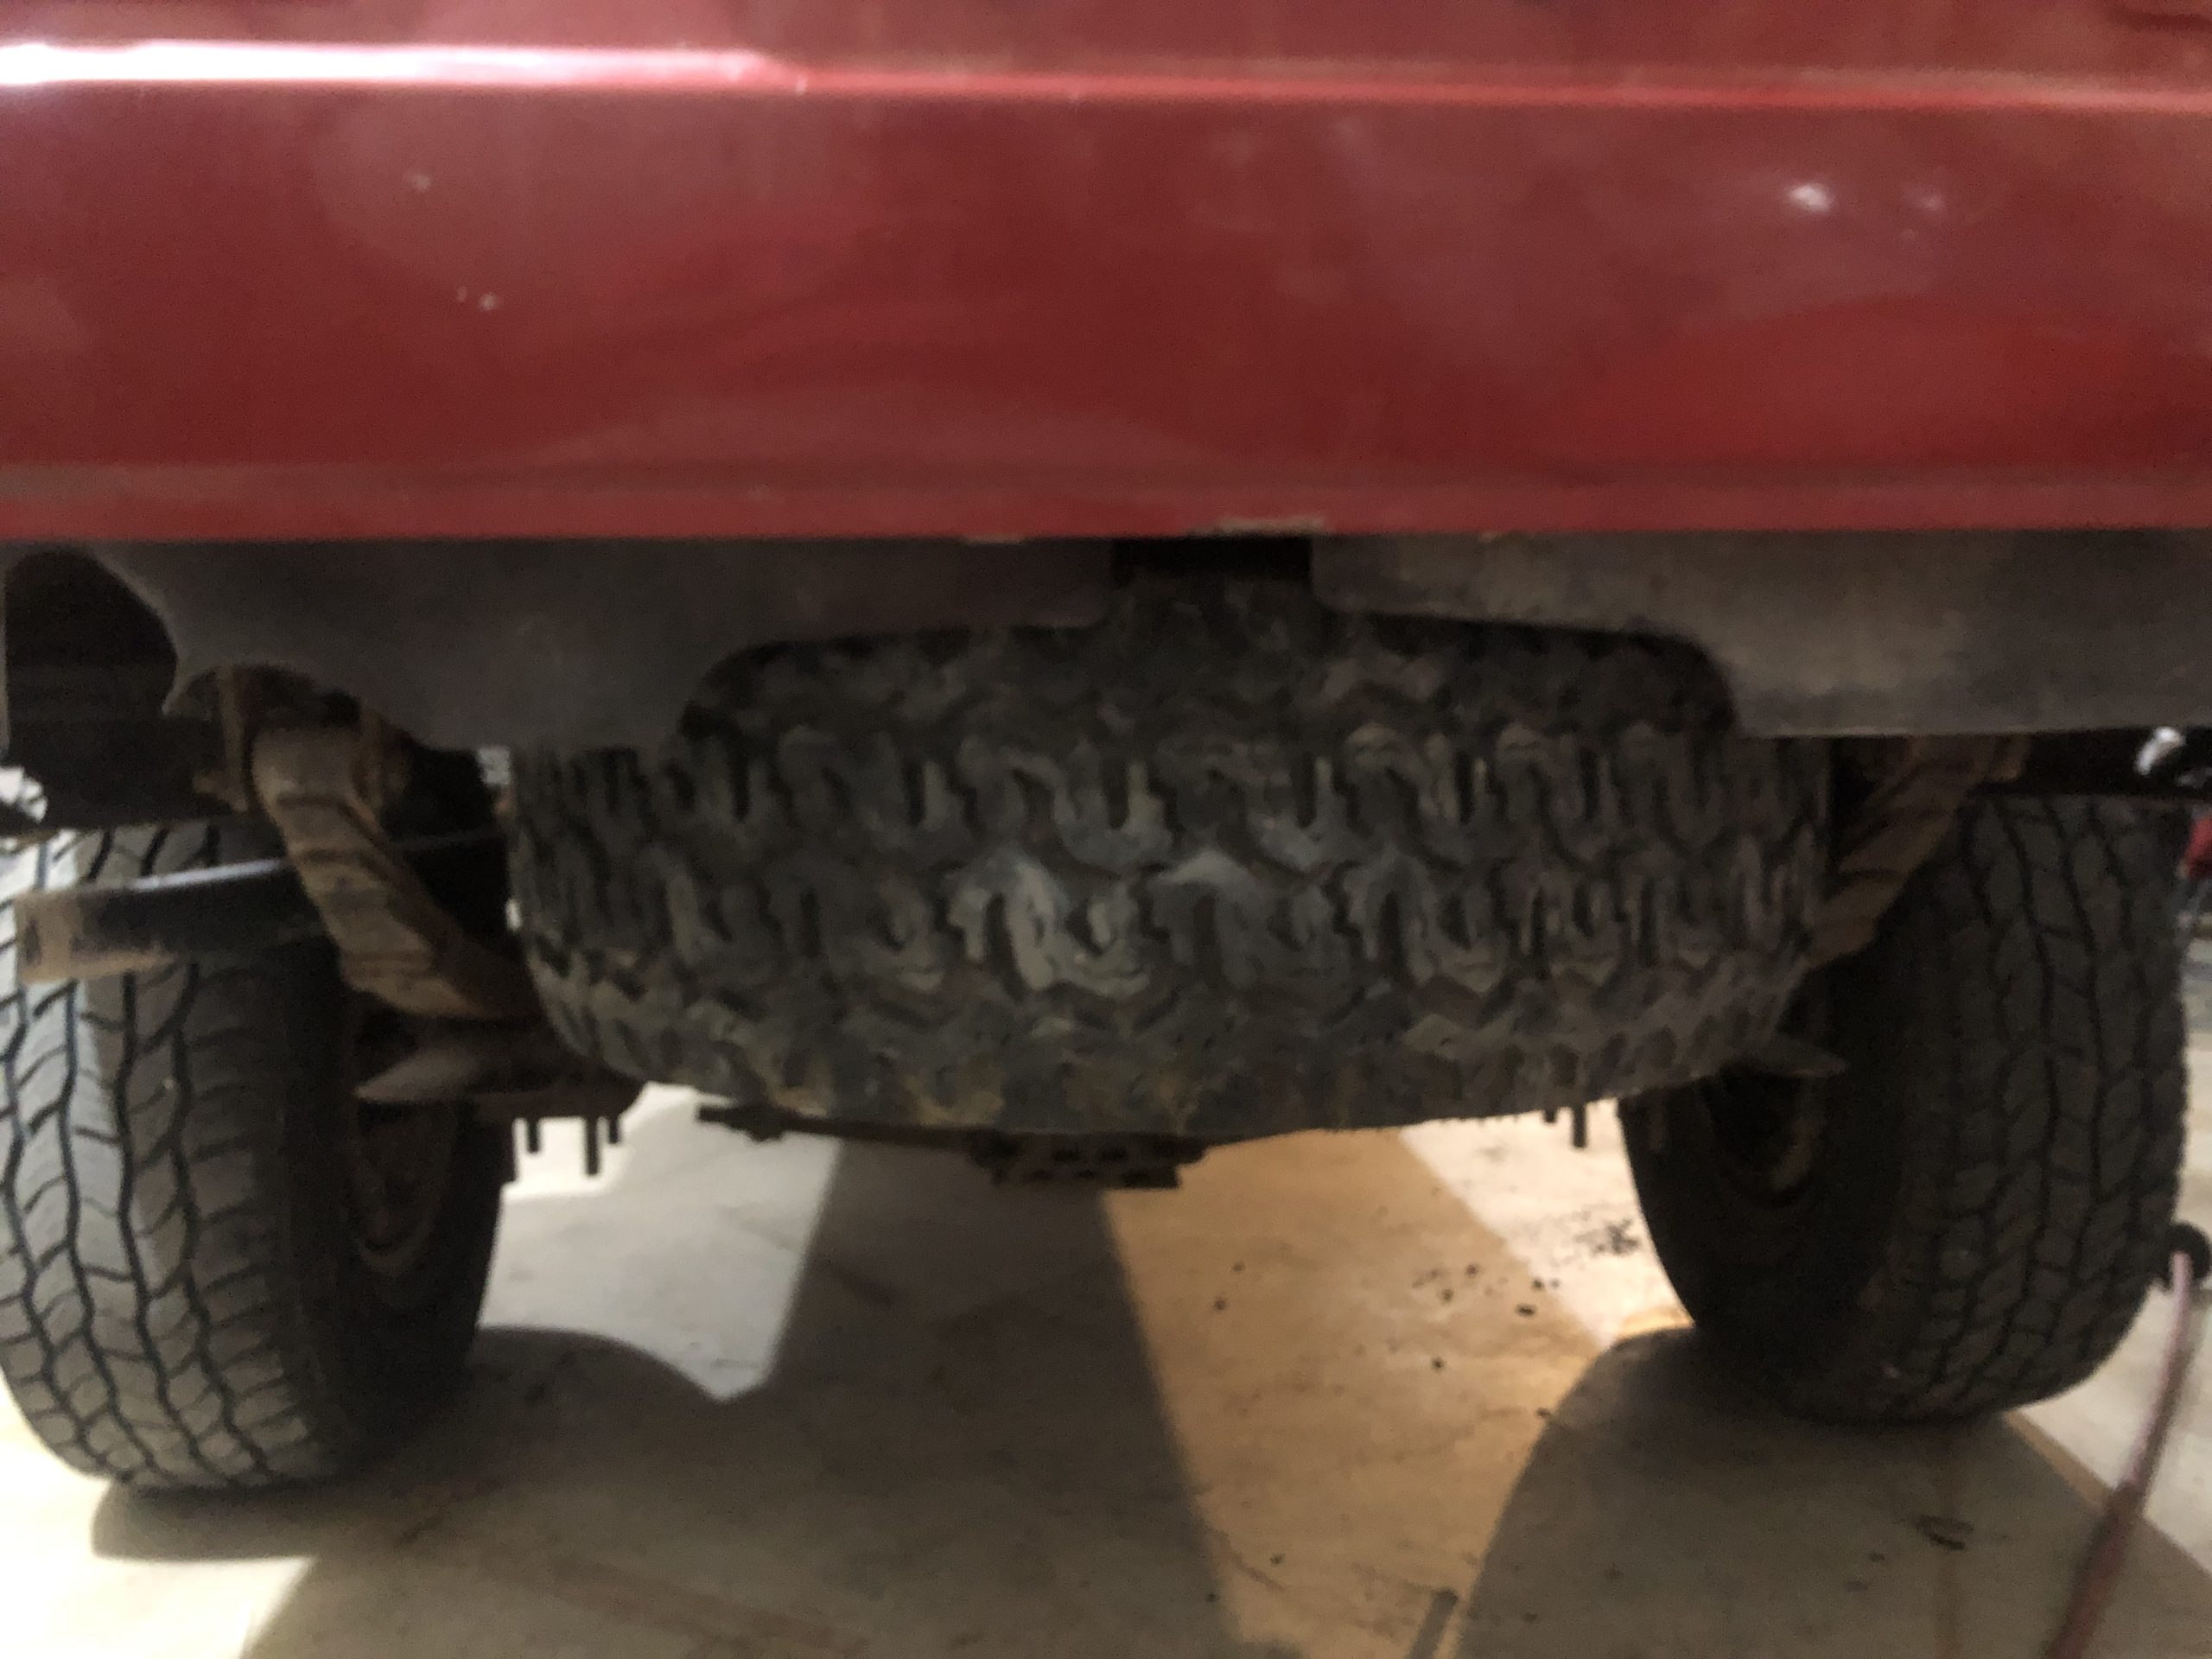
A couple days ago I installed an OEM tire hoist to get the spare mounted under the bed. I didn’t want it back inside Redee cause that really eats up space. And a swingout bumper is gonna take some time to build still. So under Redee it goes.
My daughter wants me to put the rear passenger interior panels in, so I may ask for her assistance in that task today after work. Time will tell.
Attachments:
June 27, 2025 at 10:31 pm #212436toys-n-yotasKeymasterThank you Mapleview Tire!
Attachments:
July 6, 2025 at 10:10 pm #212438toys-n-yotasKeymaster500 kms in and doing great.
Ultra gauge says my average is 13.0 L/100km which is A-ok with me. That’s right half the fuel the chevy was drinking, and way more fun to drive all the tine. Worth the downtime.July 29, 2025 at 12:17 pm #212439toys-n-yotasKeymasterRedee hauled my buddy Dave and I round trip to The Point in Ardbeg without a single complaint. Sure, once fully loaded the tailpipe was 1mm from the leaf spring, and made contact on any bump, and on the big bumps that same tailpipe also touched the rear tire, but those are minor details that barely shade the successes.
13.1L/100km, cruising at 3,000rpm, teaching straight, braking hard, and ohhh so smooth with all that suspension pre-load. The 4.88s and lunch box locker made easy work on the very minor trail I ran to get into the Point. At go home time, I still didn’t bother locking the hubs, and crawled out of camp with ease.
Before next year I must build bumpers (to have at least one recovery point), and re-seal my windshield, it still leaks very aggressively directly into my lap.
Be aware, The Loggers Station is currently closed, fenced off, with a For Sale sign.
August 12, 2025 at 9:26 pm #212443 FJTTSEKeymaster
Yup, looks a tad low in the rear, lol To bad you missed out on the run this past weekend, would’ve been nice to see Redee on the trails.
November 10, 2025 at 12:28 pm #212446toys-n-yotasKeymasterBumpers first, then trail riding.
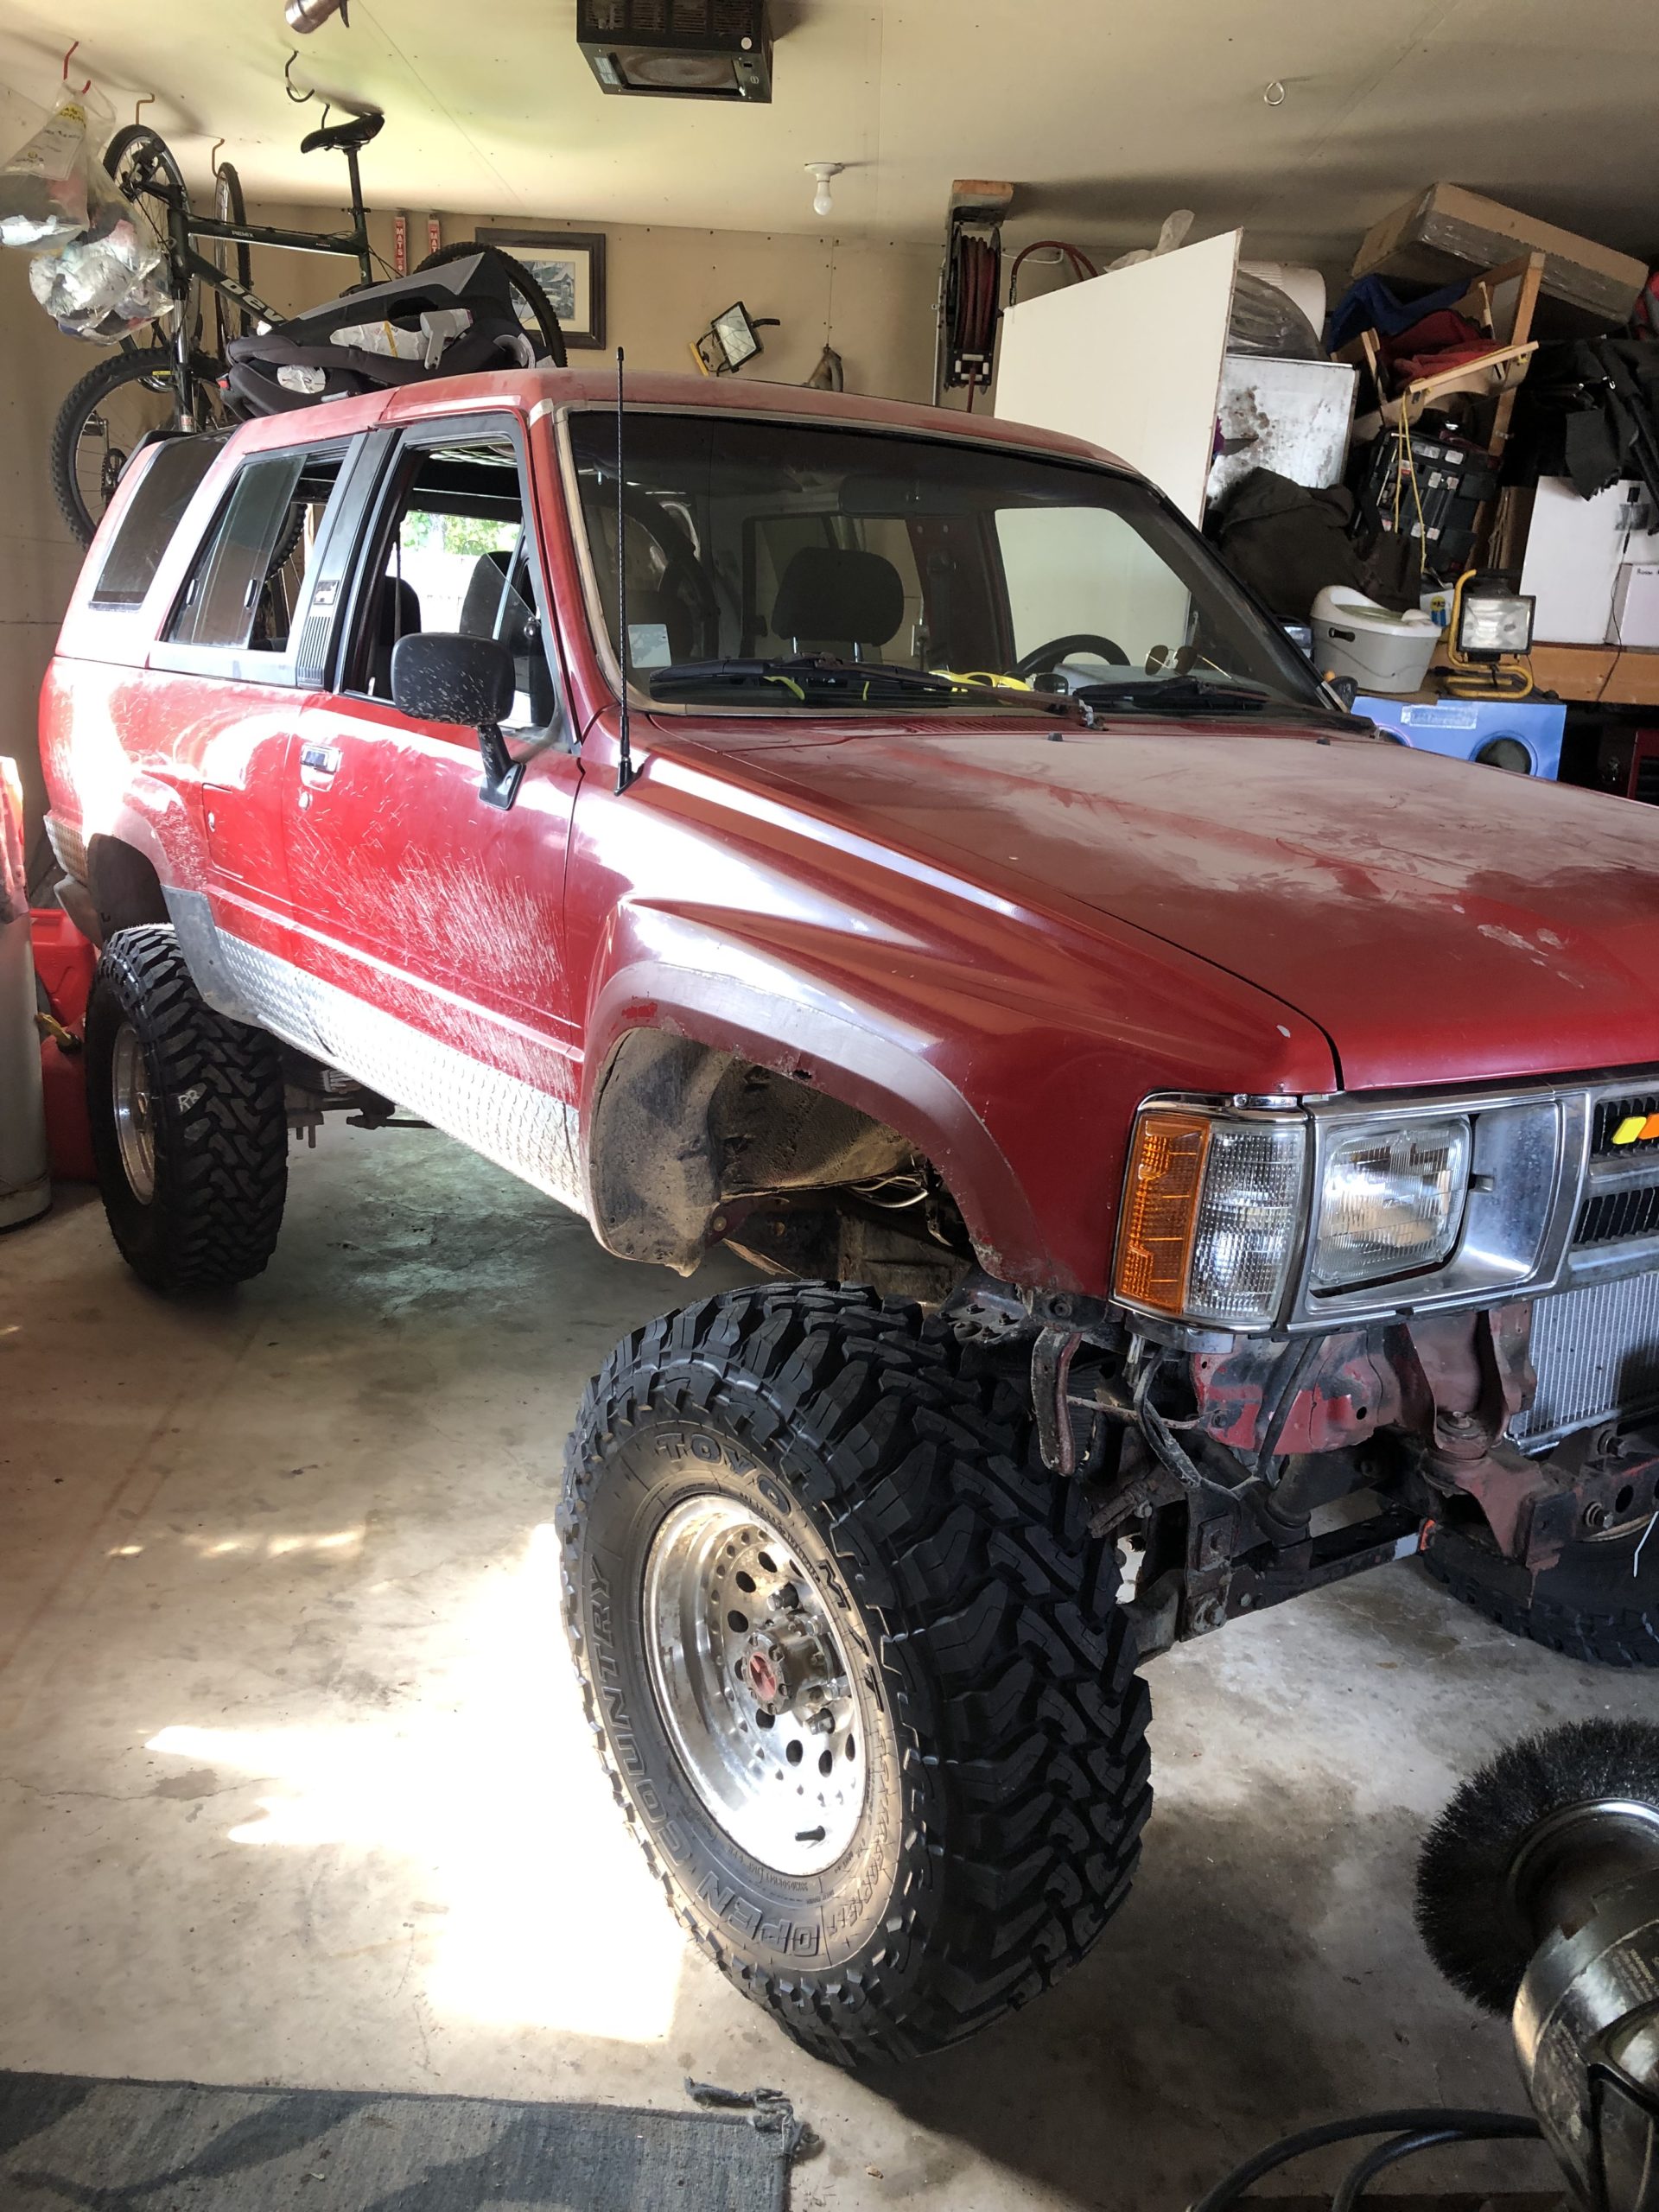
Redee has been packed away for winter in the shop. I can still drive out with no fuss, but the snow has arrived and taken away my desire to go touring (without bumpers haha).
I’ve got sketches, and with the cold shit weather now here I’ll have time. Gotta buy some steel and start cutting.
November 24, 2025 at 9:25 am #212467toys-n-yotasKeymasterYesterday I put Redee to work, used her power to drag Matts pickup into the shop from the driveway. With a couple partly seized brakes it was harder to push than I had planned on excepting force to do. So with a very short strap and careful driving, Redee did all the hard work. Then I shut off the 3RZ, unhooked the strap, and Redee refused to restart. I suspected low voltage on the battery, got out the booster, no change. Not even a click on the solenoid. So the boys and I pushed redee back into her corner, I put the charger on, and decided it was a later problem.
Four hours later im into Google looking up the starter relay mod again, because I did pull the OEM relay out of a “random bucket” about two years ago, no idea hire long it had been in there, maybe a couple decades.
With a screenshot, some fresh 12ga wire, and an Audi 40amp relay from my drawer of miscellaneous relays, I built myself the equivalent of the “Painless performance” kit in about 15 mins.
This morning I pulled the battery charger off, and hit the key, pleasantly surprised Redee started the quickest she ever has. Really hoping this cured my “low voltage dammit I need to use the booster again” no-crank condition I’ve had for years. Fingers crossed, will find out next year for sure.
Attachments:
January 20, 2026 at 12:34 pm #212497toys-n-yotasKeymasterHELLO 2026!
Not sure where to begin, so perhaps I’ll set some Goals for this year.
Build some bumpers.
Go Driving.
Straighten the steering wheel.
Do more driving.Pretty lazy goals other than those bumpers I’ve been procrastinating to build.
Last night I repaired my glovebox. Once upon a time, the Chevy swap had an ECU in the glovebox, and a big hole was cut in the back for the wiring. With that ecu removed, I was left with a big hole, that duct tape temporarily closed up…for 7 years. Last night I cut some very thin sheet metal (was formerly a heat shield), and rivetted it into place. Looks ugly, but should hold.
On Saturday I reinstalled the battery that Matt borrowed for his pickup, and let Redee sit and idle for 10 mins. She started perfectly, and idled without incident.
April 2, 2026 at 9:53 am #212498toys-n-yotasKeymasterFinally motivated, did something last night!
I finally straightened my steering wheel. Had to drop the steering column to separate the steering shaft from the gearbox, rotate I think it was roughly 6 splines CCW, but now the wheel is straight. Took all of 30 mins…should have done it months ago. Maybe now my turn signals will cancel on their own.
I also tightened the collar on the steering wheel adapter, and tightened the ground wire to the horn.Think I’m going to buy a Coastal Offroad weld-it-yourself front bumper, they look pretty good and are way more complicated than the rear bumper I (still) plan to fab. Depending on options and add-ons, the kit is about $1000-1500 to my door. Think I’ll skip all the add-ons (turn signals, LED pods, rattle-free clevis) and just get the base kit, + the grill hoop.
Attachments:
April 7, 2026 at 12:26 pm #212500toys-n-yotasKeymasterBought the Coastal Offroad weld-it-yourself kit Saturday evening.
Welded my previous rear bumper back onto the frame rails temporarily. More of a visual deterrent to tailgaters than a functional bumper. It’ll hold my weight and I can bounce on it, but there will be no attempted recoveries, tugs, or bike racks going in. Just for show.
Once I’ve finished the front bumper, I’ll get started on fabbing my own rear bumper. Had plans to use my free time all winter for this task, decided to spend all my free time in school instead. Hence, no bumpers in spring time.
Attachments:
April 13, 2026 at 3:09 pm #212502 Toy-YotaParticipant
What’s up dudeeee! The coastal kit is great, I tried to mimic it on my 80 series because I didn’t want to pay what they wanted for the kit. But it’s so well designed and timeless I think you’ll be happy.
Everything is looking good, such a cool swap good job
April 14, 2026 at 1:40 am #212508FJTTSEKeymasterSeen a couple of vids on those bumpers. Looks like a viable/cheaper option to get a sweet bumper if you have the welder and skills. I’m sure yours will turn out great, can’t wait to see the progress pics when you get it under way!
April 19, 2026 at 9:41 am #212509toys-n-yotasKeymasterTook a couple days to get a good start on the bumper, but feel good about my progress through last night.
To begin I had to start by cutting off previously welded on bits from the 90’s, and chasing nuts inside the frame. M12 fine threads, one has a torched off bolt in there since 1990-something, I successfully welded a nut onto it, and backed it out with a ratchet. Yea!!
Tacked the main two parts together Wednesday night, got the passenger side wing tacked into place last night. Another night of fitting and tacking, then I gotta locate myself better welding hardware. My 120V doesn’t have the horsepower to lay a bead, only tacks.
April 19, 2026 at 10:56 pm #212514toys-n-yotasKeymasterRedid the passenger side wing to make welding it easier.
Then put the drivers side together quicker.
Looks awesome, will start finish welding later this week hopefully. I Got a new welder coming in the mail, one with much more horsepower.Attachments:
April 27, 2026 at 12:48 am #212516toys-n-yotasKeymasterMy new Amazon welder worked like a charm, paired with a bottle of mix gas and my bumper came together beautifully. The last work needed is to weld on three new nuts TII the bumper, my first three got wrecked when I overheated them.
I’m going to try to outsource powder coating and get a friend price…my Buddy has a bro-law who works for a Mennonite coating company.
A little wiring for turn signals and flood lights going into the bumper is needed too. I have done princess auto lights, they don’t put out very much light though, only 600 lumens. High dollar lights put out 2000+ lumens.
-
AuthorPosts


- You must be logged in to reply to this topic.