Forum Replies Created
-
AuthorPosts
-
 toys-n-yotasKeymaster
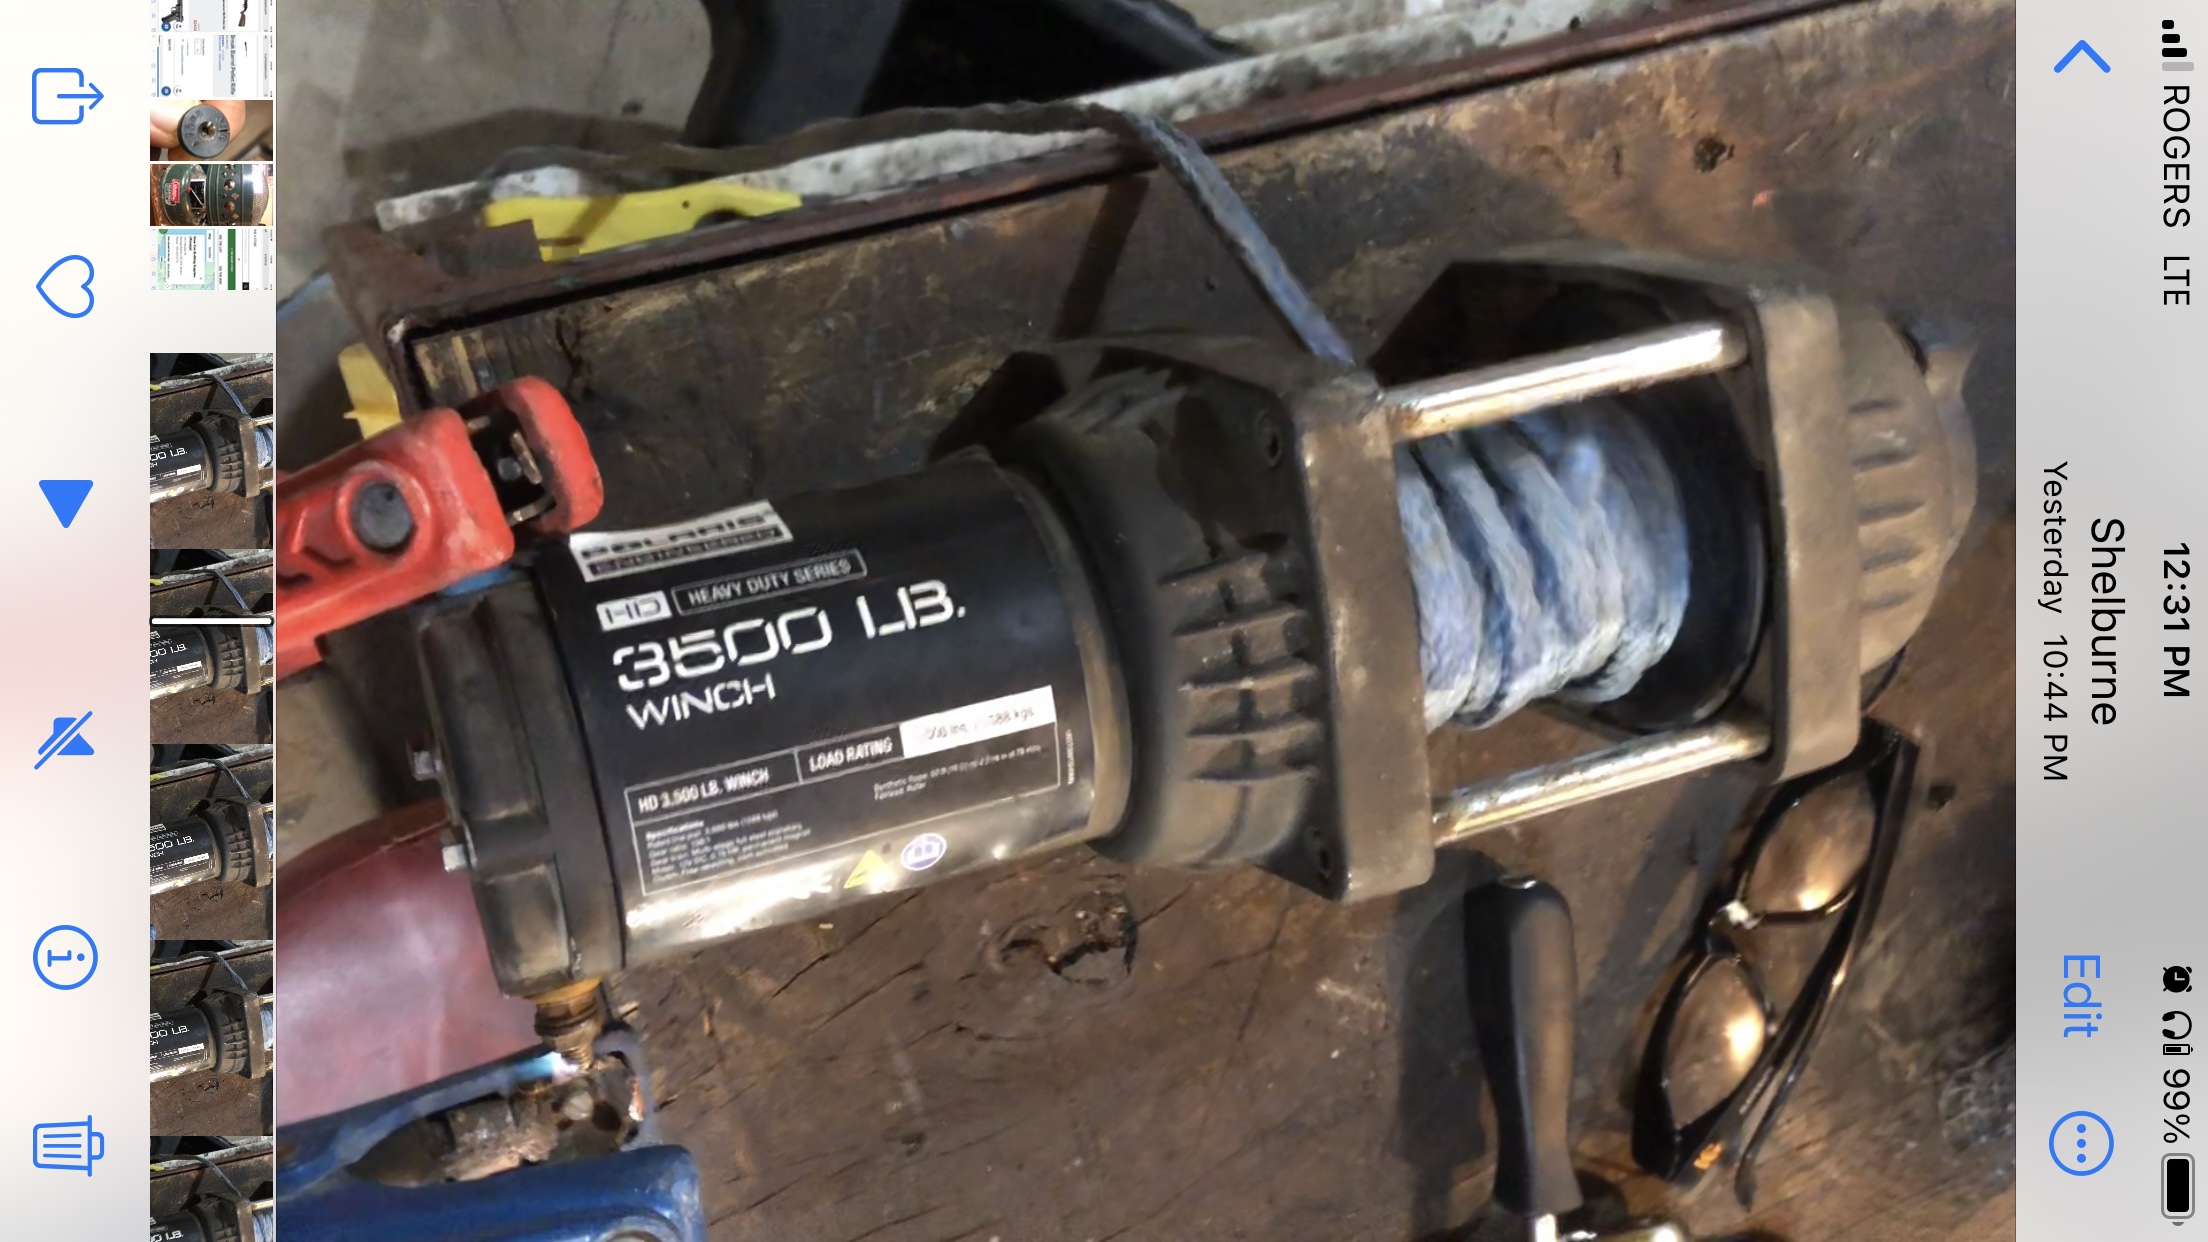
Last night in The Shop, I repaired a curb picked atv winch. Plan is to replace the one failed o-ring which caused the water intrusion, then put it up for sale in Kijij.
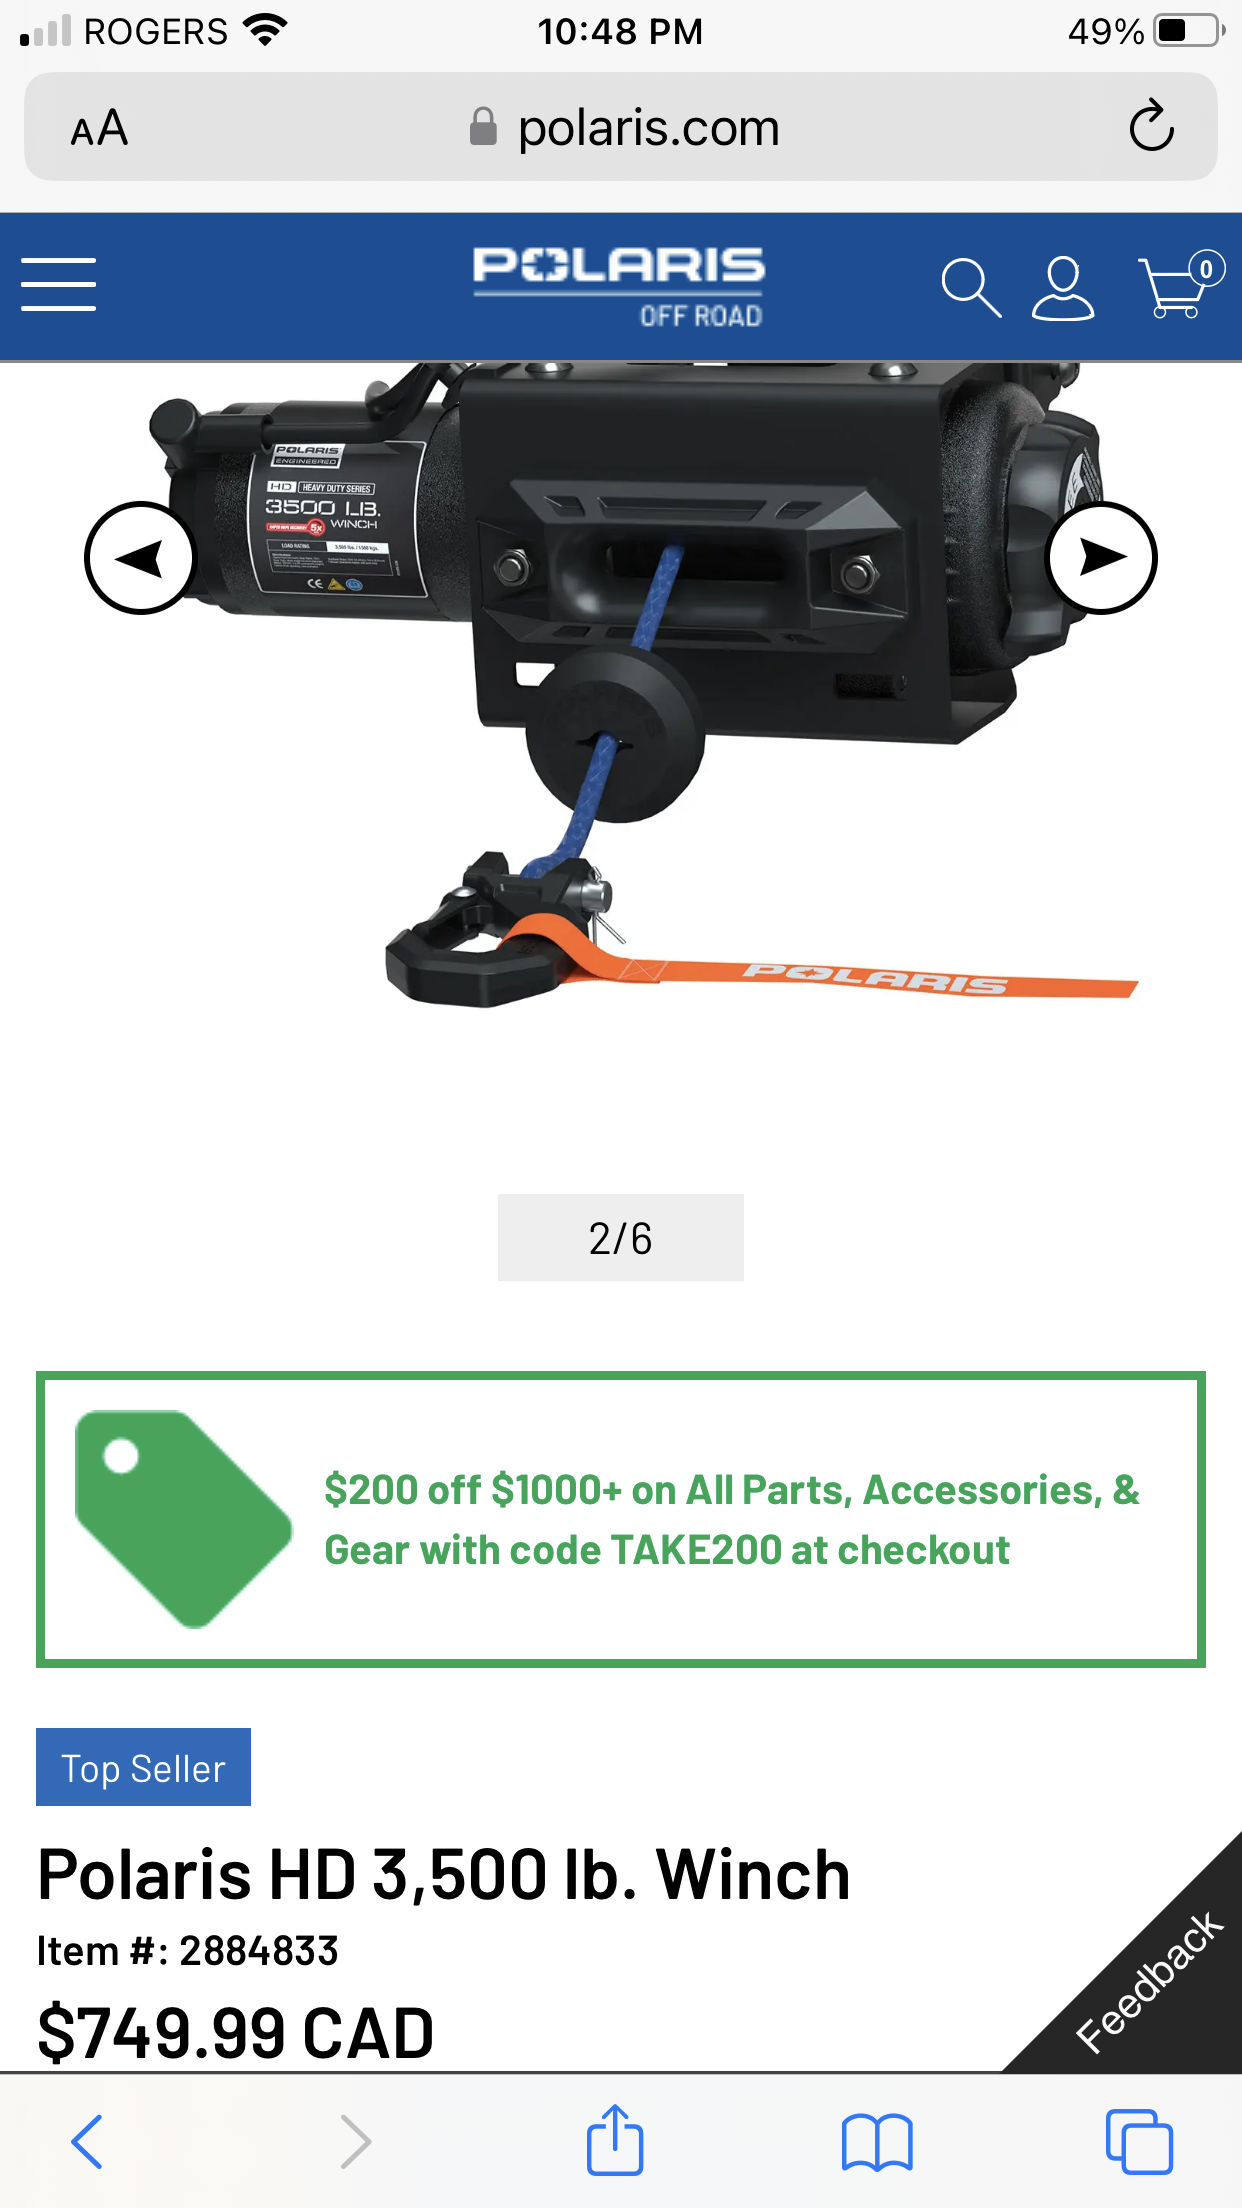
It’s a Polaris brand OEM 3500lbs unit, retails new for $750.
No pictures last night, wasn’t actually planning on doing any work, but it came apart then back together pretty quickly. Will take a couple photos when I do final lube and assembly.
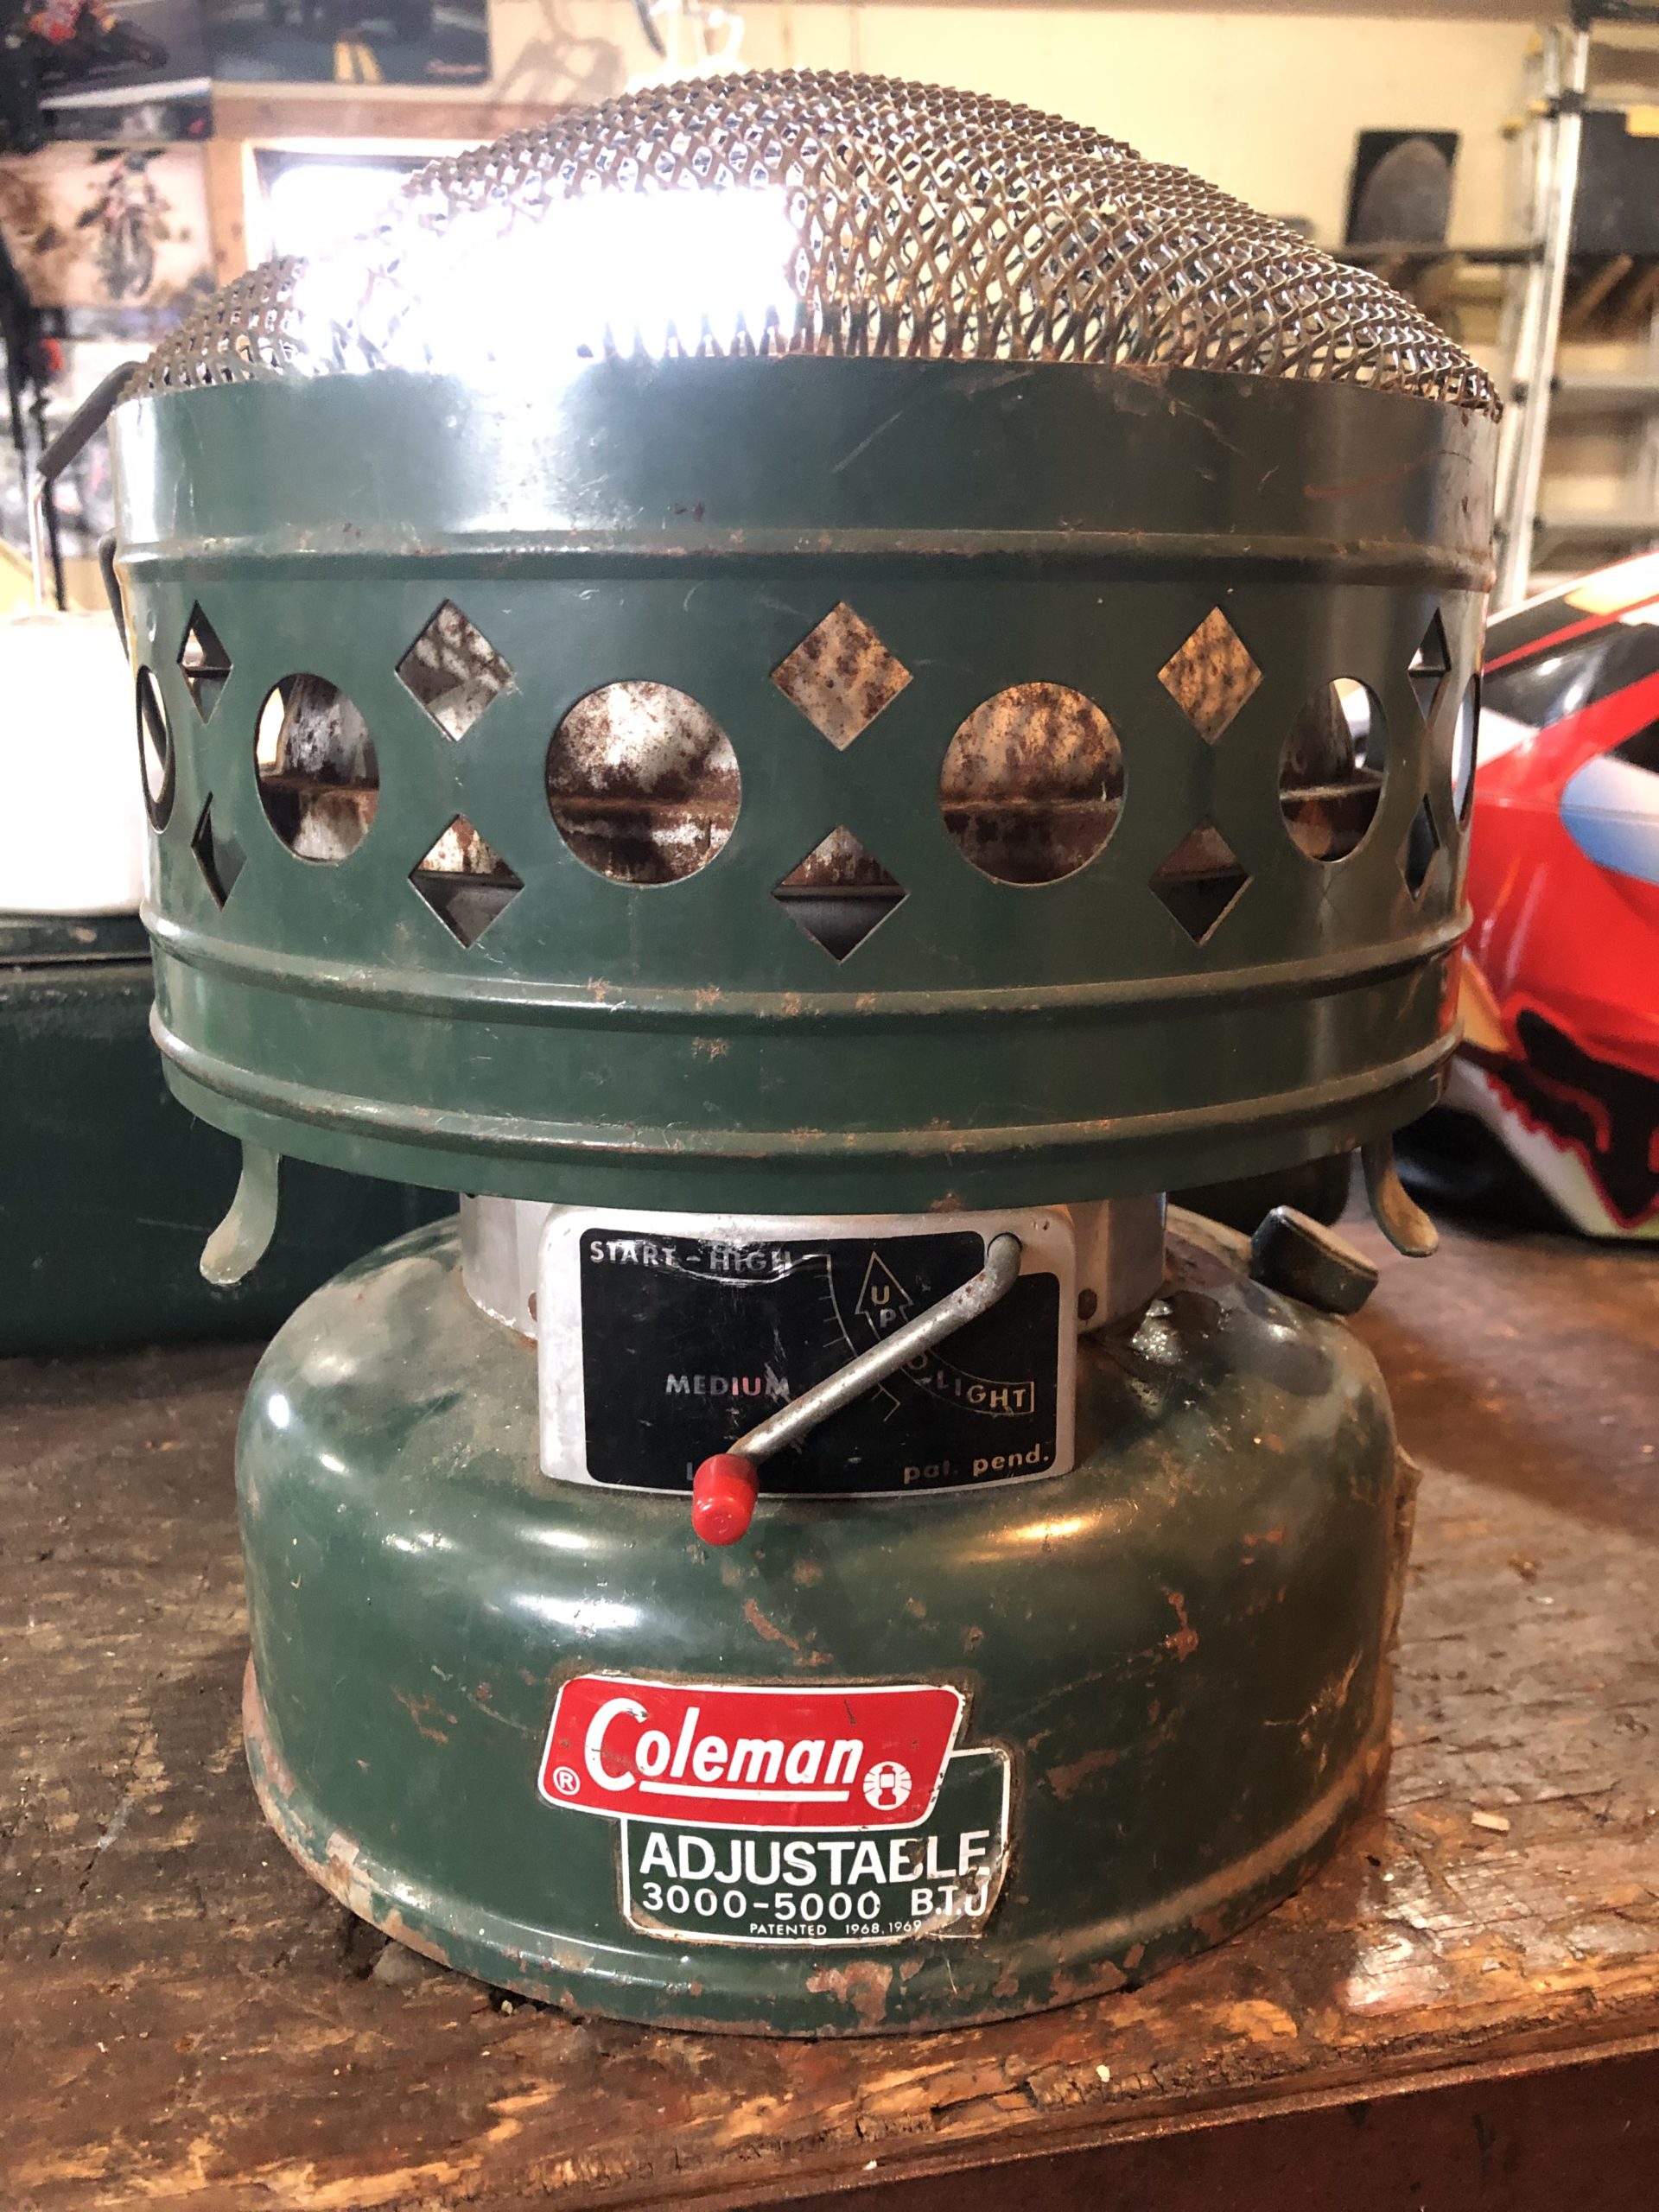
I also curb picked a Coleman model 513-700 catalytic heater, built Jan 1970. Clean inside and out, didn’t bother to put fuel in an test it, it’ll just sit in my collection for a few more years… I’ve got a few of these heaters already, none that are heat adjustable though.
Attachments:
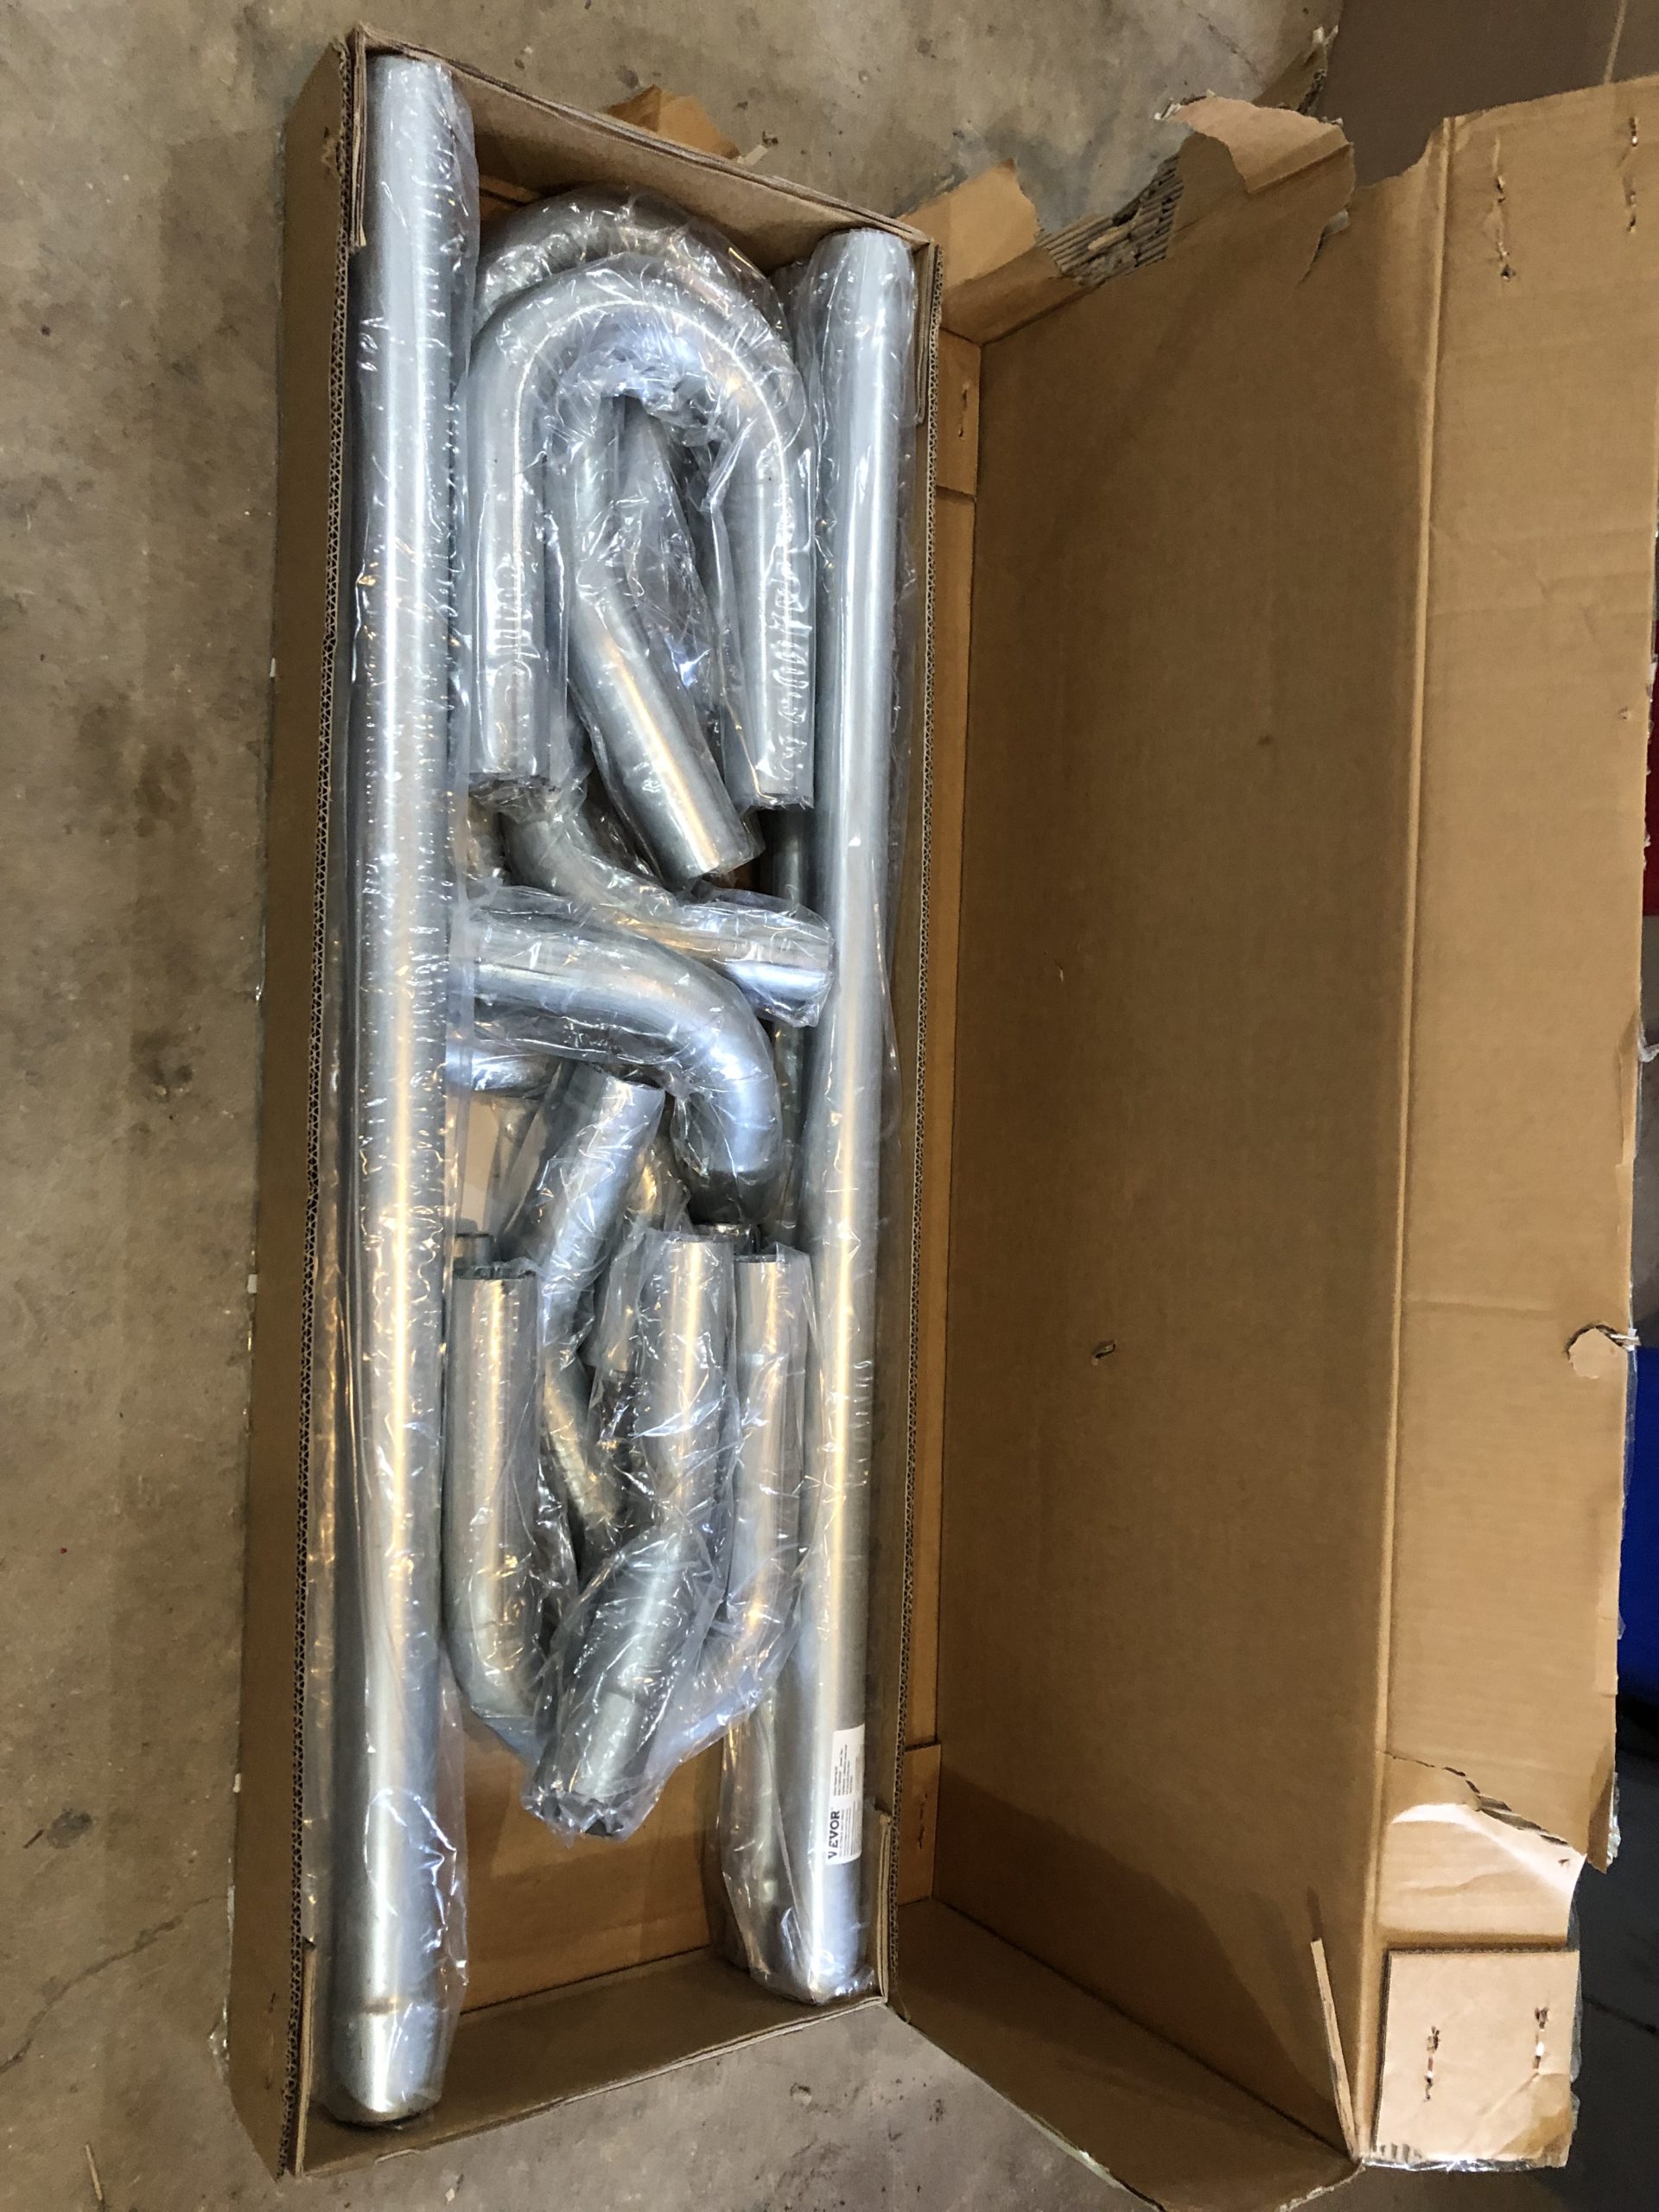
toys-n-yotasKeymasterMy custom exhaust arrived today…. some assembly required. I got 4x 45degree bend, 4x 90s, 4x 180s, and 4 four ft straight sections of 2.25″ DOM pipe, hope to start working on it tonight.
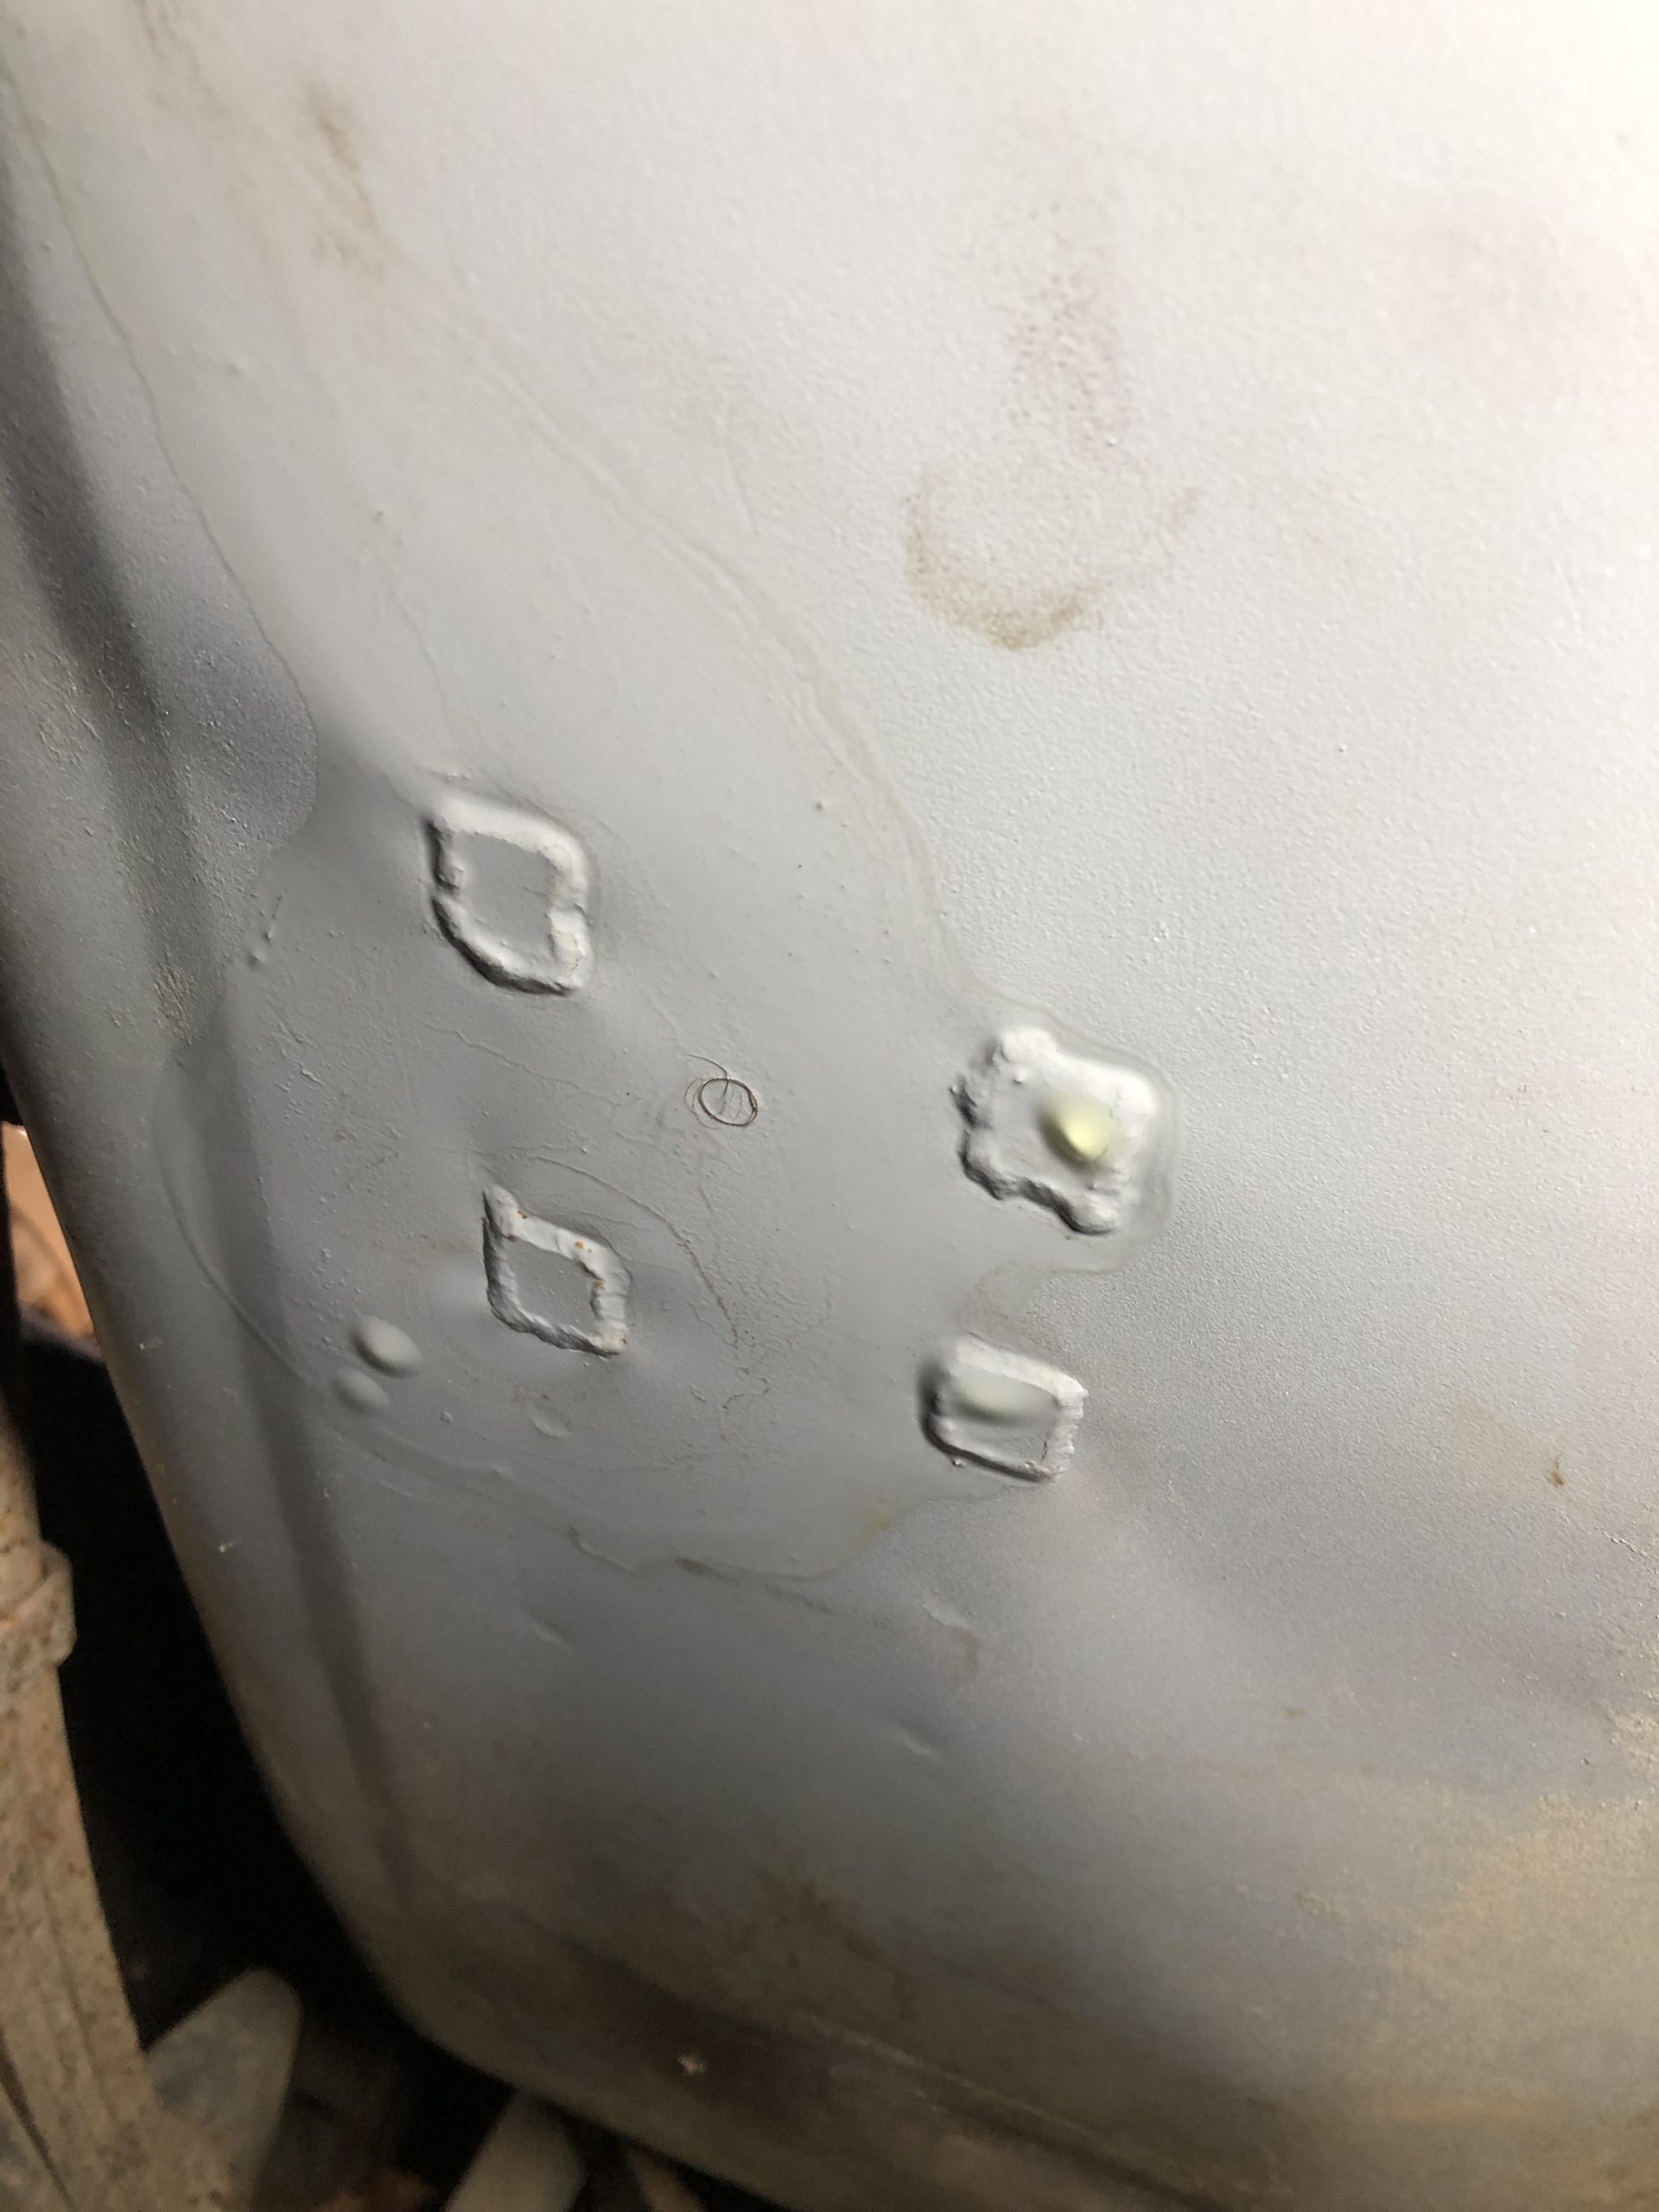
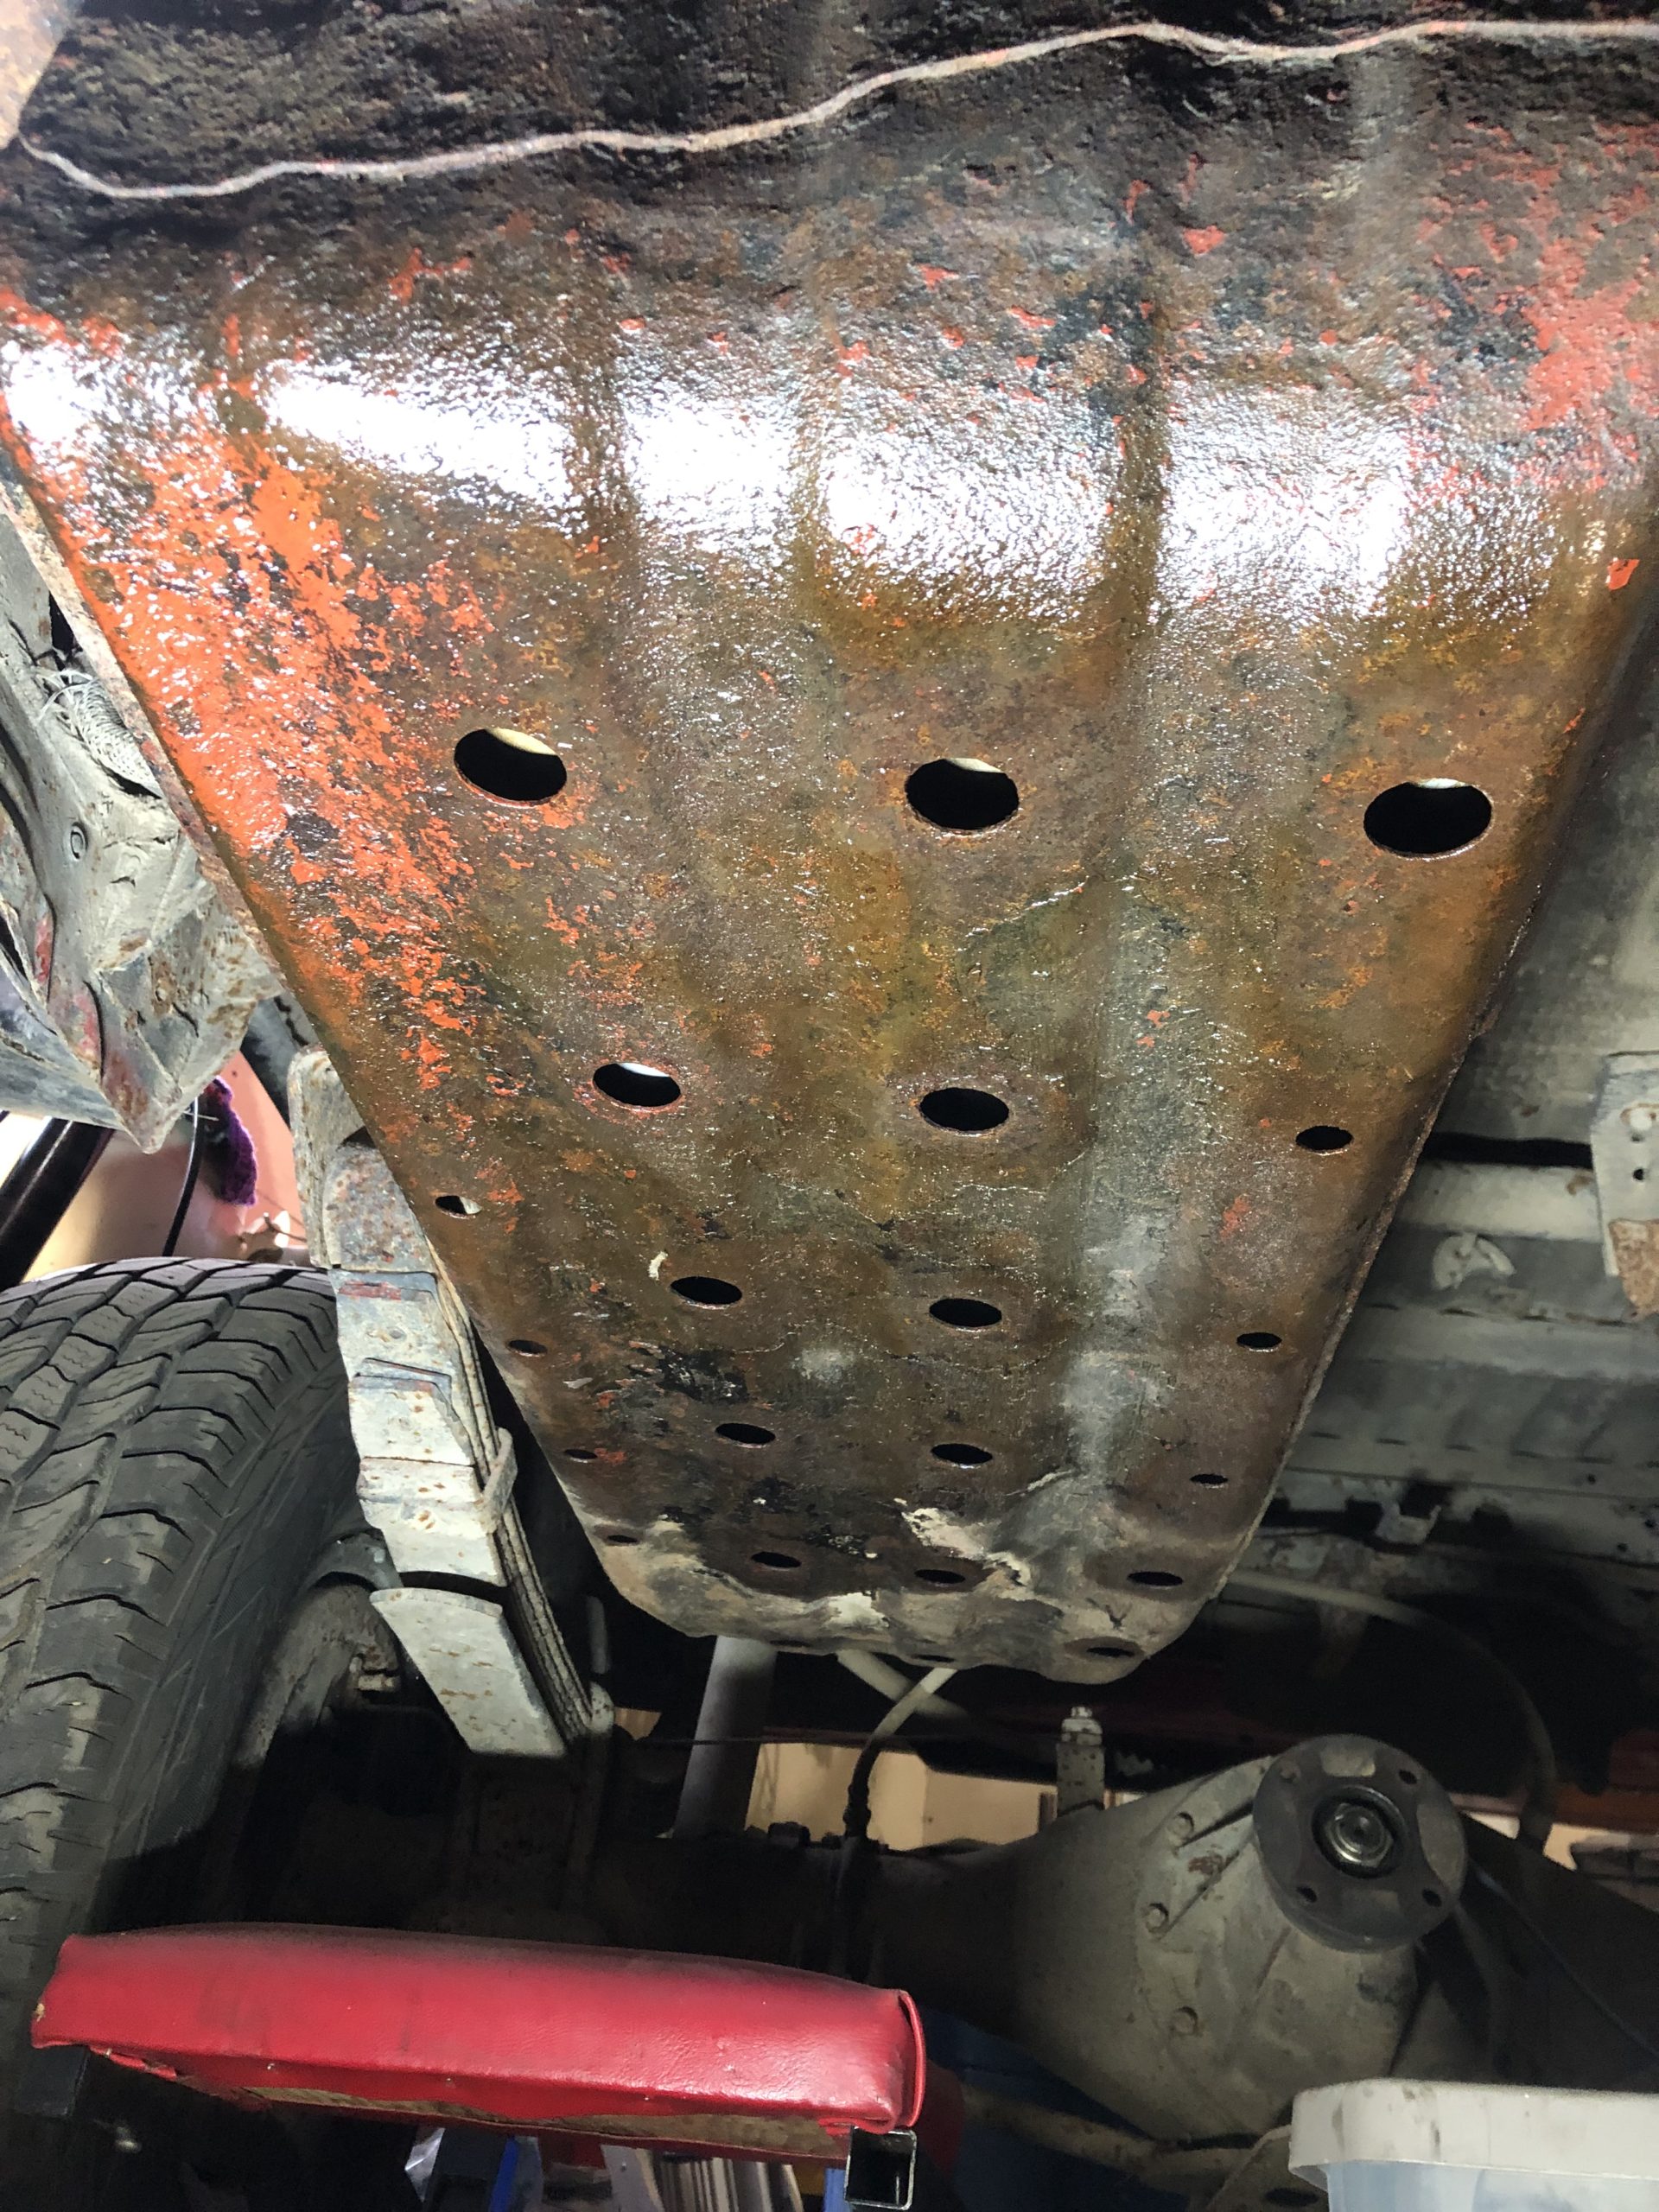
Also, I’ve finally discovered the source of raw fuel in The Shop, turns out 2 or 3 of the patches on the gas tank are not holding fuel. I’ll have to seal it from the inside at a later date. For now I’ve taken the skid plate outside so it can evaporate, and will wipe up the leak before i start welding.
toys-n-yotasKeymasterGot my truck back today, Happy to report that I did not require wheel bearings or rear brakes, however Im still suffering through a vibration. Next I will be going after a road force tire balance, maybe followed up by a warranty claim if that still doesn’t help. I love Duratracs, but i despise this current set.
Brian changed my diff fluid, said it looked contaminated, like I had submerged it. I would only have to agree with that assessment. He did a steering alignment, and it is BANG ON Centre and tracking true. Also got my AC inspected and recharged in preparation of family camping trips in the truck.
toys-n-yotasKeymasterNo pictures of my efforts today, but in the shop. I replaced the swaybar bushings in the Tacoma. OMG finally found the source of the awful rattle/clank in the front end. Last night i layed on my back in the driveway and man handled the swaybar and got it to move slightly, so I confirmed that the bushings were toast. I’ve only driven 3 km on the new bushings and I can already tell they were the culprit.
Next up, Brian has my Tacoma in wasaga this coming Monday, replacing the rear wheel bearing’s, rear brakes and doing an alignment.
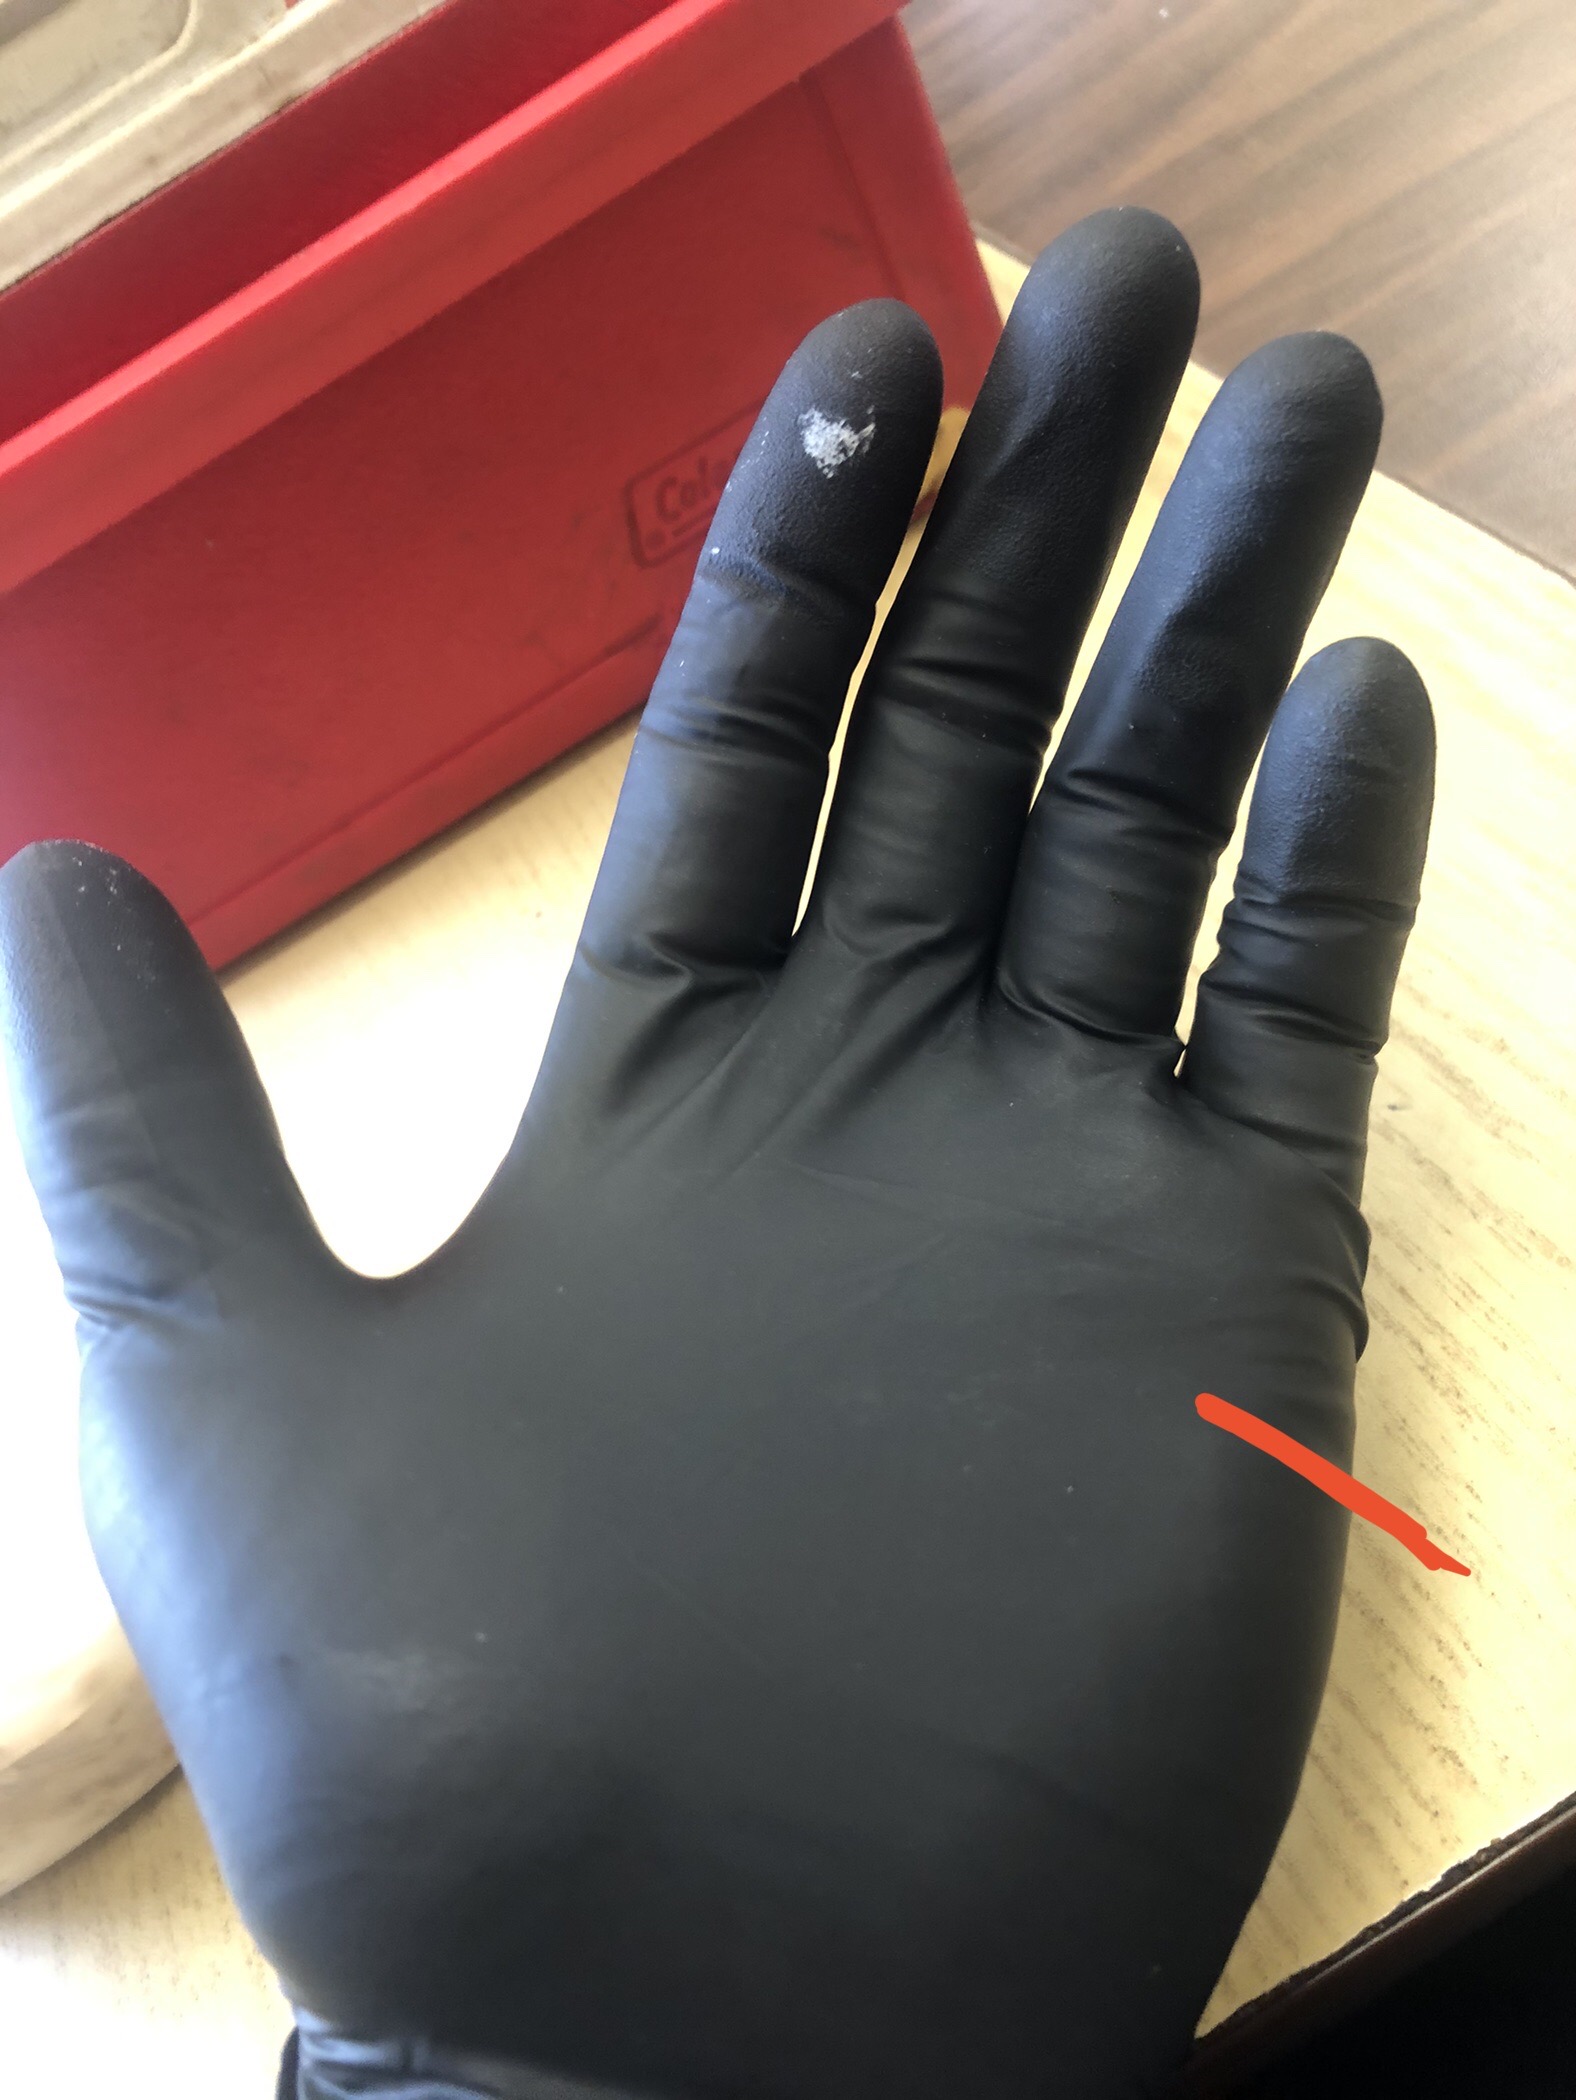
toys-n-yotasKeymasterThe ouchie is healing, think I dodged infection as pain and swelling has gone down two consecutive days. Even yesterday it was feeling much better. Gonna try to buy some exhaust pieces today and get to fabricating the first of many pieces from header to tailpipe.
Attachments:
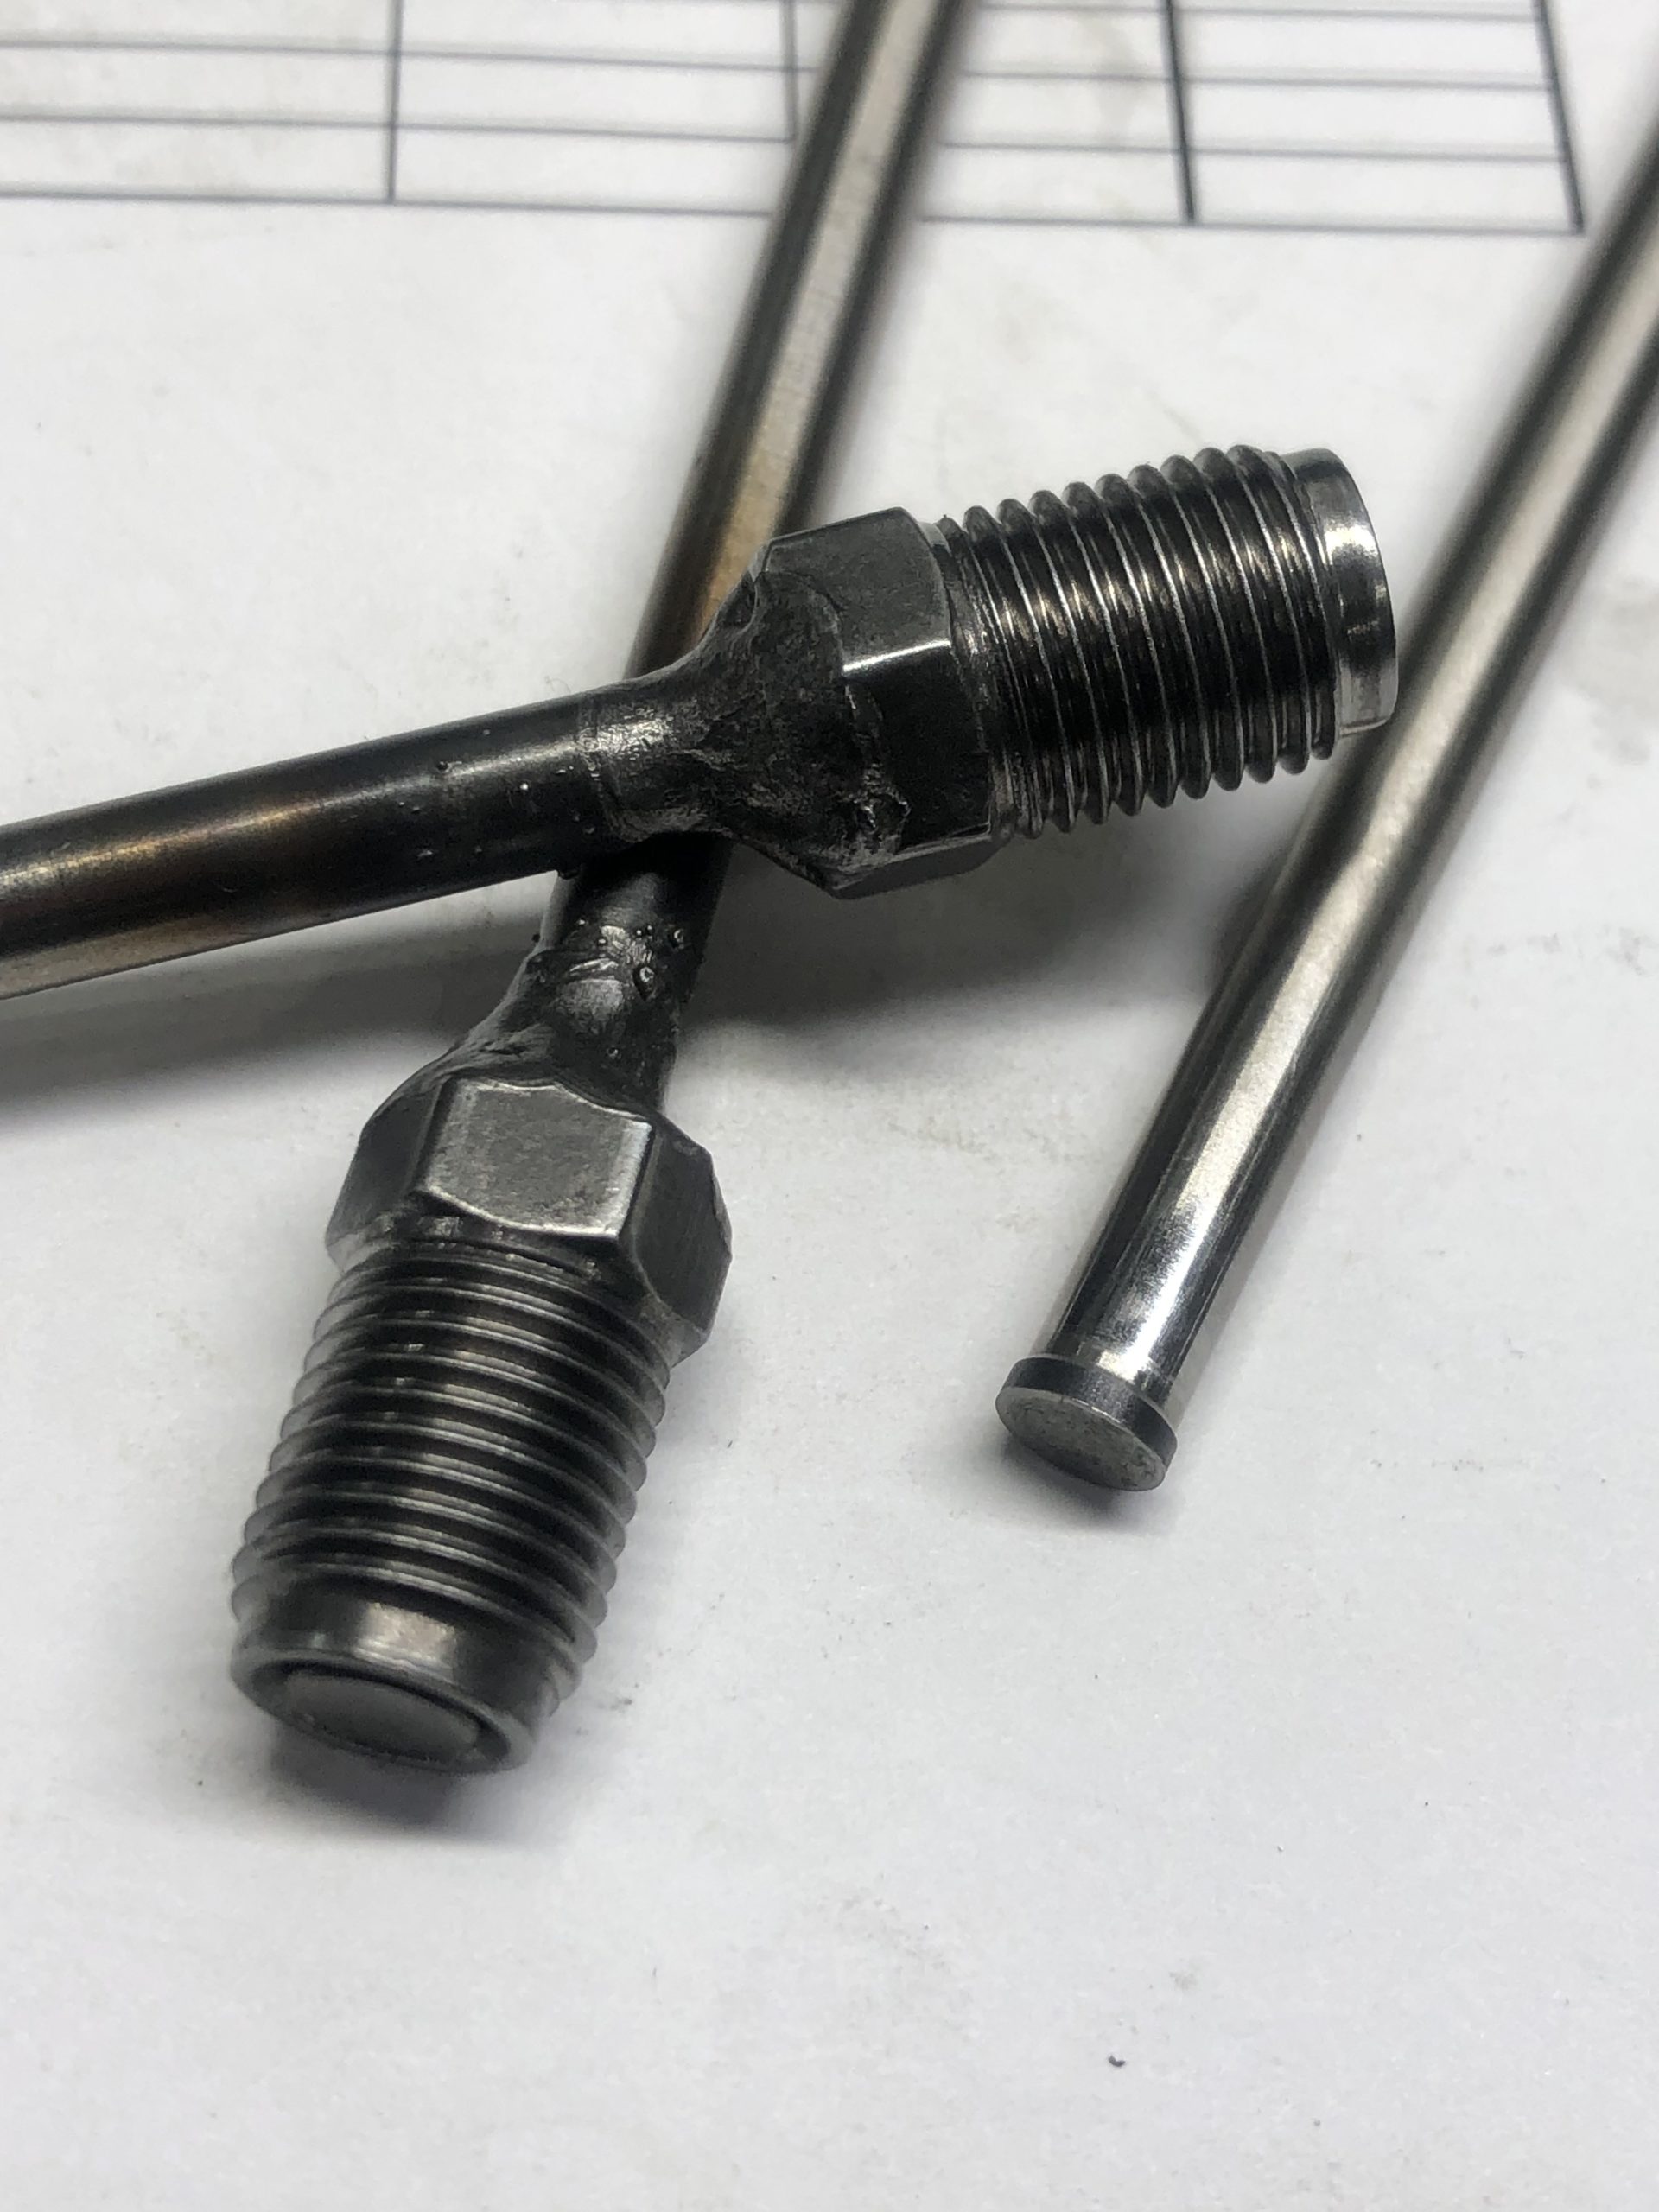
toys-n-yotasKeymasterMade myself some brake line plugs while running a machine at work that prefers to be neglected. I dug through a scrap bin to find some broken steel pins with a stepped button, hammered them into the fitting, and welded the protruding end shut. This has both a flanged head that can’t fit through the hole, and weld preventing the pin from backing out. Just gonna chop down the excess pin, and grind it smooth.
These plugs are for another project yet to make its debut in The Shop. Just over a month to go.
-
This reply was modified 10 months, 3 weeks ago by
 toys-n-yotas.
Attachments:
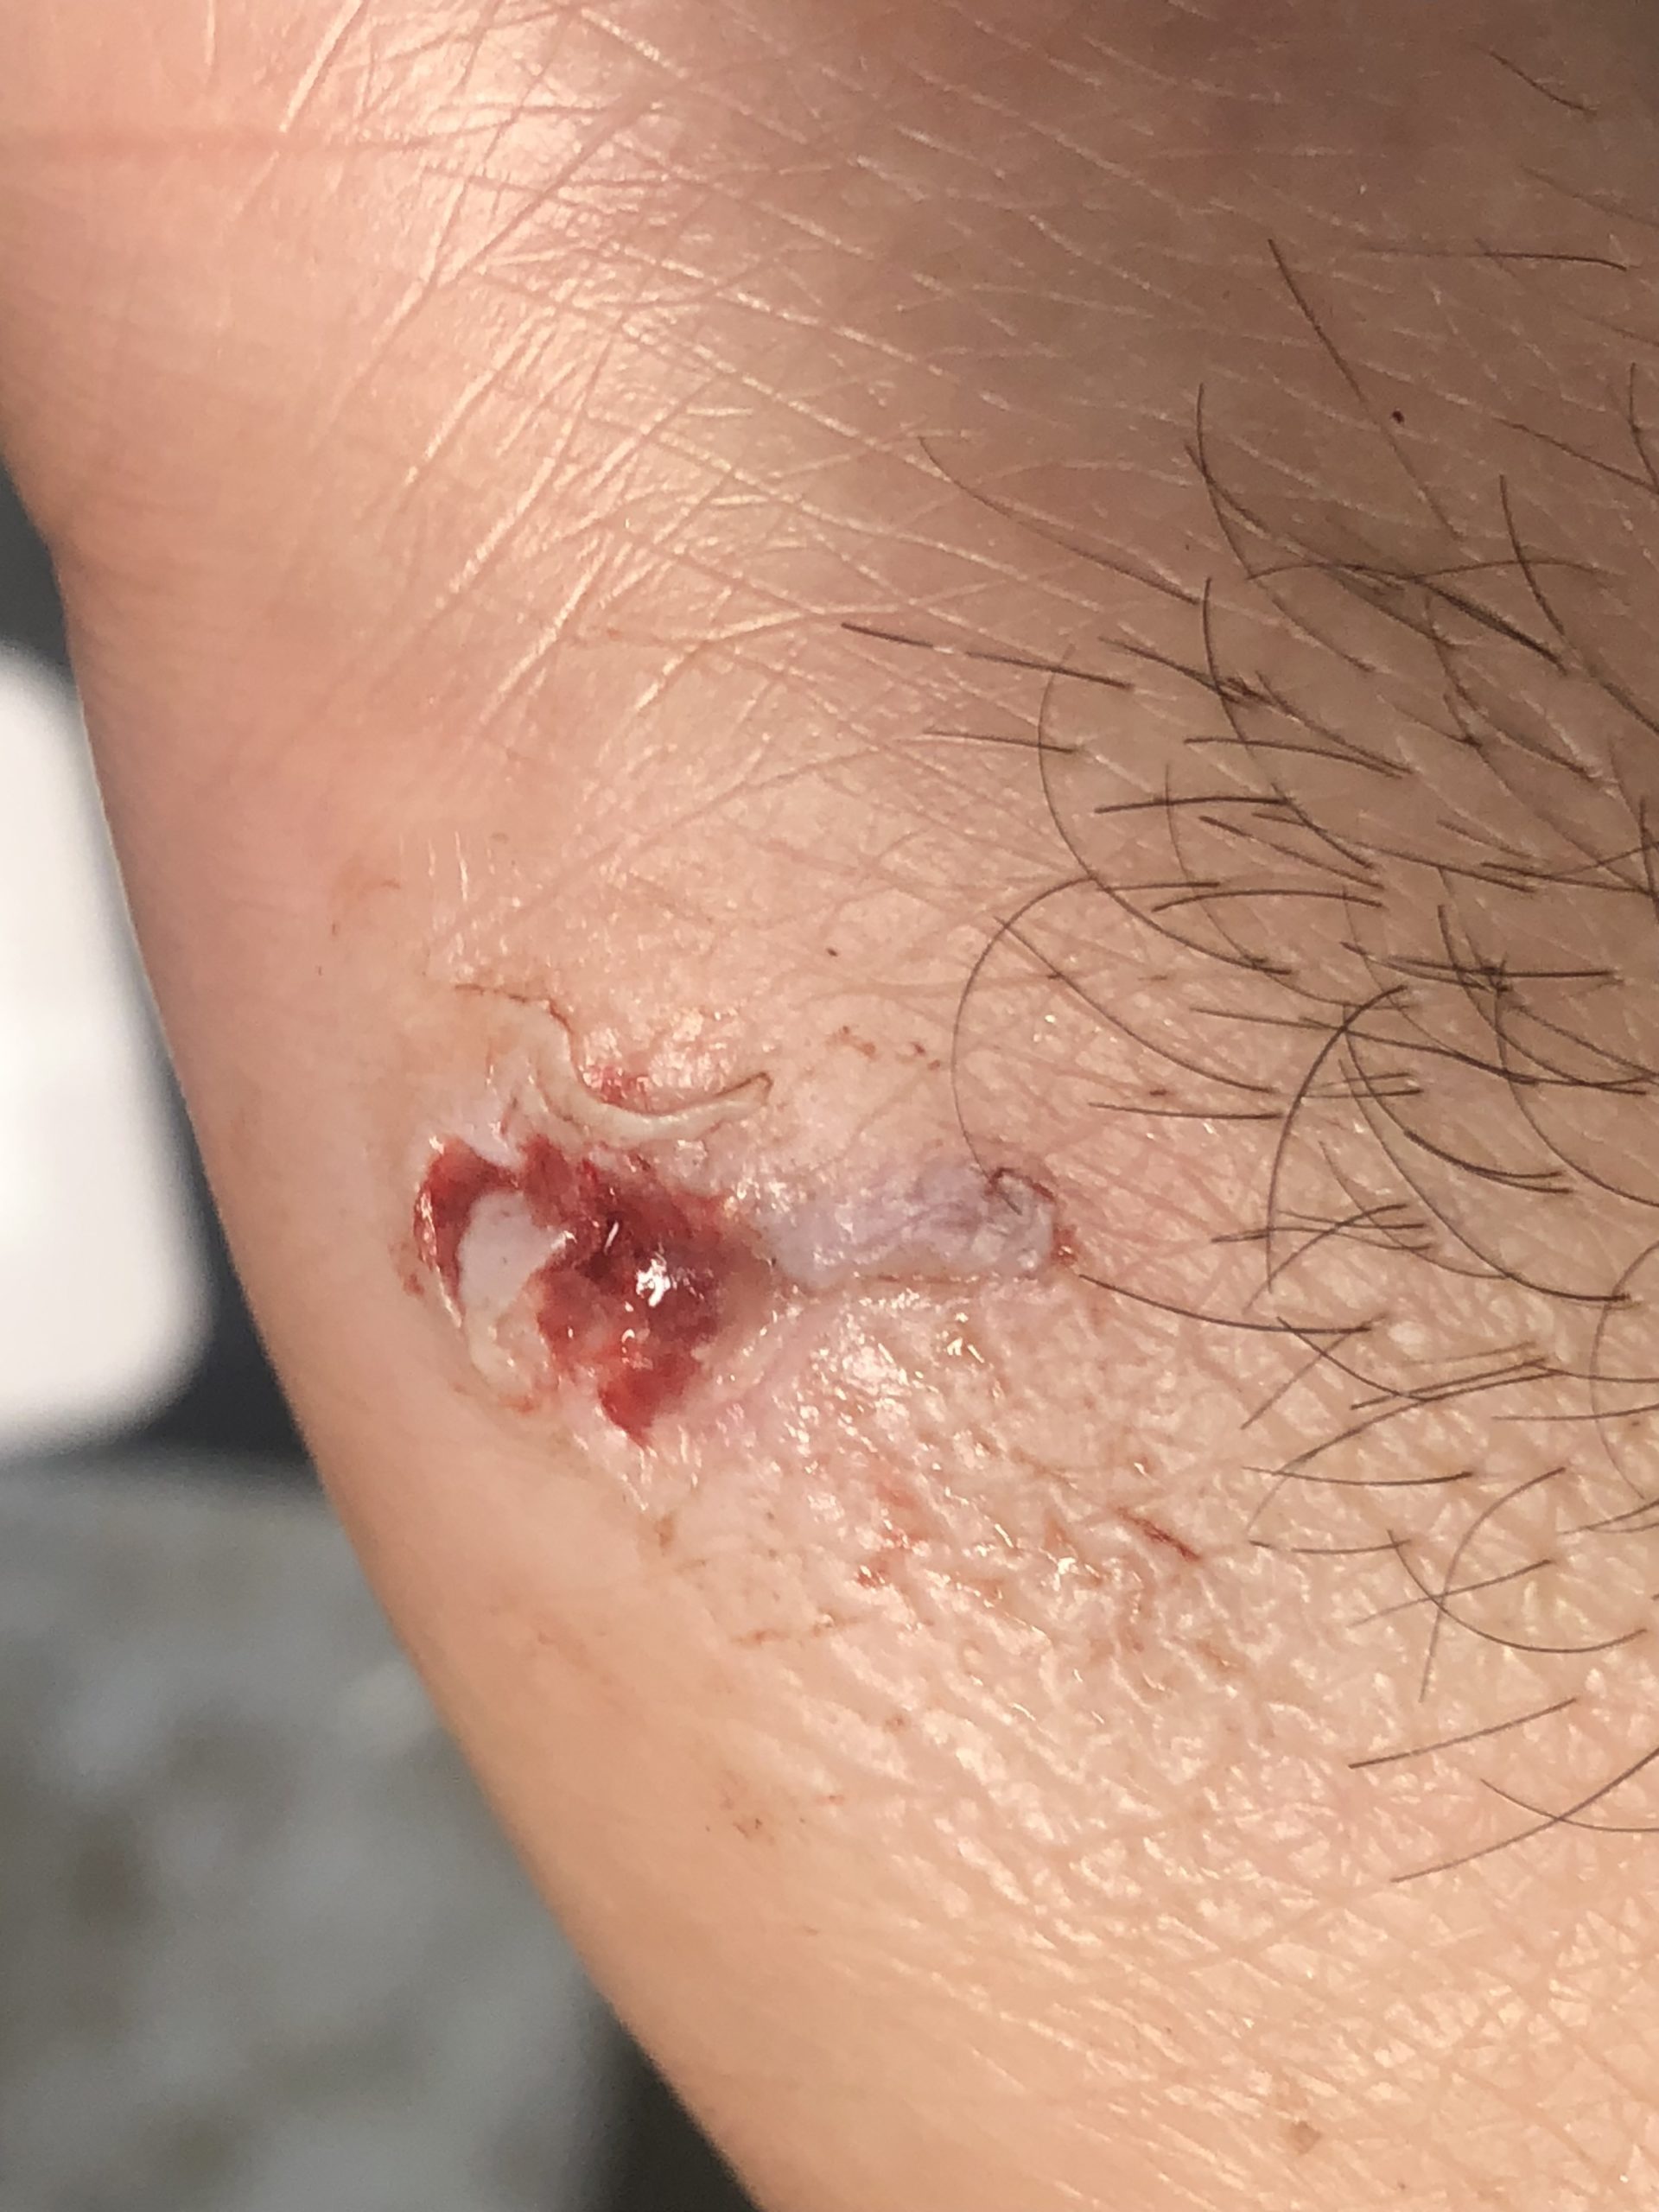
toys-n-yotasKeymasterGot myself a good ouchie last night, managed to put a broken drillbit into the meat of my hand on my pinky side. I knew instantly I required first aid,Sam hooked me up with some cleaner And a big band aid. 9-hours later, this mo-fo hurts.
Yesterday in the mail I got my Fiberglass exhaust wrap. Unreal it arrived from China faster than my cell phone screen protector from Markham.
I think i need to order an additional 50′ at 2″ width to finish wrapping the exhaust south of the header, south of the catalytic to where it finishes wrapping past the t-case.
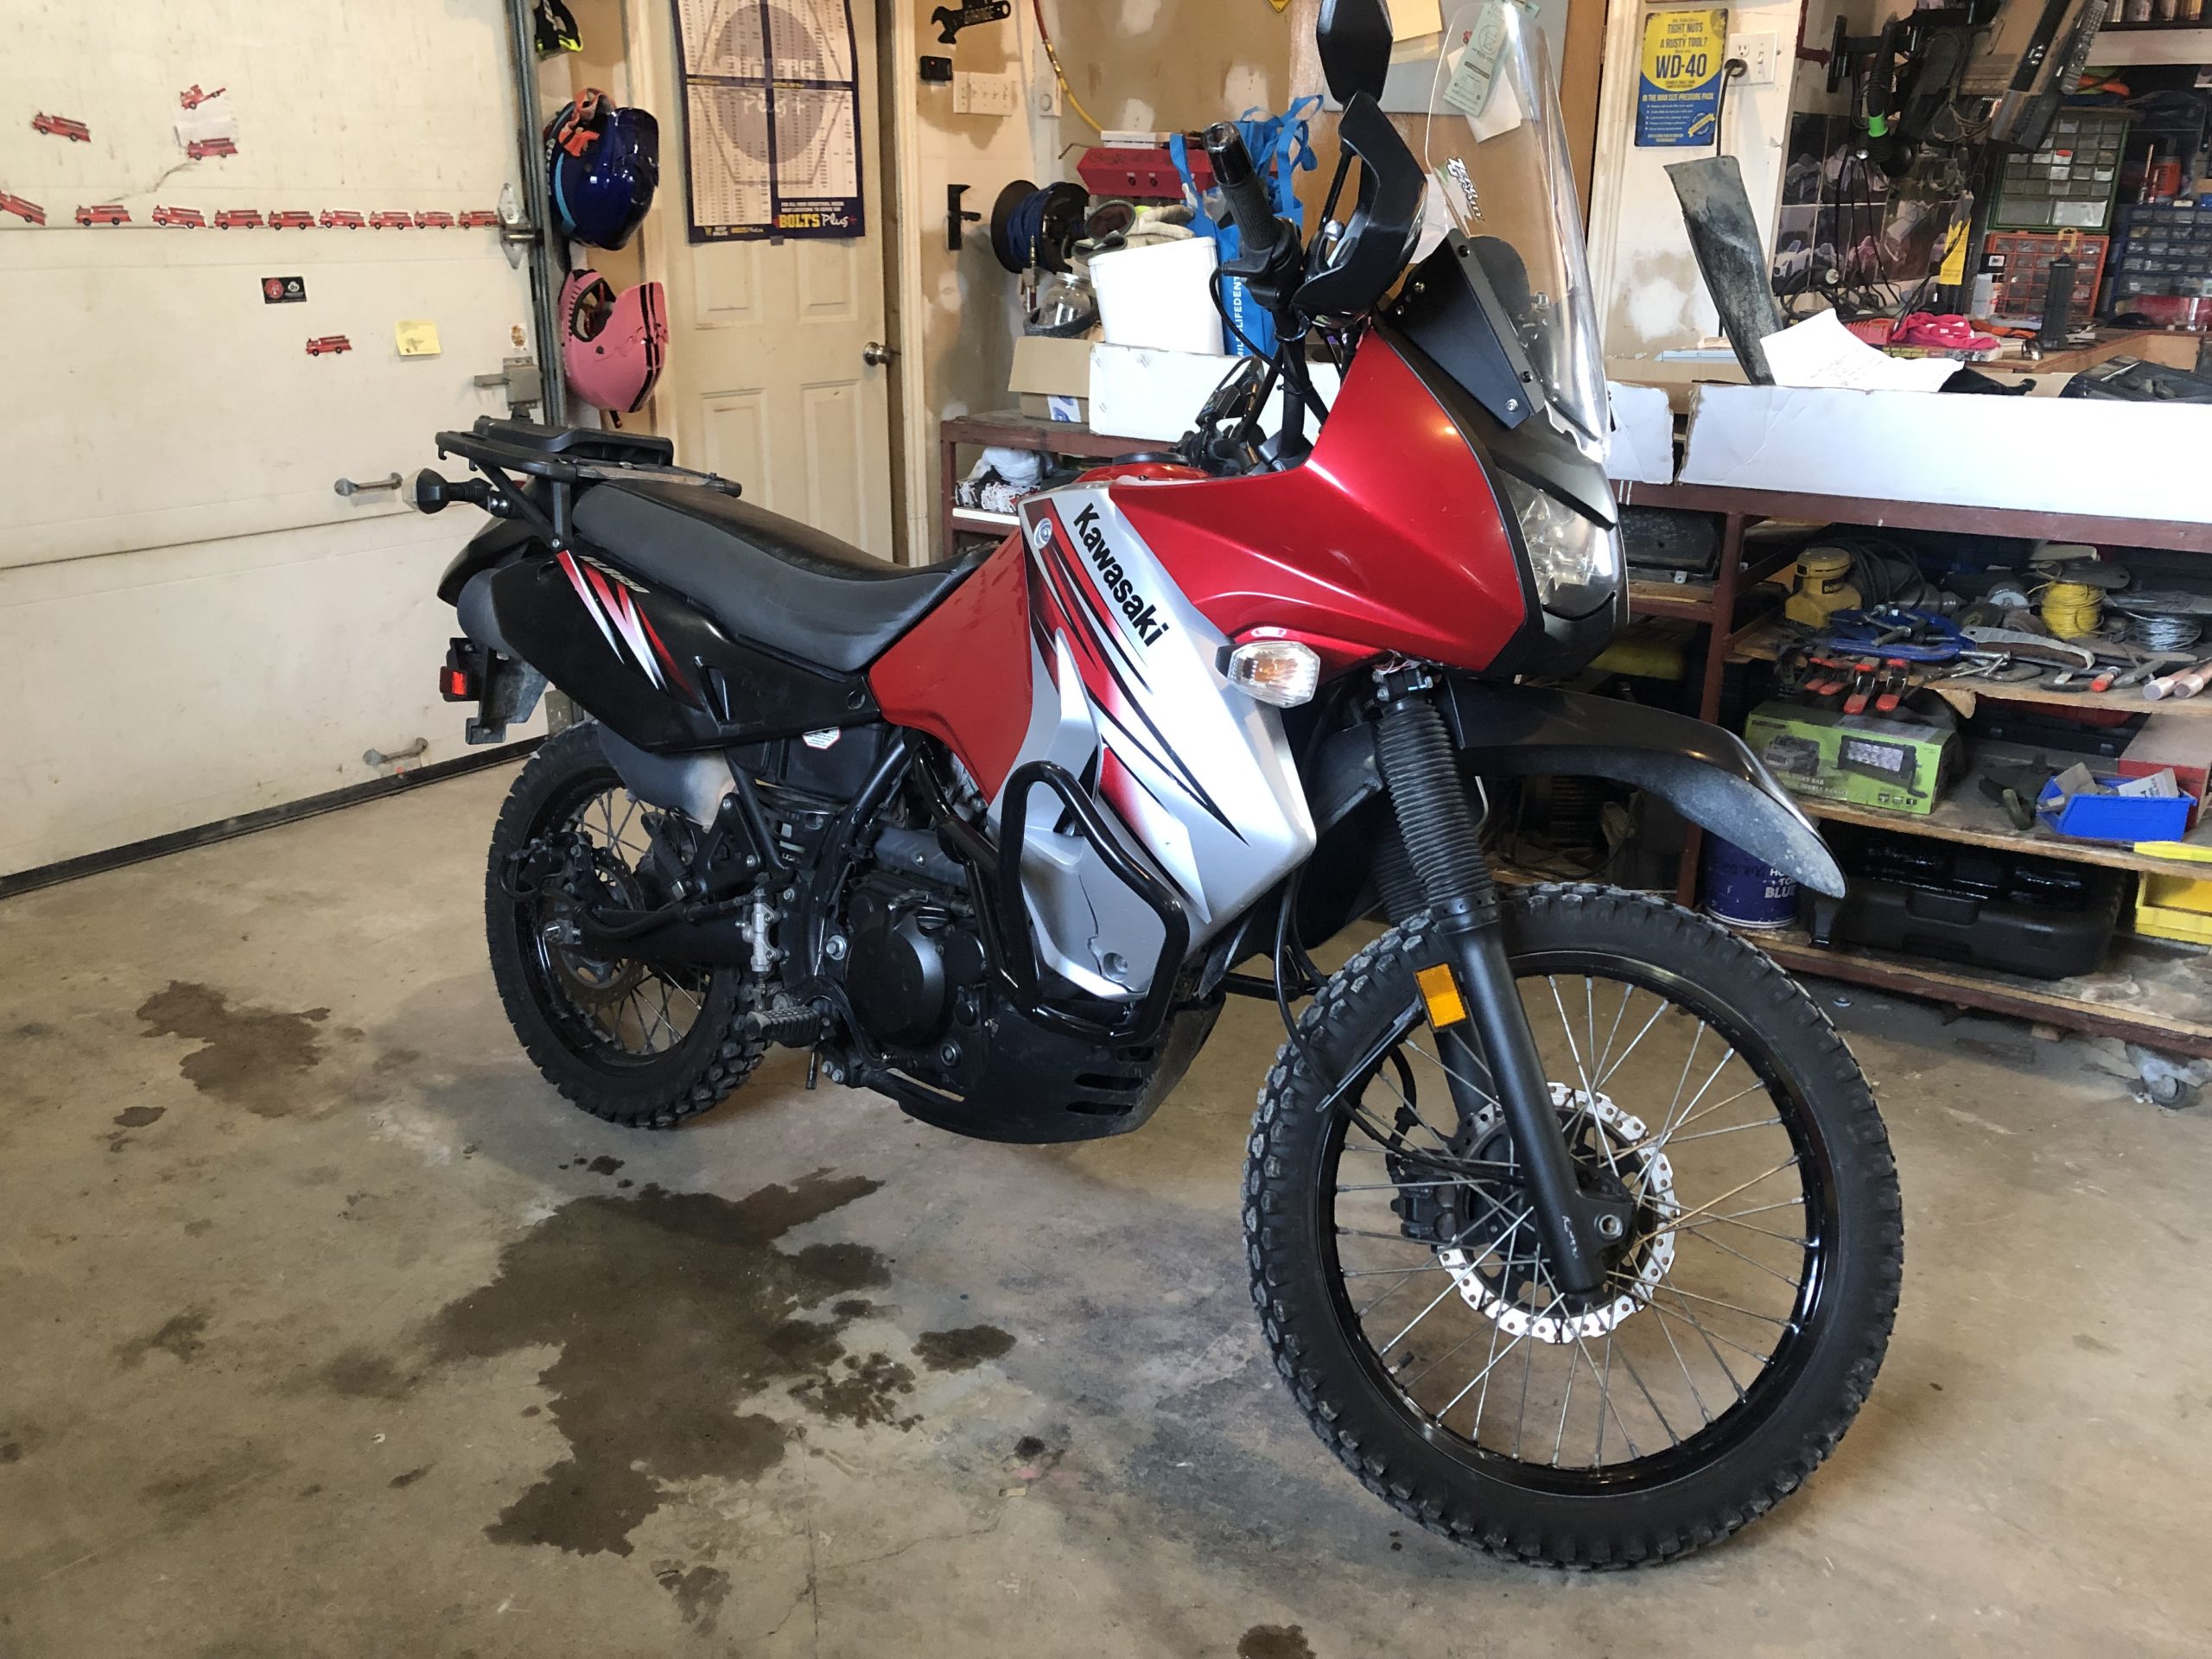
toys-n-yotasKeymasterToday in The Shop, my other buddy Matt and i pushed his KLR into the shop after crossing 2ft of mushy snow which fills my backyard. Matt bought his bike in November in a snow storm and we tucked it into my back shed where the other bikes hibernate.
Matts plan was to give it a pre-safety inspection, where the only issues we found were a blown license plate bulb and a missing cotter pin in the rear axle nut.
After a successful pre-safety, Matt took his first ride on it. Now is the time for paperwork, then he’s ready to adventure.
-
This reply was modified 11 months ago by toys-n-yotas.
Attachments:
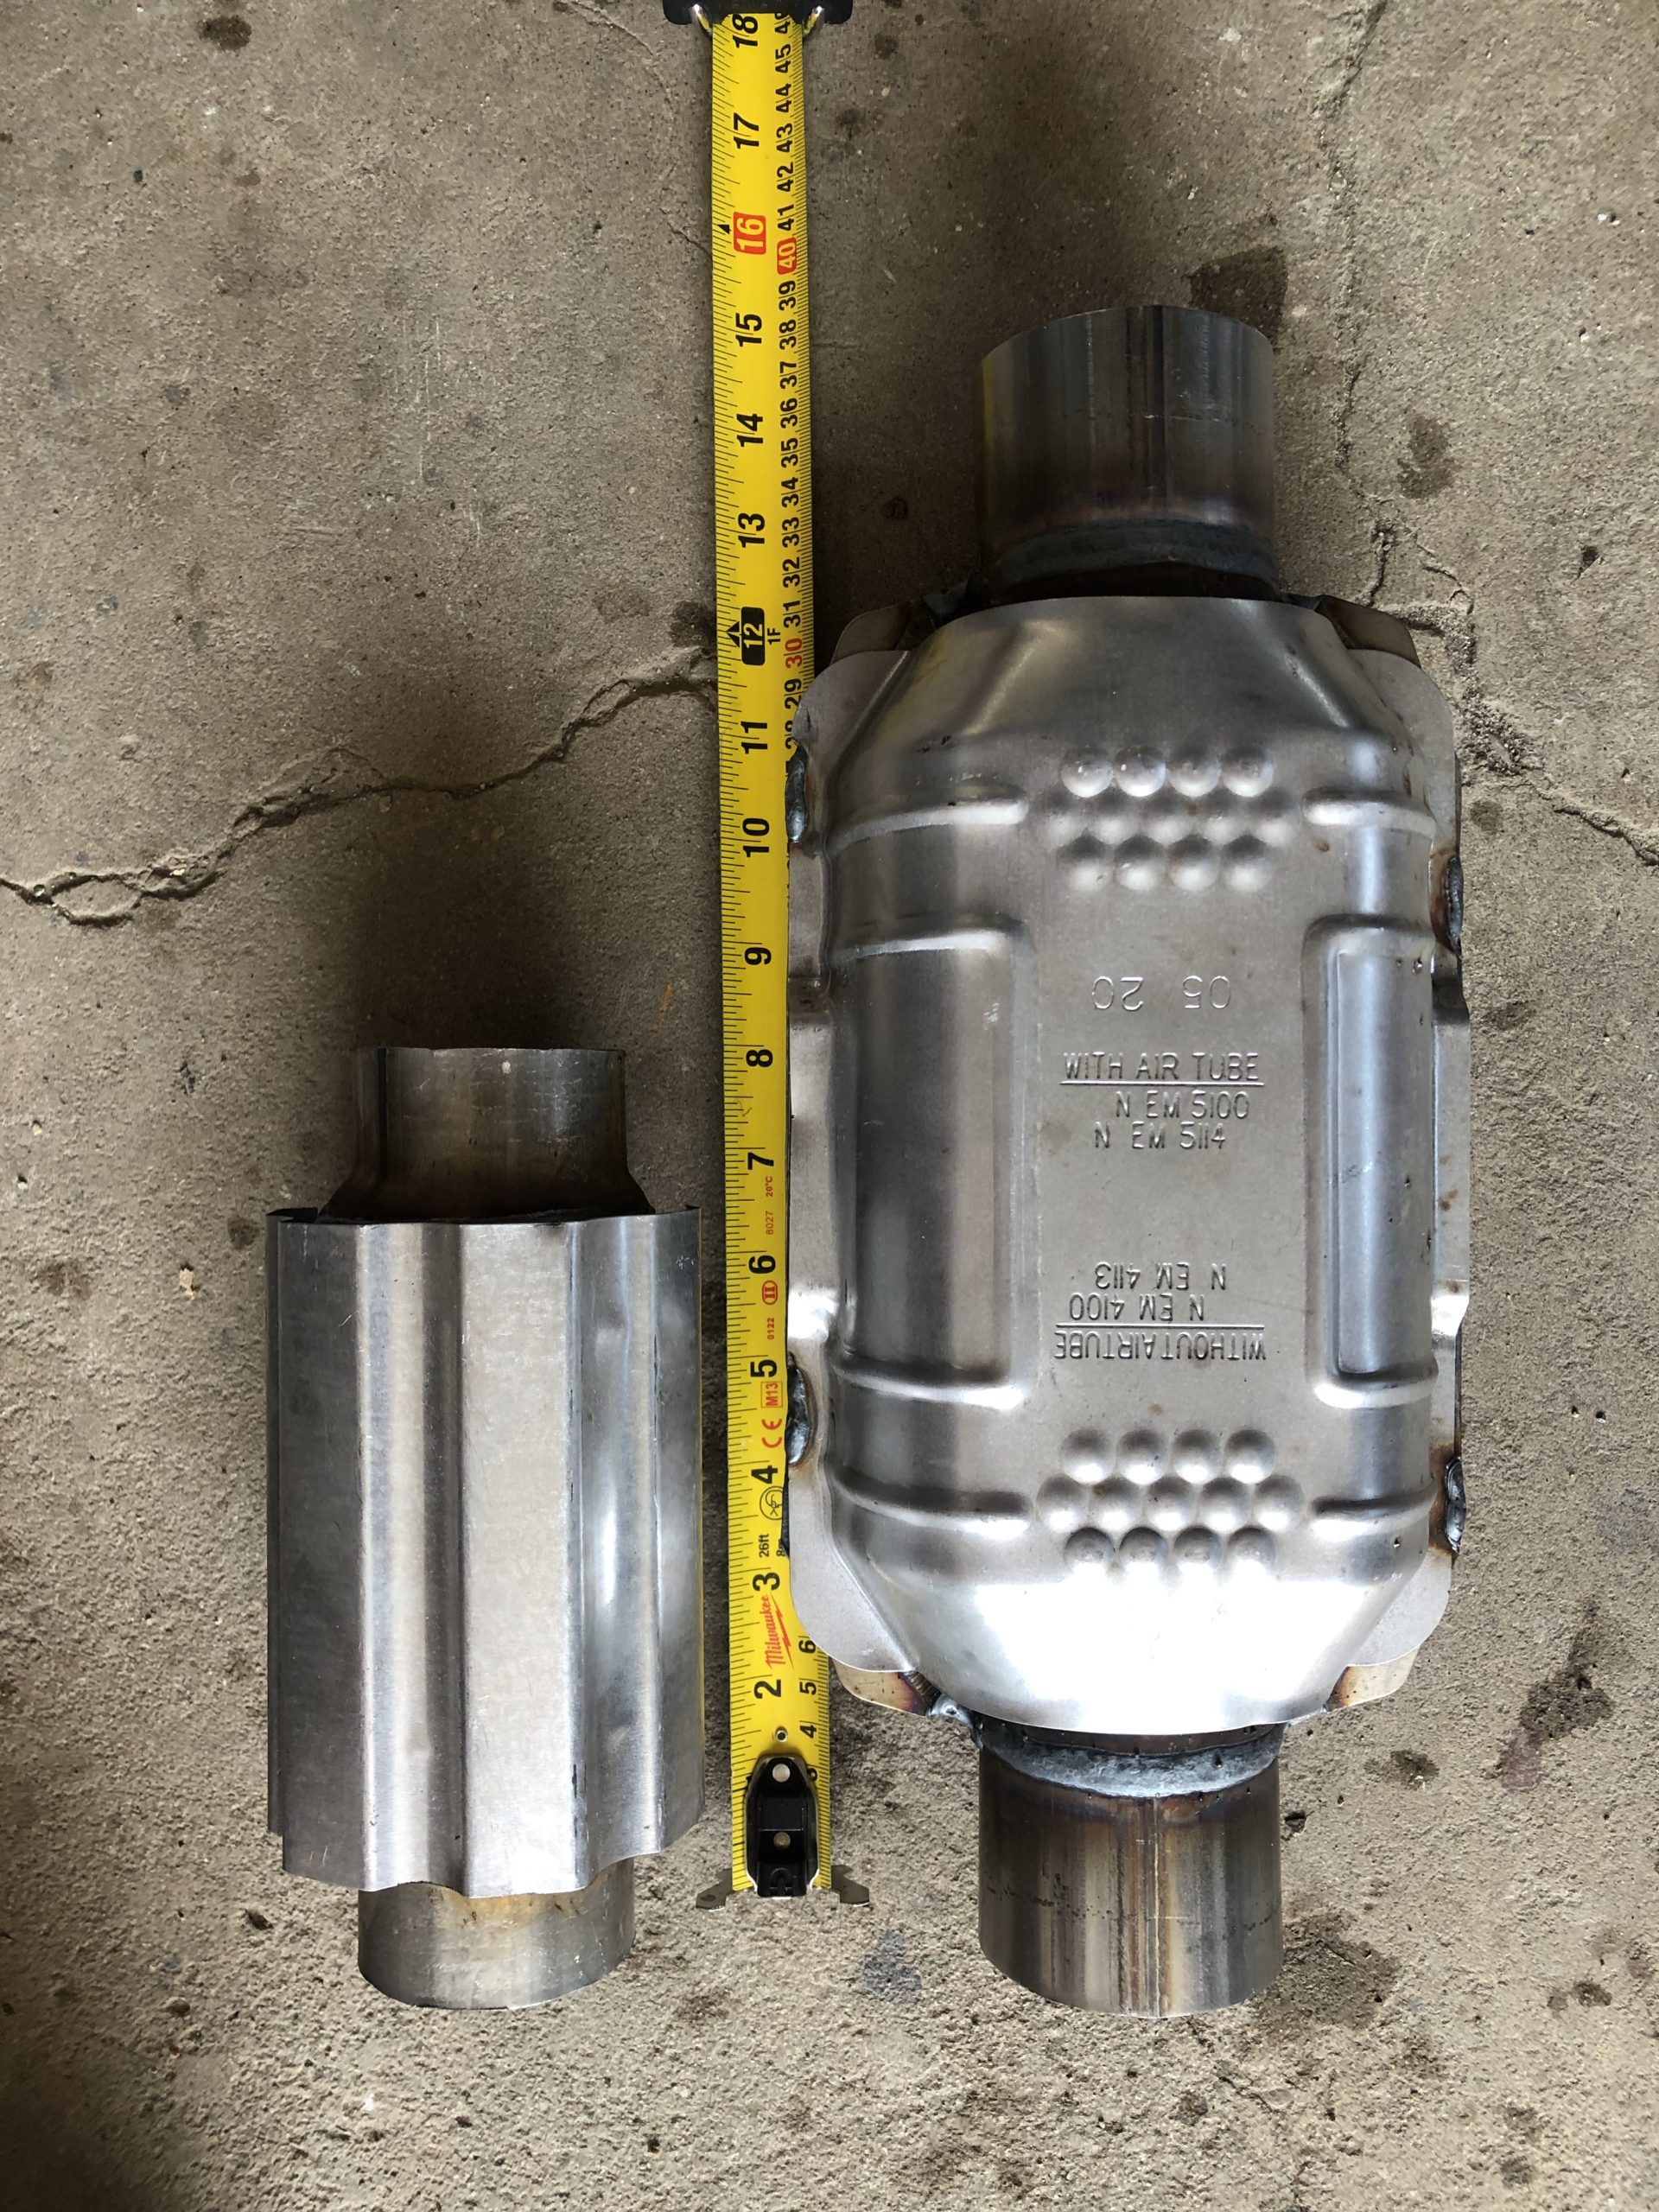
toys-n-yotasKeymasterHere’s the two cats side by side.
The old one is 15″ long, new one just under 8″. Gives me enough space to get both O2 sensors in before the crossmember (I think).Attachments:
toys-n-yotasKeymasterThanks Kevin! I thought it sounded pretty good too for being open at the collector off the Tri-Y header. Was expecting it to be a lot louder. Still plenty loud enough to shake decorations off the shelf, so not sustainable for my ear drums haha.
Received my third catalytic converter in the mail yesterday, and it fits soooo much better. Will take a side-by-side comparison tonight. I’ll be able to route my exhaust over the trans crossmember as opposed to under the cross member with the larger cat.
Gotta start accumulating exhaust pipe, bends, flanges and gaskets. Think I’ll bring my cat and the collector flange to National Exhaust to size up the pipe diameter i need there. 2″ ID flange, 2.25″ ID on the cat. Thinking a 45* bend, 2.25″ pipe could fit with maybe a slight flare on one end. Next week problem, after payday.
toys-n-yotasKeymasterA little Sunshine makes a big difference in my life, so I converted two hours of building forts and bicycle rides into epic results in The Shop.
Psyched myself up yesterday, felt brave to put 15L off freshish 87 octane in the tank, and cycle the keys for good.
After a fuel leak at the tank (loose gear clamps), and 2-hours of NO SPARK investigation, I cleaned two ground locations and leapt for joy when Redee barked to life.
Redee spitting out some rays of motivation through an open header.
Redee lives!! 3RZ transplant, one step closer to cruising.
Cheers!!
toys-n-yotasKeymasterThe shop has seen some activity, but no photos of such efforts.
A couple weekends ago I put a new high pressure power steering hose into my sis-laws Altima, that was a total pain in the ass to do on a creeper. I also put in a windshield washer reservoir as hers was cracked at the 1/3 volume level.
I have repaired Matts snowblower twice this winter. Once the final drive chain blew a link, so a random tiny bolt and nut saved the day. A couple days later a shear pin on the final drive shaft broke, so I hammered a roll pin in its place.
Had the Taco in The Shop looking for the source of a chunk/rattle in the front end. Sounds like a bushing is gone, makes clunky noises when a bump is hit with just one tire. Thinking maybe sway bar bushungs? I bought them few months back, but never installed. I haven’t sorted out the rear and vibration, so the Taco still drives kinda shitty.
toys-n-yotasKeymasterNothing really happened in the last month.
My 10-year old iPhone broke, and I was phone and camera-less for a month. I managed to get all my photos recovered, but now they’re all on my computer and not my cell phone. Have to start making progress on Redee to get new photos haha.
I attempted to install the front carpet, but got pissed off and put it back up into the loft. Now i still have to reinstall the shifters, boots, seatbelts etc.
I added coolant and atf to the power steering system in preparation to fire her up. Still need to install a header gasket, and the air intake system, and put some gas in the tank before i twist the keys over. Getting close, but legitimately did nothing productive for the last month.
toys-n-yotasKeymasterJust realized that this is the first time I’ve ever installed the dirt cars in Redee. They’ve Been in storage since I removed the interior, and did a major de-turding shortly after bringing her home in 2018.
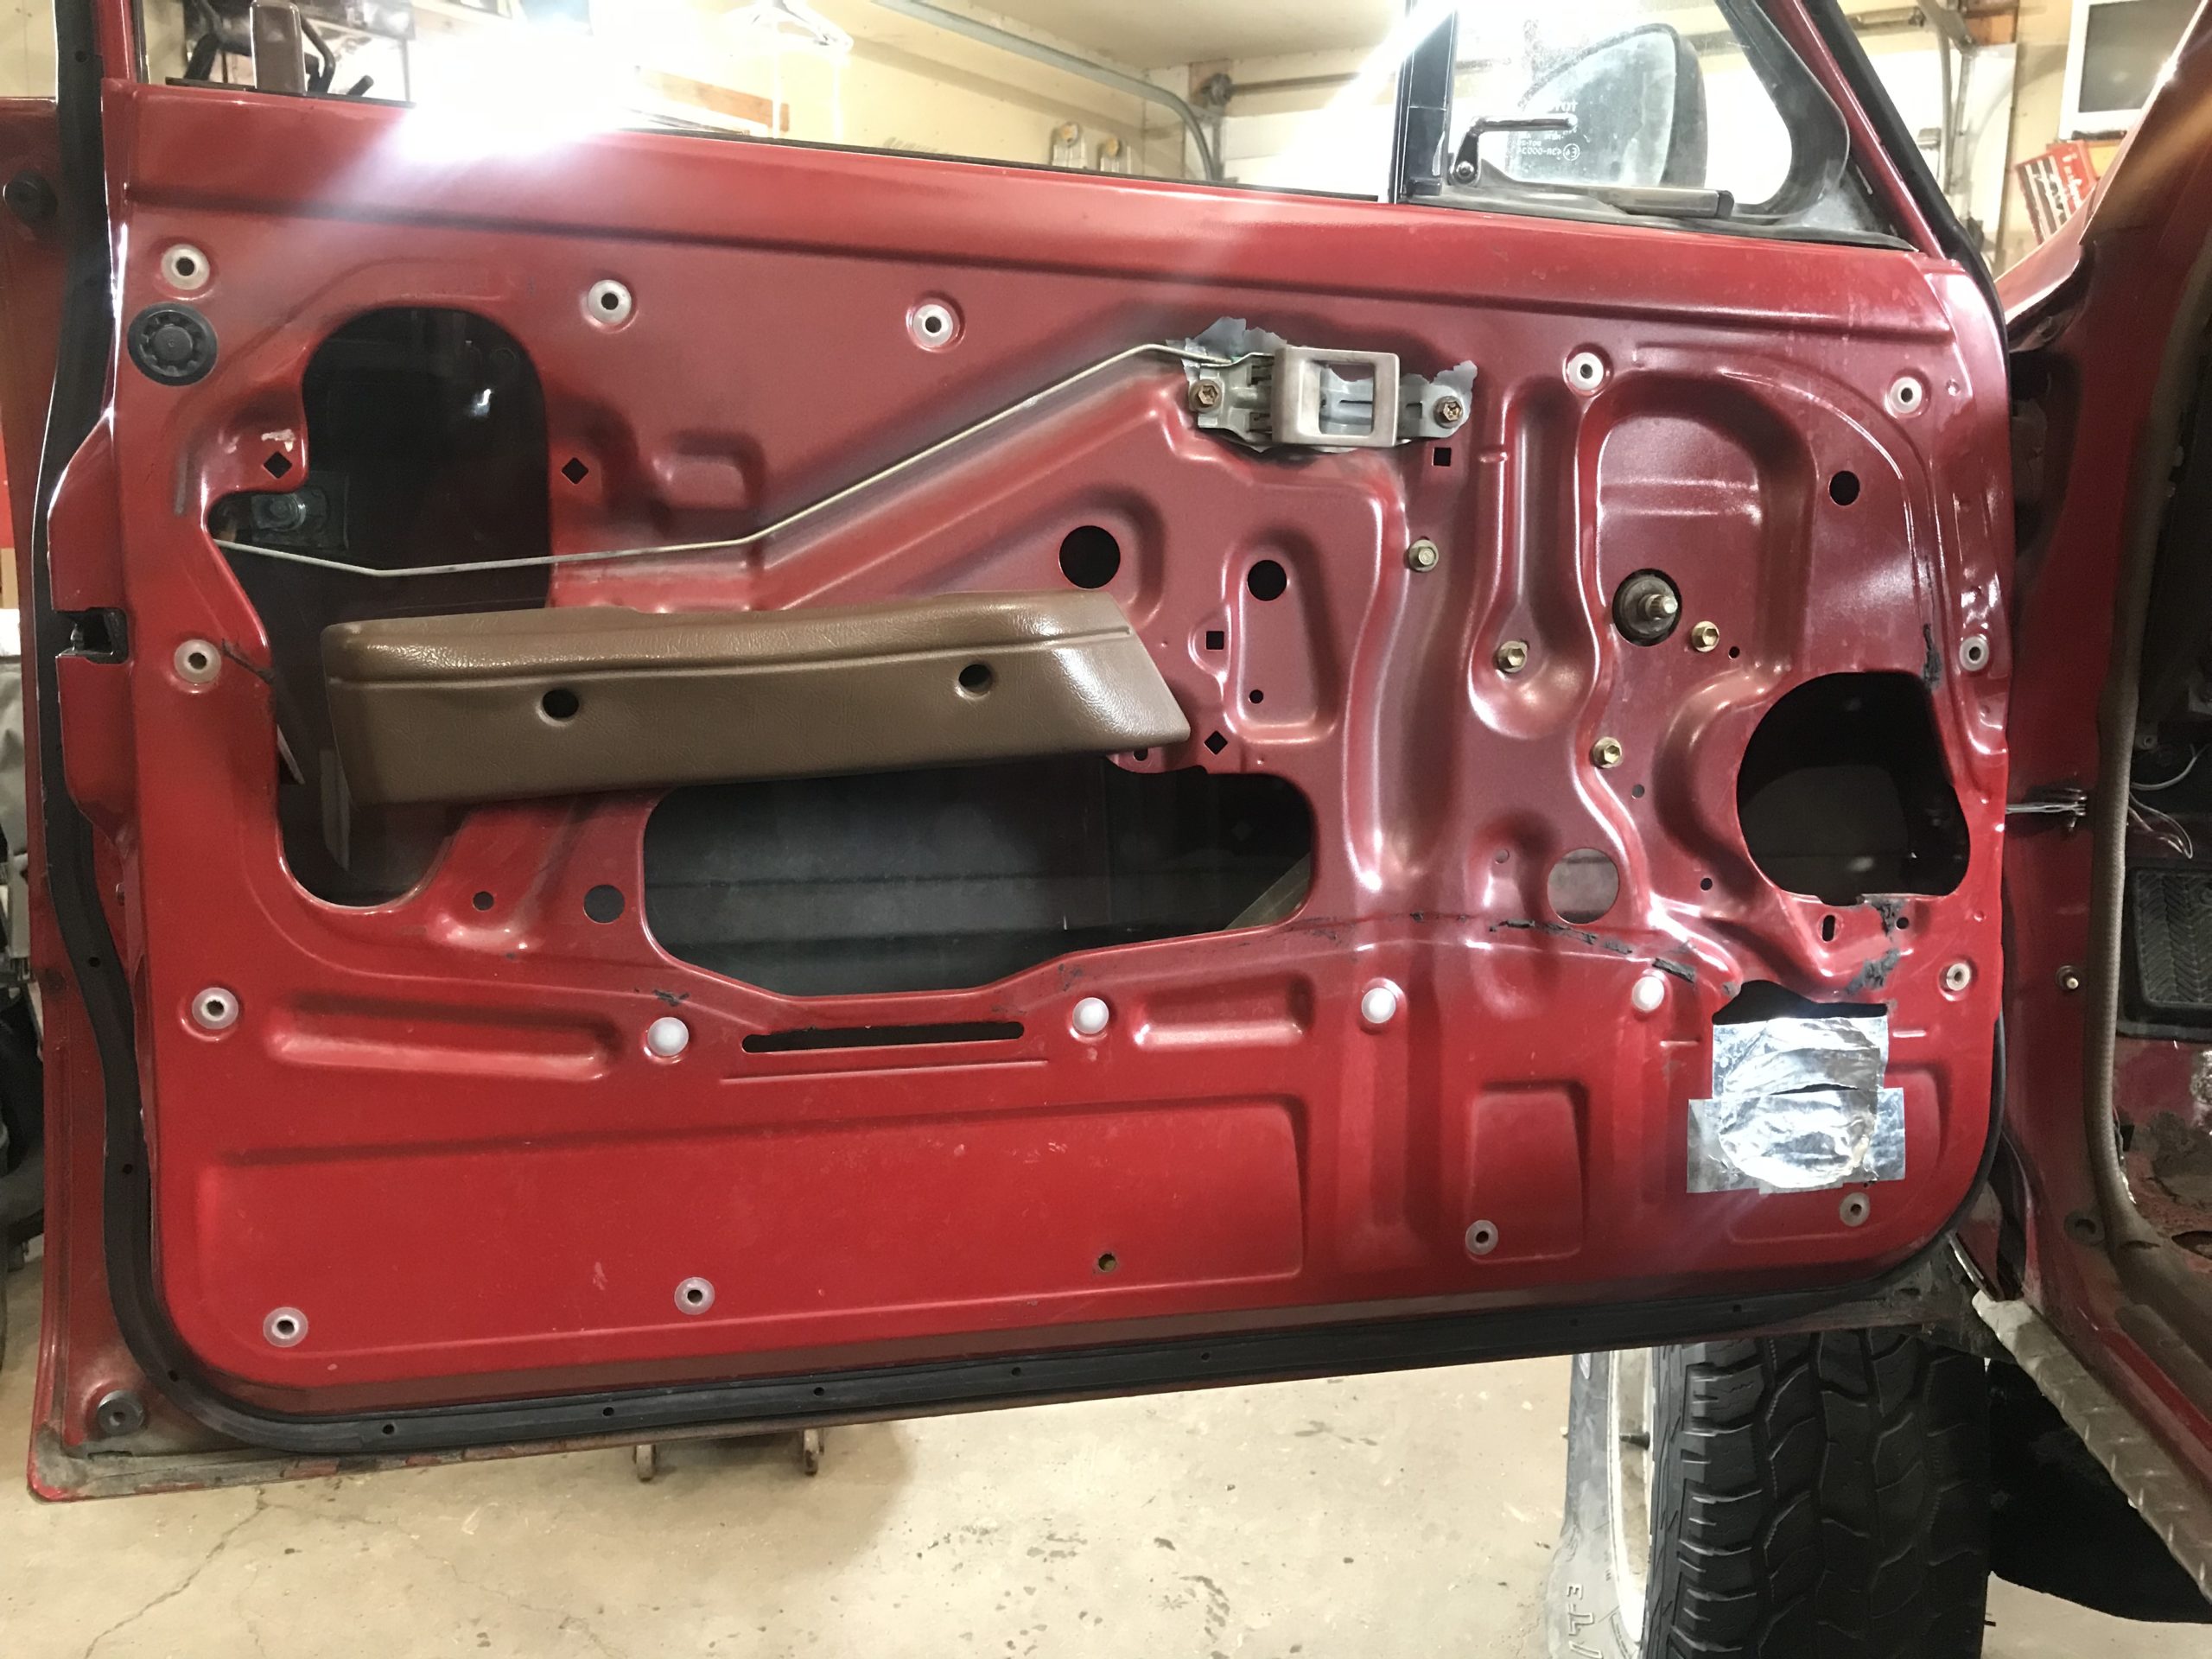
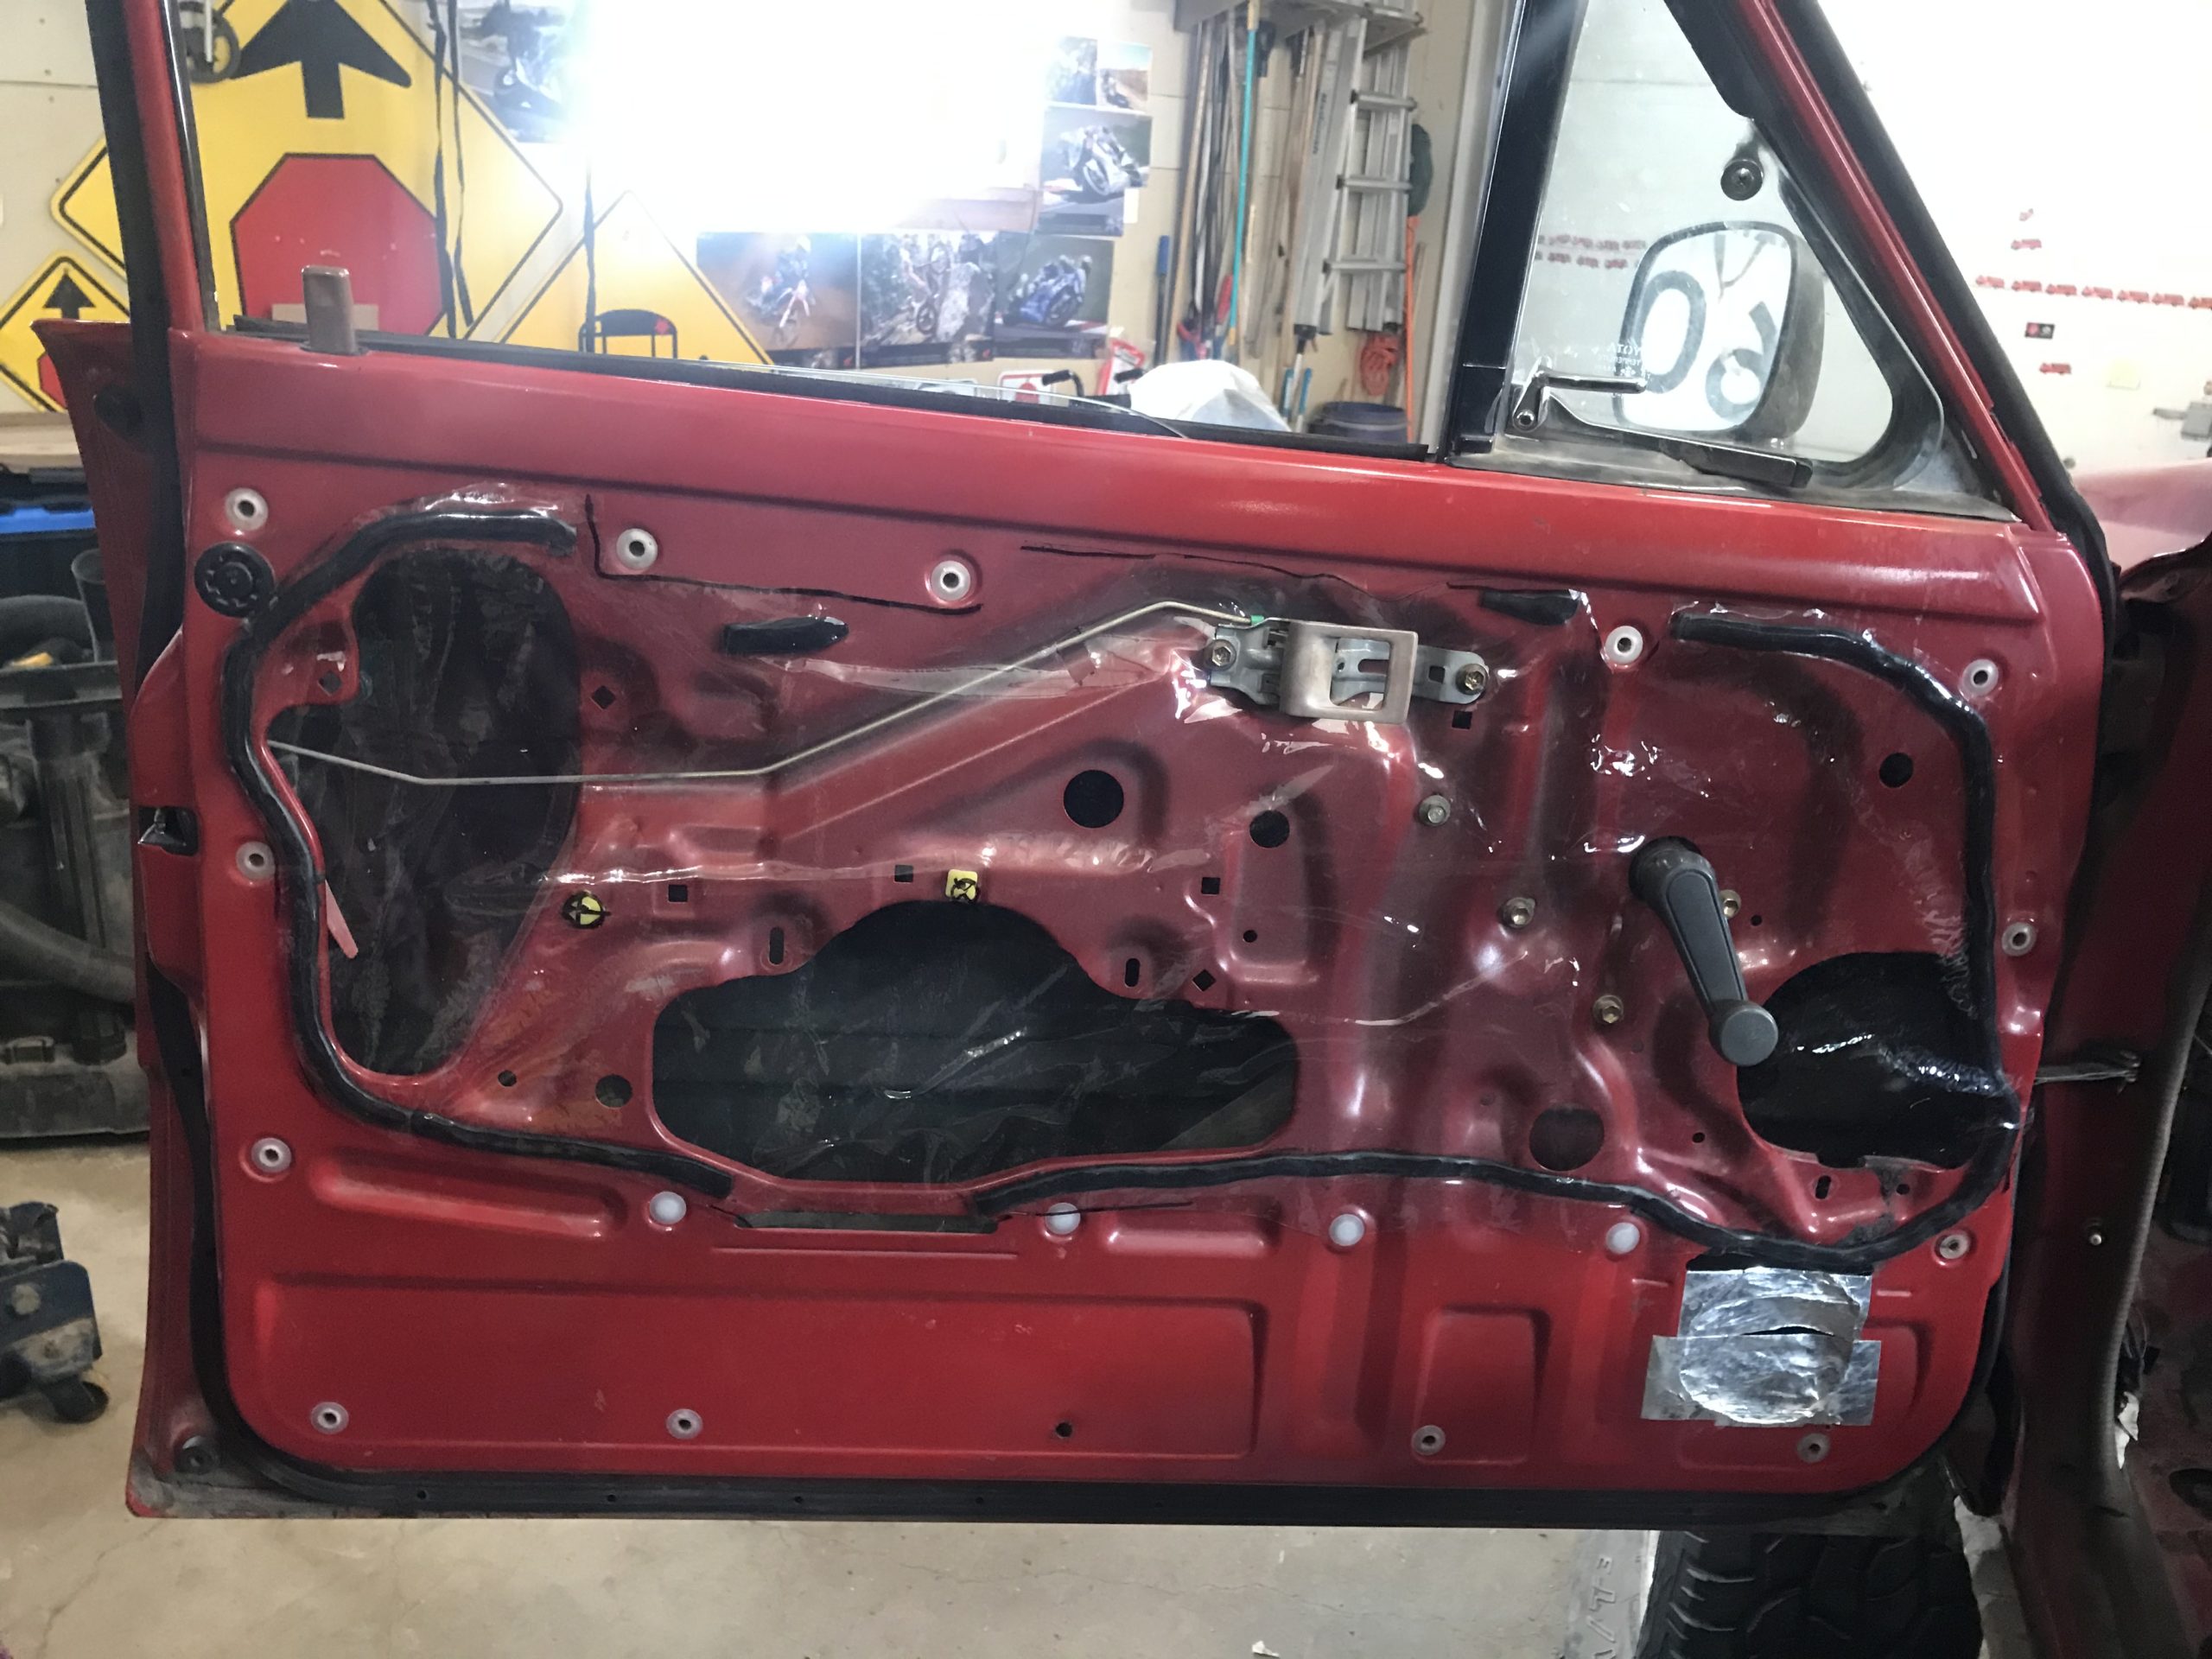
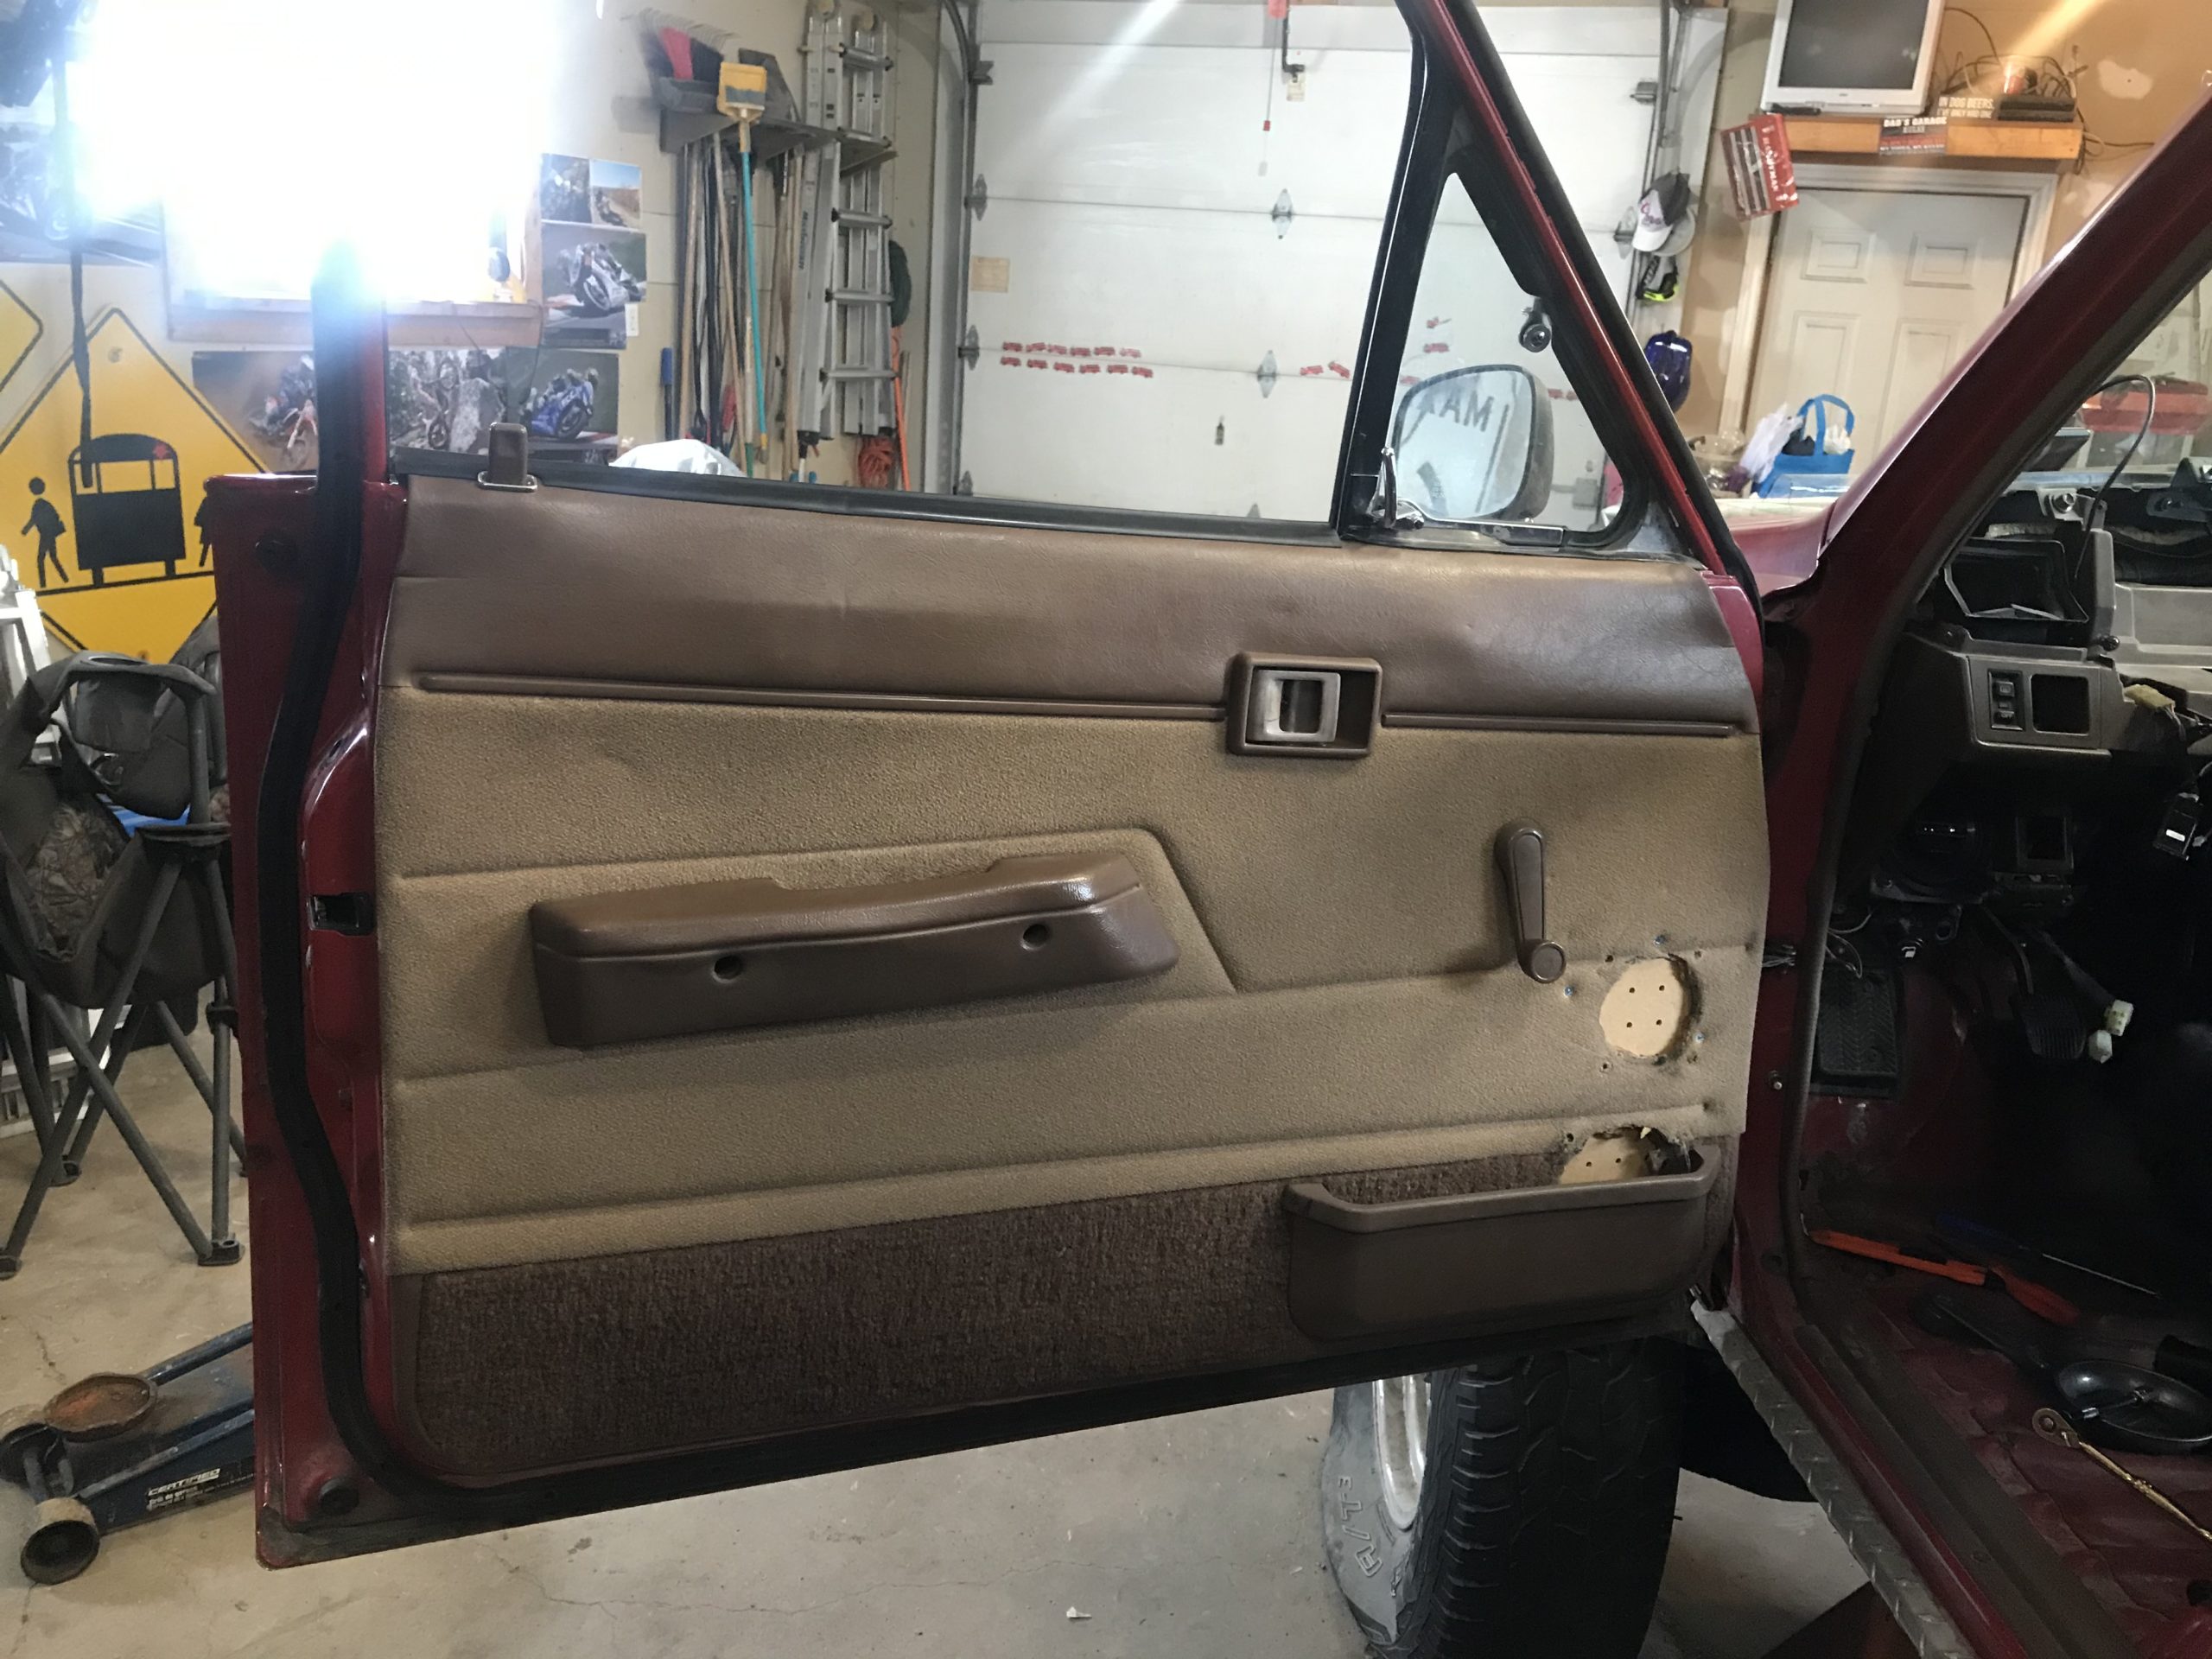
toys-n-yotasKeymasterMade some great progress on the interior today with one of my daughters. We had a blast doing Truck arts and crafts in the garage.
We cut new Vapor Barrier, applied new butyl rubber to keep it in place. We had to repair the door cards too, they are weak from the speaker holes that were cut into them. So we added some peg board and wood screws. Not great, but better than naked door frames.
I’m waiting on adhesive backed sound deadening to apply to the floor before putting down new carpet. Should be here this week.
Planning to save interior improvements as daddy-daughter time, and exhaust building at night by myself.
Some before and after door pics
-
This reply was modified 1 year ago by toys-n-yotas.
-
AuthorPosts