Forum Replies Created
-
AuthorPosts
-
 toys-n-yotasKeymaster
Thank you Mapleview Tire!
Attachments:
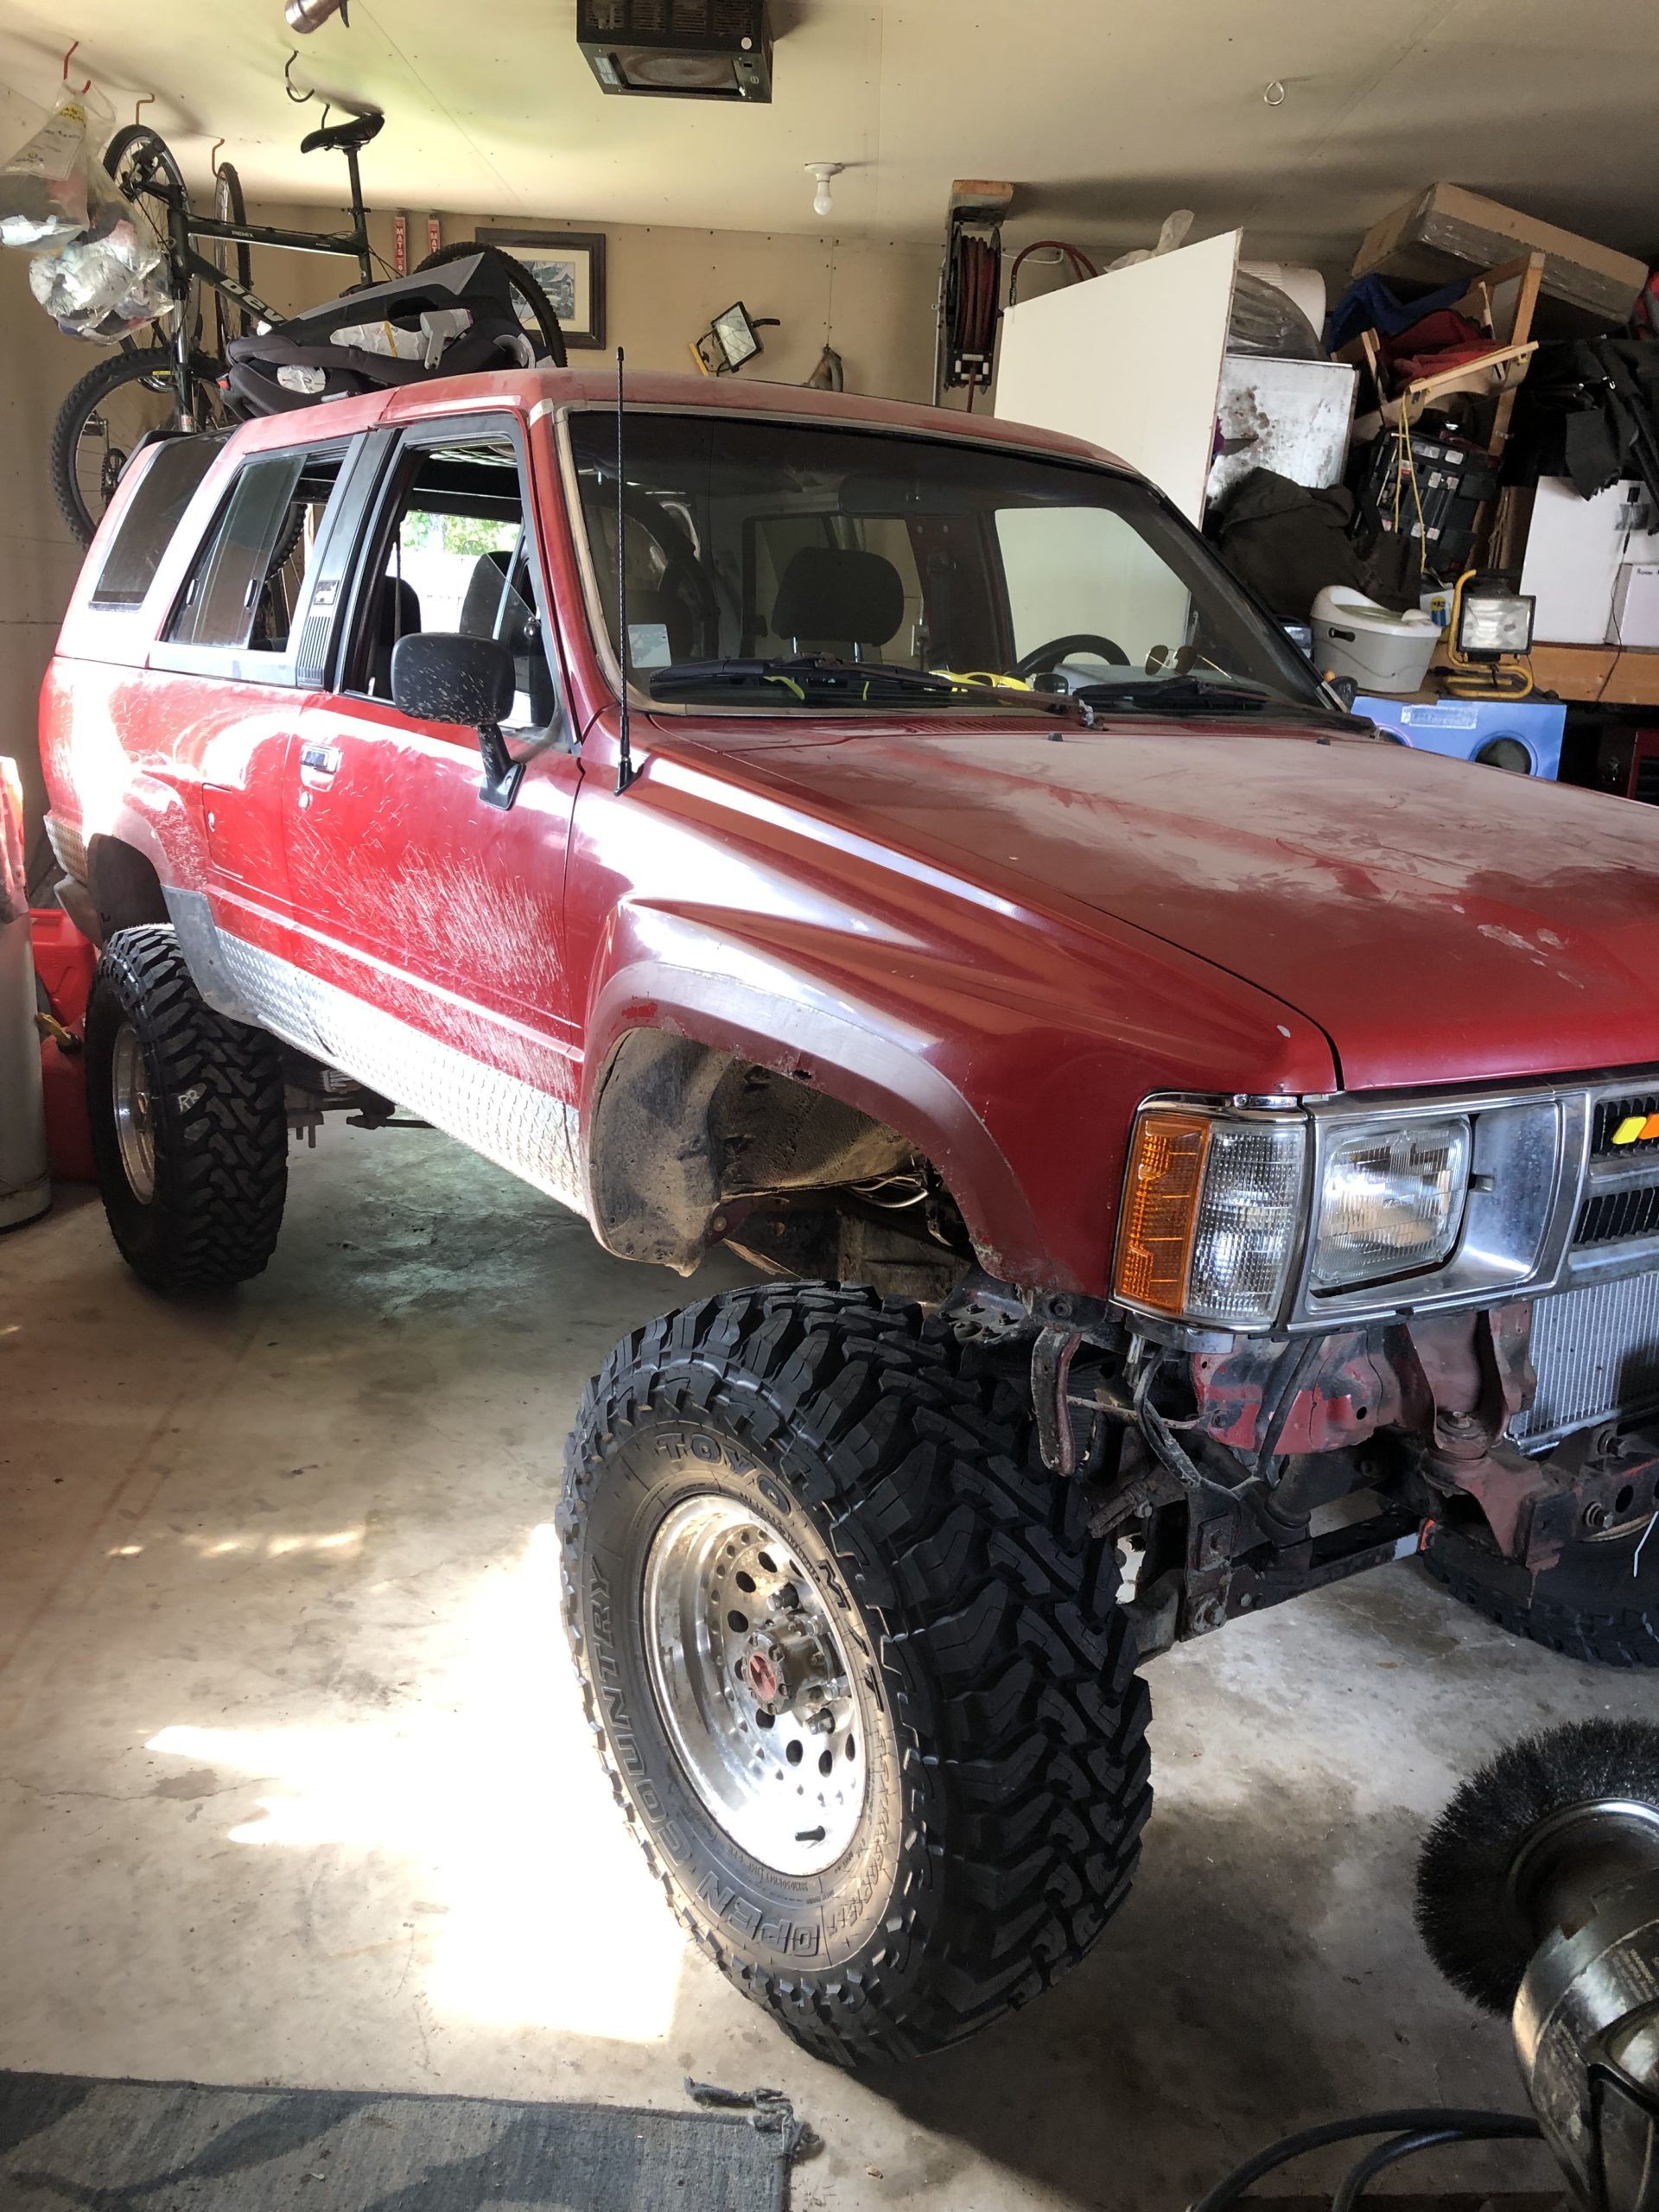
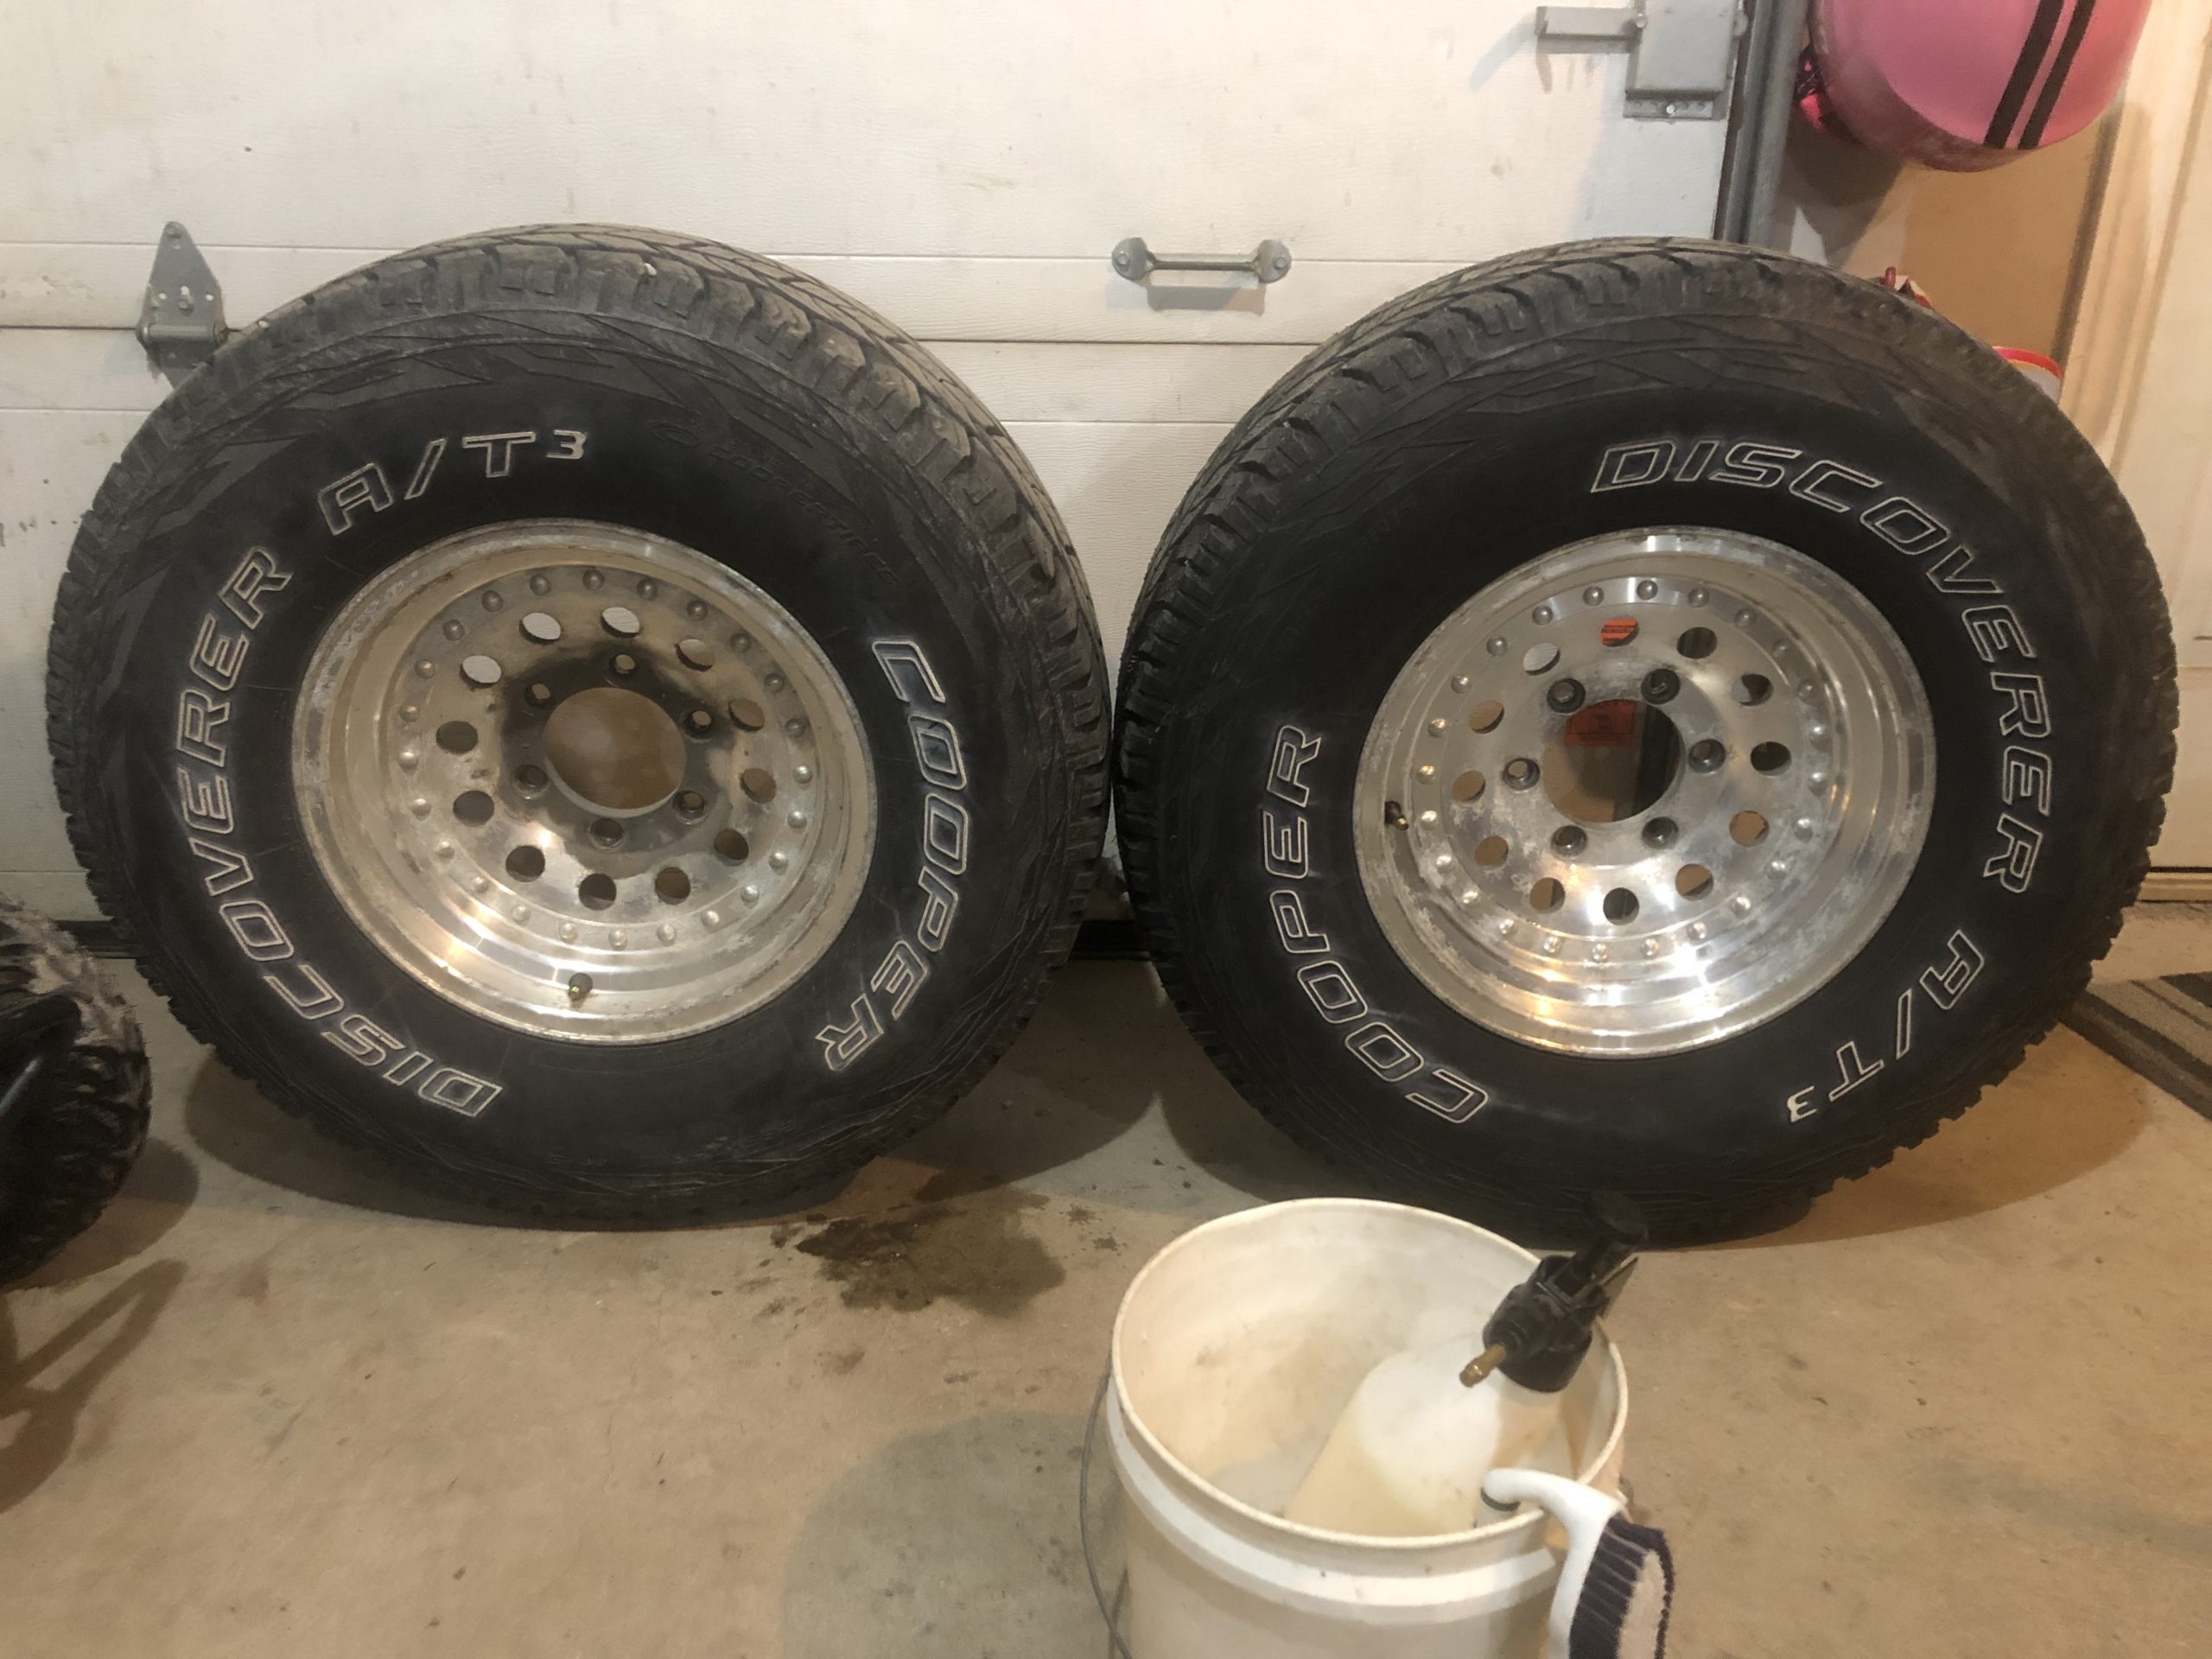
toys-n-yotasKeymasterRedee is back on axle stands, but for a good reason. Last night i scrubbed grease grime dirt and crap off all 4 rims inside and out in preparation for new rubber next week. Tires have been ordered, another 4 days for them to arrive, and I have an install date penciled in for next Friday. I work a half day, then head to Mapleview Tire in Barrie to meet my buddy Eric at his shop. He’s going to road force balance my Duratracs too, they’ve been shaking since new and really piss me off.
A couple days ago I installed an OEM tire hoist to get the spare mounted under the bed. I didn’t want it back inside Redee cause that really eats up space. And a swingout bumper is gonna take some time to build still. So under Redee it goes.
My daughter wants me to put the rear passenger interior panels in, so I may ask for her assistance in that task today after work. Time will tell.
Attachments:
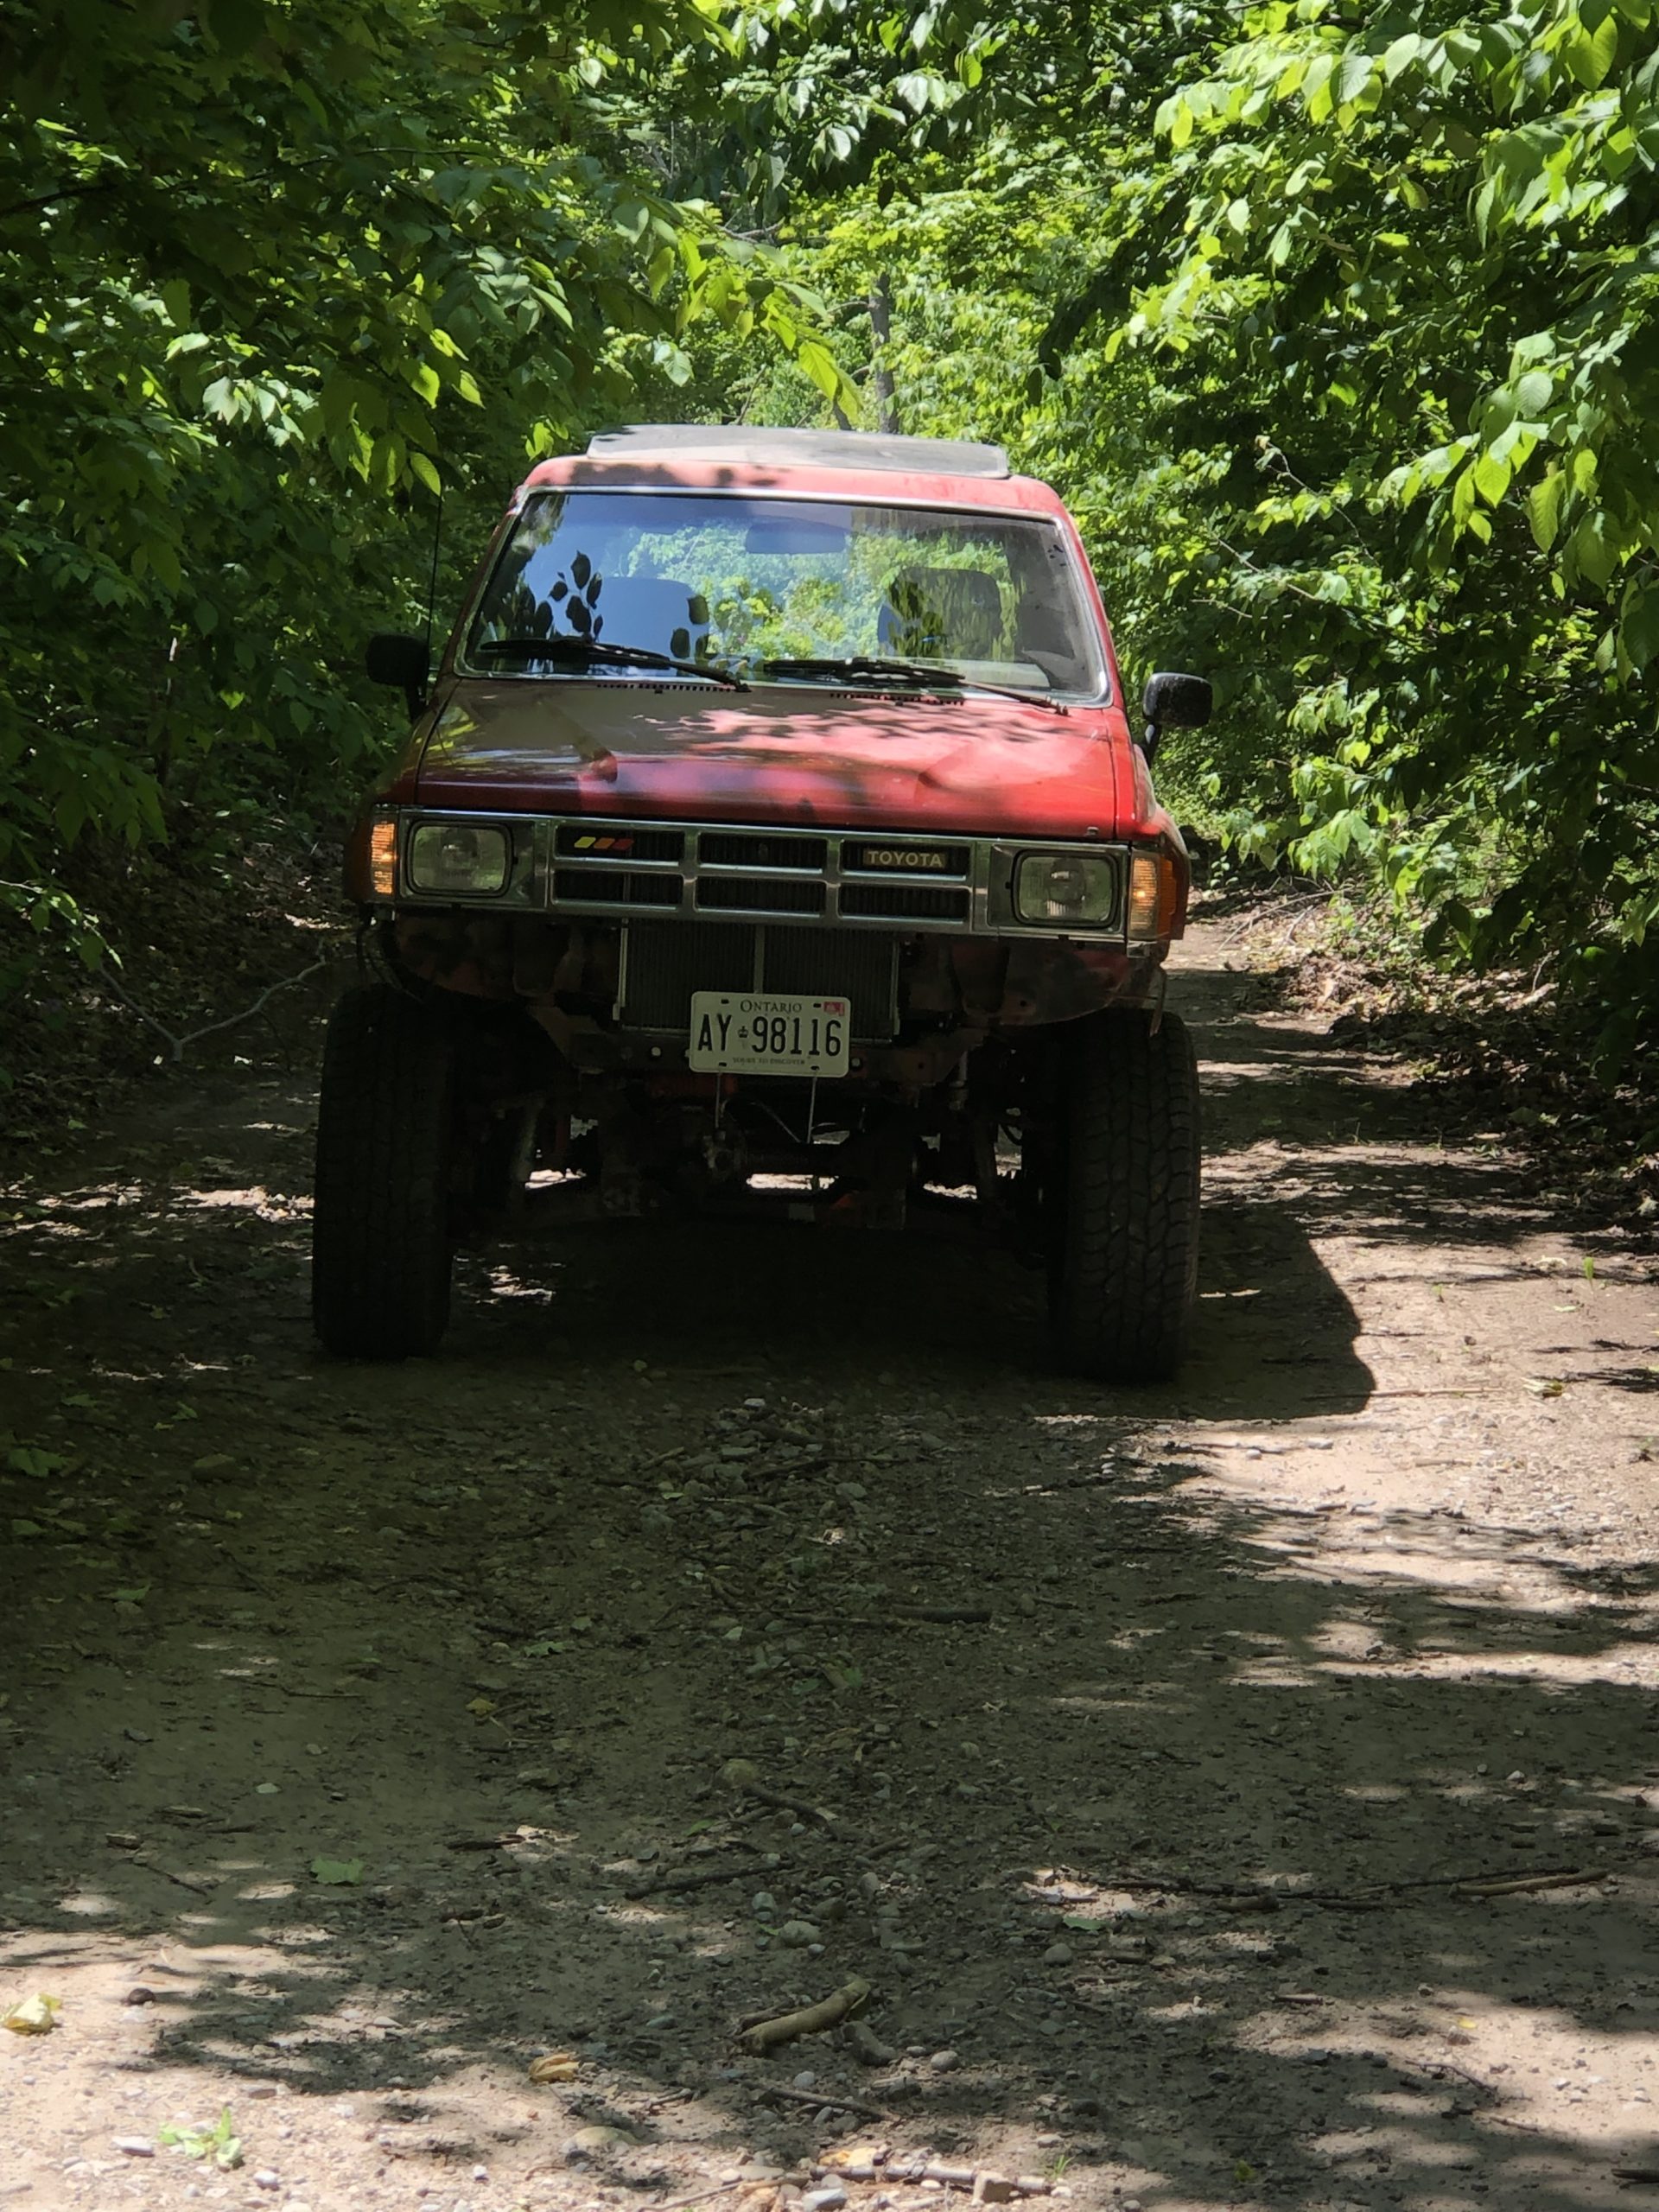
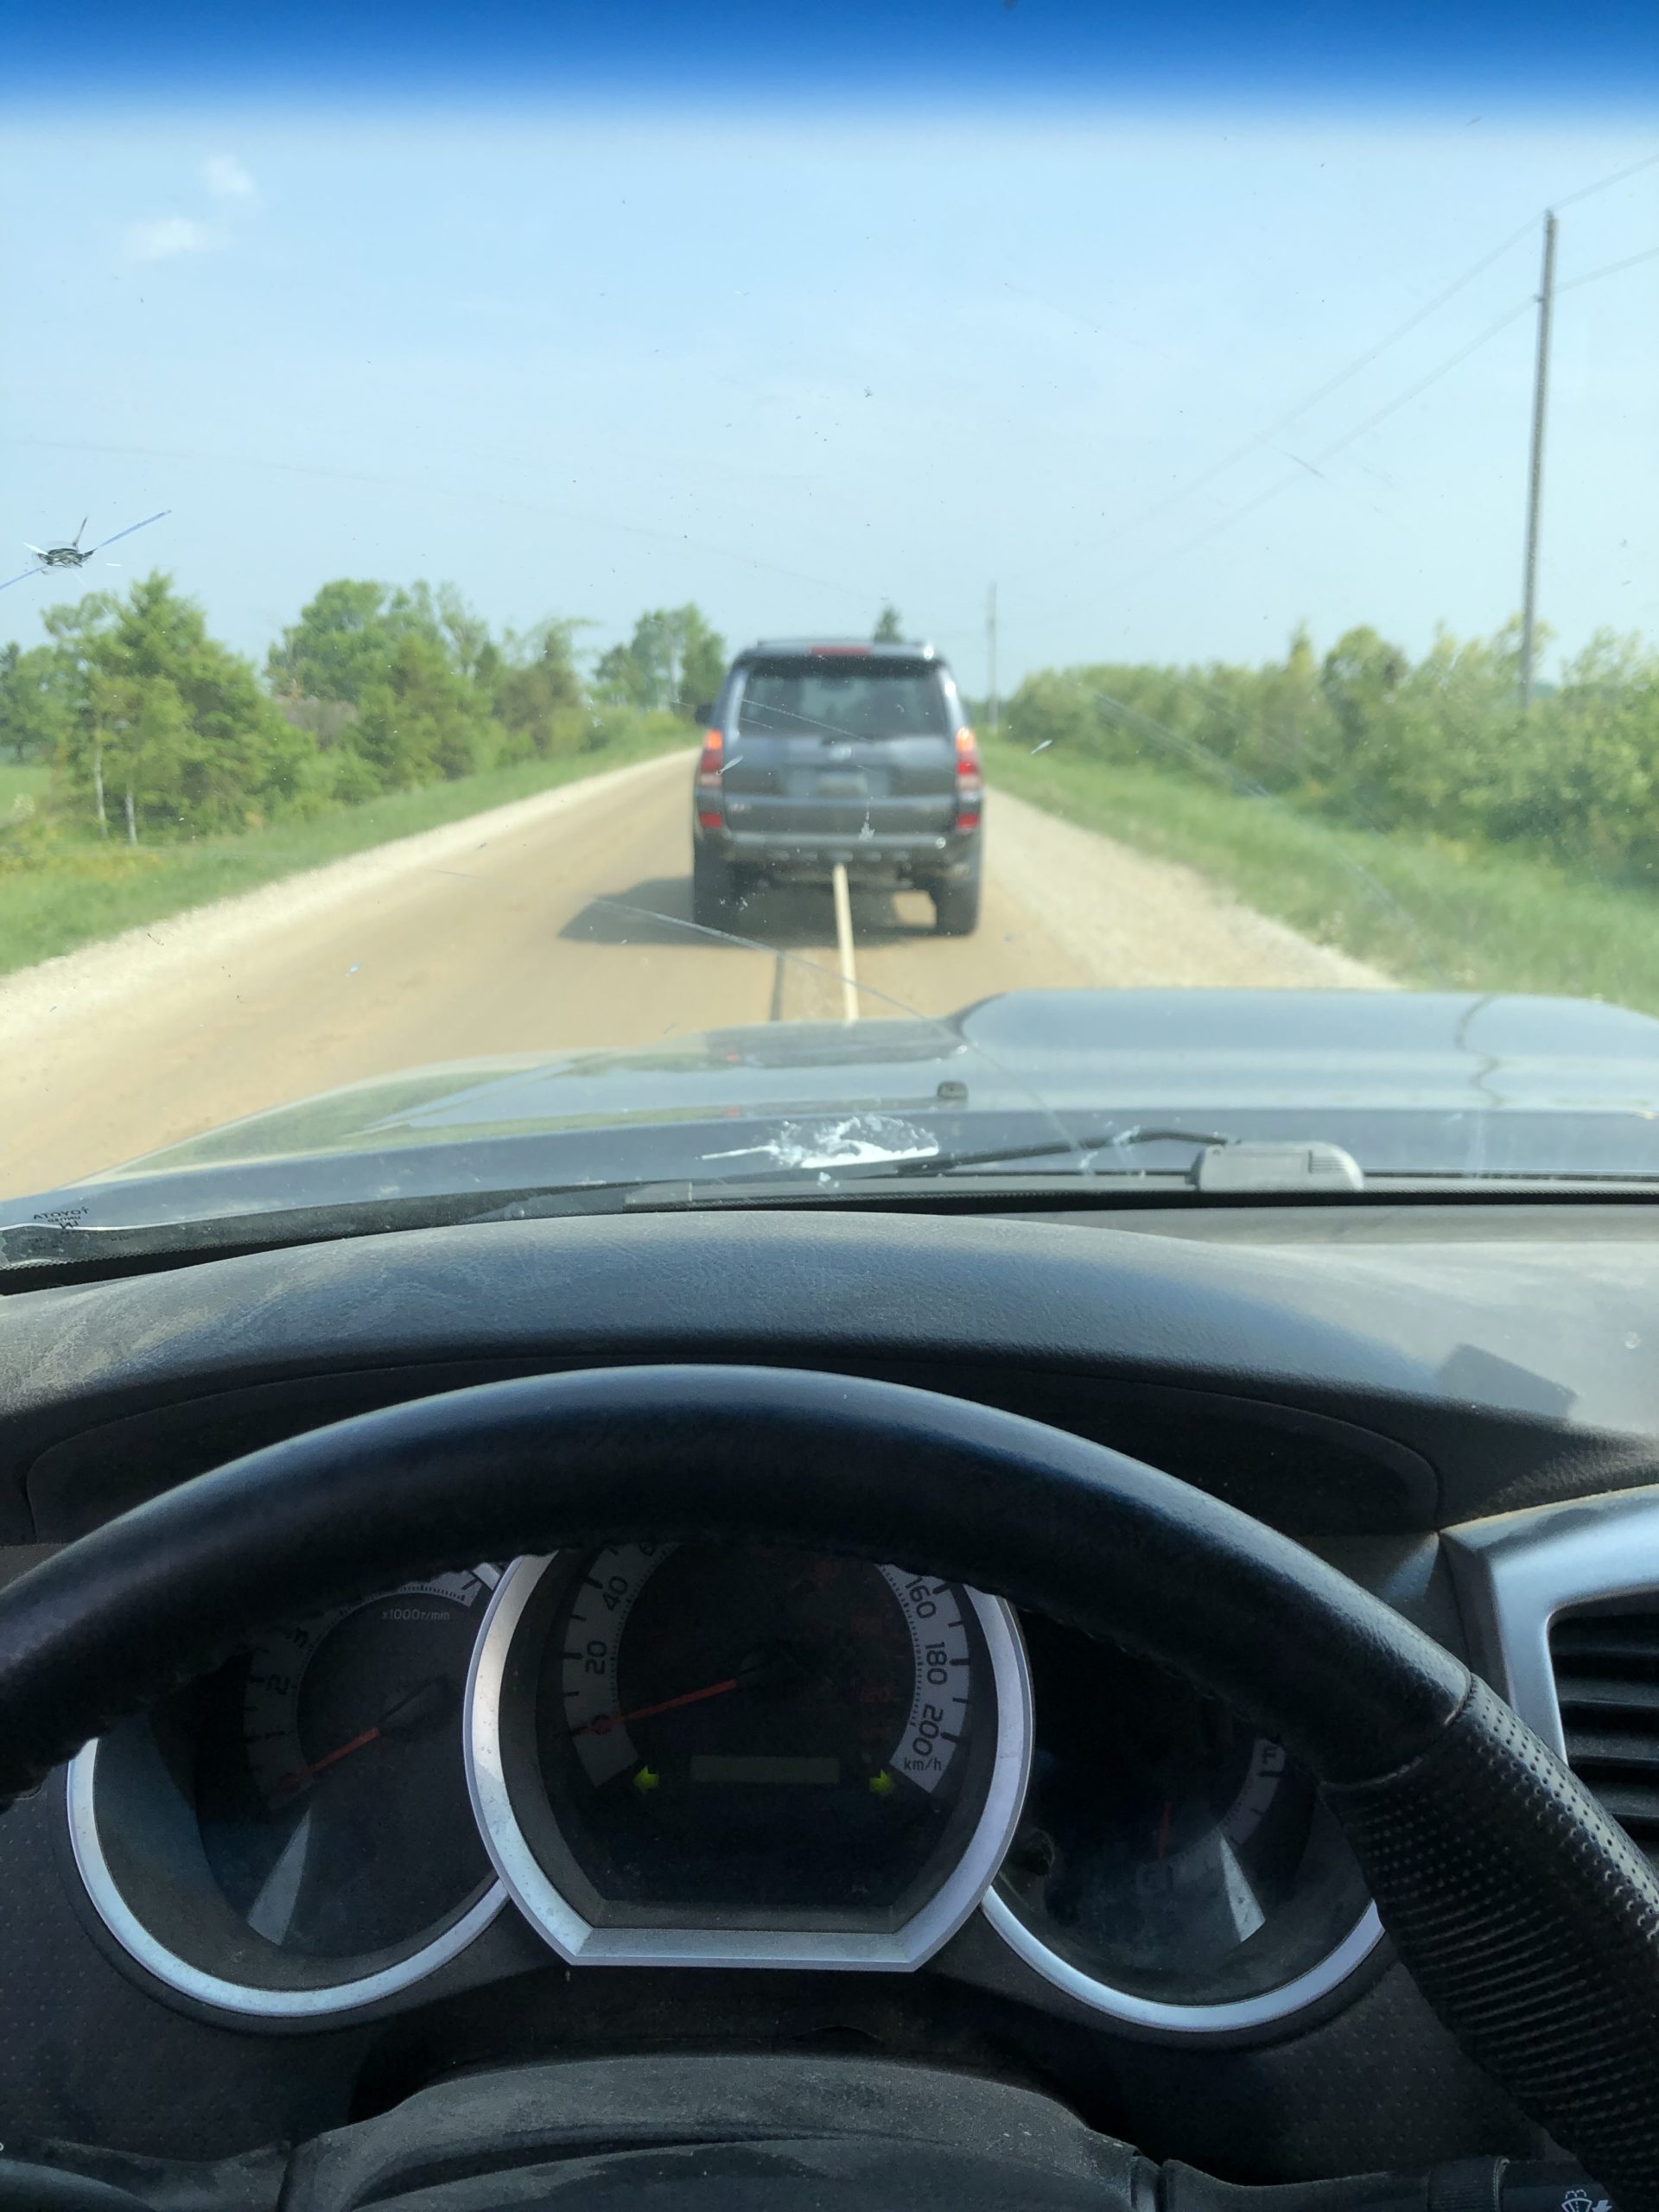
toys-n-yotasKeymasterTook an adventurous drive yesterday, clocked 50kms of back roads, and no winter maintenance roads.
All went well, threw an engine code claiming that EGR sensor something something, but I’m not concerned because the entire EGR system has been bluetoothed.
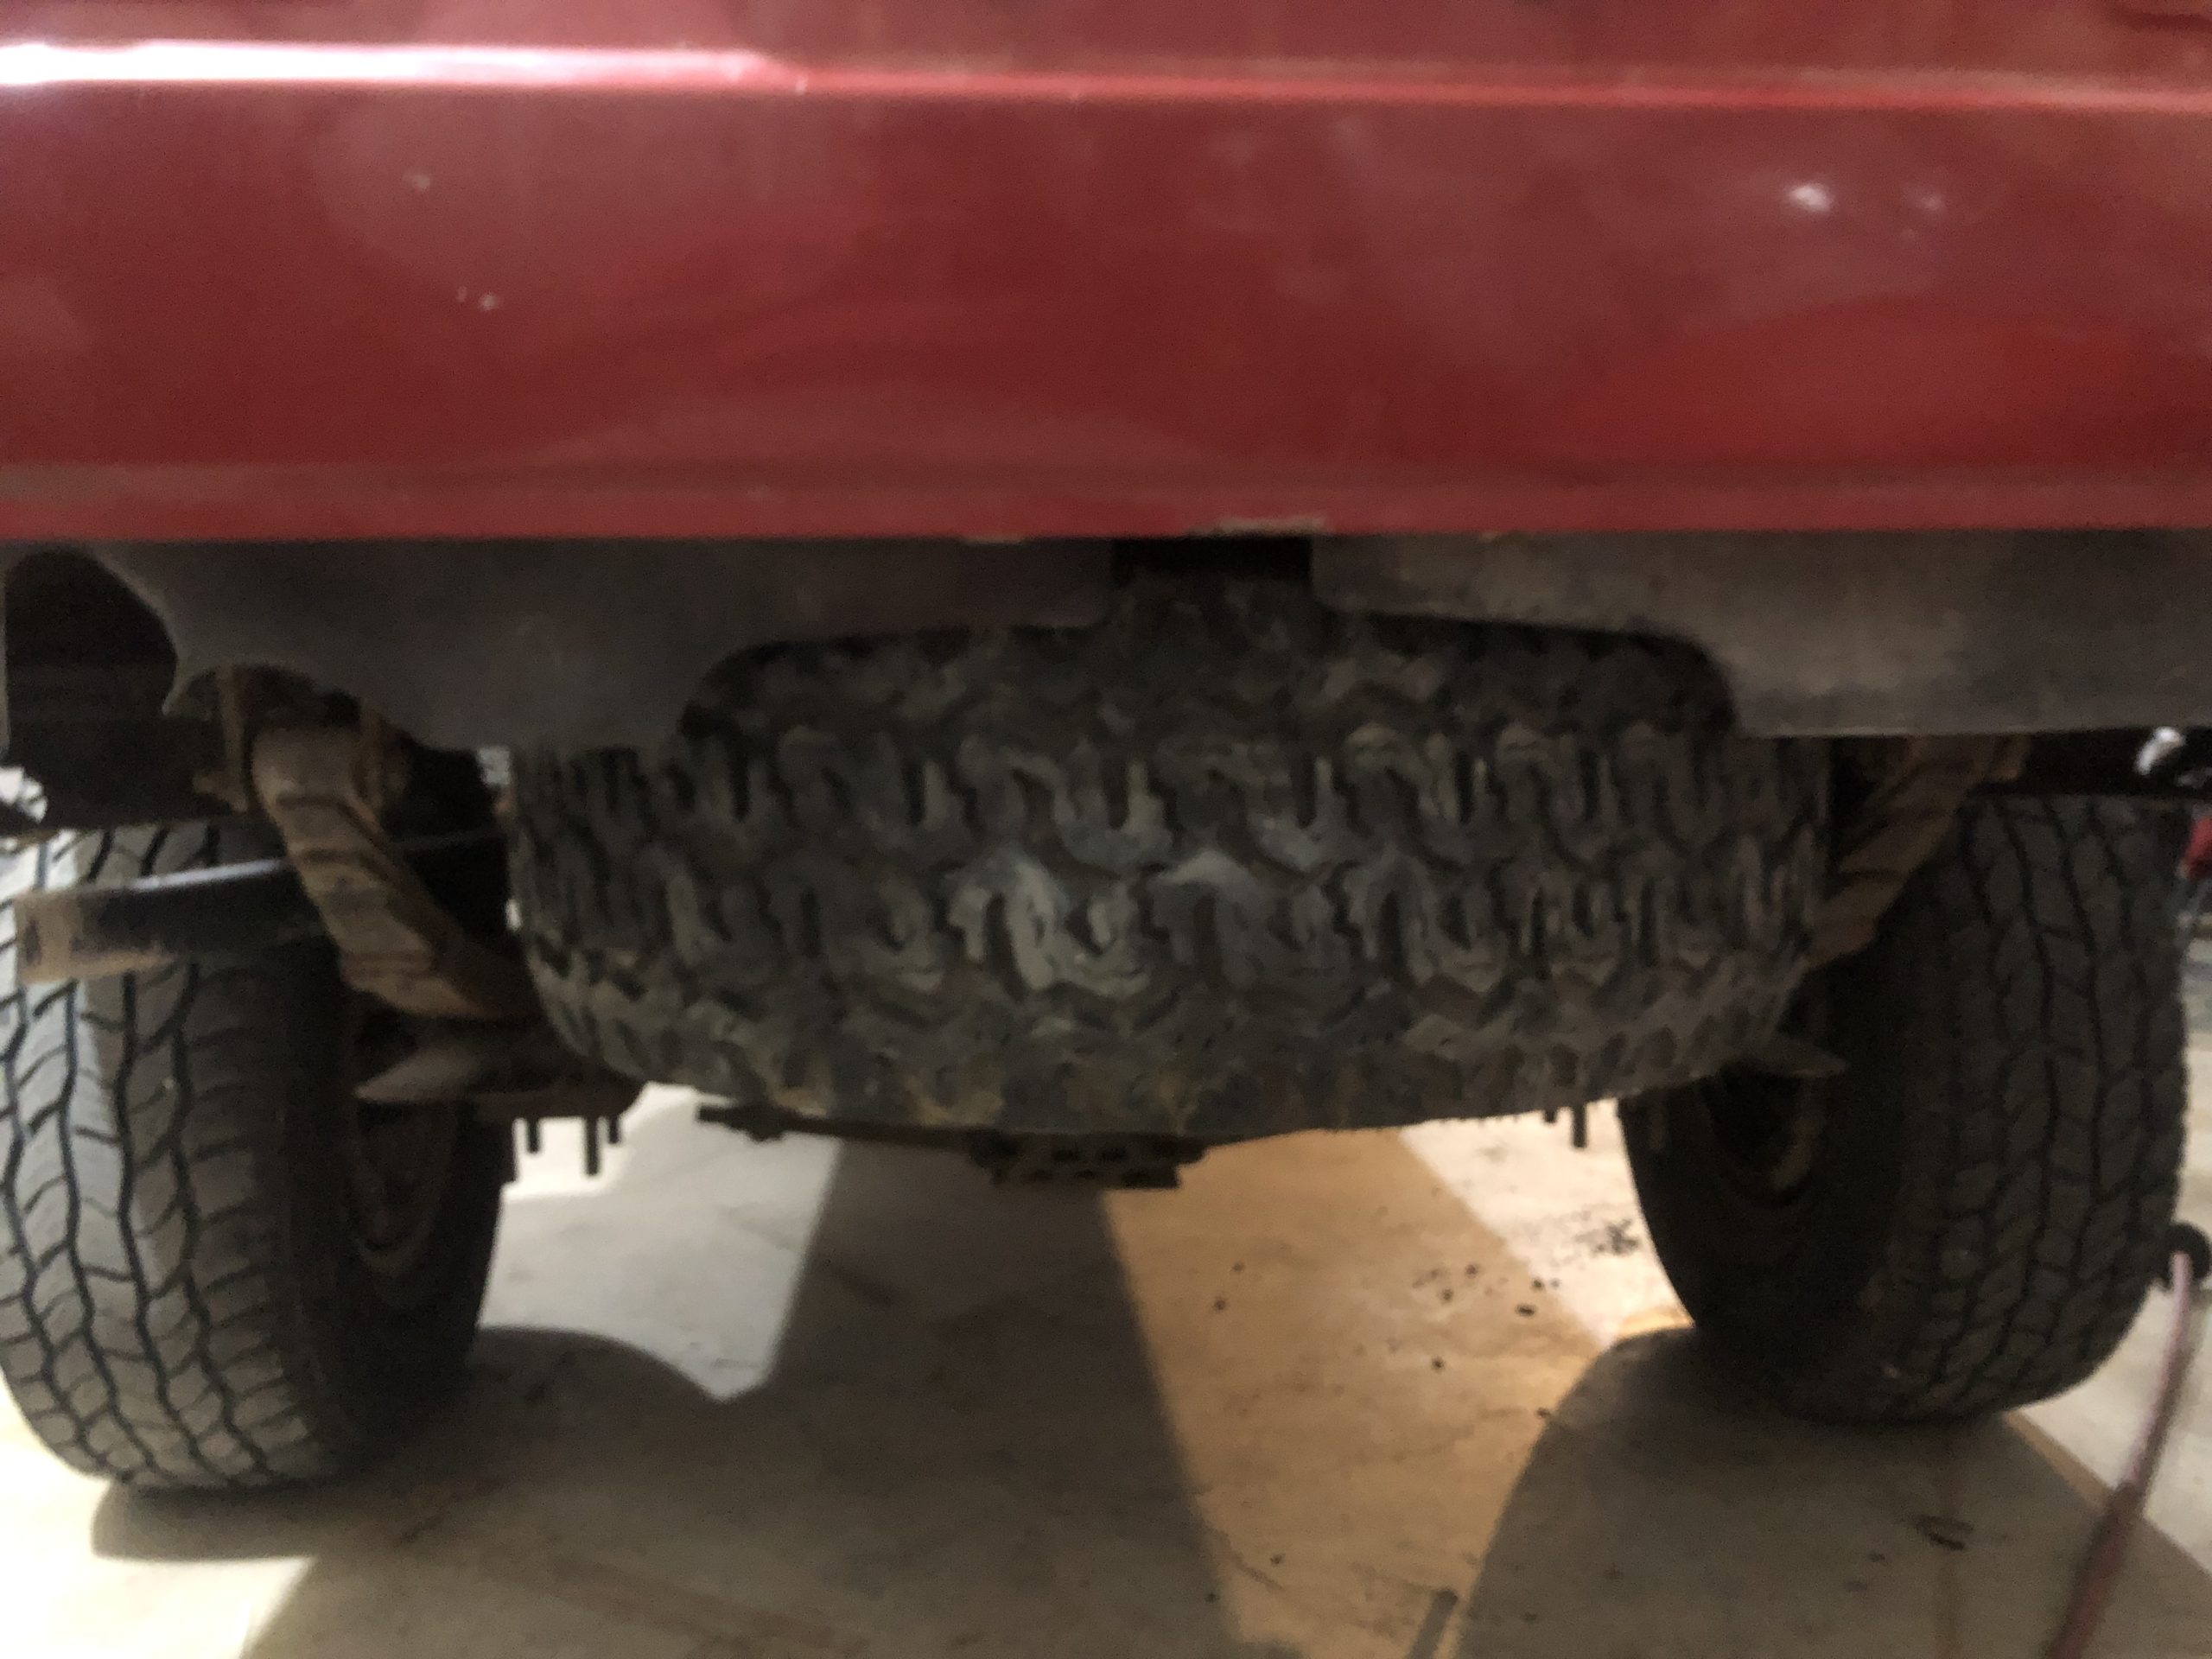
It wasn’t until this morning when I topped up the tire pressure, that I realized I lost my spare tire in my 50kms of travels.
Today, my middle daughter and I retraced my route, and found my spare tire on the side of a No Winter road. The bumpiness caused the ratchet strap to chaffe and cut, and that’s where the tire fell. A few hundred meters down the road i found the rest of the ratchet strap.
Next on my to-do list, properly re-hang the spare.
Attachments:
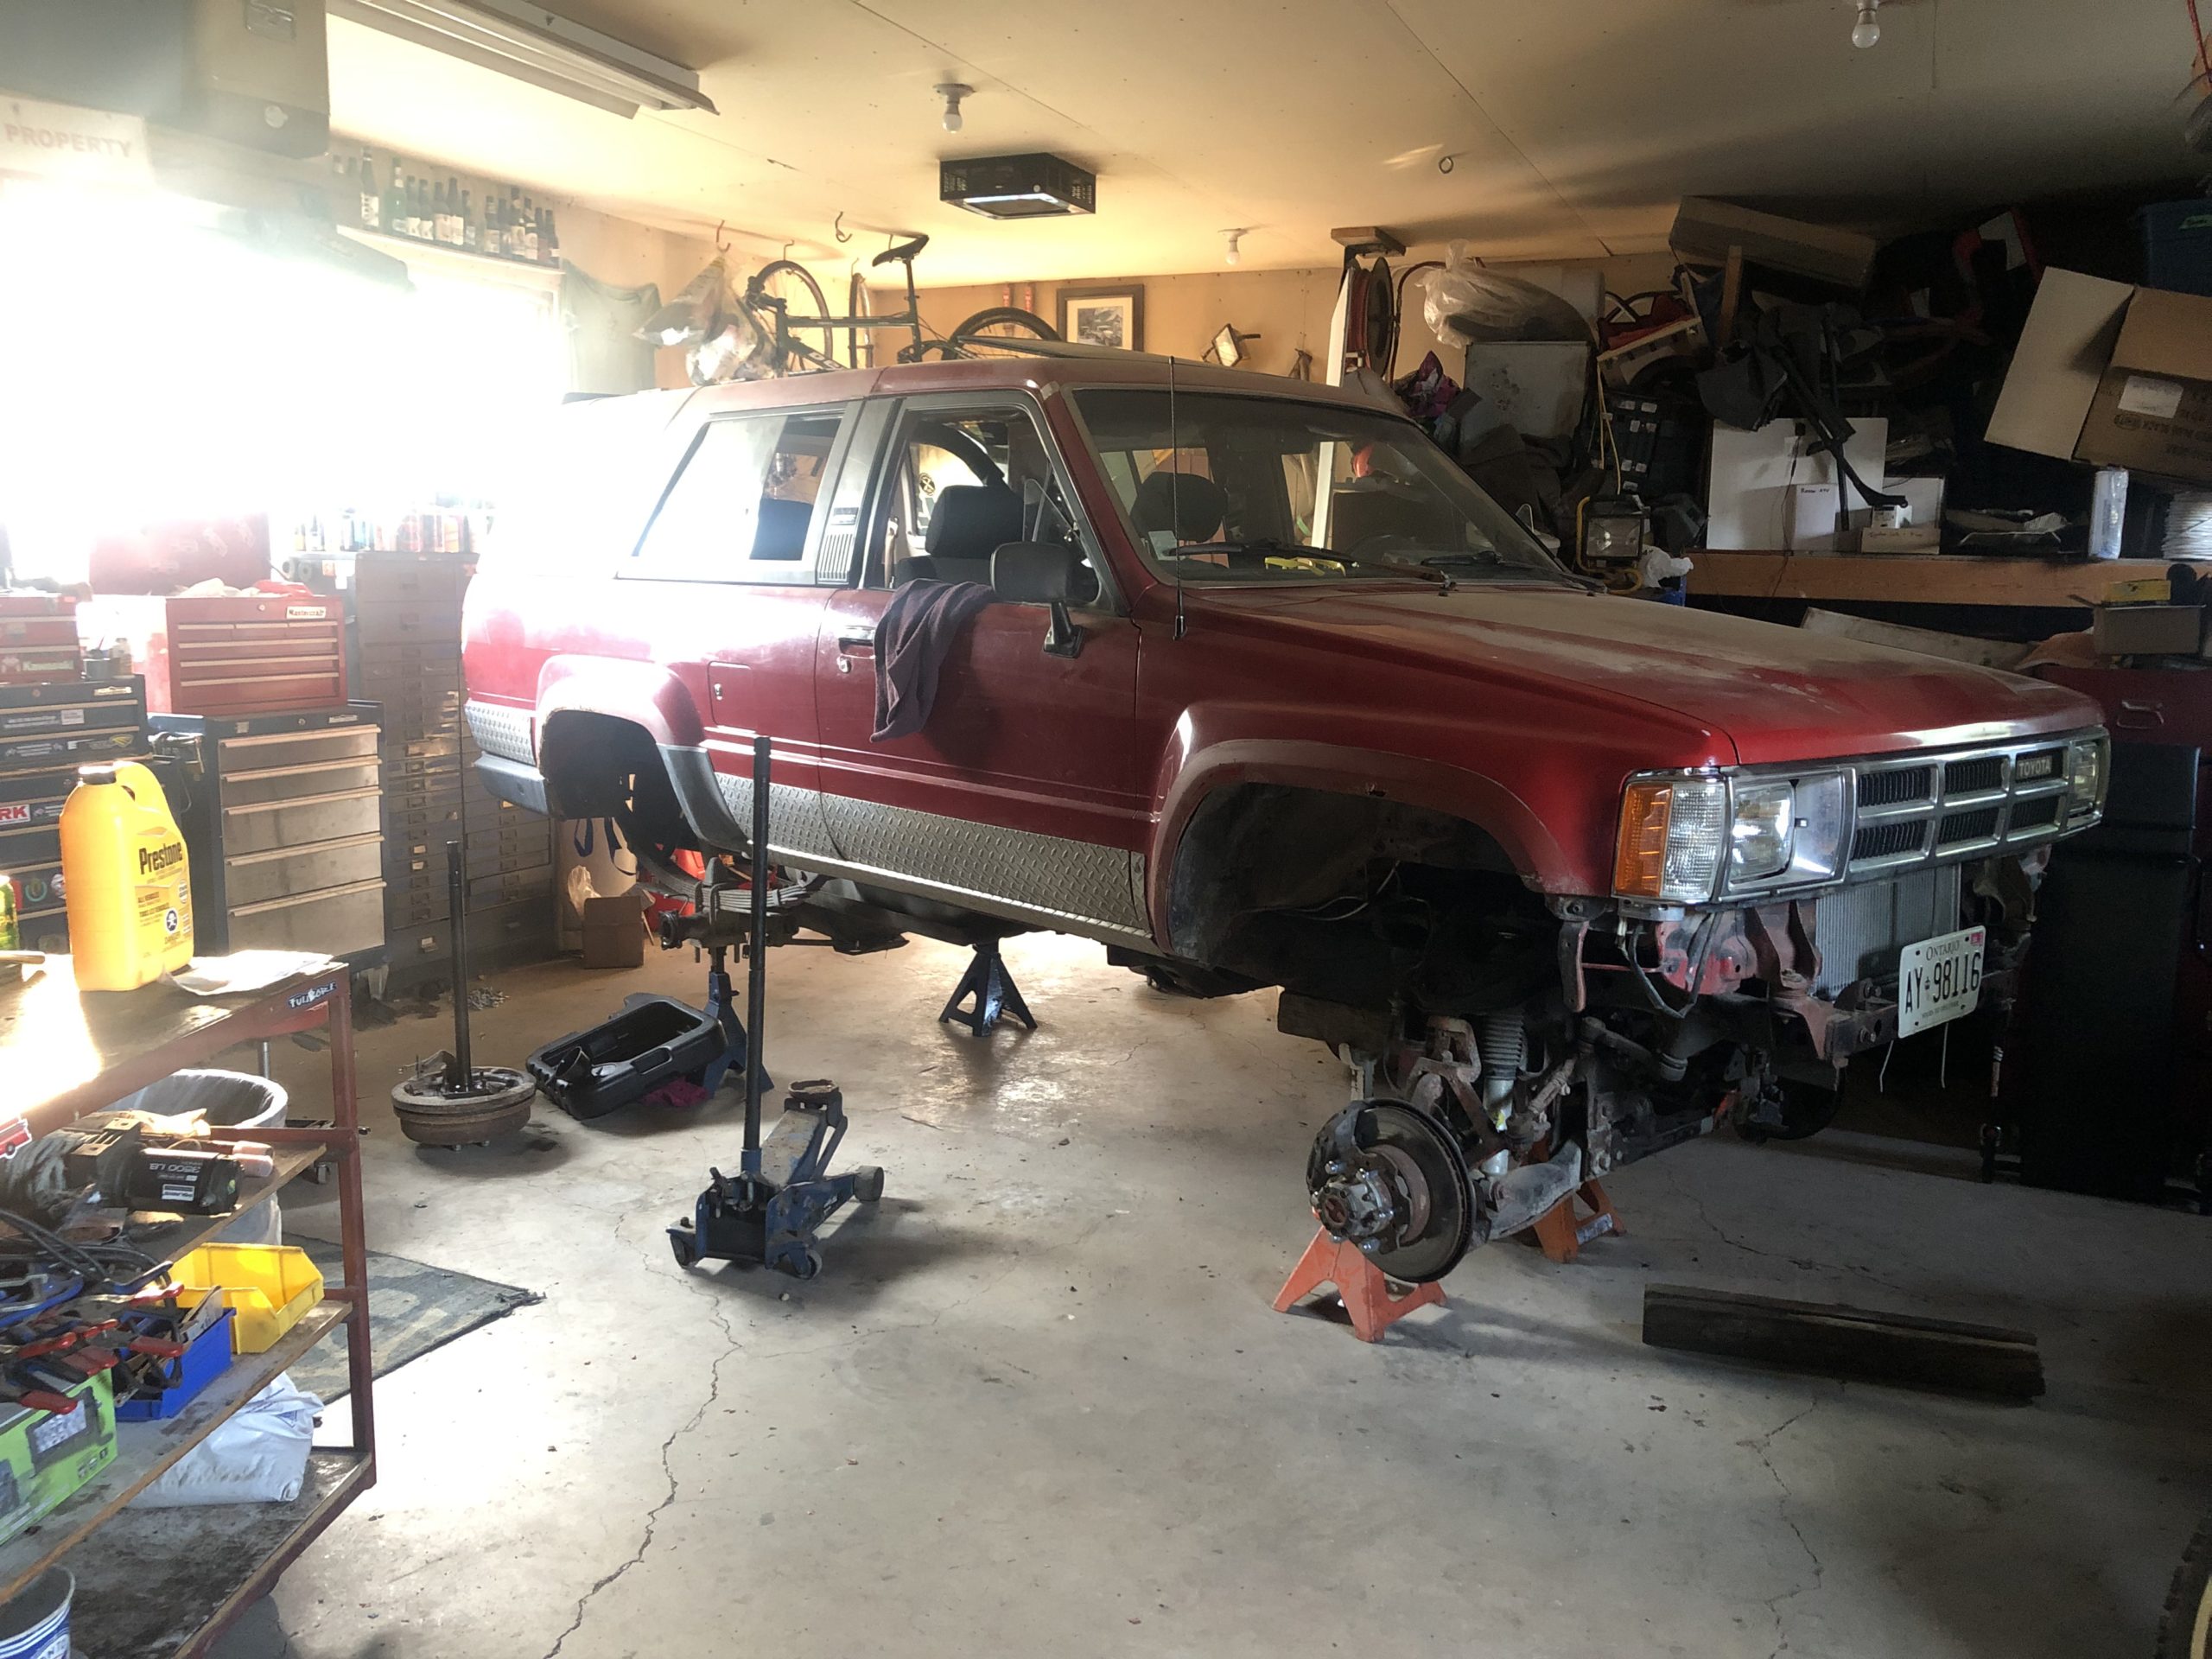
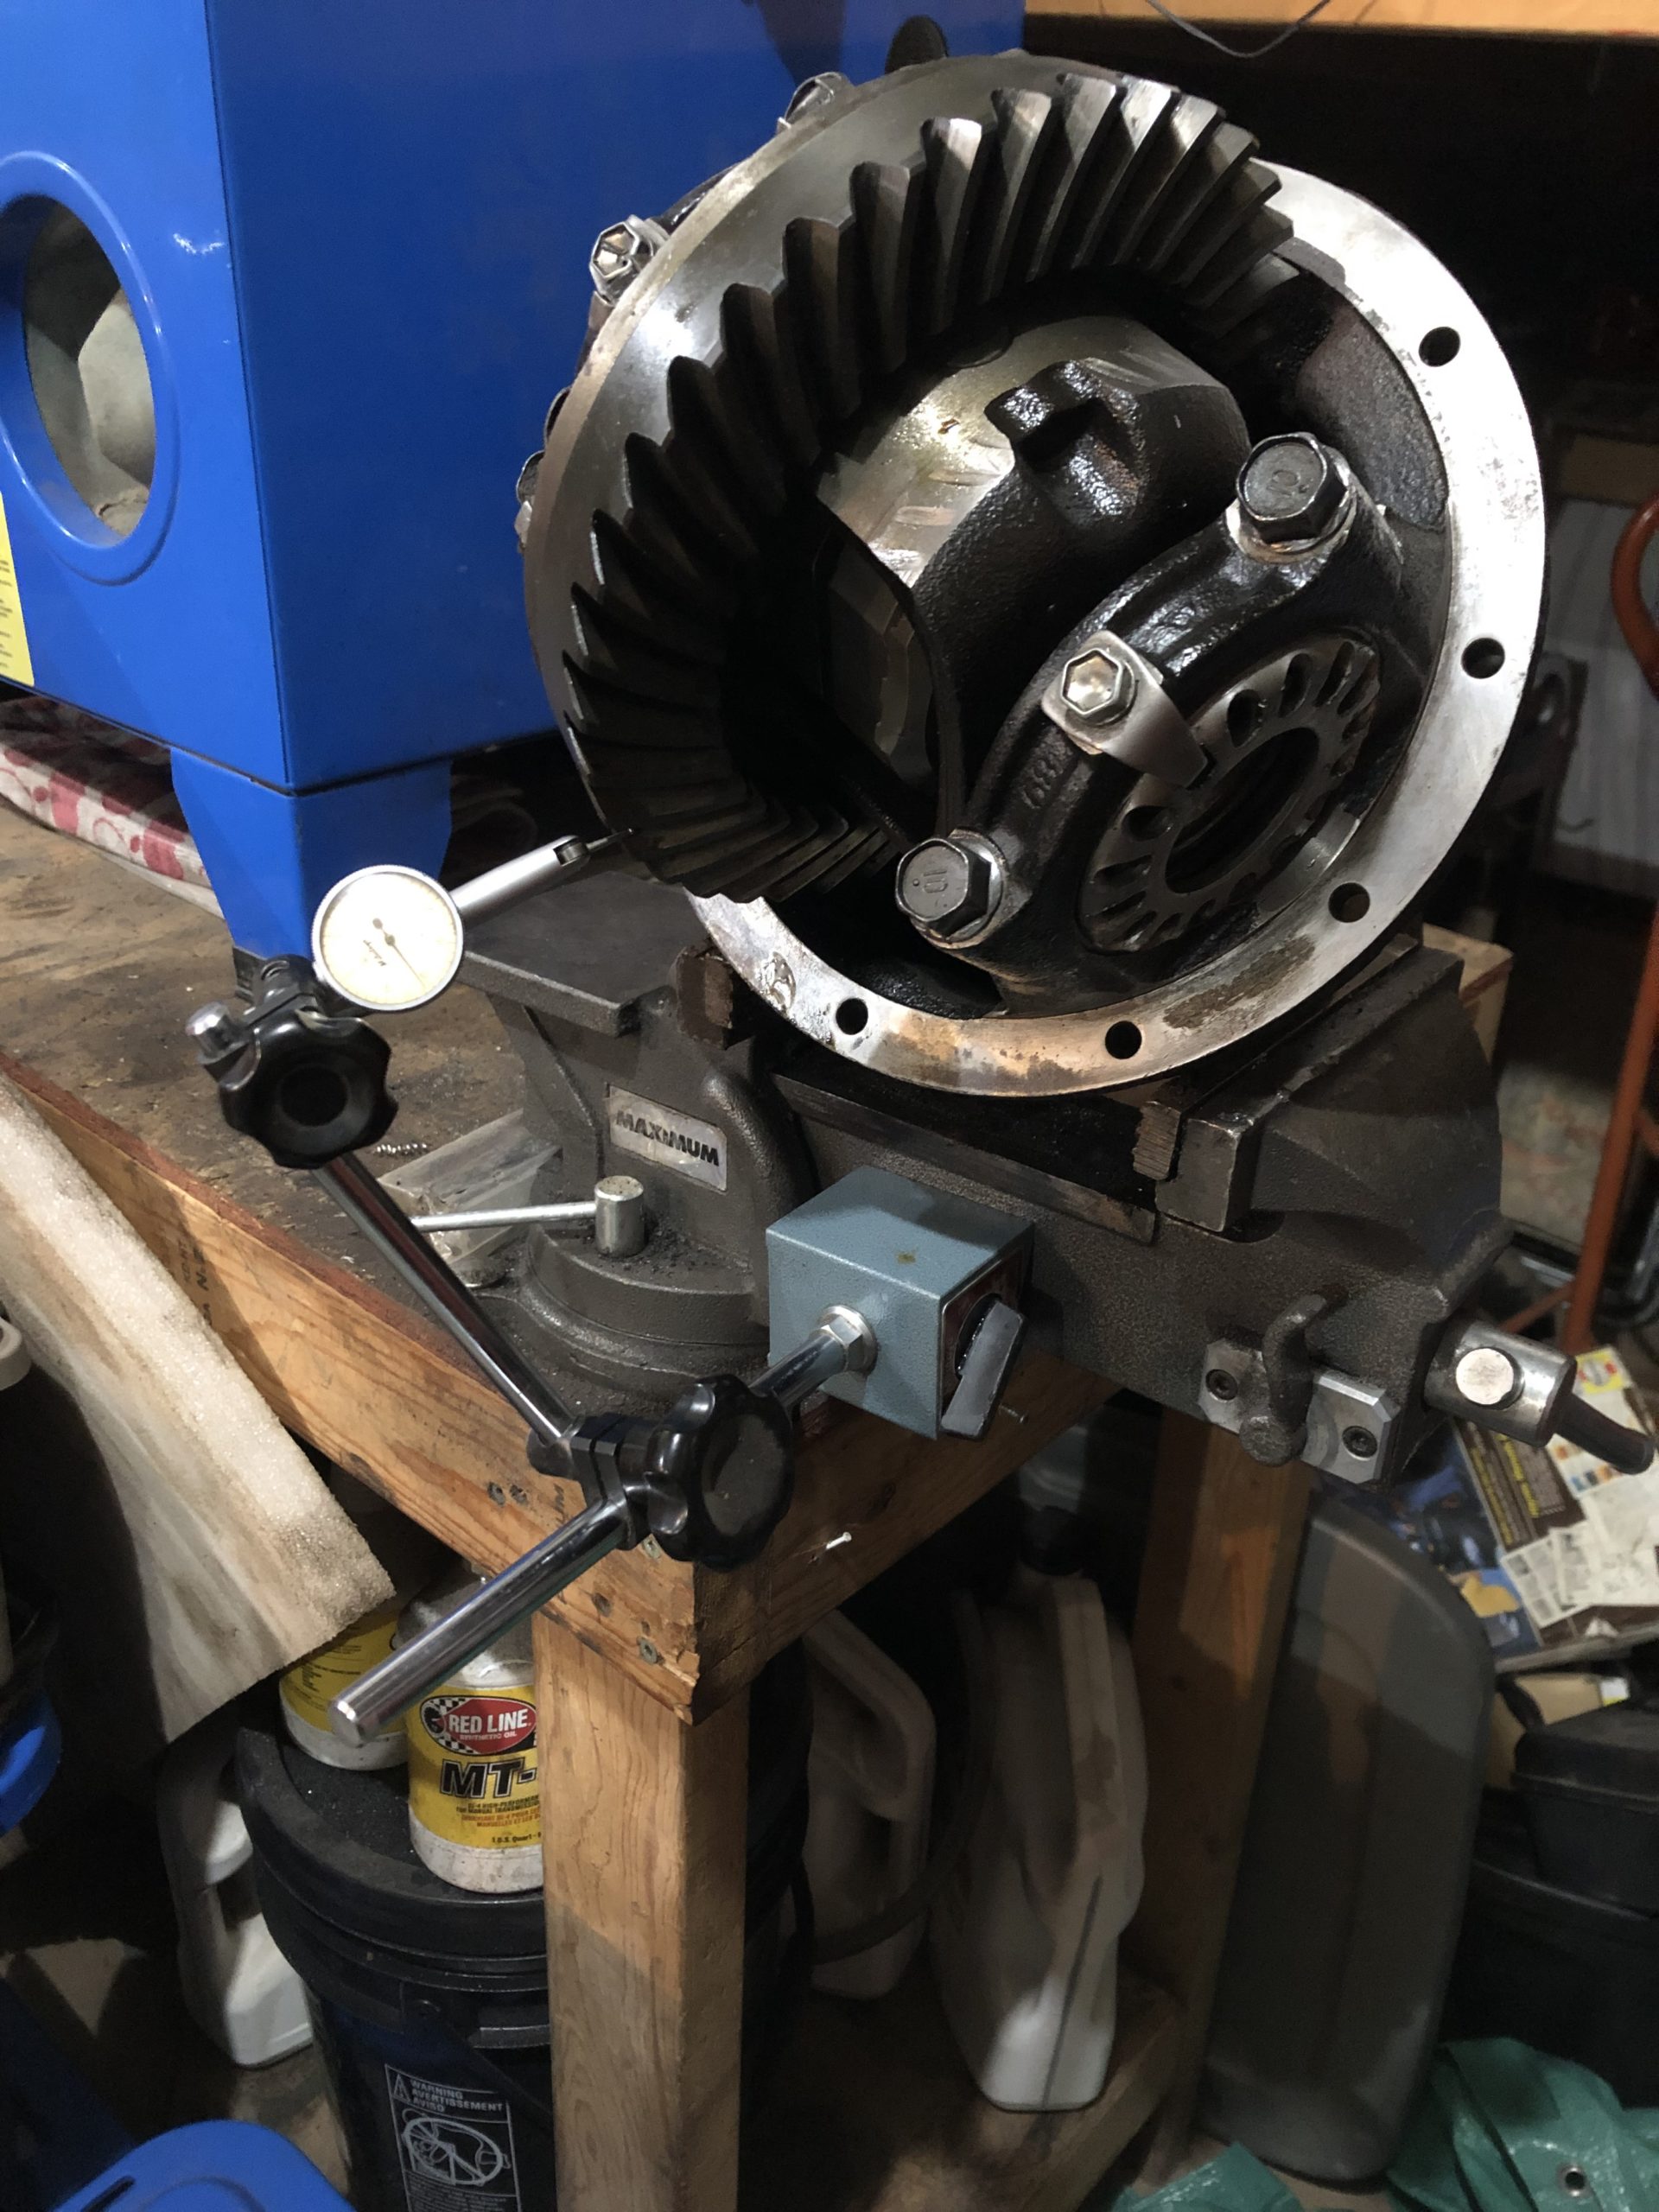
toys-n-yotasKeymasterMade slow but steady progress last two nights doing a third member swap, hopefully finish it up tonight and take a test drive.
Out came the 4.10s with a leaky ARB (think it needs some O-rings), in went the 4.88 lunch box. Hopefully get some first hand experience with “the clicking” noise as the locker ratchets late tonight. We shall see.
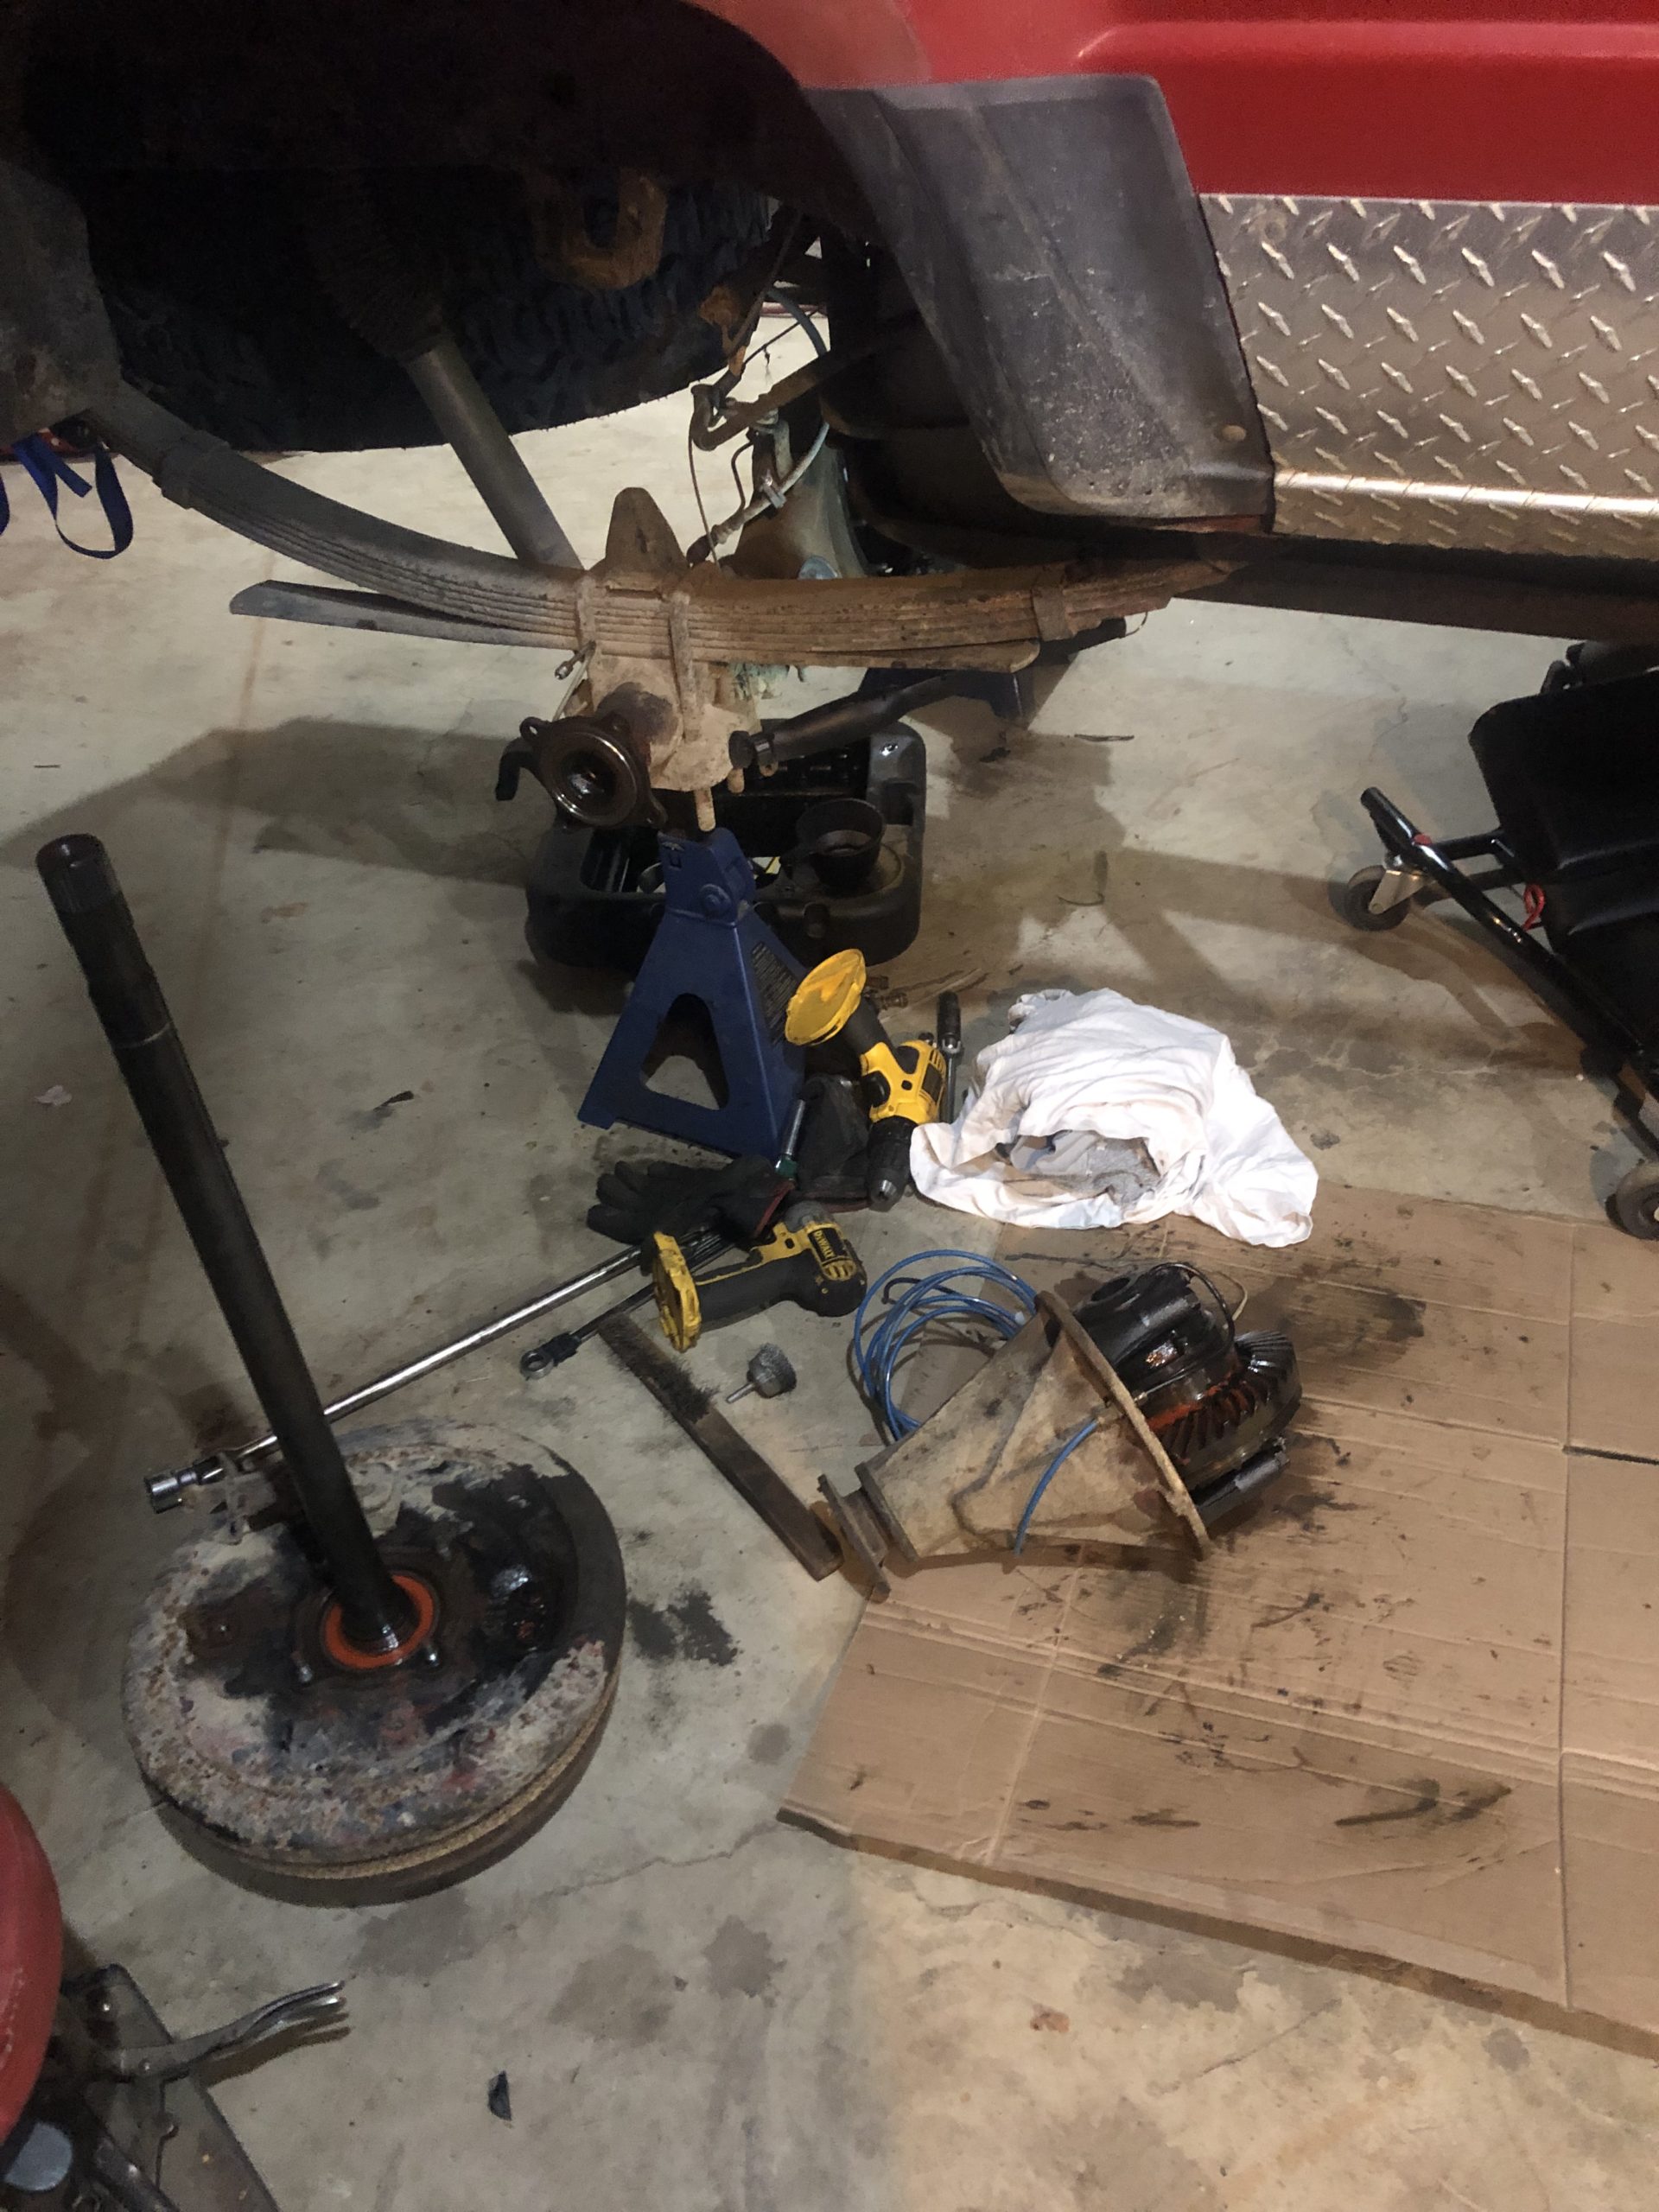
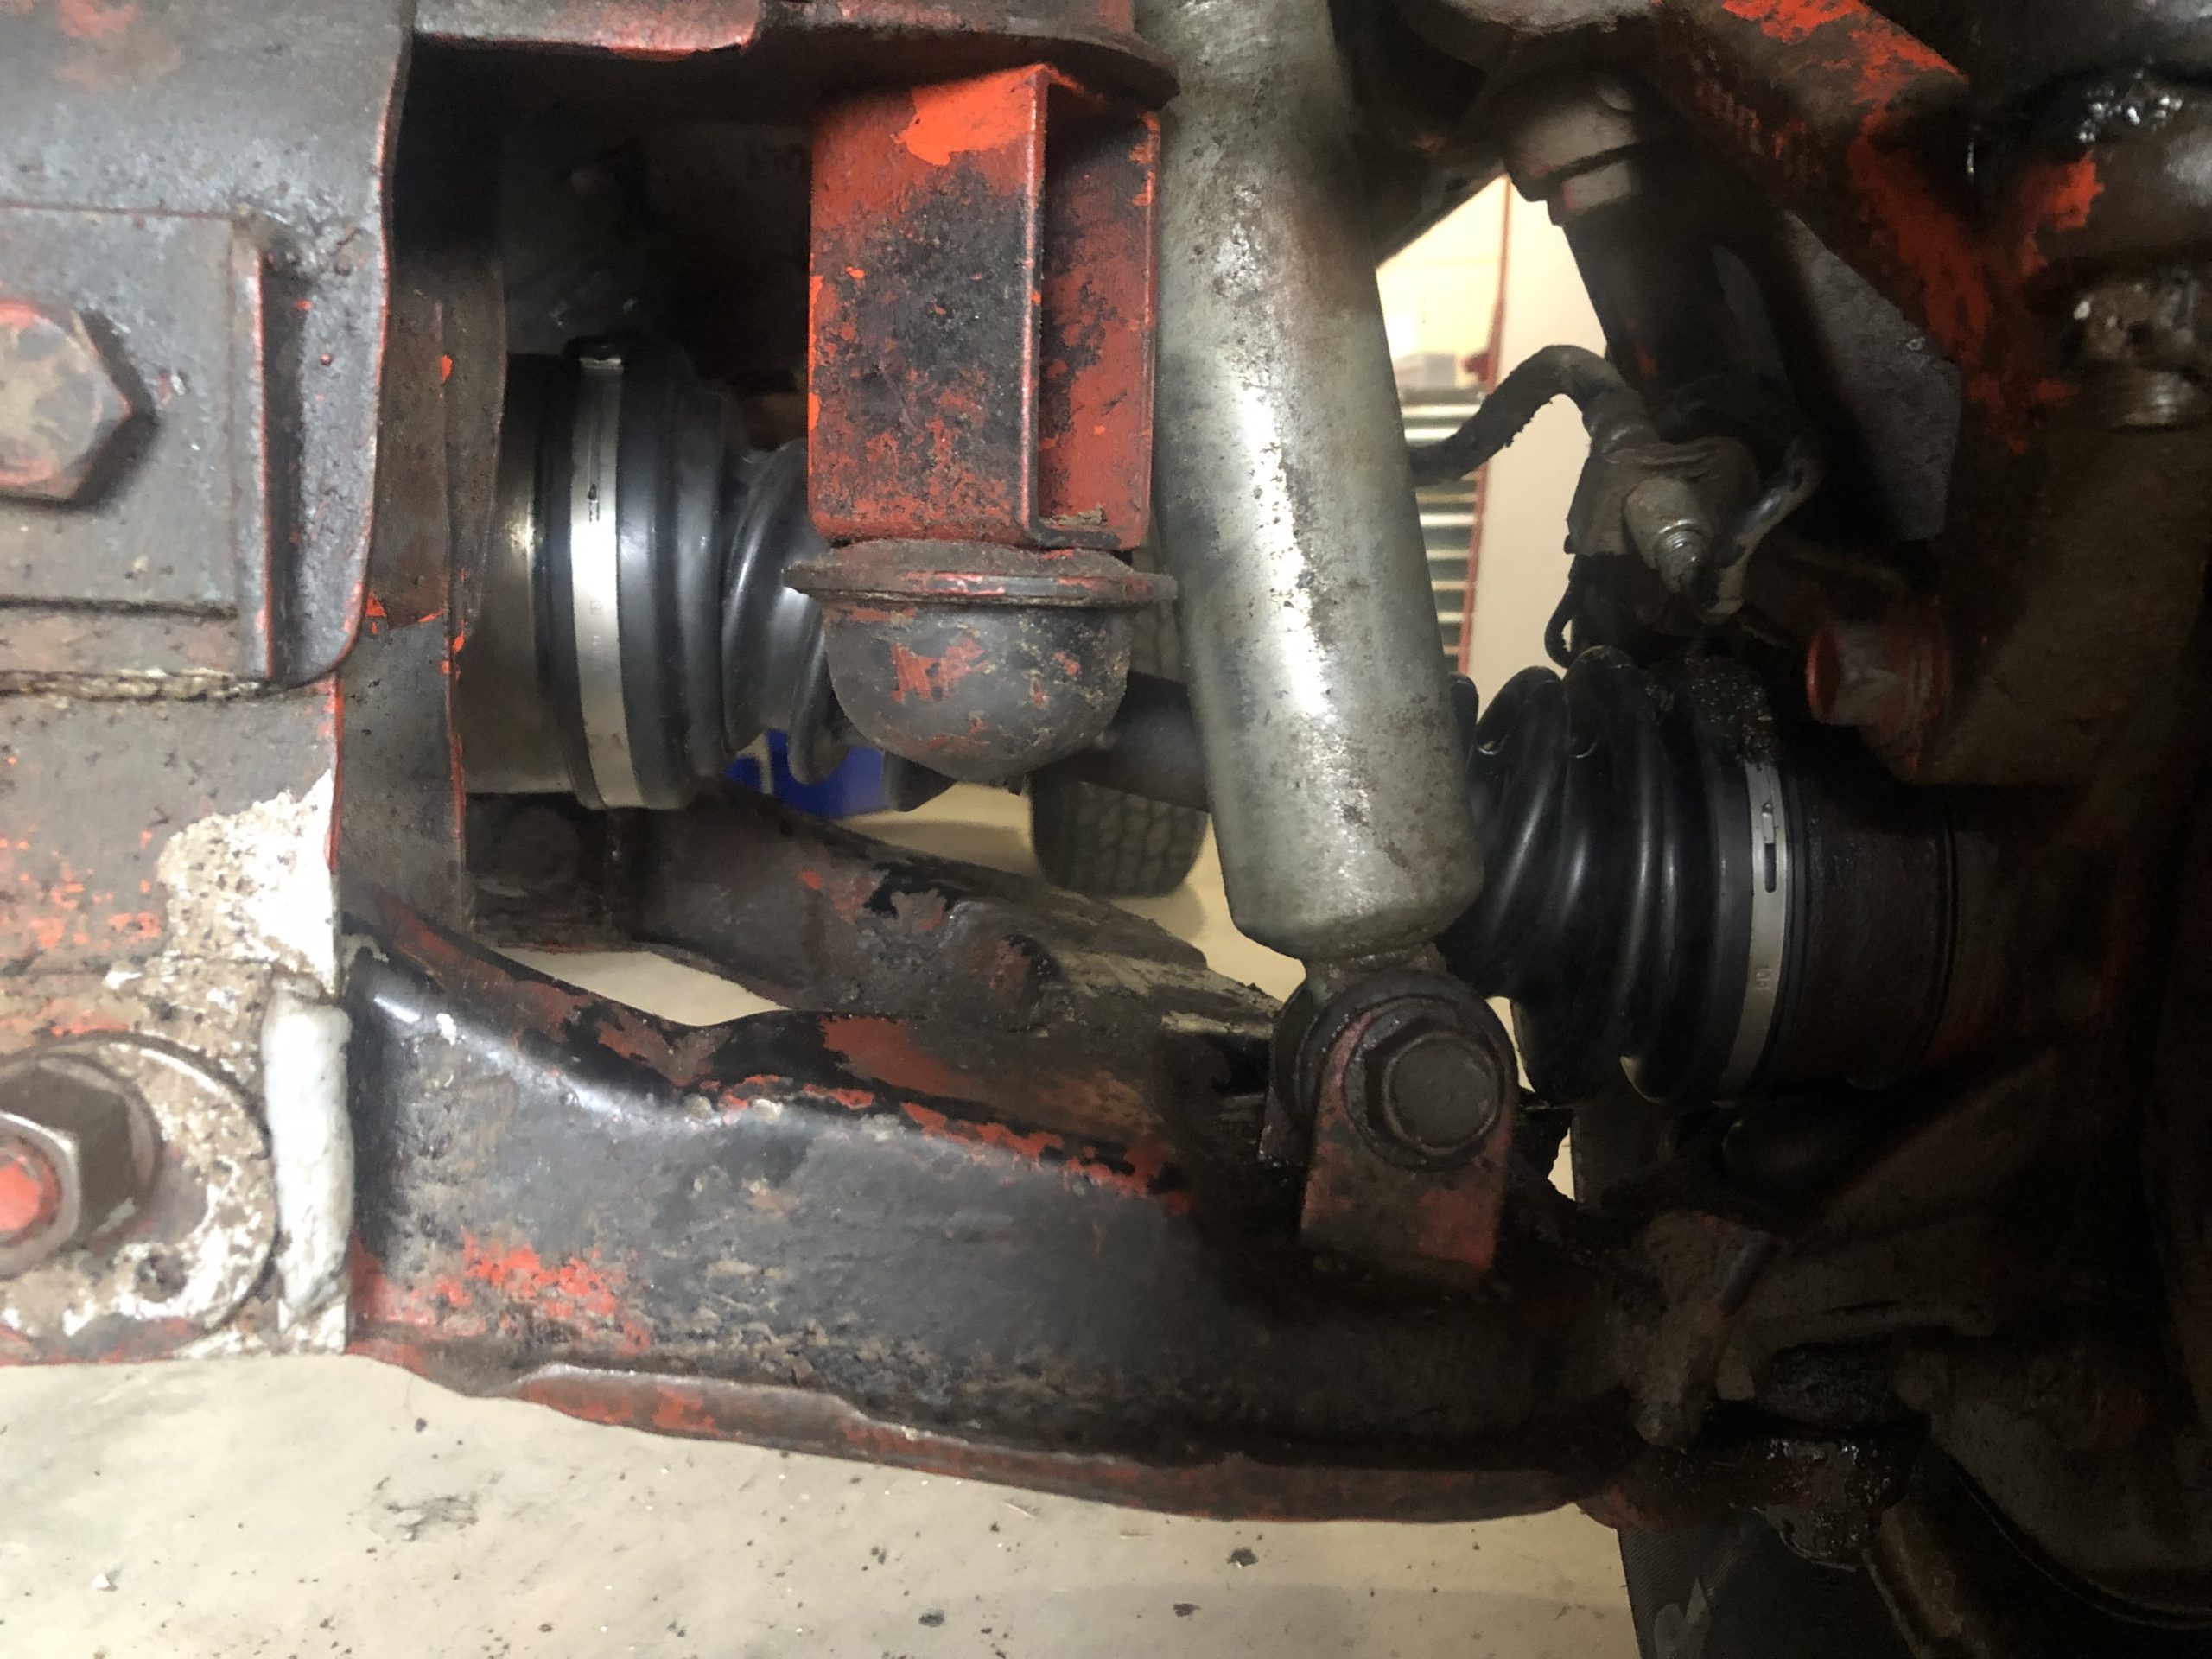
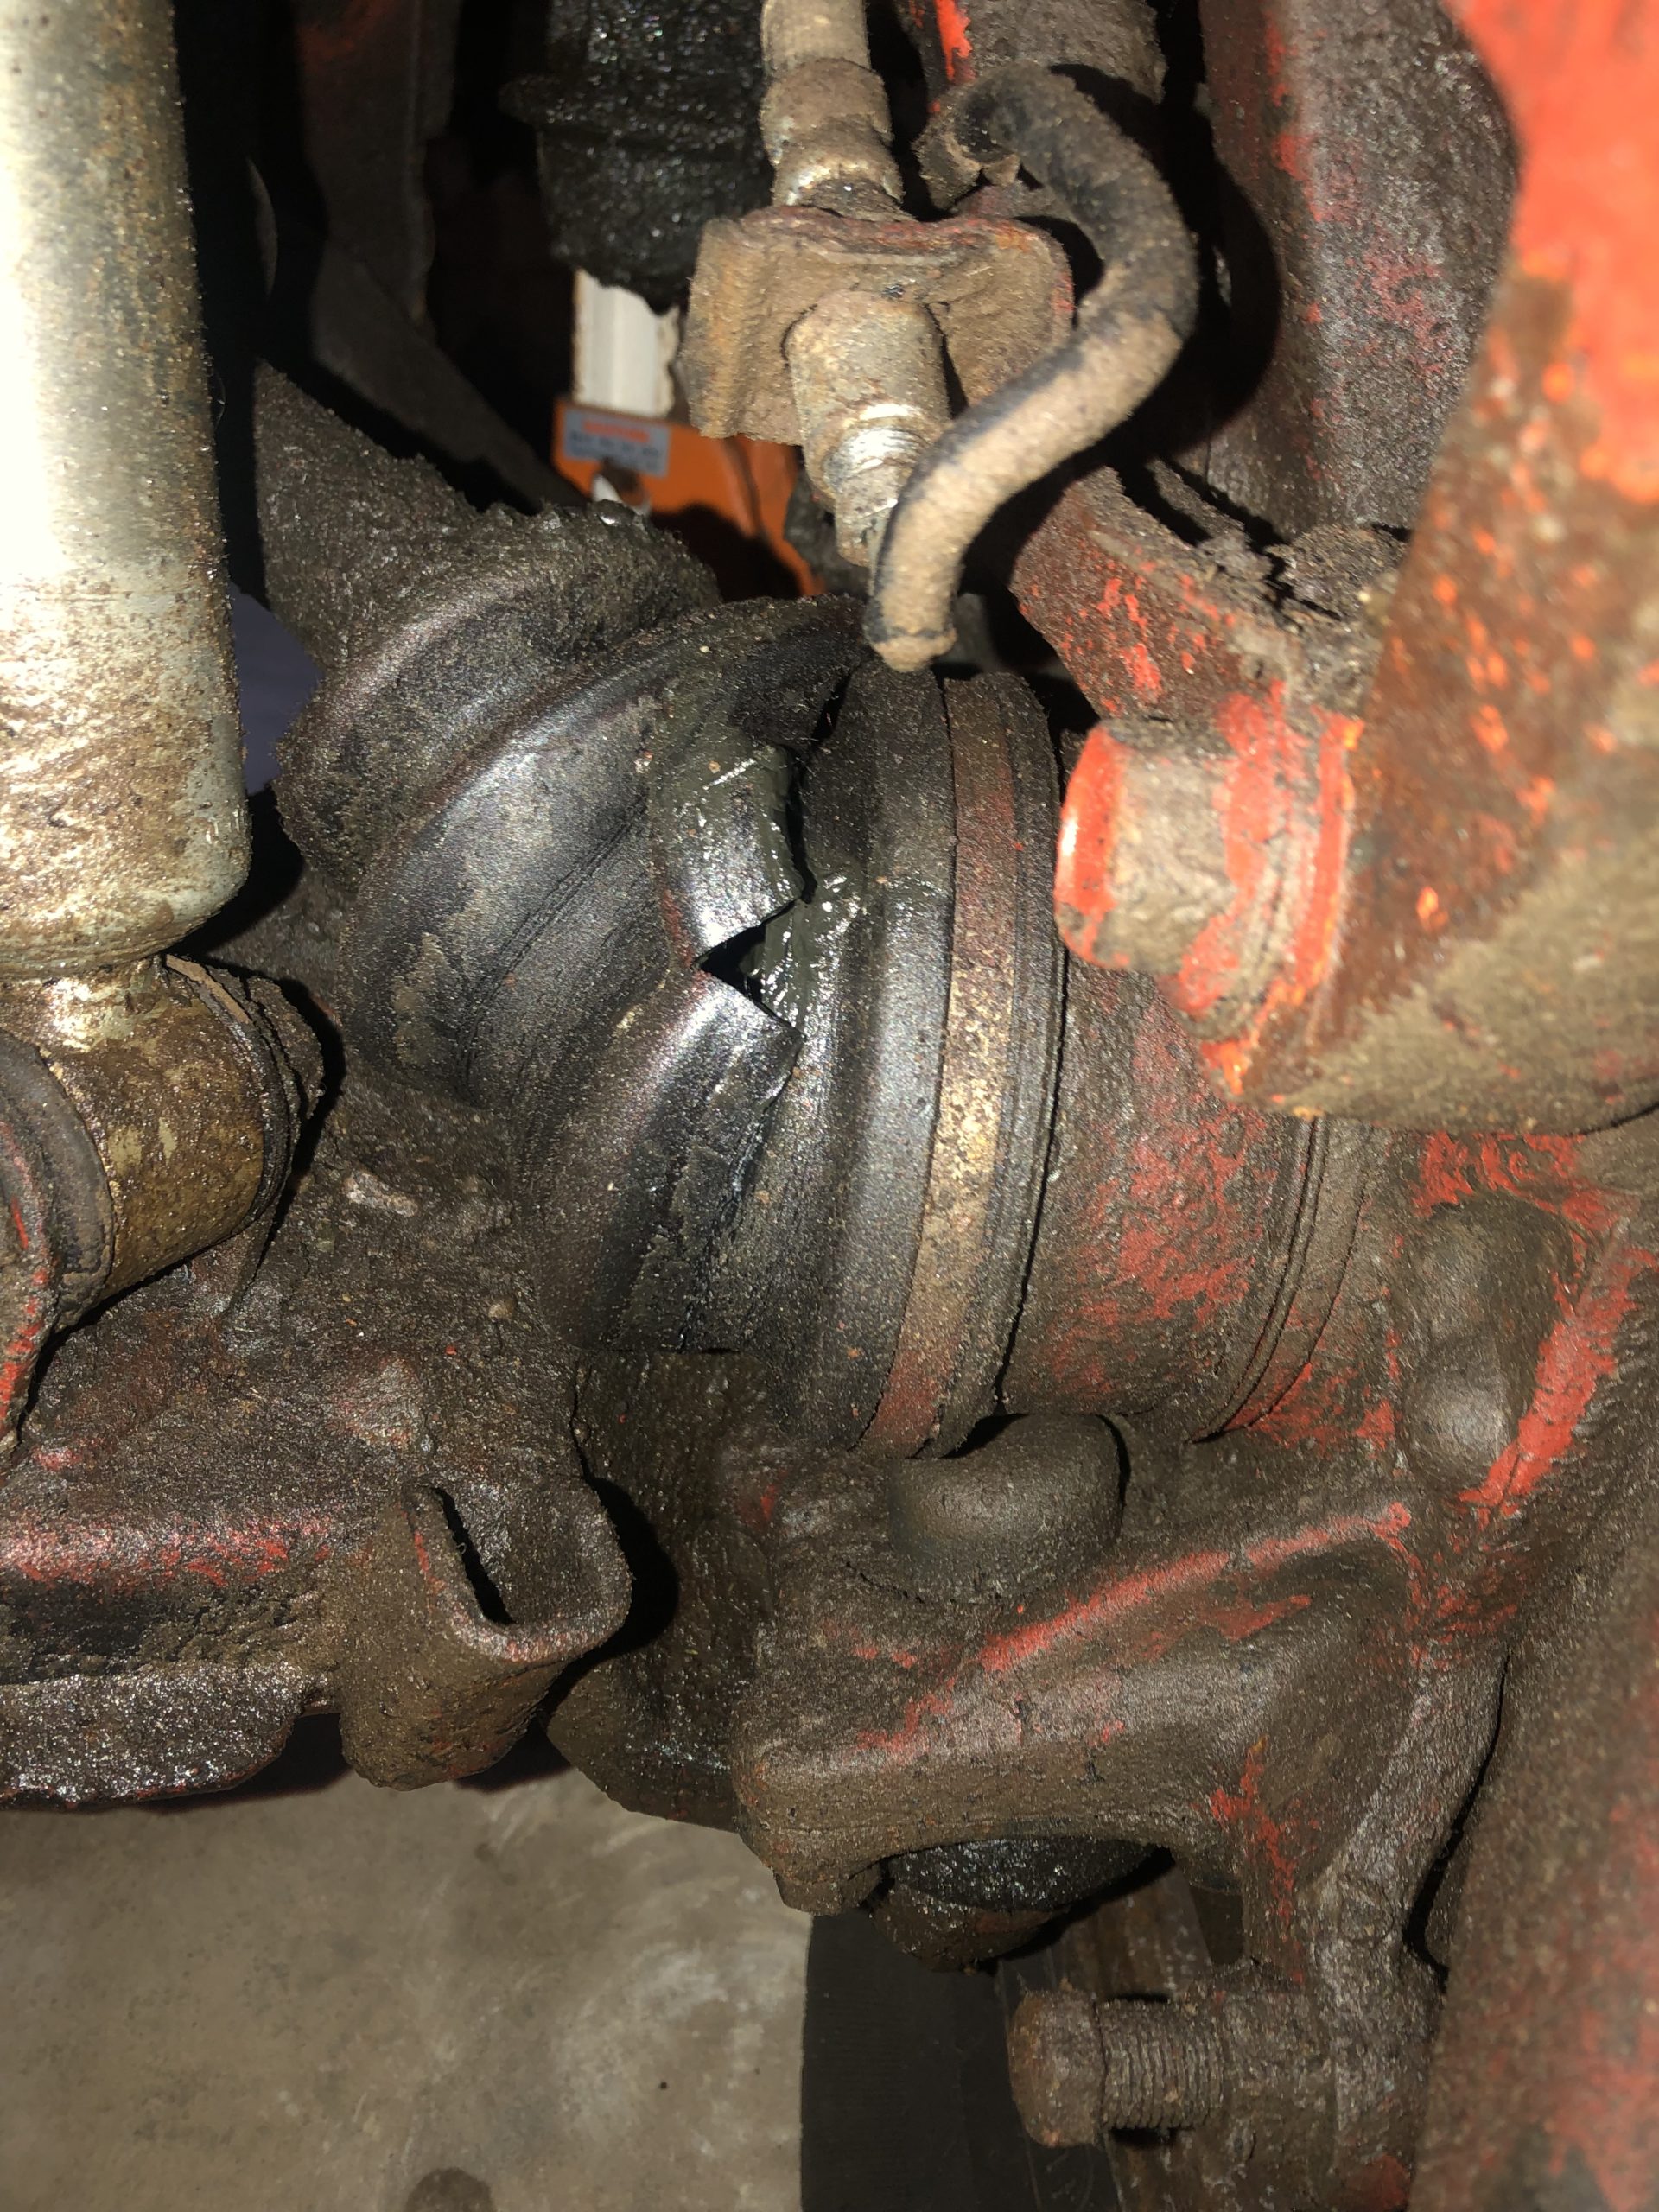
toys-n-yotasKeymasterPut a new set of boots onto the drivers side CV shaft. Passenger side still looks good, gonna leave it alone.
Do you guys pull the upper or lower balljoint when doing a CV?
I unbolted the upper from the control arm, but it’s a real pain in the ass to get it lined back up after. Anyways, job went smooth, glad it’s done, that corner was really really greasy.Attachments:
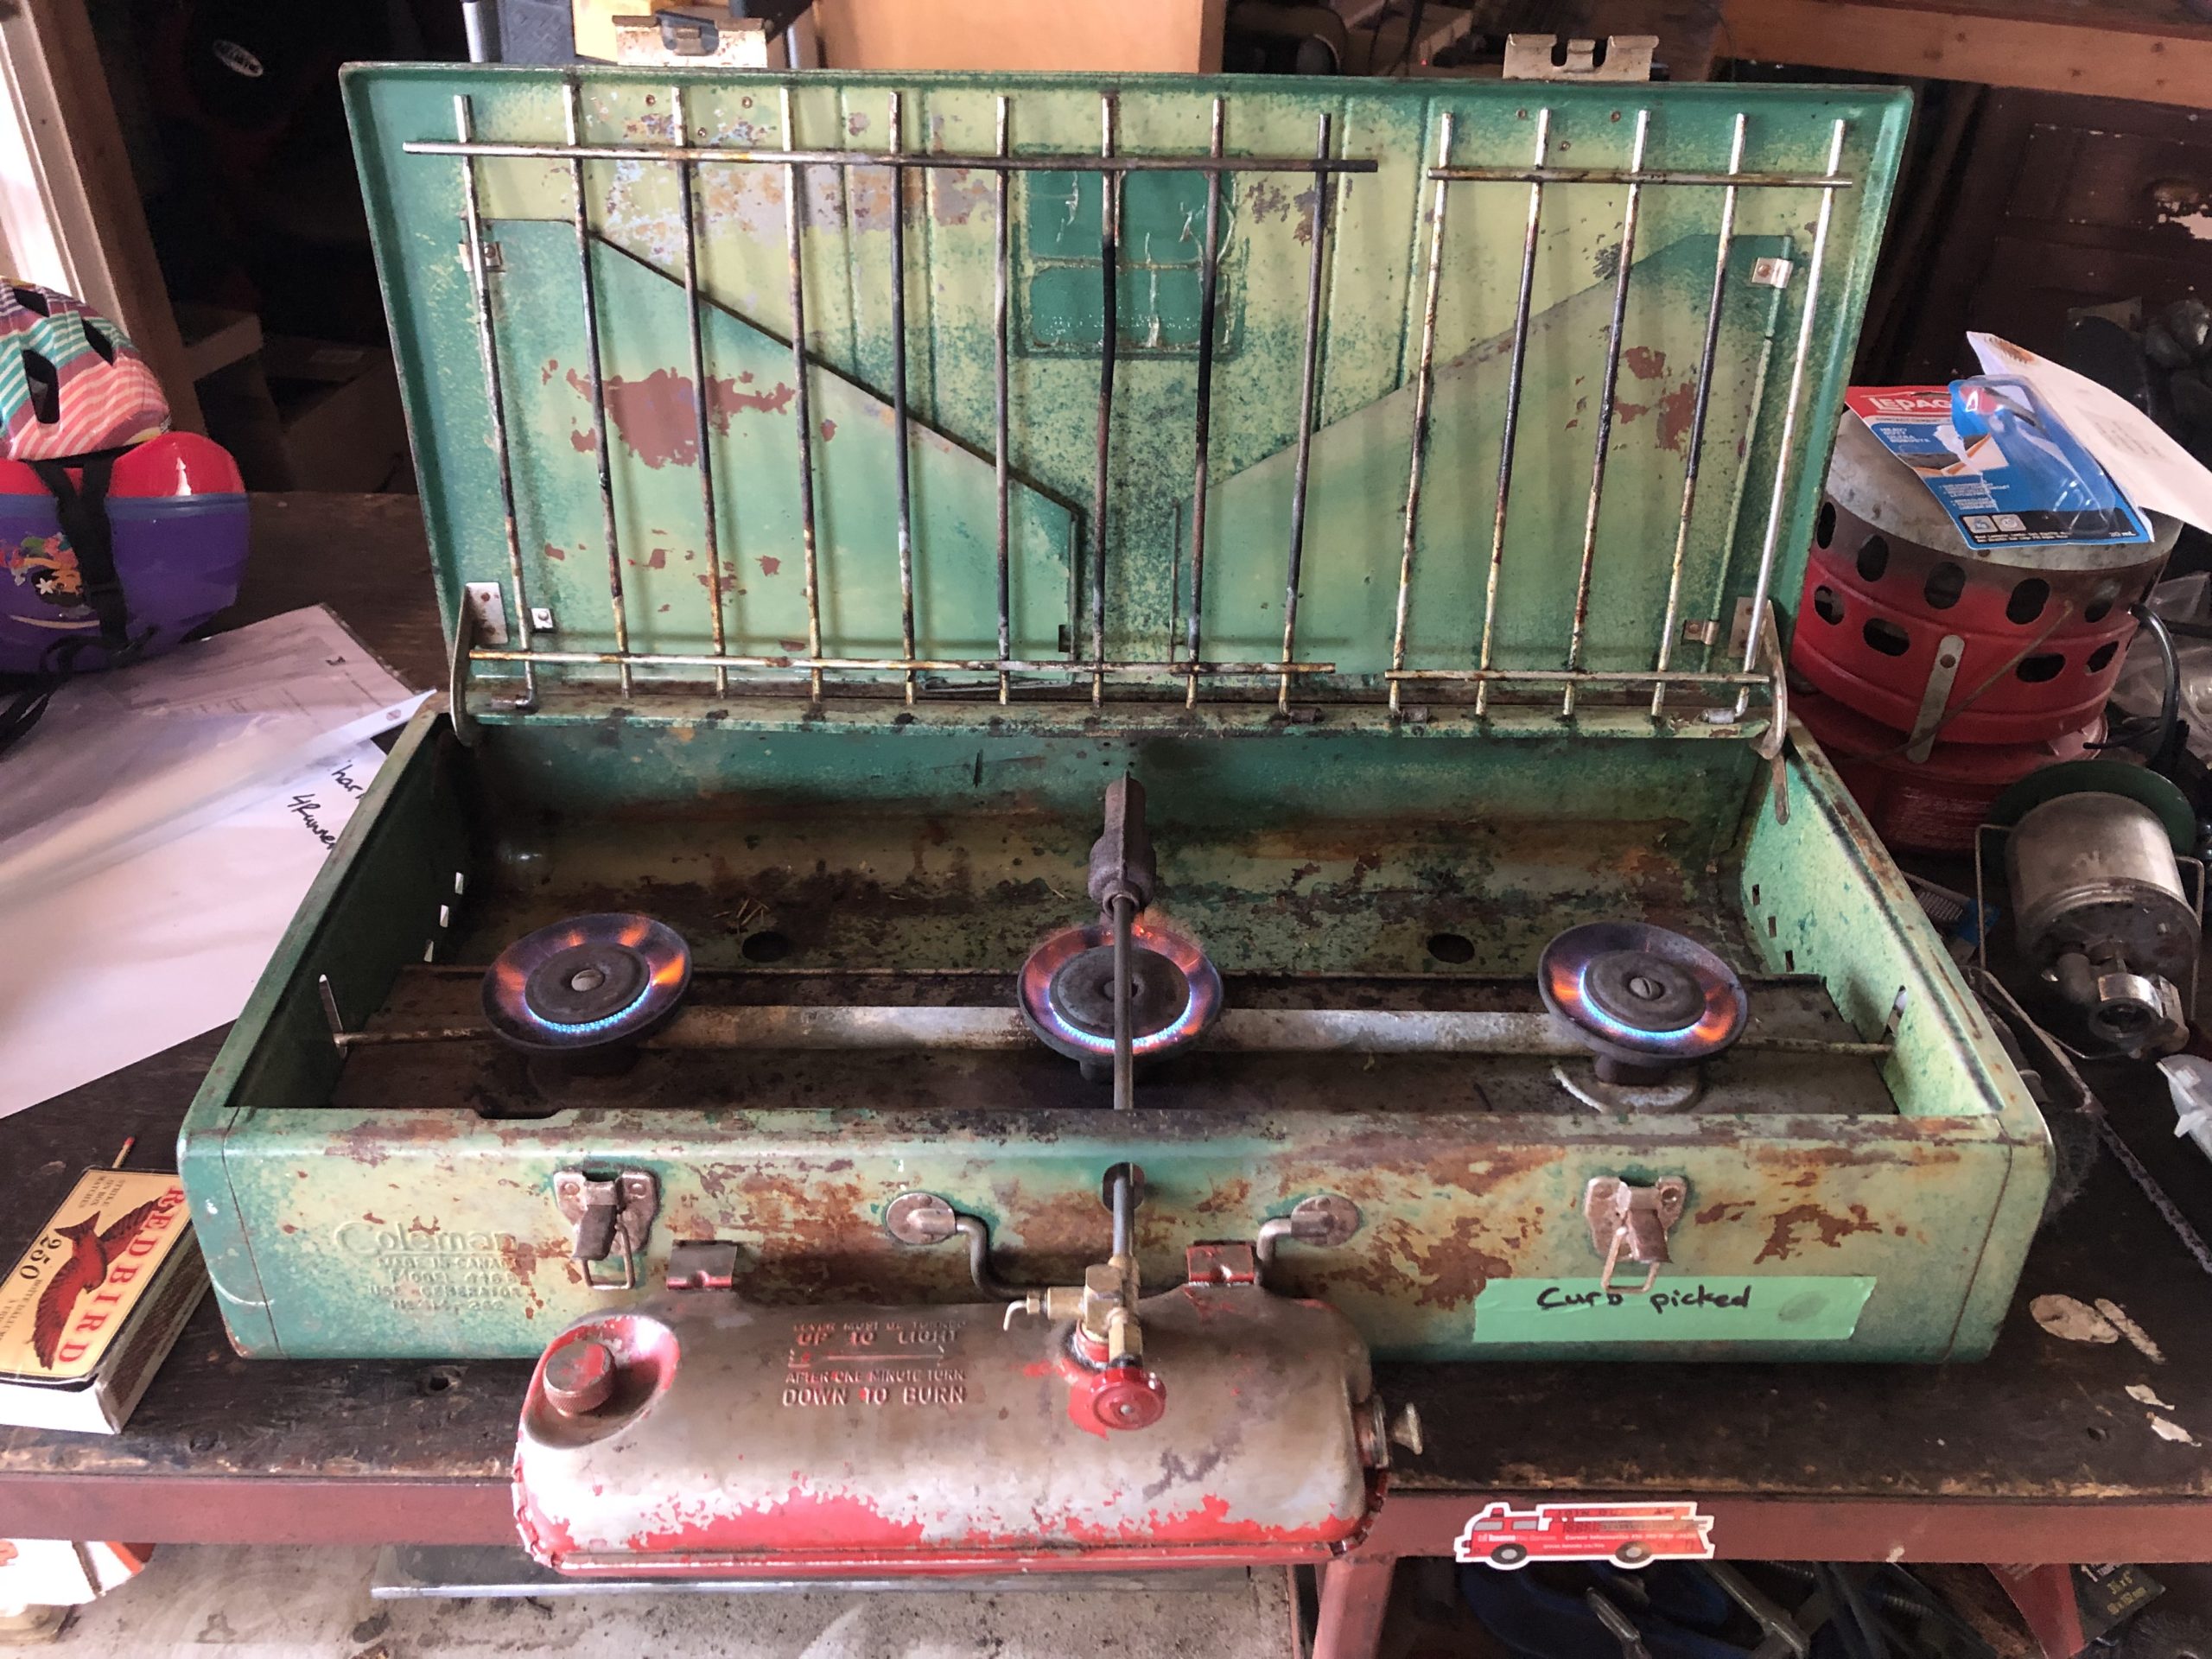
toys-n-yotasKeymasterThat greasy curb picked stove turned out pretty good after a lot of Citrusolve degreaser and red scotch brite. Could have used another 10 mins of scrubbing in the corners nooks and crannies, but lunch was over and I was hot in the parking lot.
Today in The Shop, James is putting vanos actuators into his beemer. It’s been chugging a little, finally threw a code it’s time to replace. When I left today, install was done, just putting a dozen covers and fasteners back into place.
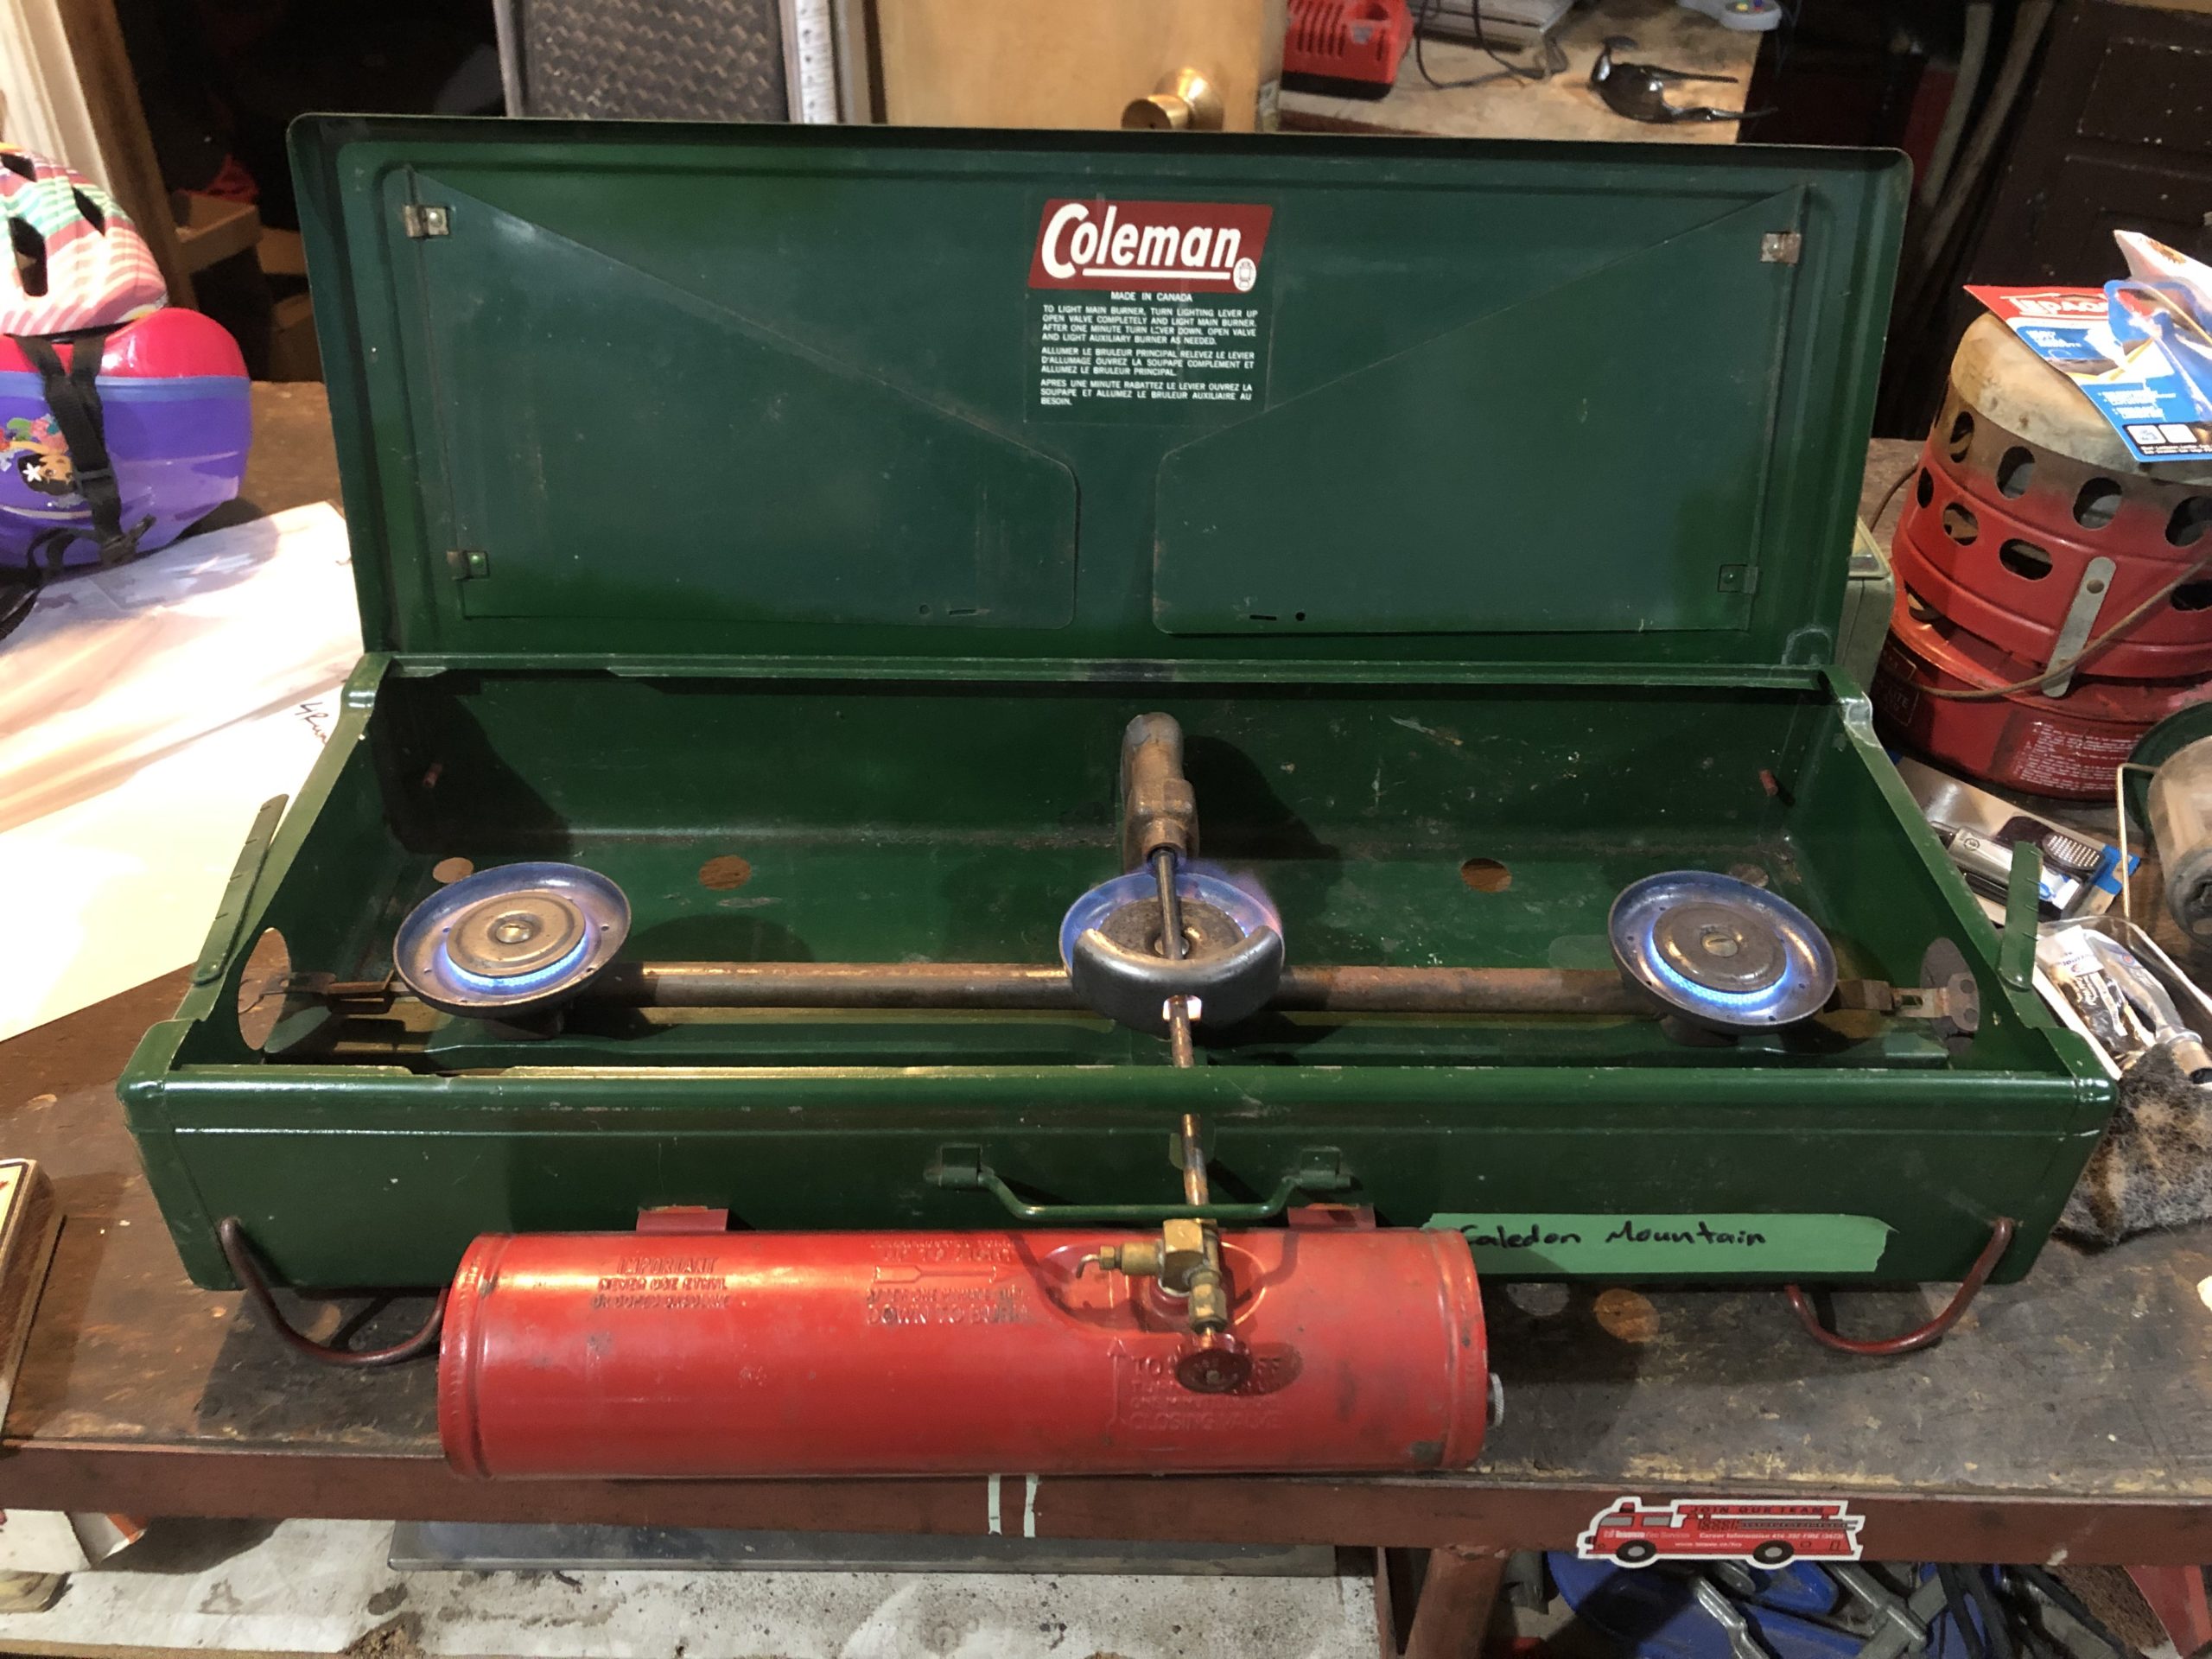
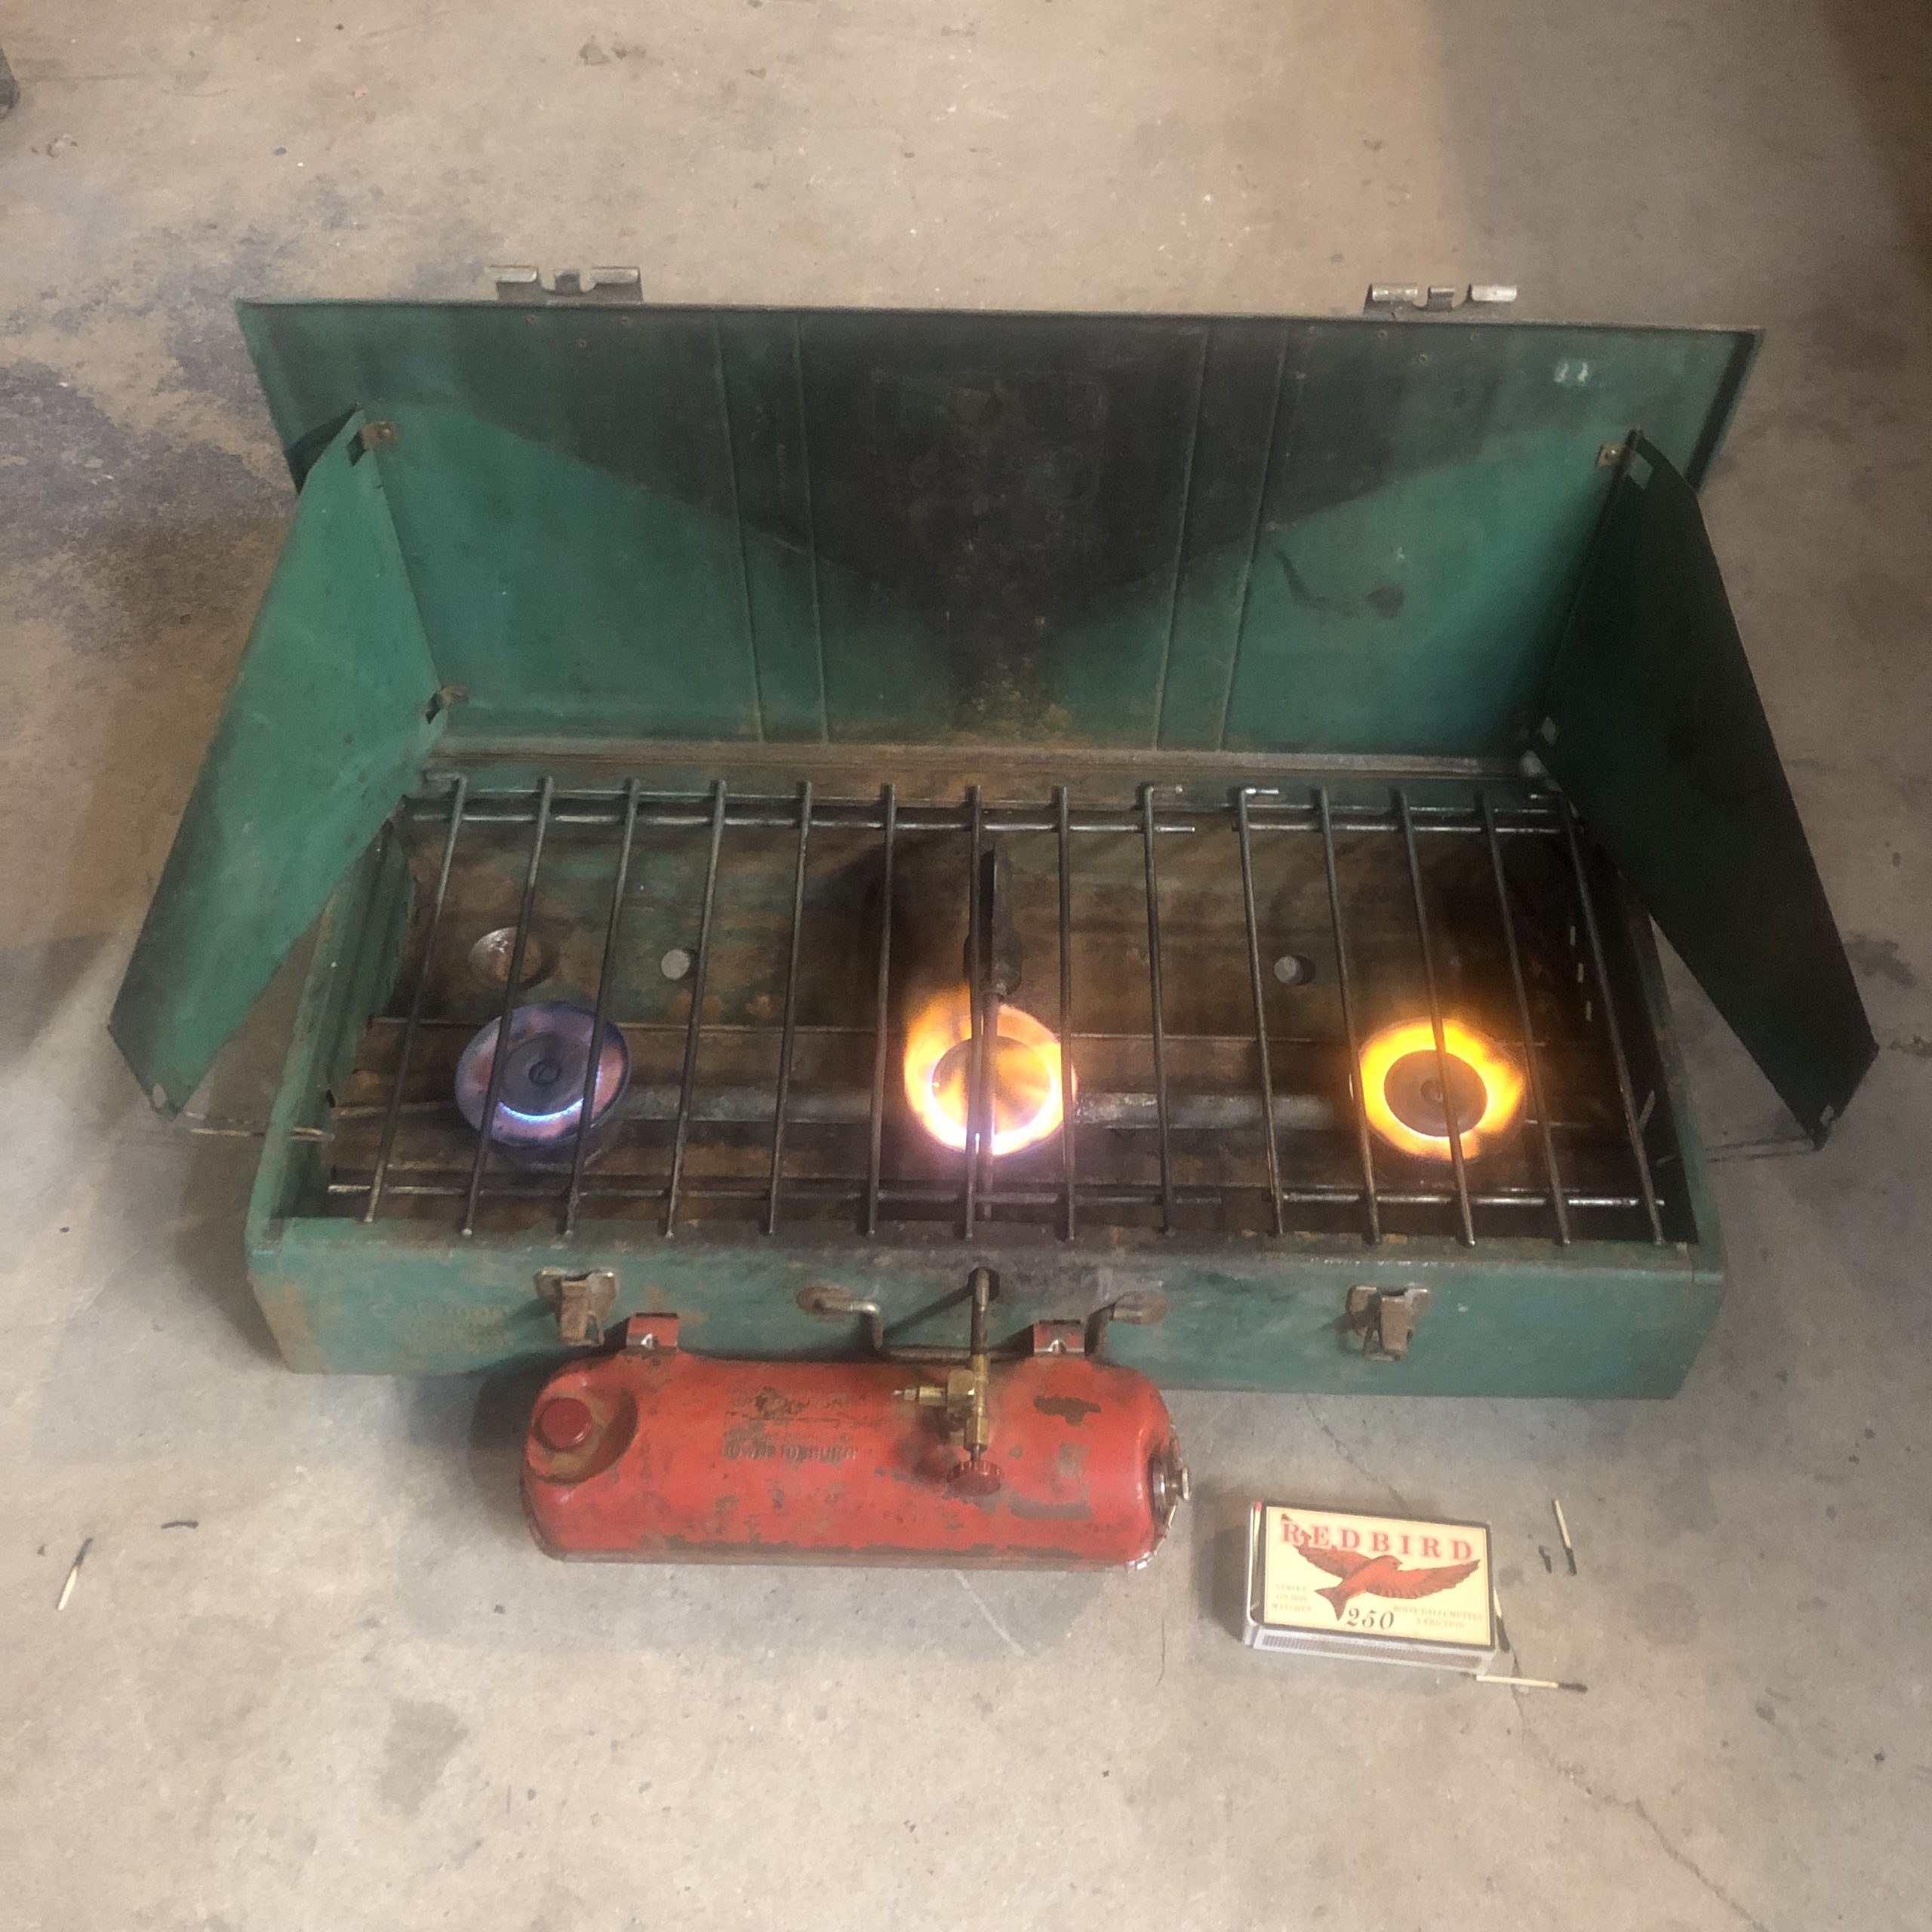
toys-n-yotasKeymasterLast night in The Shop, I fired up the other two Coleman stoves without drama.
The curb picked stove is still greasy, gonna scrub it at work today. But it runs strong! Might just be the best of the three.
I repaired the crack with JB Stick in The pretty garage sale stove i bought last year. Then that stove fired up really strong as well. Hard to decide which was more powerful, but i think the curb unit wins.
Yesterday in the driveway, I had to put a fuel pump resistor into the Taco. On my way into work Wednesday, Truckee slowly and quietly gave up and coasted to the shoulder. The FPR corroded off a terminal, and left me with a “low speed” fuel pump. $200 and one broken bolt later, Truckee ready to go again.
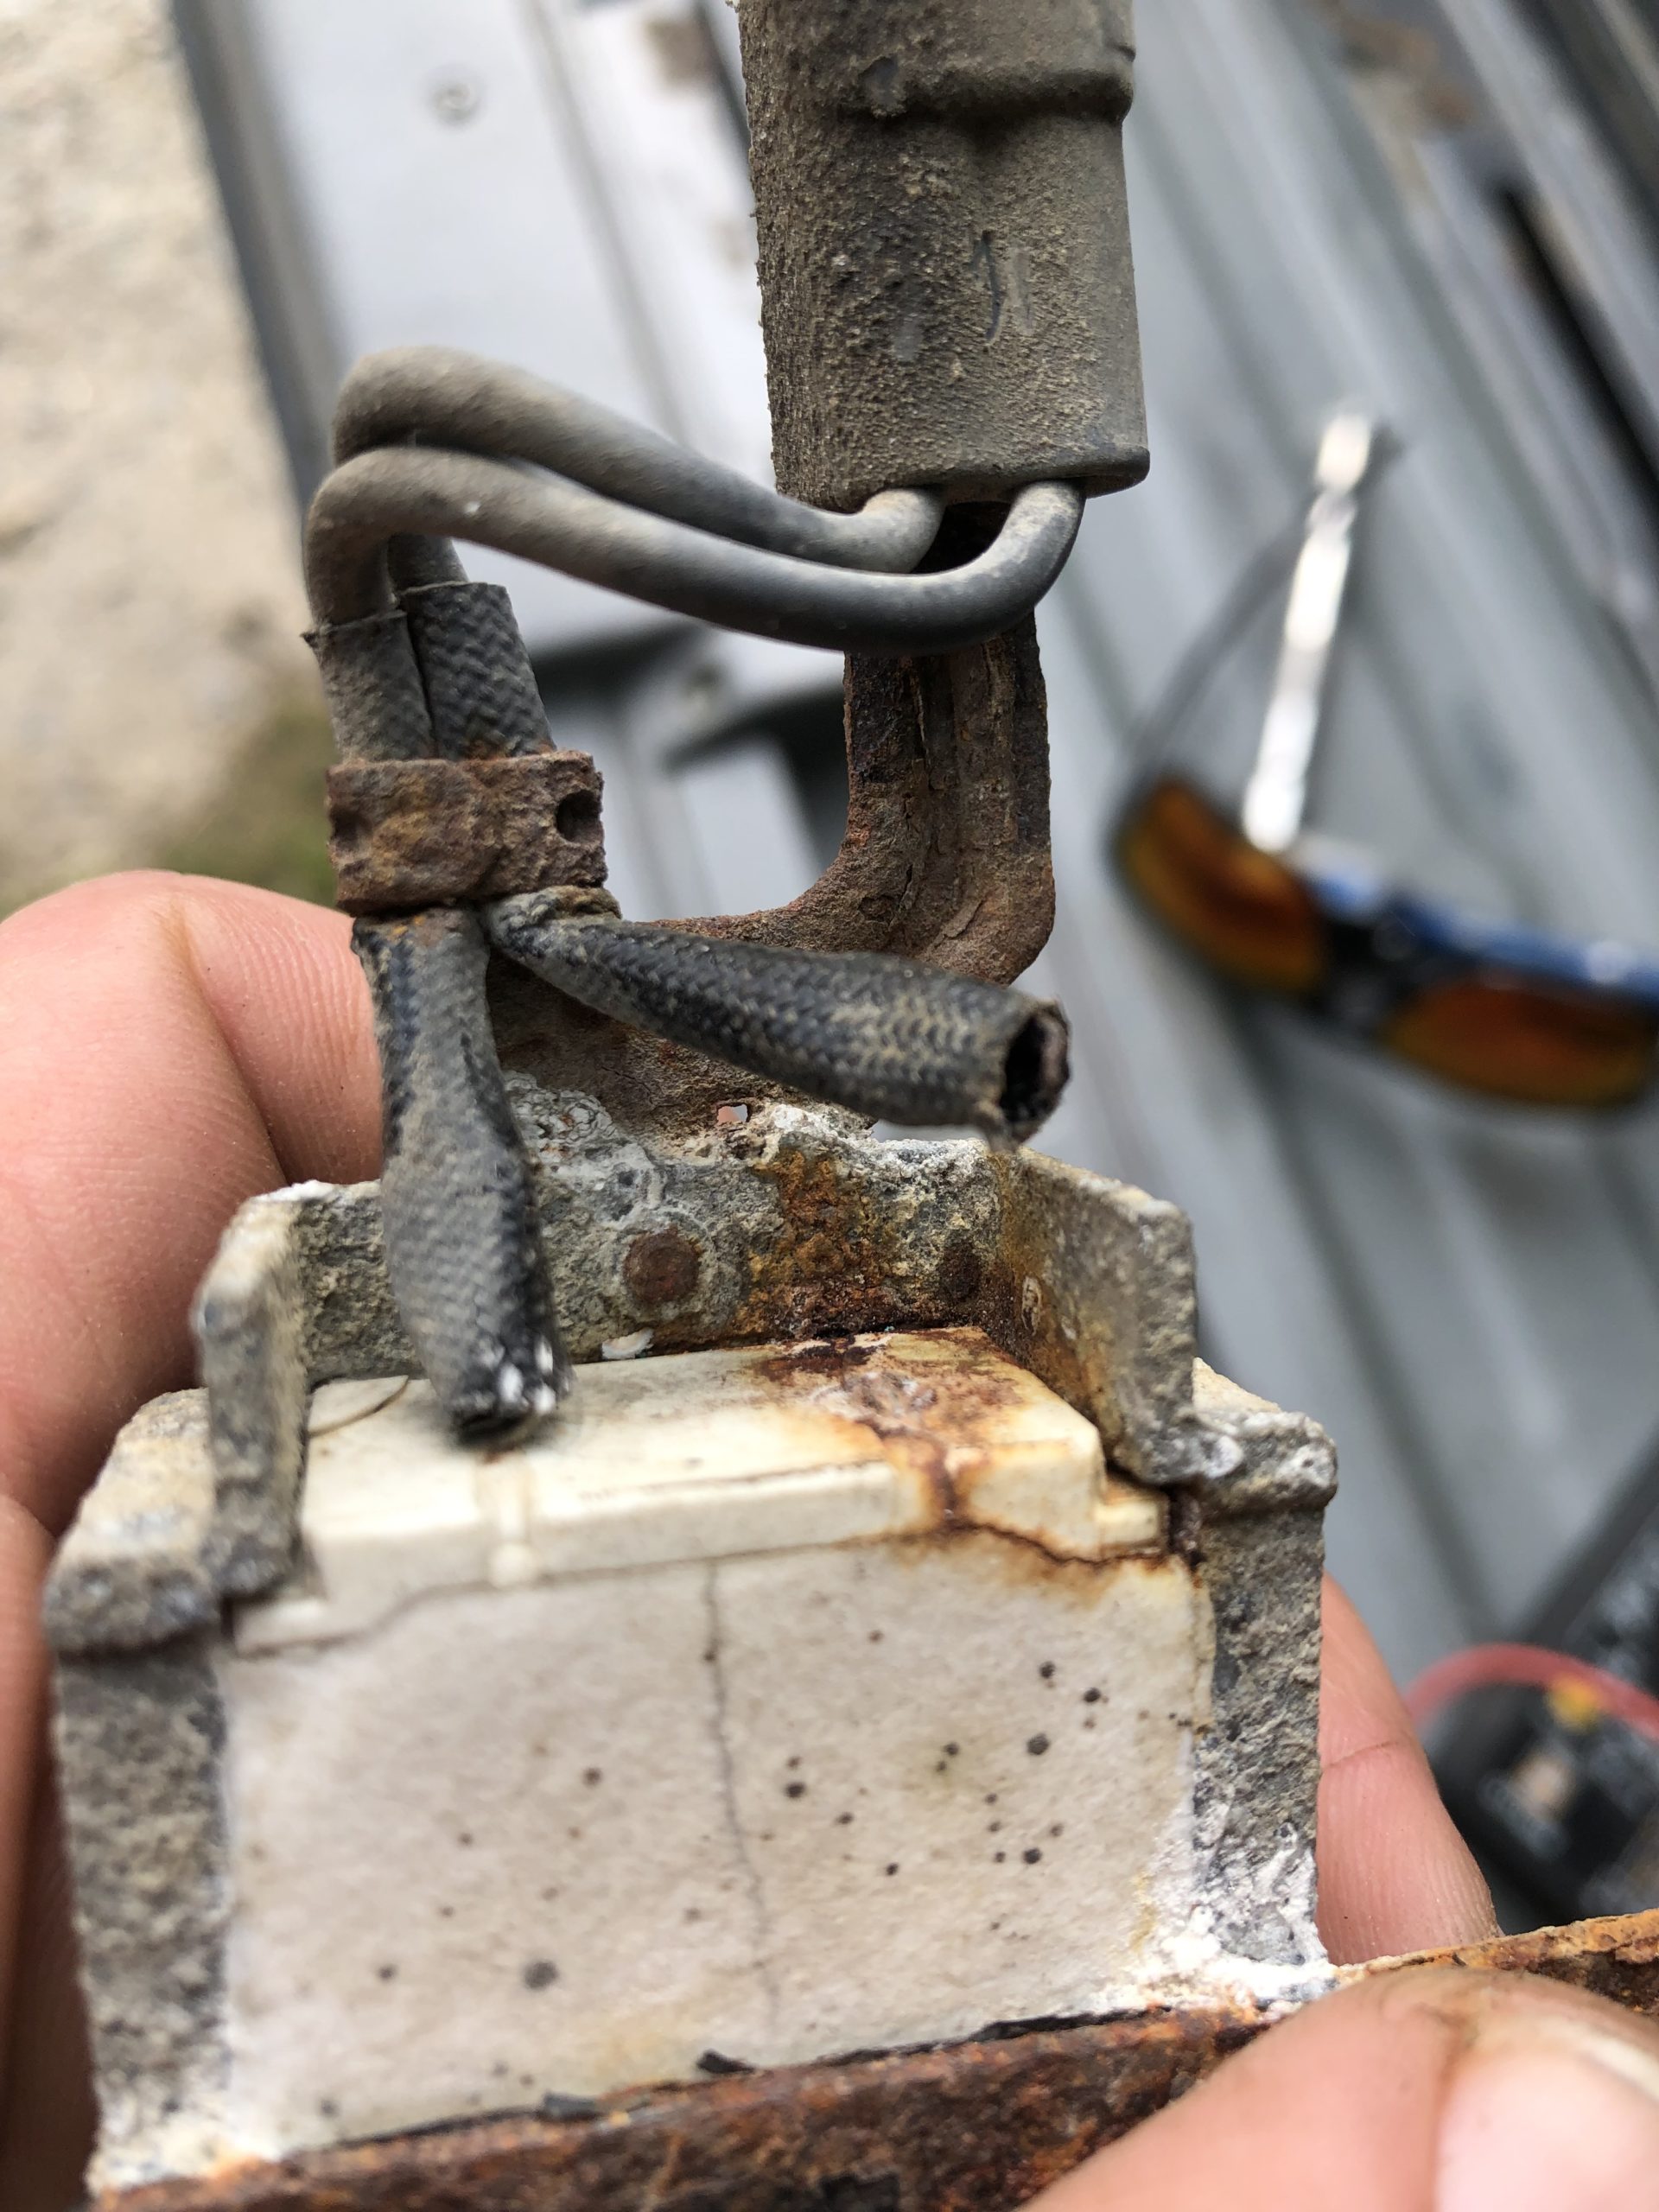
toys-n-yotasKeymasterMore Coleman stuff in the shop over the weekend, picked up a Model 446 three burner stove for $10! An hour of scraping and playing with the generator on the tank, and I was back in business, ready to cook a feast.
This is my second model 446 stove, the first one i curb picked a few years back and still need to de-grease it.
Still in disbelief that after years of trying to buy a triple stove, I now have 3 of them. One free, one $10, one $40. Hopefully by the weeks end all three will be functional. The most expensive of the three has a small crack in the casting that I’m hoping to get brazed or soldered closed. May resort to two-part epoxy.
Attachments:
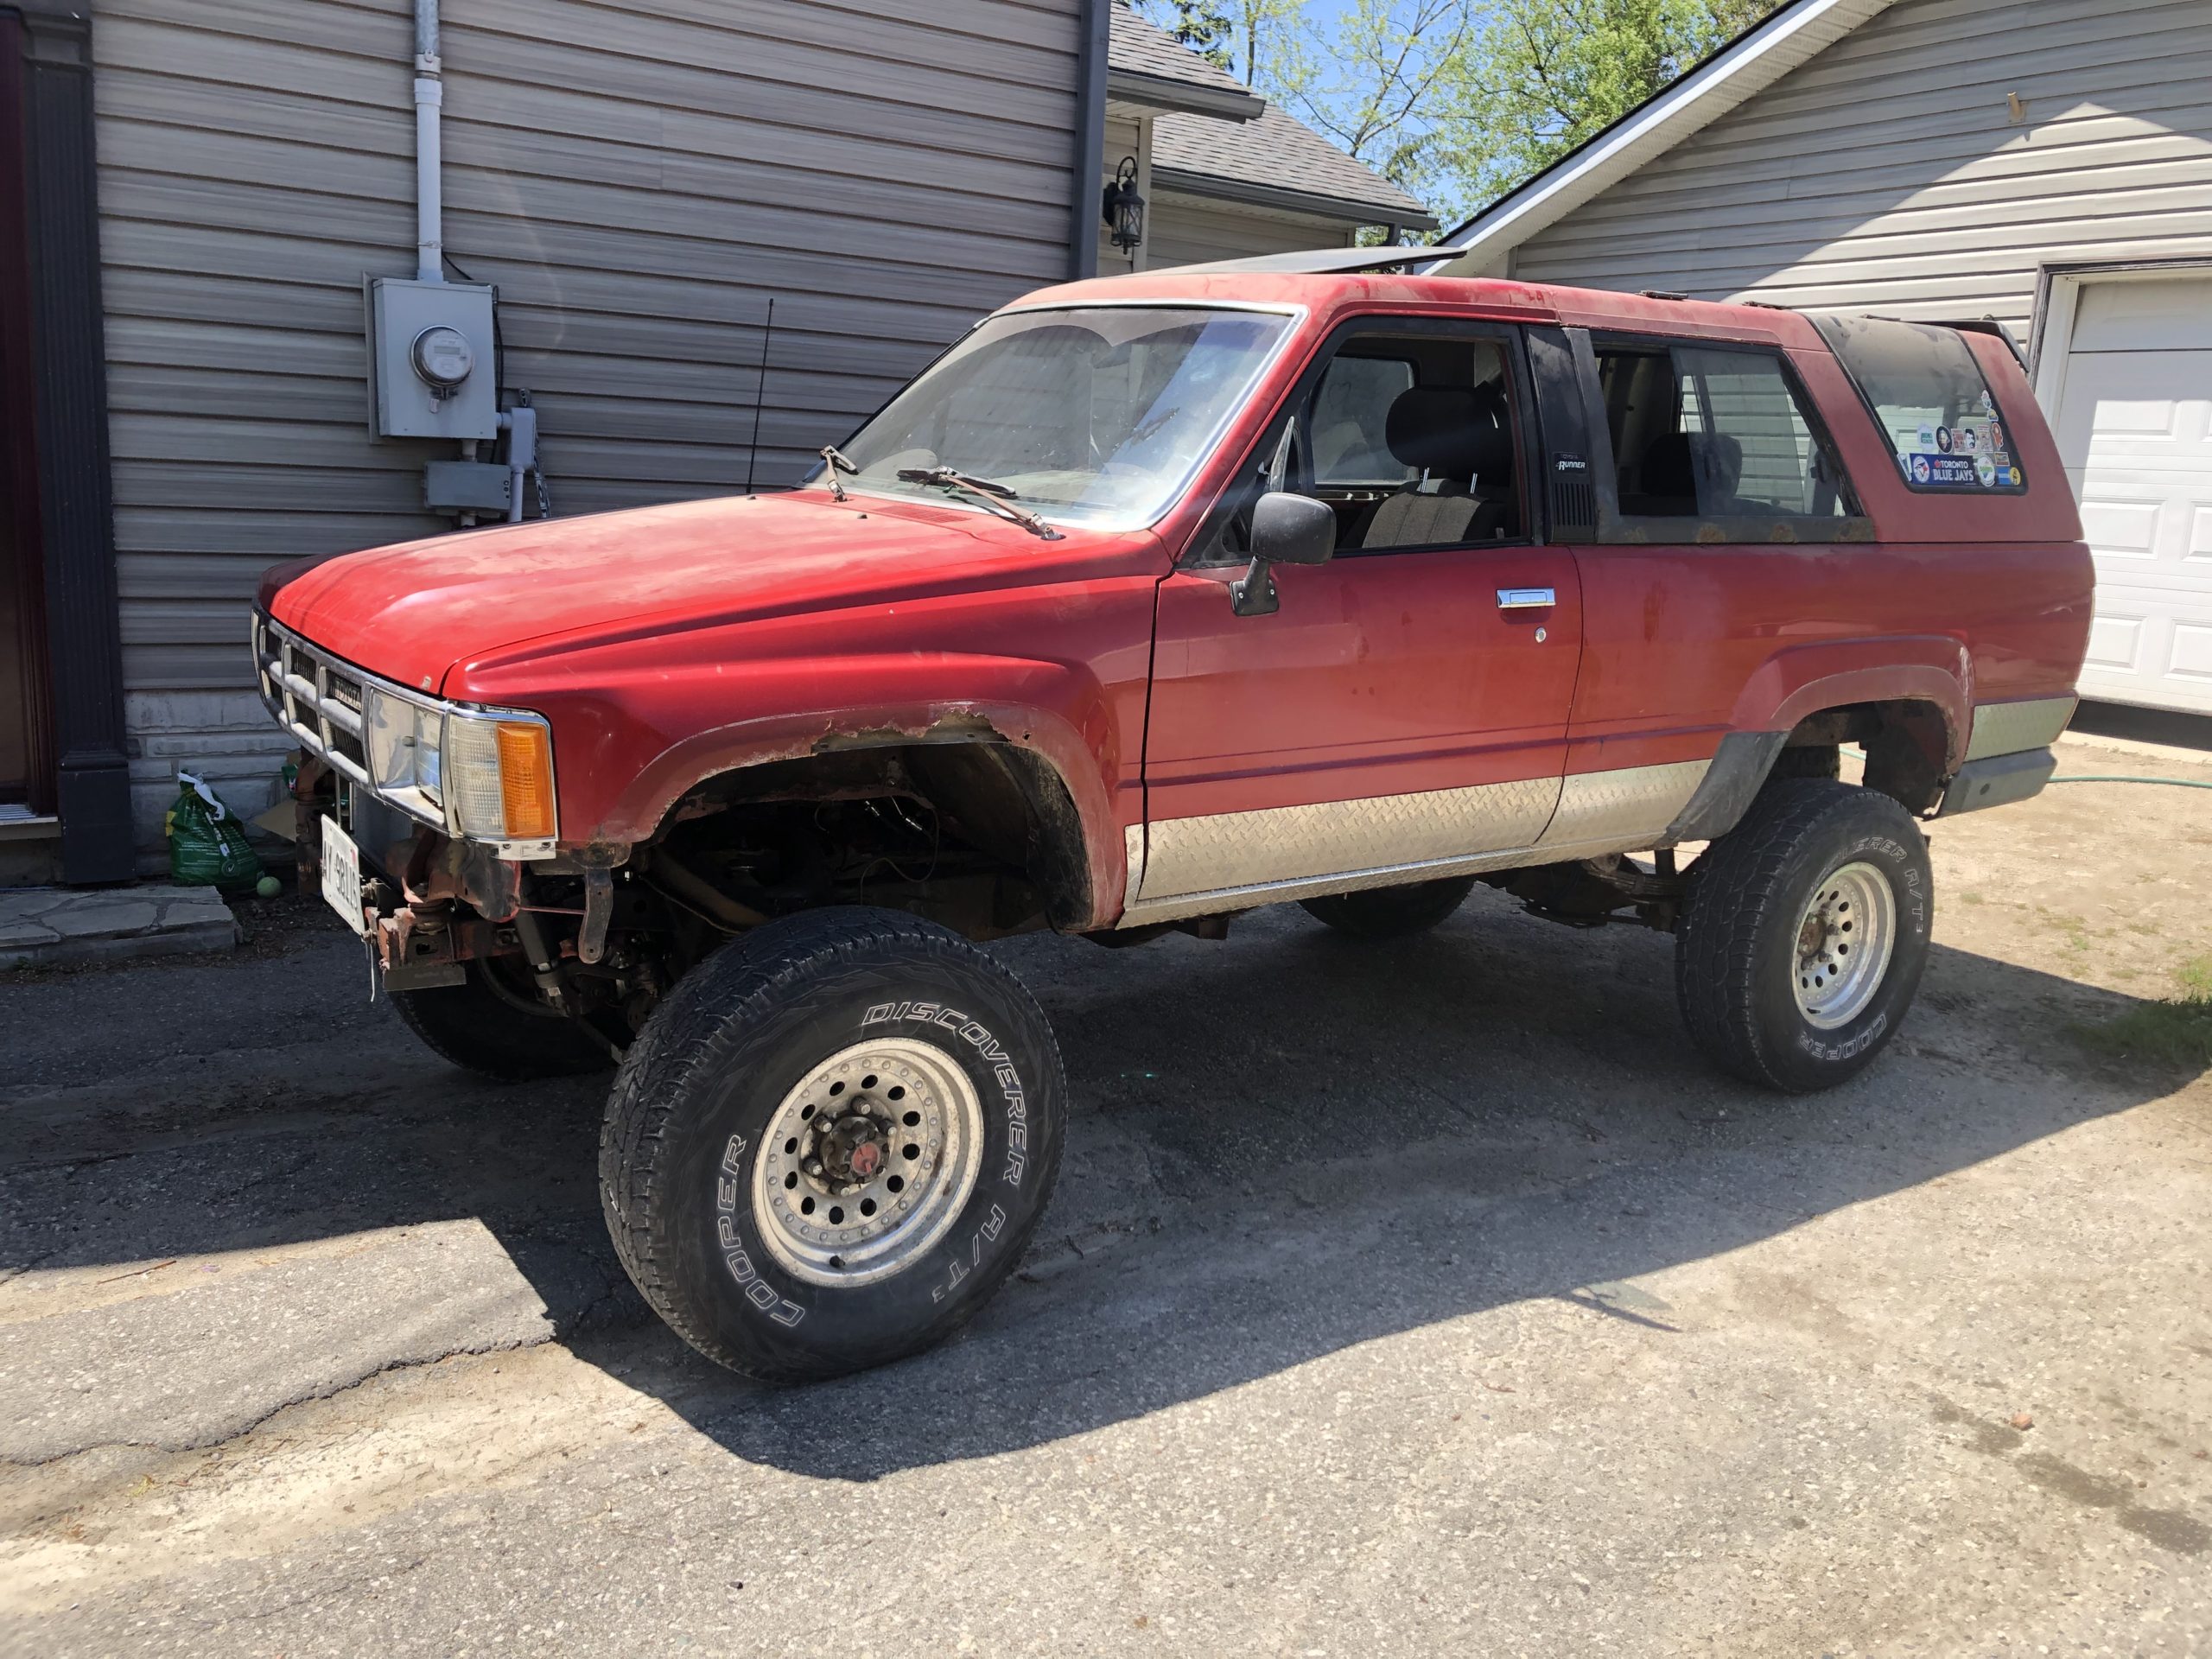
toys-n-yotasKeymasterLucky me, I parked Redee and the CV shaft just so happened to be in the right orientation that i can see the outer boot is completely destroyed on the drivers side.
So I gotta replace the inner and outer boots before touring season arrives.
Attachments:
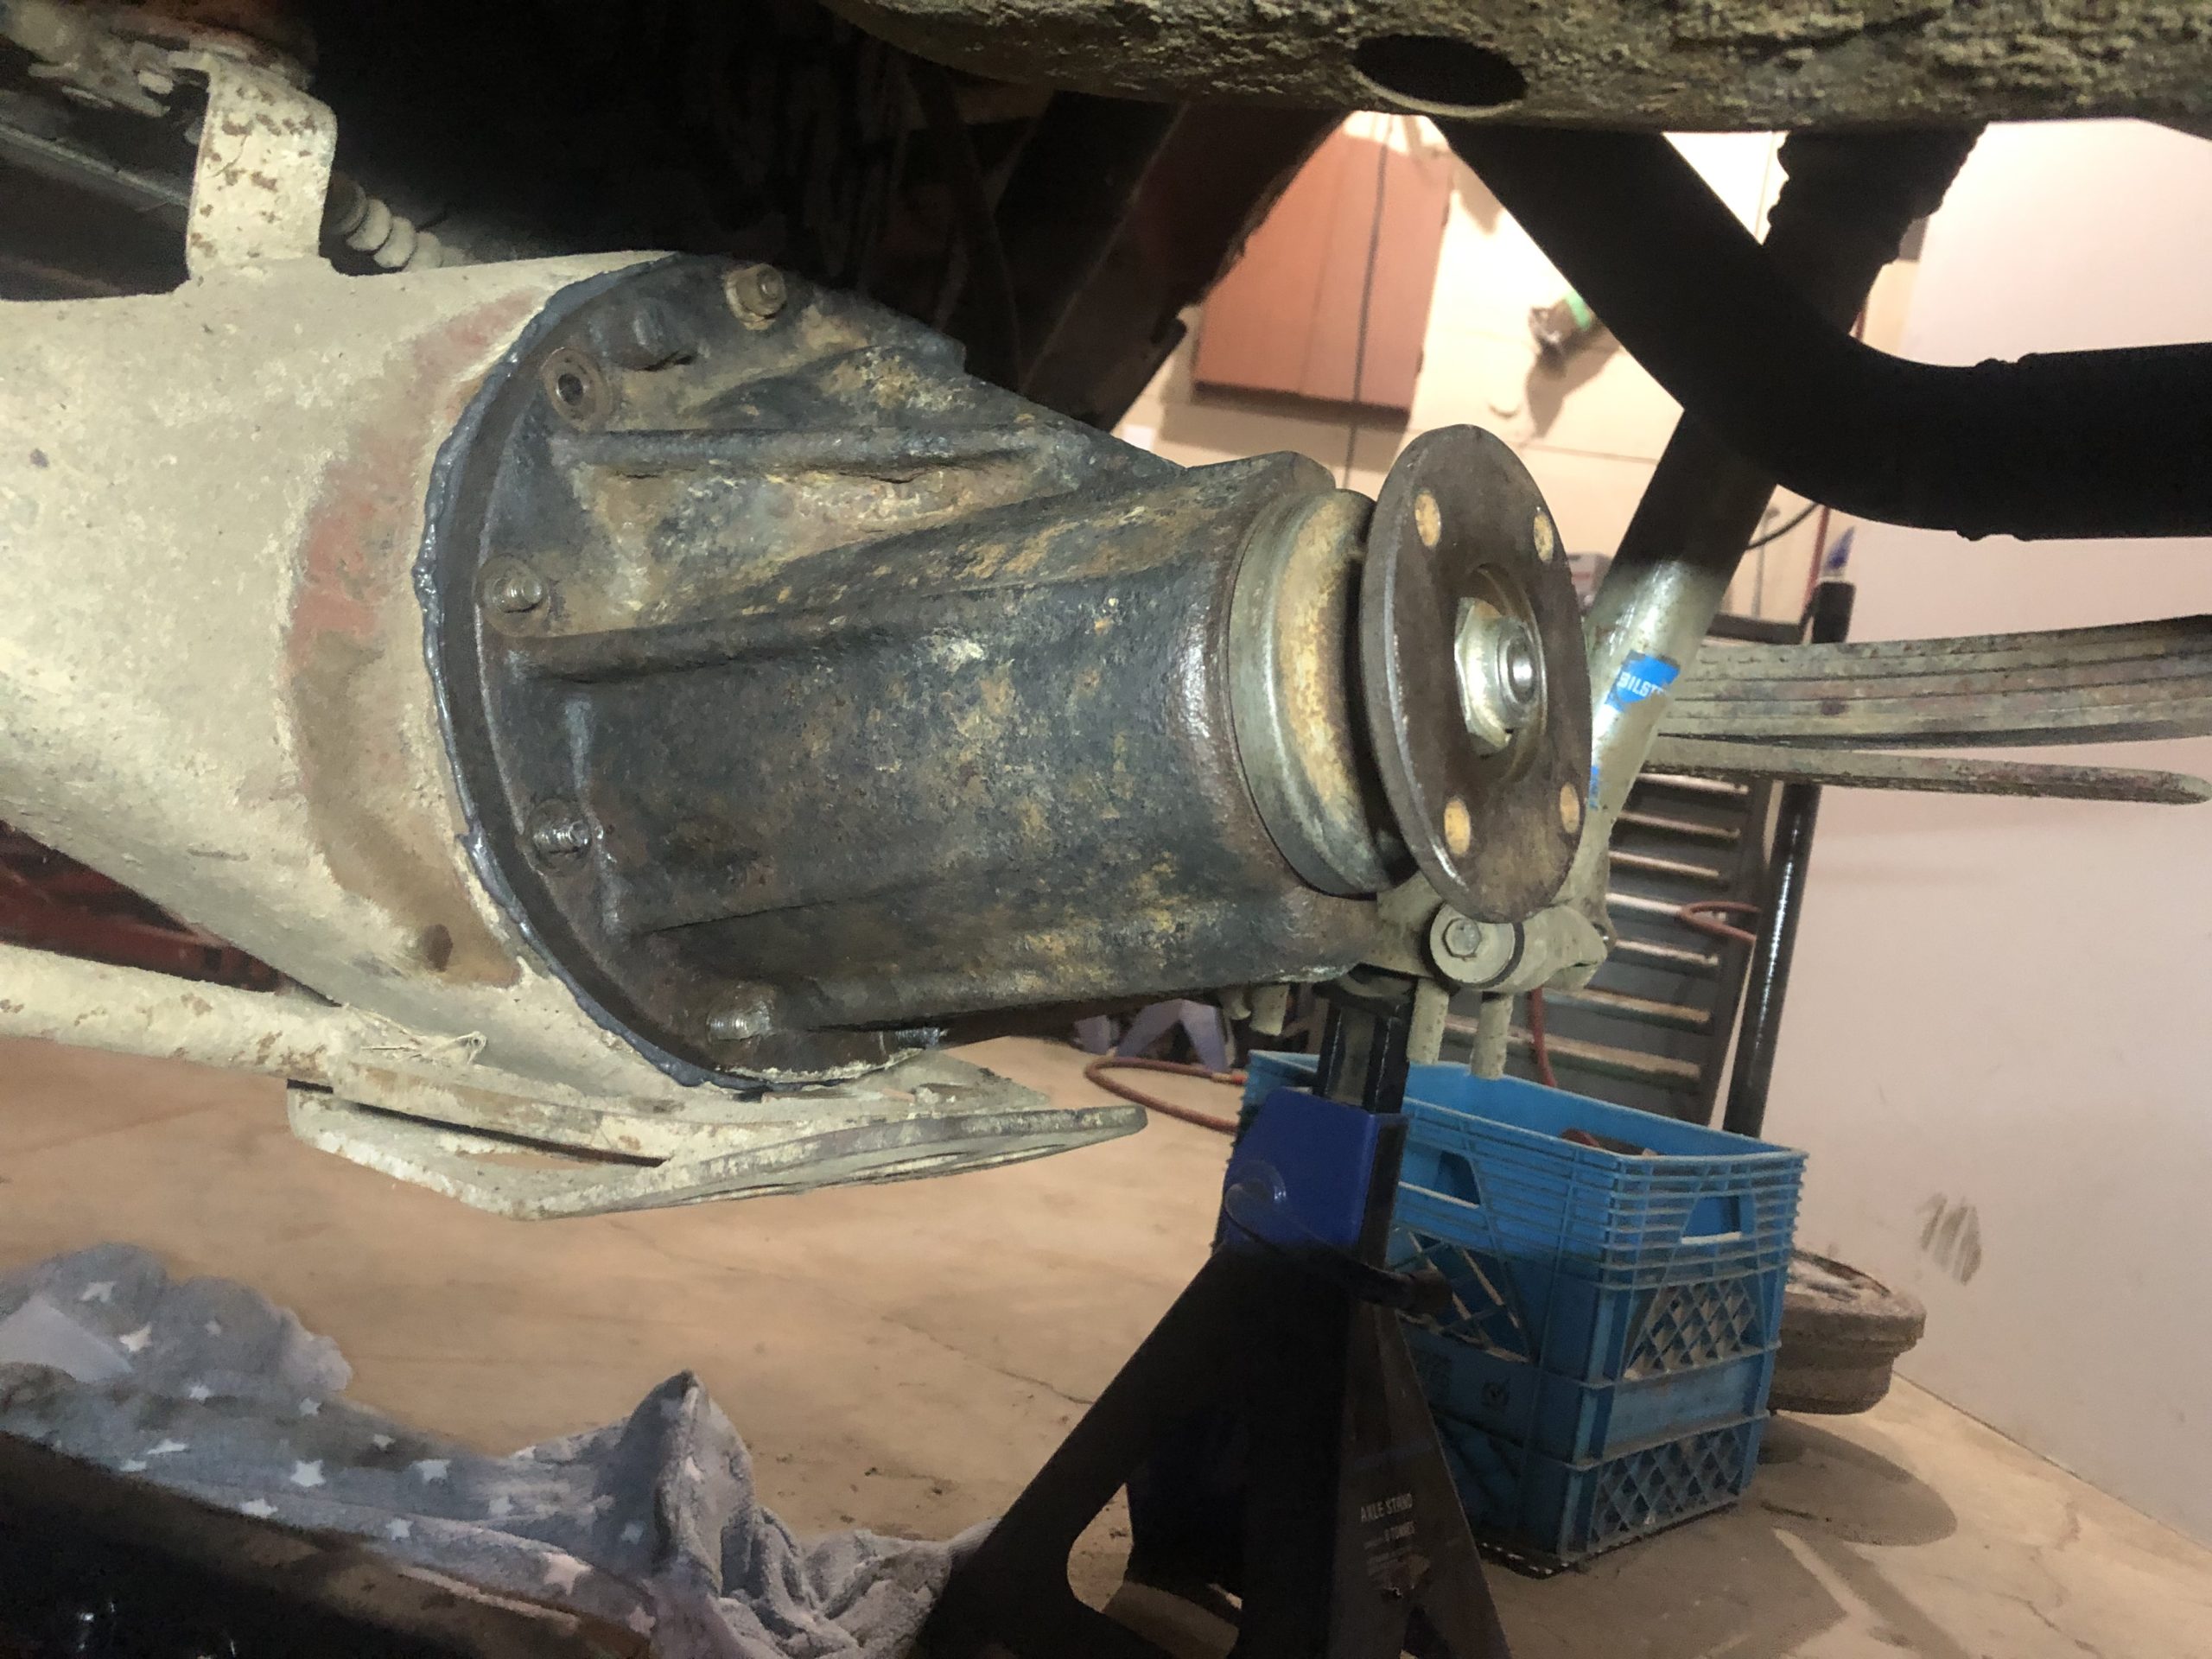
toys-n-yotasKeymasterButtoned to the third member with blue loctite on the carrier bearing adjustor stopper bolts. I opened a box I’ve had stashed for years, Fel-Pro third member gasket, bought it as a wholesaler closeout off rock auto at least 8 years ago….. gasket is for a diff much bigger than mine. Perhaps land cruiser or tundra.
Installed the clutch inspection cover with two new bolts cause I misplaced a couple.
Added another half bottle of antifreeze to top up the radiator, still have to heat cycle and burp the system.
toys-n-yotasKeymasterBegan chipping away at stuff.
Got the tools all put away.
Re-mounted the fuel tank skid plate now that the external patch has stopped the leak.
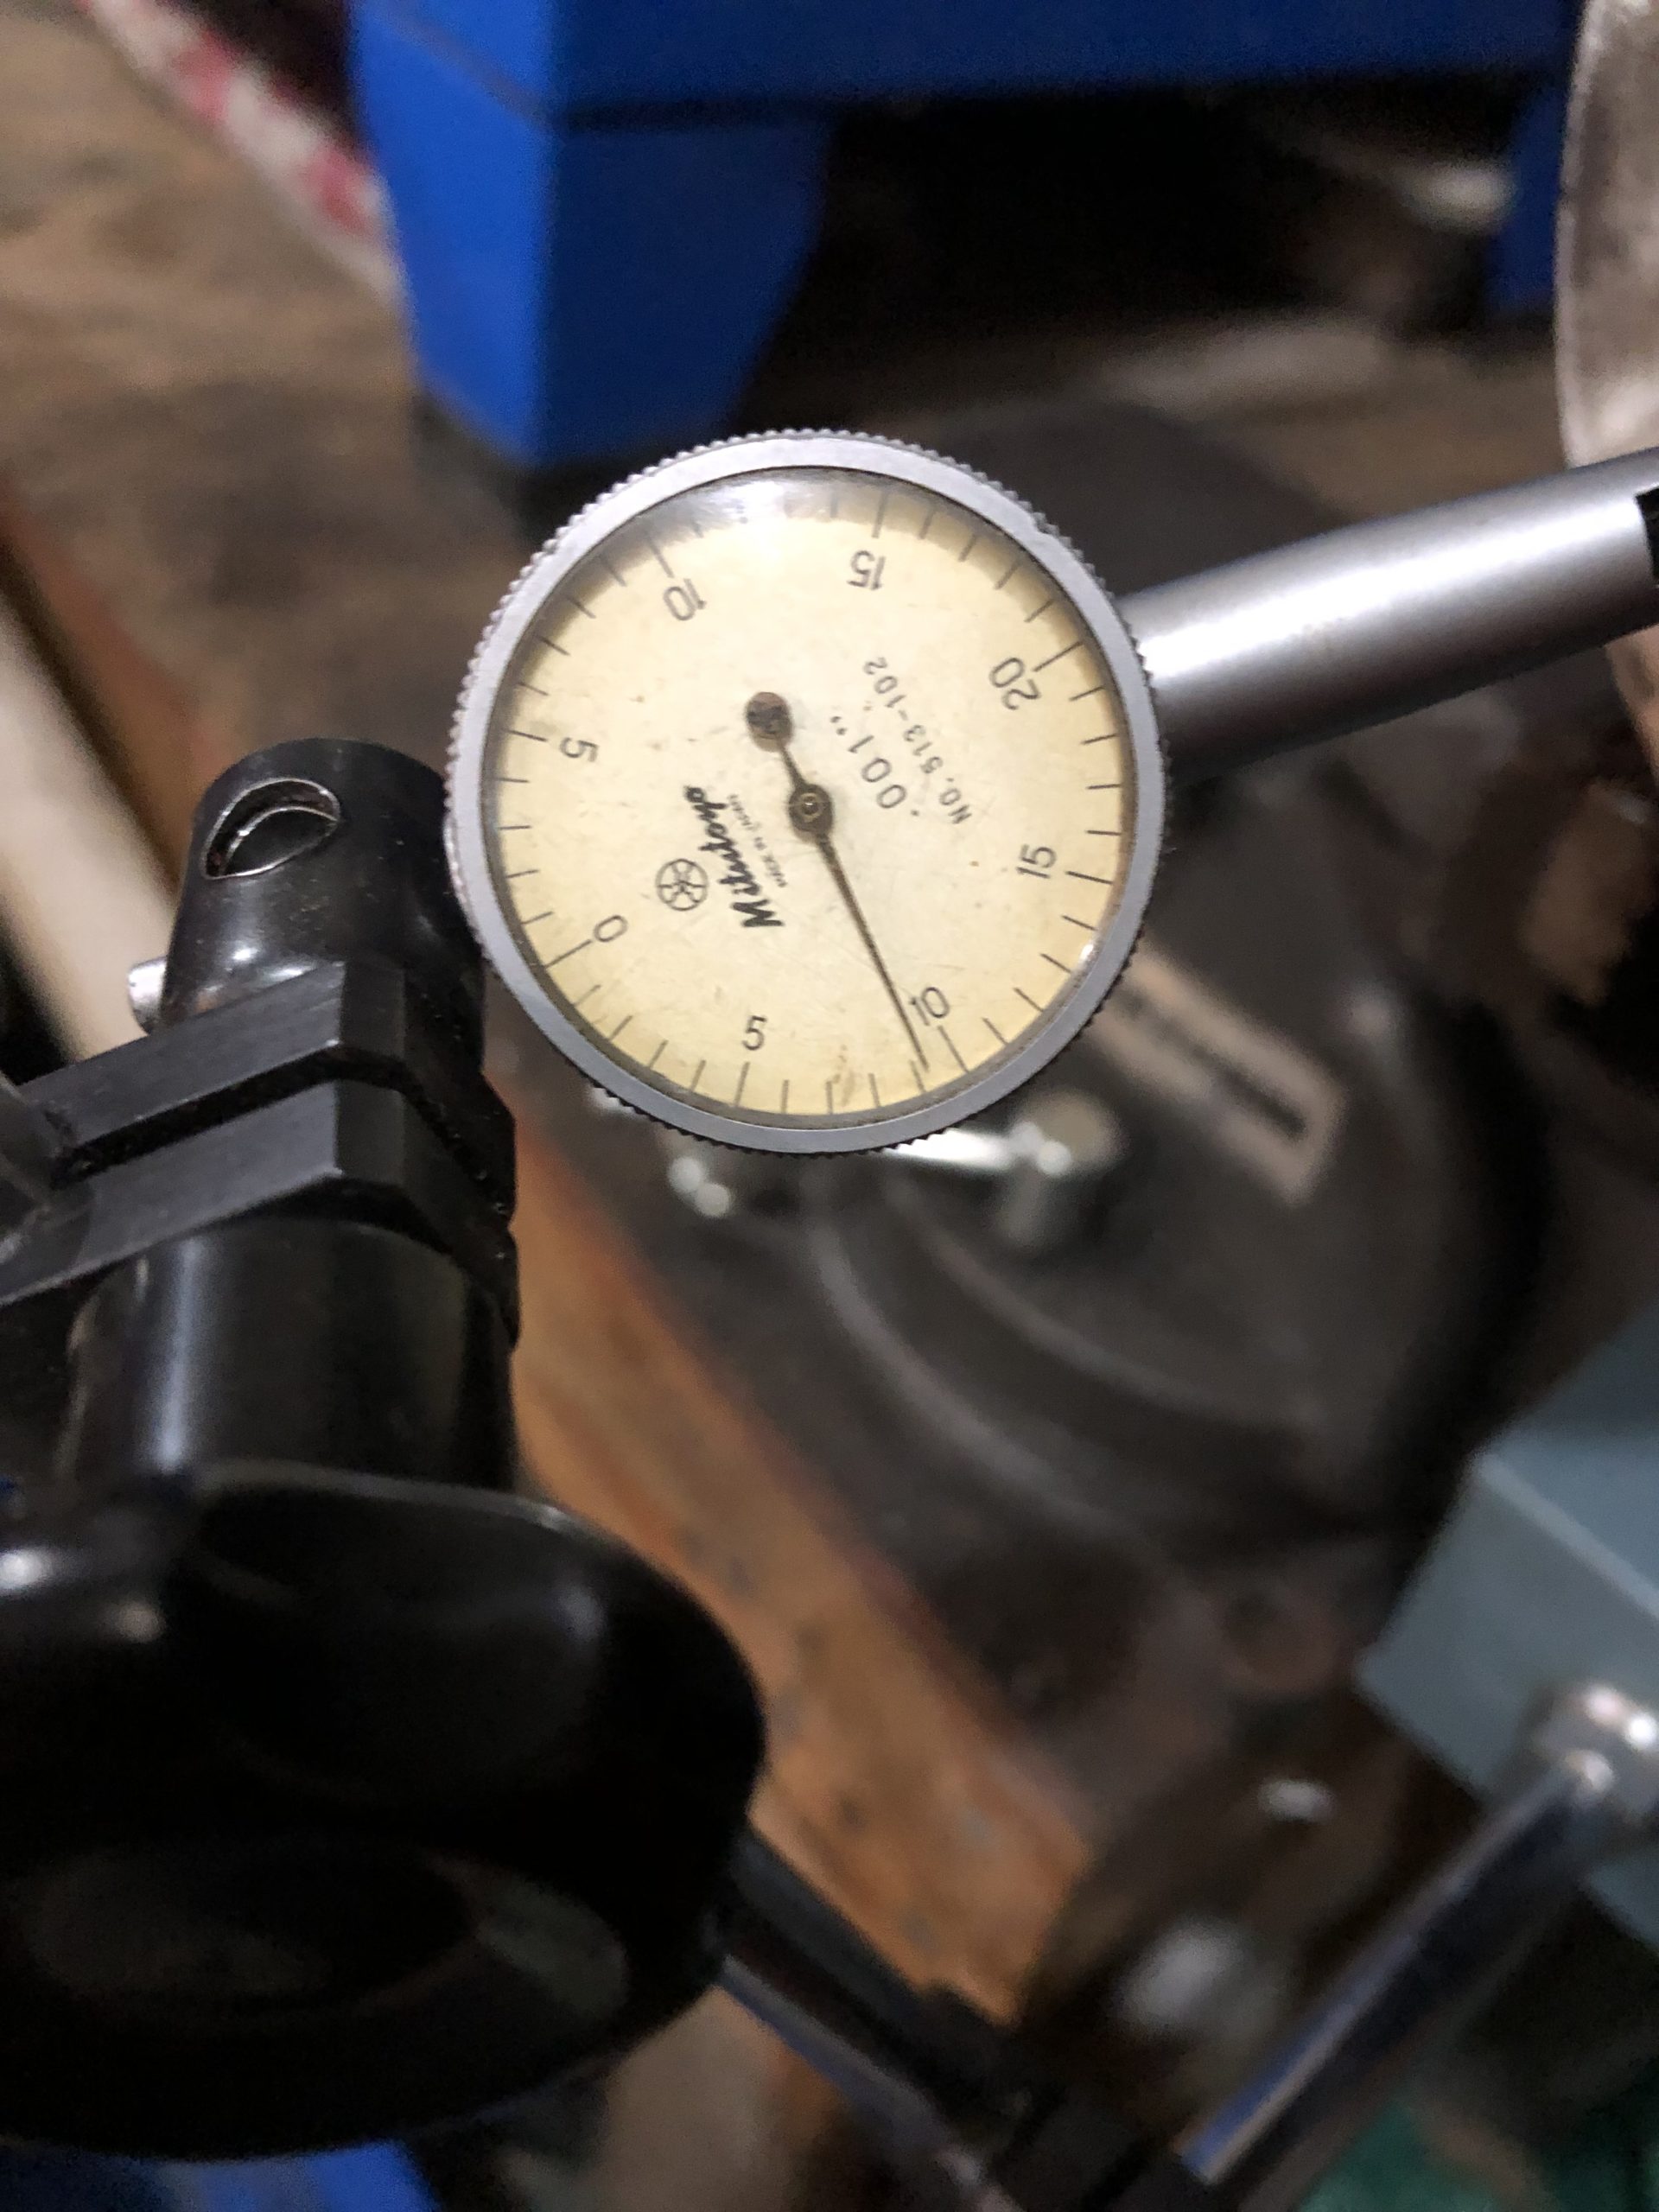
Put the 4.88 diff into the vice and verified ring/pinion backlash to be 0.009″ which falls nicely in the 0.006″ – 0.010″ spec (i found online).Next up, do final torque on the bearing caps for that third member. I’m Considering swapping it in while I wait on tires to come in stock.
Another easy task will be topping up the coolant because i was a partial jug short. That big rad holds a lot more coolant than I estimated.
Attachments:
toys-n-yotasKeymasterNothing to report. Redee still fires up instantly. Interior still in a pile on the floor. Tires still eff’d. 4.88 third still sitting in a milk crate, gotta dial in the ring & pinion backlash (or freeplay), spare tire dangling on a ratchet strap.
Good news, talked to my tire guy, the Toyo Open Country MT should be in stock mid June, so that’s my target to have some of these half finished tasks in a more finished position.
Still gotta figure out something for front and rear bumpers. I don’t want to put the Smitty Bilt back in the front, the body mounts has to be cut and eventually failed (why I had to weld repair them). May start grabbing scrap metal from the local shop and sticking stuff together till I’m satisfied. Rear bumper had something home made that actually resembled the smitty bilt, but it was never properly mounted. I think it was originally built for a pickup, so needs the “Z-bracket” to lower it under the 4Runner tailgate.
This rain and shit weather has really put a damper in my motivation. Waiting for tires sucks too but that’s besides the point.
Tonight I either have to ACTUALLY put away tools in the shop, or pick one of my open items and begin.
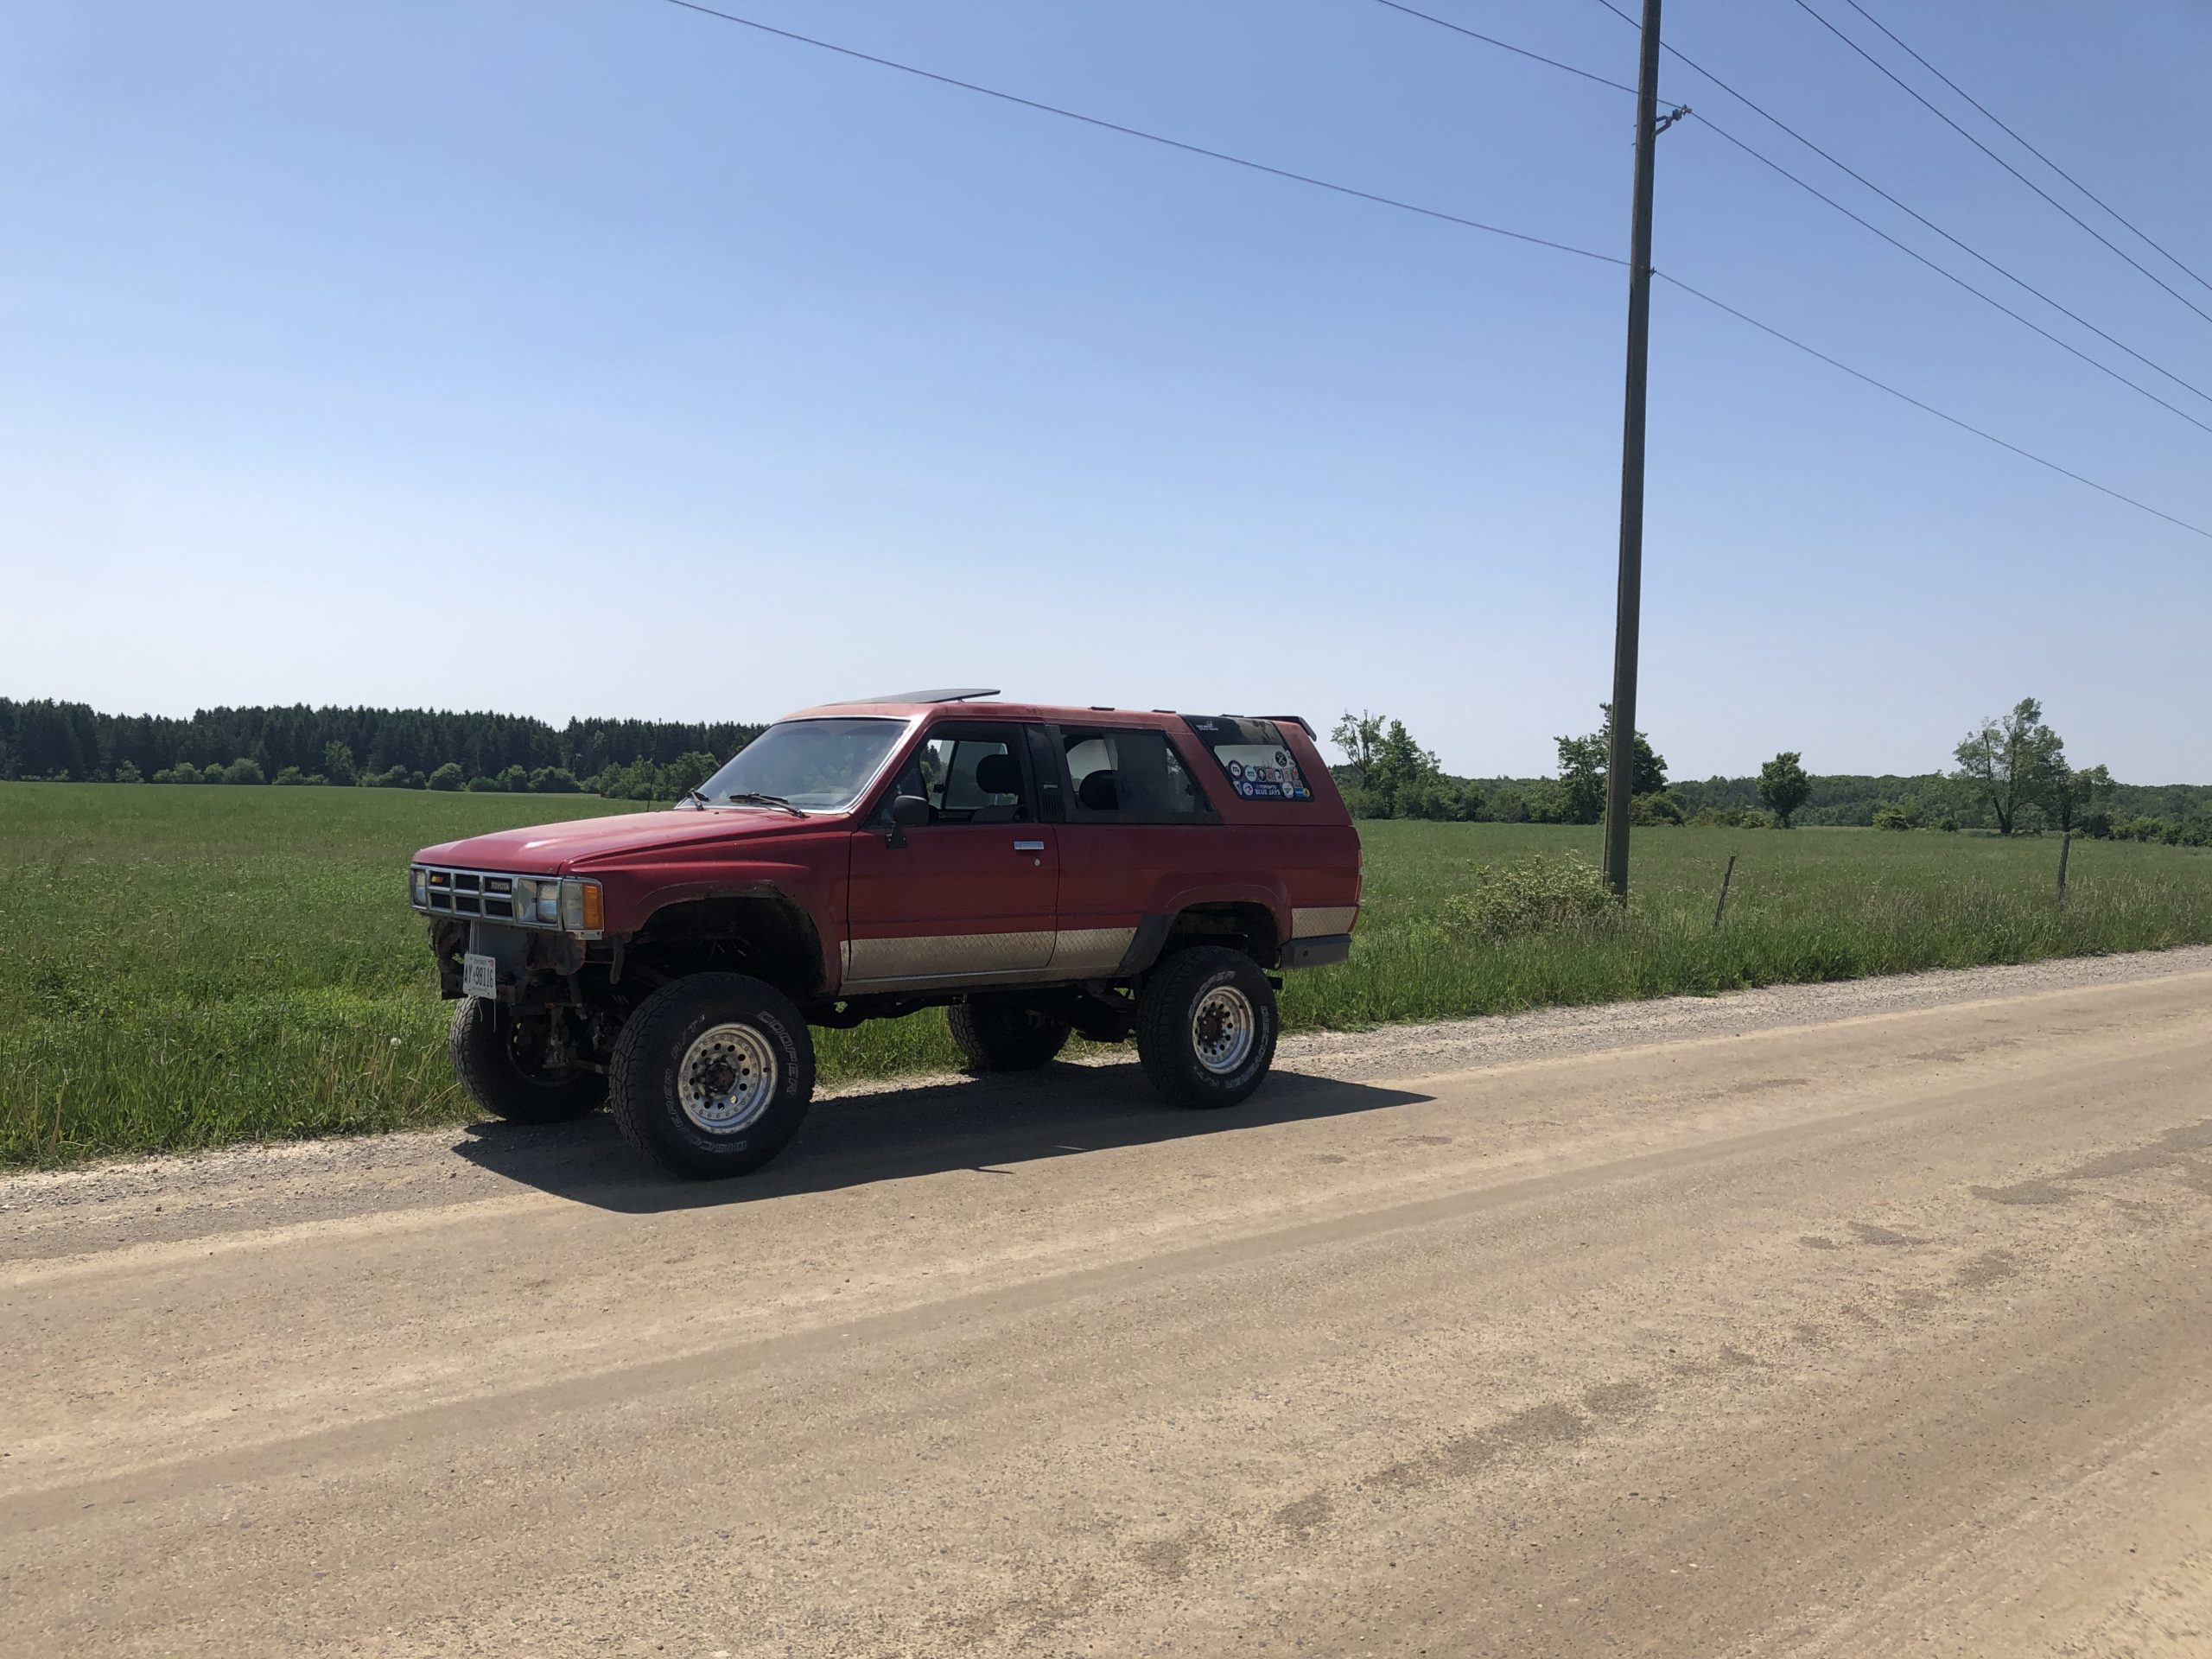
toys-n-yotasKeymasterGot my cruising in today, about 30 kms total over two trips. Ask is good except the rear end feels/sounds odd in reverse. Our perhaps the ebrake is sticking. I think my current (dry, leaking and 15 year old) tires are causing a vibration up front, but I’m gonna ignore that for now.
Looking at tires online, trying to see if there are cheaper options than Toyo MT in the 33×10.5R15 size. Willing to go taller, but not wider.
-
This reply was modified 8 months, 2 weeks ago by
 toys-n-yotas.
-
This reply was modified 8 months, 2 weeks ago by toys-n-yotas.
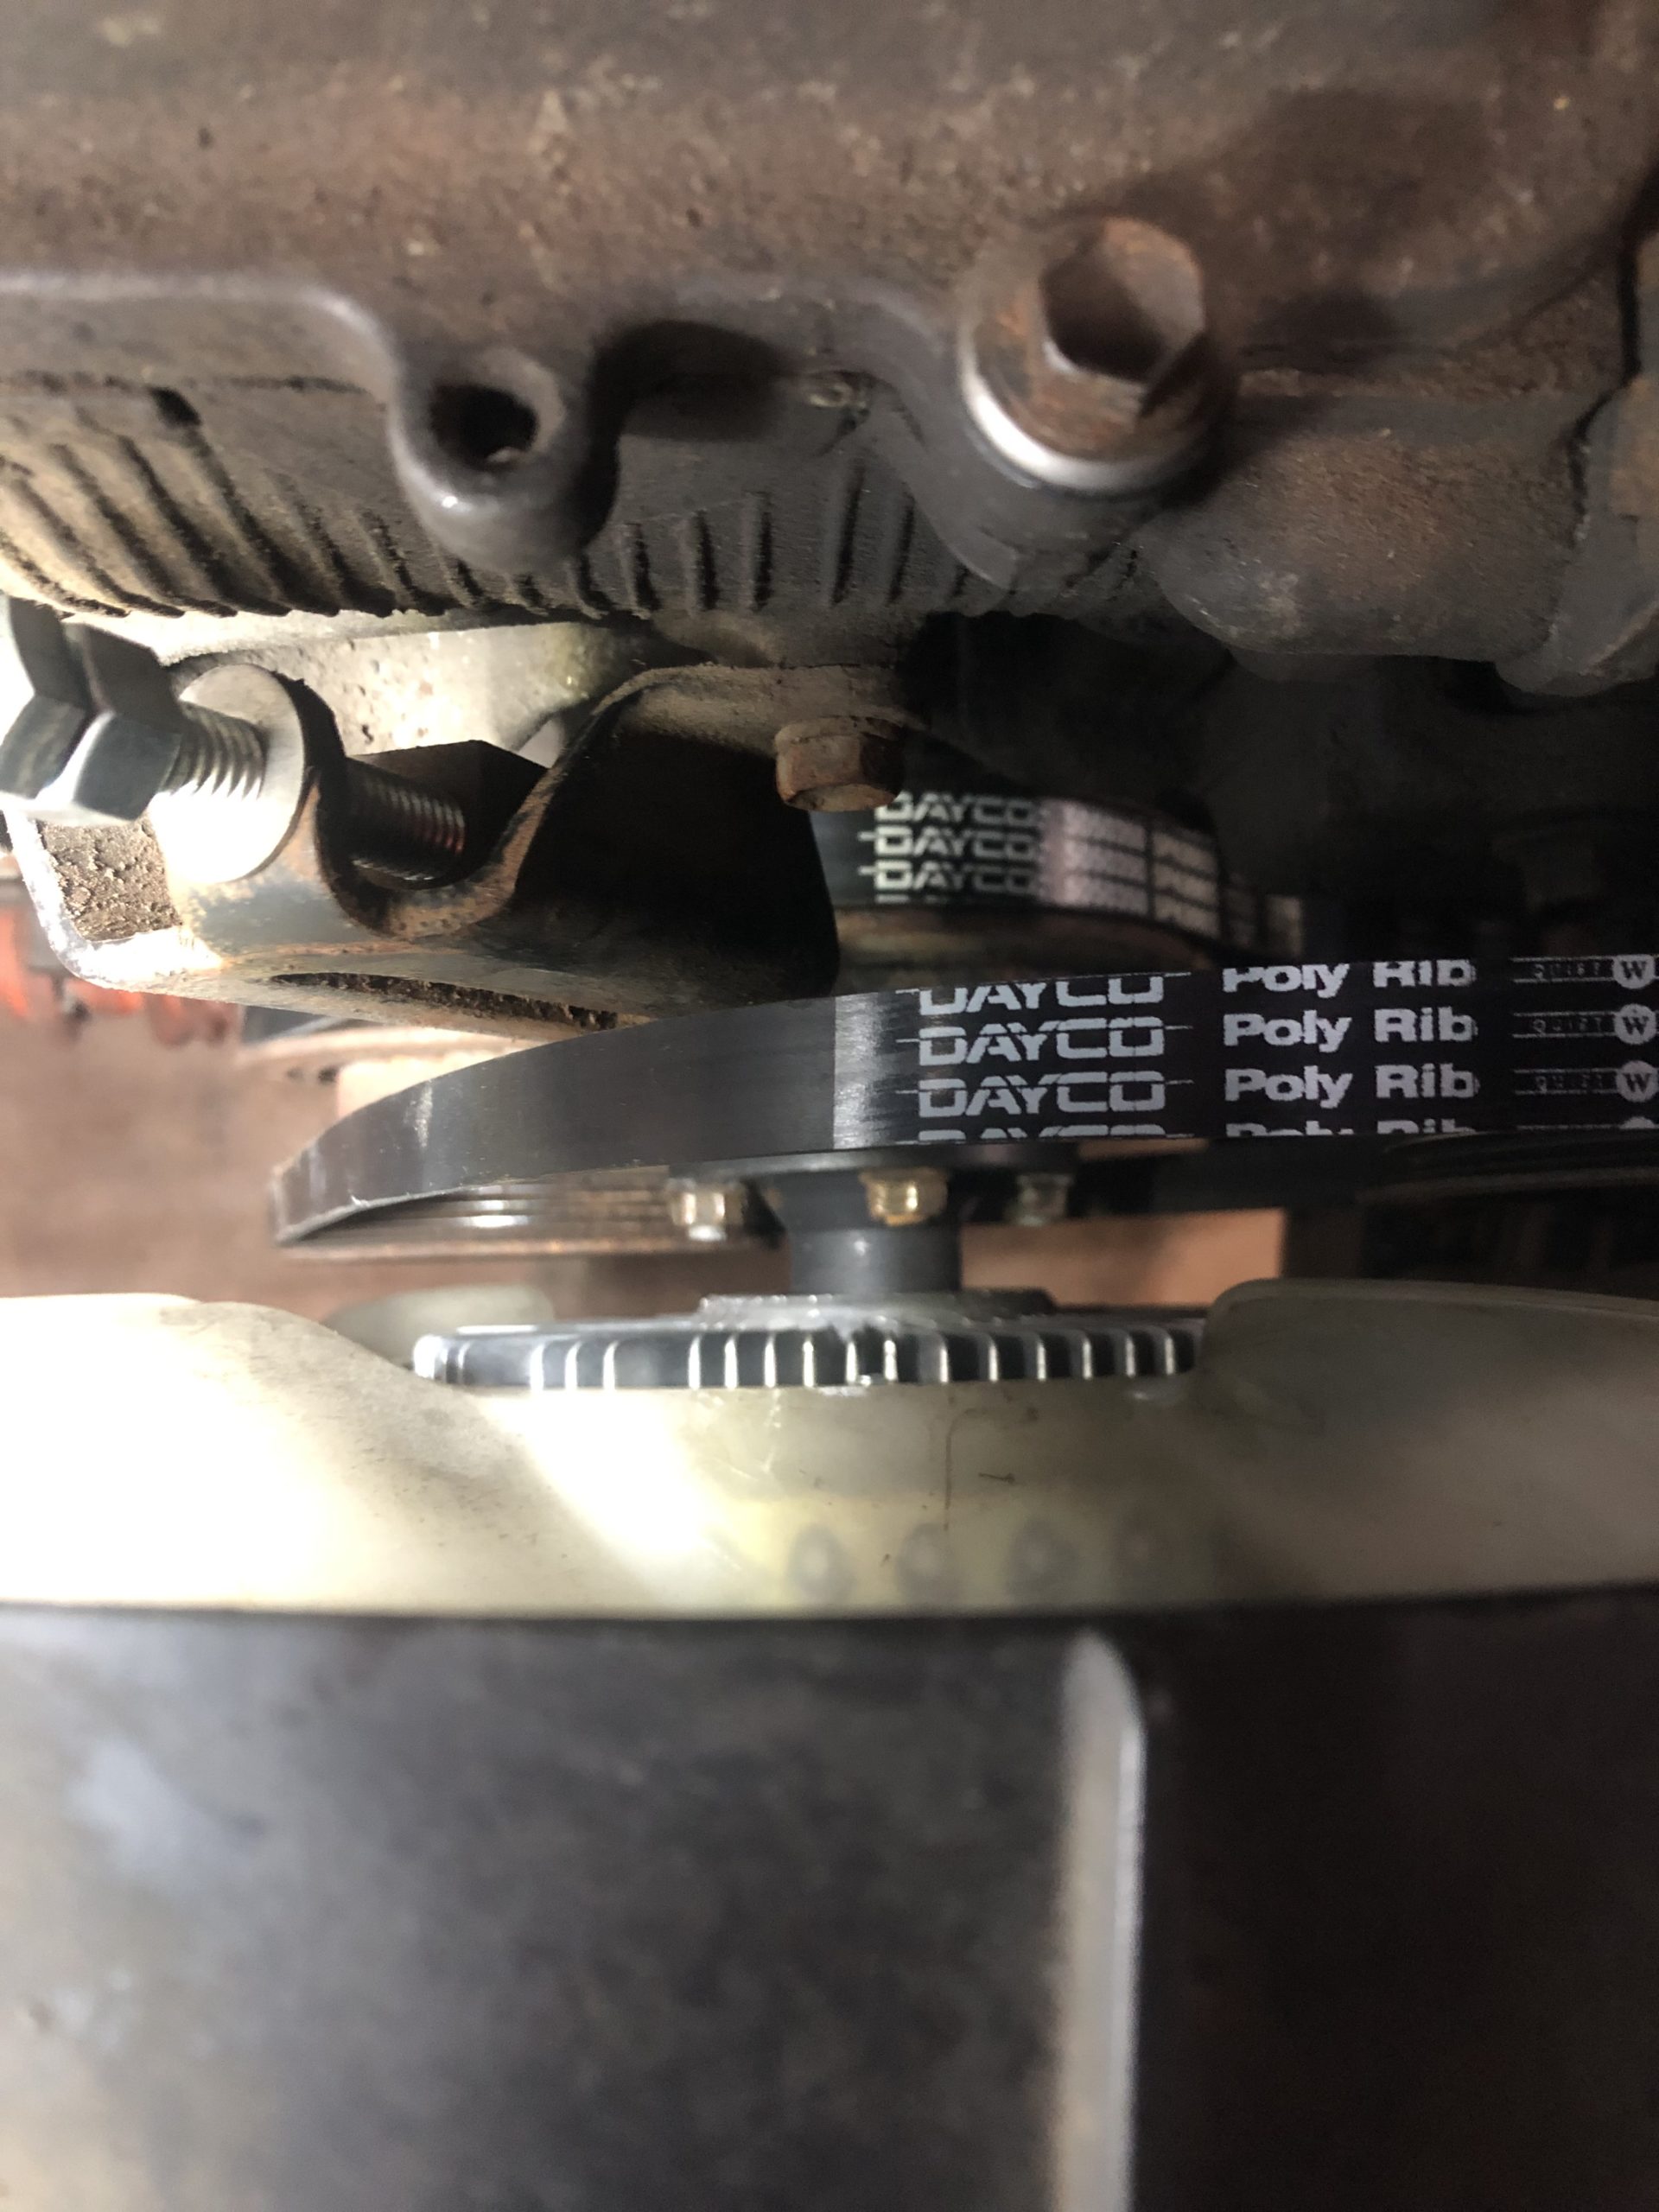
toys-n-yotasKeymasterGot the new belts and fan clutch in, idler bearing didn’t arrive on time. That’s ok, hopefully it arrives tomorrow. I could re-use the old one, it’s in decent shape still, was gonna keep the belts and idler as trall spares.
I wanna take a 20km tour tomorrow, get a few more gentle launches on this new clutch
Attachments:
toys-n-yotasKeymasterPulled the belts idler and fan last night to replace locally. After getting a quote, I bought my replacement parts on rockauto. Local shop only carried the premium brand parts, $39 belt vs $12 belt. $175 clutch vs $62 clutch.
Seeing as Redee is not a DD, gonna save money on these parts where i can.
Still on the hunt for used tires.
-
AuthorPosts