Forum Replies Created
-
AuthorPosts
-
 toys-n-yotasKeymaster
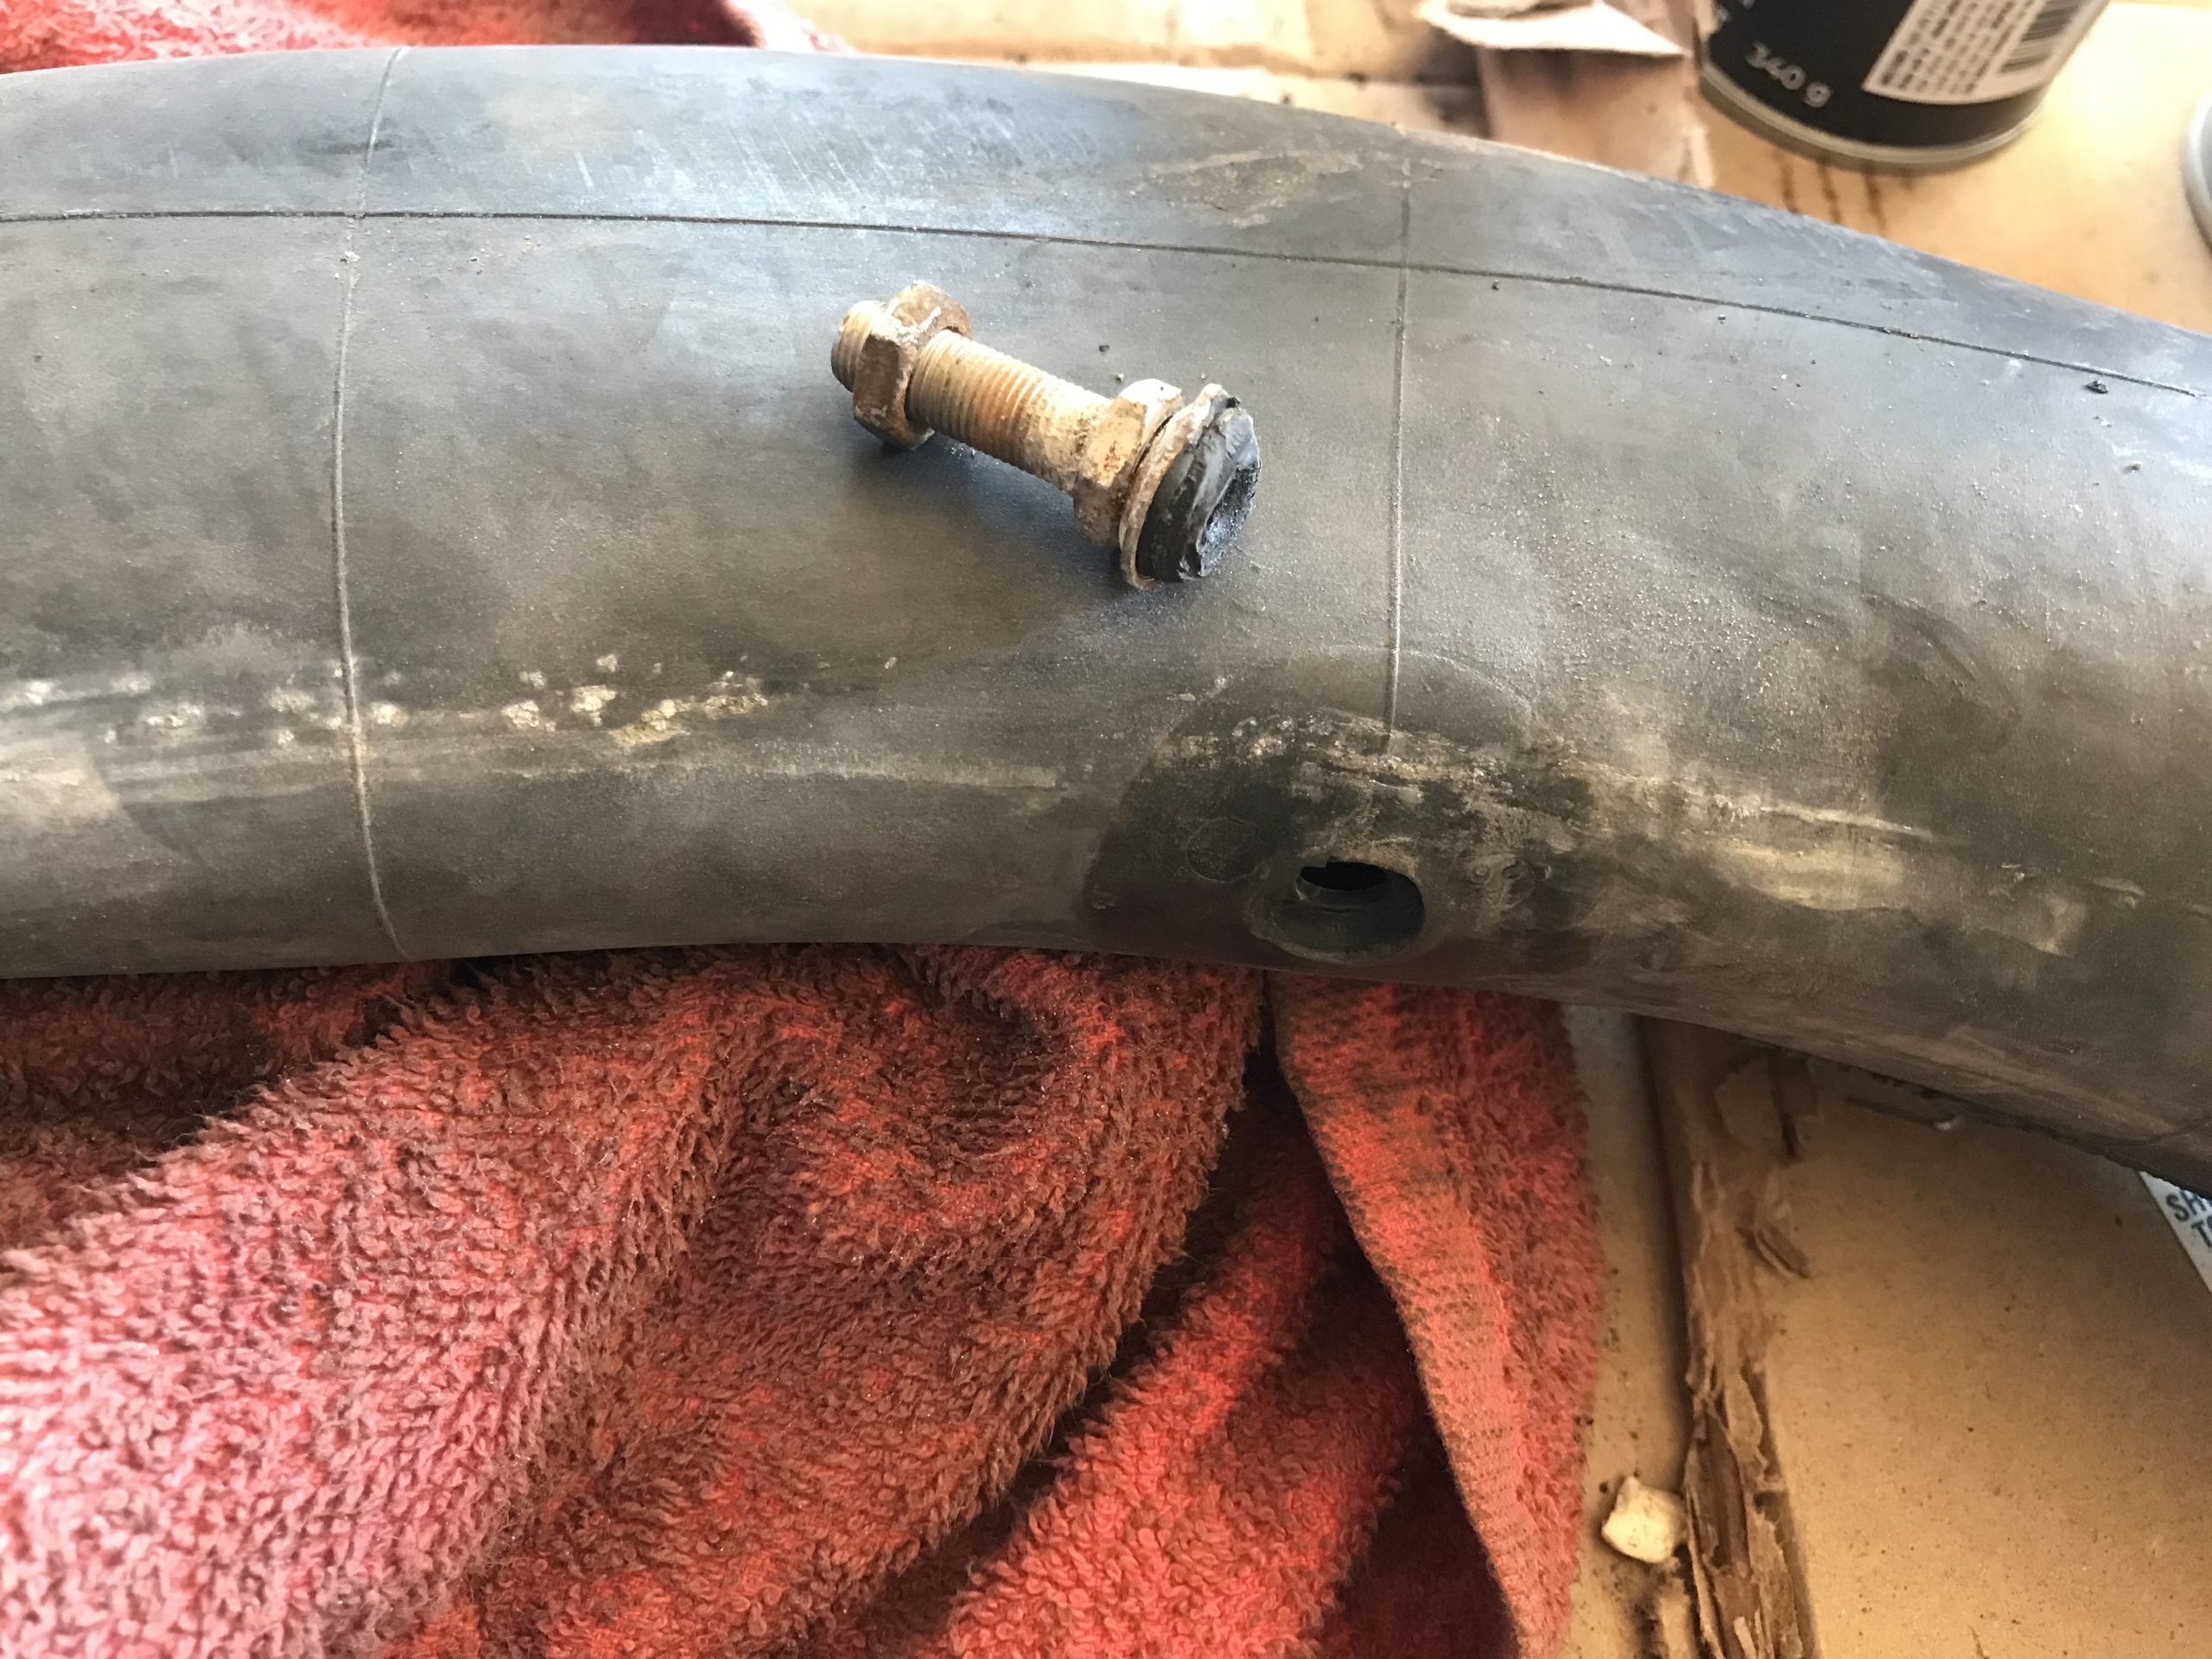
Took the rear end apart yesterday, and confirmed the tube is pooched, no repairing the total valve stem failure. Unfortunately this was user error, I put the tube in wrong back in 2020. Note the position of the jam nut, one was inside the rim so the valve wasn’t seated flush to the inner of rim. Perhaps I wasn’t expecting a double nut external of the rim. Oh well, will do it proper this time around, parts should arrive Weds or Thurs.
I gotta pull the front apart and verify I didn’t do it wrong as well.
Attachments:
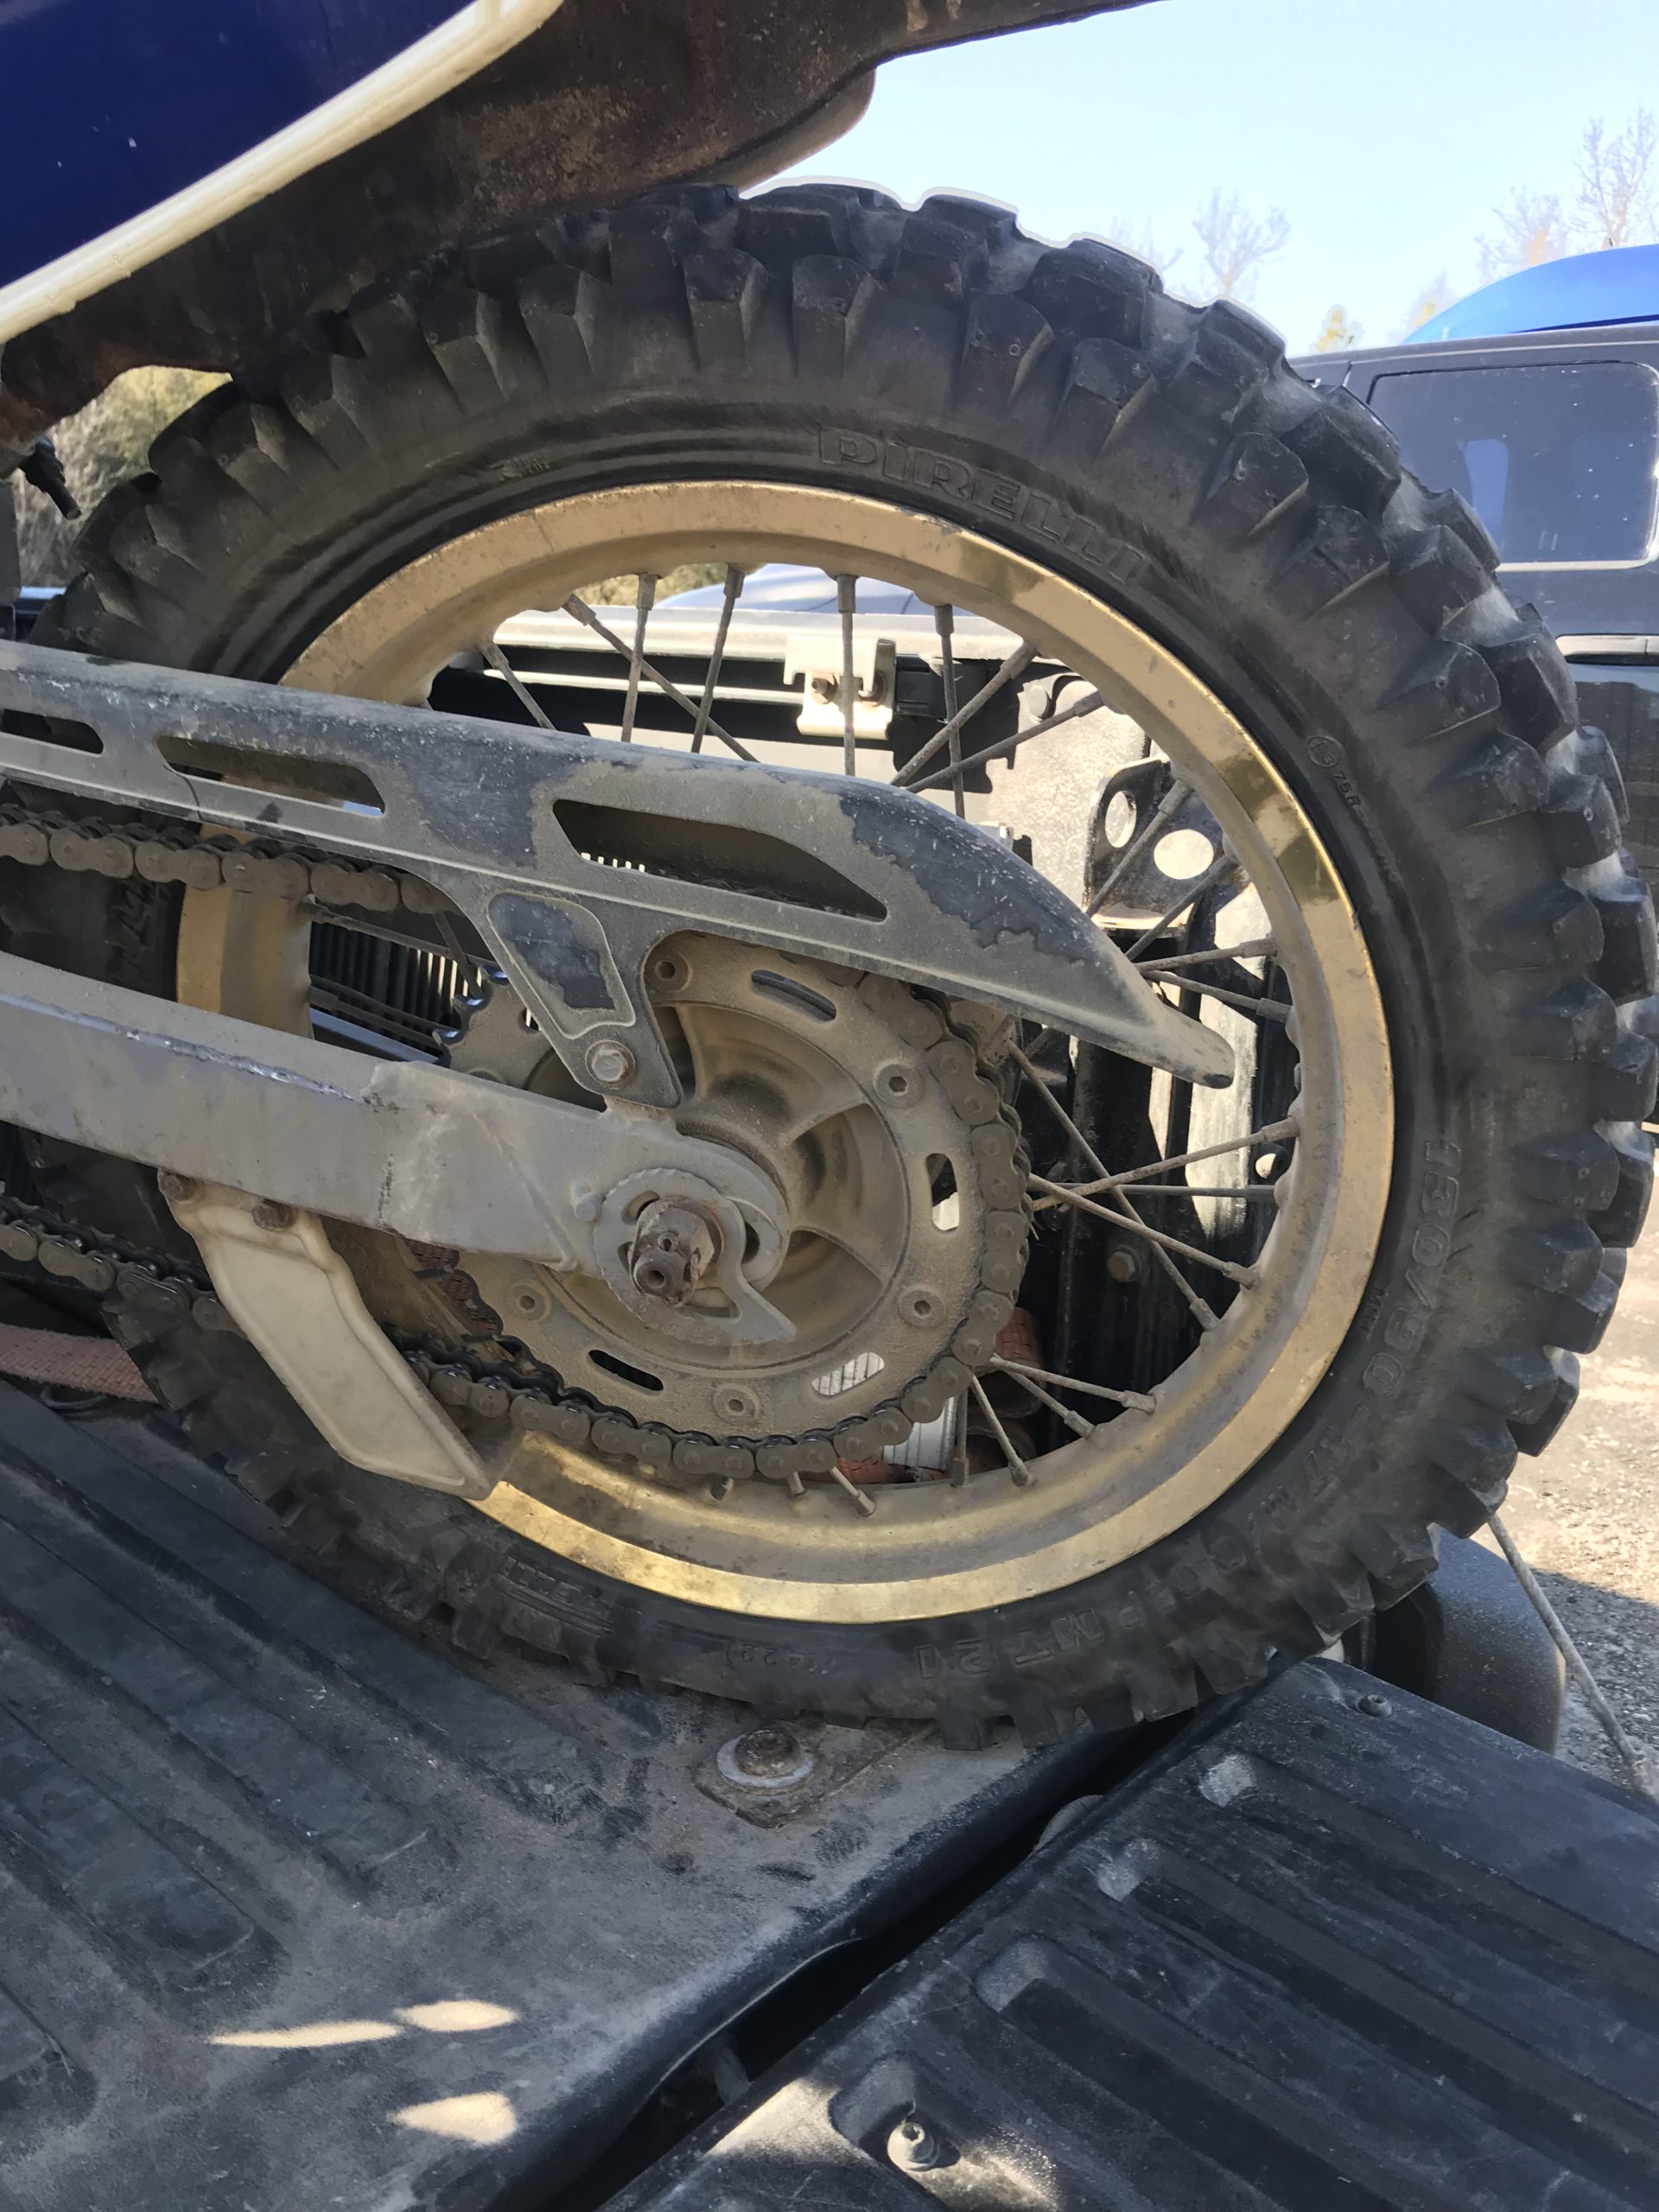
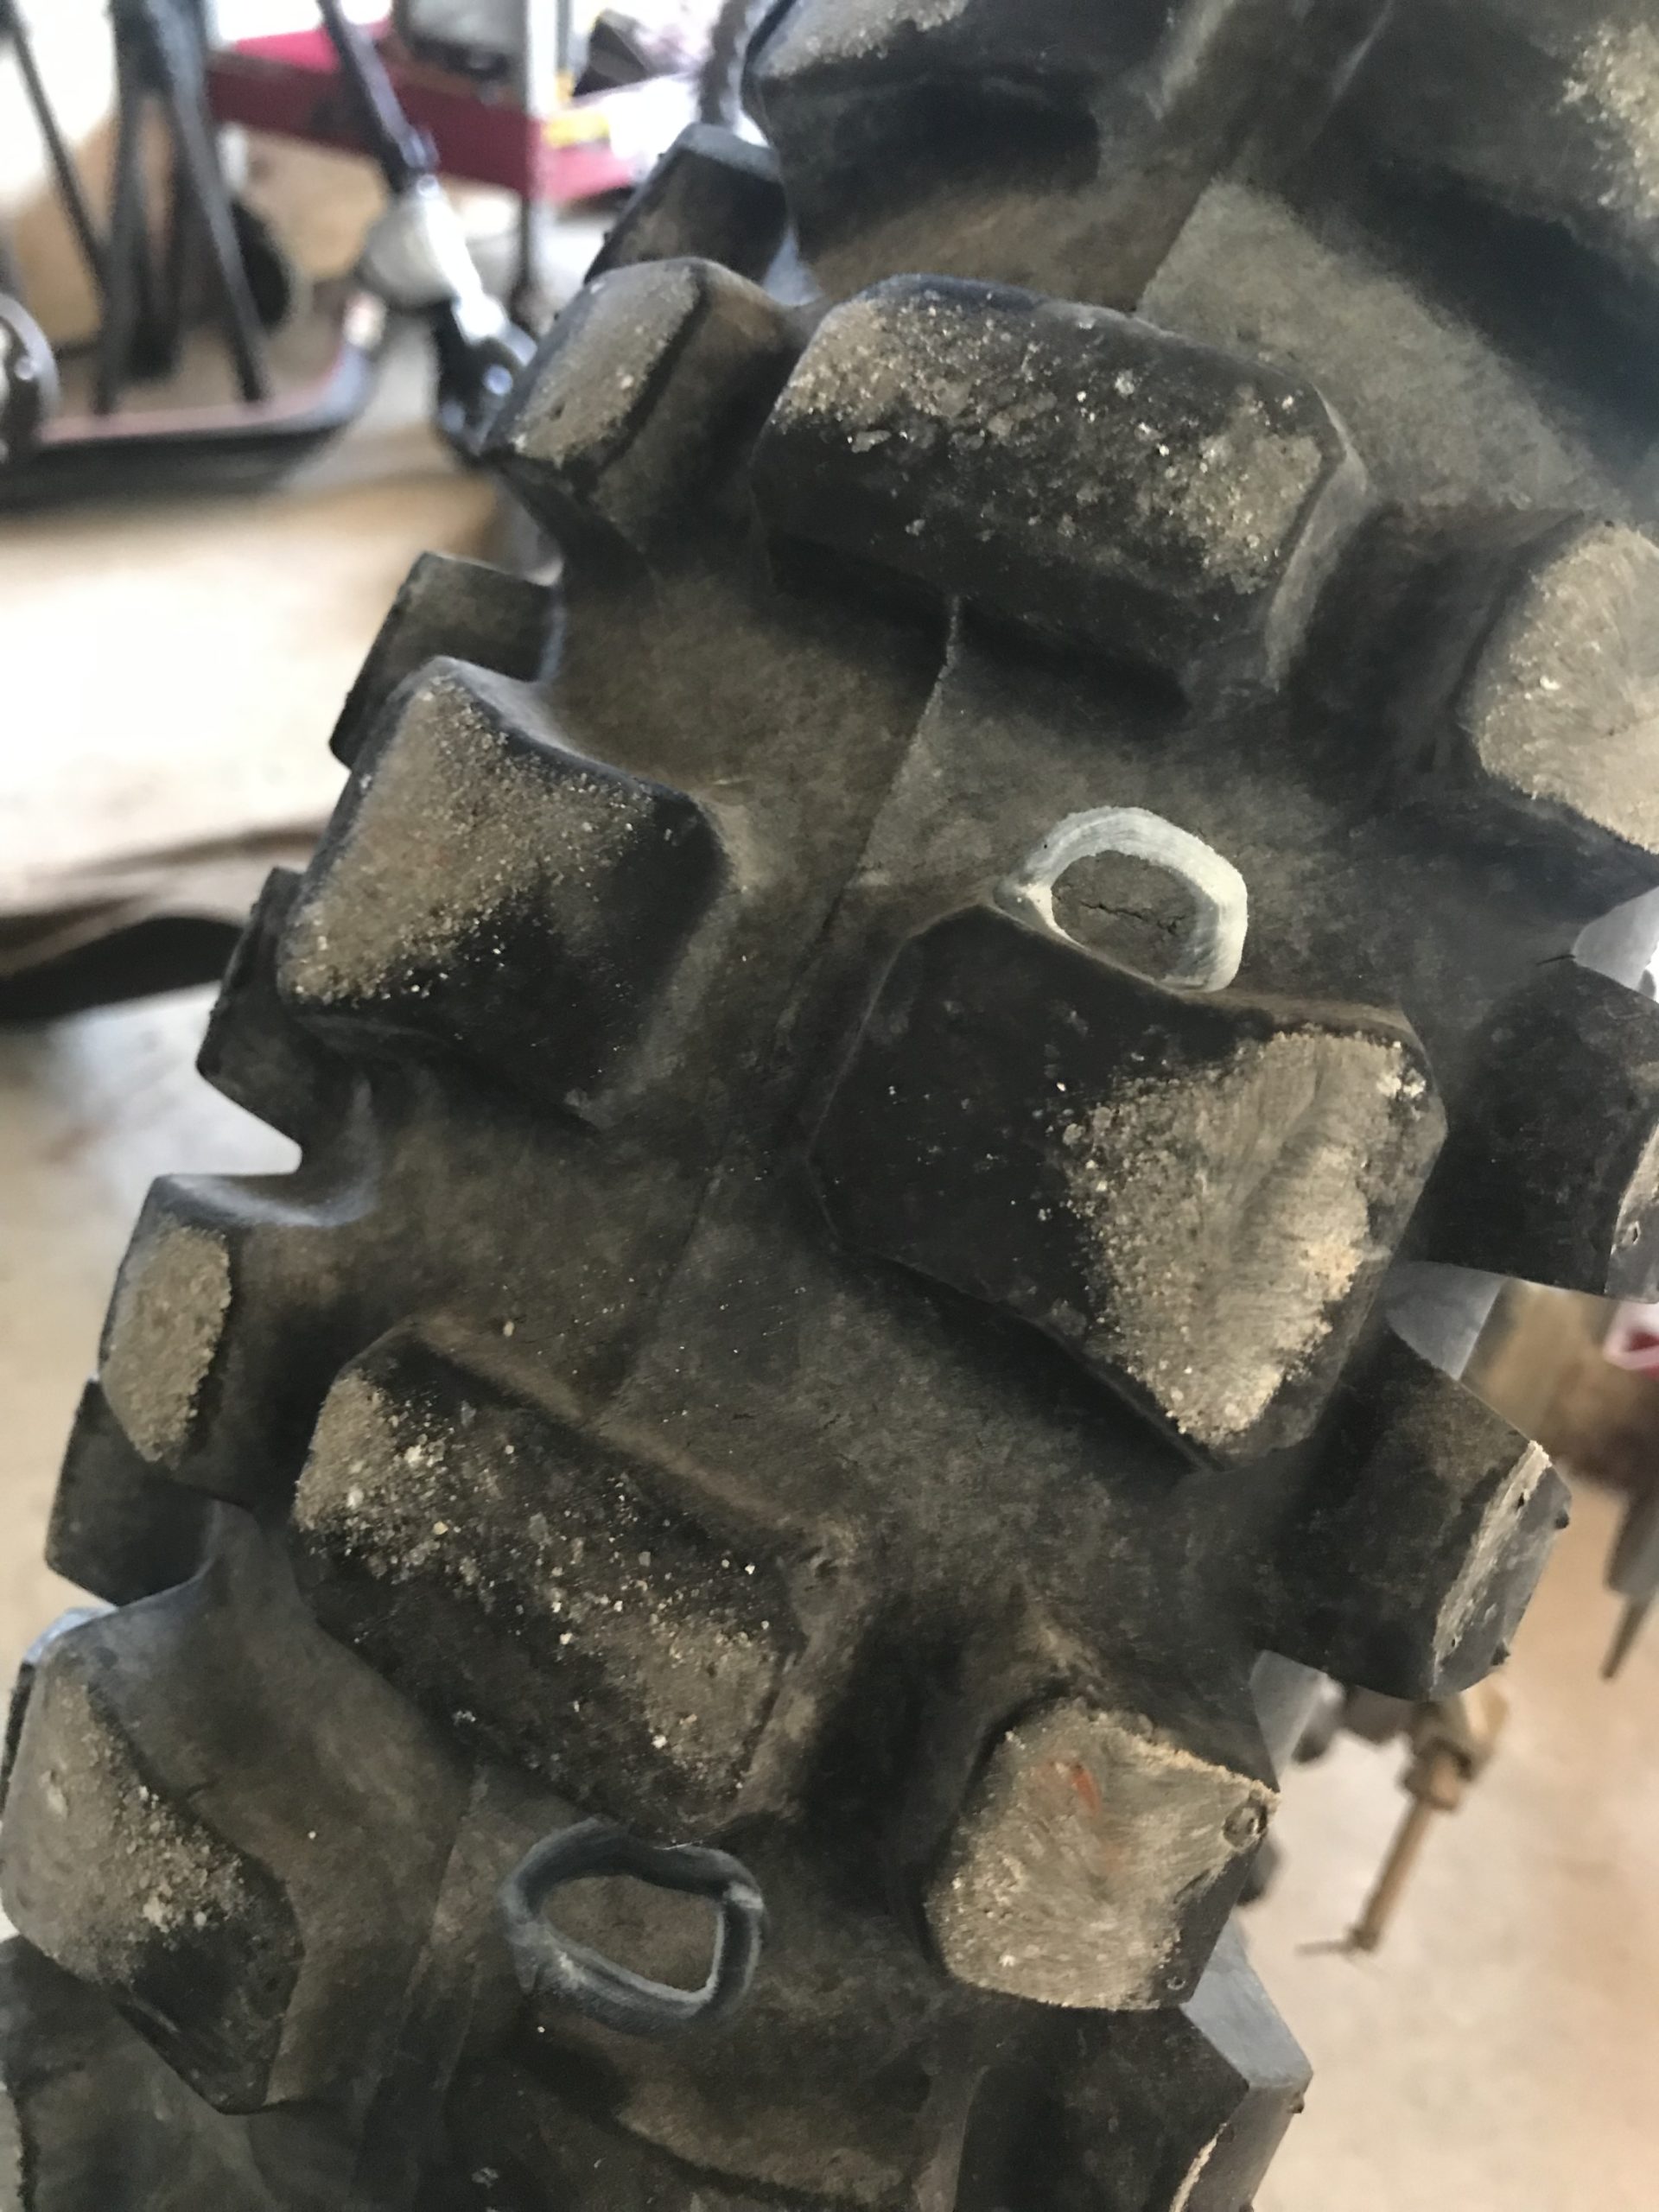
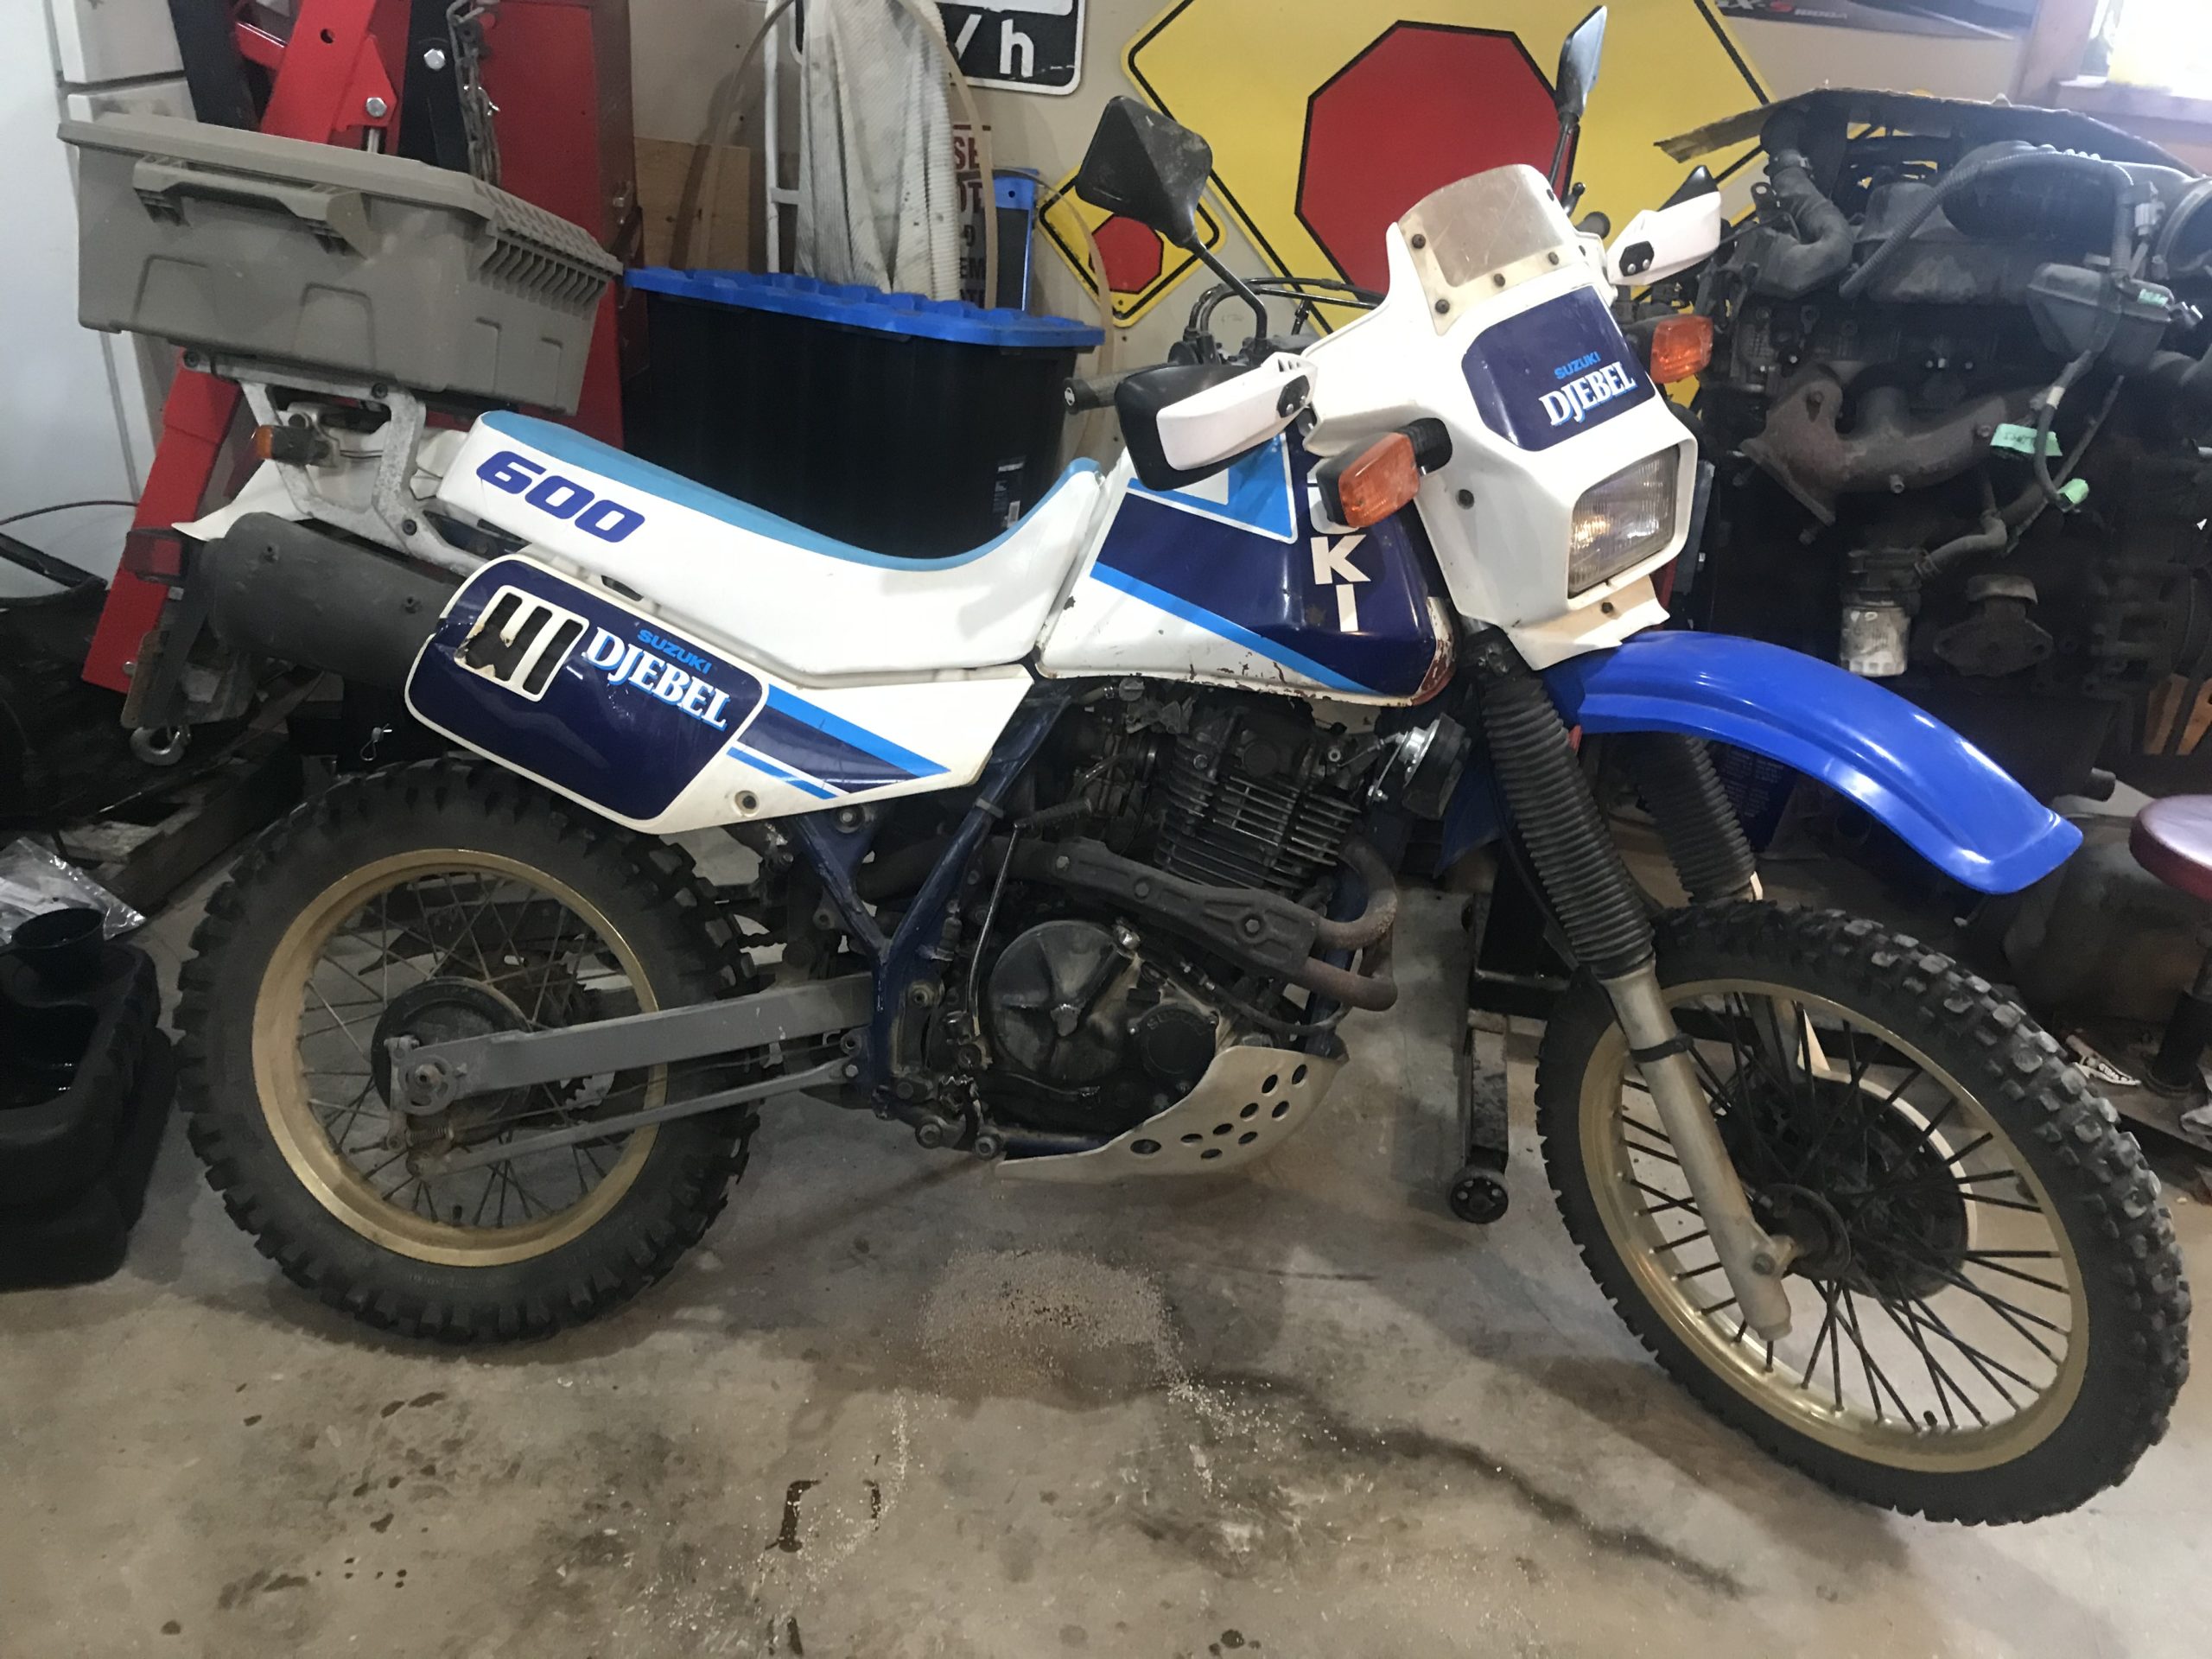
toys-n-yotasKeymasterGot my bike loaded up Friday morning before work, easy peasy no drama.
At home I dug out my lift to get the rear wheel off the ground. After spinning it around I located two potential pokes through the tire carcass. Appears to be the same size as the brad nails which litter our parking lot after movers broke apart the skids and packaging from our new machine.New tube is in the mail, I’ll patch this one and keep it as a backup. I meant to order a second tube two years ago to have a backup on hand. No chance of riding this weekend, and weather turns shitty next week. So I’ve got some time.
toys-n-yotasKeymasterGahhhh!!! Just my luck, hop on the bike after work, ride about 20 feet and said “woah, that was weird”. Hop off, quick inspection shows my rear tire is flat to the rim. Push my bike up the loading bay, locate an air chuck, try to put air in the tube and it immediately pisses out. Bike still at work, i’m back home, tube has been ordered. Already cancelled my ride with Matt tomorrow, won’t be repaired in time. Gahhhh!! At least it went flat in the parking lot, as opposed to 1/2 way home.
toys-n-yotasKeymasterThe flip into spring weather means I’ve traded Taco keys for Suzuki. Awesome rides this year, can safely say my mystery rattling noise (that loose nut from counterbalance sprocket) is gone away, and the bike is quite happy.
Plan is to ride a couple hours after work with Matt on Friday. Maybe 4-6pm.
toys-n-yotasKeymasterWhaaat? Could it be? Progress on Redee? DAMN STRAIGHT!!
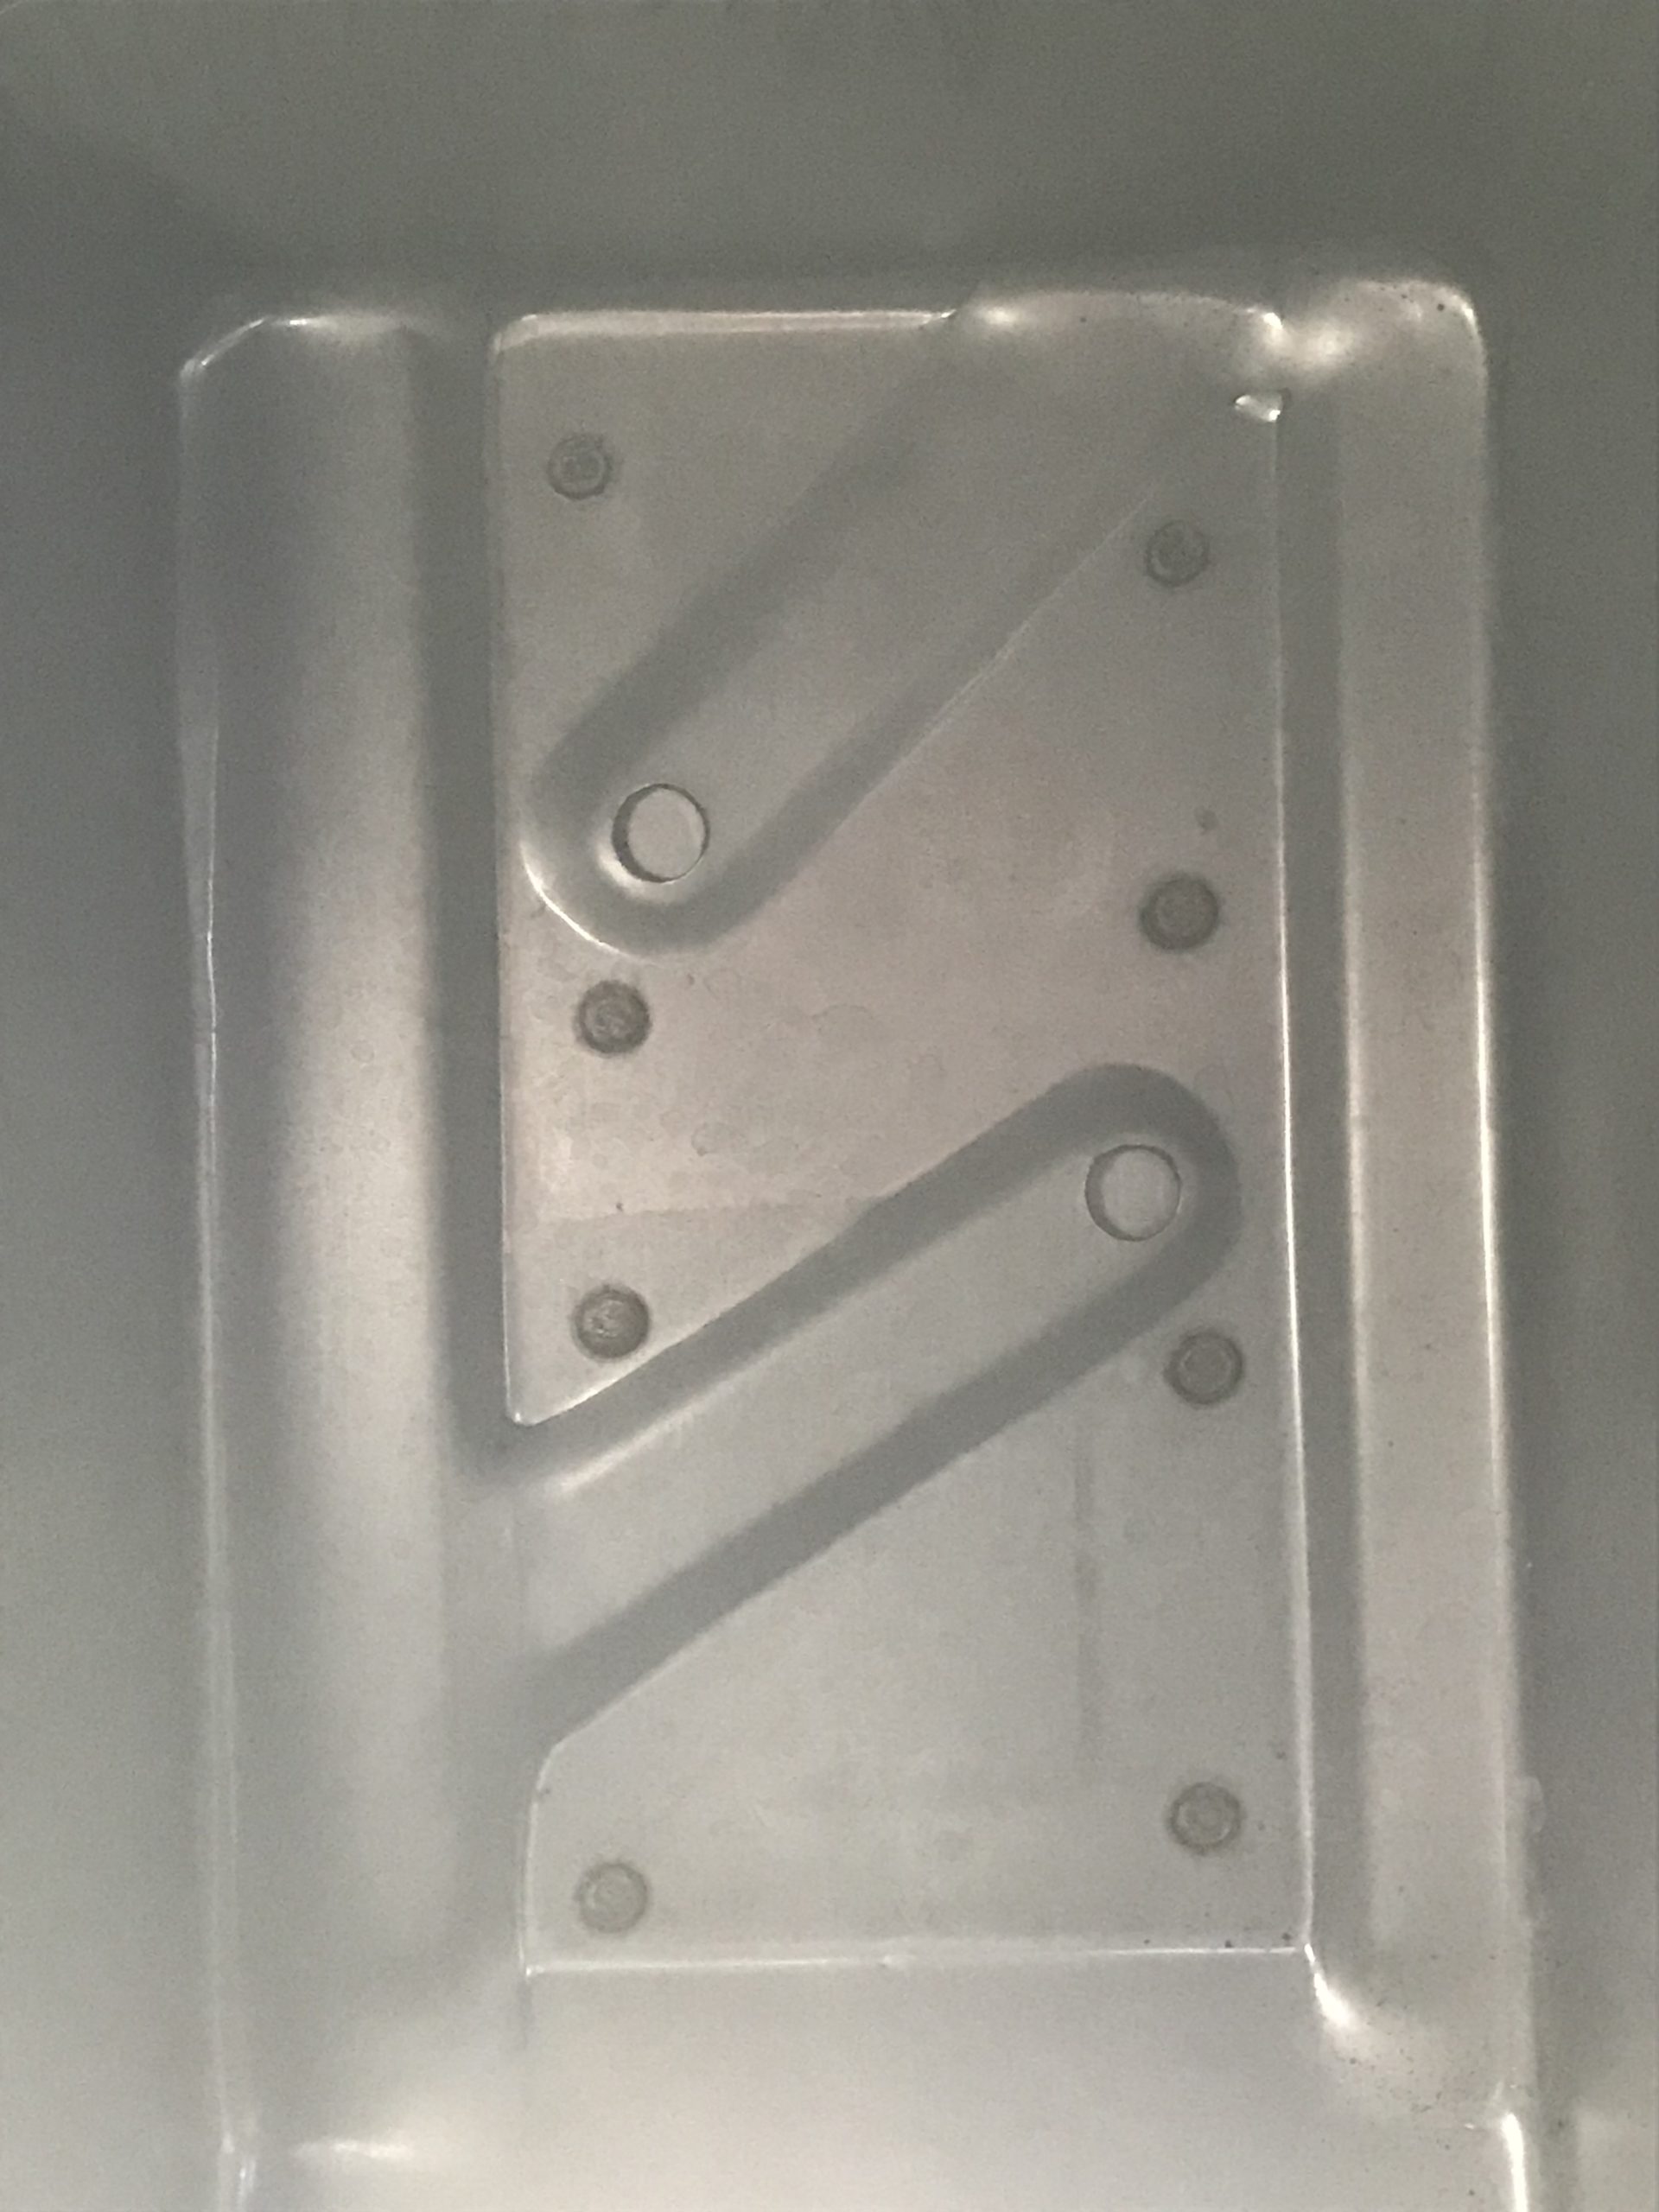
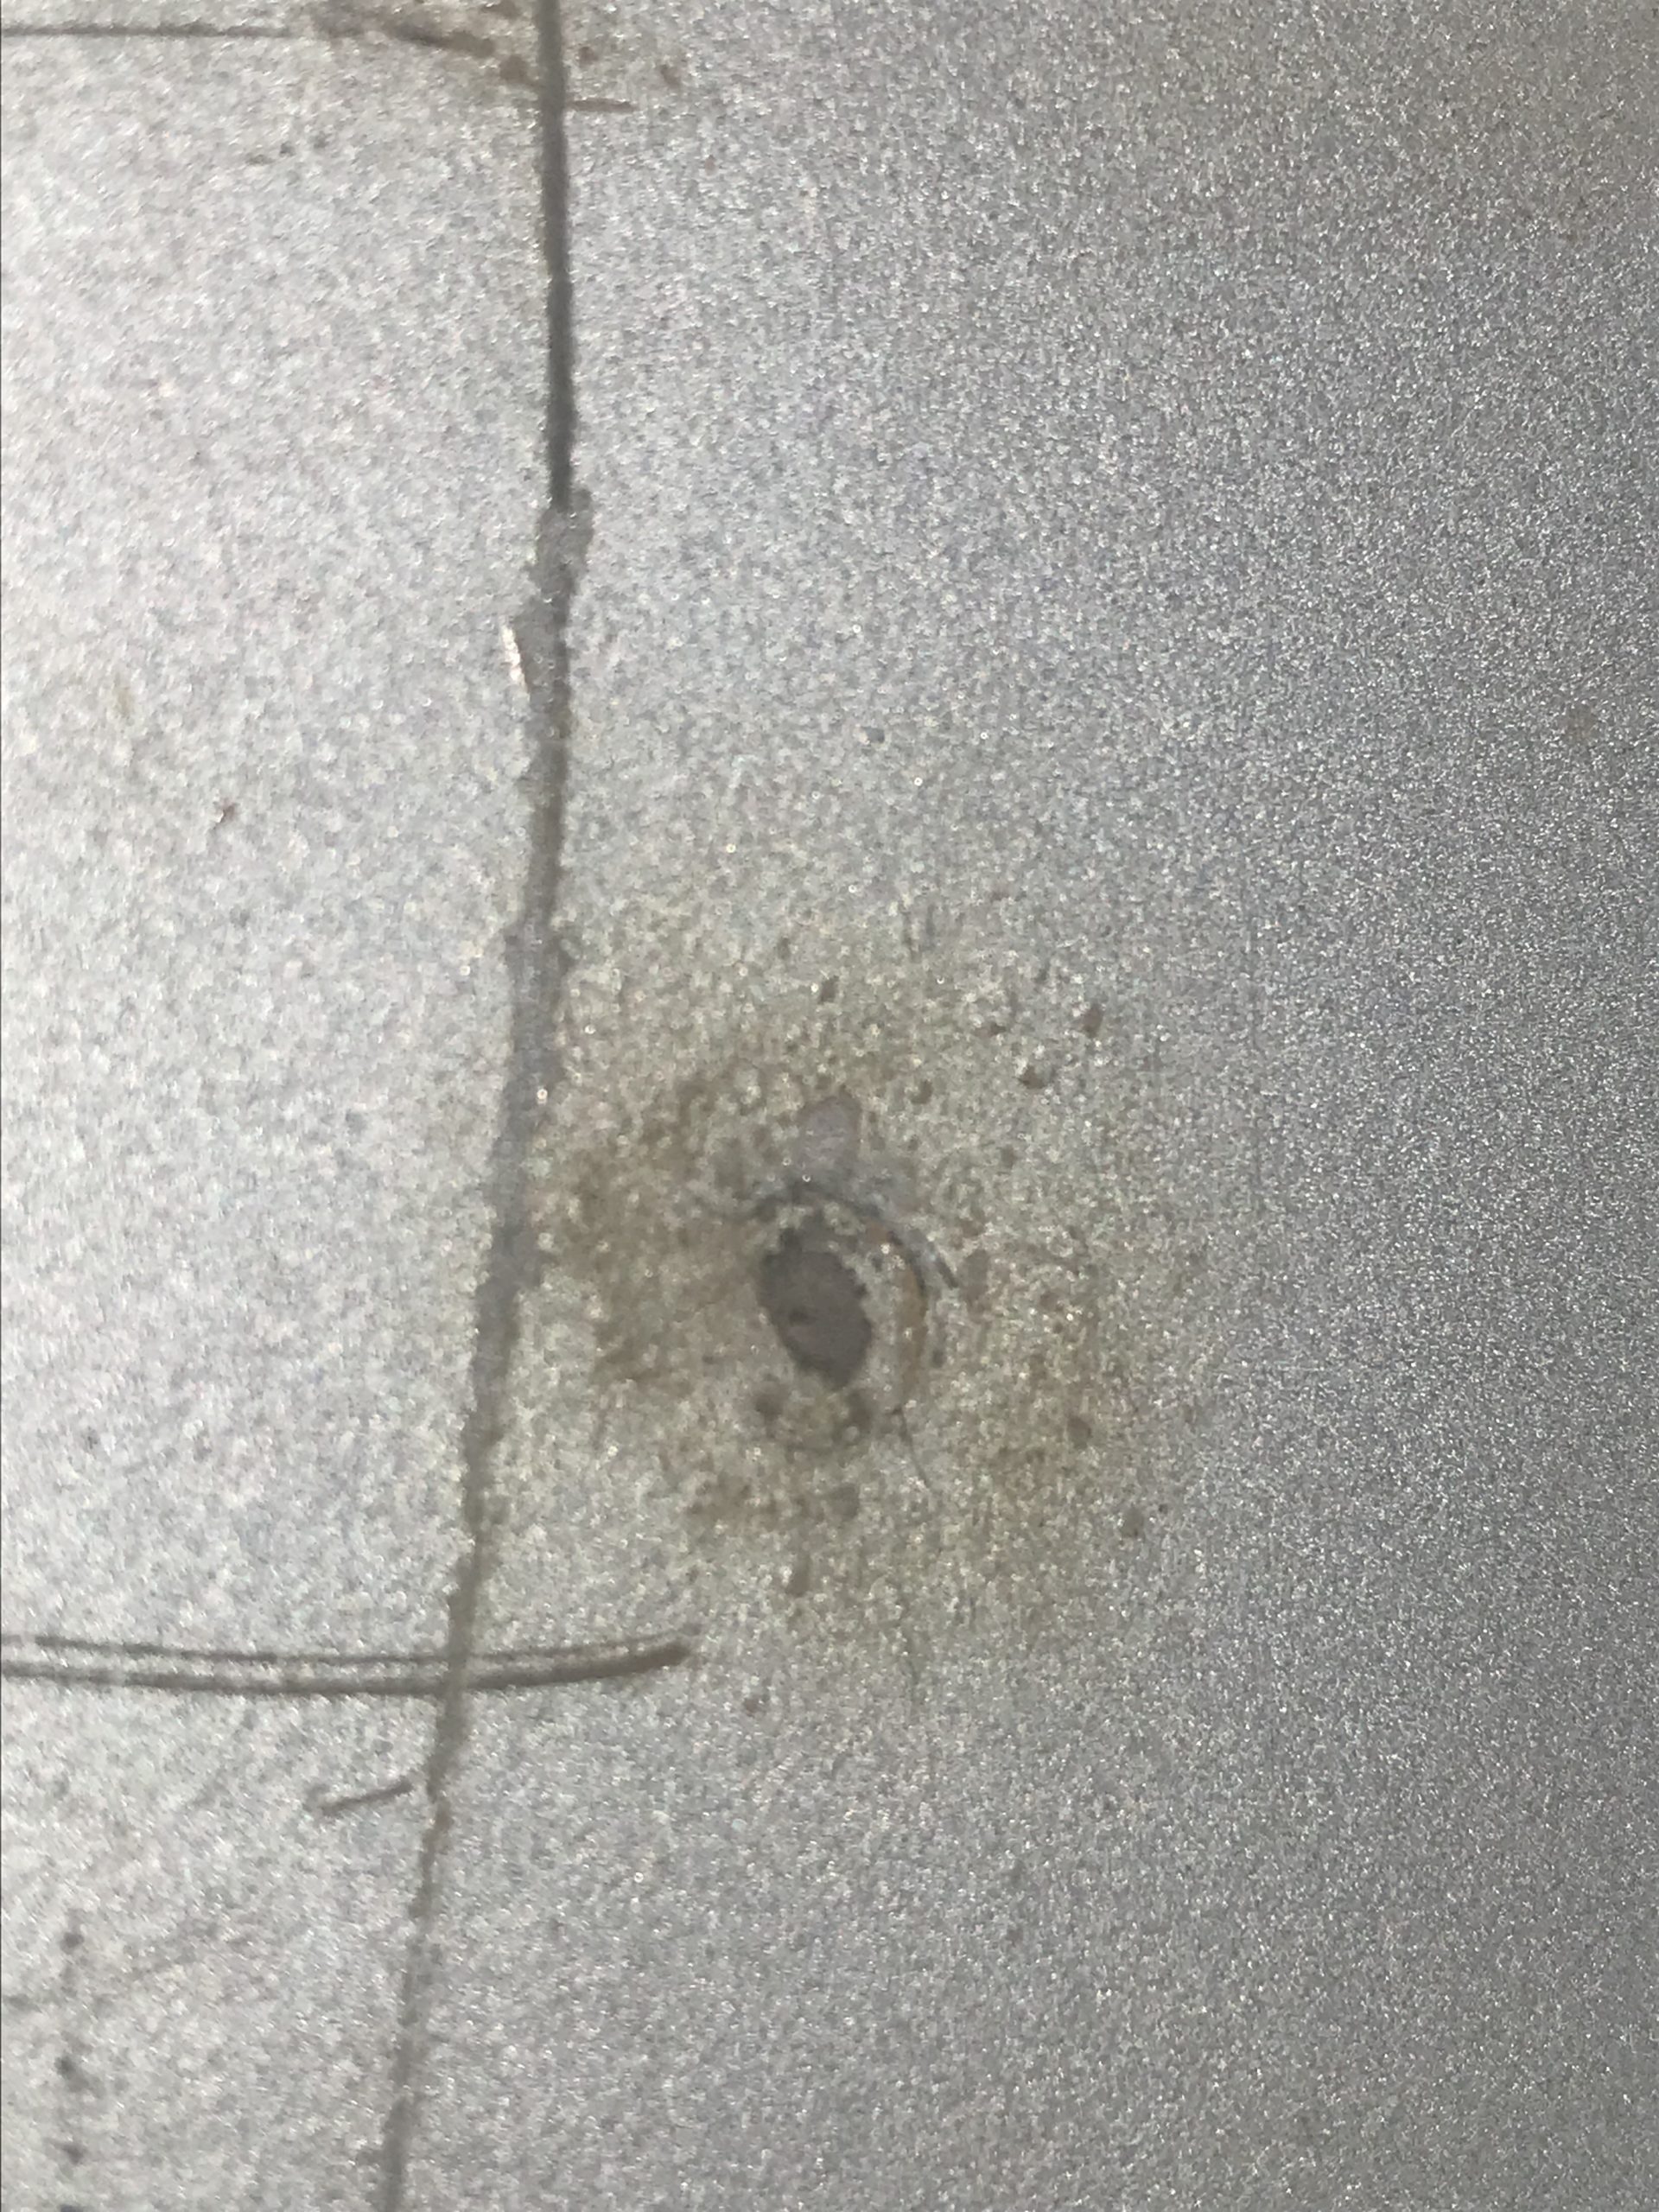
Over the last couple nights I got my fuel tank leak 100% verified as a manufacturer defect. Where I thought a rock punctured it, turns out the spot weld for the anti-slosh tray is cracked. Torn between using POR-15 tank sealer, or getting a pro-welder to hit those spots with some tig.
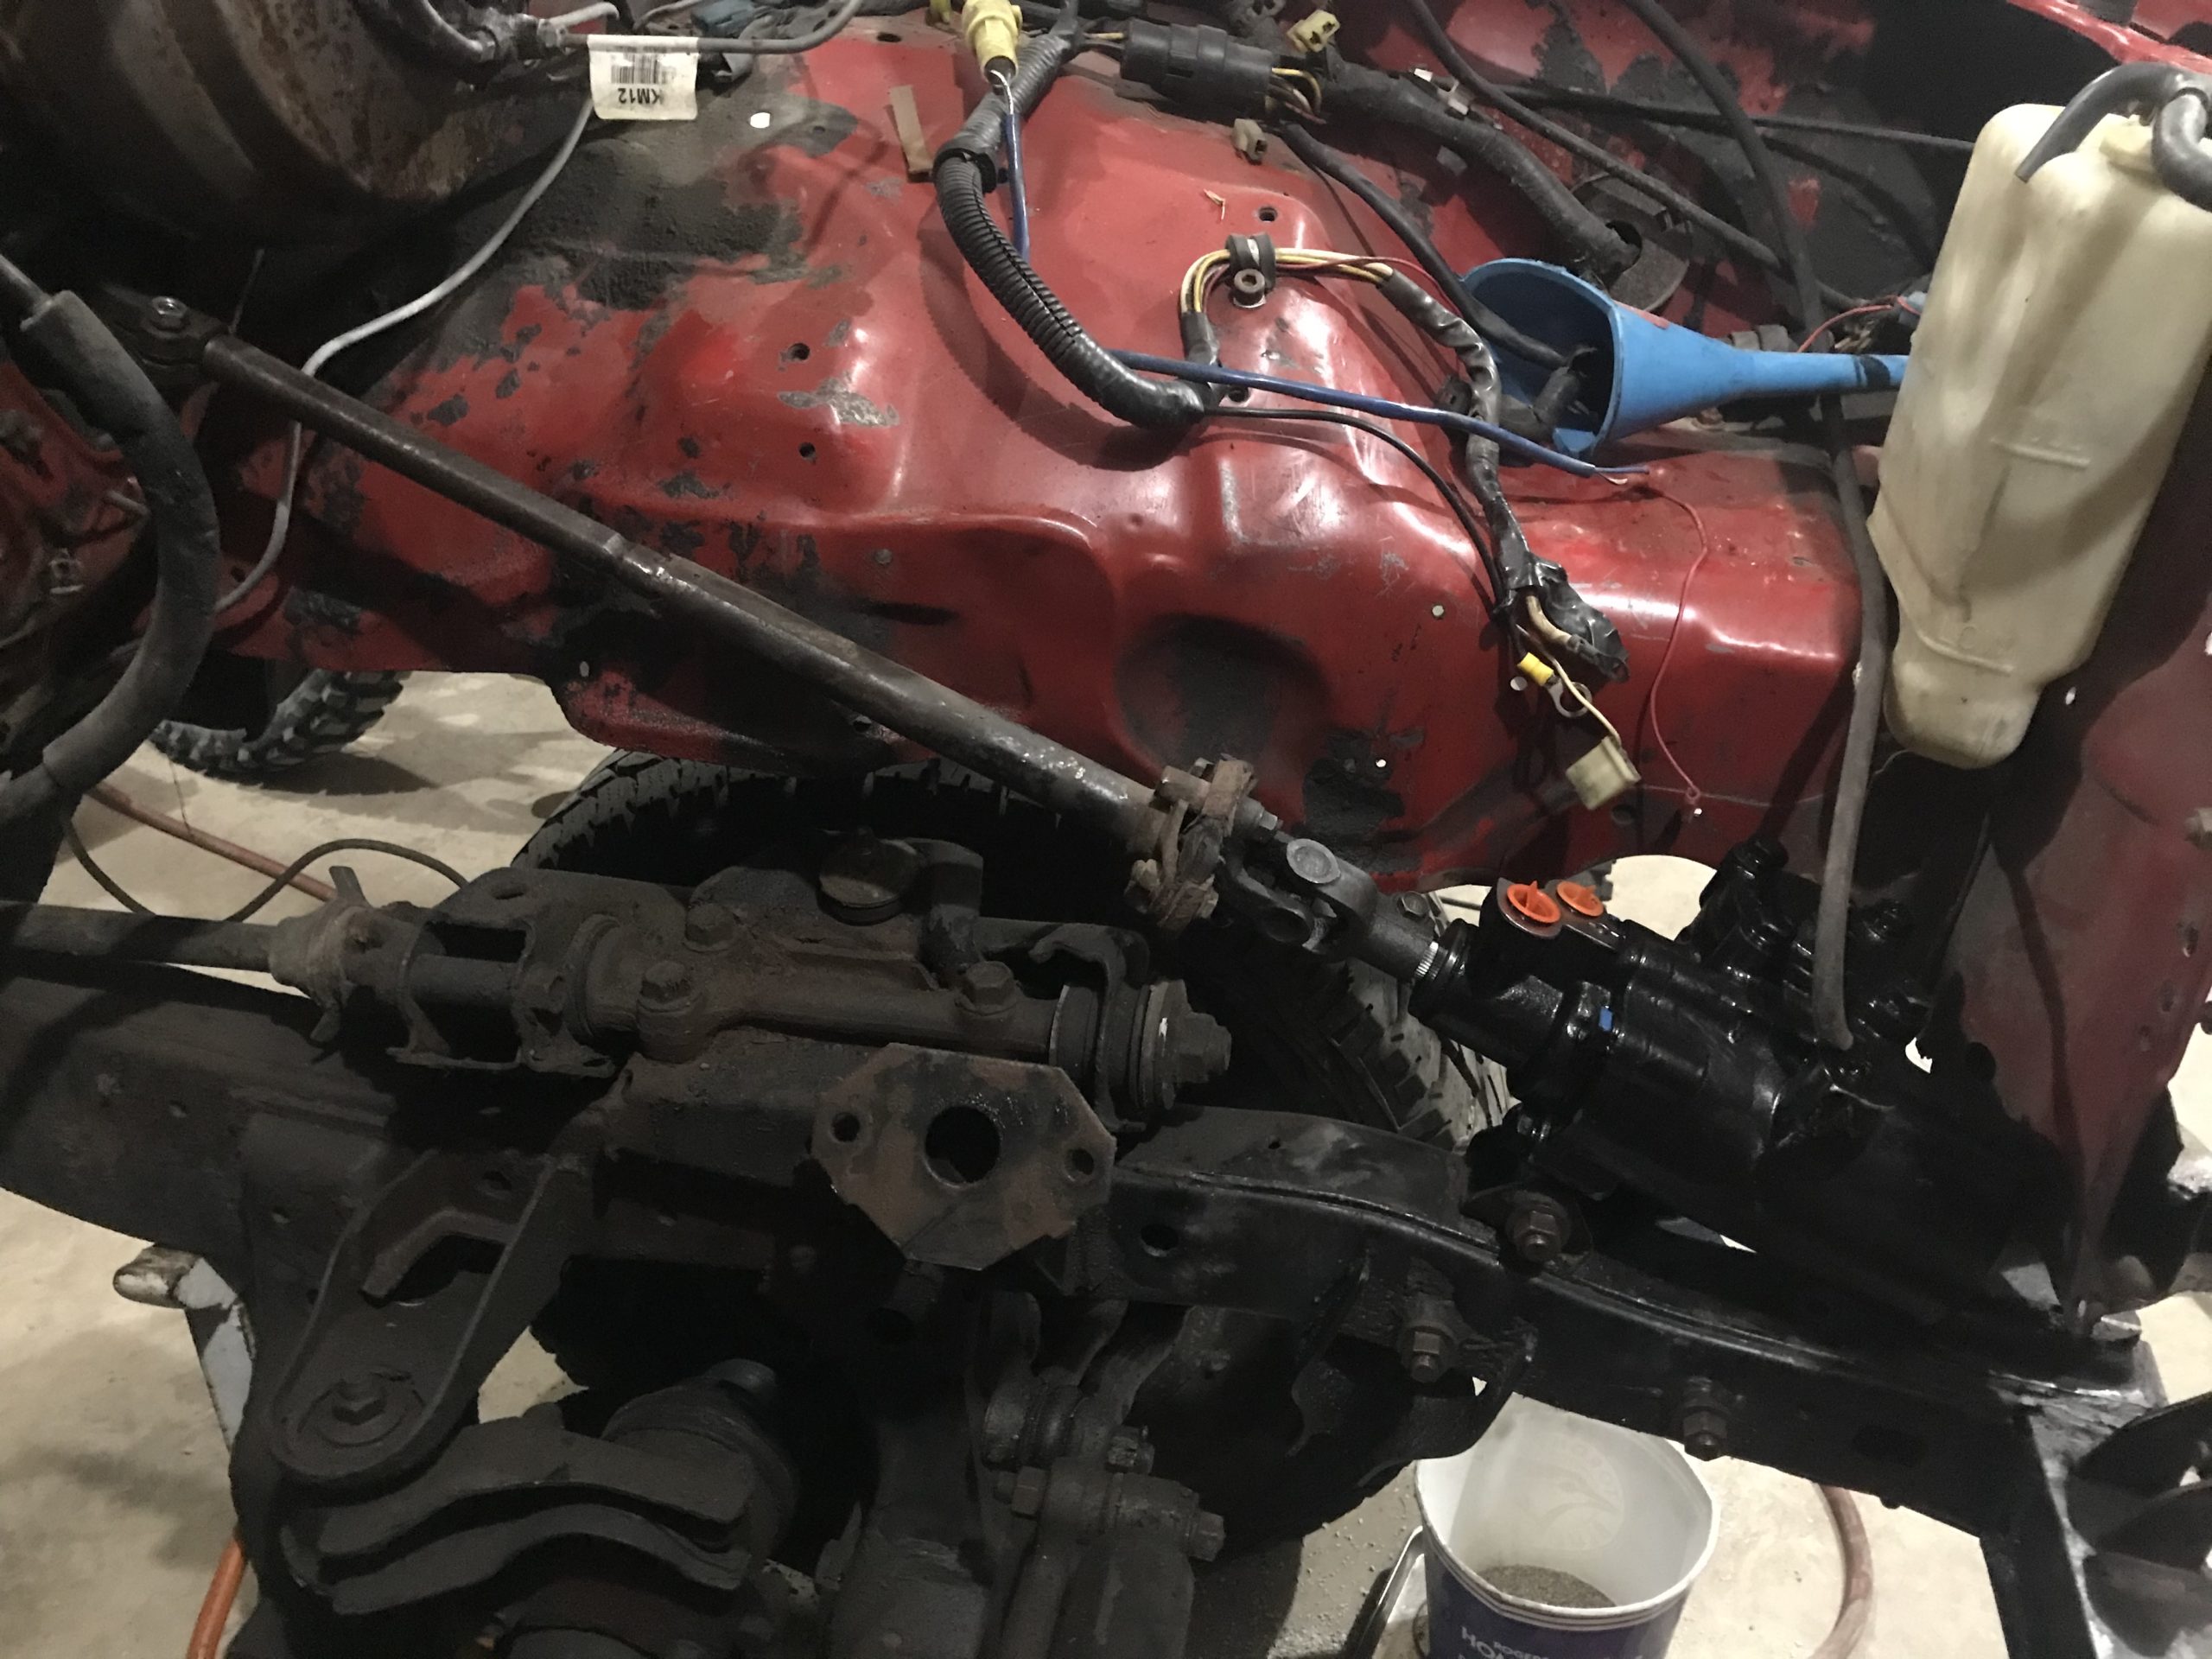
Last night I installed a brand new steering gear. What a nightmare, it seems to be 1/8” larger than the one that cane out, so I needed a larger shoe horn to stuff it in place. But she’s torqued down now.
toys-n-yotasKeymasterWell pocket full of cash, it was fun while it lasted. Sorry you had to leave so soon, but RockAuto and I have a good thing going.
Incoming parts: clutch kit, 2.5” cat, 2” aluminum rad, steering gear, rear main seal, front seal, motor mounts, diff gaskets, and a bunch of thermostat gaskets/seals.
I will still have lots of parts to purchase, including clutch flex and hard line, 2.5” exhaust pipe from cat back, some weld on flanges, accessory belts and pulleys, oil & filter, rad fluid, power steering hoses, fuel filter and rad hoses….just to name a few. Maybe ill need a new oil pan and dipstick if the stock 3rz pan interferes with the steering. OEM T100 pan has a rear pickup as opposed to front pickup in the 4Runner/Tacoma
Here’s to reassembly!!
toys-n-yotasKeymasterSold the Small Block this morning!
toys-n-yotasKeymasterSold.
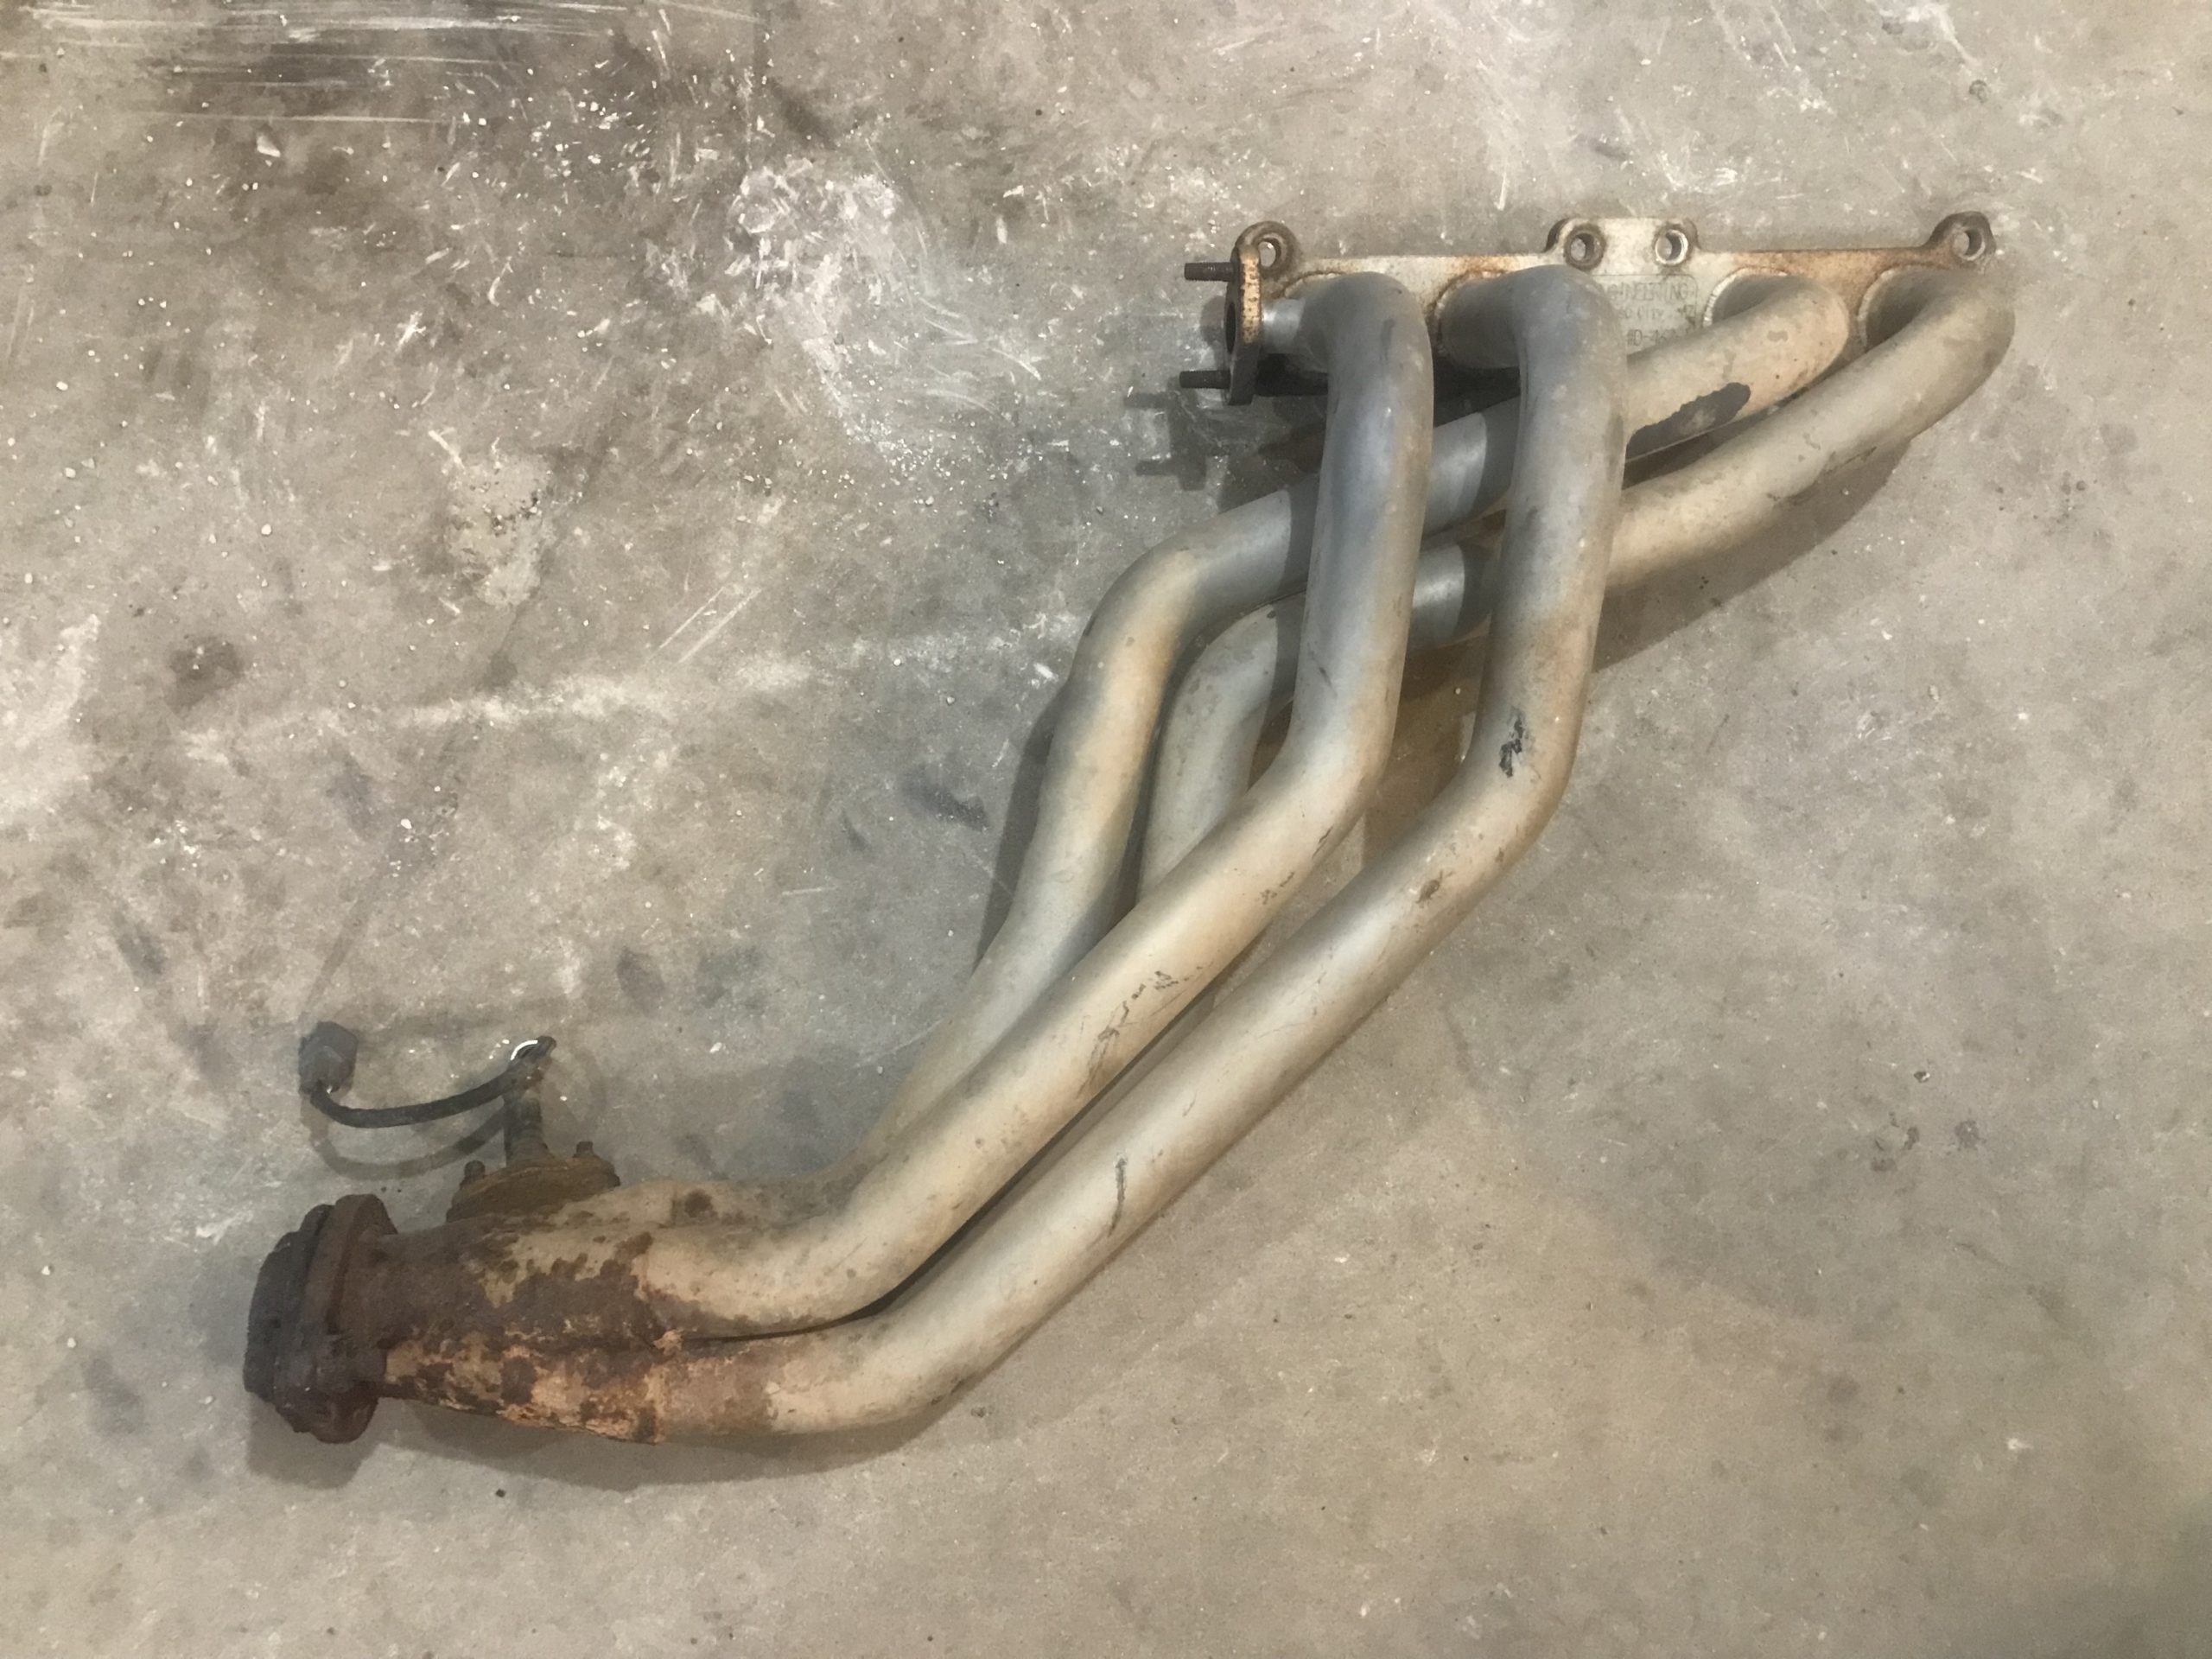
toys-n-yotasKeymasterMade a late night kijiji run to Kitchener to grab a LCE Longtube header. The seller was a cool dude, about my age, building a ‘92 Regular cab pickup that looked awesome, very clean.
Bikes, kids, work, and life have negatively impacted Redee, but that’s OK because she’s patient. Already she’s waited in a barn more than 1/2 my life.
Attachments:
toys-n-yotasKeymastertoys-n-yotasKeymasterLast night in The Shop I got my bike spring ready by finishing up the air filter, and doing a quick oil change. All I have to do is flip on the gas and kick’r like hell. May take some effort to ignite the oil I put down the cylinder in November, but I always manage.
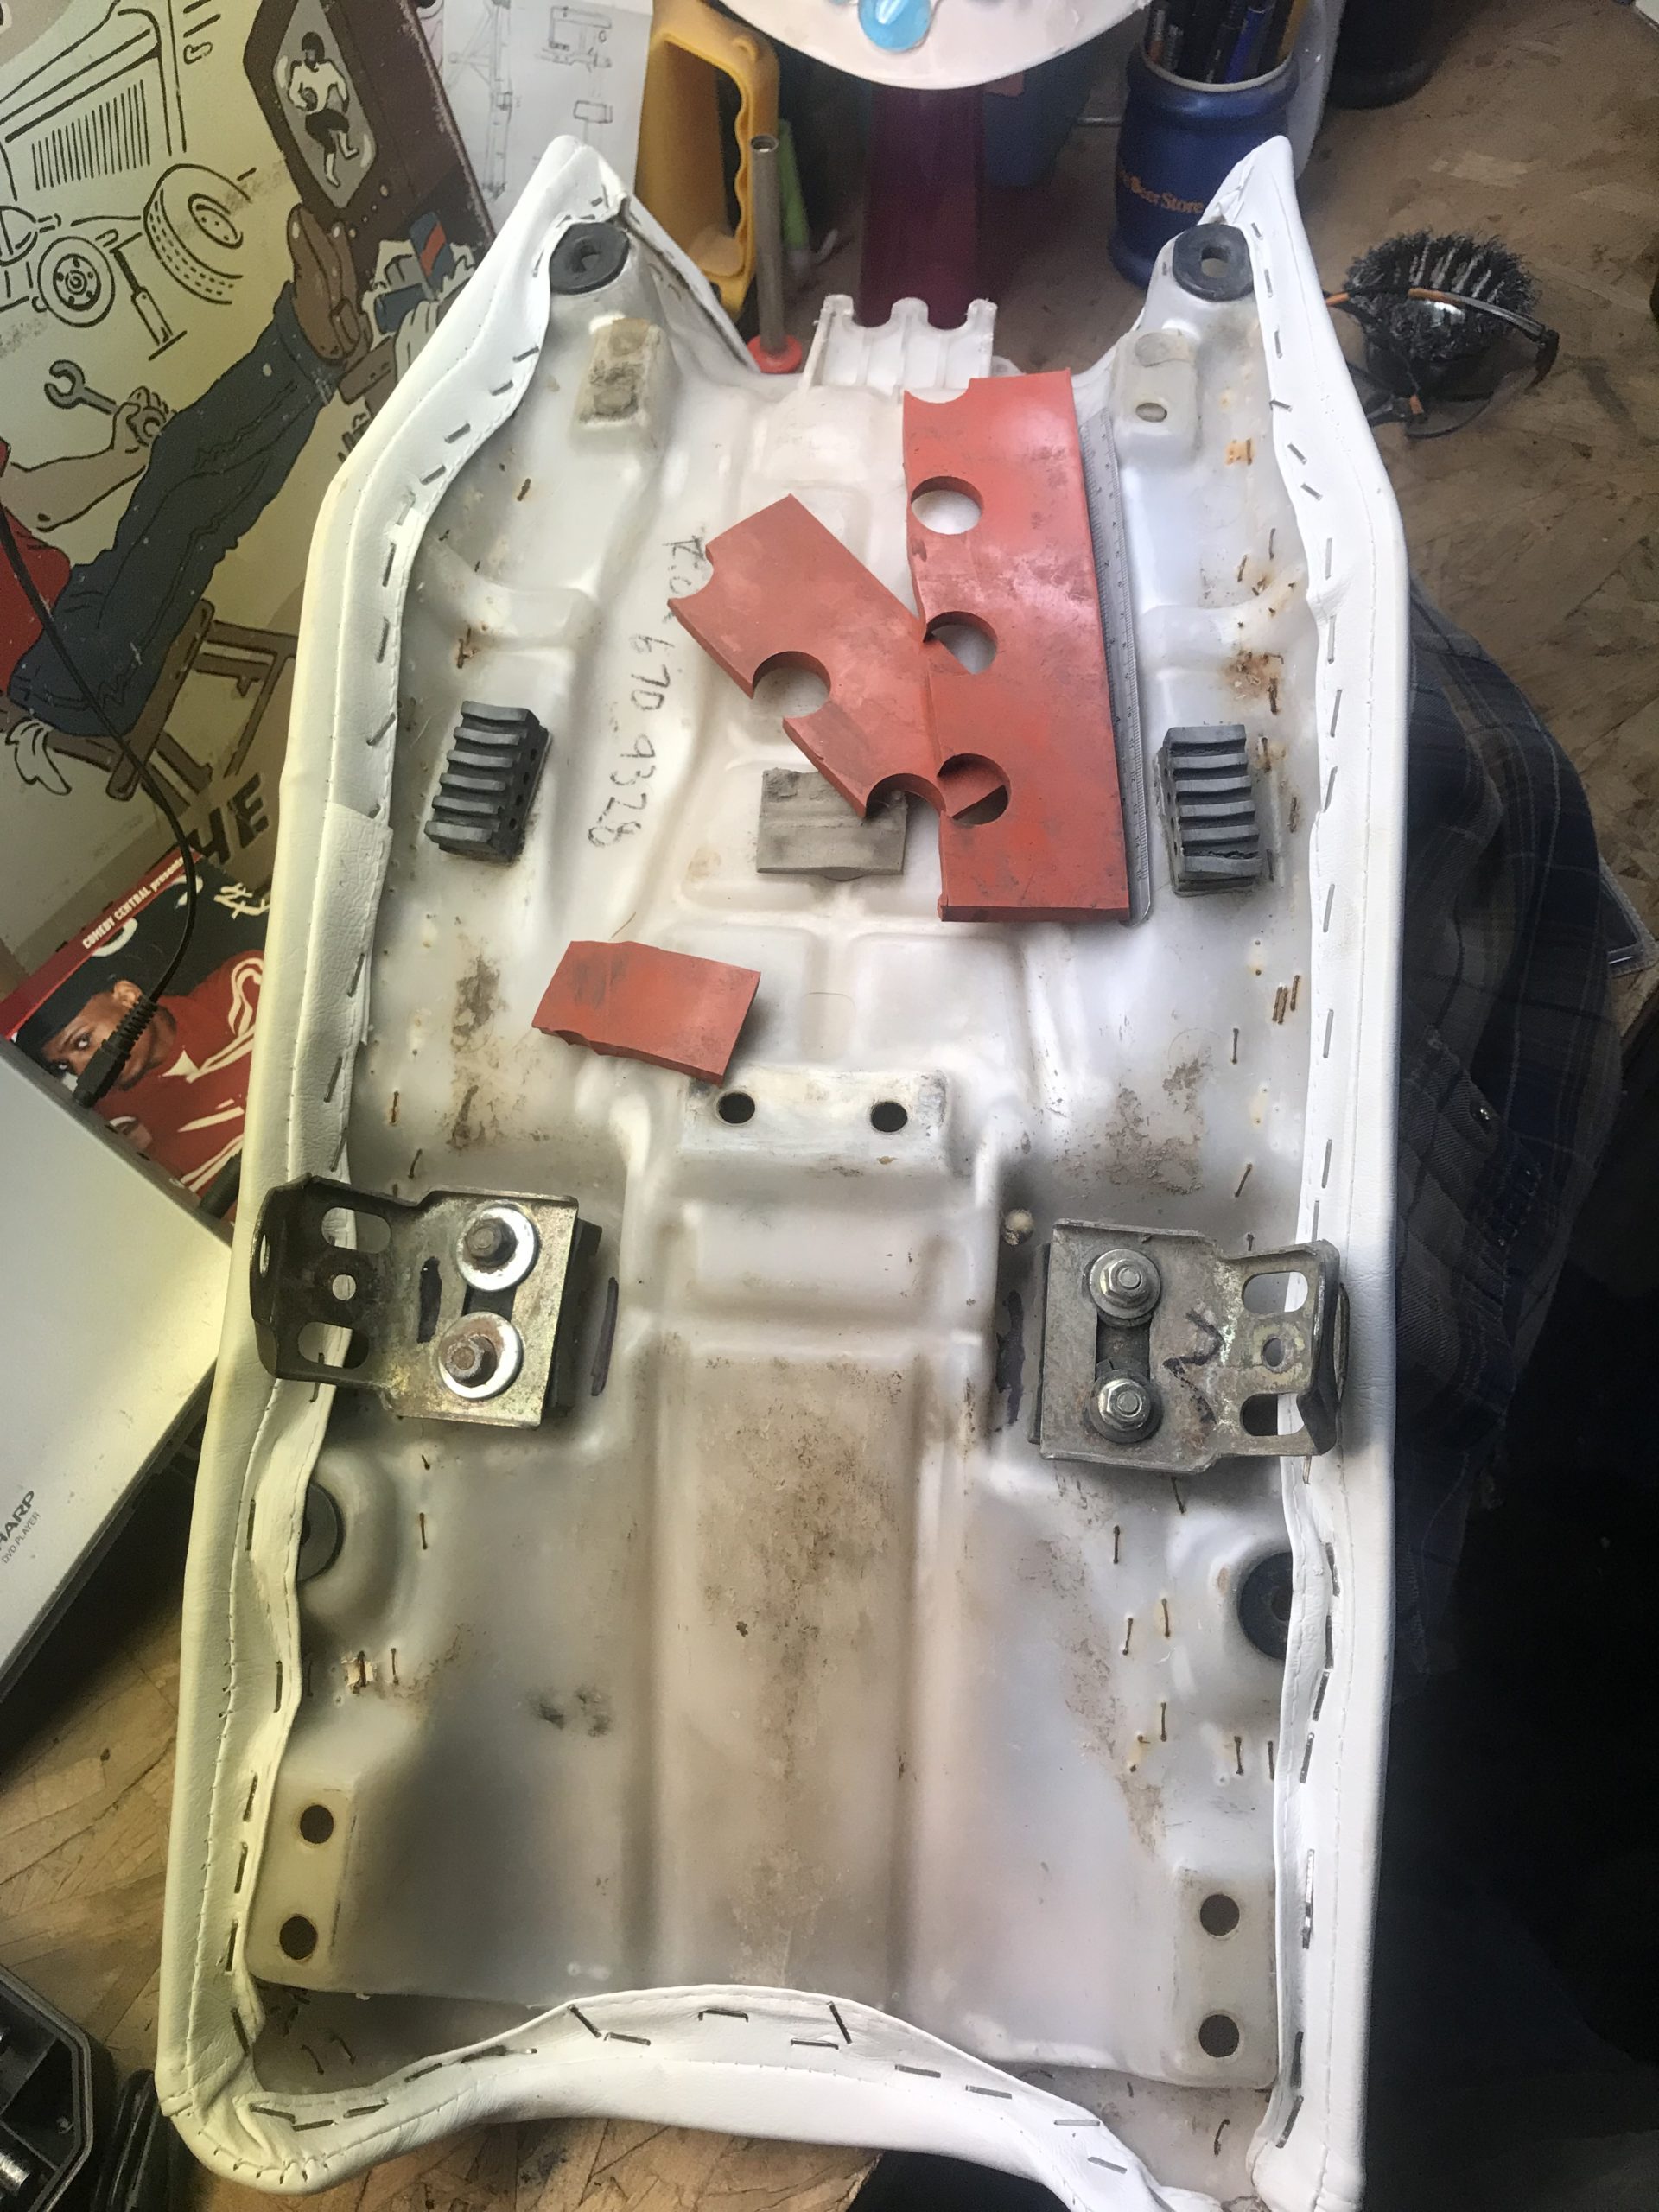
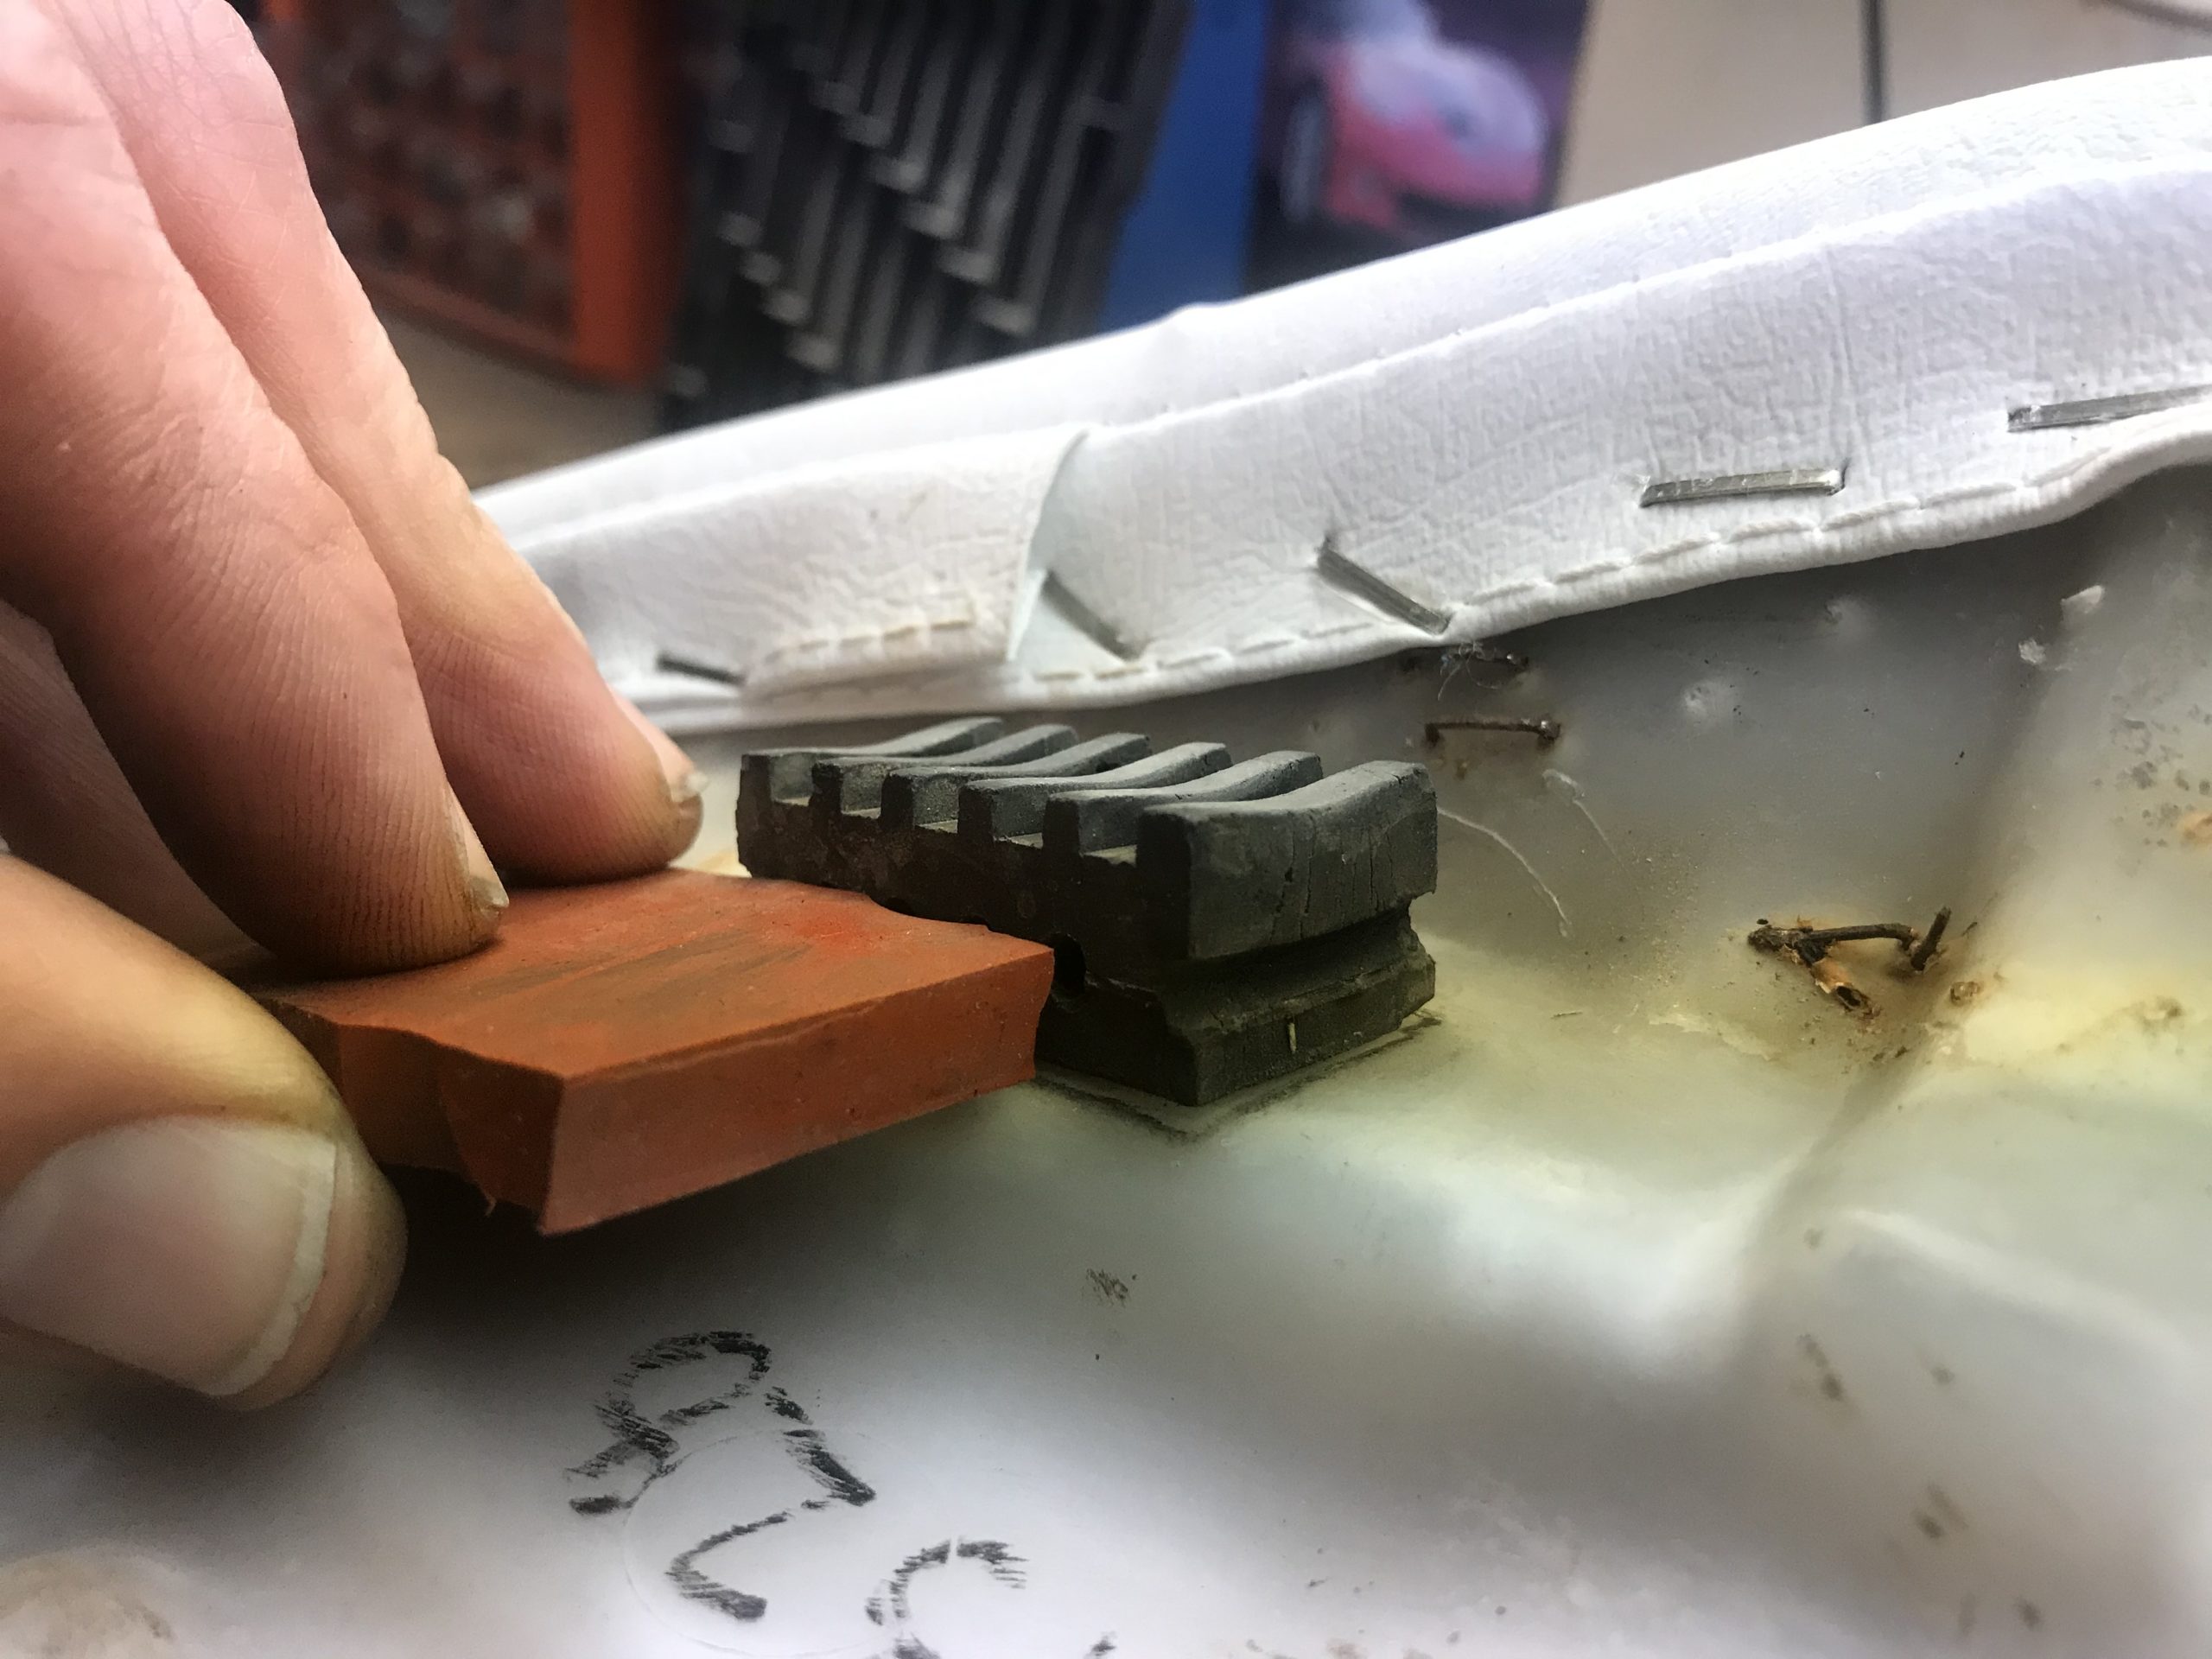
Matt’s bike received the same treatment last night, but we have a bit of rigging to do on his seat still. There are 6 rubber isolators that plug into the bottom of the seat, and 4 of his are missing. Either buy, or make, and his bike is ready too.
Freezing rain today, I think there’s still snow in forecast for most of next week. Lame.
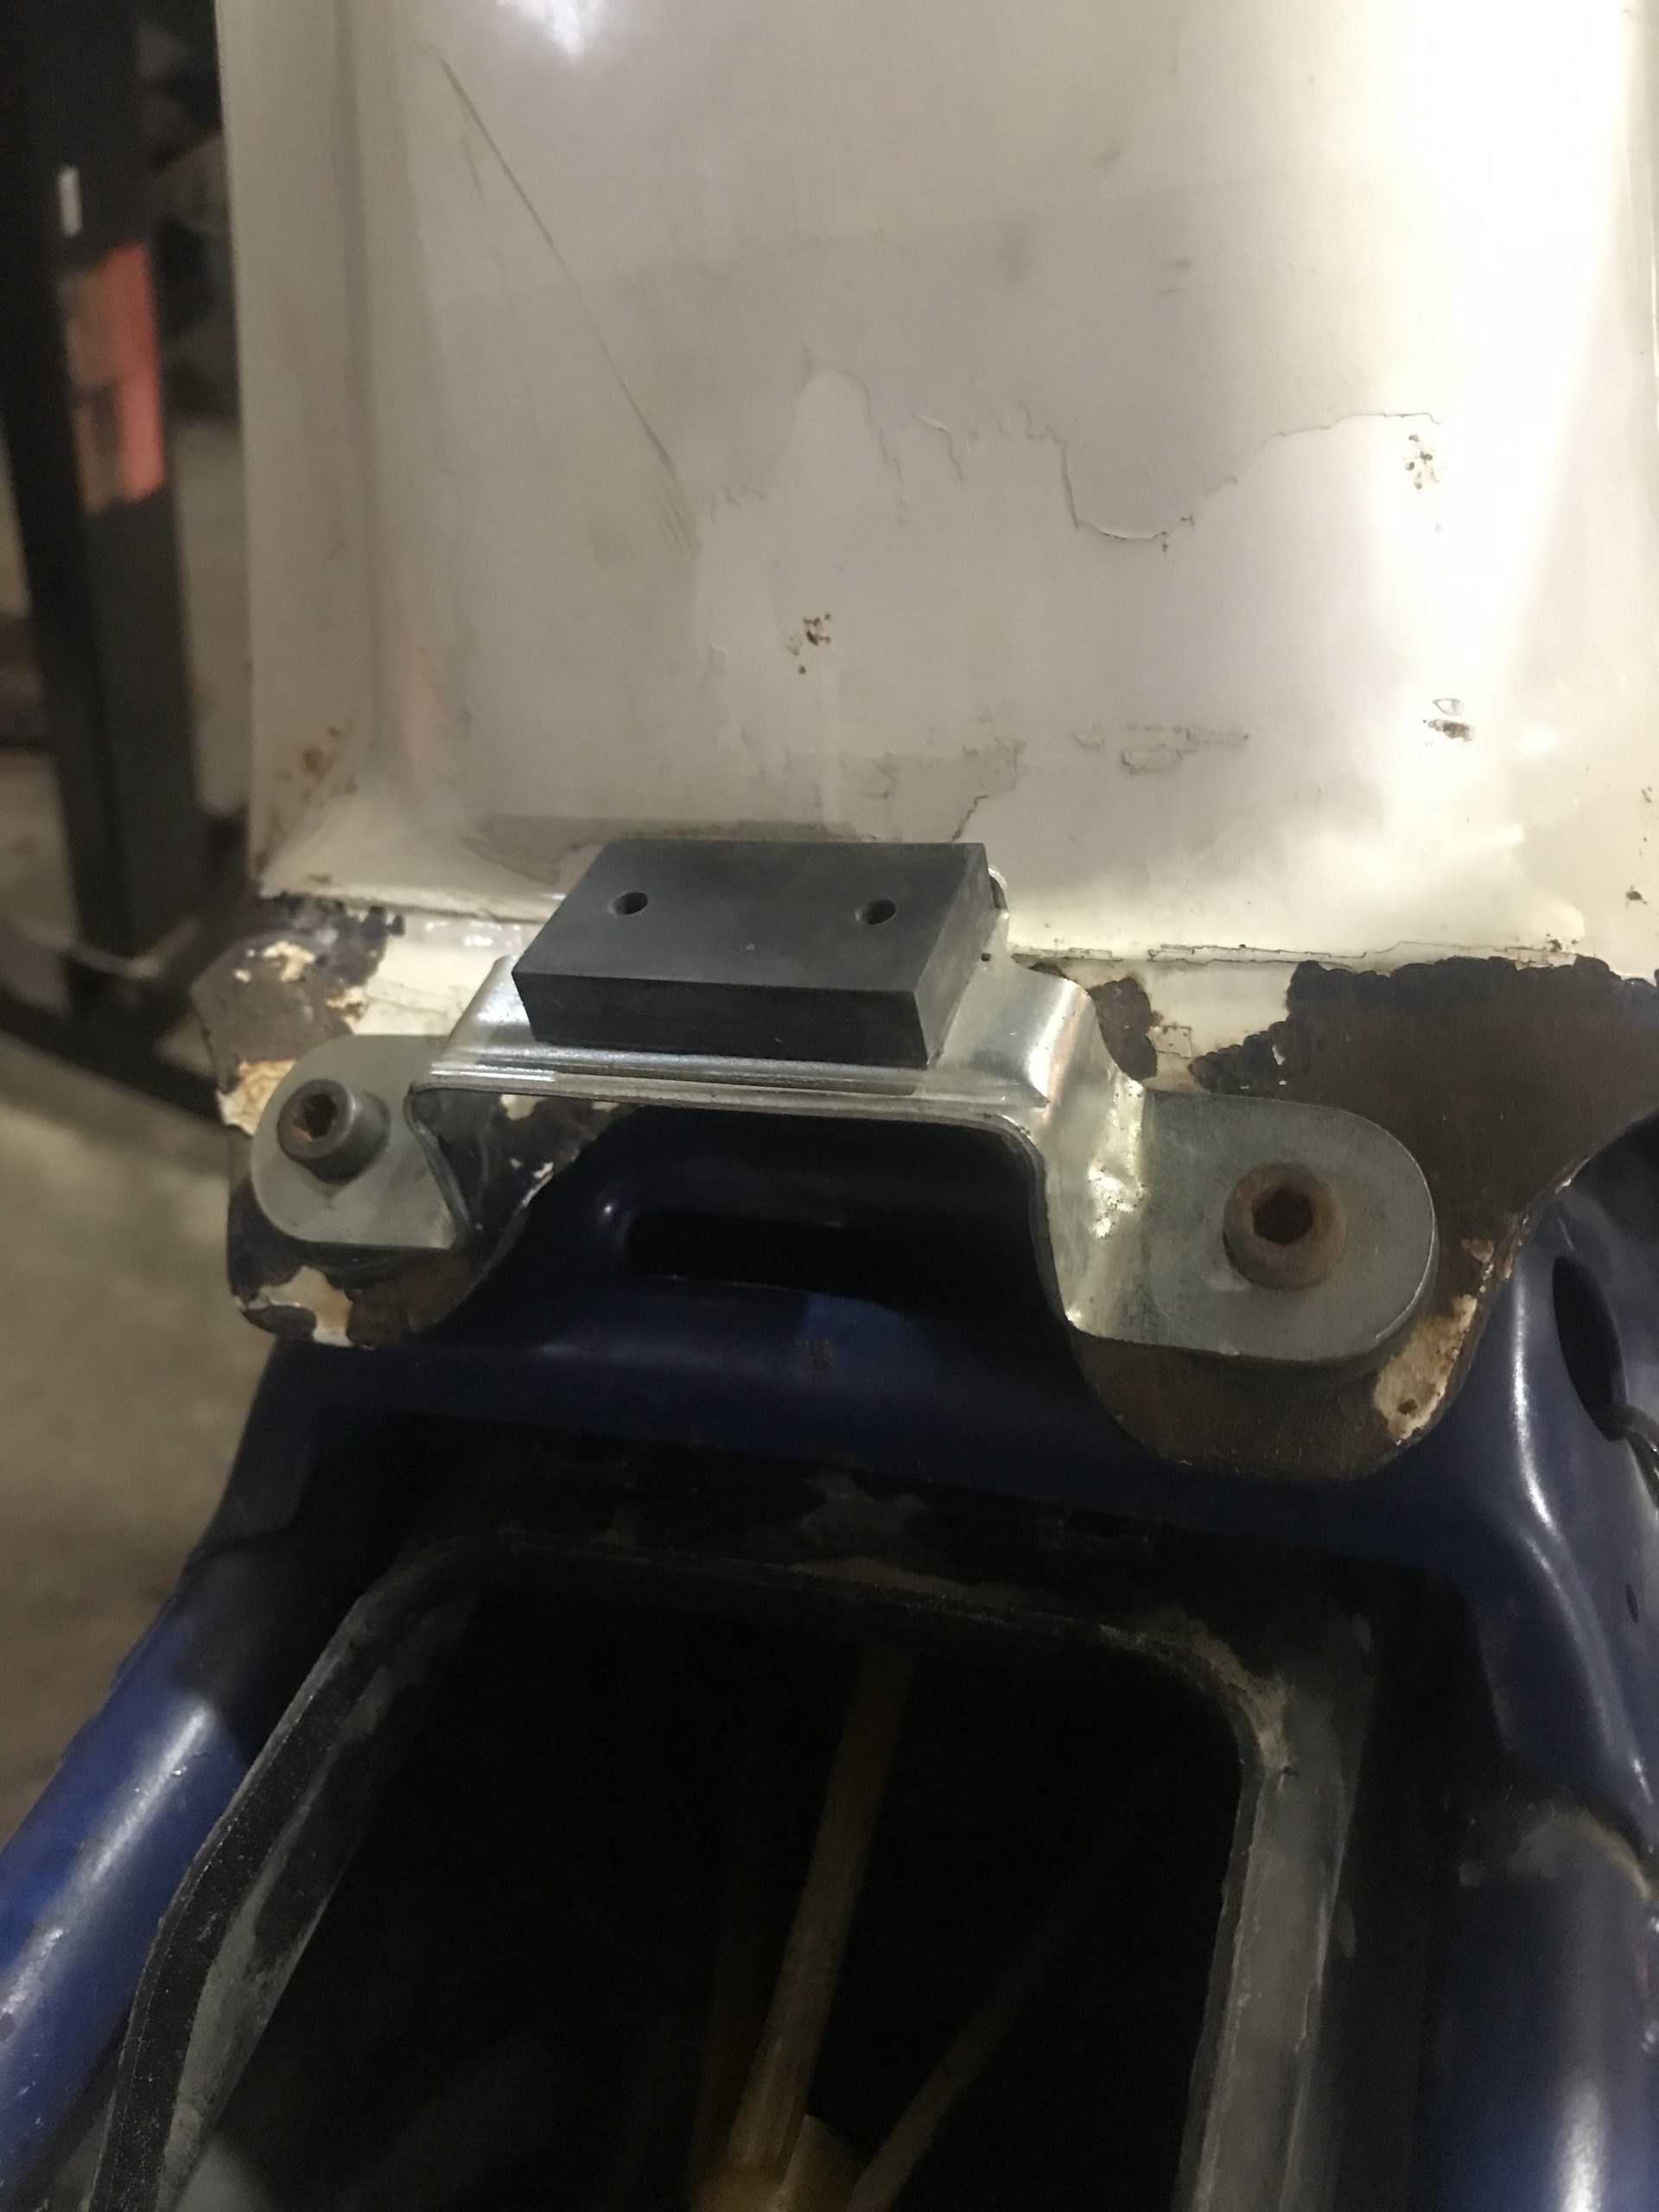
toys-n-yotasKeymasterGot the thumbs up of approval from Matt last night on the clutch repair, and then continued working on the bikes. We each removed our air filter so I can clean, dry & oil them. While the seat was off, I did some CAD to build Matt a Seat Restraint Bracket, a little piece that keeps the very leading edge of the seat located. I bought an OEM piece two years ago, however since then the part was discontinued by the manufacturer and they are nearly impossible to get. There is a used one on eBay for $85 that comes with a couple other random brackets. Long and short, I folded up and $1 worth of sheet metal into the correct shape, and today Matt scrounged a piece of rubber flooring for the isolator.
Overall it is ugly, but effective, exactly what I promised I could deliver for way less $$ than buying new/used.
Lots of shit weather in the two week forecast, doubt I’ll have the bike out before Easter.toys-n-yotasKeymasterLast night in The Shop I changed tasks to focus on the bikes. After rearranging the shop again (tucking that SBC into the dark abyss since nobody wants to buy it), I was able to get good access to Matts bike. I was able to quickly replace the clutch cable, and the pull has gone from a full hand pull and gritty, to butter smooth and a relaxed two finger pull. Even with the old cable in the bench vise, I can barely cycle its stroke length.
Second task was replacing the leaky seal for the automatic decompression lever in the cylinder head. After pulling the retainer bolt and shaft out, the old seal fell out of its bore. I suspected that it shrunk from age, but when I inspected closer there was a groove on the OD of the seal, looks like it was never driven in far enough to begin with. Two quick fixes, total success.Next up, both bikes need their air filters cleaned and re-oiled. A quick engine oil & filter change on mine, and she’ll be ready for spring time rippin’.
Happy first day of spring. Still looks like a frozen Arctic tundra in Shelburne. -10 degrees and 10cms of snow two days ago. Tired of this winter crap…bring on the springtime mud!
toys-n-yotasKeymastertoys-n-yotasKeymasterHad a productive night in The Shop yesterday, knocking 3 items off my to do list.
I finished the shifter base gasket install by marking/drilling/filing the last two locating holes. Secondly I separated the Advanced Adapter unit from the back of the TH350 trans. Supposedly a kijiji person is coming this weekend to buy all the auto trans shit (trans, torque convertor, fluid cooler, slap shifter) for $250. I’ll believe it when I have cash in hand though.
Thirdly I removed the very leaky power steering gear, it was so easy to get out as compared to squeezing it into place when the SBC was installed.No pictures from last night, phone was backing up for 2 hours, then I forgot about it haha
-
AuthorPosts