Home › Forums › TRUCK BUILDS › Redee – 1986 4Runner
- This topic has 697 replies, 9 voices, and was last updated 2 weeks, 3 days ago by
 toys-n-yotas.
-
AuthorPosts
-
March 19, 2019 at 8:50 pm #207979
 Slick_YotaKeymaster
man, that’s progress! doesn’t the p-valve bolt right to the firewall like most Yotas? haven’t seen a 4runner….
March 20, 2019 at 1:02 am #207981 toys-n-yotasKeymaster
I put together a bracket off an existing M8 nut on the firewall for the Prop valve. Original mounted to the rear frame rail, but lucky me I found a spot I liked and can easily reach under the hood, just a bit inboard of the hydraulic booster
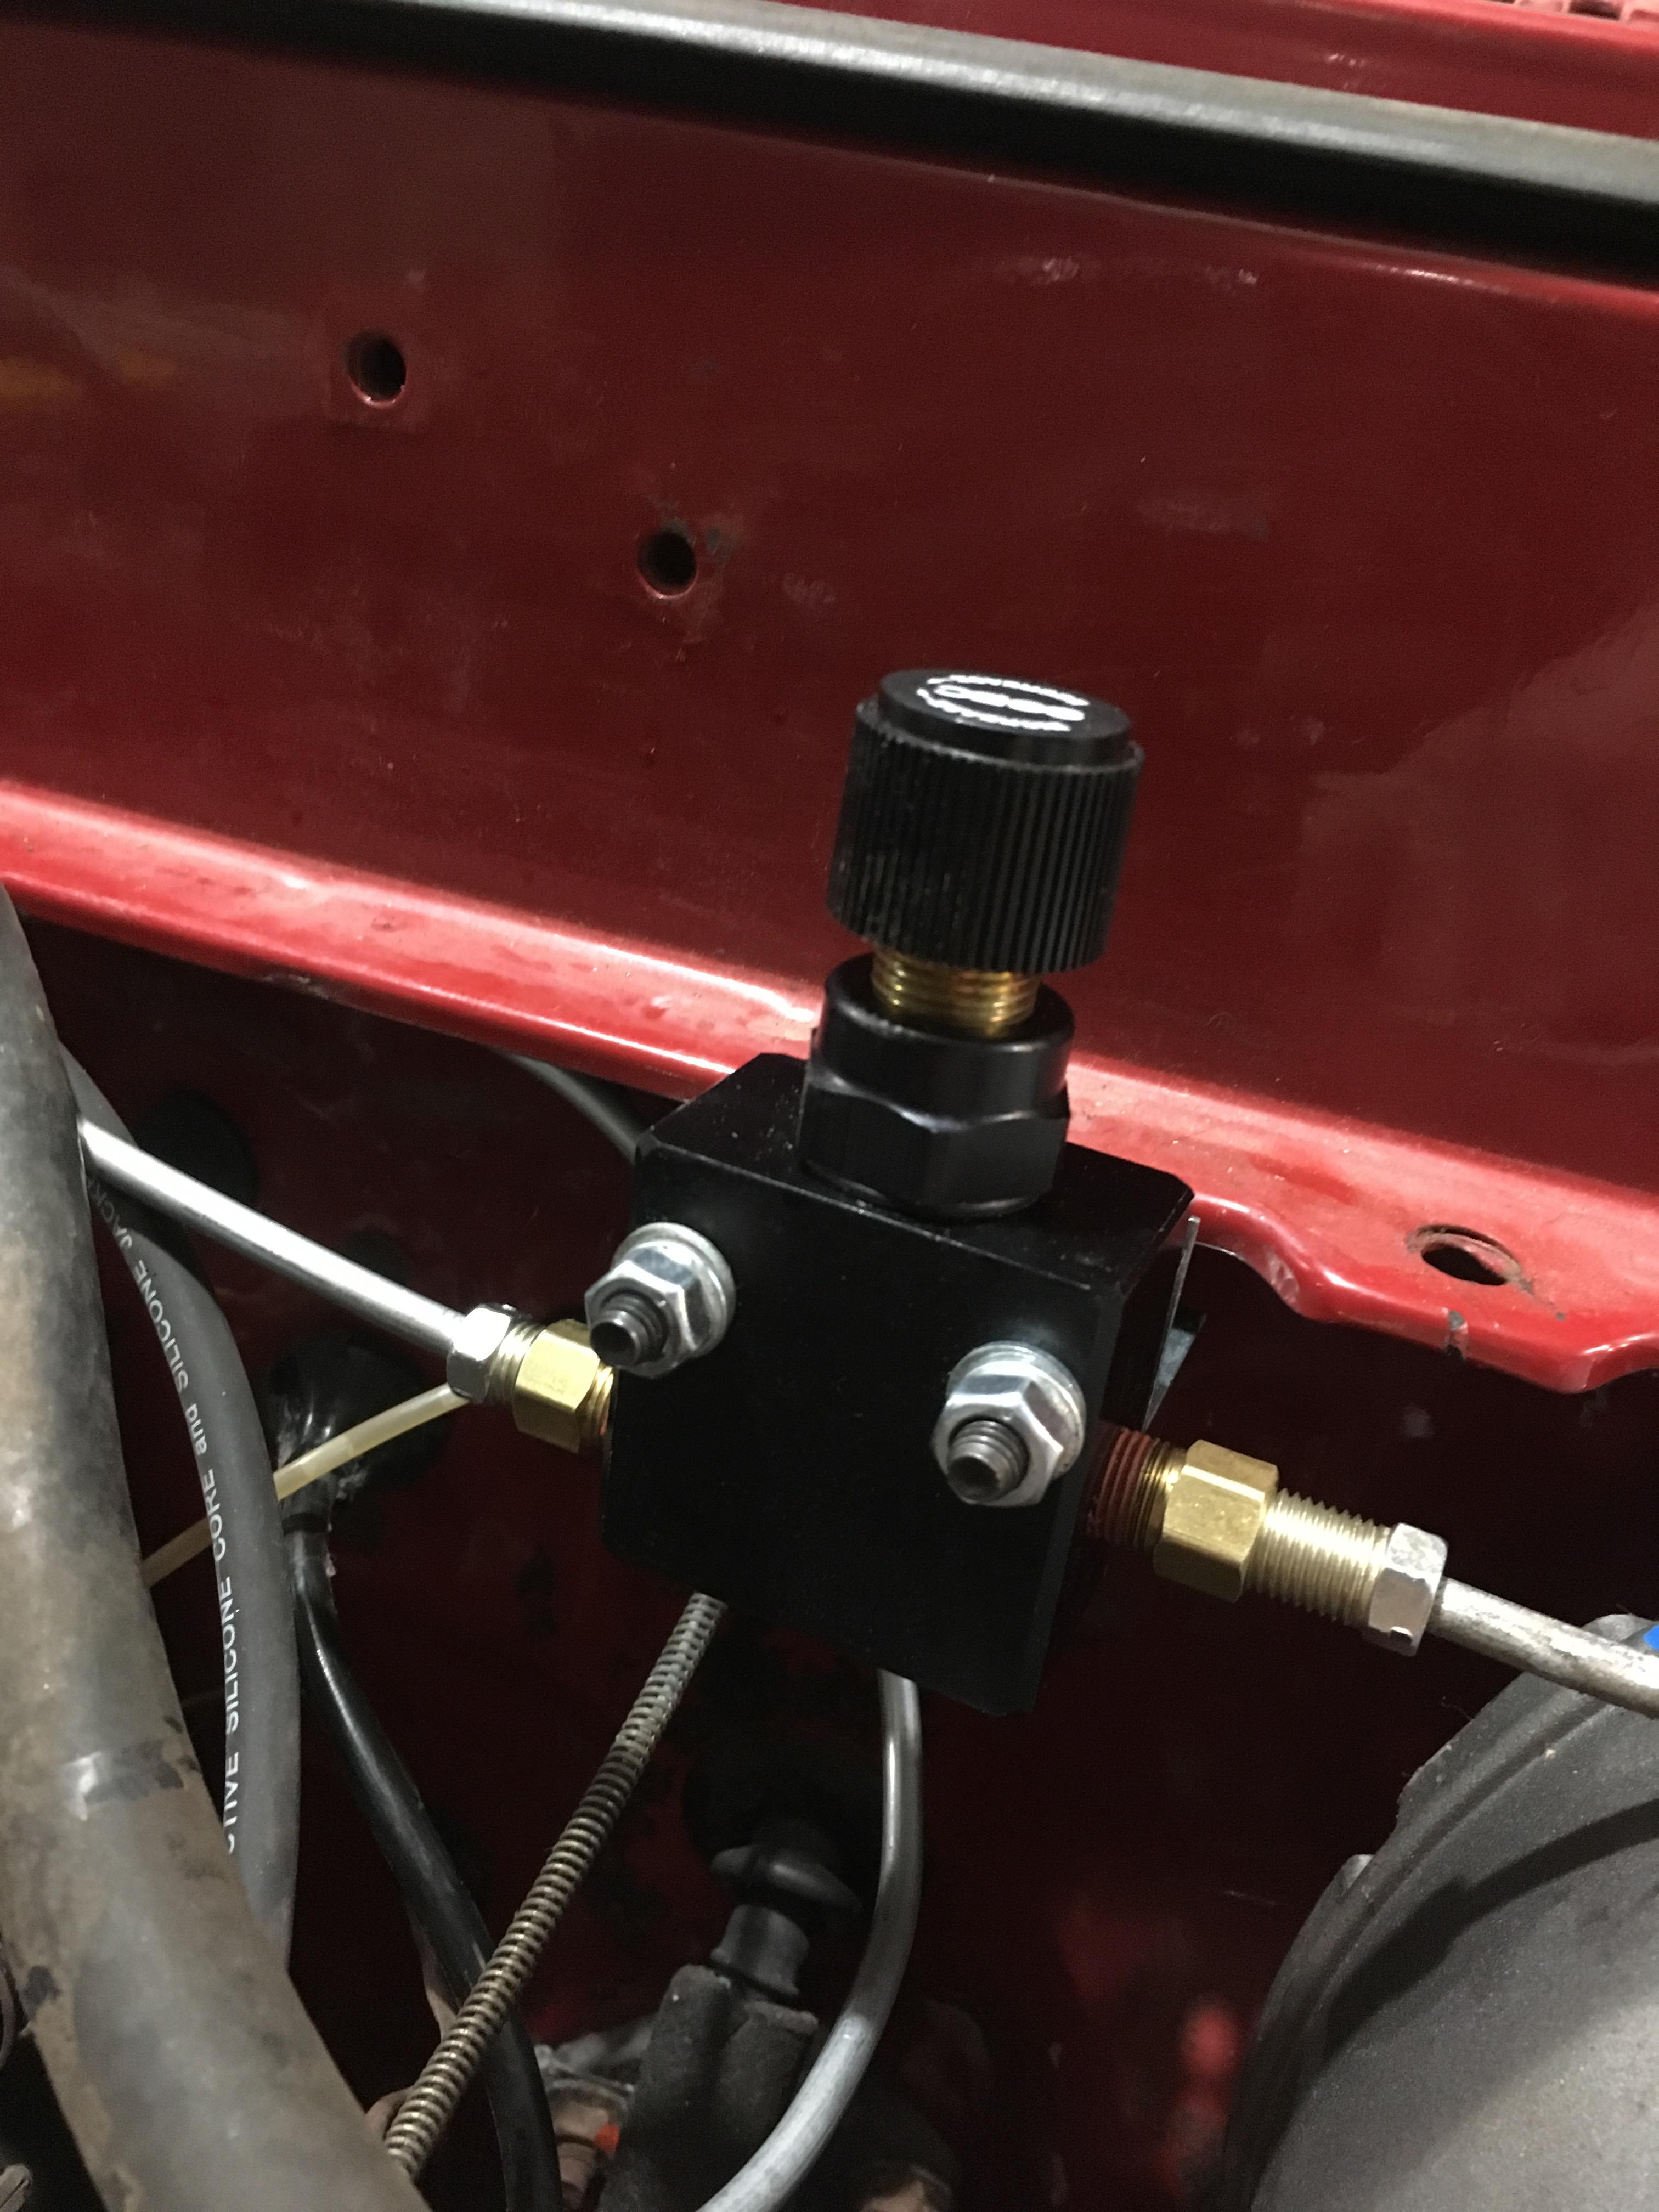
Tonight I ran more hardlines, pretty much consumed my night. I only have one short stretch, in a dead straight line to do tomorrow. Ran out of line for tonight.
I also freed up the idle speed adjustor screw that was too stuck to adjust in the summer. I’ve been giving it a spray of PB Blaster once in a while since September, I guess tonight was my lucky night.
Also found troubles with the throttle cable / kick-down plate, it is rotating on application of Wide Open Throttle. When it rotates, the throttle cable gets a bit of slack in it, and isnt taut enough to hit WOT a second time. So that won’t do. Still pondering an anti-rotation solution.
To the parts store tomorrow…1 brake line, 1 big jug of DOT3, 1 air filter for chev. Still waiting patiently for my fishing scale to arrive in-store.
March 20, 2019 at 1:24 pm #207982 Toy-YotaParticipant
Spring is coming….
I feel your brake woes, I’m working on brake stuff too right now.
March 31, 2019 at 9:52 am #208007 toys-n-yotasKeymaster
@Toy-Yota I sure hope spring is coming, and that Shelburne gets the memo. I’m tired of shovelling this heavy white shit. 5cm of frozen BS landed overnight.
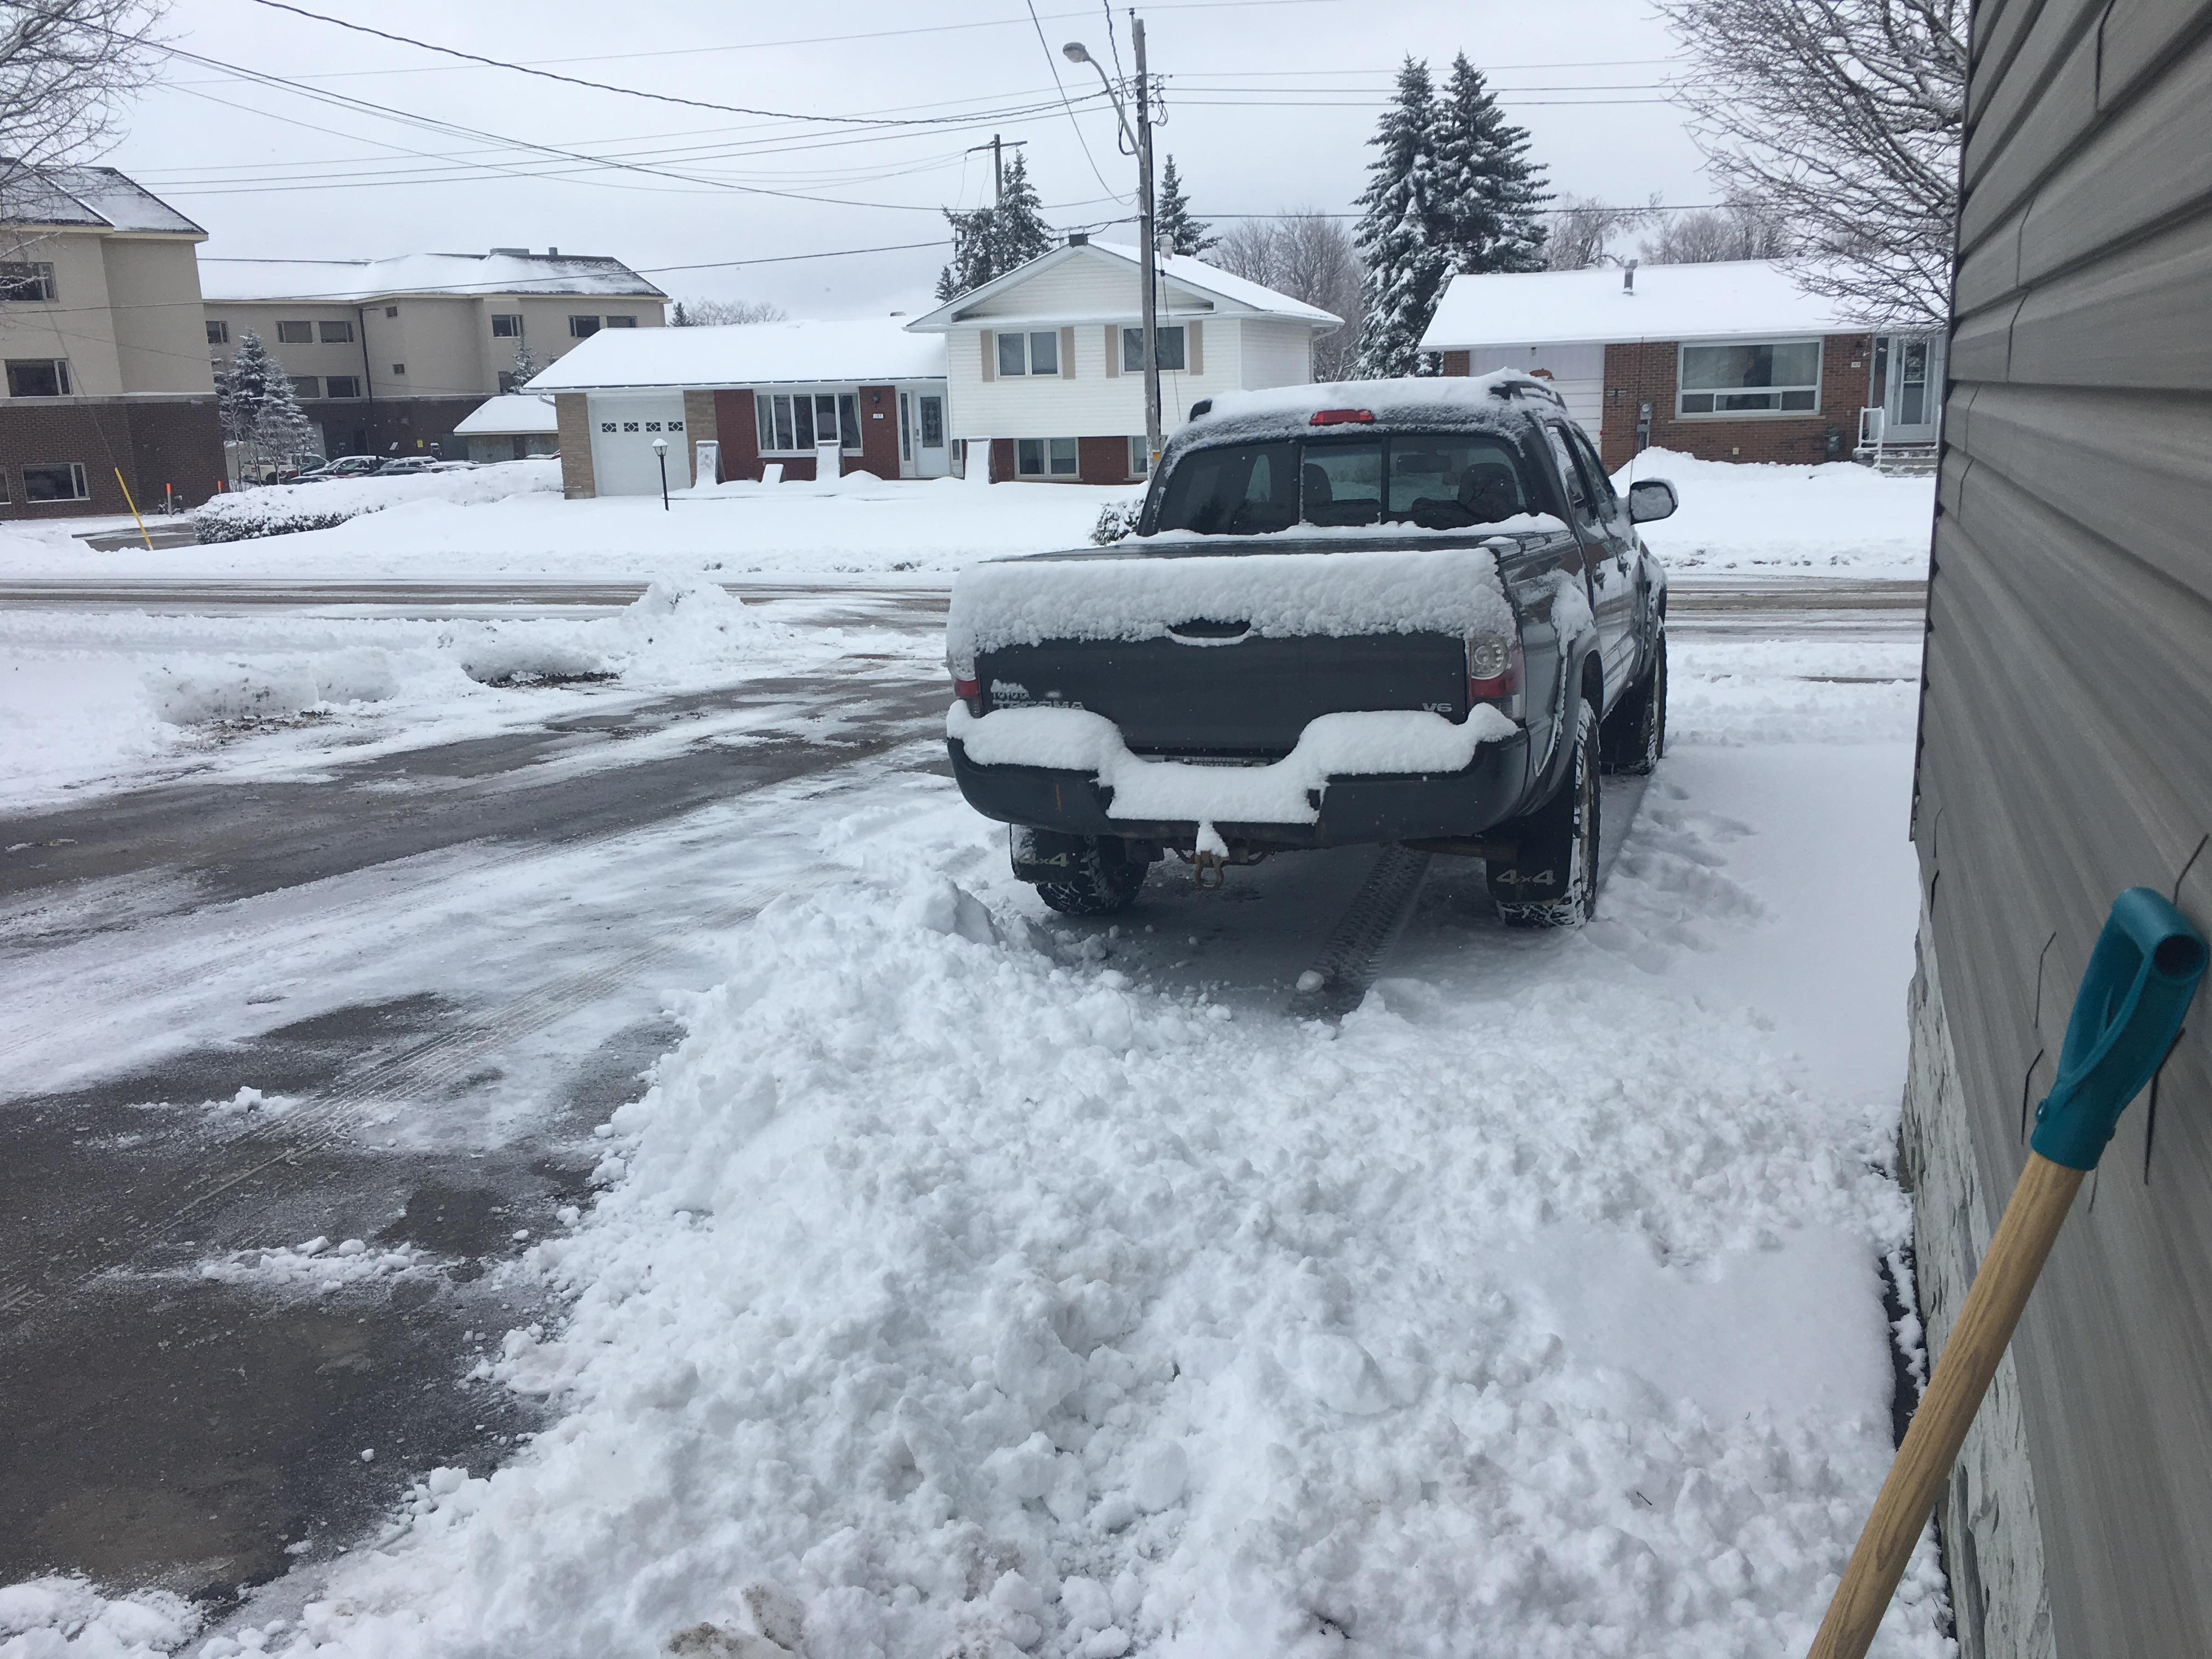
Home from a week in Cuba (not my idea, but getting a tan in March is never a bad thing), so it’s time to hammer down and finish Stage 1 – Road Prep. I picked up my spring scale to verify bearing pre-load the day before we left, so hopefully I have all the parts and tools I need to button up the front axle.
March 31, 2019 at 10:57 am #208009 Toy-YotaParticipant
What did the preload end up being on your fish scale?
March 31, 2019 at 11:14 am #208012 toys-n-yotasKeymaster
Haven’t been in the shop since I grabbed the scale. Hopefully tonight.
April 2, 2019 at 6:52 am #208032 toys-n-yotasKeymaster
I made it out to the shop yesterday, twice actually. before work (4am-7am) I was mainly tidying up workbenches, and shuffling of parts totes to isolate between MUST DO, and will do eventually. After everybody was asleep (9pm-12am) I got a couple items knocked off the list which somehow keeps getting longer.
Anyways, I made a quick block-off plate for the clutch master cylinder hole one the firewall. Nothing fancy but it works. Kept the momentum going by plugging more holes in the firewall and floor with grommets/plugs from a cheap princess auto kit.
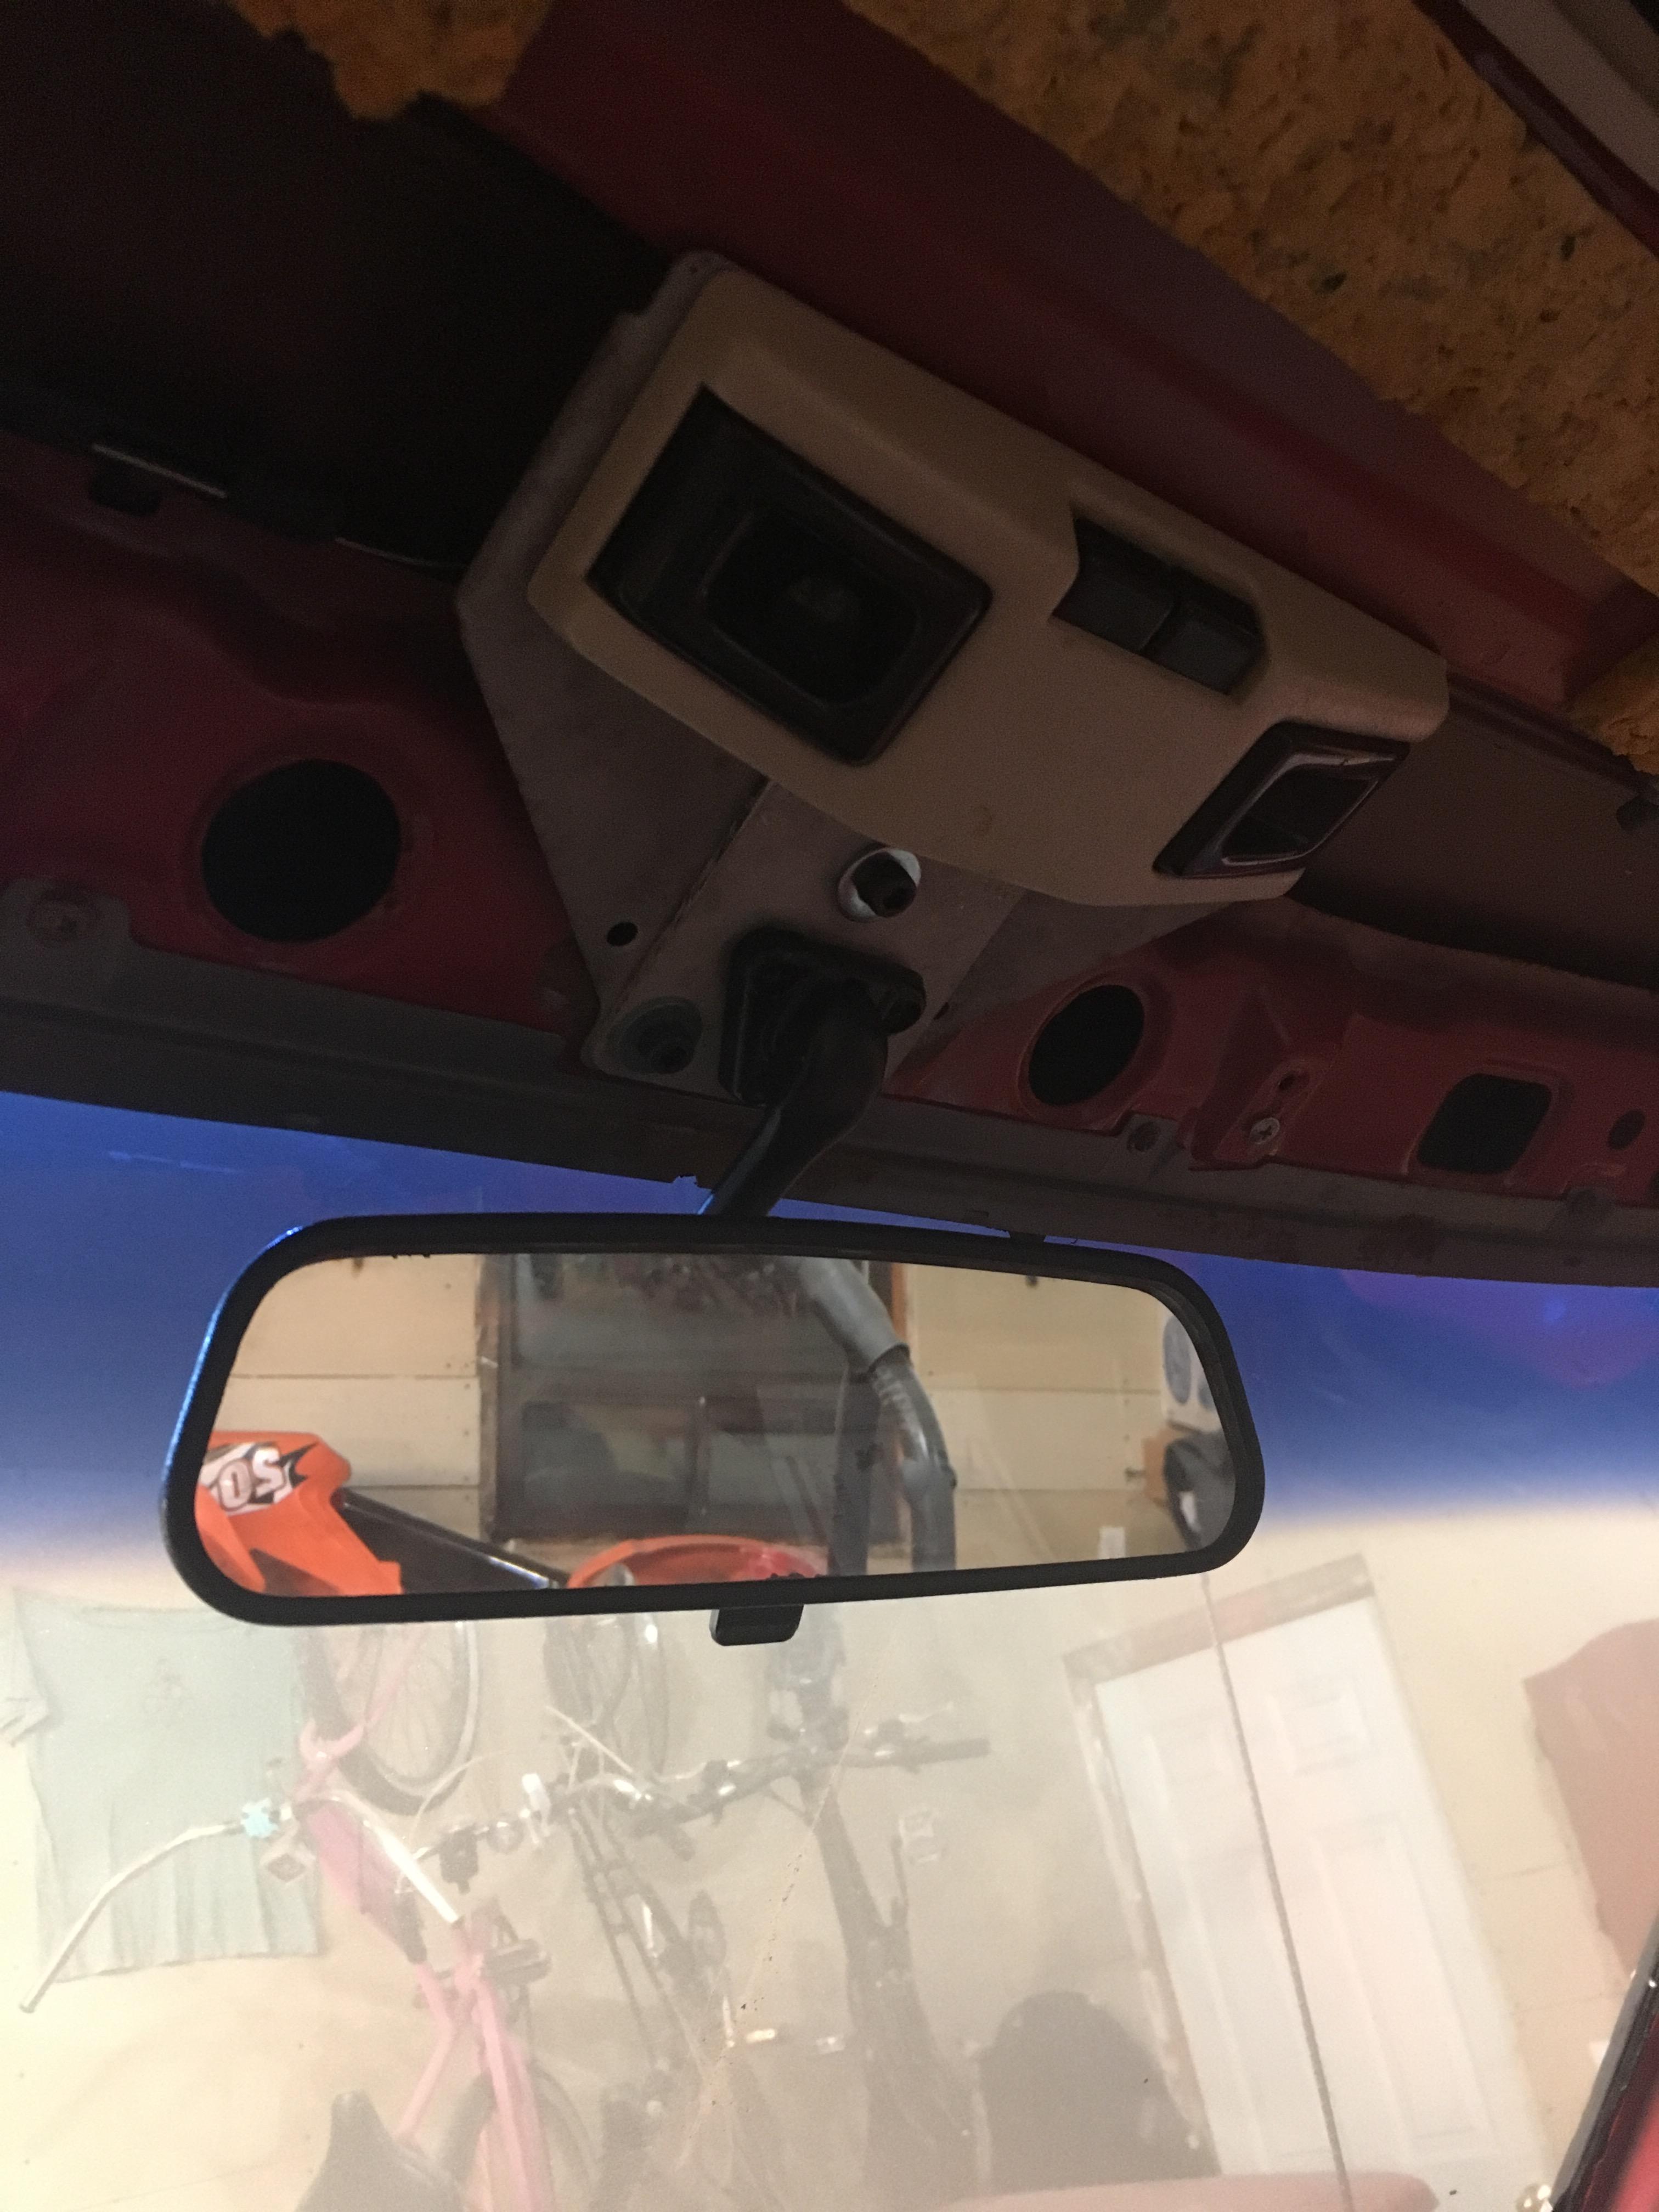
Next up, I made a rearview mirrow adapter plate to allow a Jaguar mirror (free parts from Dad’s part hoardings) to hang in place of the yucky pee-filled OEM unit. After sandblasting all the pee-rust off the dome light plate, I cut out a filler plate from a piece of aluminum I had kickin’ around fromy old golf cart. I drilled and tapped the plate for the Jag hanger, and attached it to the roof with some “free” metric hardware. $0 spent, and one big step closer to Road Legal.
Next up, started to continue legalling-up by reinstalling Side Clearance Lights and a horn. Once again I was digging through parts bins and came up with almost everything…..except the horn is really dead, not even a peep out of it. Easily replaceable.
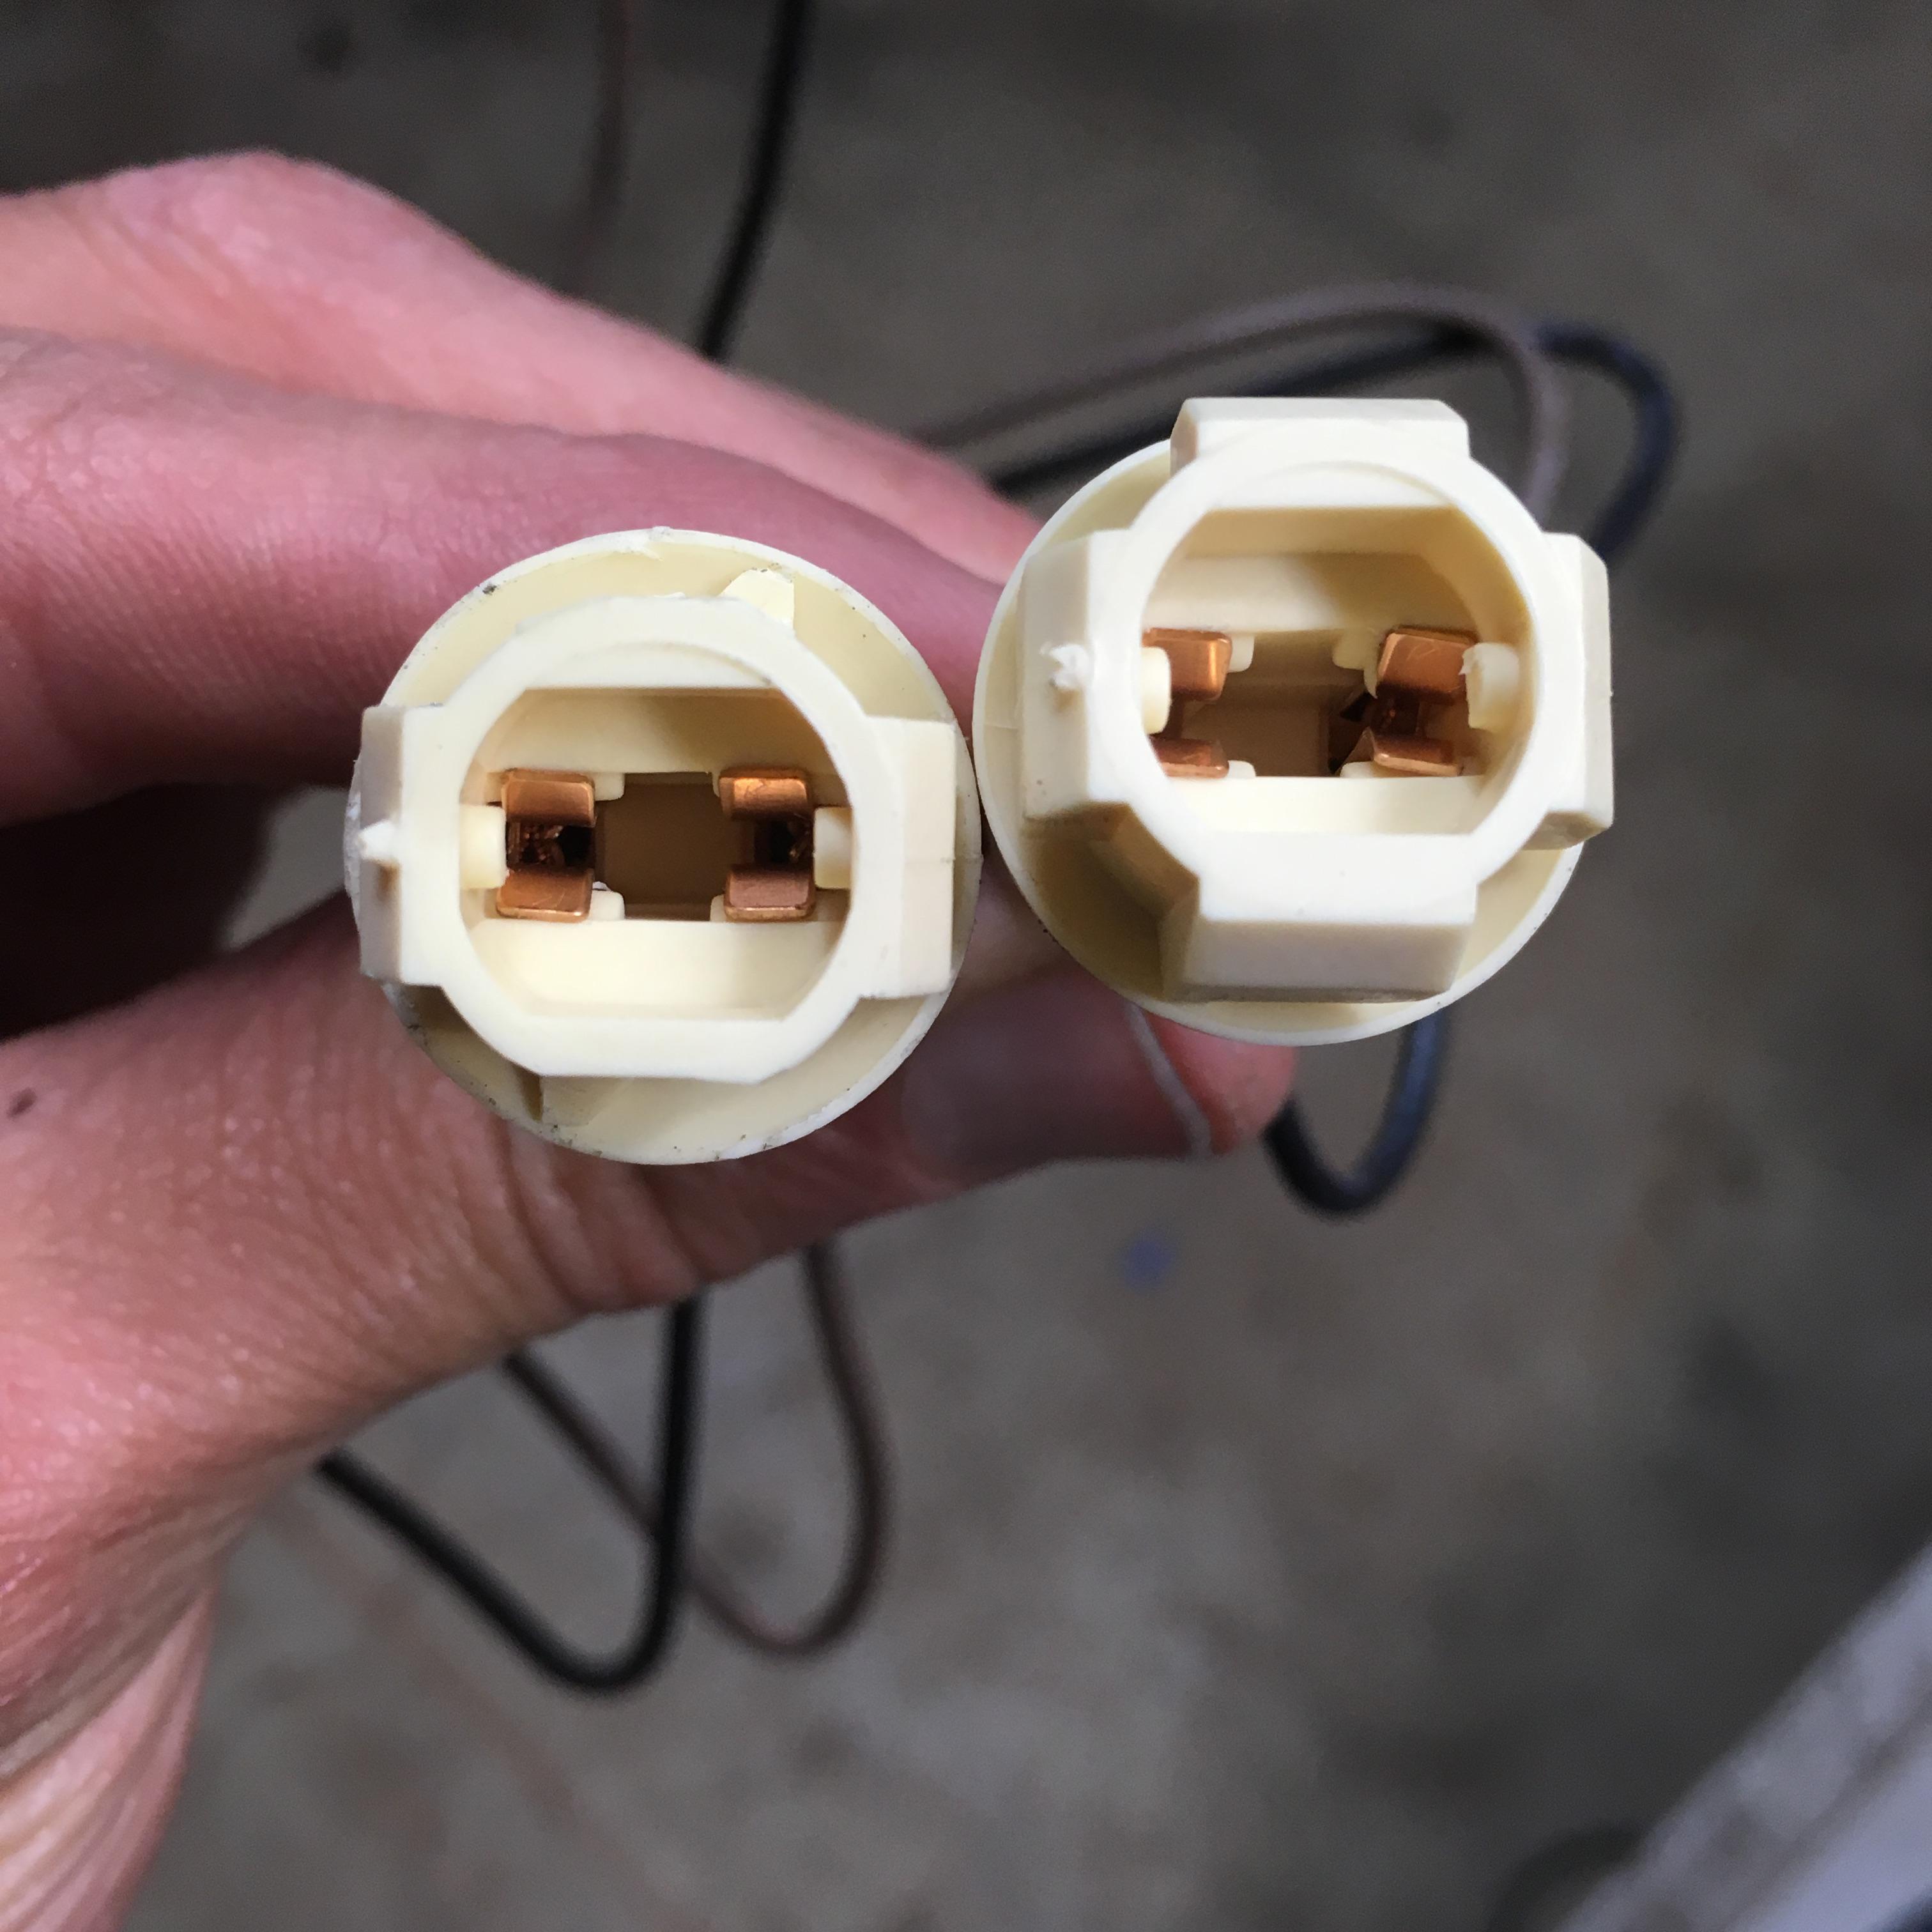
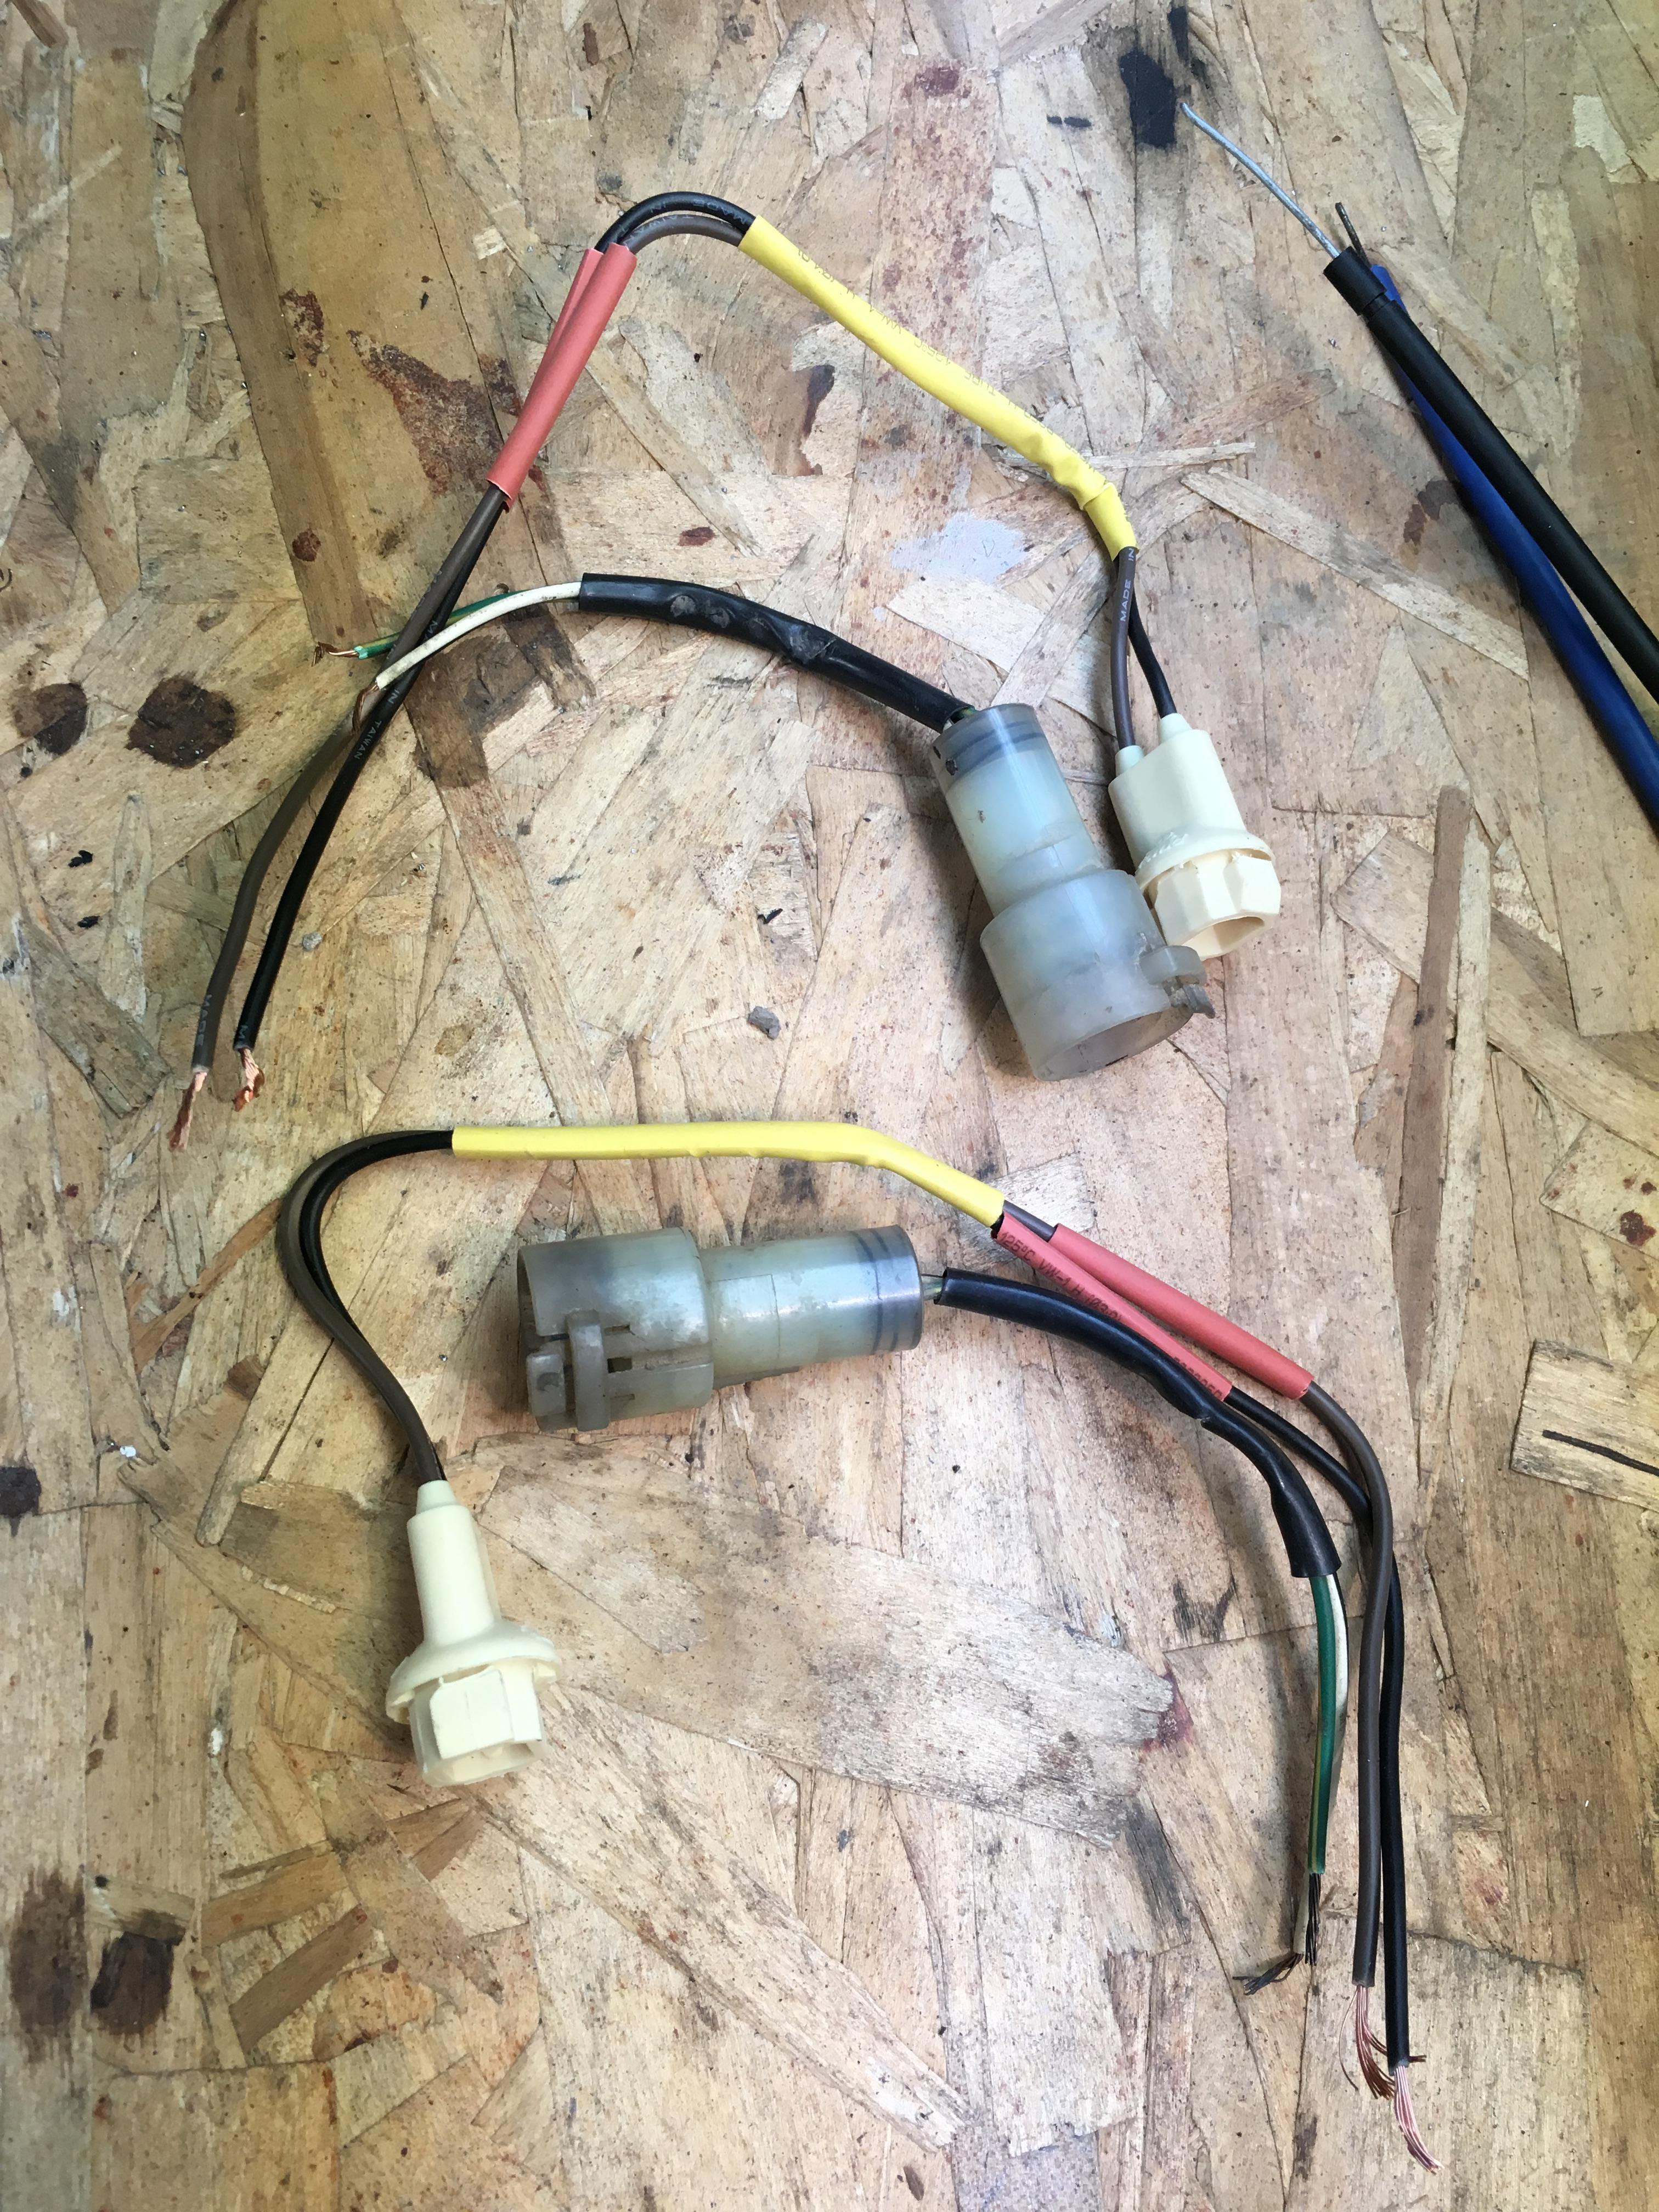
For the side clearance lights, I started putting in my ebay housings, but I am missing about 6” of the wiring circuit. I must buy (prolly used) two of the female 2-pin connector which has the bulb holder on it. See pic below.
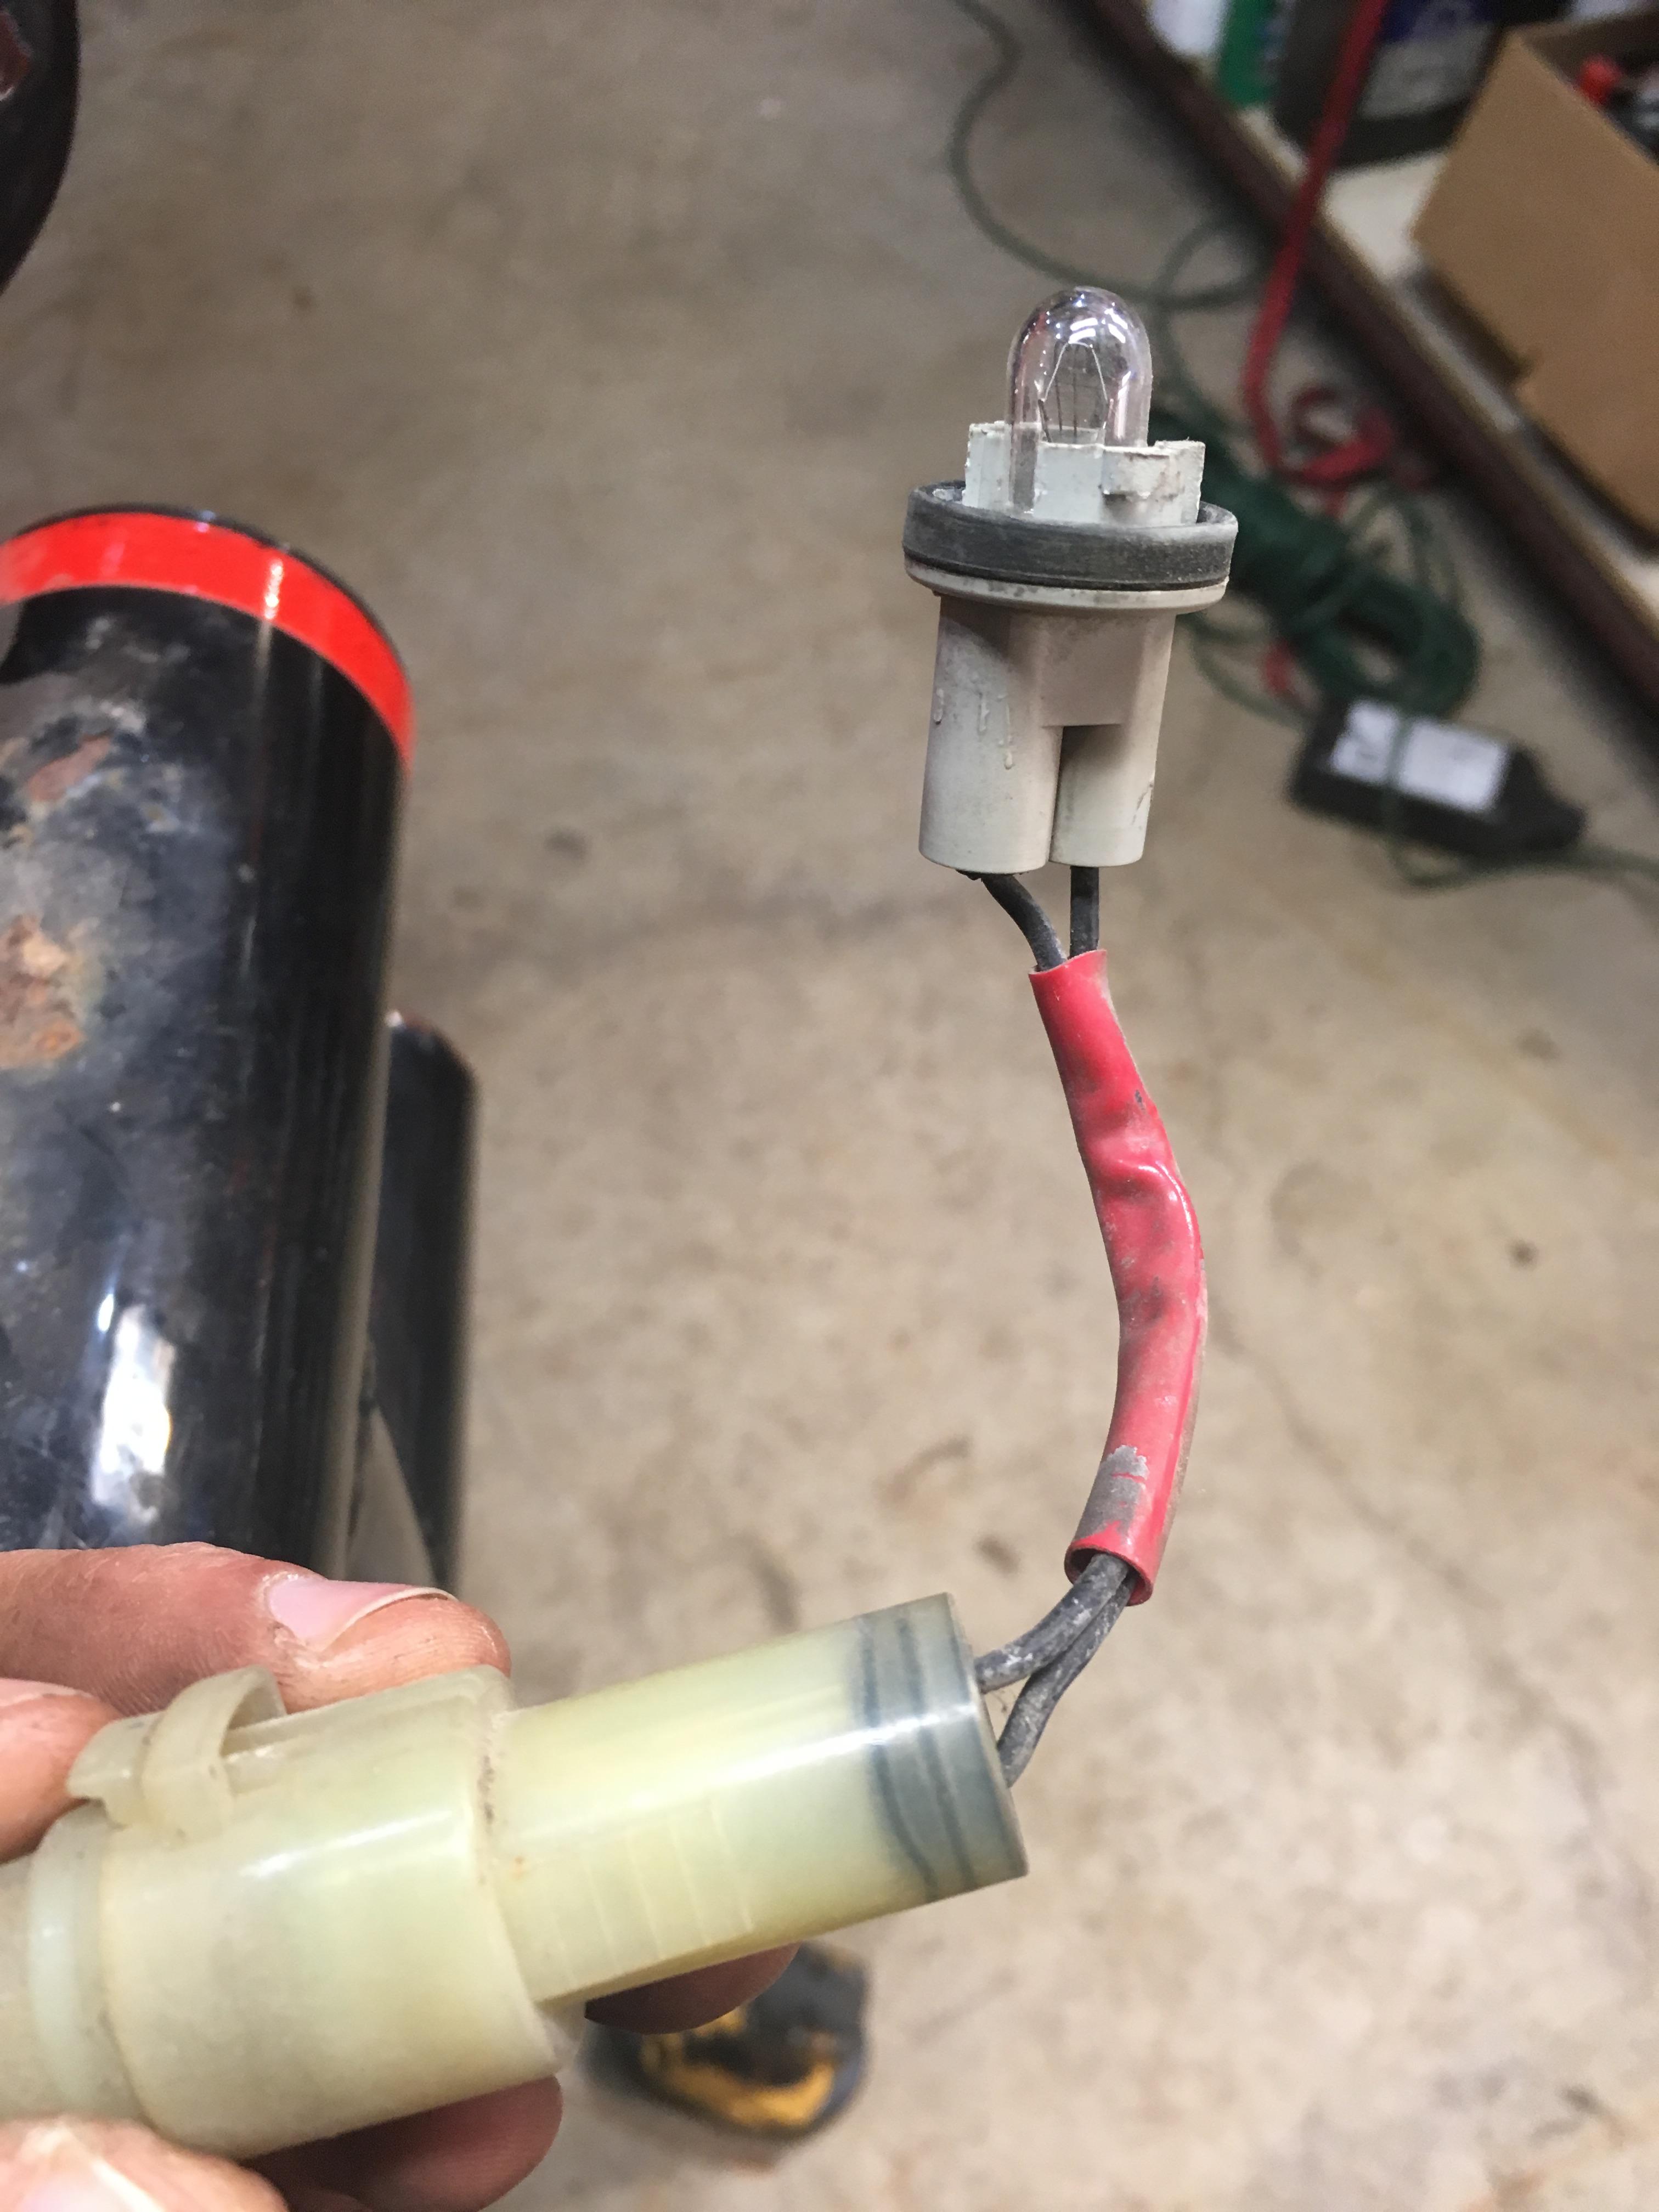
I found the correct connector in a parts bin from 2011, but the bulb holder was cut off it.
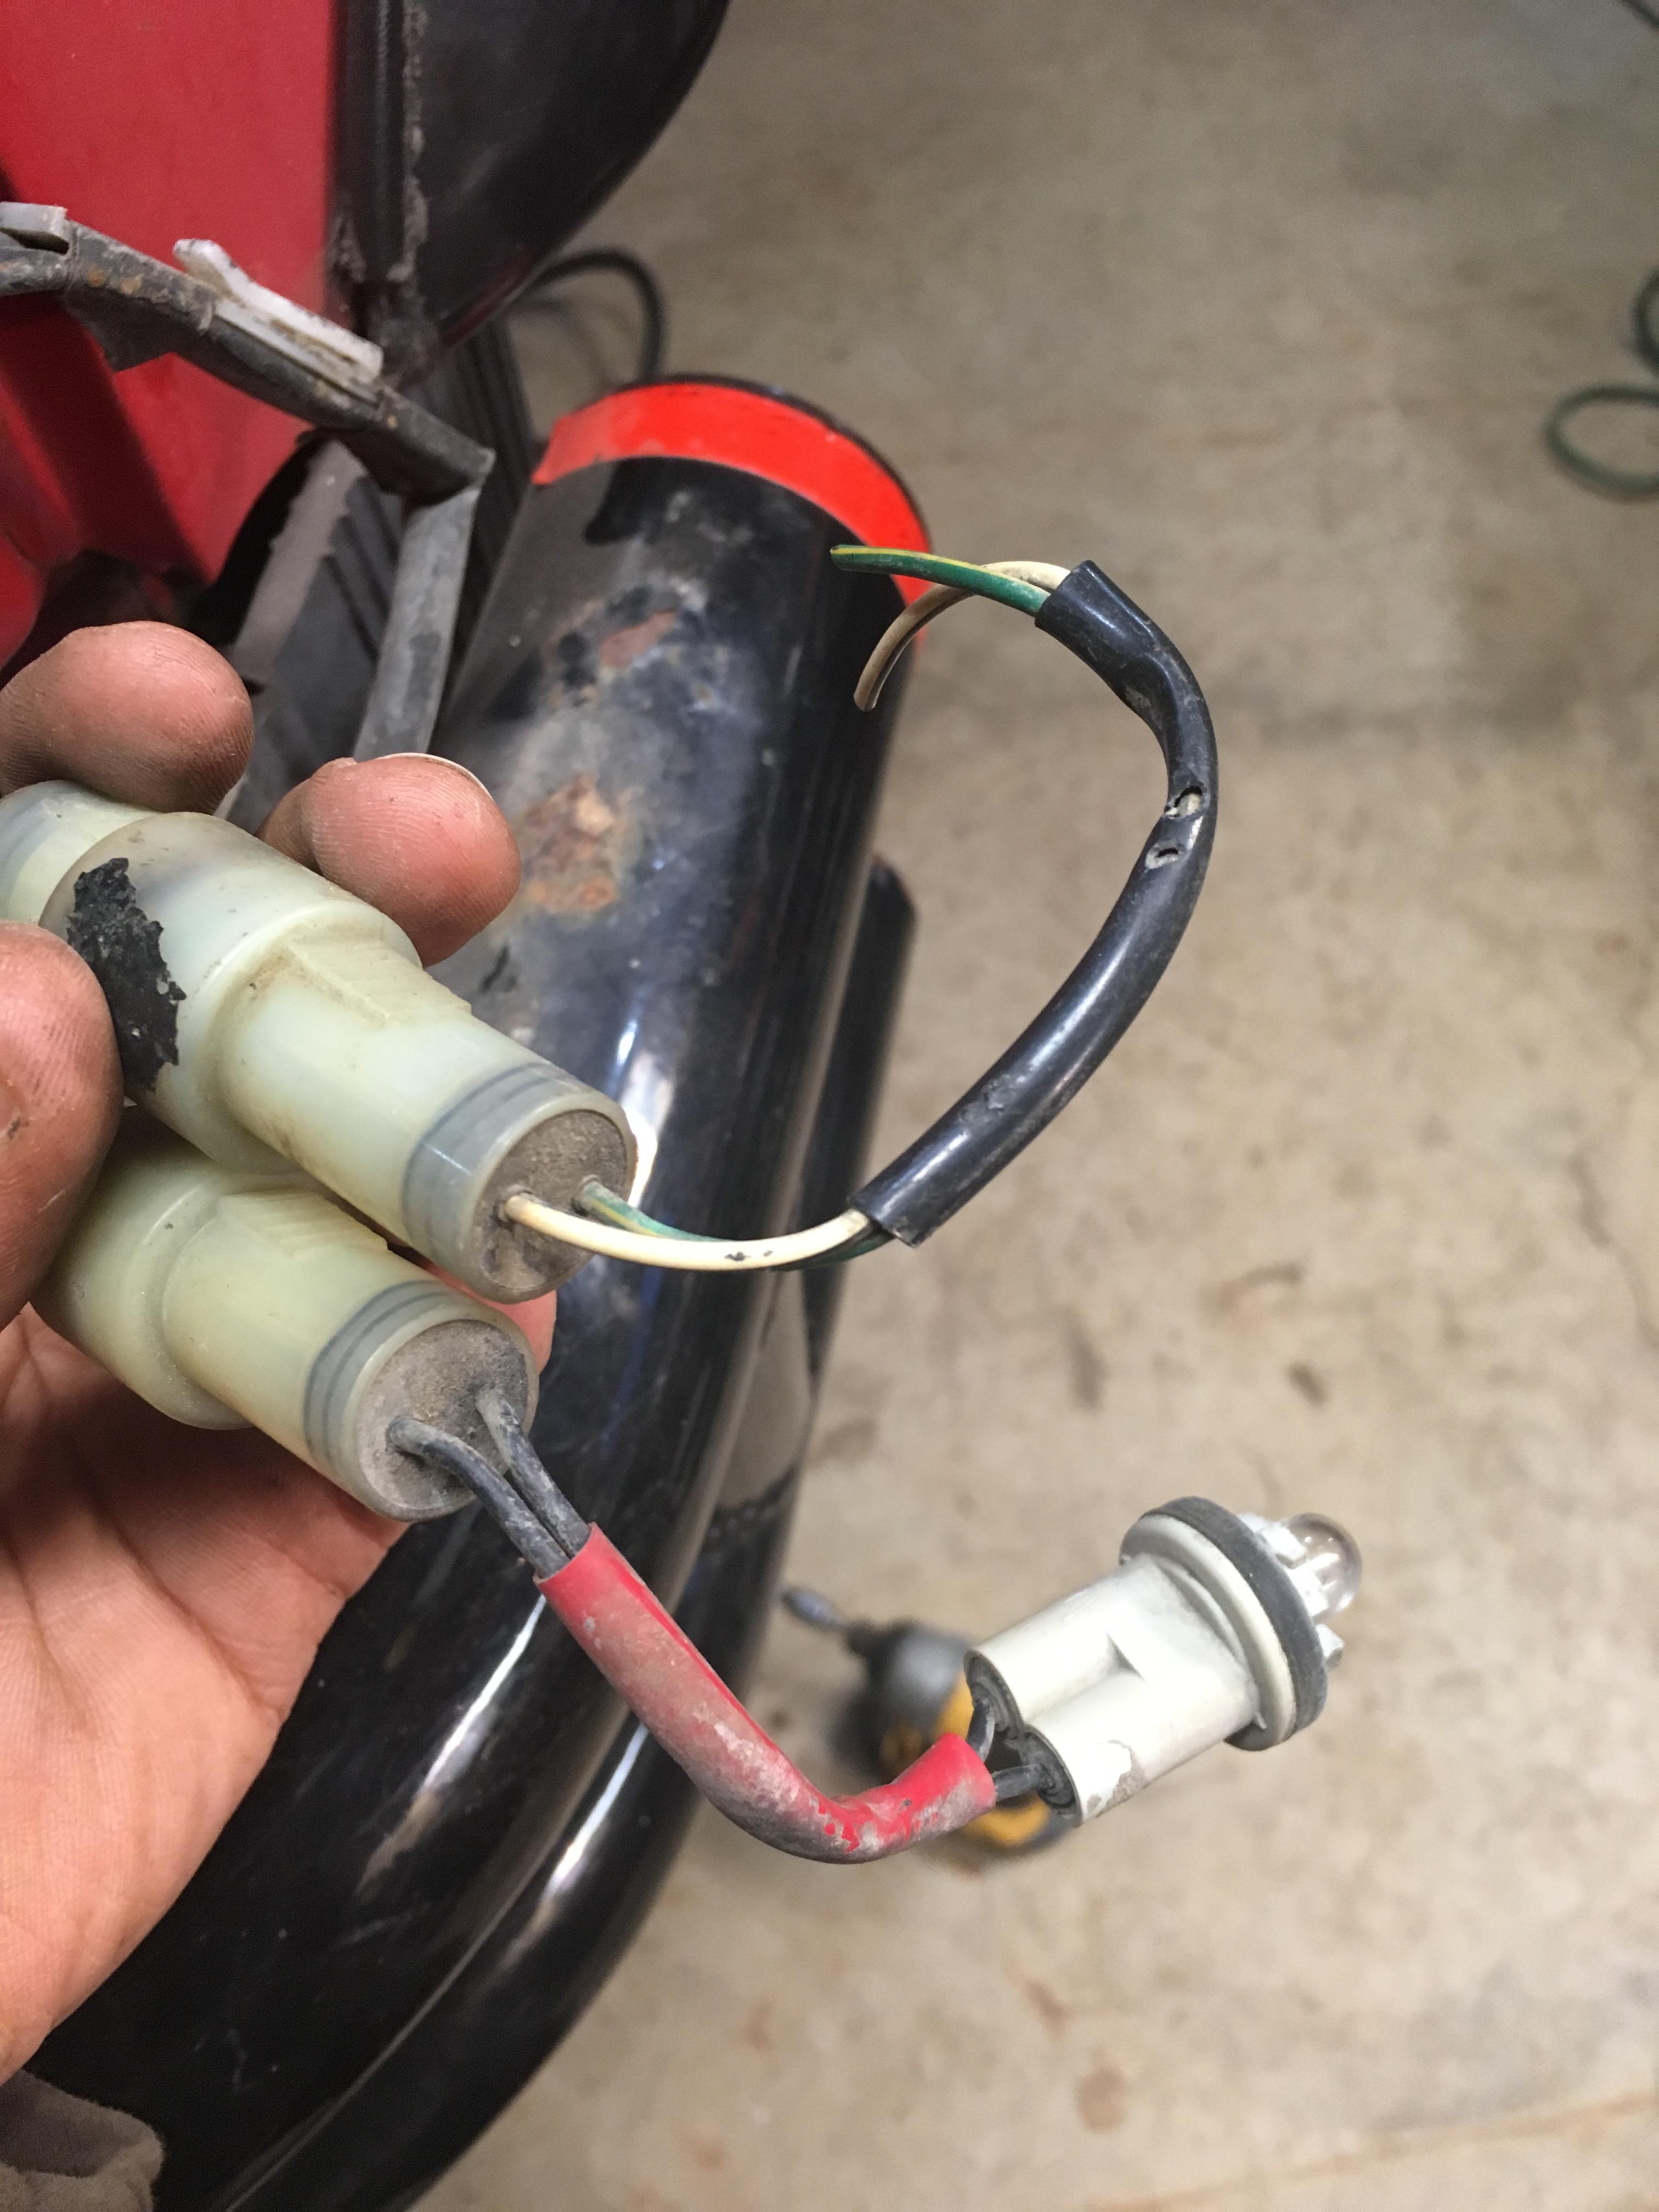
Once I get a new-ish bulb holder, I can plug in my ebay 2-in-1 clearance light / turn signal housings.
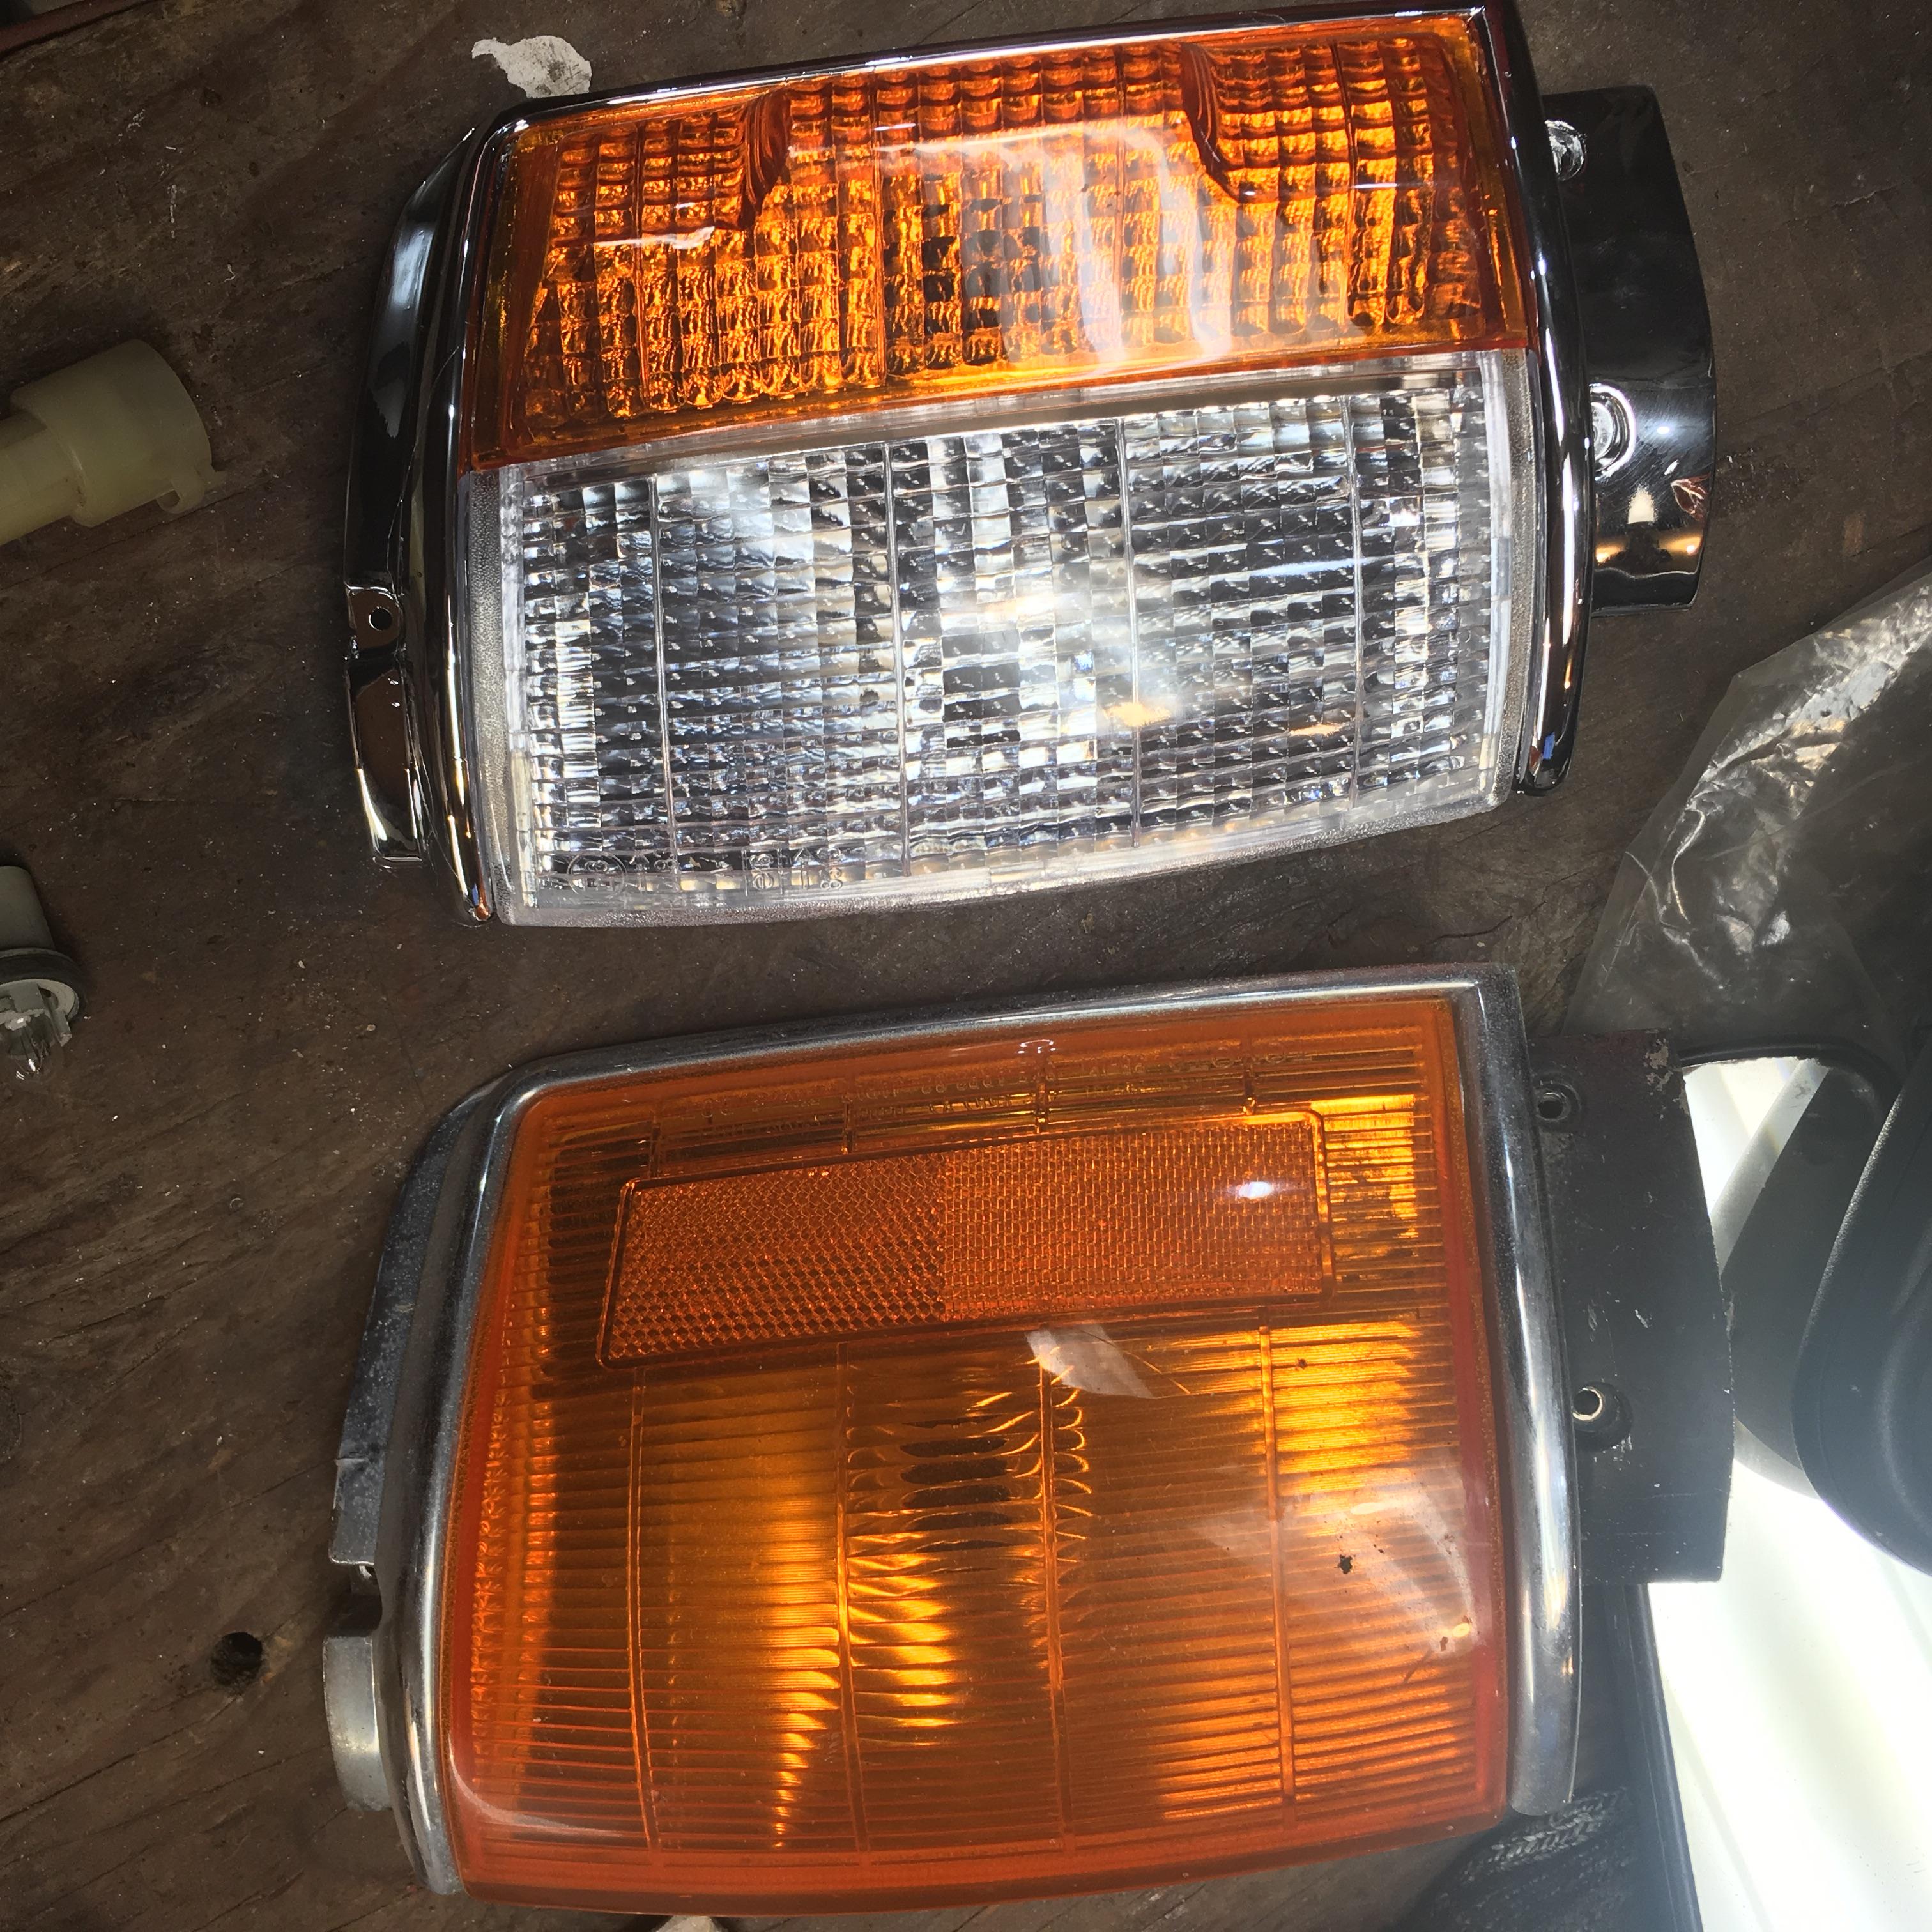
Perhaps tonight I’ll feel like getting greasy, and finish installing the front hubs and brakes.
Stupid question alert! On which parts SHOULD I smear disk brake lubricant in the front brakes? Just the pins which hold in the pads? On the backing plates of pads too? Honestly, for the first 25-years of my life I neglected (disk brake) lube. Now with age, I’m getting adventerous. But am I using it correctly?
-
This reply was modified 6 years, 10 months ago by
 toys-n-yotas.
April 3, 2019 at 7:08 pm #208038 toys-n-yotasKeymaster
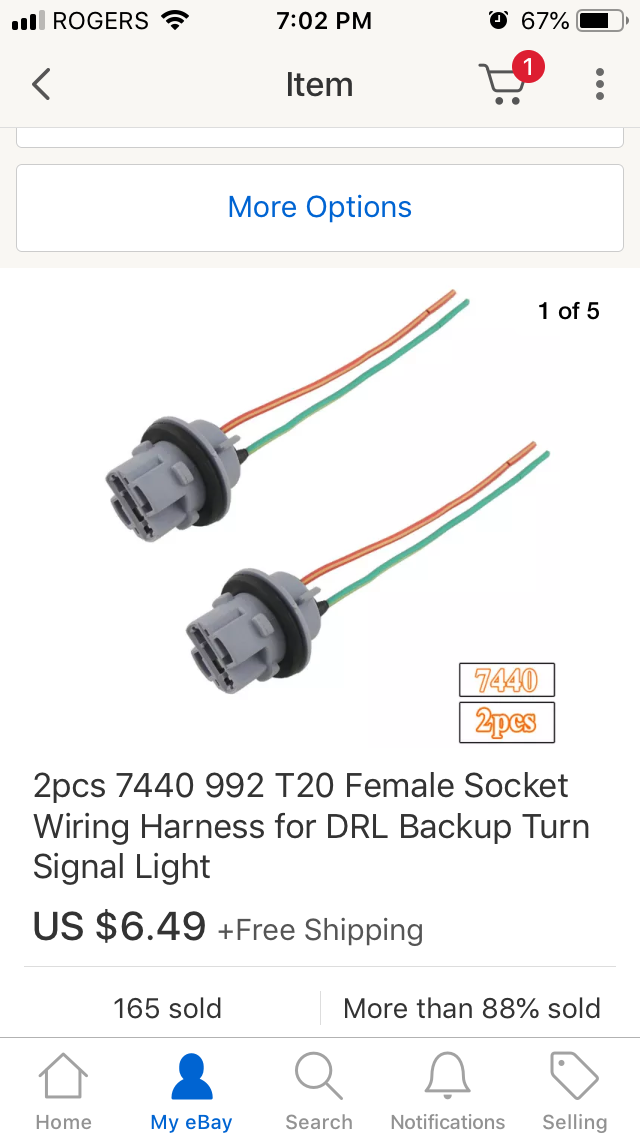
Made two ebay purchases today.
1: turn signal bulb holder to fit into my new combo housings. $8 total for a pair. Hopefully they arrive prior to April 31st quote.
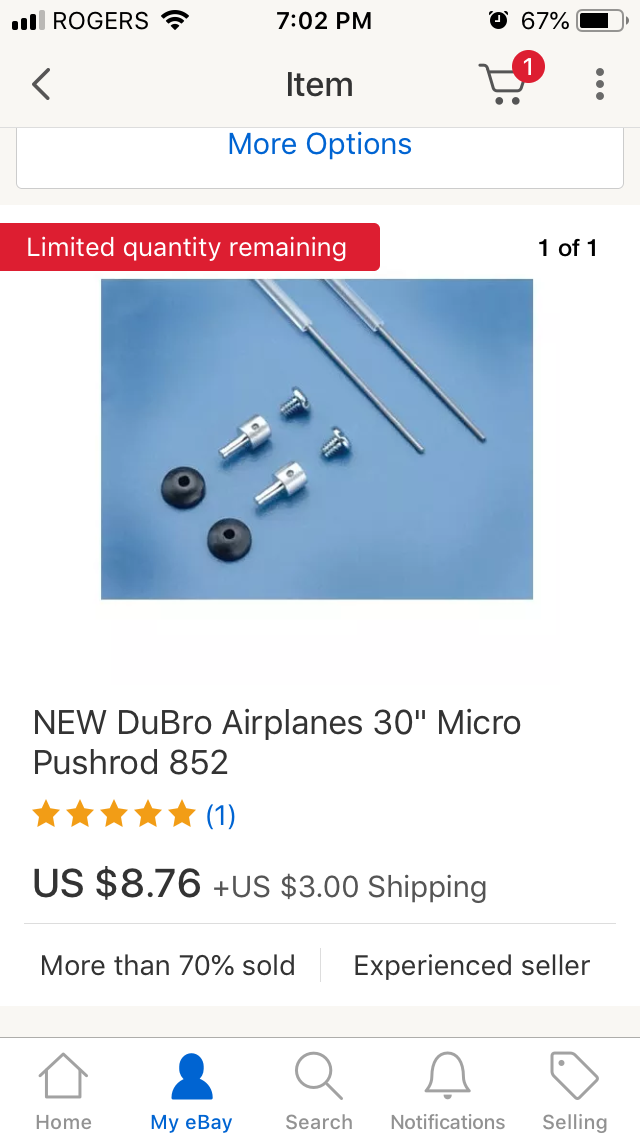
2: 0.79mm diameter pushrod cable and support tube to replace the broken cables for the HVAC air mixer and flow control valve. $14.
I’ll just buy a horn locally, and try to find where the original wiring terminates.
April 3, 2019 at 9:22 pm #208041 Toy-YotaParticipant
I might have the horn parts you need, I’ll take a picture of how it mounts. Let me know if there’s any odds and ends you need though and I’ll take a look.
April 4, 2019 at 10:01 am #208042 toys-n-yotasKeymaster
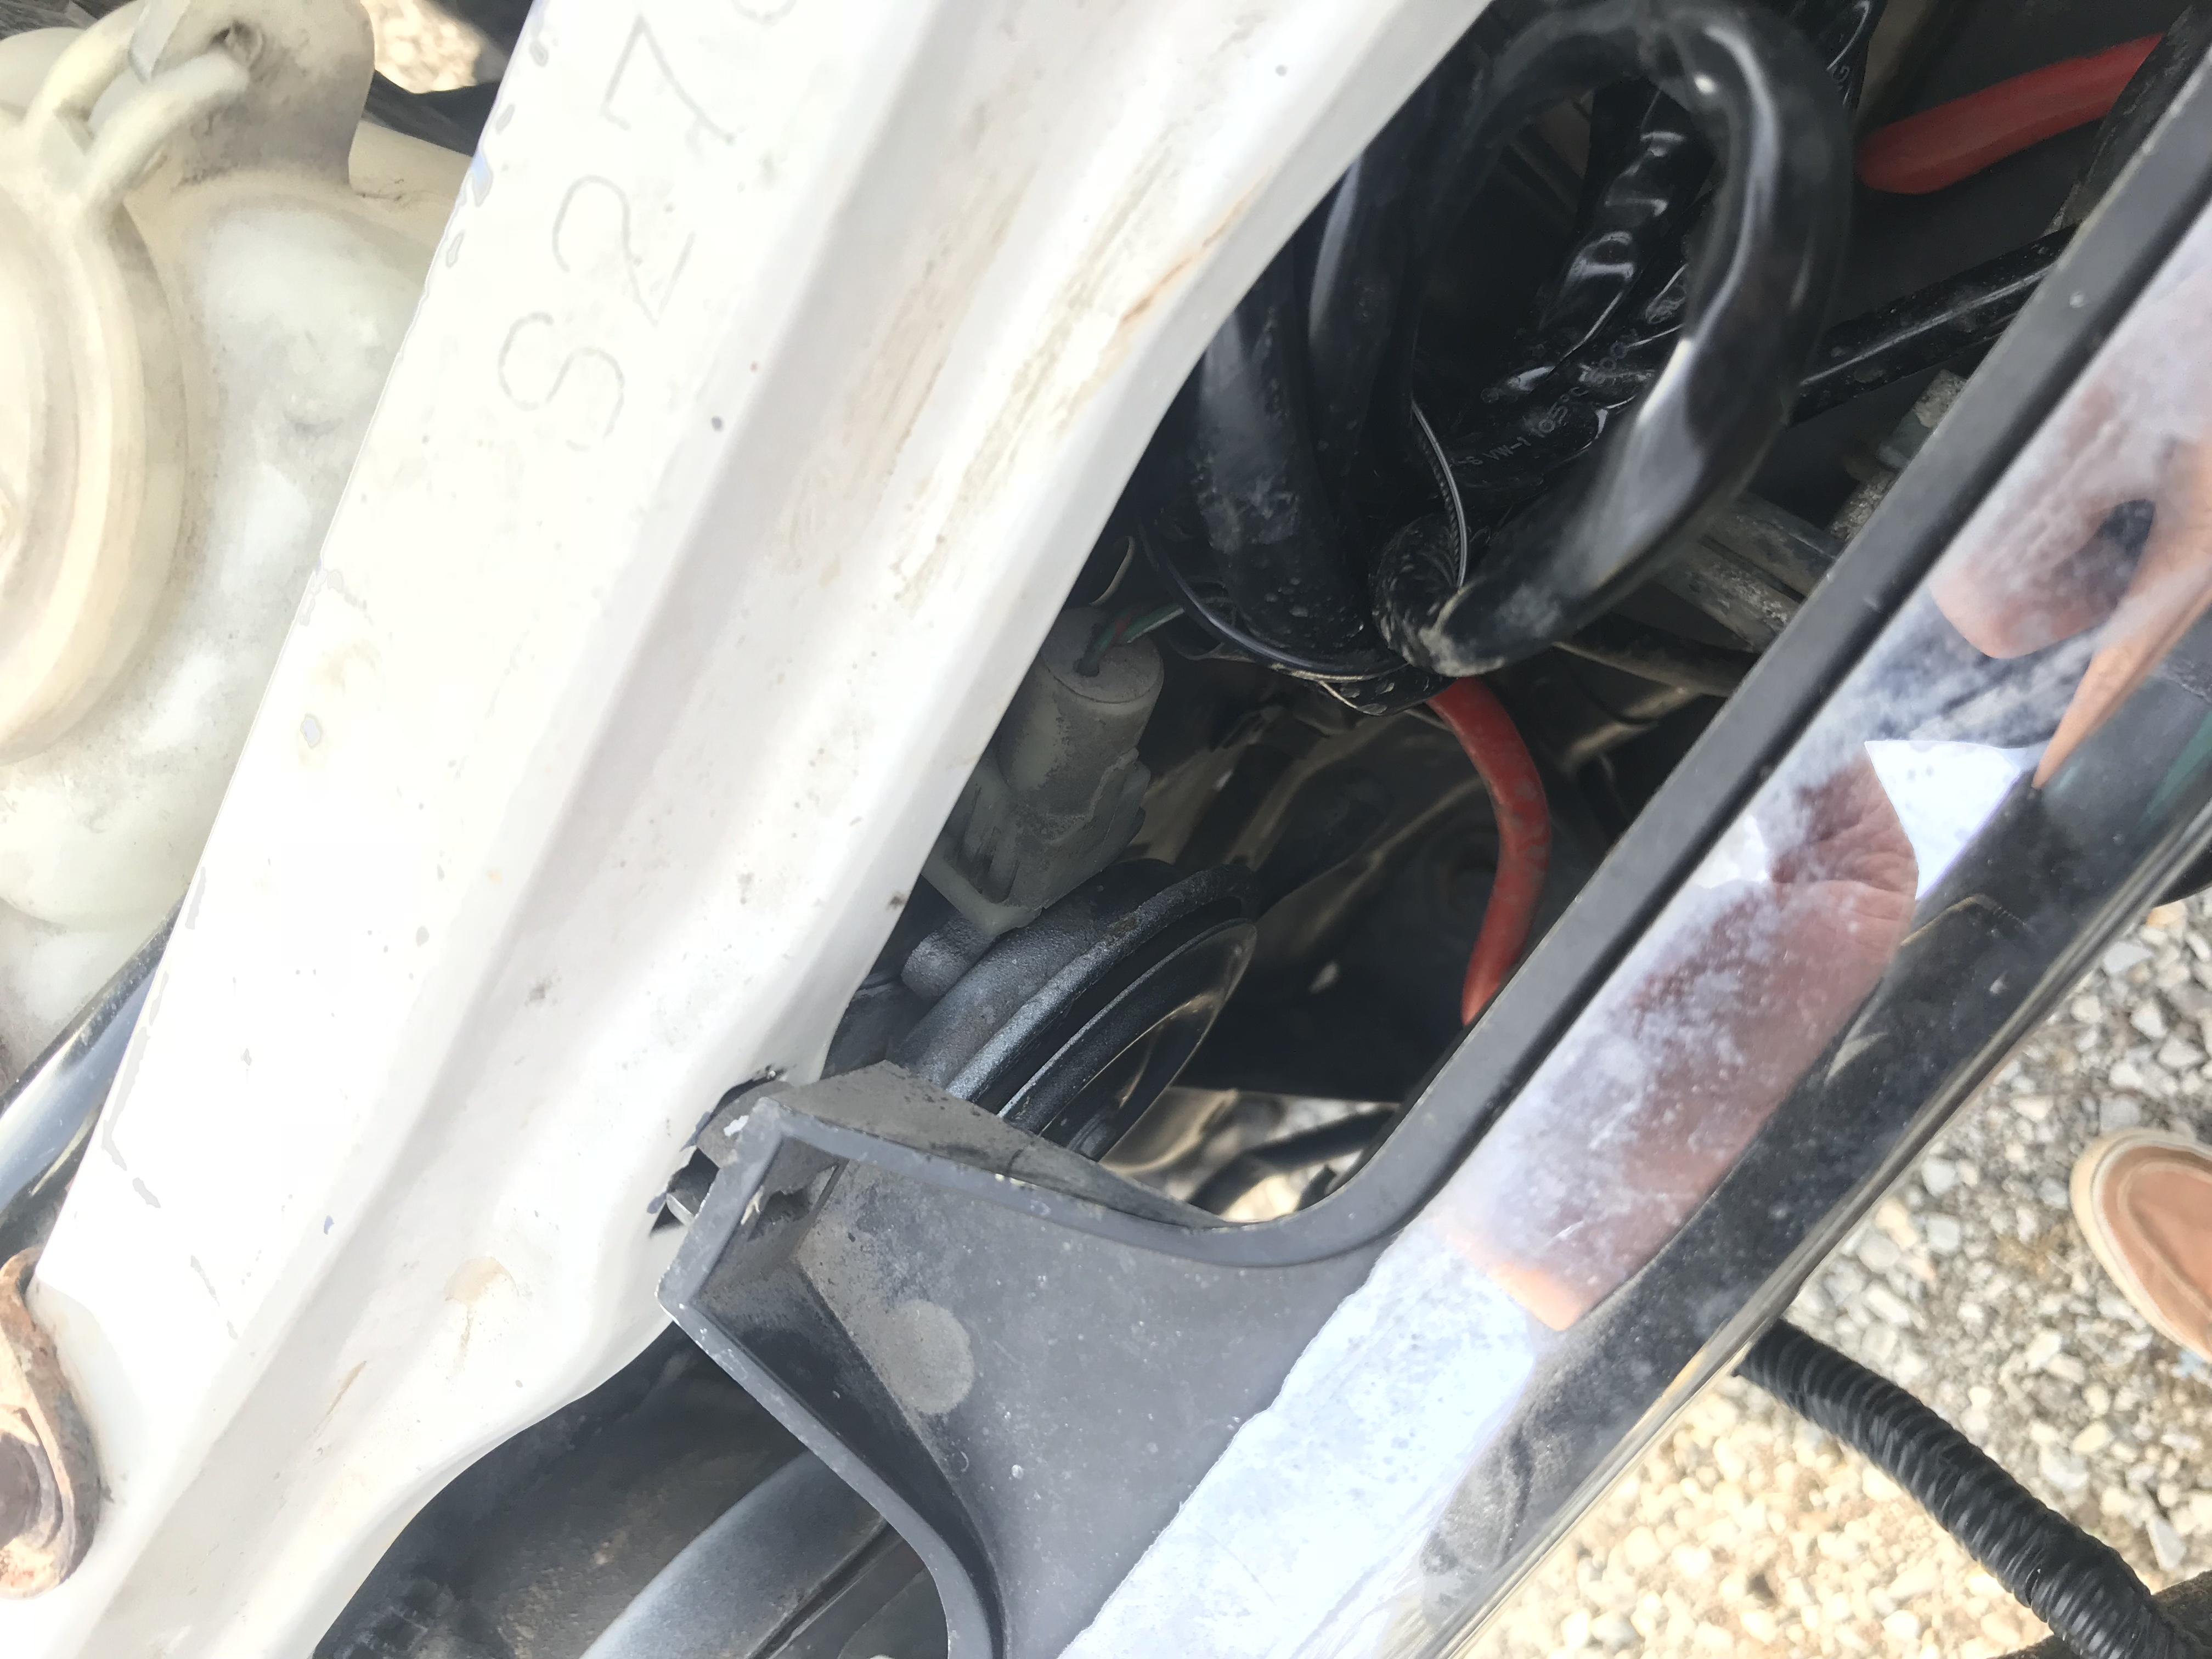
Hey Evan, I found the wiring harness for the horn, it terminates just inboard of the pass side headlight. I have the harness up to the 2-pin connector for the horn.
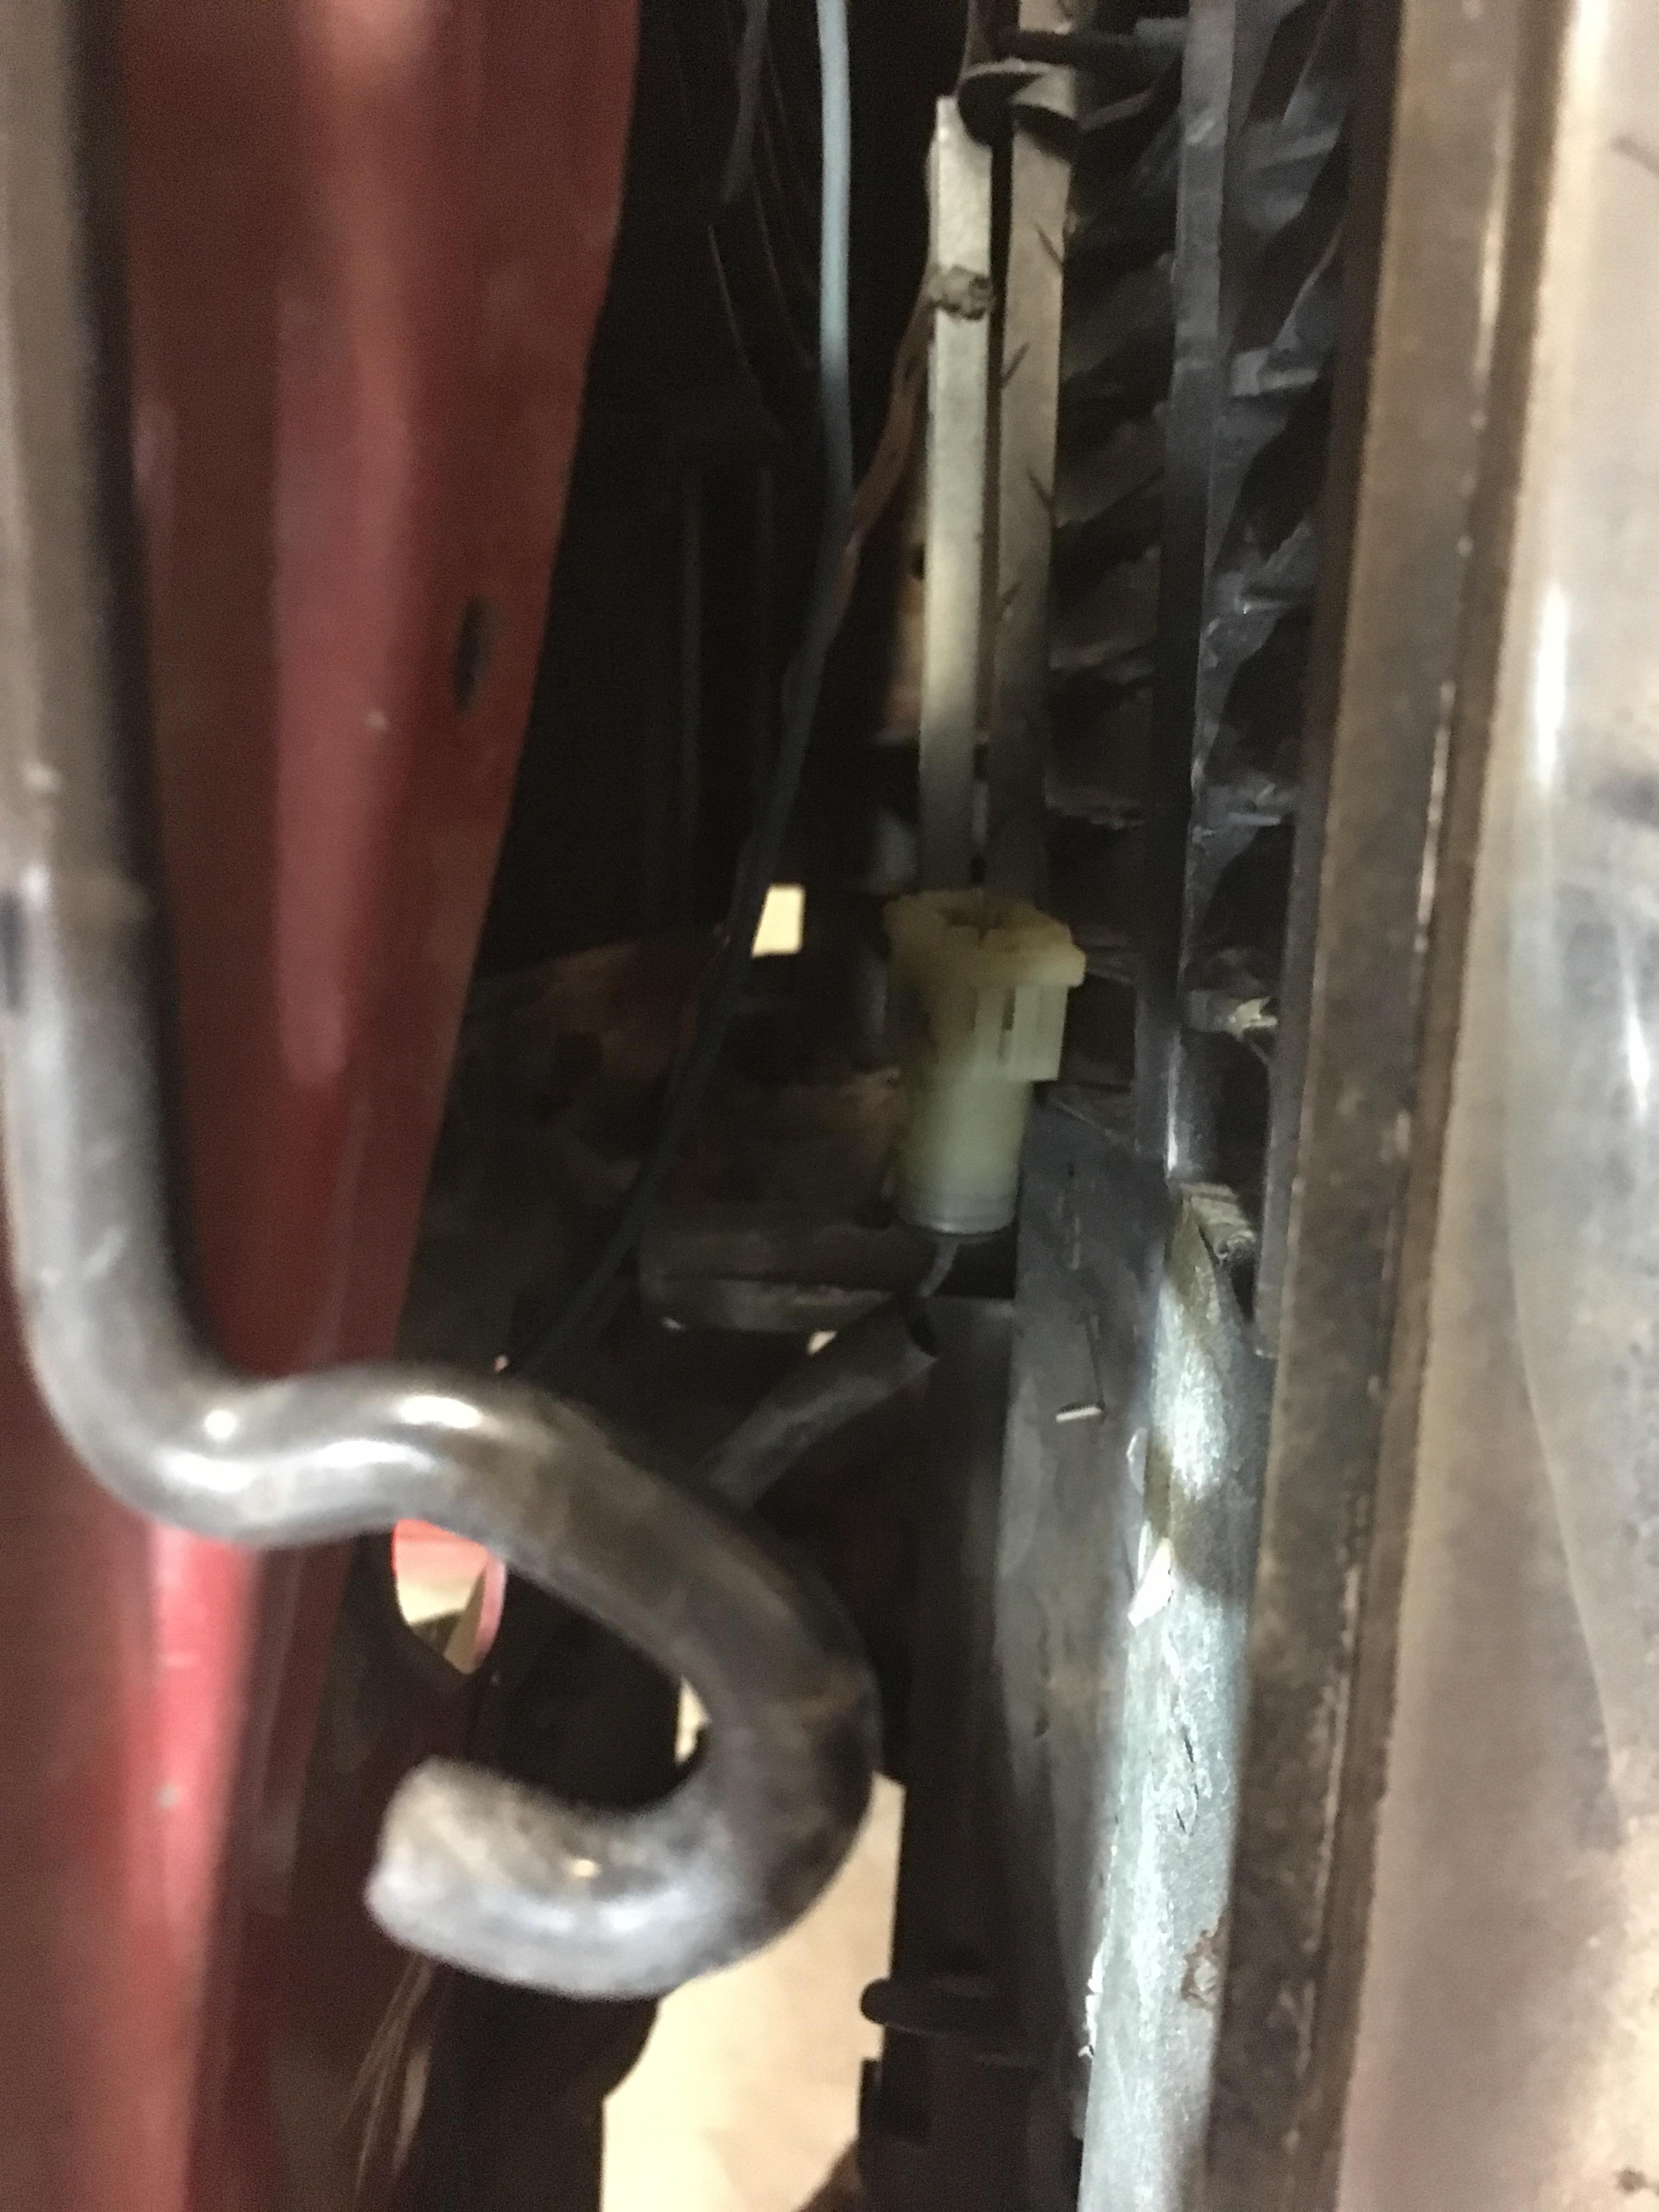
Last night was SUPER productive in the shop.
- Front hubs fully rebuilt, installed, torqued to spec. Both sides. Bearing preload was approx 14-15 lbs (on fish scale) of rotation after following service manual procedure.
- Front calipers lubed up and loaded with pads, torqued to spec.
- Horn, located.
- Brake hard lines, completed. Just need to add a couple retainer clips to secure to the frame.
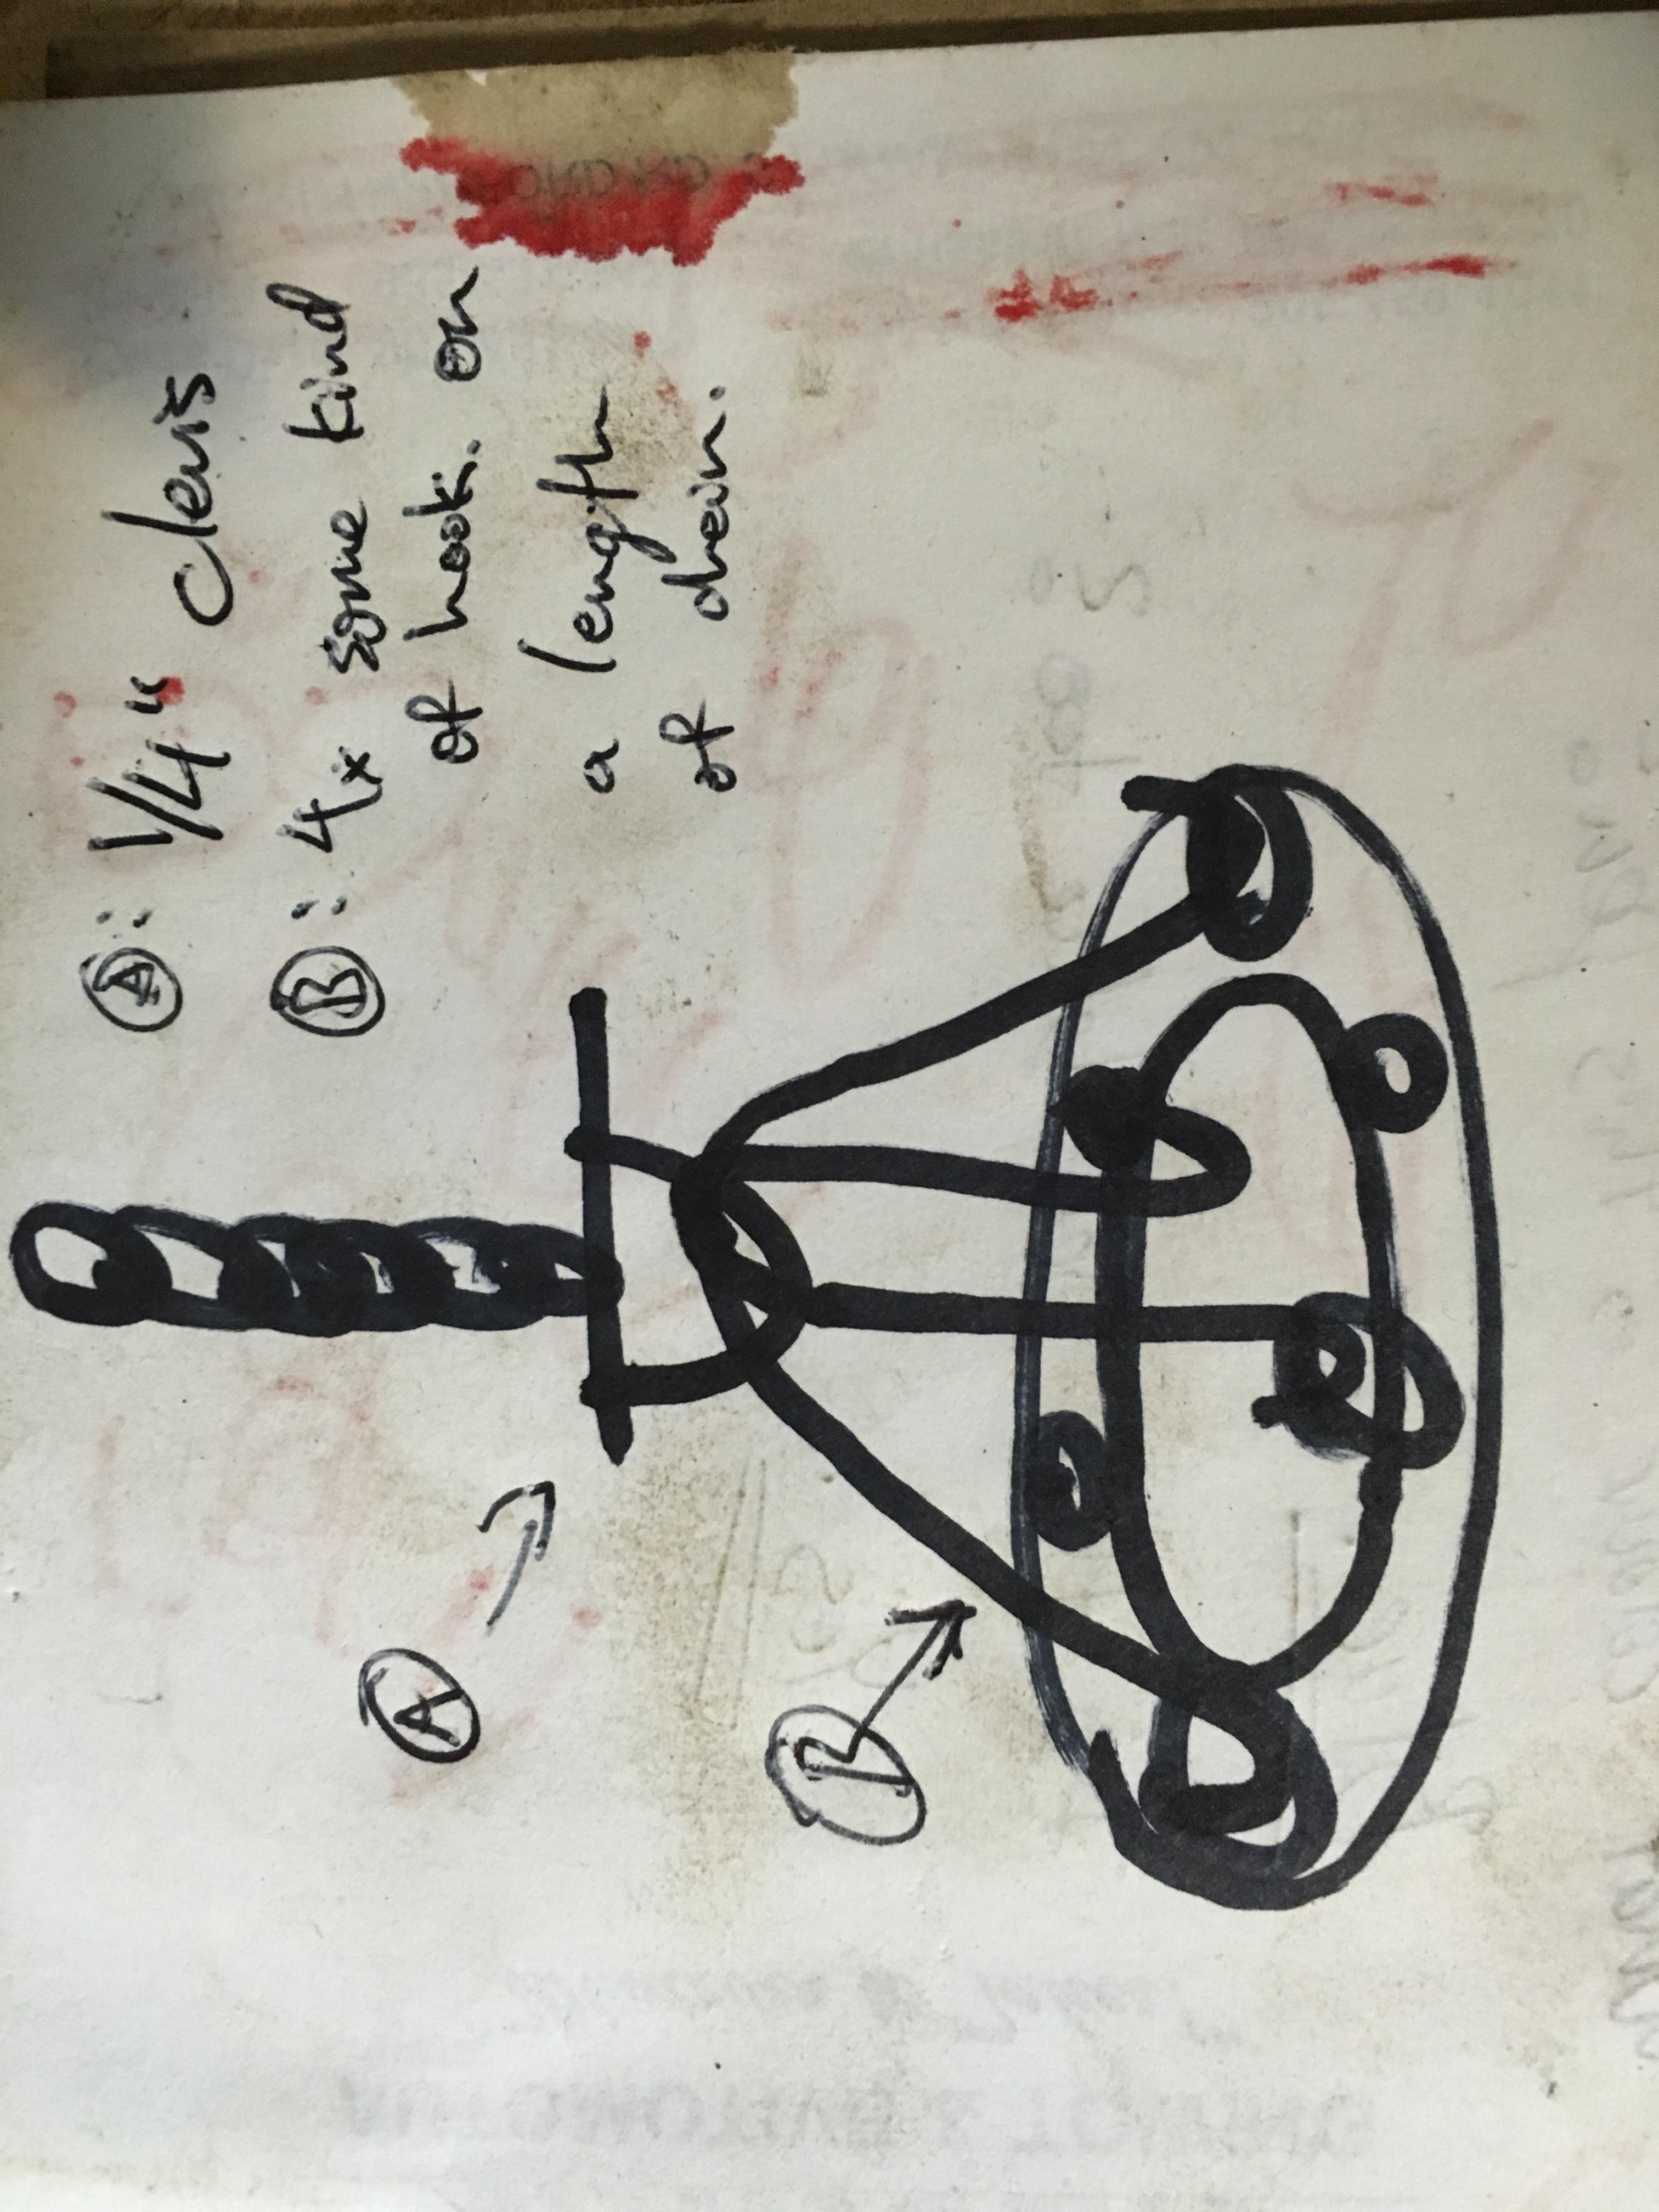
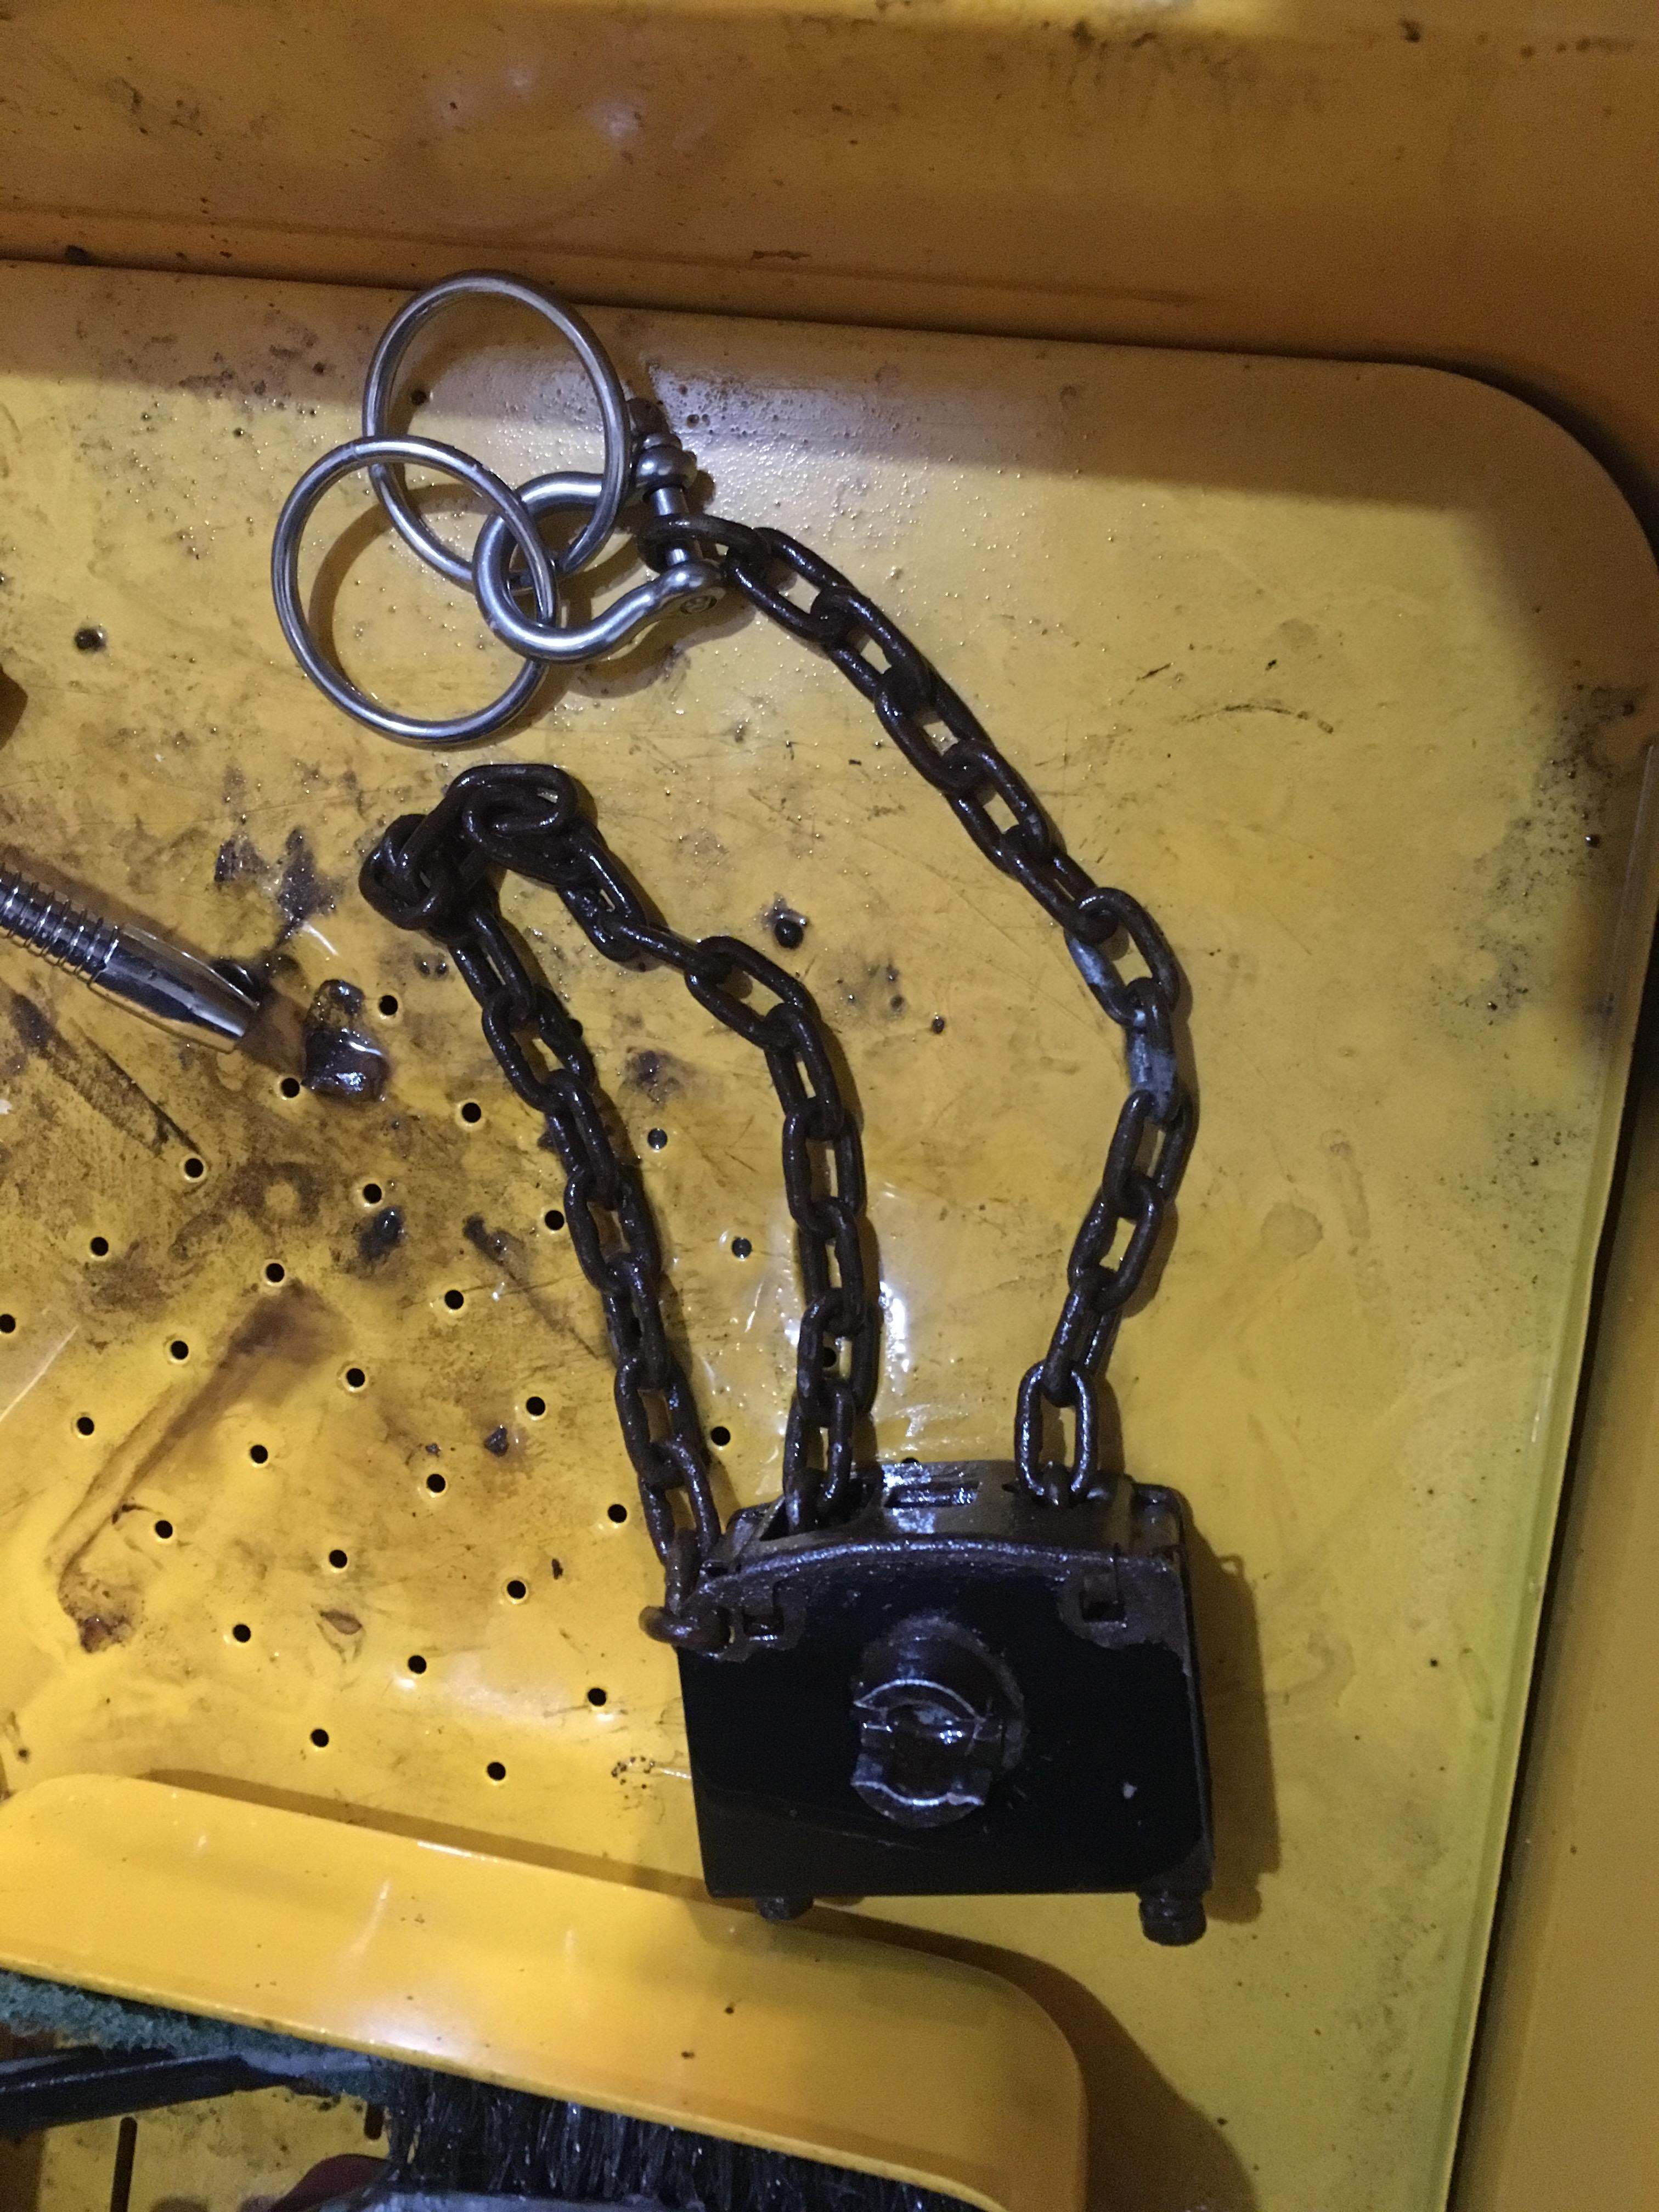
- Spare tire crank freed up and chain lowered. Penned out a concept to rig up a rim holder
- test fit 31” spare in place. Hoping a 33” spare will fit in its place. Didn’t feel like lifting the 33 under there @2am
- Loose part fit the dashboard to determine assembly sequence. I still have some wiring to clean up (and reconnect) before the dash goes in for good.
Called it a night just before 3am.
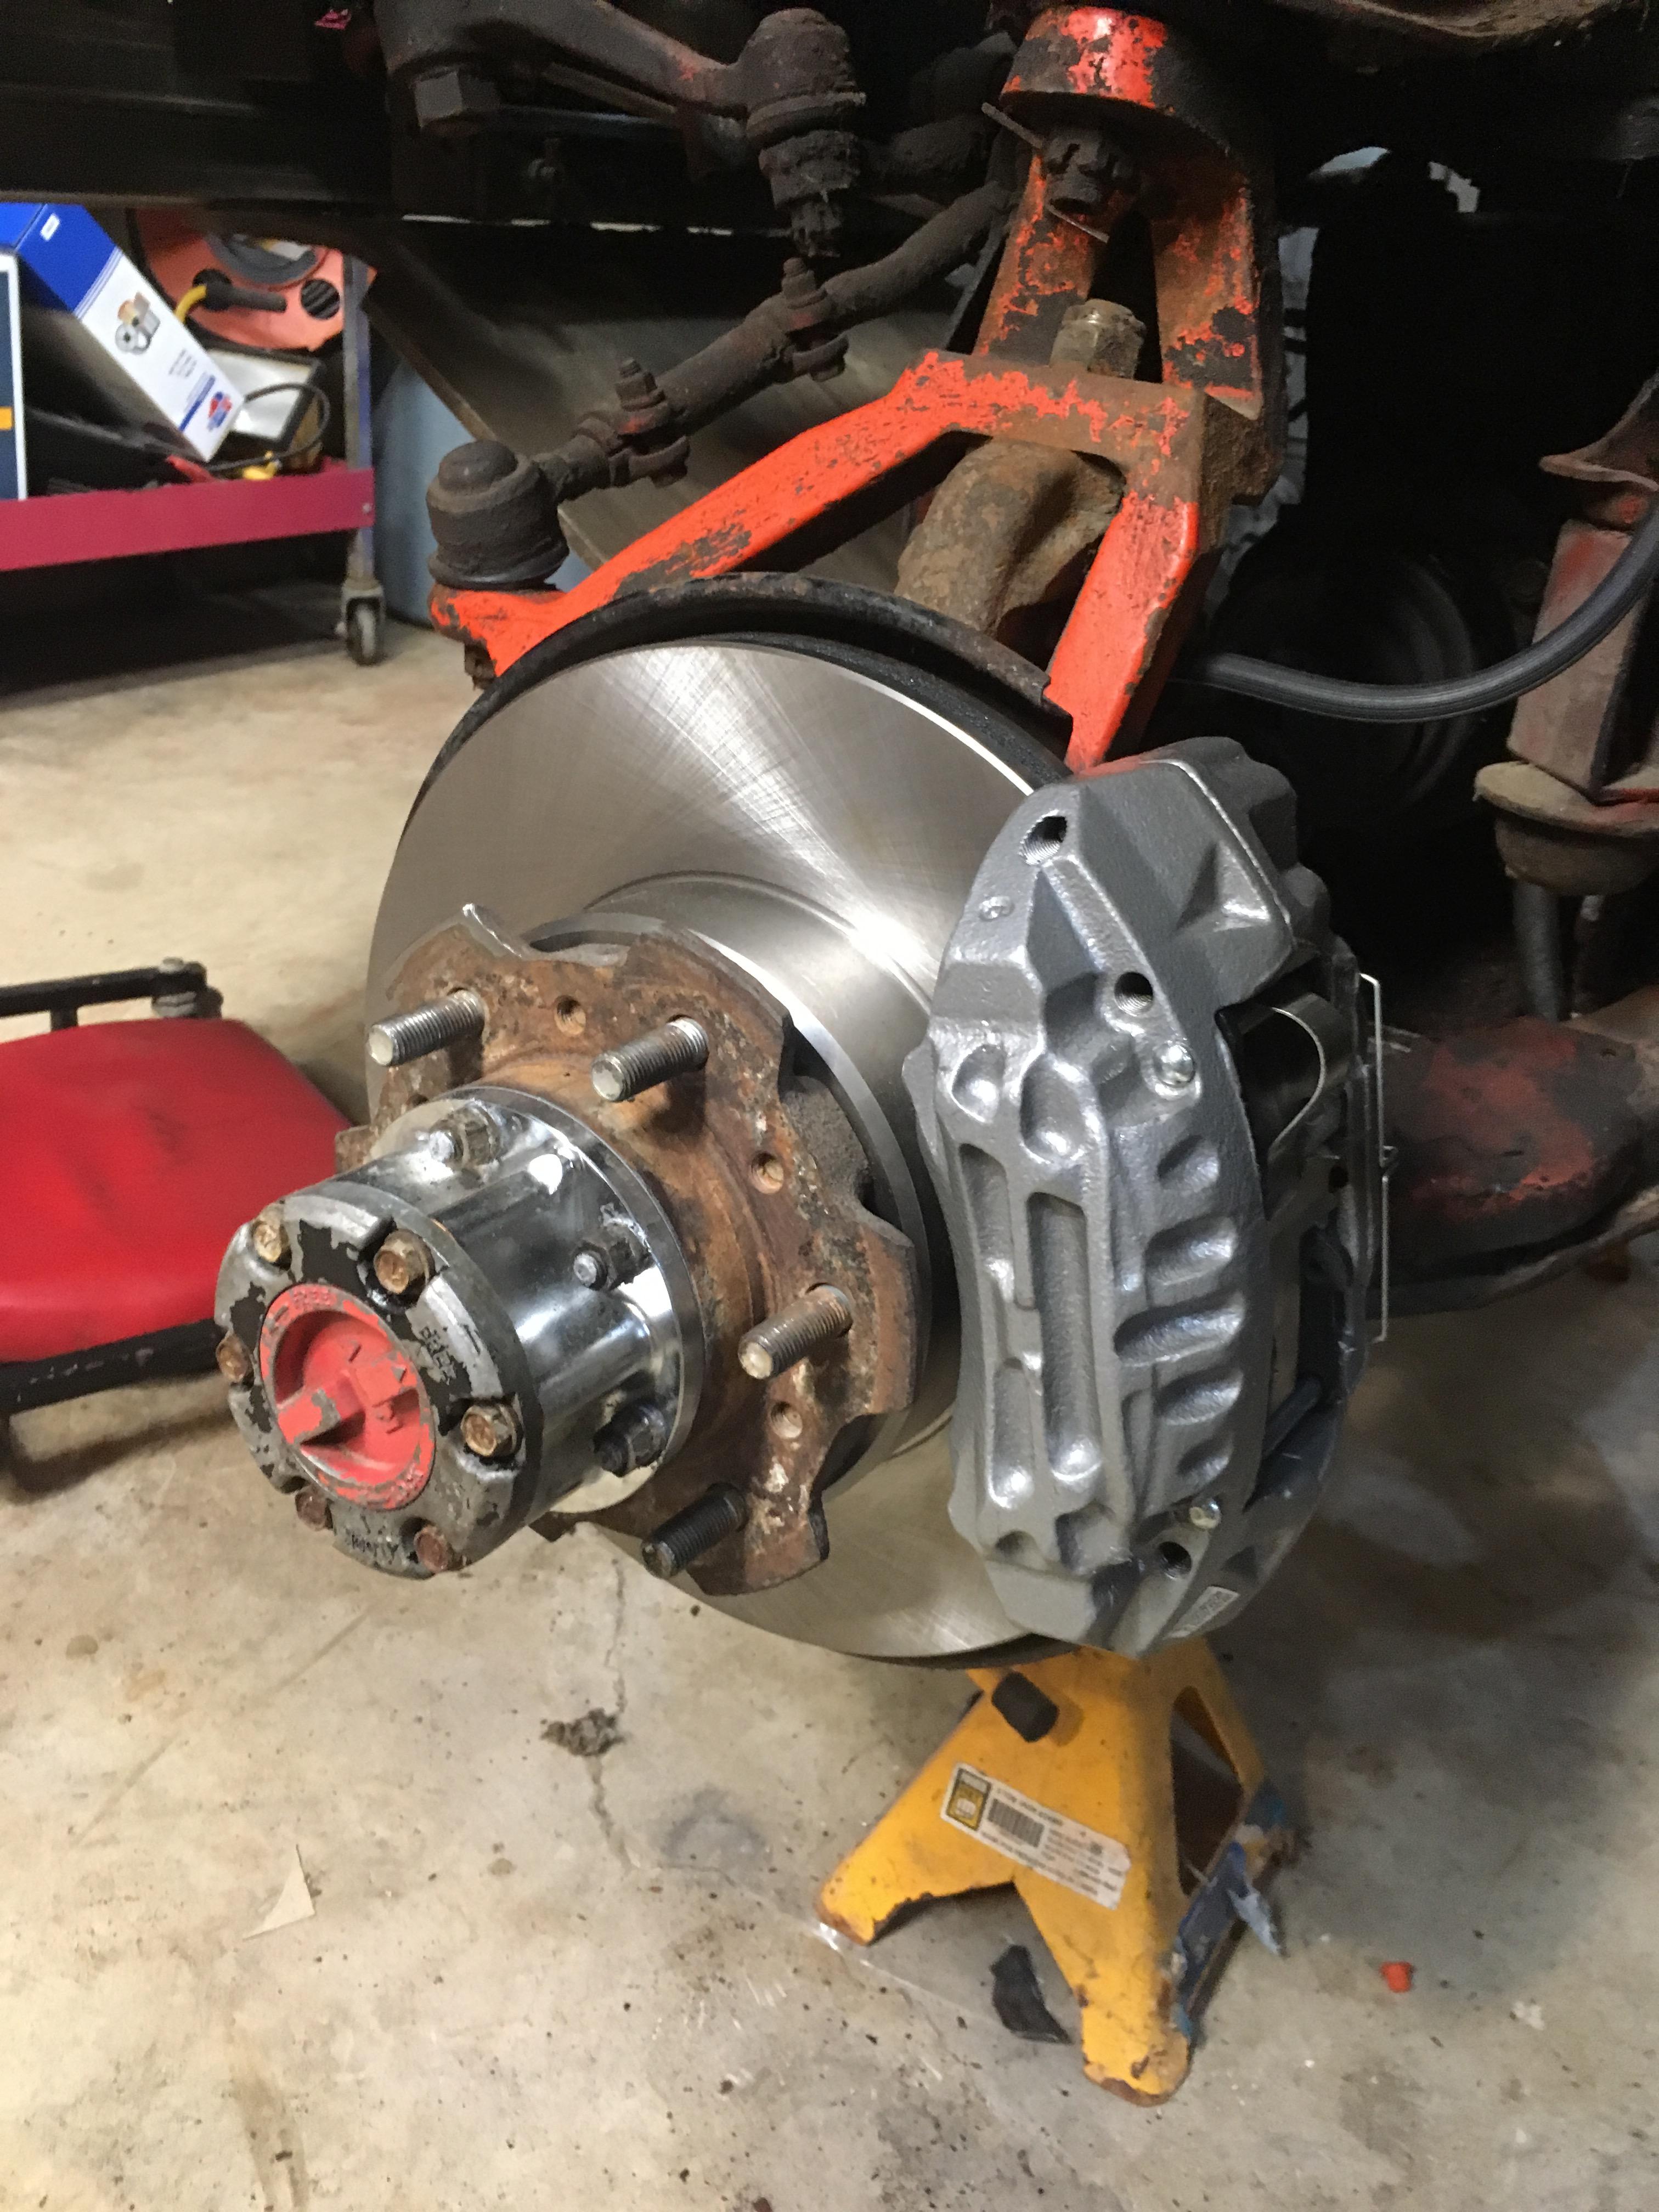
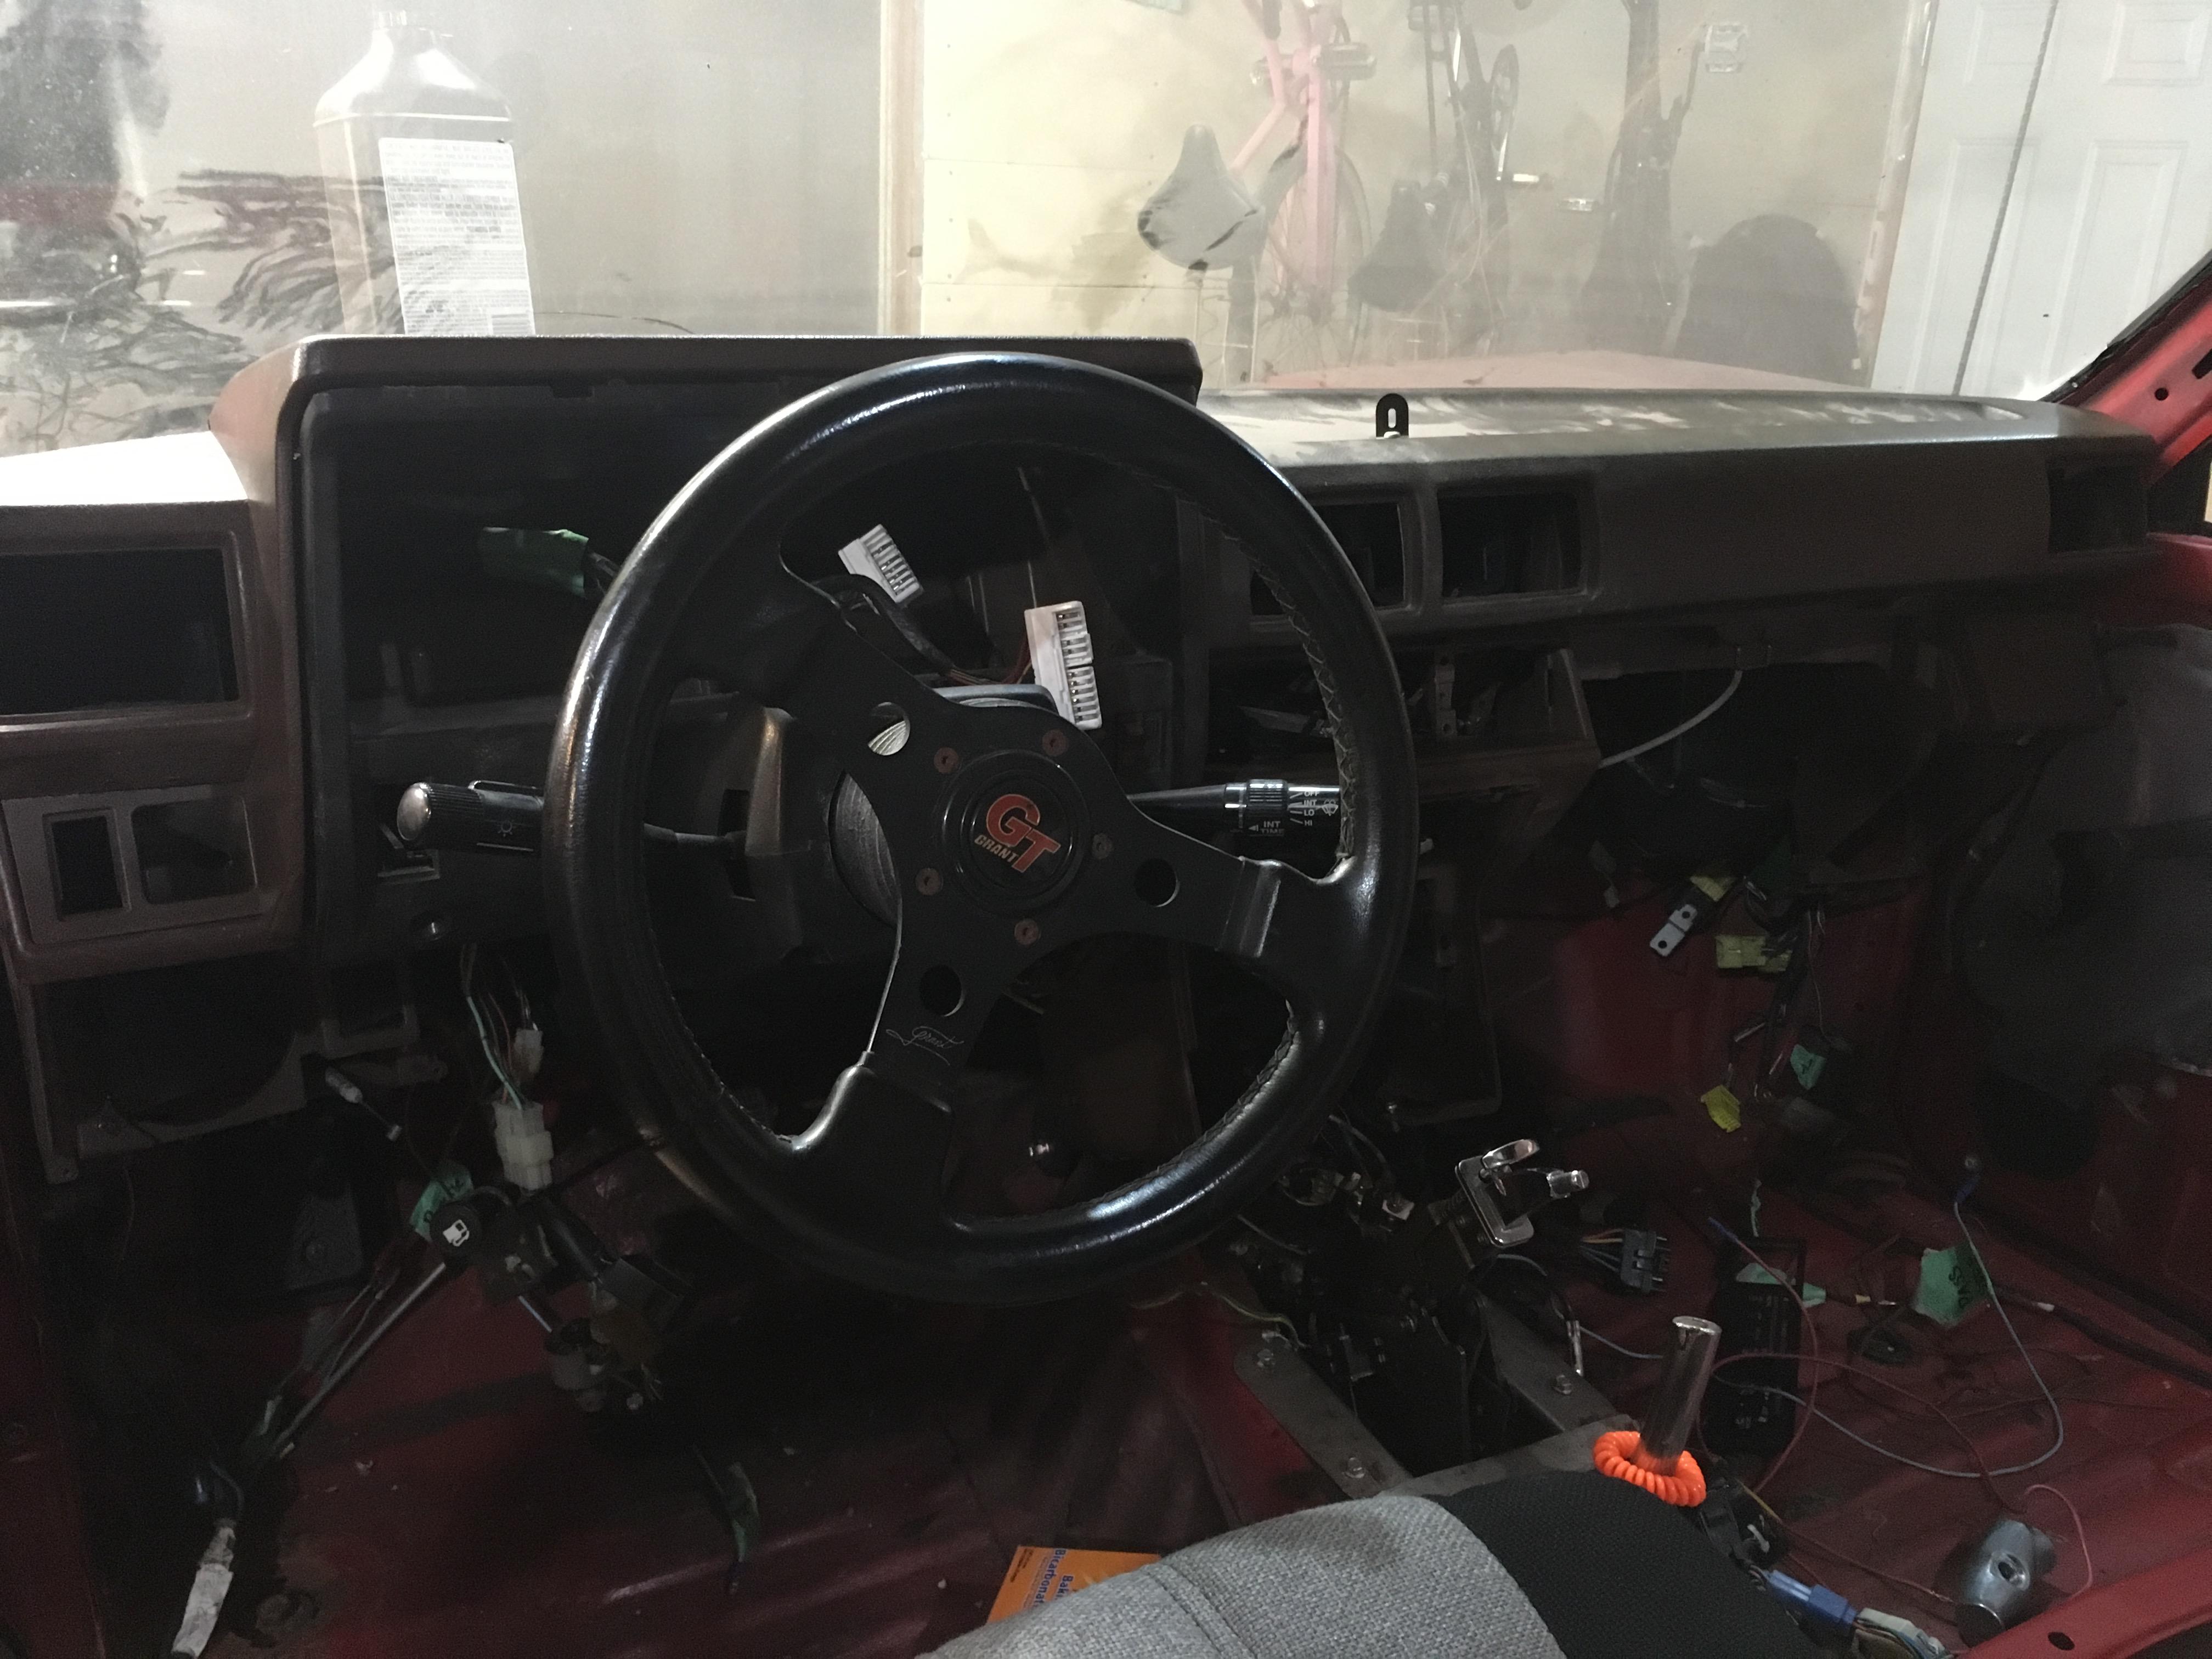
 April 4, 2019 at 10:54 pm #208043
 toys-n-yotasKeymaster
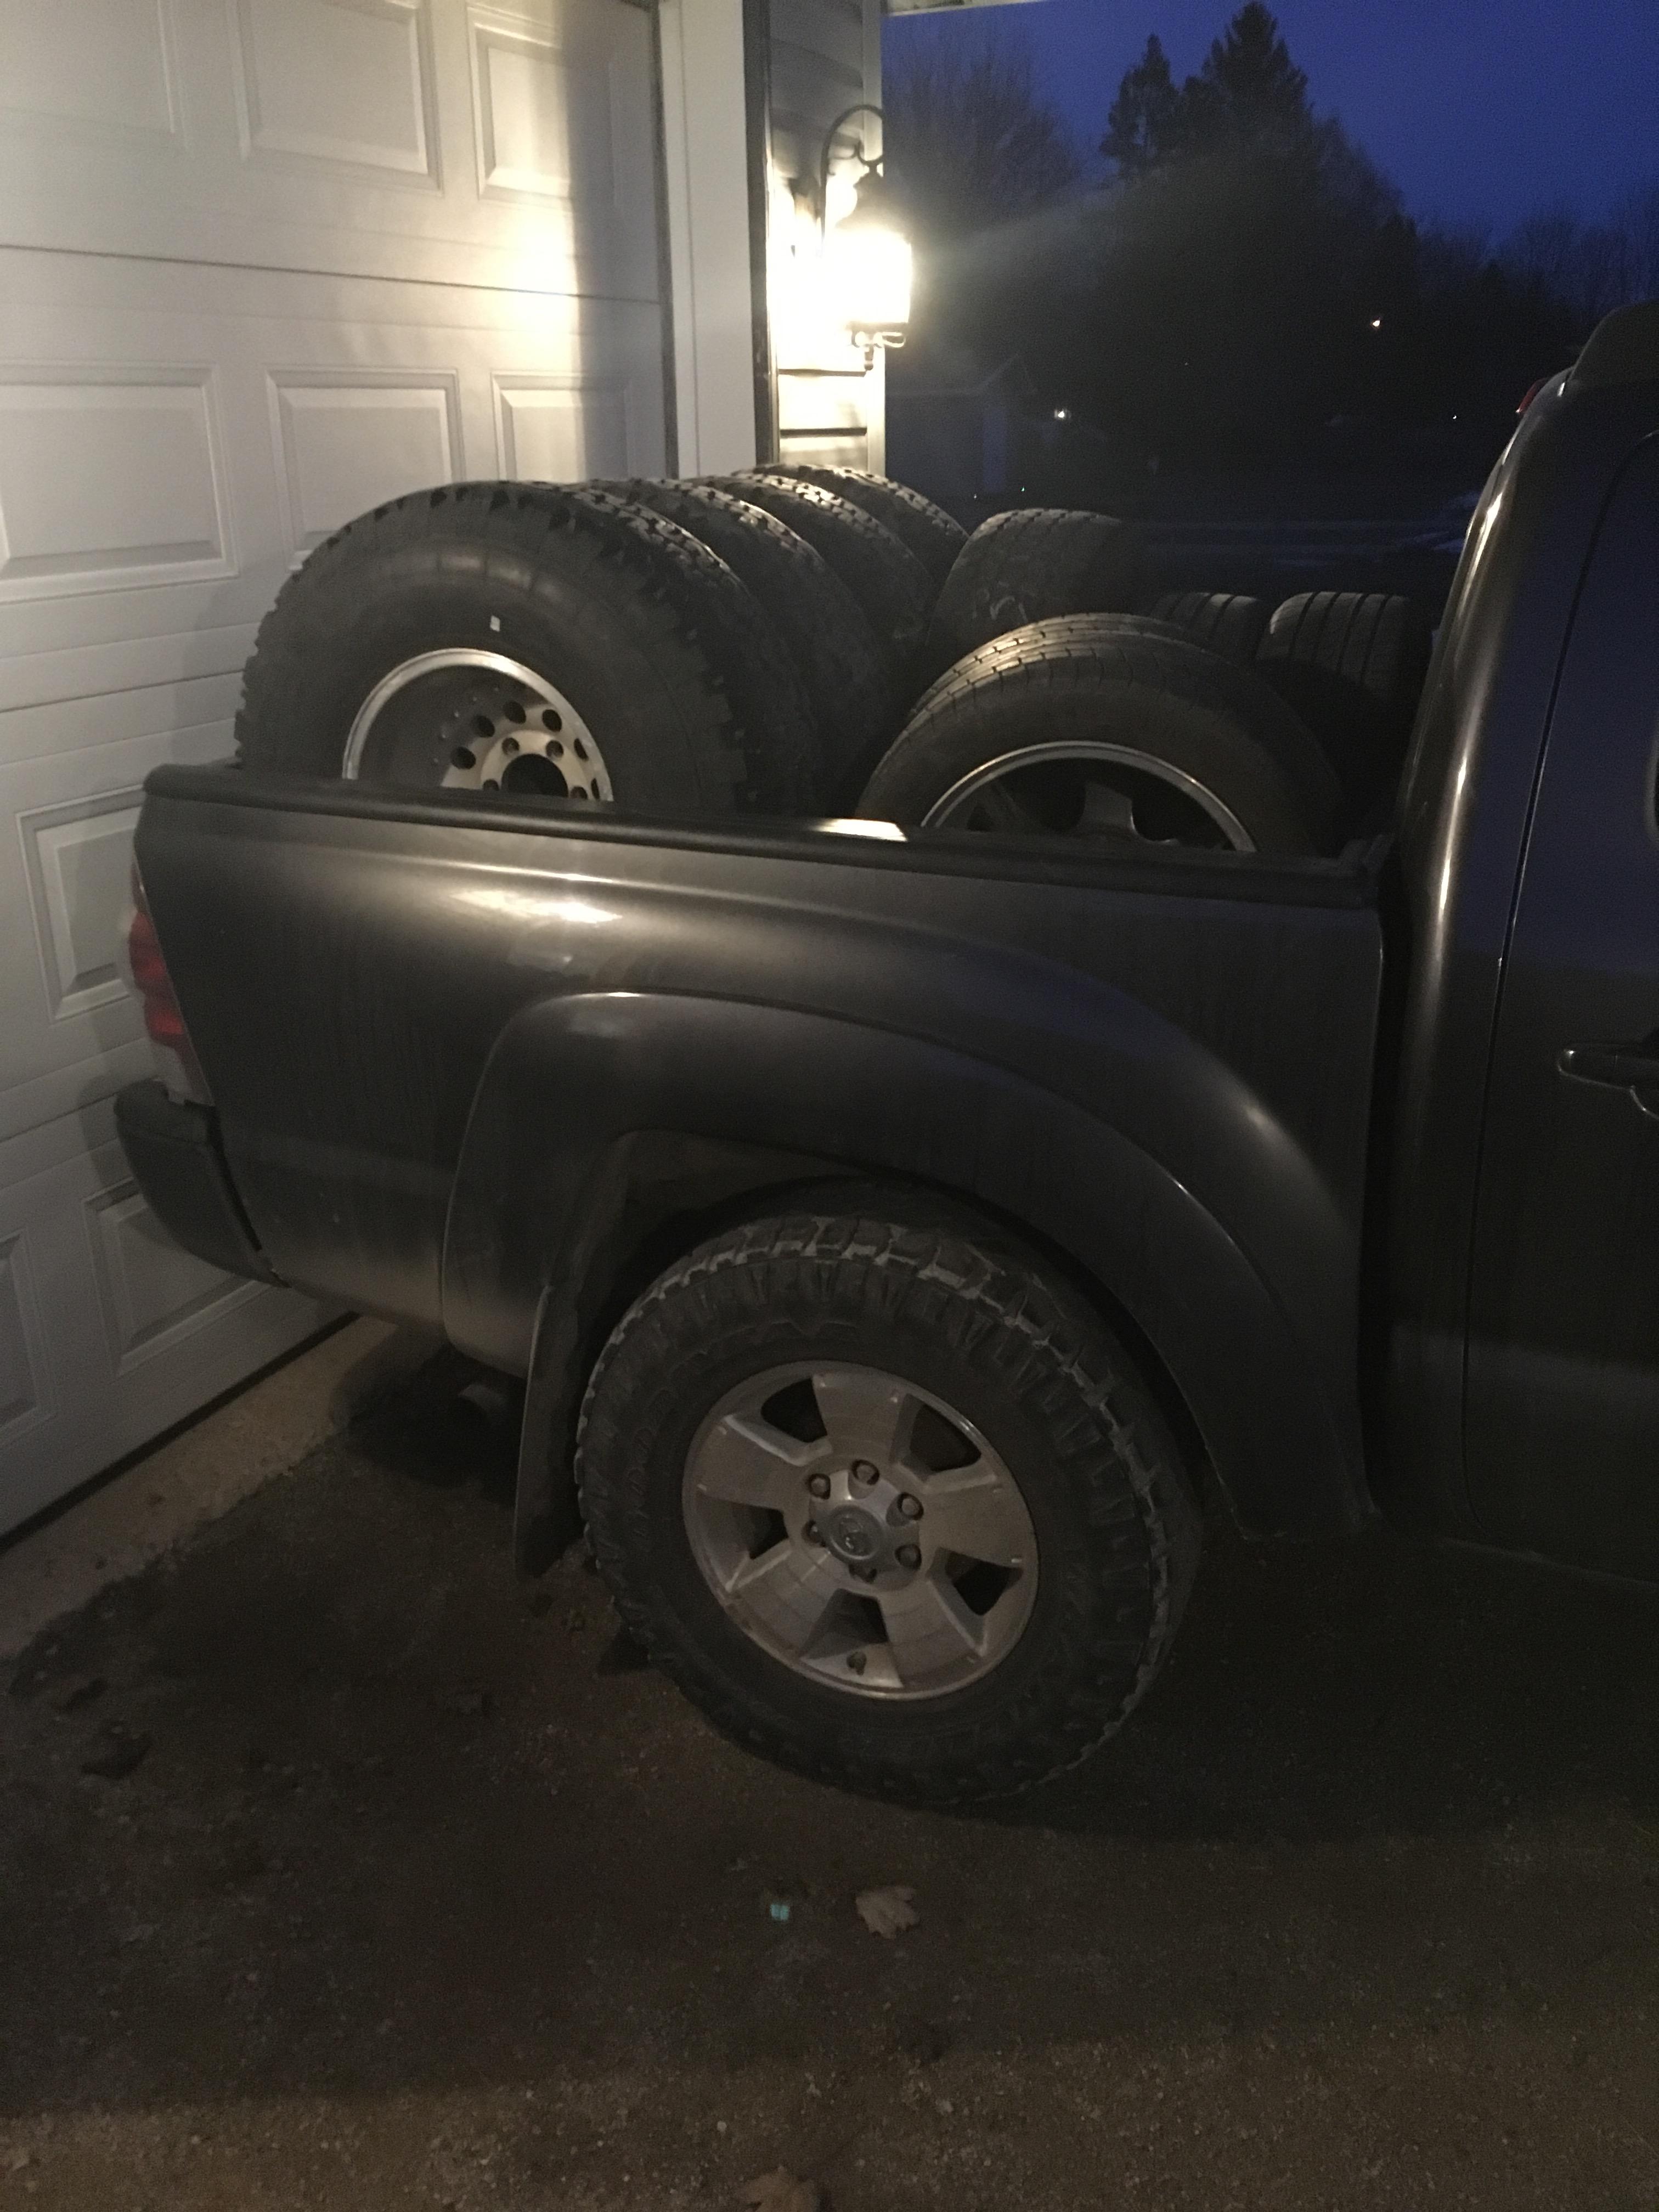
Pictures… had a writeup lost to iphone BS. Now too unmotivated to do it over.
New tires tomorrow.
Spare tire hoist refurb 90%. Must reinstall after varsol dries, and repack with grease.
bought light bulb holders locally, will get a buddy to solder on my behalf tomorrow.
bought a horn.
 April 4, 2019 at 11:19 pm #208044
 Toy-YotaParticipant
Man good for you, lots done! Here’s the pic of how mine mounts in case you still need it. Just behind the grill obviously
 April 5, 2019 at 2:39 pm #208045
 toys-n-yotasKeymaster
Evan, thanks for the picture! I’m gonna return the horn I bought yesterday to try to find one that will clip directly into the OEM harness. I saw that style horn hanging on the shelf, but grabbed a different “Universal” one instead.
Also, my buddy James used his awesome soldering skills to connect my OEM harness to the generic fit 194 bulb holder. 10 more mins work and I can completely cross that item off my list.
Heading to visit my buddy Eric @ Bramalea Tire in Brampton for a fresh set of 33×12.50×15 Duratracs! Love those tires. I was considering MT/R or KM3, but I don’t want to live through Mud Tire drone in my summer cruiser. Not kind to my girlies ears, and I want them to LOVE cruising in Redee. I’ll pick up the new rubber a day next week. Tire shop closes at 5:30, and I work till 4 everyday, an hour away. Thanks again Eric for your amazing customer service. There’s a reason He’s the only person I buy tires from.
April 5, 2019 at 6:11 pm #208046 finn the kareilian vikingKeymaster
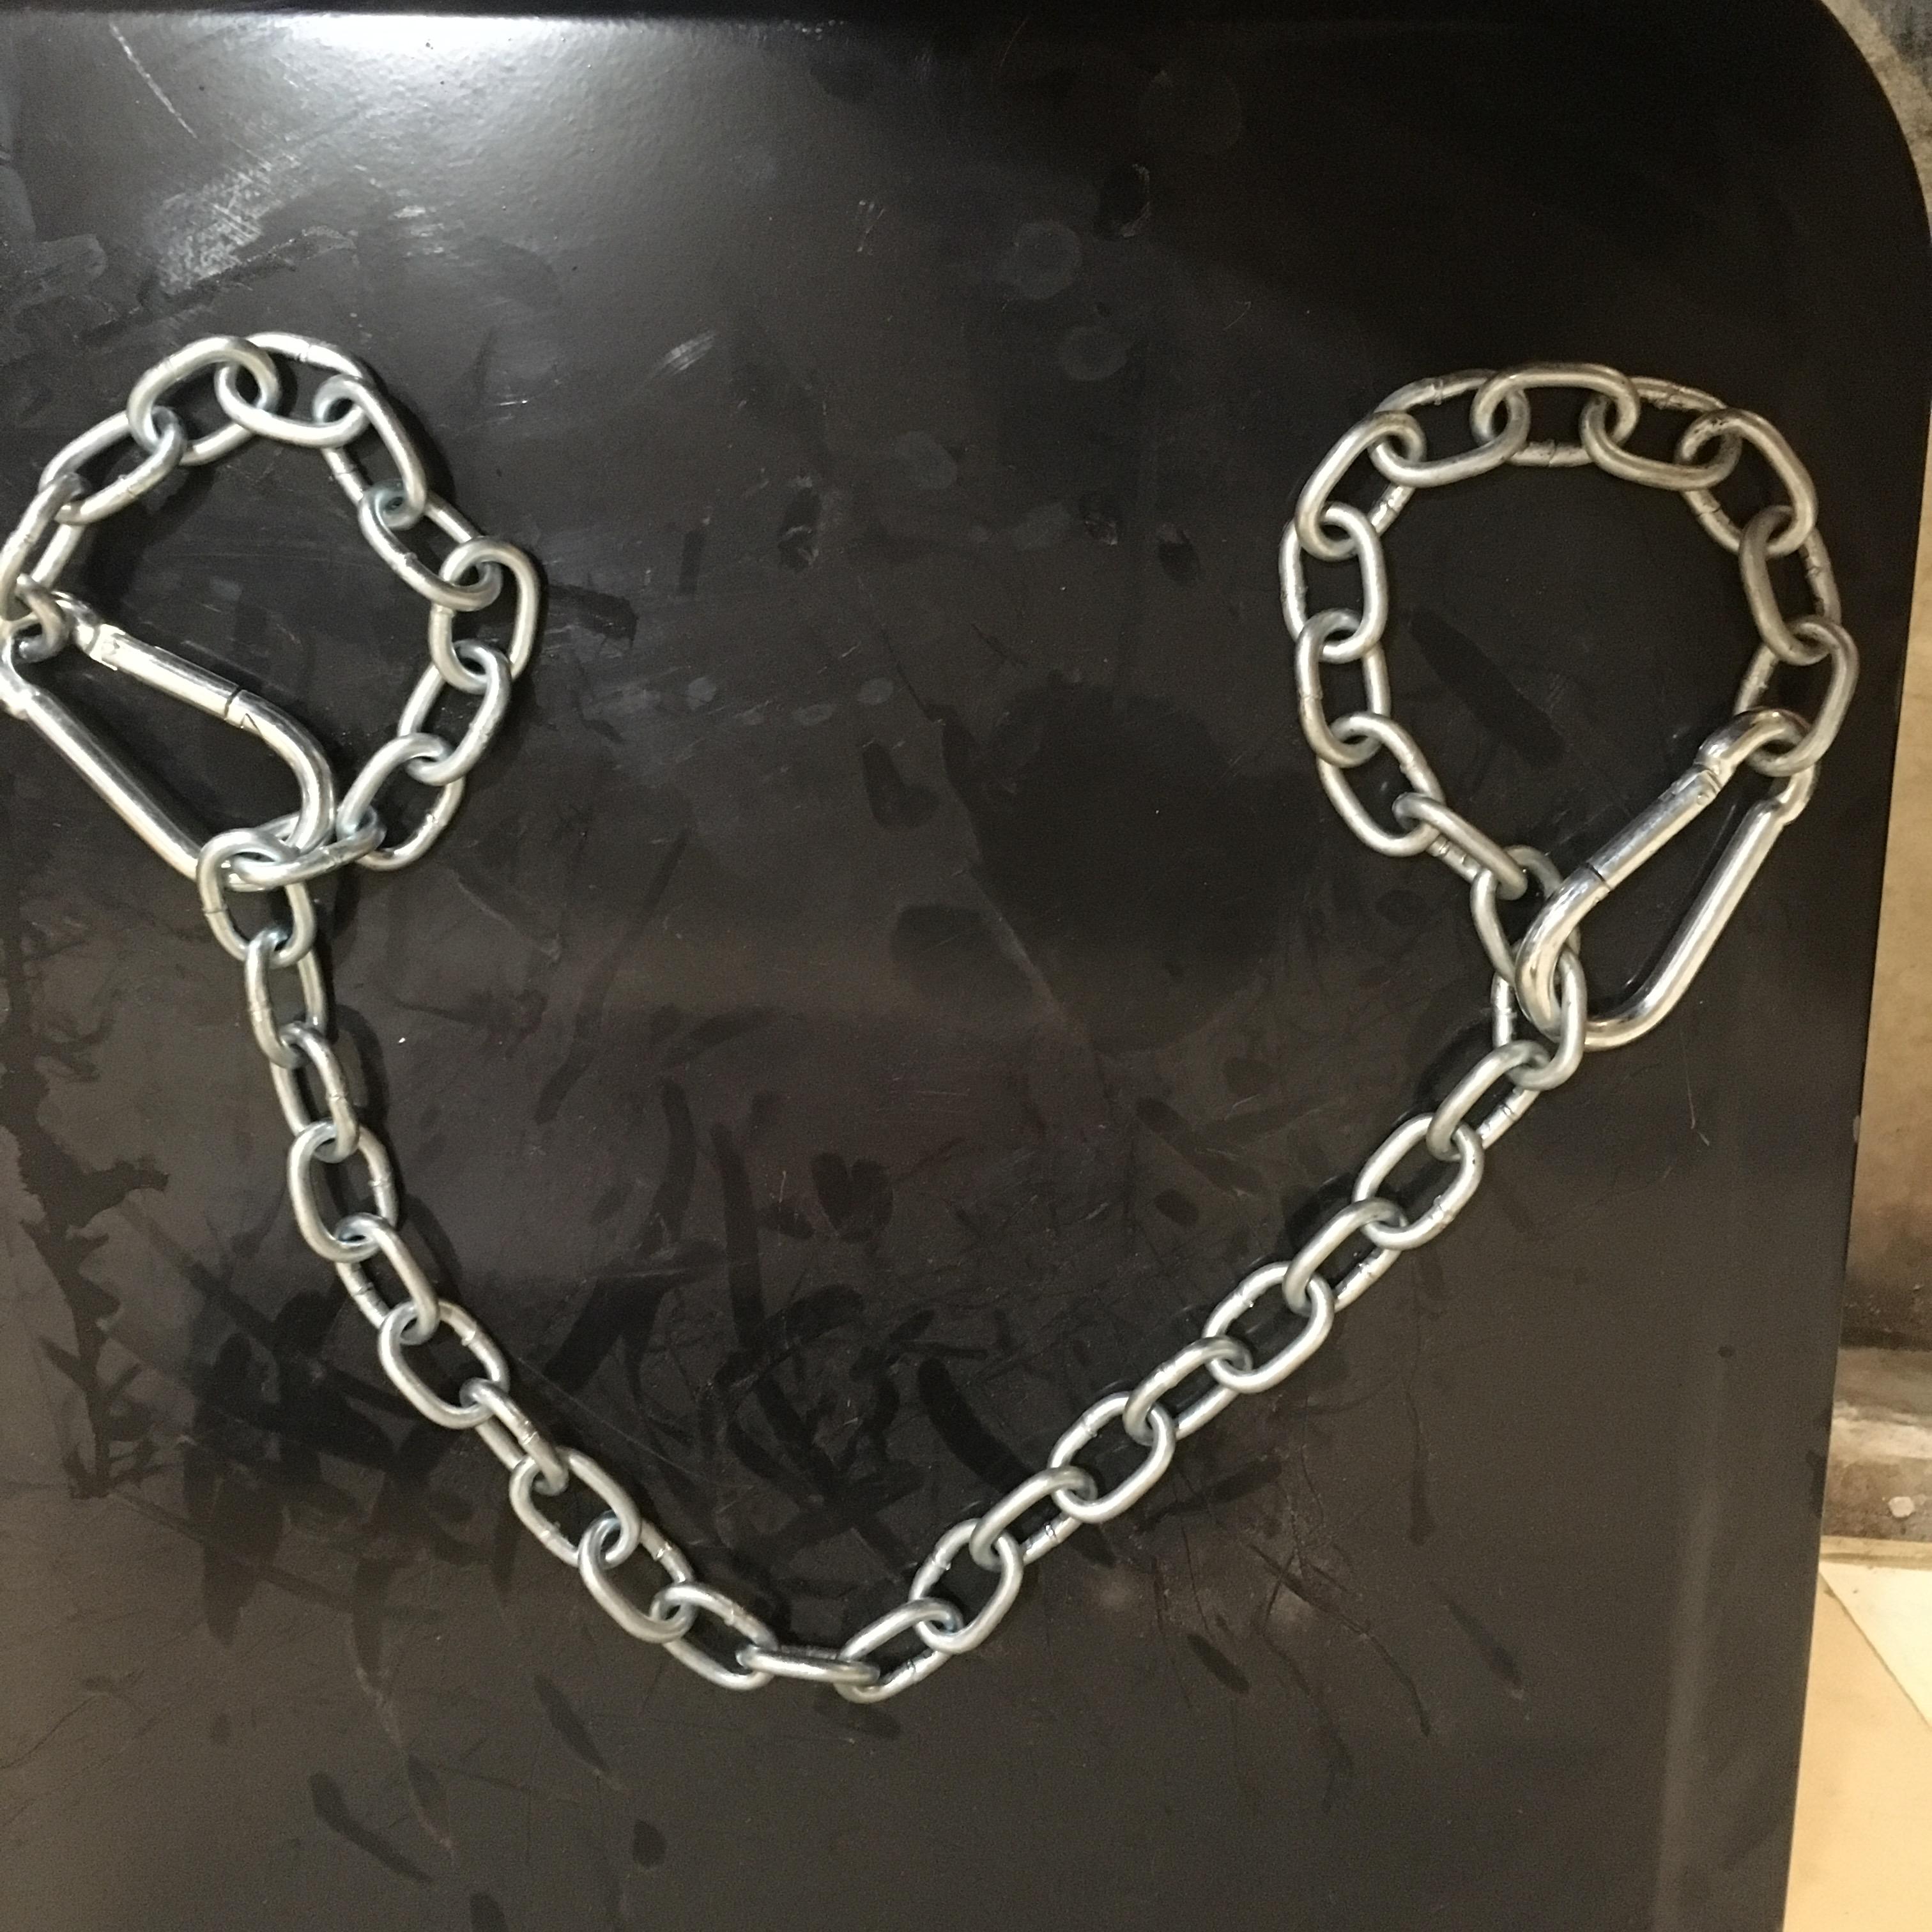
holy $h!t tom, you’re really slammin’ it! but what’s goin’ on there? i’m seein’ blood on the doodlings, some improv handcuffs. did your dominatrix get outta hand?
not gonna read the whole thread, you shootin’ to have redee done for may 5th?
April 5, 2019 at 11:41 pm #208047 toys-n-yotasKeymaster
Hey Finn, you’re right on the money that’s bleeding on that paper, however its Red Sharpie, not life juice. My girls like to draw me pictures on my note pads, so I use the backside of Artistic masterpieces for my sketches.
The handcuffs are to wrap through the D-window of spare tire. The original hoist chain had been cut as it was partially seized with old grimey grease.
I am pushing hard to have Redee at the M&G. Pick up my new tires a day next week, maybe Thursday. My task list is still pretty big, but getting nuch closer.
- Brakes: fill with fluid, pray for no leaks, bleed air out
- Fuel: replace hard lines, hang tank & skid, assemble & install new in-tank pump
- Wiring: neutral safety switch, horn, secure EVERYTHING under the hood, reconnect everything under the dash
- Interior: install dash & gauges, scrub some yucky mouse poop from a tote full of interior odds and ends, driver / pass seatbelts at minimum. Radio would be nice, but not essential for safety
- safety & appraisal
- insurance
- Test drive
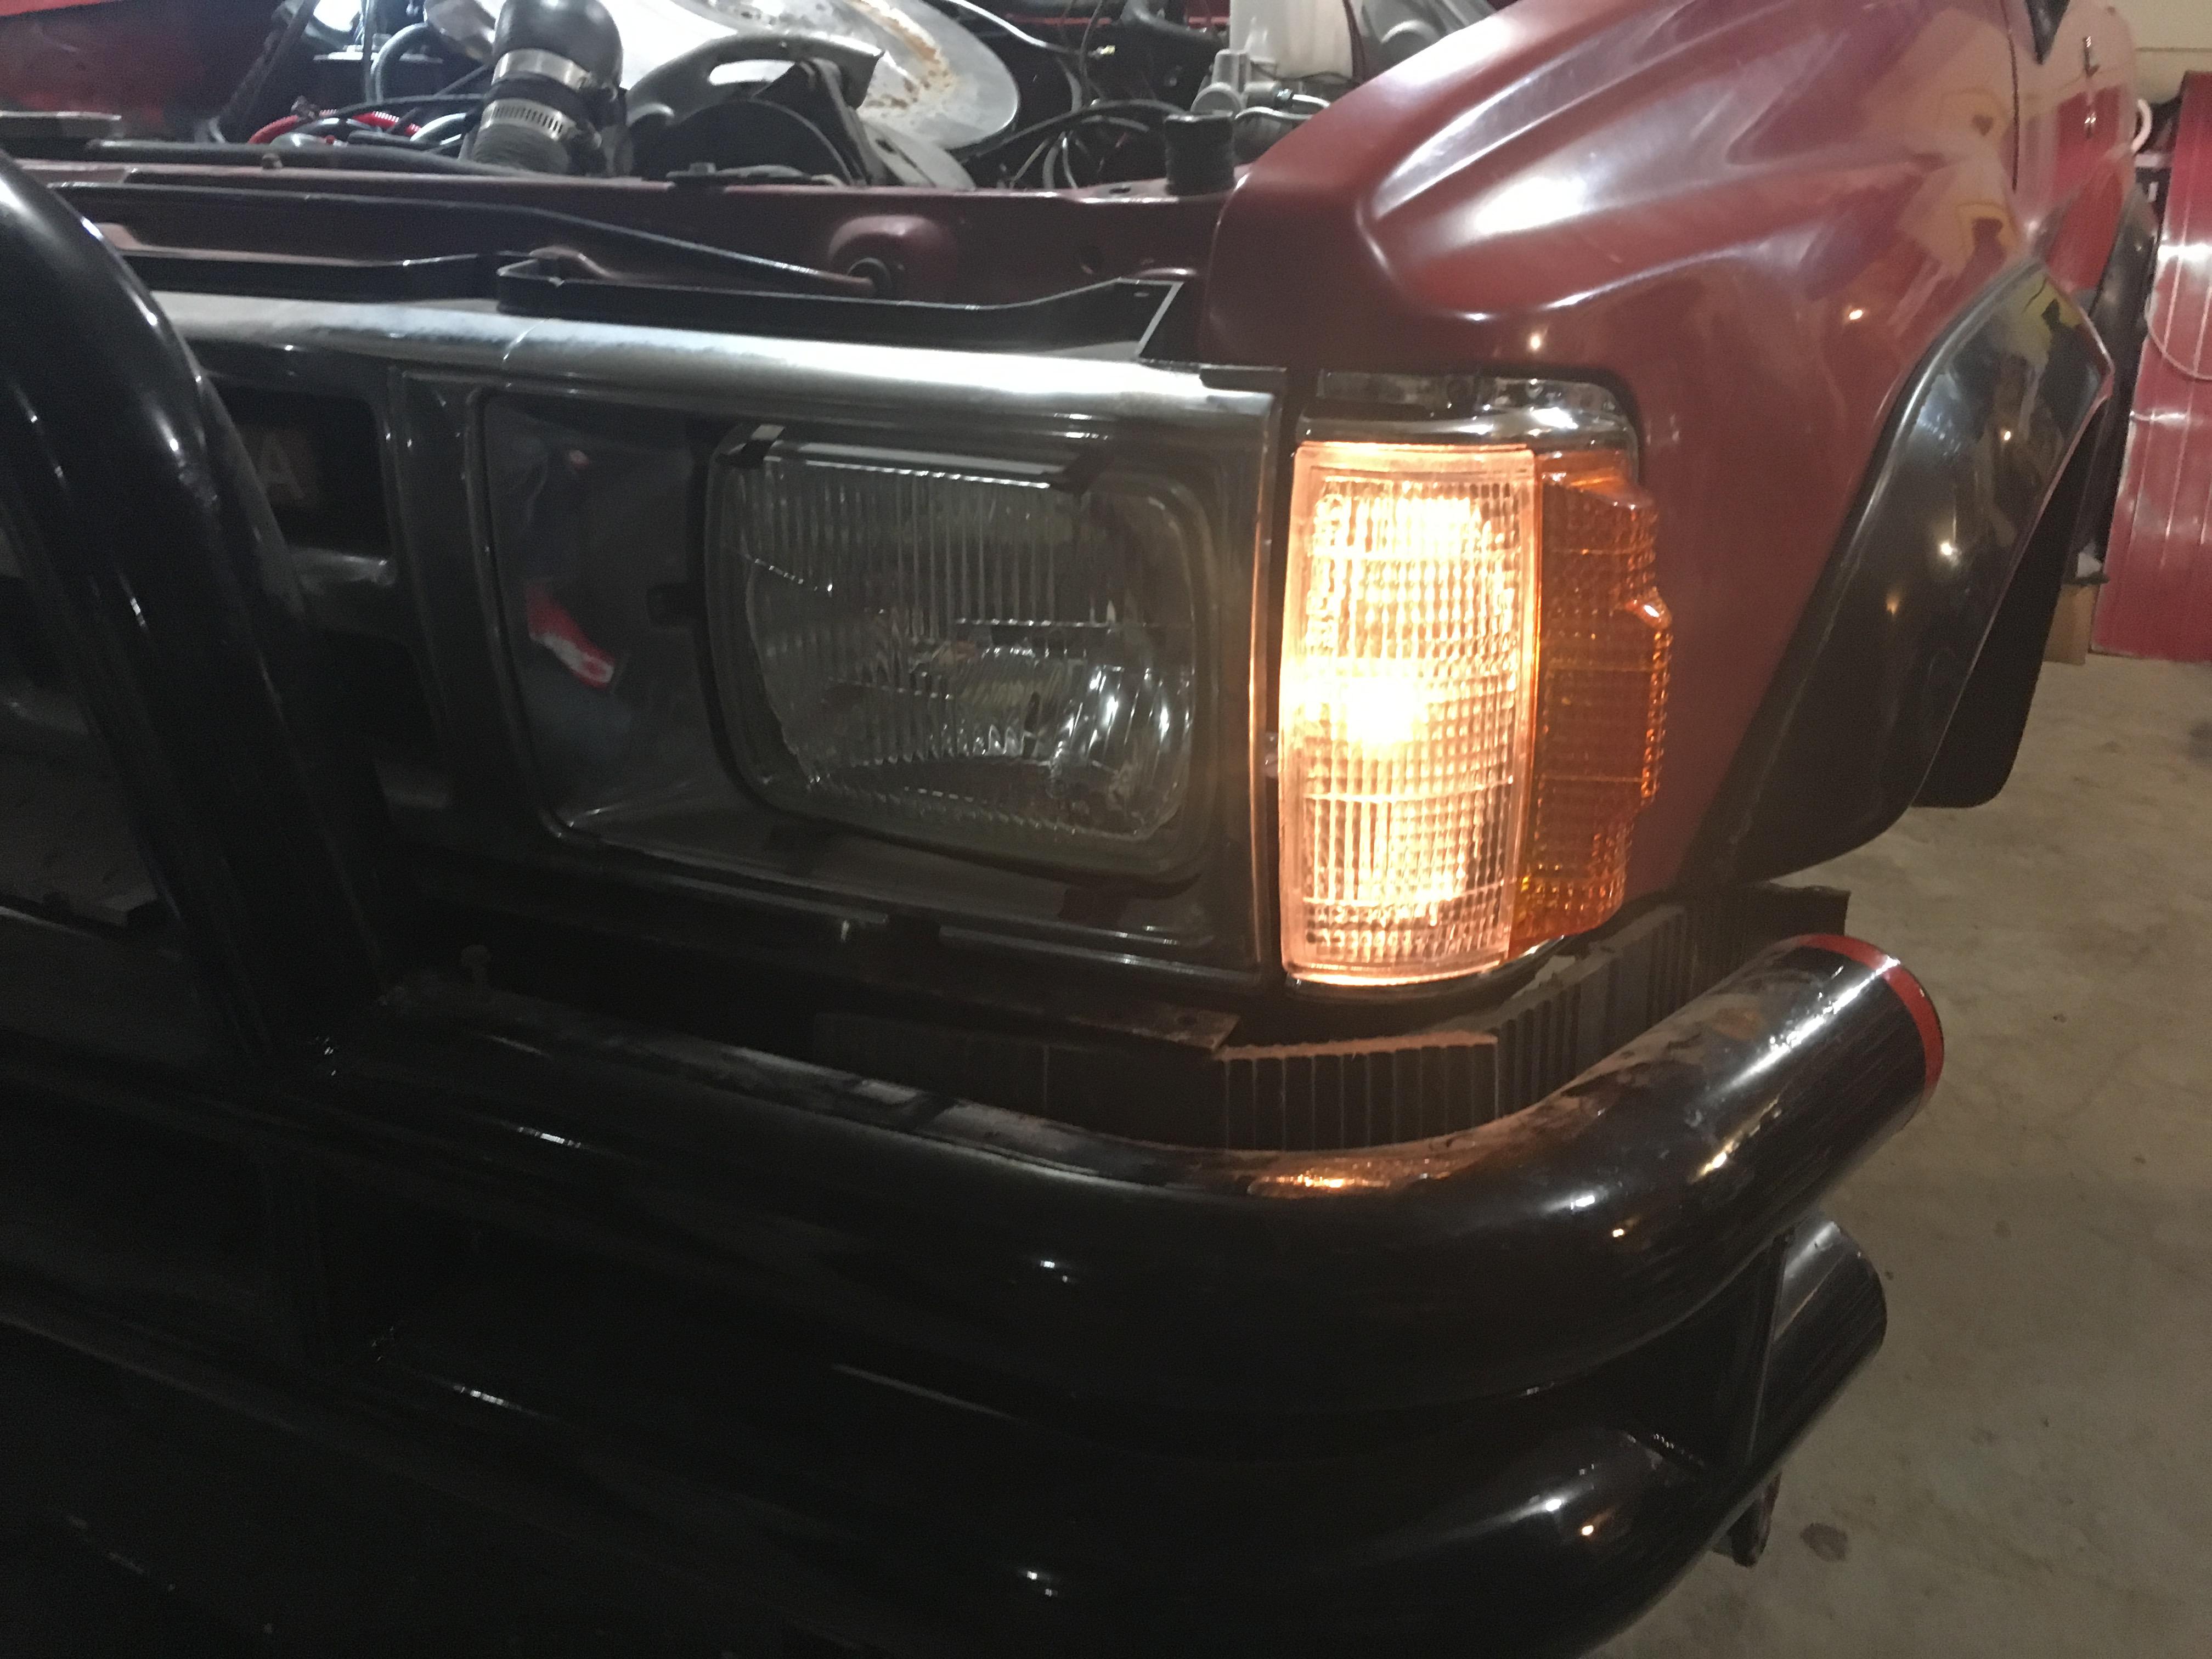
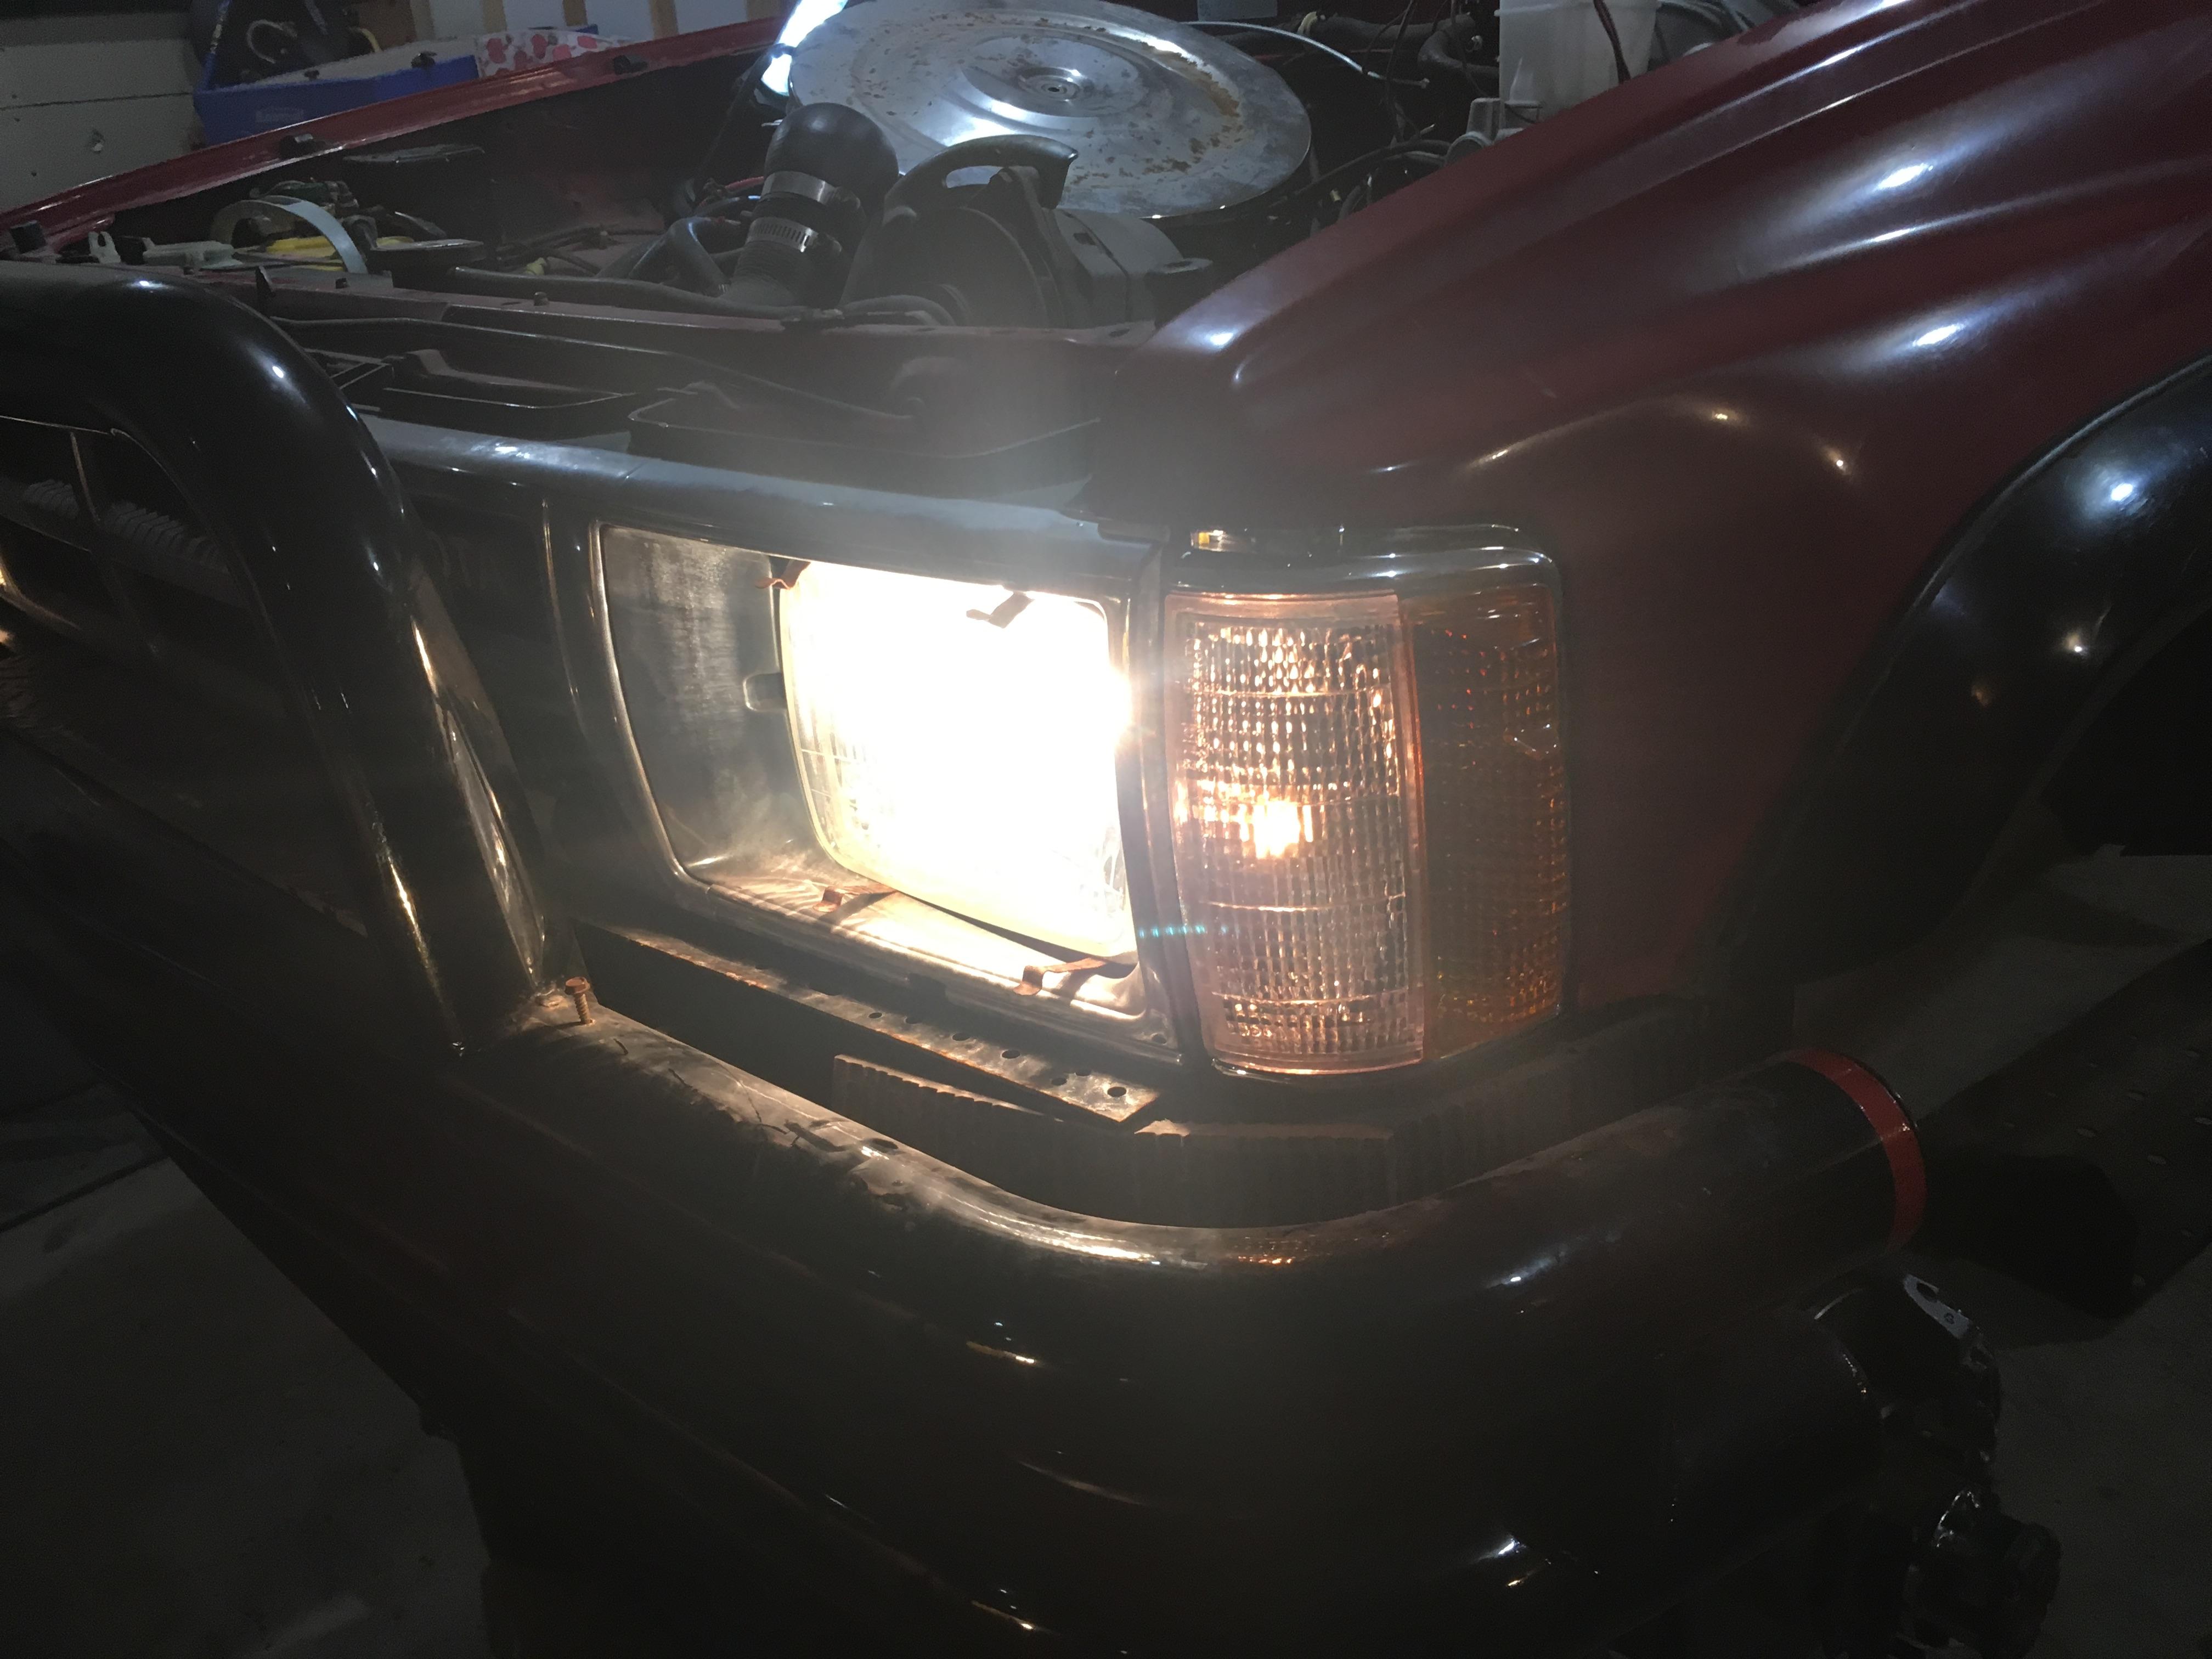
Ps. The ebay combo parking light / turn signal fit pretty well. $40 well spent.
-
This reply was modified 6 years, 10 months ago by
-
AuthorPosts
- You must be logged in to reply to this topic.
