Home › Forums › TRUCK BUILDS › Redee – 1986 4Runner
- This topic has 697 replies, 9 voices, and was last updated 2 weeks, 4 days ago by
 toys-n-yotas.
-
AuthorPosts
-
September 27, 2024 at 8:20 am #212238
 Toy-YotaParticipant
Huge progress great job on the harness so far that’s so much work.
September 29, 2024 at 9:08 pm #212239 FJTTSEKeymaster
Keep up the good fight Tom, progress is being made! Glad it’s you and not me(wipes sweaty brow). You had me at the words “wiring harness”. LOL
October 1, 2024 at 12:33 pm #212240 toys-n-yotasKeymaster
Thanks guys, my head feels about 4 times smaller now that i can purge some of that harness misery from my short term memory.
Still working on finishing the wire routing, and cleaning up under the drivers side of the dash.
Then onto exhaust, after payday.
October 3, 2024 at 8:57 pm #212241 Slick_YotaKeymaster
It lives and breathes! Well, at least it lives… Breathing might take a bit more…
Congrats on the success so far!
January 2, 2025 at 4:51 pm #212265toys-n-yotasKeymasterWell it’s been a long couple months with hardly any work done to Redee, but to put it simply, good riddance to 2024. Fuck off, and stay in my past.
To start 2025 off properly, one of my daughters and I spent a couple hours sorting out some open items on Redee.
To start, we broke out the multimeter and long leads to trace 3RZ wiring from the underside of Redee, to the passenger footwell. On the computer, 3RZ reverse wires are R-Y and B-Y in connector II3 pins 19&20 respectively. We verified continuity, stripped the OEM connector off the female spade connectors on the harness side, introduced the W56 reverse wires, and let the magic happen. In the footwell, the connection was even easier because Redee’s R-Y and R wires had already been de-pinned when I improved the chevy wiring in 2018. Simply pushed Redee’s original wires into the II3 connector (body half). The beauty here is that should the 3RZ need to come out, I can separate the II3 connector under the dash and leave the body side in place. All this took about 2 hours with lots of teaching and laughter and fun times.
Later in the evening was a rinse and repeat but for the 4WD indicator light in the gauge cluster. A 1-wire hookup, verified functioning with a multimeter.
I guess I could finalize the verification by reconnecting the battery and witnessing the reverse lights turn on and off, but I’m fairly confident already.
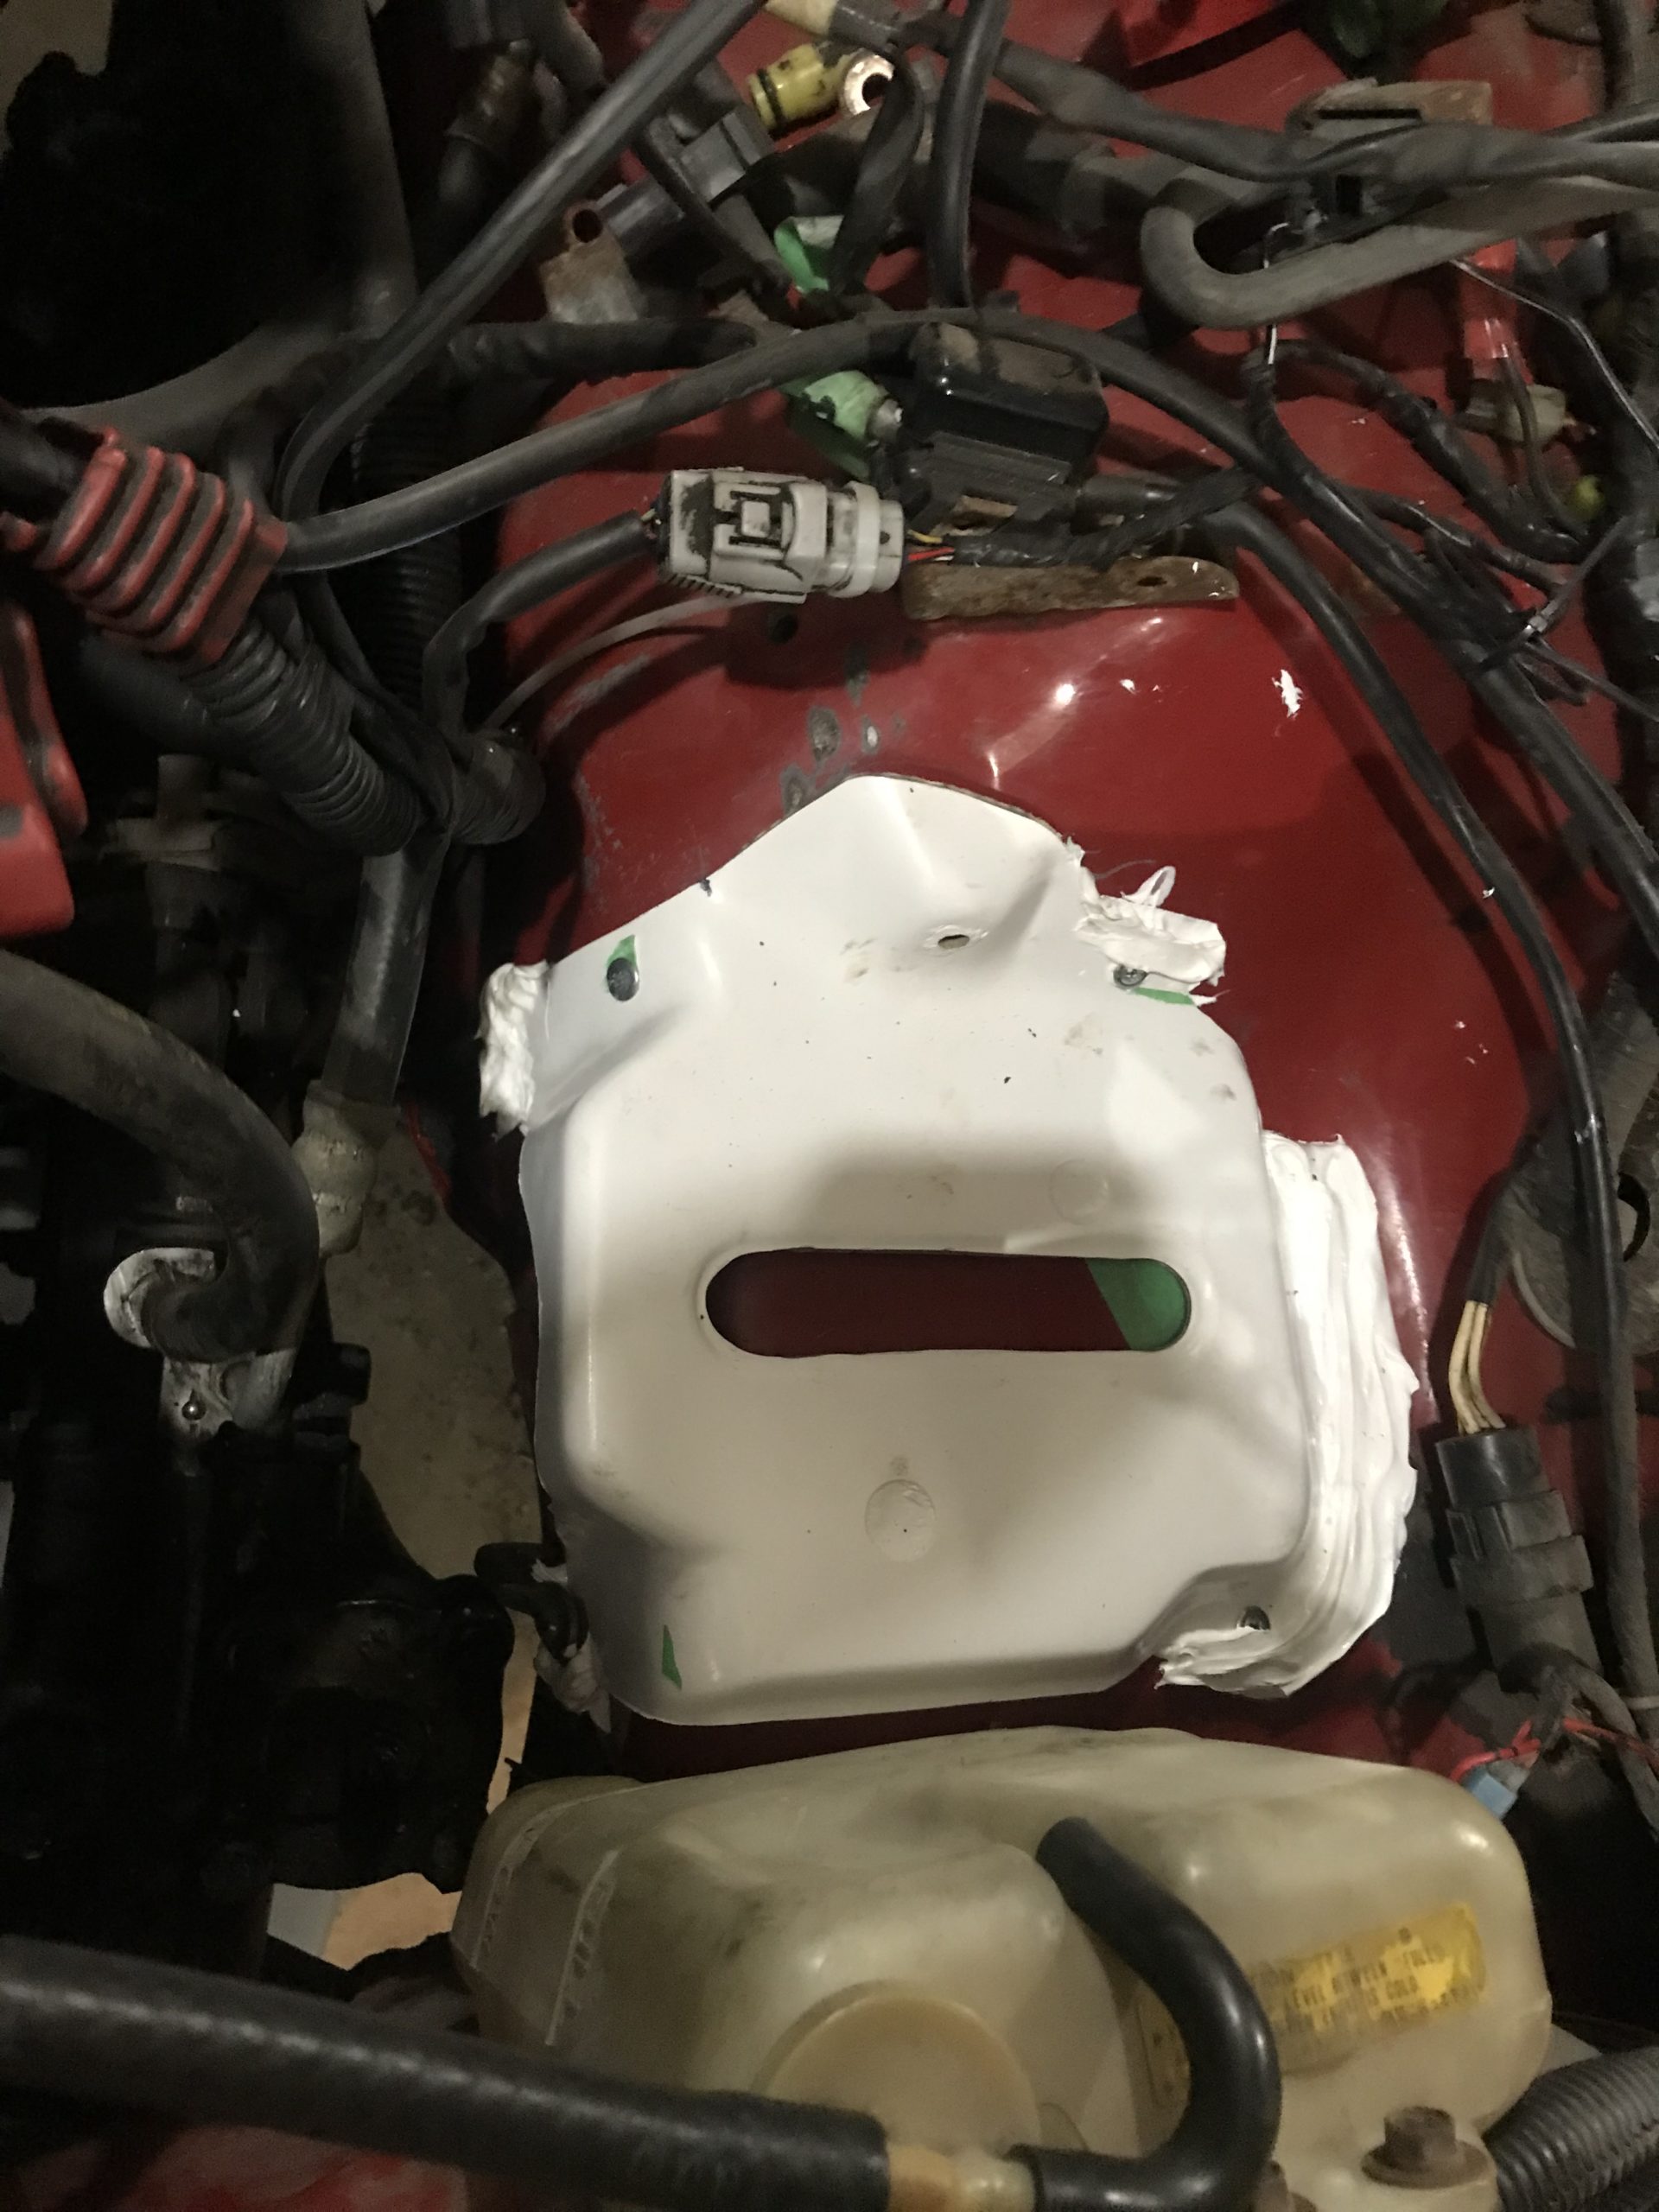
Up next, more electrical tidy, I have to install my Fiberglass battery tray and work on a tie-down.
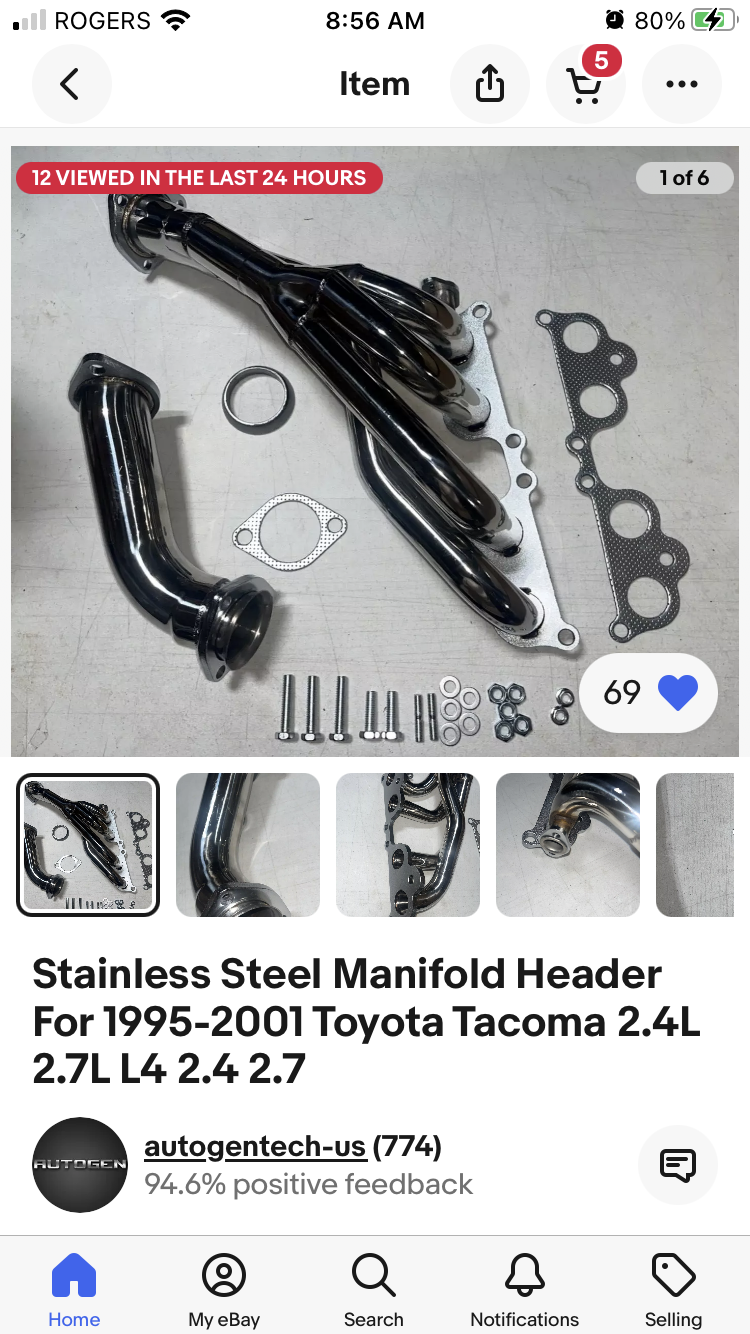
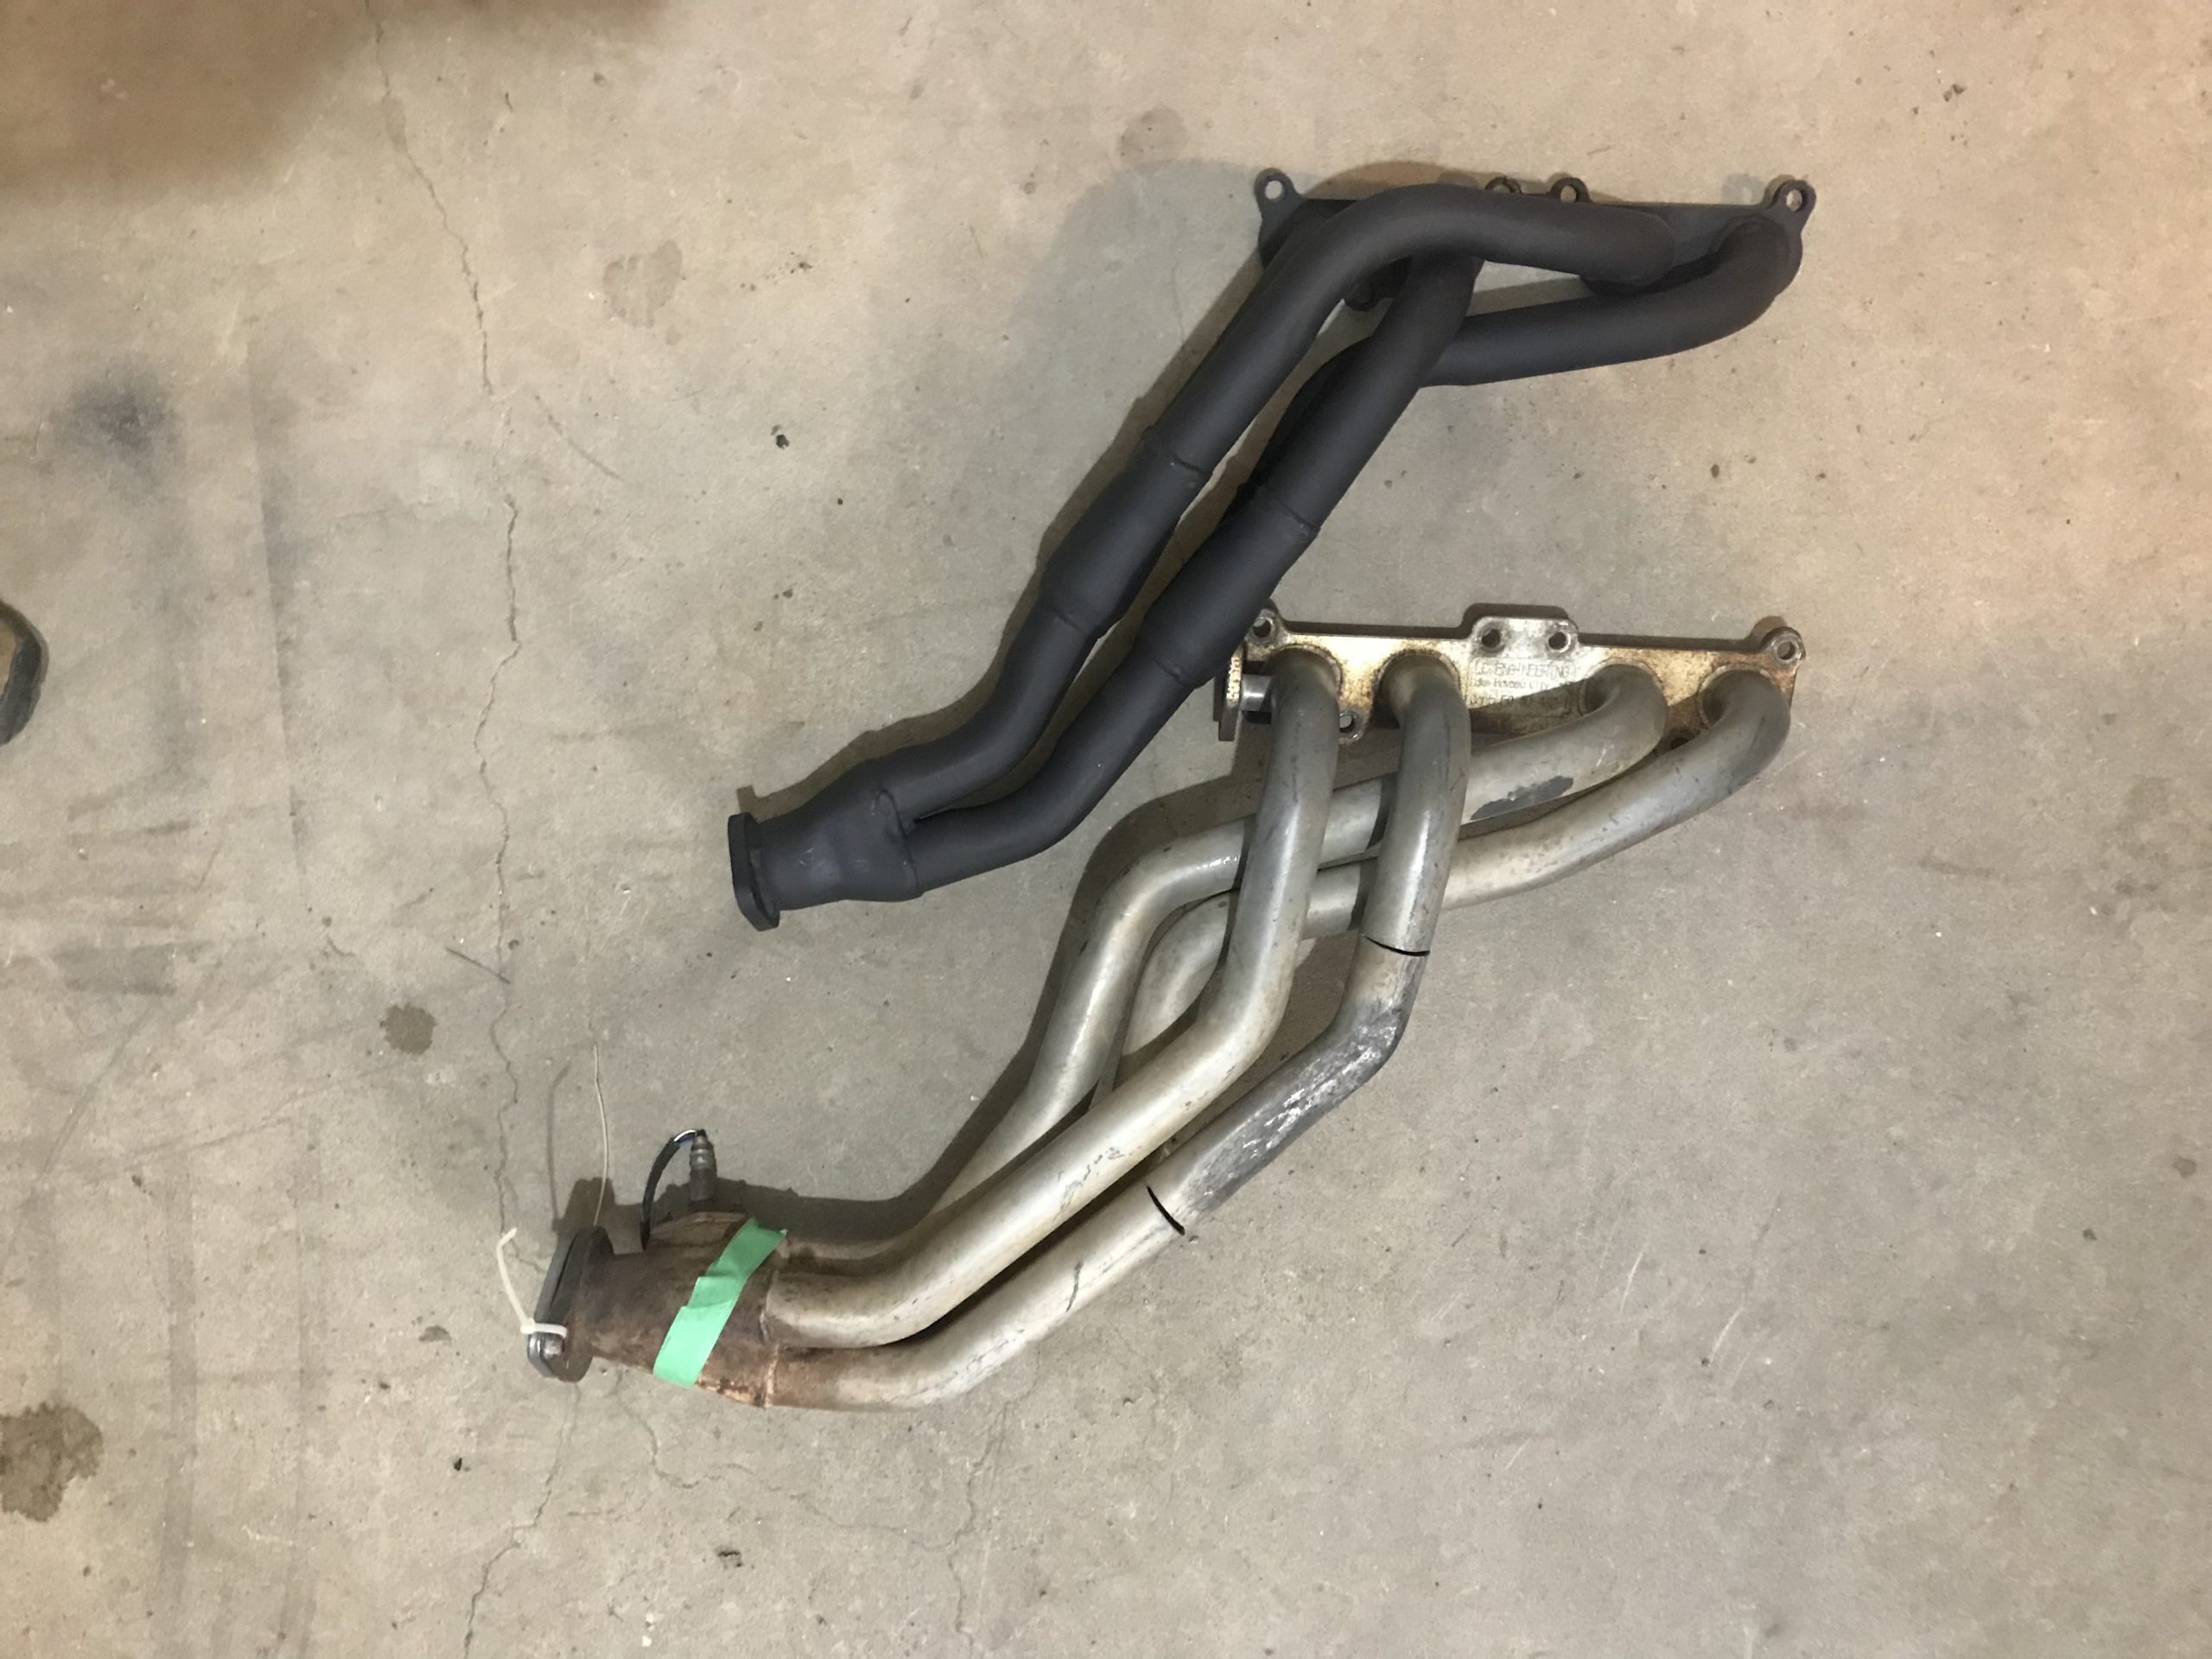
After that, I have to start ordering parts for a full exhaust system. Going stock 3rz manifold and catalytic convertor, followed by a hand built system into a generic muffler. Trying to build this cheaply, but I’m pretty sure just parts alone I’m up to $1,200-ish. I have been chewing on buying the LCE conversion header, but that one part alone has me at $700 USD, before tax and duty. Figure just that header alone would be $1200-1500 cdn….not doable. Gonna settle for OEM, build the rest slightly oversized (2.25” or 2.5”), and save my piggybank for a turbo kit in 10-15 years. Maybe a nice present to myself when I turn 50 haha.
After exhaust will be rear diff swap to the 4.88 on my bench.
Lastly will be tires. DESPERATELY LOOKING FOR 33” x 10.5” x 15” tires on the cheap. I had 12.5” wide, but sold them and the 10” wide rims. Now i have 7” rims on stay-flat tires.
A big list. Glad my daughters are going to keep me moving. They reminded me that I claimed we’d be touring in 2024. Do’h!
January 13, 2025 at 9:54 am #212287toys-n-yotasKeymasterBeen chipping away at Redee on The Shop, a few items knocked of the list.
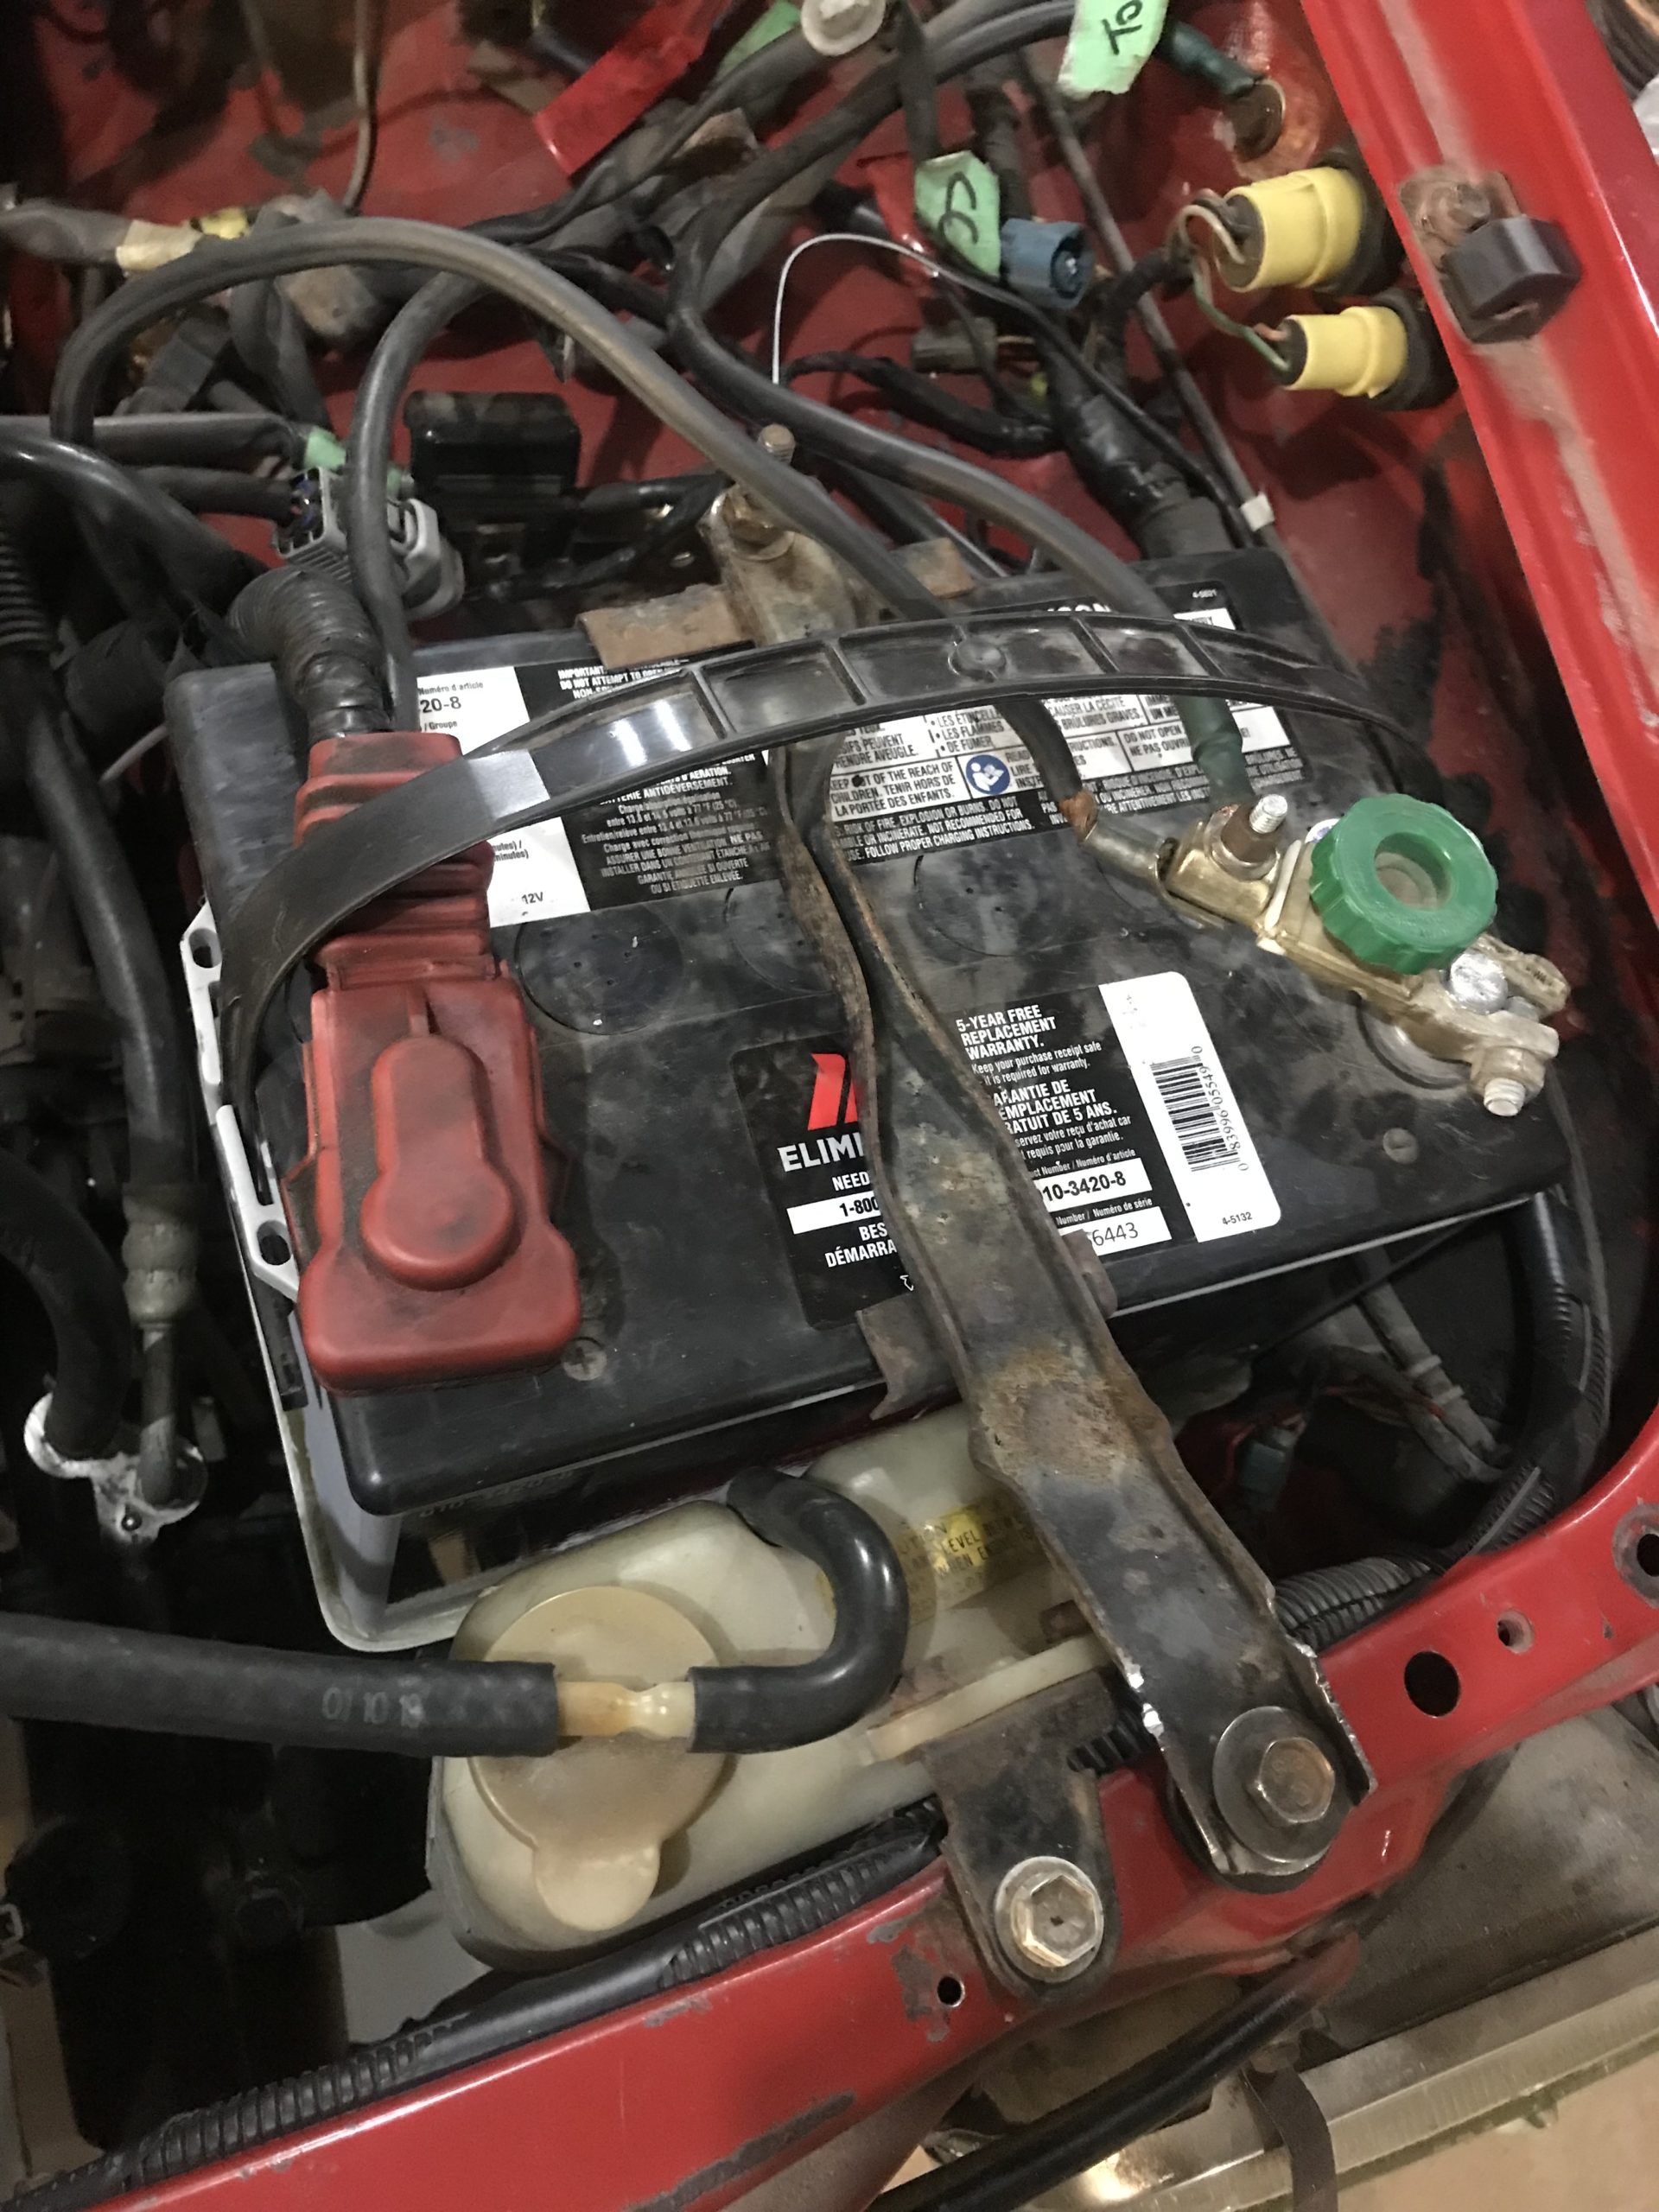
Mid last week I glued and screwed in my Fiberglass battery tray, and modified the 3RZ tie down to fit the rad support. With the battery secured, I tightened the positive and negative leads, and added a pigtail for my fancy battery charger. In hindsight the pigtail was unnecessary, but it looks good at least.
With the battery connected I tested my clutch start switch wiring and it failed. So I spent the next day at work pondering reasons, and making a game plan. Check continuity, check schematic, check computer, check hard notes. With all the checks showing positive, James suggested I clean the contacts in the switch. So I blasted it was contact cleaner, and voila, problem solved. Gotta keep it simple sometimes.
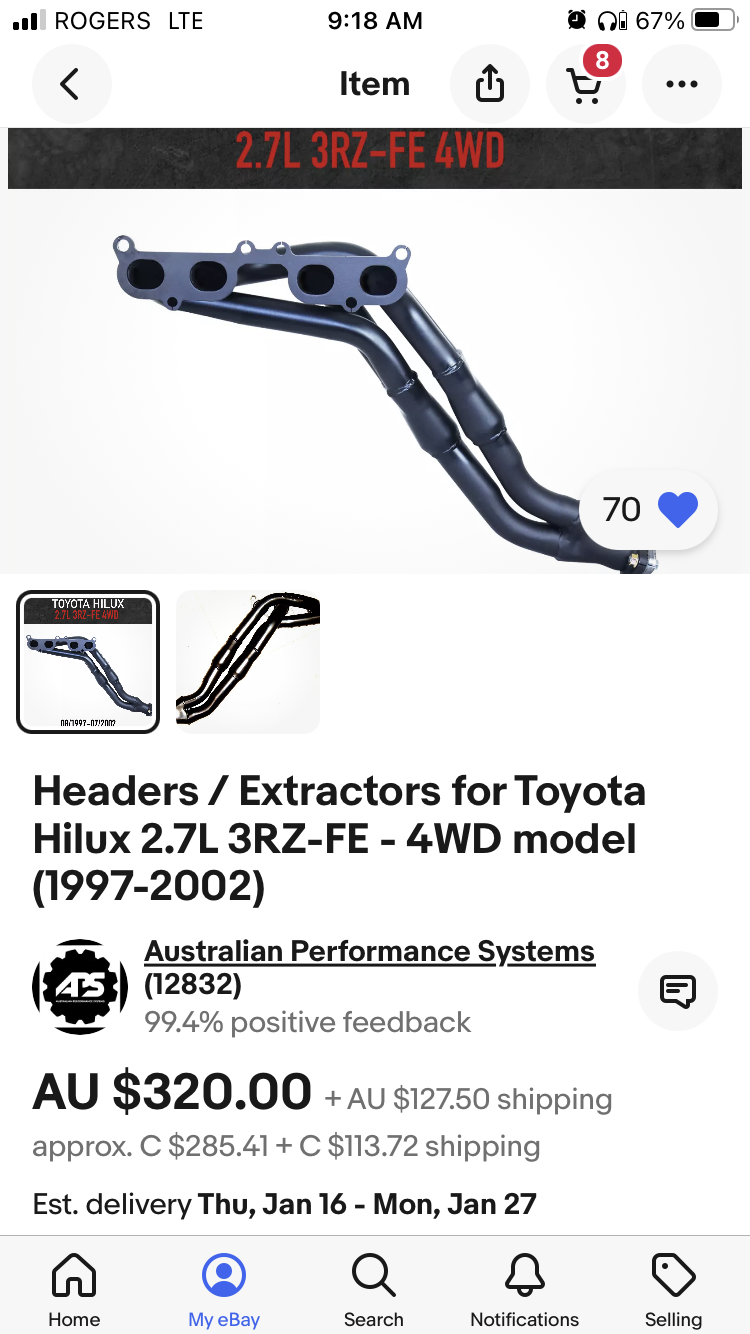
I ordered an exhaust header from Australlia, fits a 4wd Hilux, with 3RZ. Here’s to hoping it fits. Only $400 to my door. Fingers crossed.
Since the new header doesn’t have an egr port, I made a block off plate last night.
January 16, 2025 at 5:10 pm #212299toys-n-yotasKeymasterTook some jumping through hoops, but I’ve ordered that Australian header today, ebay says it’ll arrive in less than 2 weeks. We shall see.
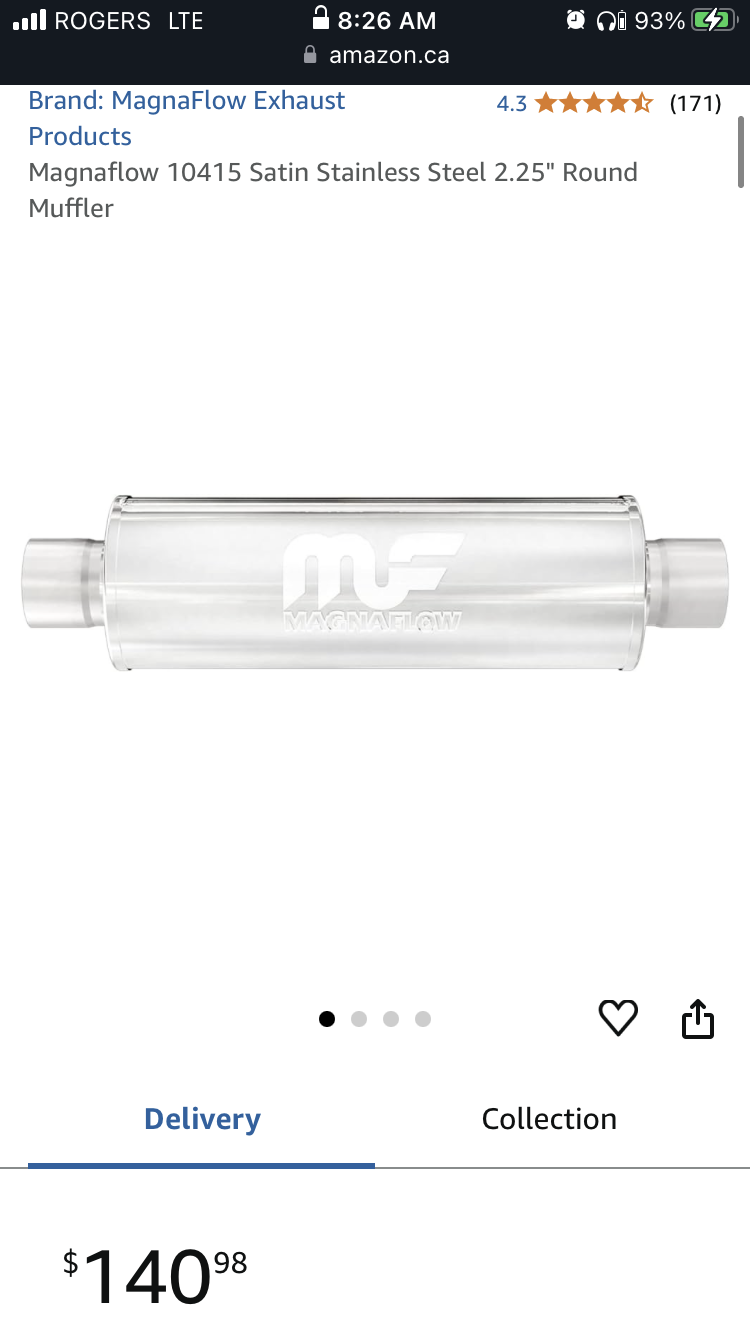
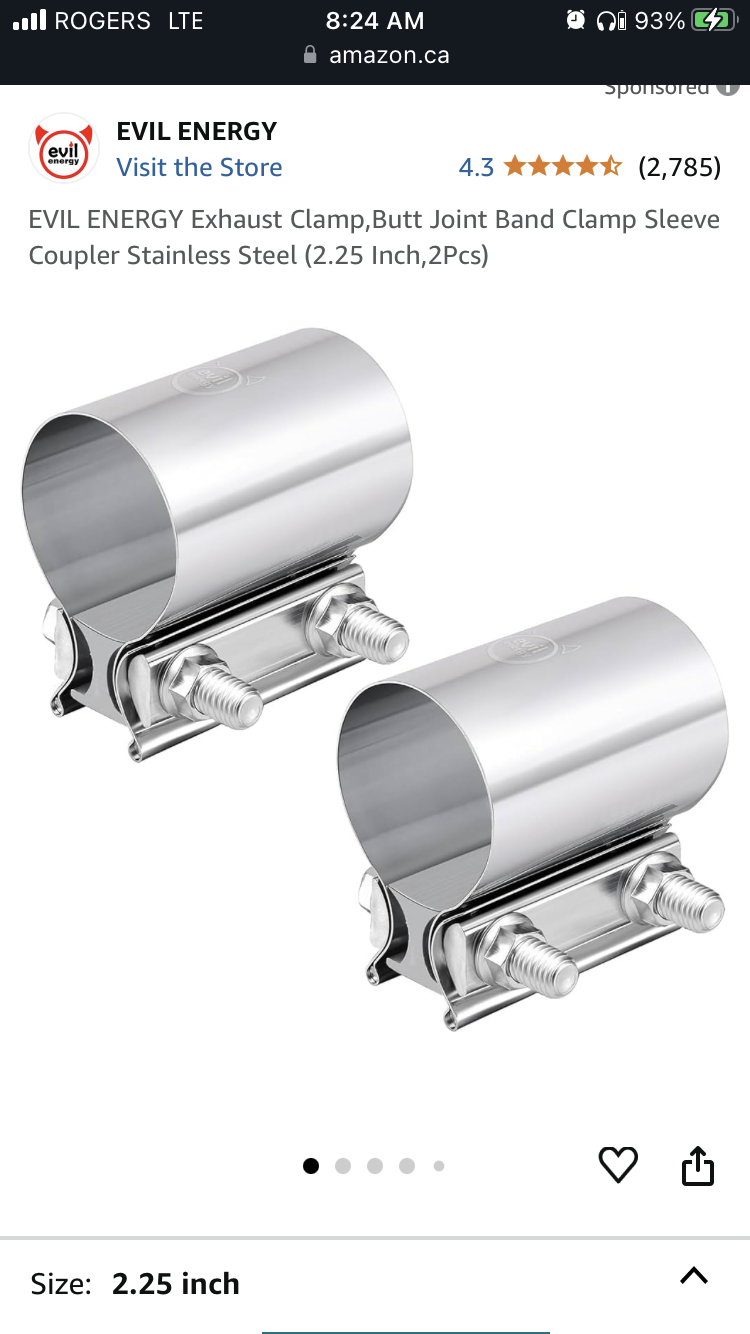
I plan to build the rest of the exhaust from 2.25” pipe, and run run a Magnaflow muffler. YouTube shows me I like the 3RZ & Magnaflow combination.
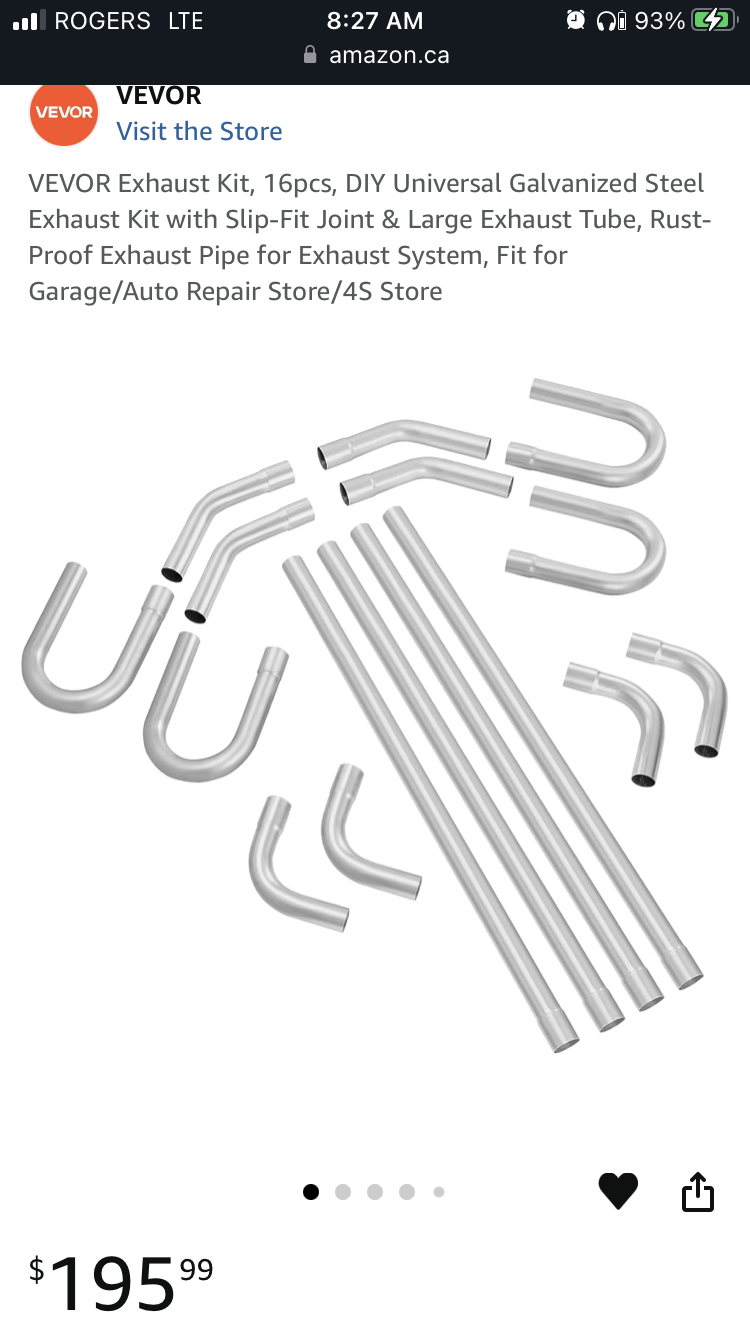
There’s a DIY builder kit, should have more than I need for $200 once it comes back in stock.
Not gonna order anything else until the header arrives and fits.
January 18, 2025 at 8:57 am #212304toys-n-yotasKeymasterDid some work on Redee last night, mainly cutting and welding.
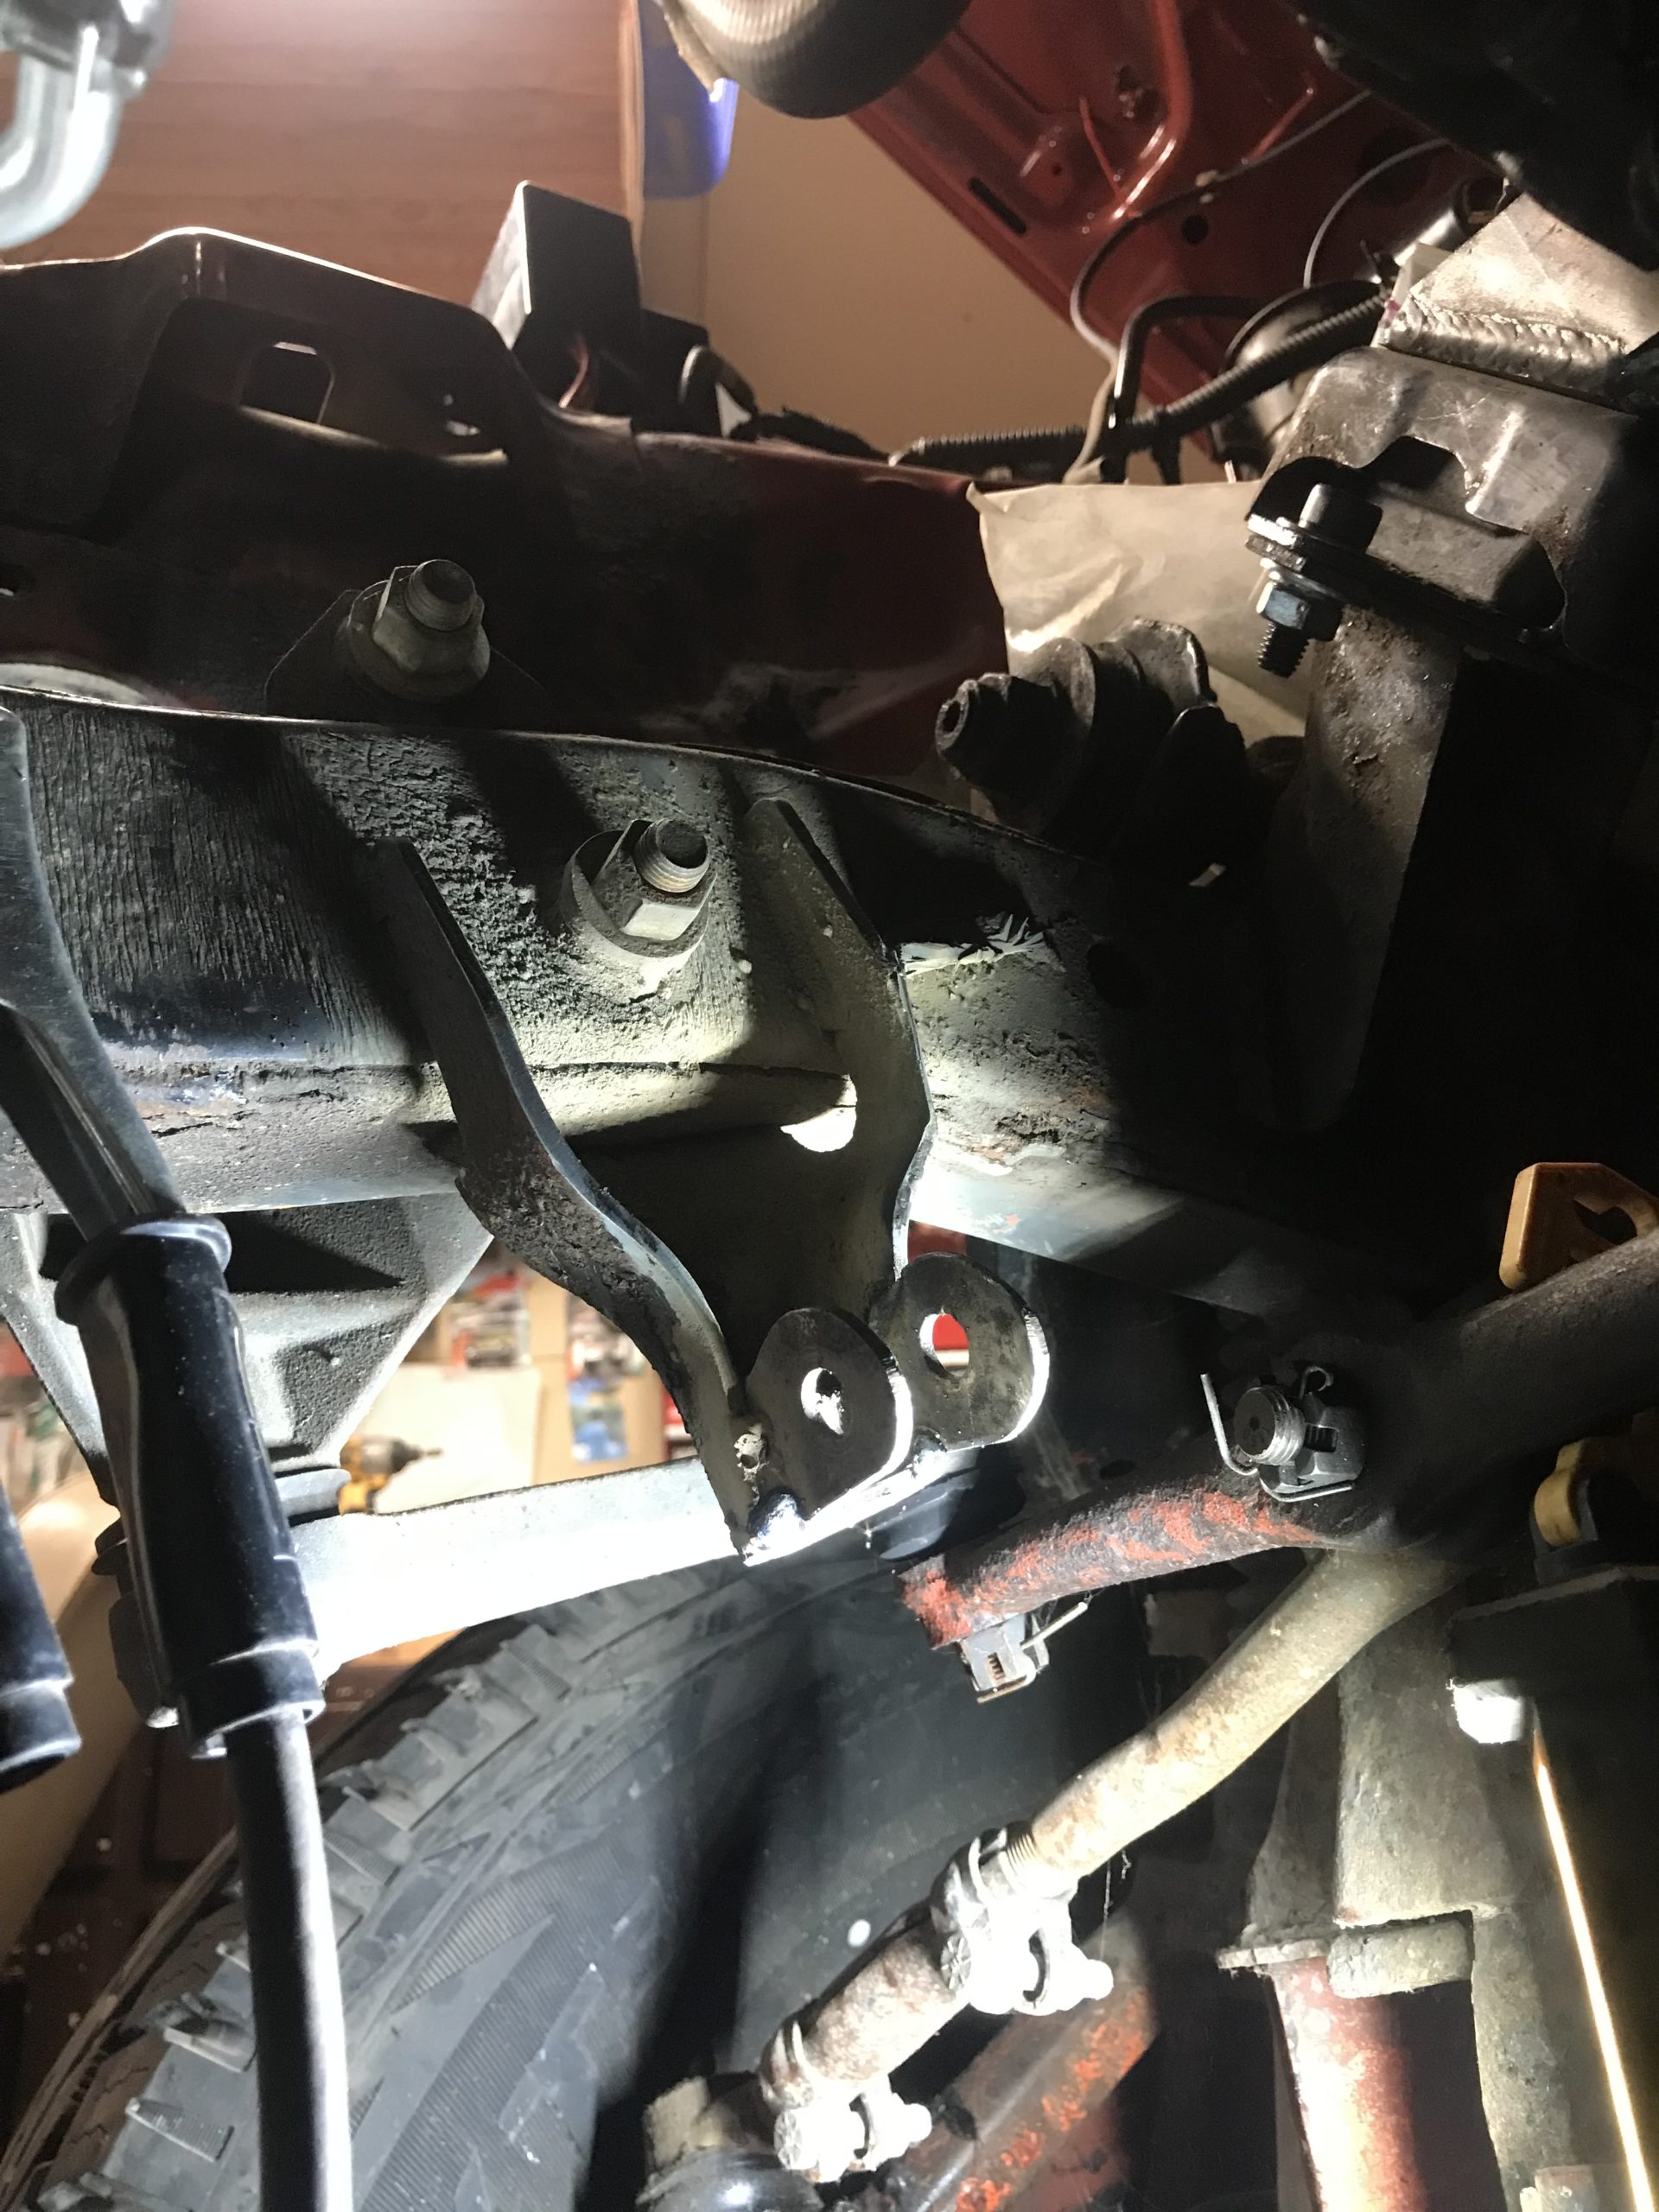
I started my night by cutting off the stick mount for the steering stabilizer because the stabilizer interferes with the oil pan. So I’m working to relocate the passenger side mount lower and forwards. After cutting the mount off Matt popped over for half hour.
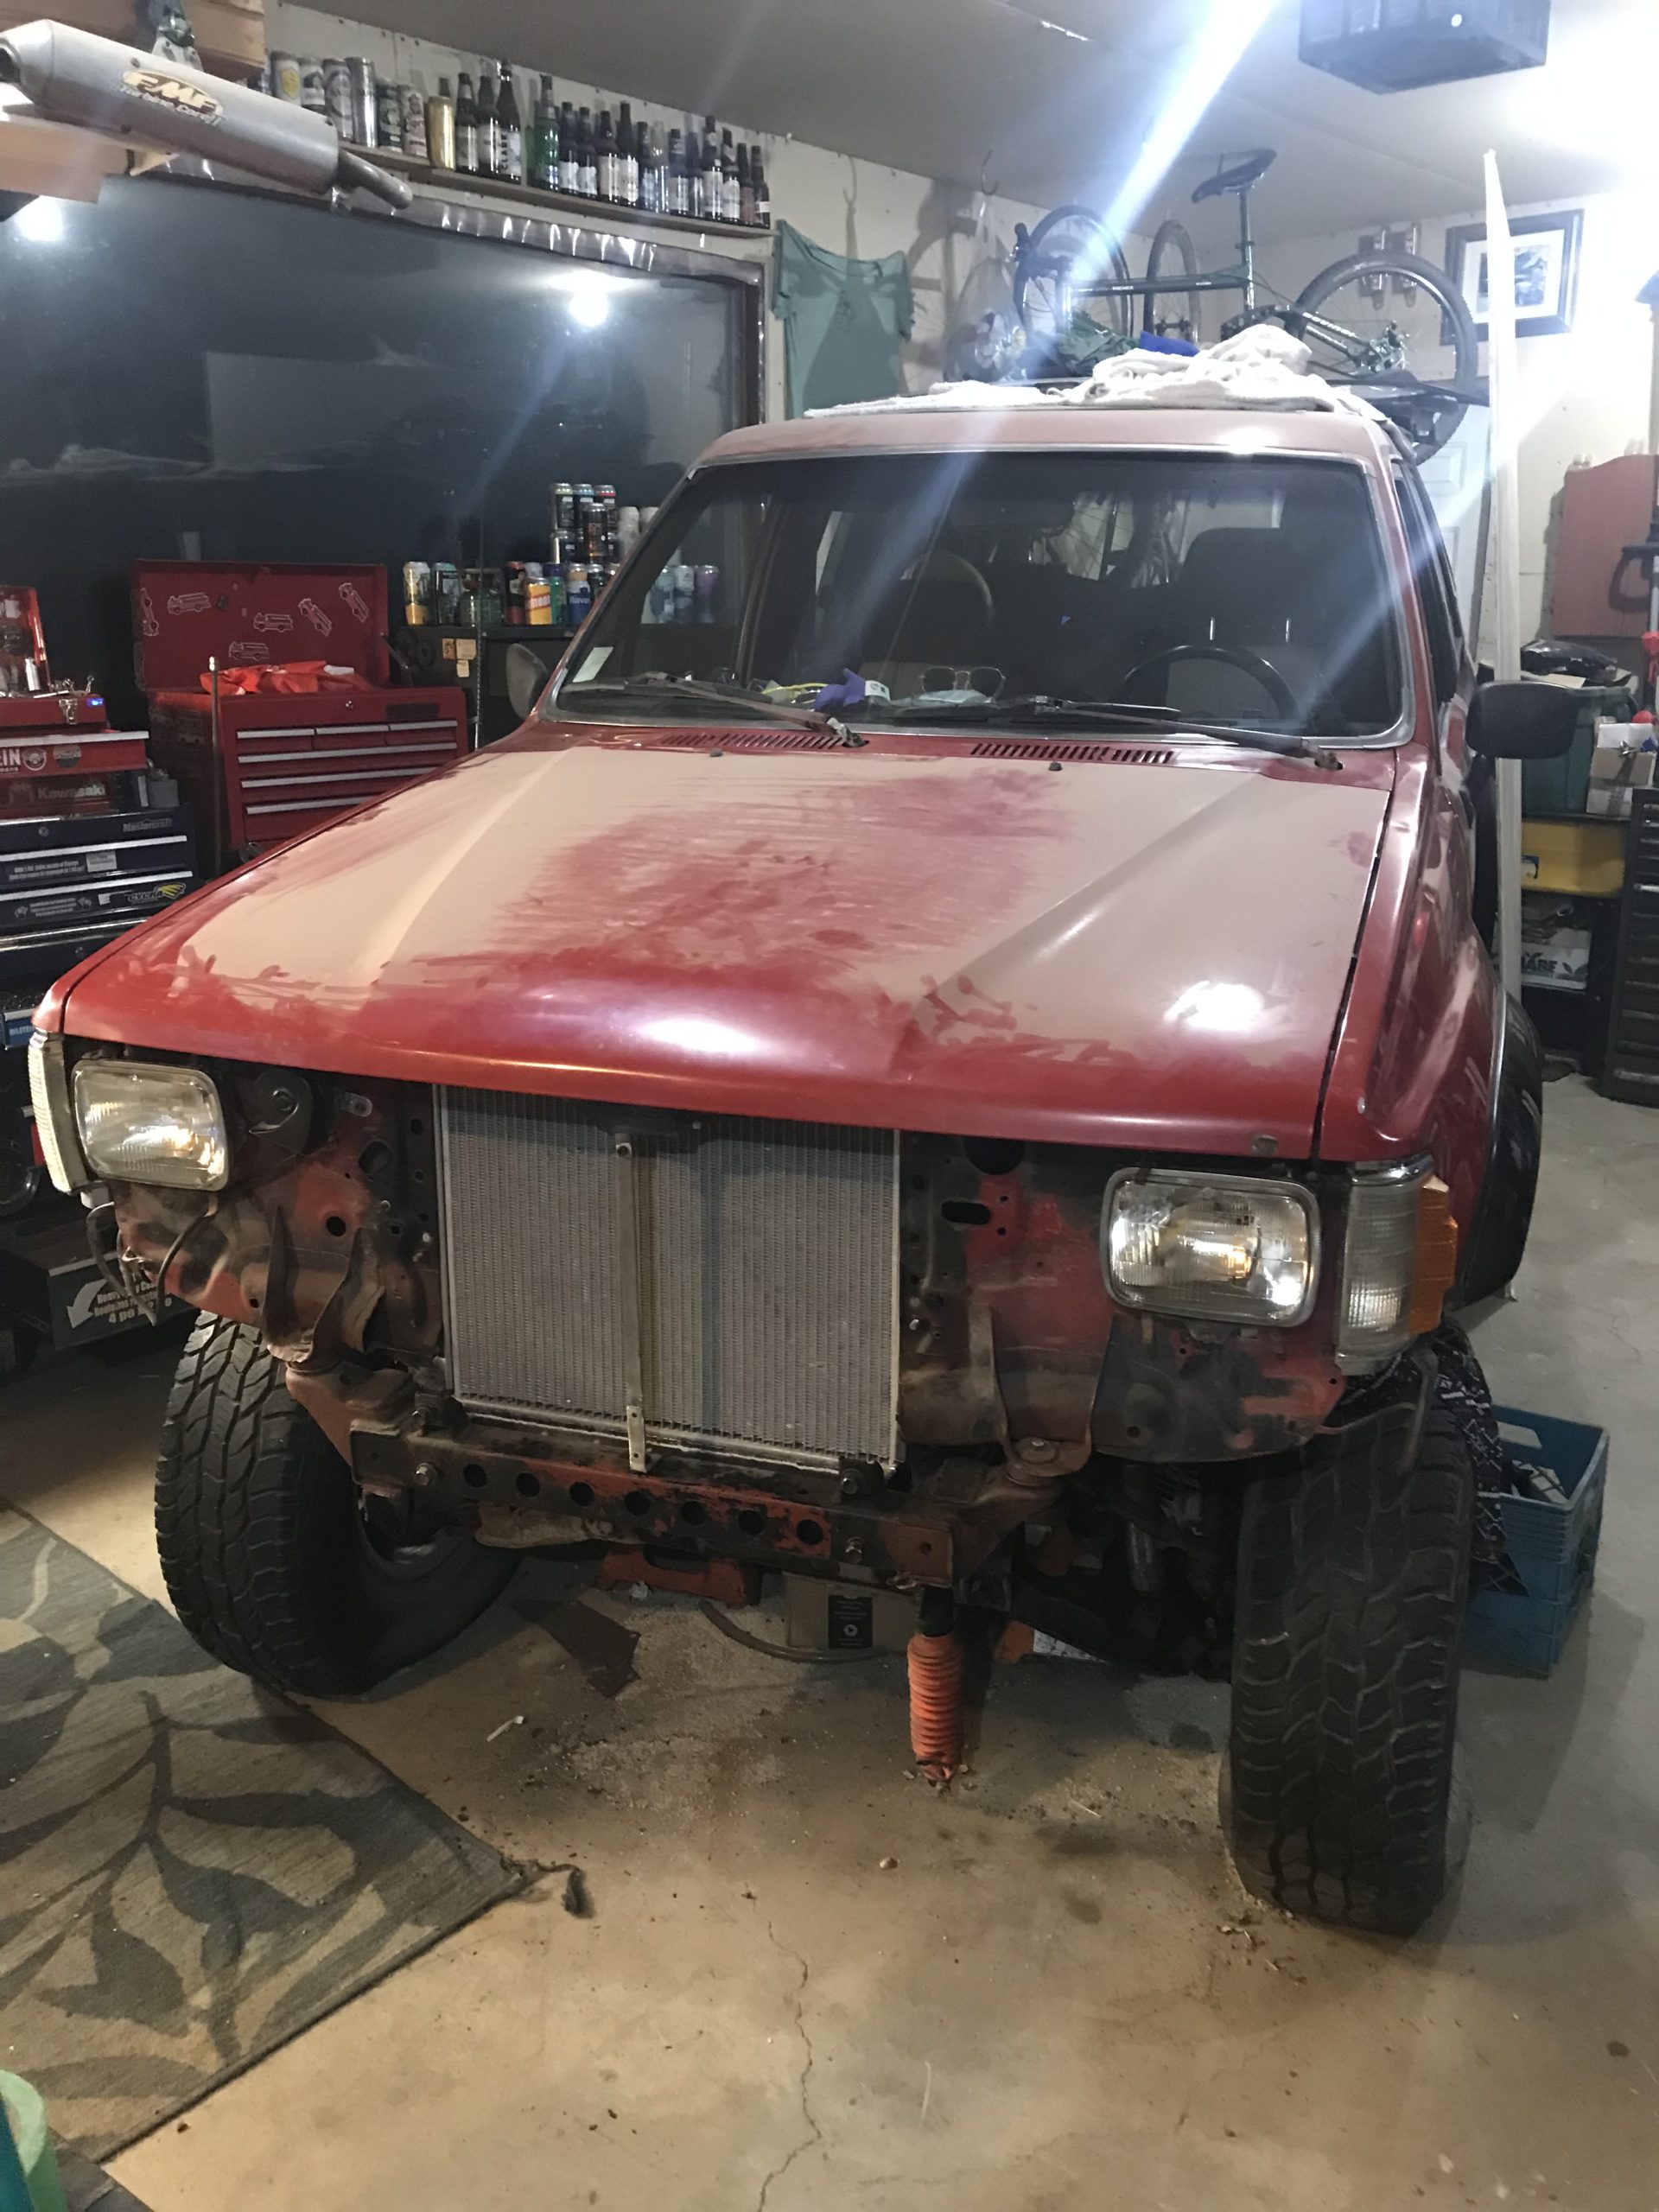
Just before Matt left I got him to help me lift the hood off the roof so I can test fit it. As I thought, it was being held up by the rad cap. So a small careful cut on one of the supports made enough space for the cap, however the latch wouldn’t latch properly. Turns out the missing lower latch support bracket was allowing the upper rad crossover to bend/rotate away from the hood striker. So I used some scrap metal to make a vertical support, and fixed my problem. Test fit the grill to make sure it cleared my prop, which it did.
By then it was 1am, so I called it quits for the night.
If my Australian header doesn’t fit, I found an alternative on eBay to try next.
January 18, 2025 at 11:07 pm #212308toys-n-yotasKeymasterIt’s not pretty but it works. I cut off the original steering stabilizer mount off the frame, and welded it to the idler arm steering stop. Overall it’s only about 10cm from its original location.
Another item off the list.
January 25, 2025 at 12:13 am #212311toys-n-yotasKeymasterGreat news everybody!
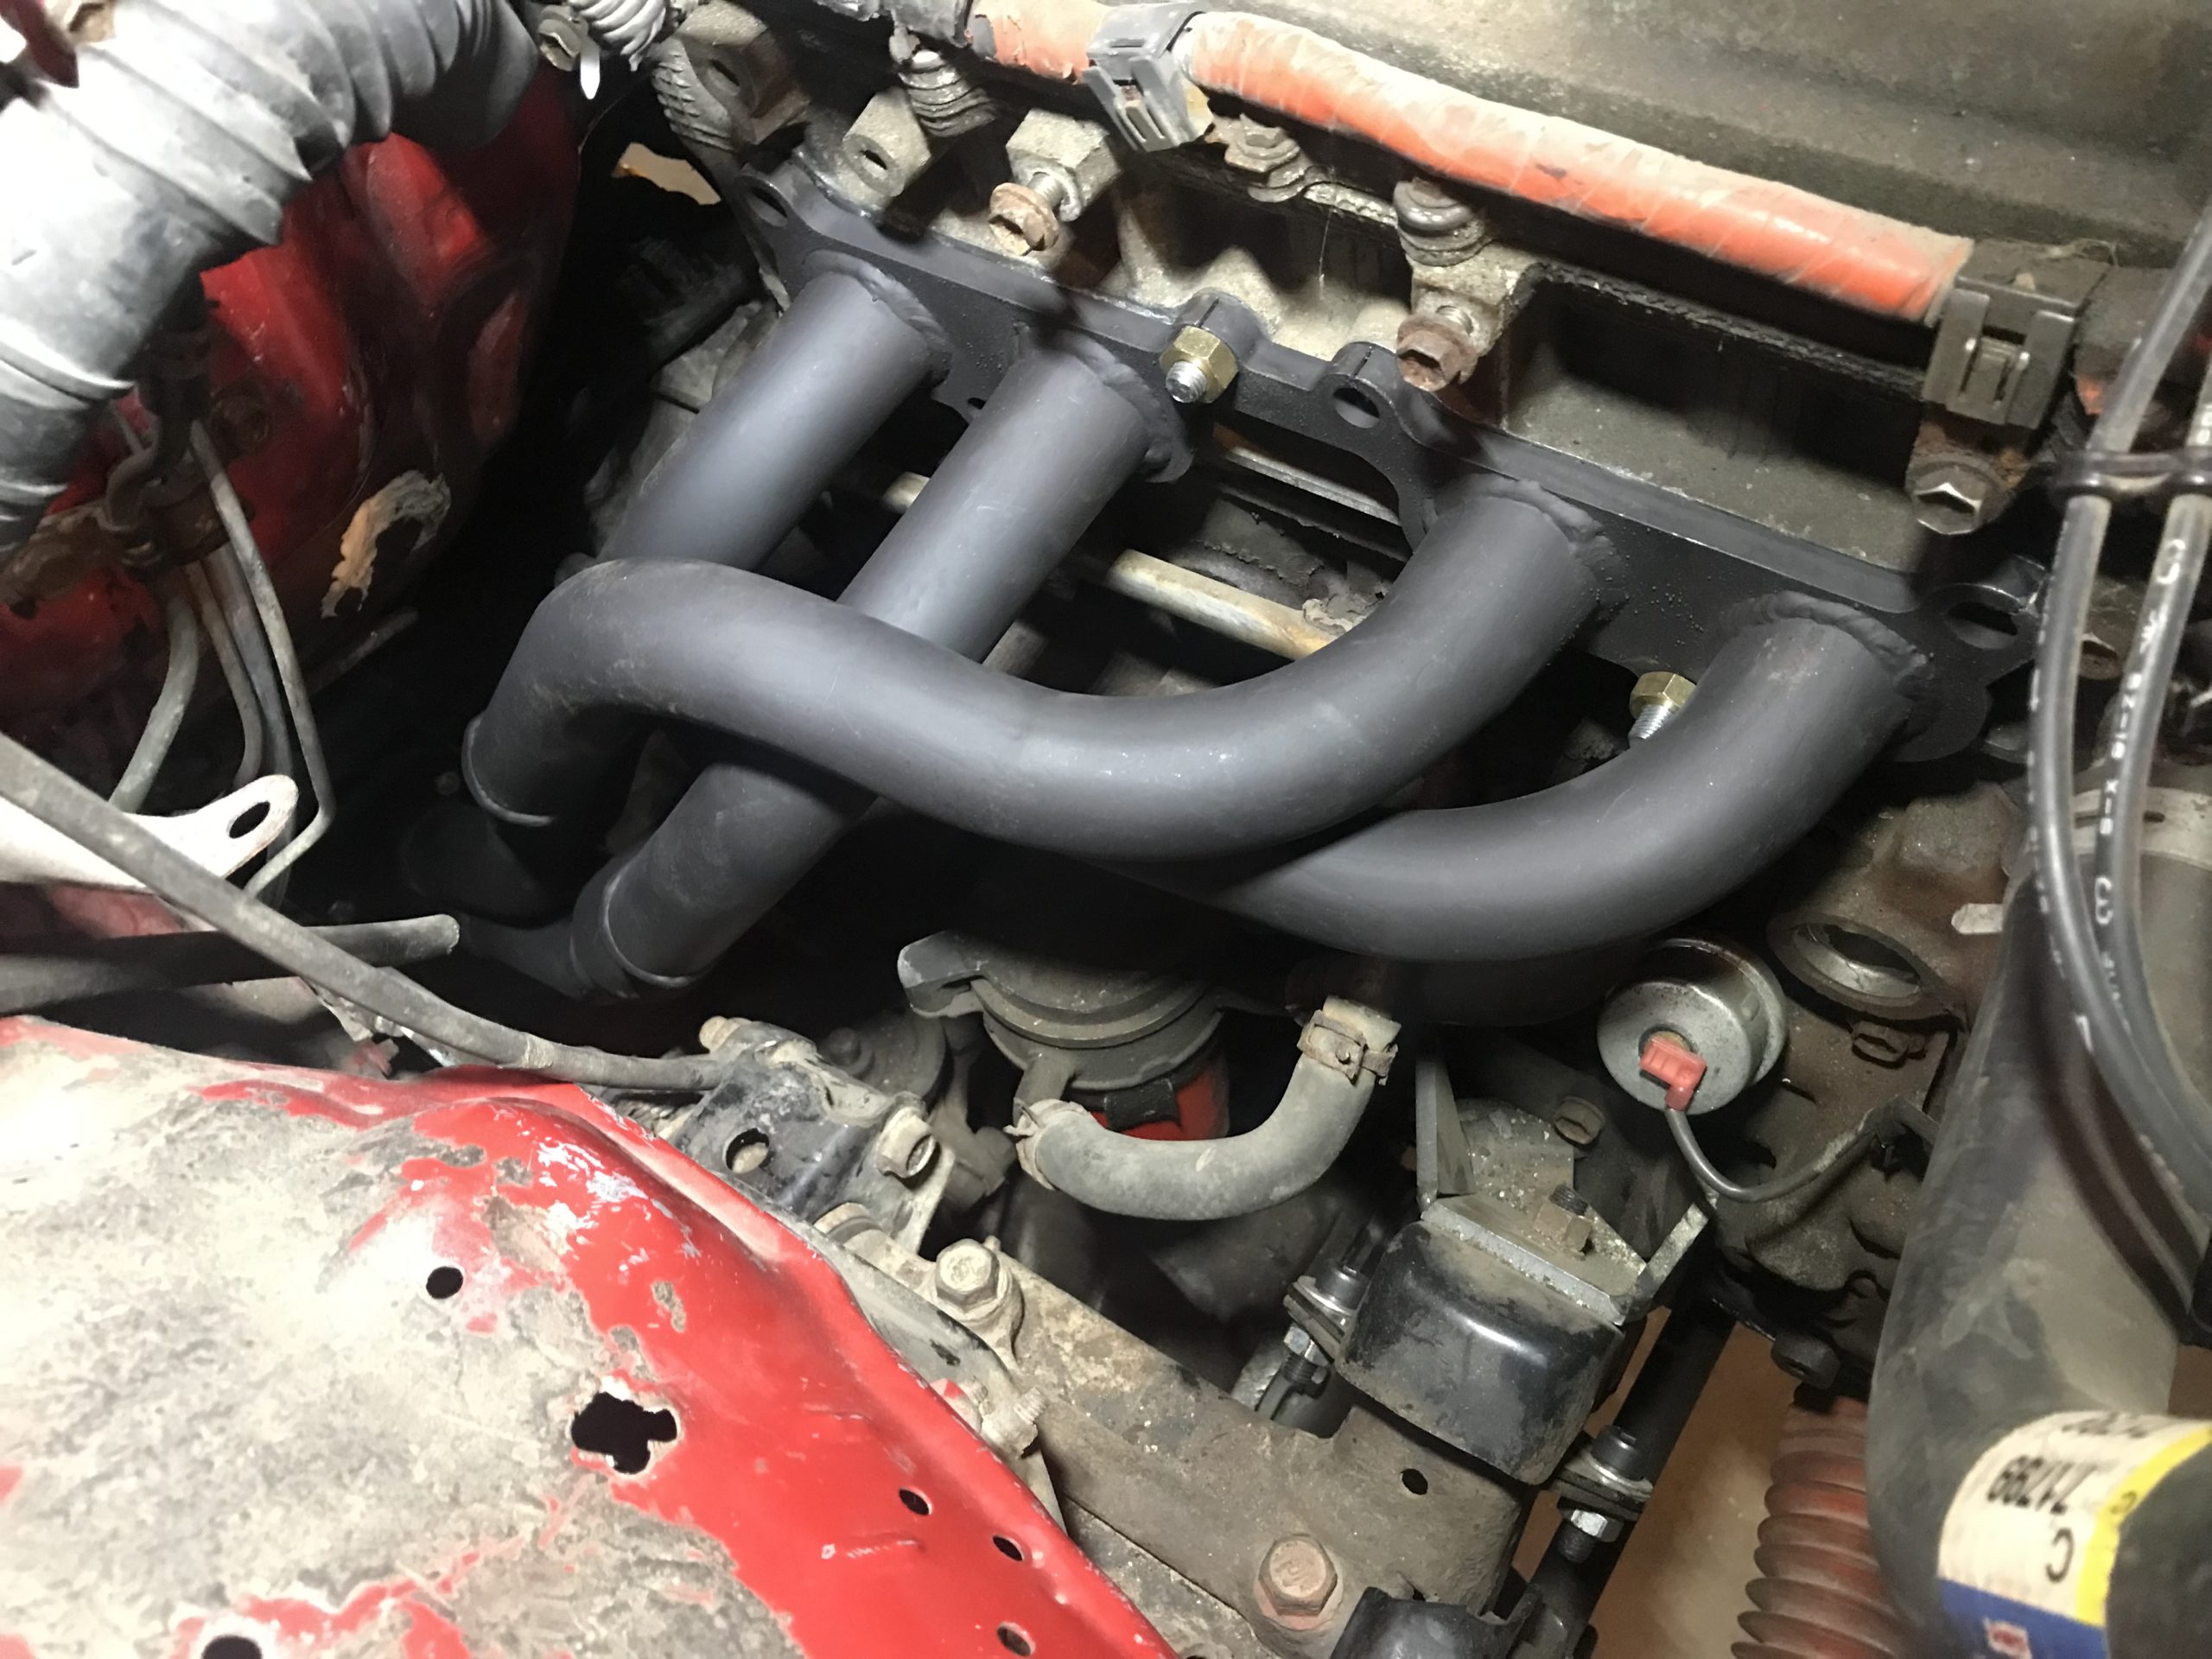
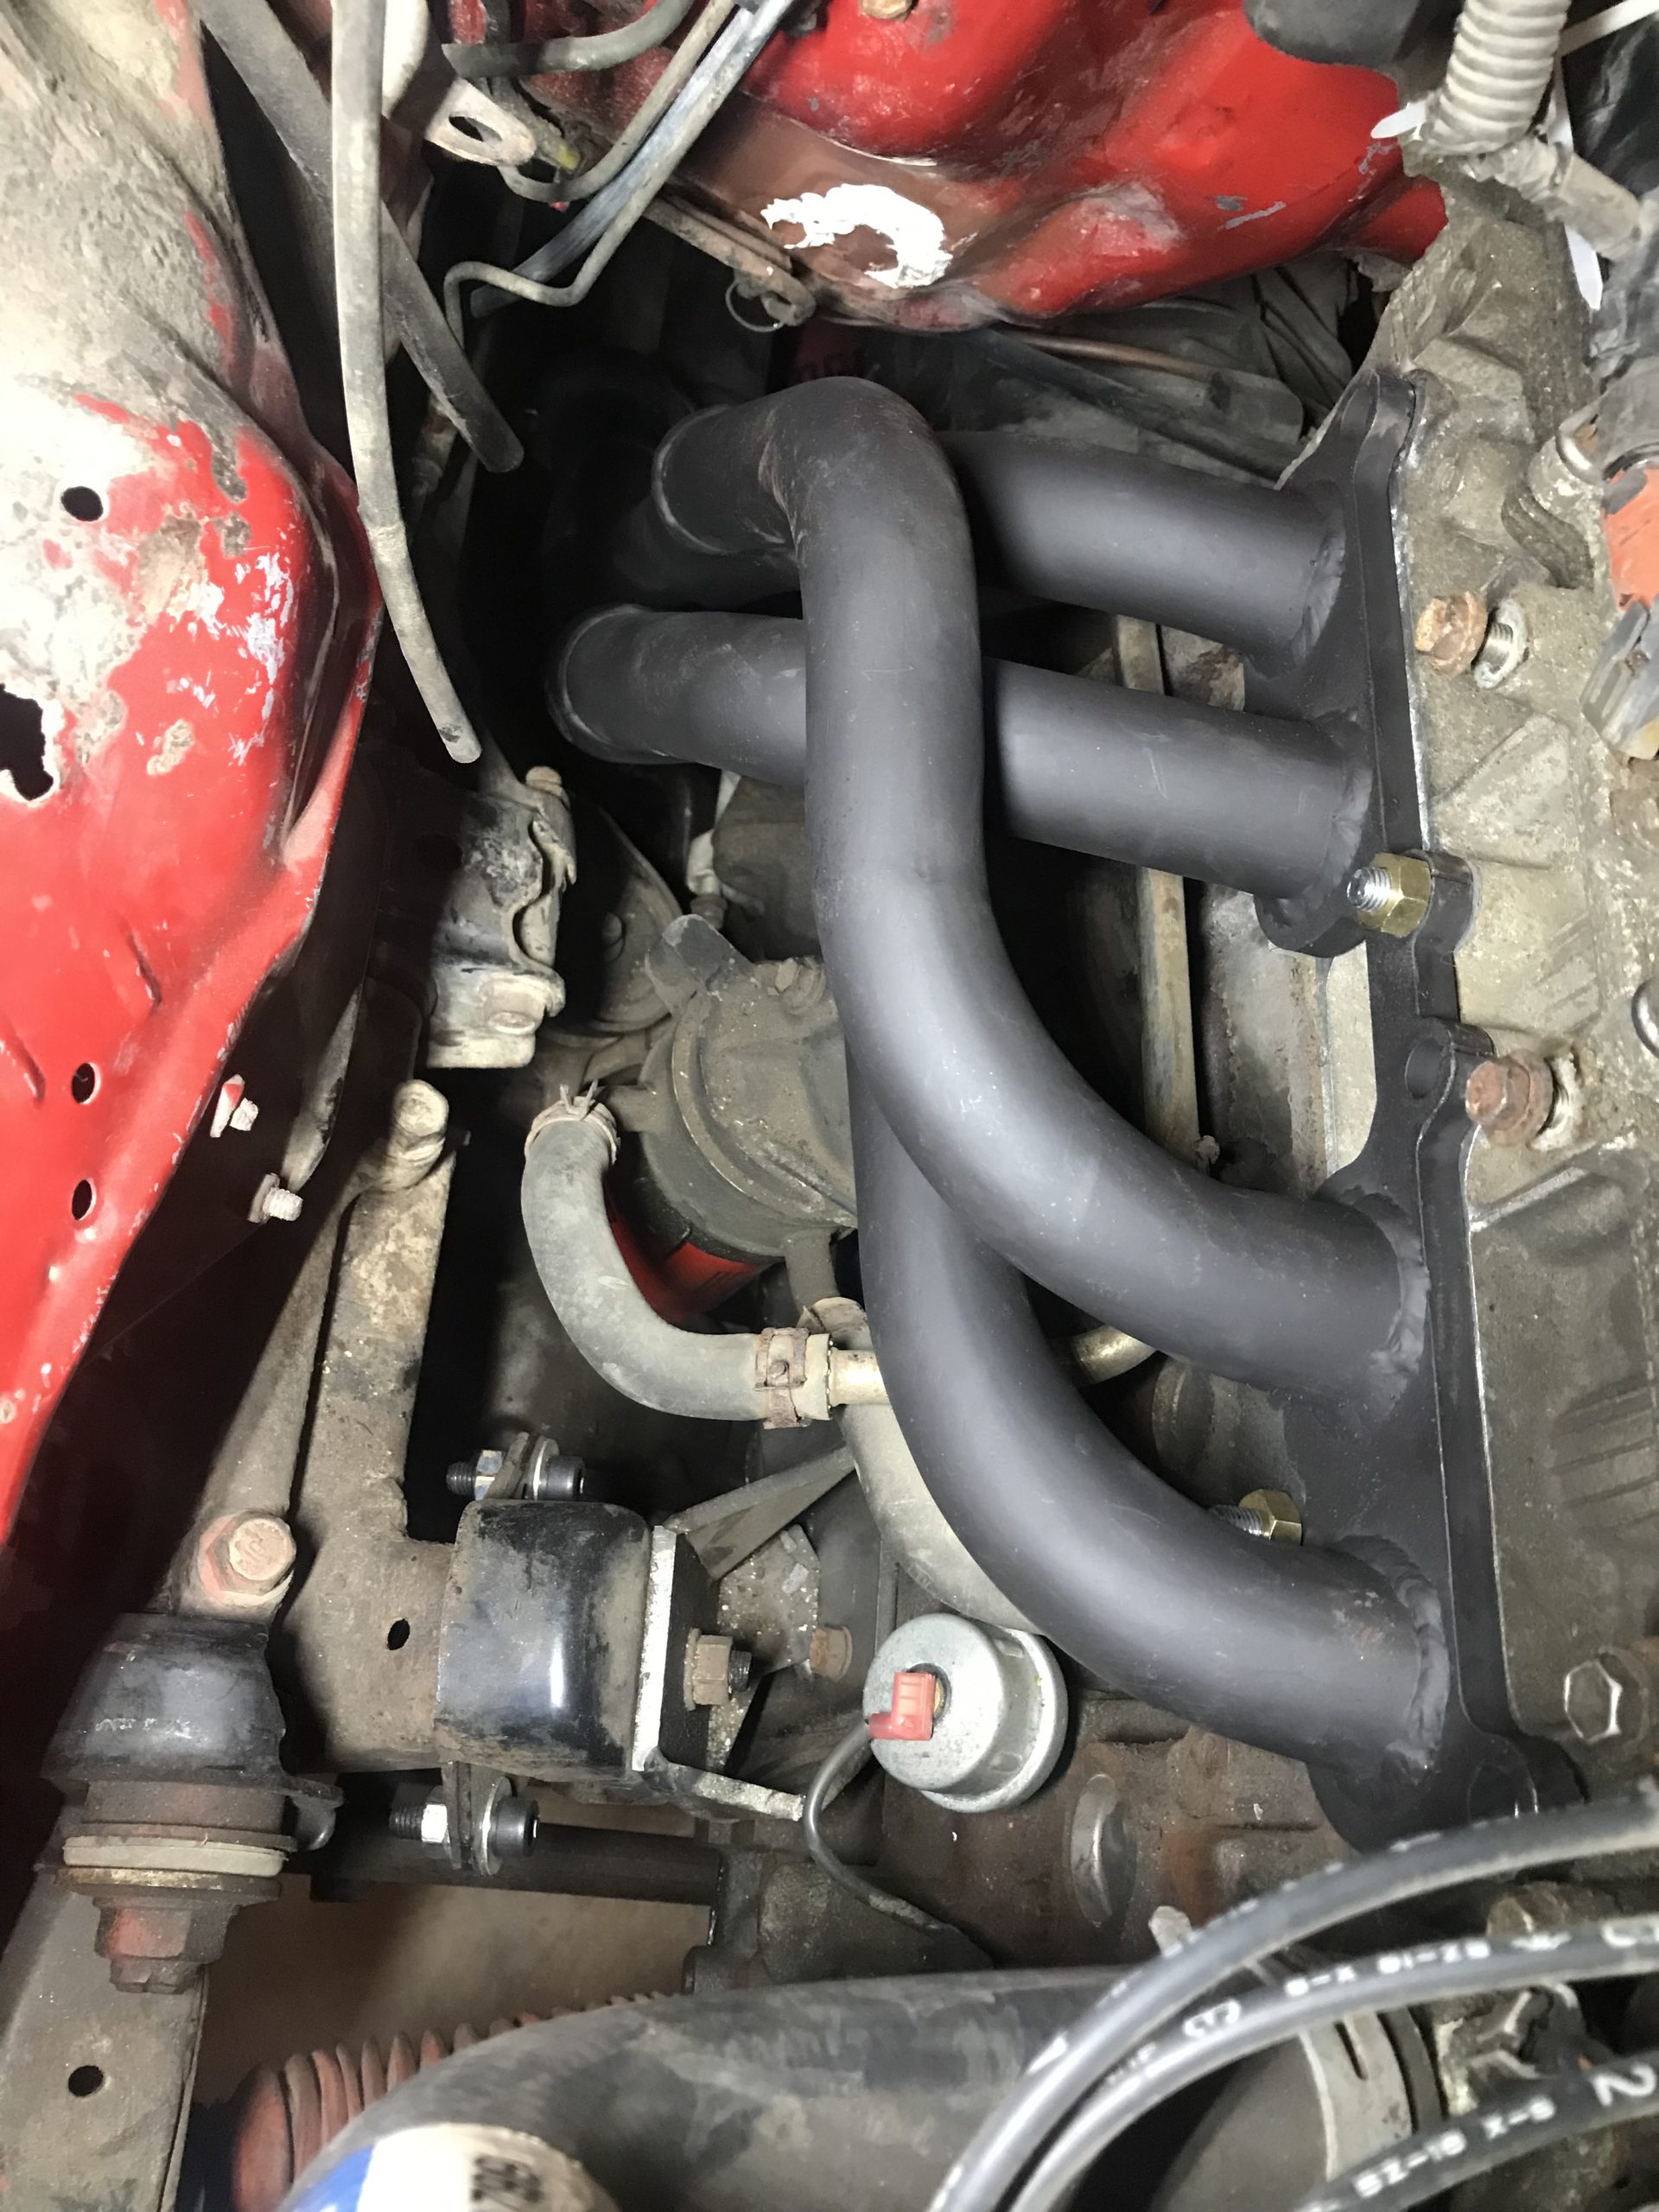
The Australian header fits like a charm! Perfect clearance all over. Soooo happy. It won’t floor nearly as well as the LCE unit, but this one was 1/3 the price to my door.
The money saved is noticeable in the finish (painted vs ceramic), diameter (2” vs 2.5”), and bends (die vs mandrel). However, I’m not upset because I can more than finish the rest of the exhaust system with the money saved there.Perhaps after next payday I’ll buy the fluids I require (gas, atf for power steering, and Coolant), and attempt to test fire.
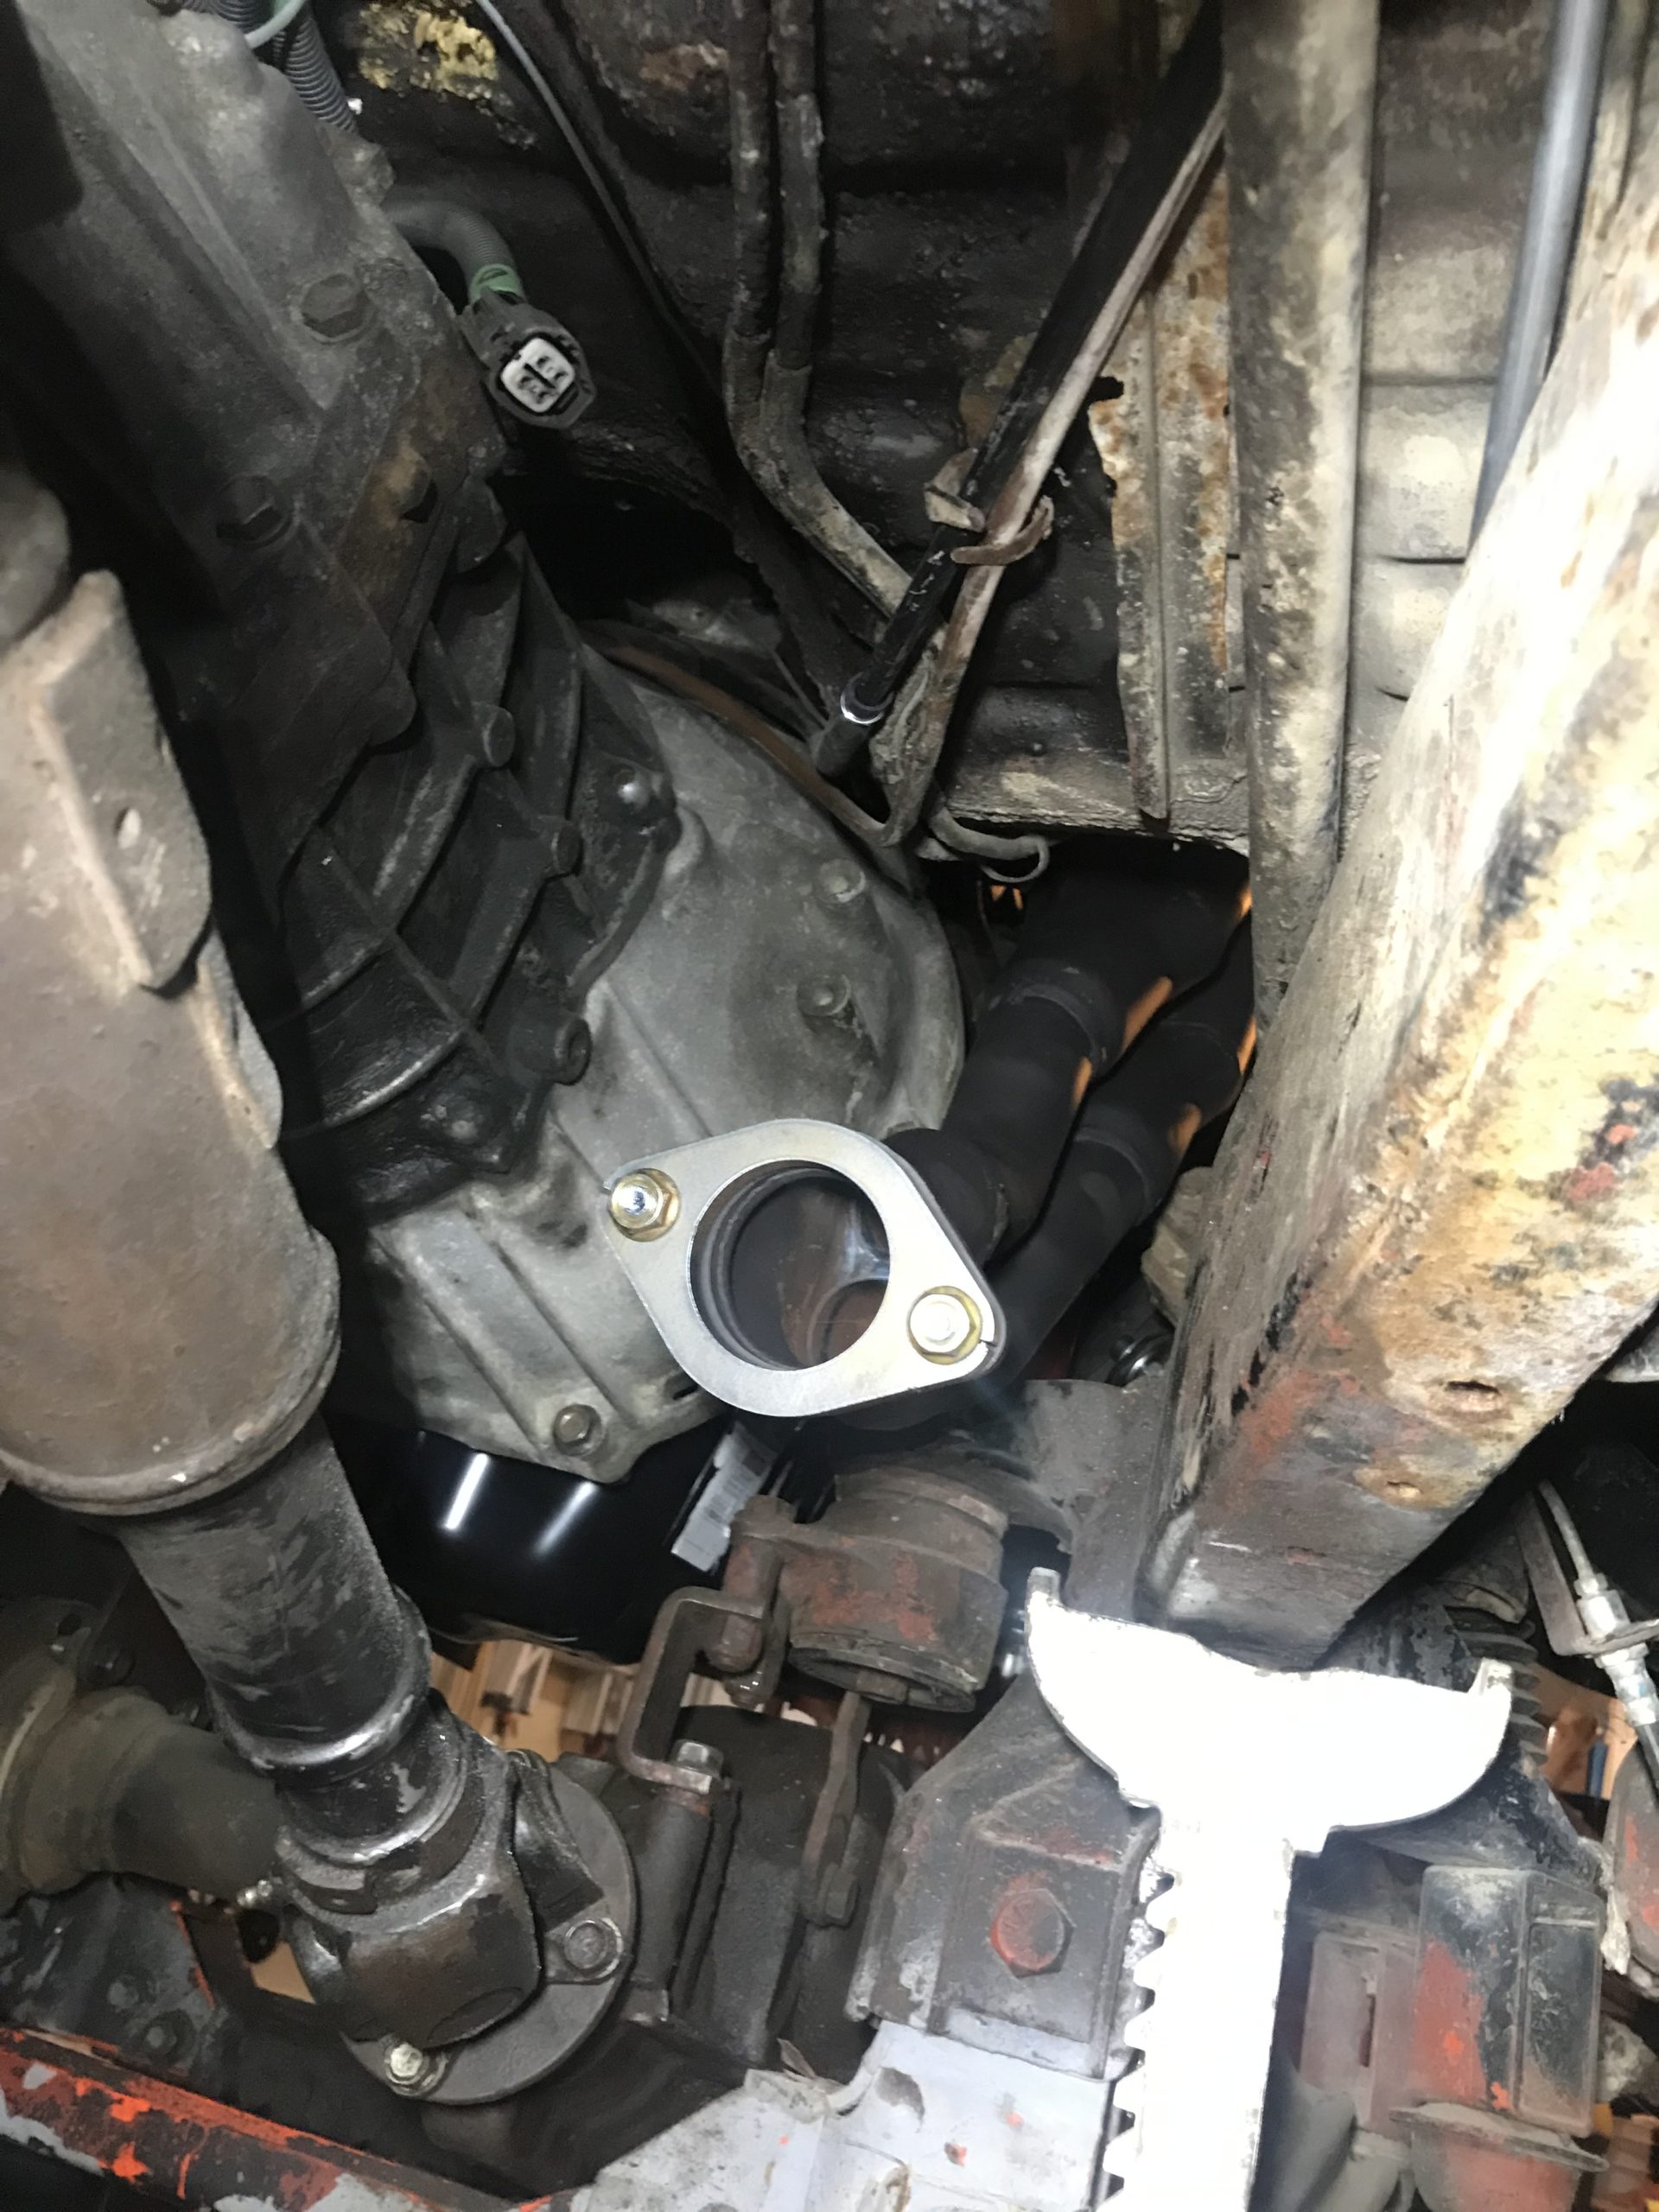
In the meantime i am trying to sell a pair 2.5” catslytic converters, so I can buy a smaller ID one. The header Outputs at 2.0” ID, and I was planning to run a 2.25” system. Now I’m not so sure.
-
This reply was modified 1 year ago by toys-n-yotas.
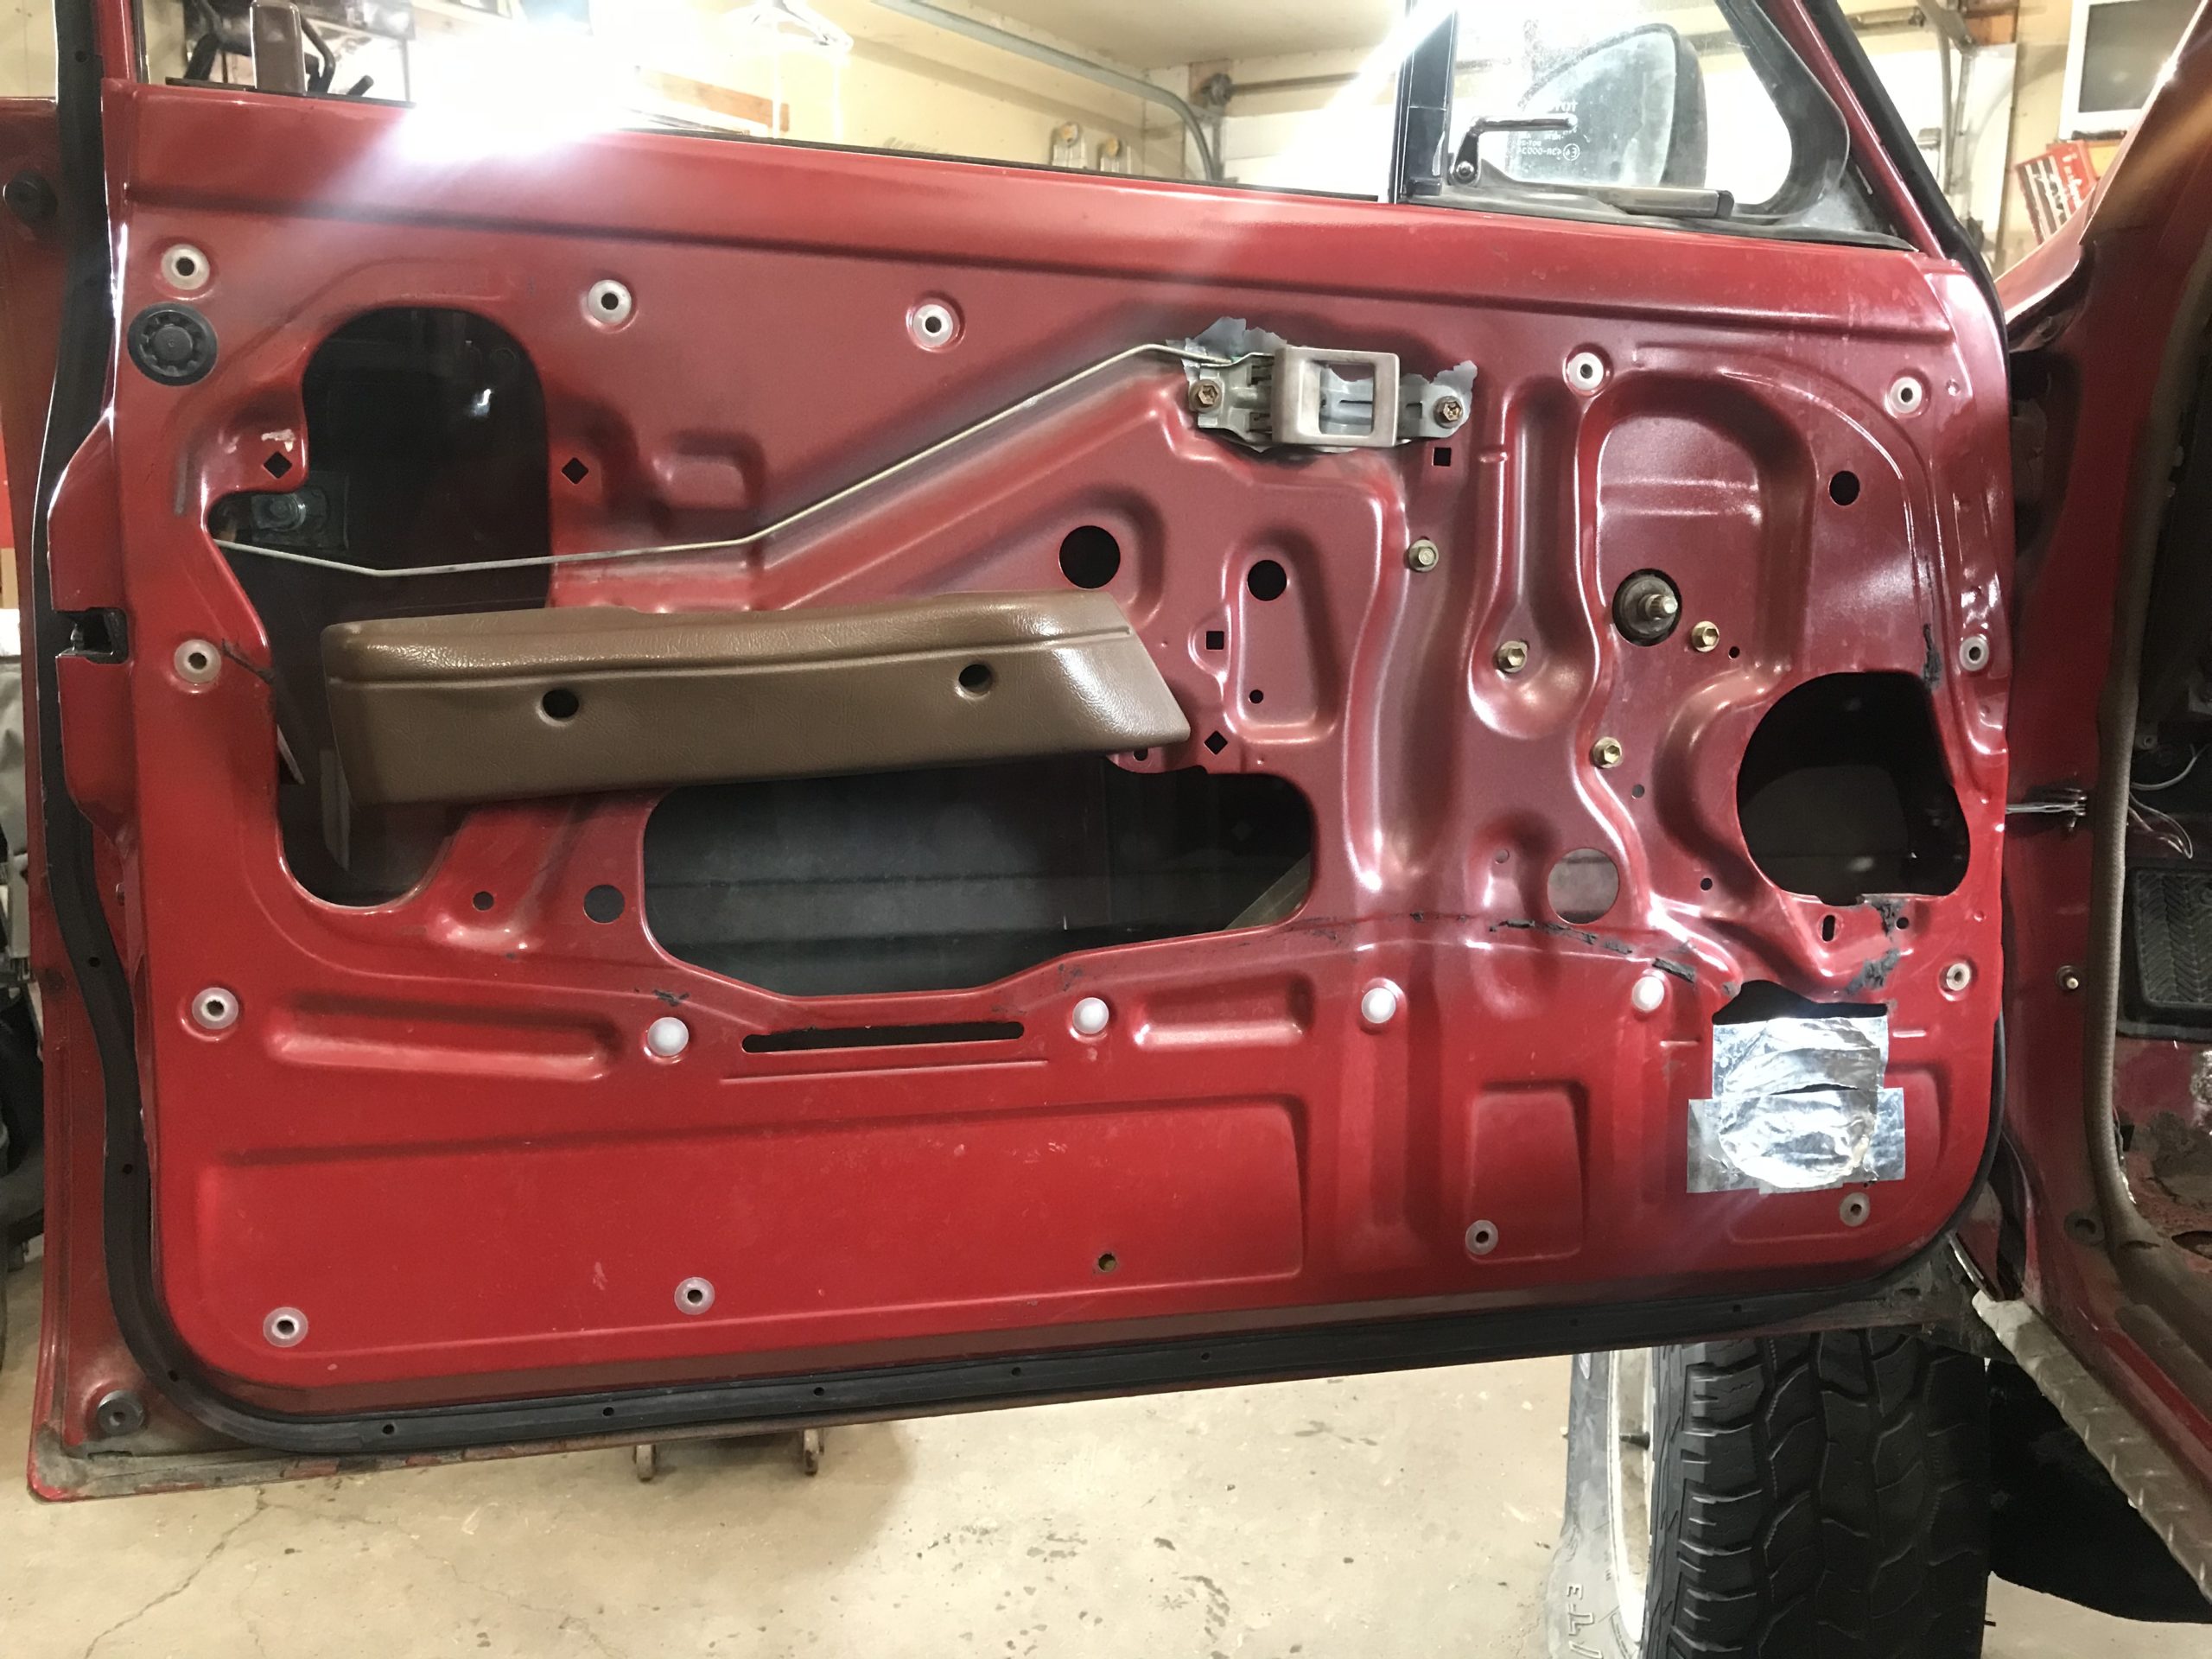
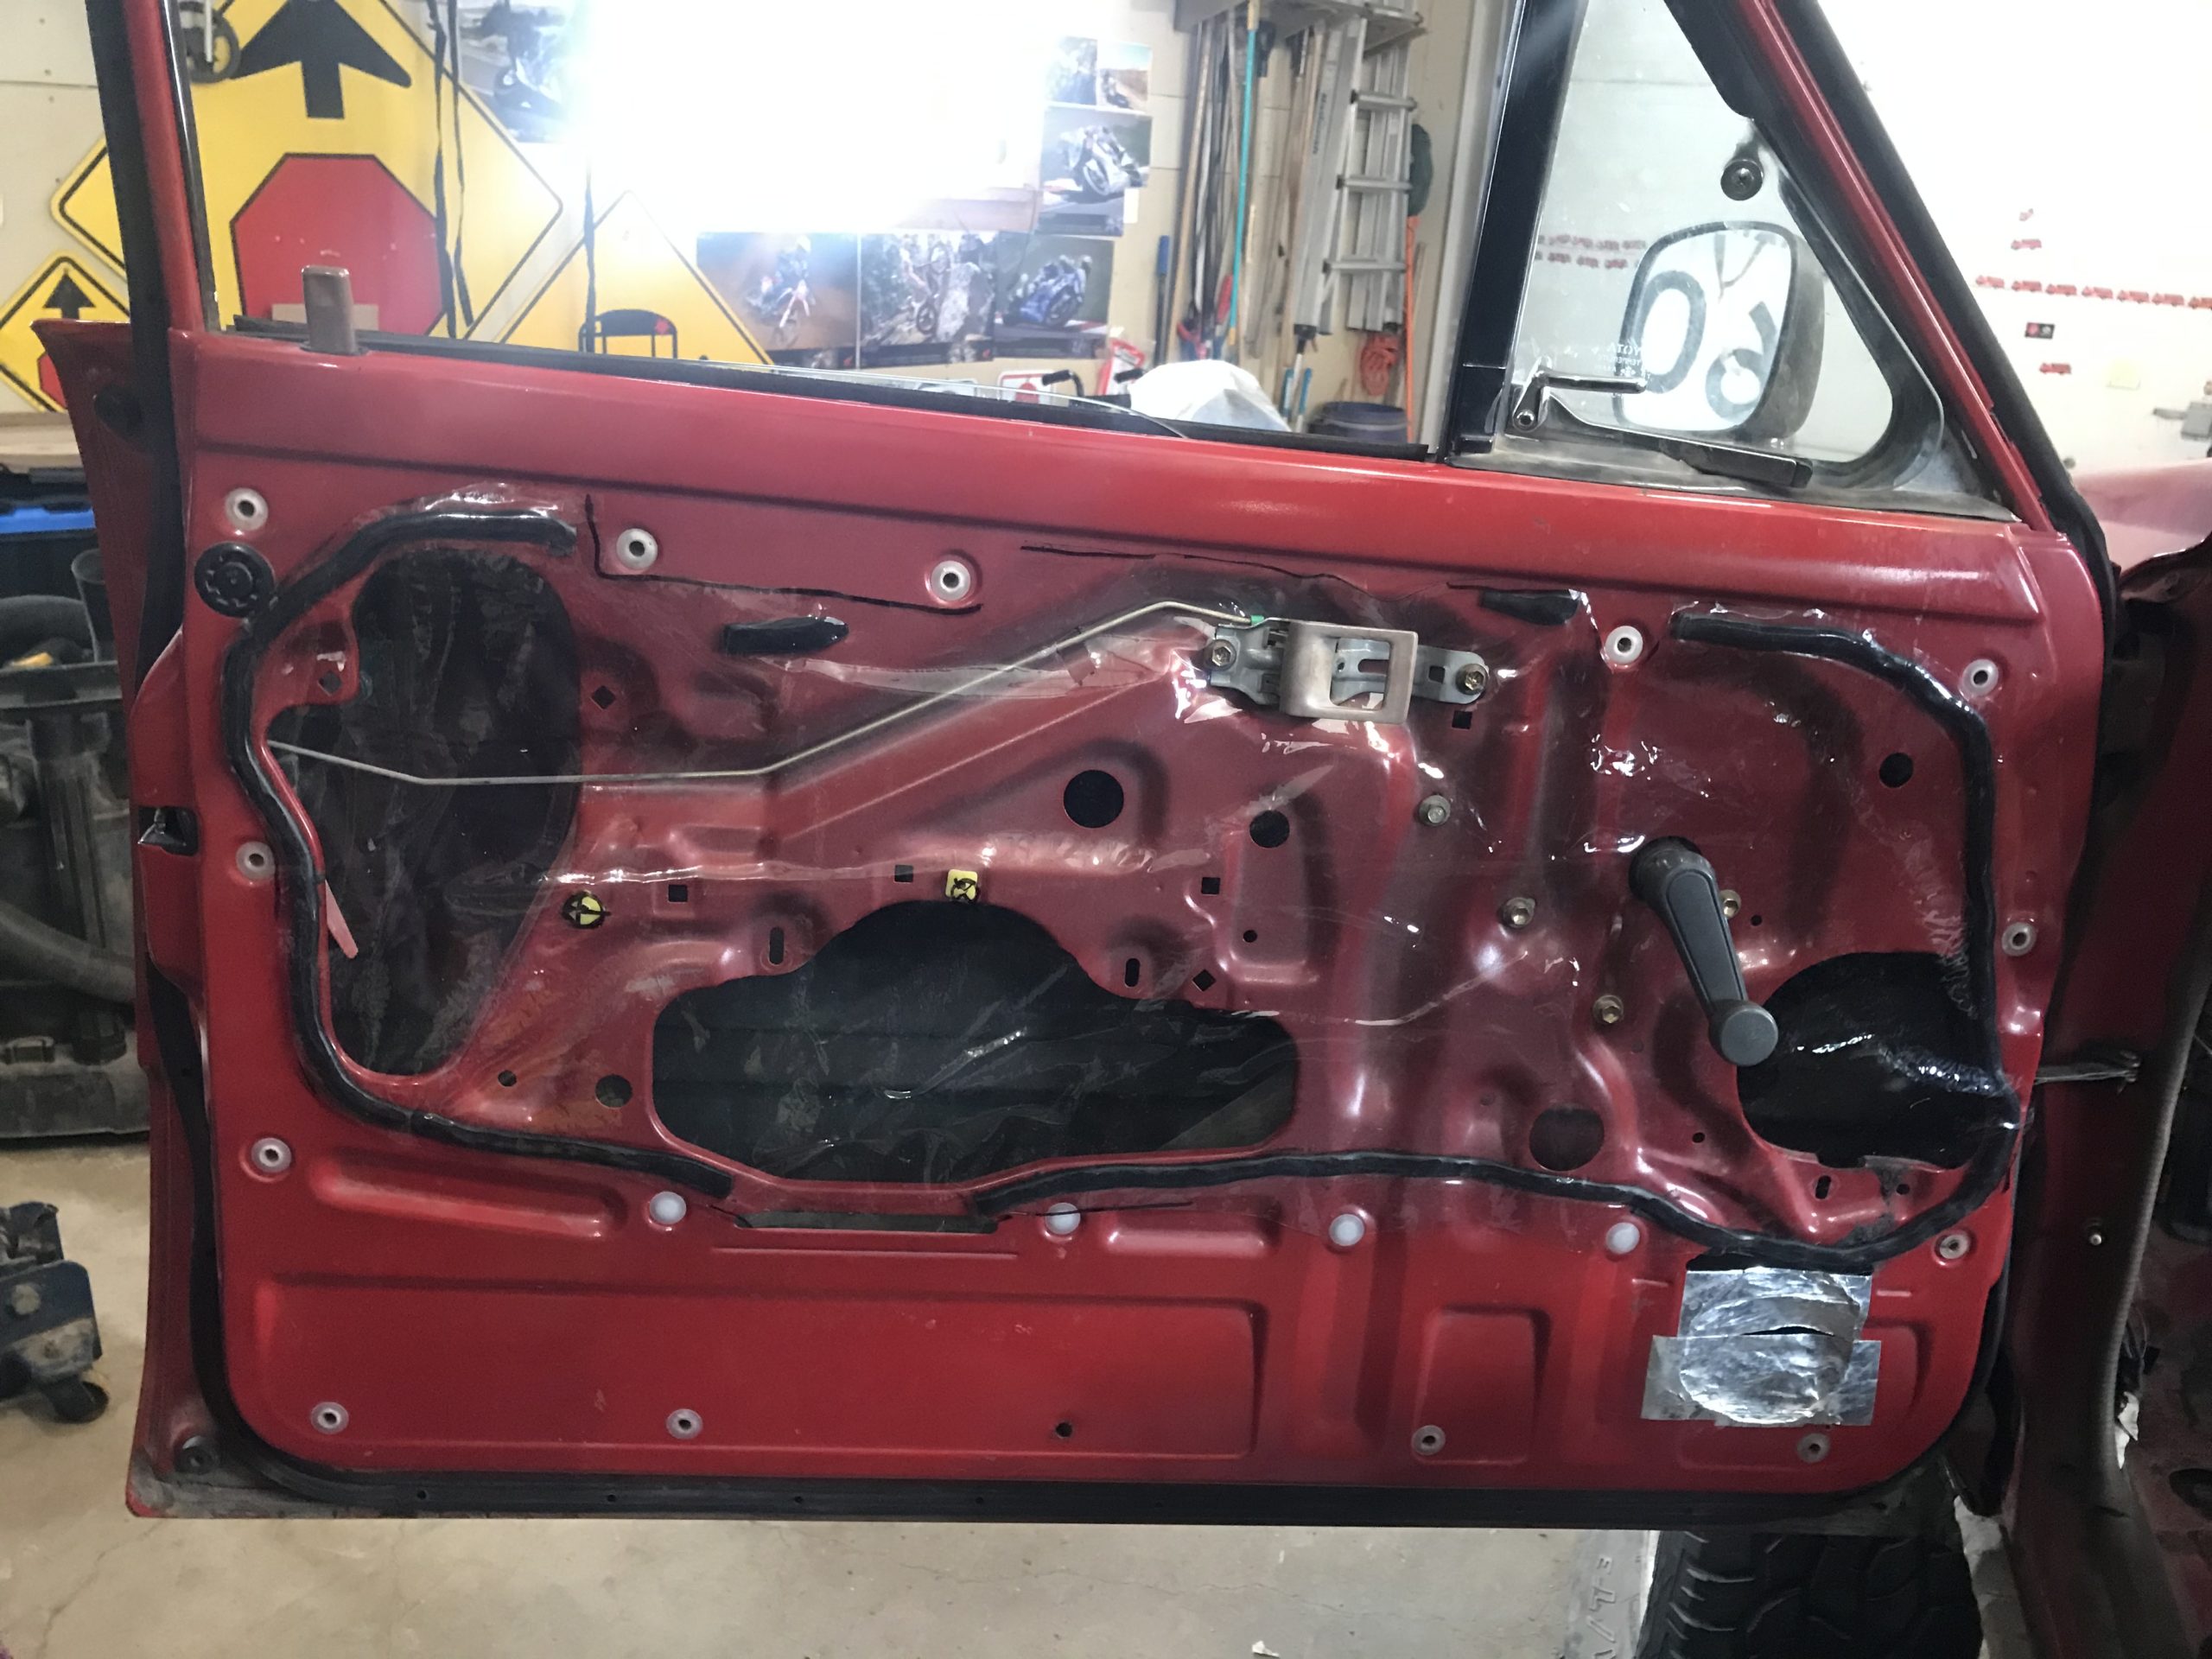
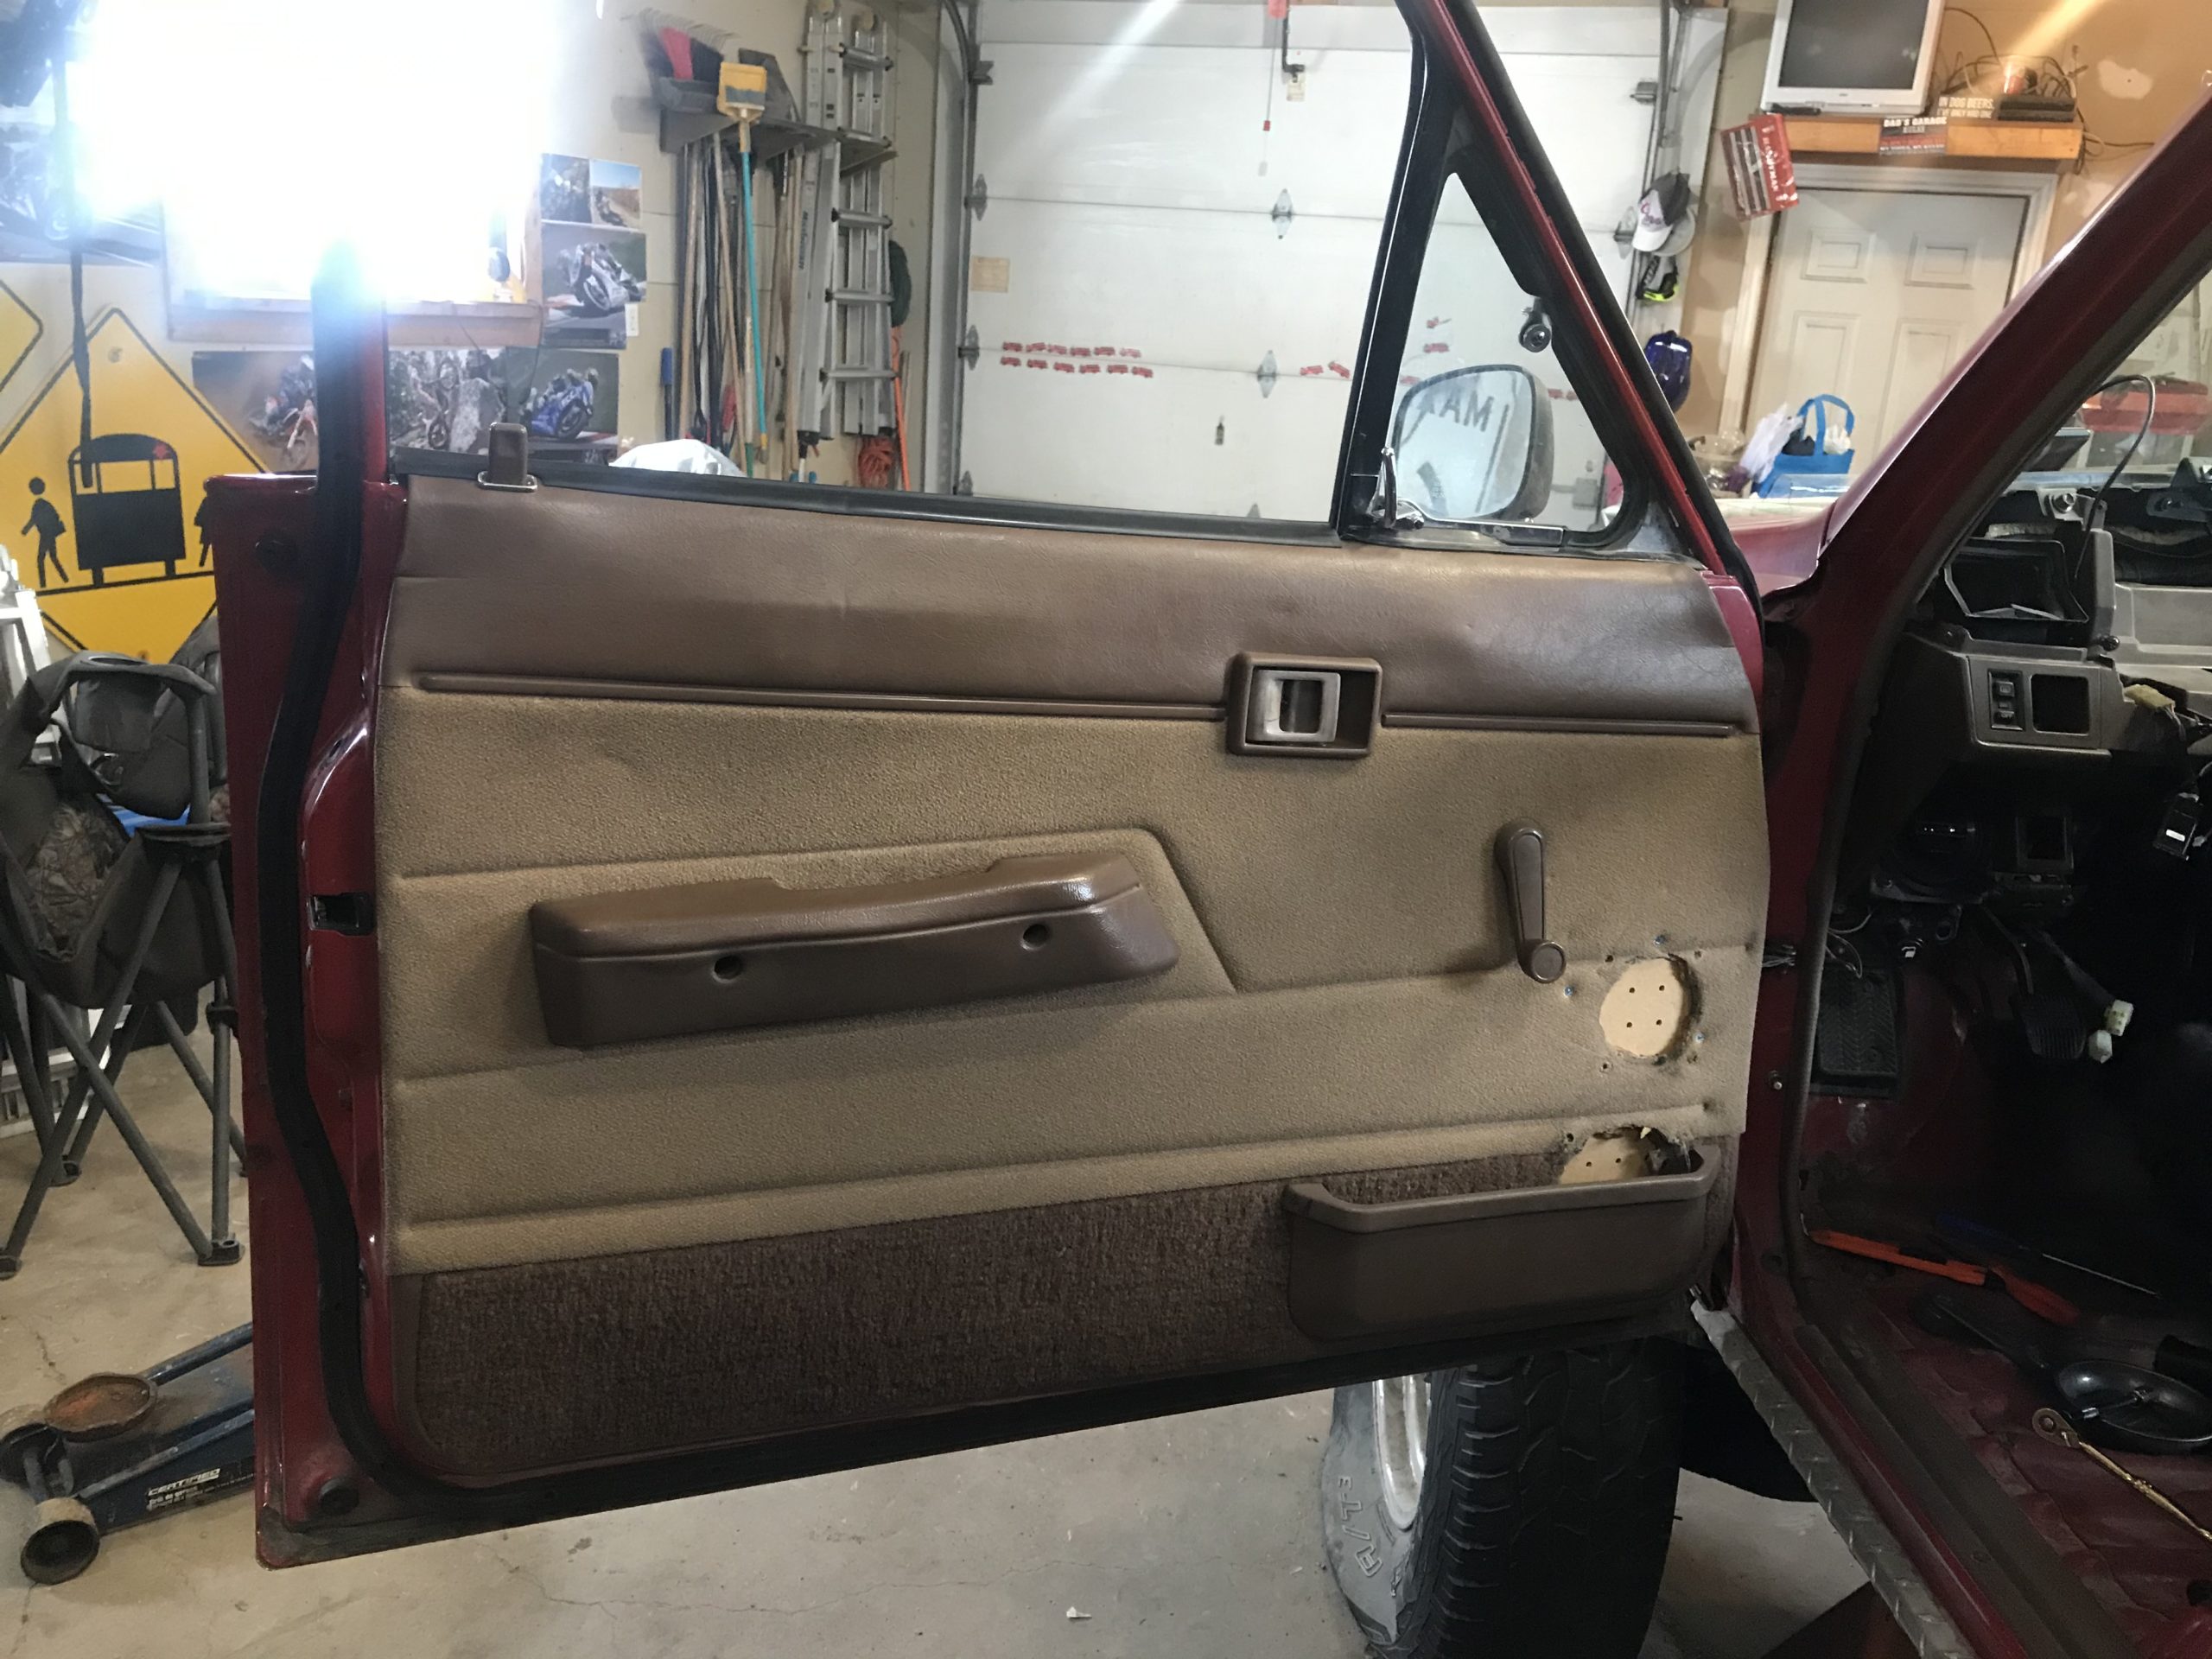
January 25, 2025 at 9:05 pm #212317toys-n-yotasKeymasterMade some great progress on the interior today with one of my daughters. We had a blast doing Truck arts and crafts in the garage.
We cut new Vapor Barrier, applied new butyl rubber to keep it in place. We had to repair the door cards too, they are weak from the speaker holes that were cut into them. So we added some peg board and wood screws. Not great, but better than naked door frames.
I’m waiting on adhesive backed sound deadening to apply to the floor before putting down new carpet. Should be here this week.
Planning to save interior improvements as daddy-daughter time, and exhaust building at night by myself.
Some before and after door pics
-
This reply was modified 1 year ago by toys-n-yotas.
January 25, 2025 at 9:12 pm #212322toys-n-yotasKeymasterJust realized that this is the first time I’ve ever installed the dirt cars in Redee. They’ve Been in storage since I removed the interior, and did a major de-turding shortly after bringing her home in 2018.
March 1, 2025 at 8:31 pm #212324toys-n-yotasKeymasterNothing really happened in the last month.
My 10-year old iPhone broke, and I was phone and camera-less for a month. I managed to get all my photos recovered, but now they’re all on my computer and not my cell phone. Have to start making progress on Redee to get new photos haha.
I attempted to install the front carpet, but got pissed off and put it back up into the loft. Now i still have to reinstall the shifters, boots, seatbelts etc.
I added coolant and atf to the power steering system in preparation to fire her up. Still need to install a header gasket, and the air intake system, and put some gas in the tank before i twist the keys over. Getting close, but legitimately did nothing productive for the last month.
March 10, 2025 at 11:26 am #212326toys-n-yotasKeymasterA little Sunshine makes a big difference in my life, so I converted two hours of building forts and bicycle rides into epic results in The Shop.
Psyched myself up yesterday, felt brave to put 15L off freshish 87 octane in the tank, and cycle the keys for good.
After a fuel leak at the tank (loose gear clamps), and 2-hours of NO SPARK investigation, I cleaned two ground locations and leapt for joy when Redee barked to life.
Redee spitting out some rays of motivation through an open header.
Redee lives!! 3RZ transplant, one step closer to cruising.
Cheers!!
March 11, 2025 at 12:23 am #212327FJTTSEKeymasterWay to go Tom, sounds great. Exhaust has a sweet tone, just leave it the way it is, LOL
-
This reply was modified 1 year ago by
-
AuthorPosts


- You must be logged in to reply to this topic.