Home › Forums › TRUCK BUILDS › Redee – 1986 4Runner
- This topic has 697 replies, 9 voices, and was last updated 2 weeks, 3 days ago by
 toys-n-yotas.
-
AuthorPosts
-
October 6, 2019 at 10:28 am #208513
 toys-n-yotasKeymaster
Still no progress made on Redee, don’t know what my excuse is now, but I’ll come up with one eventually.
I’ve finished that ATV and got it off my workbench, just waiting on FEDEX guy to deliver a new battery for it, and my buddy will give it a spitshine and get it on kijiji. I fix the broken crap, buddy details and meets with kijiji peoples. My girls approve of it being assembled enough to pretend drive it
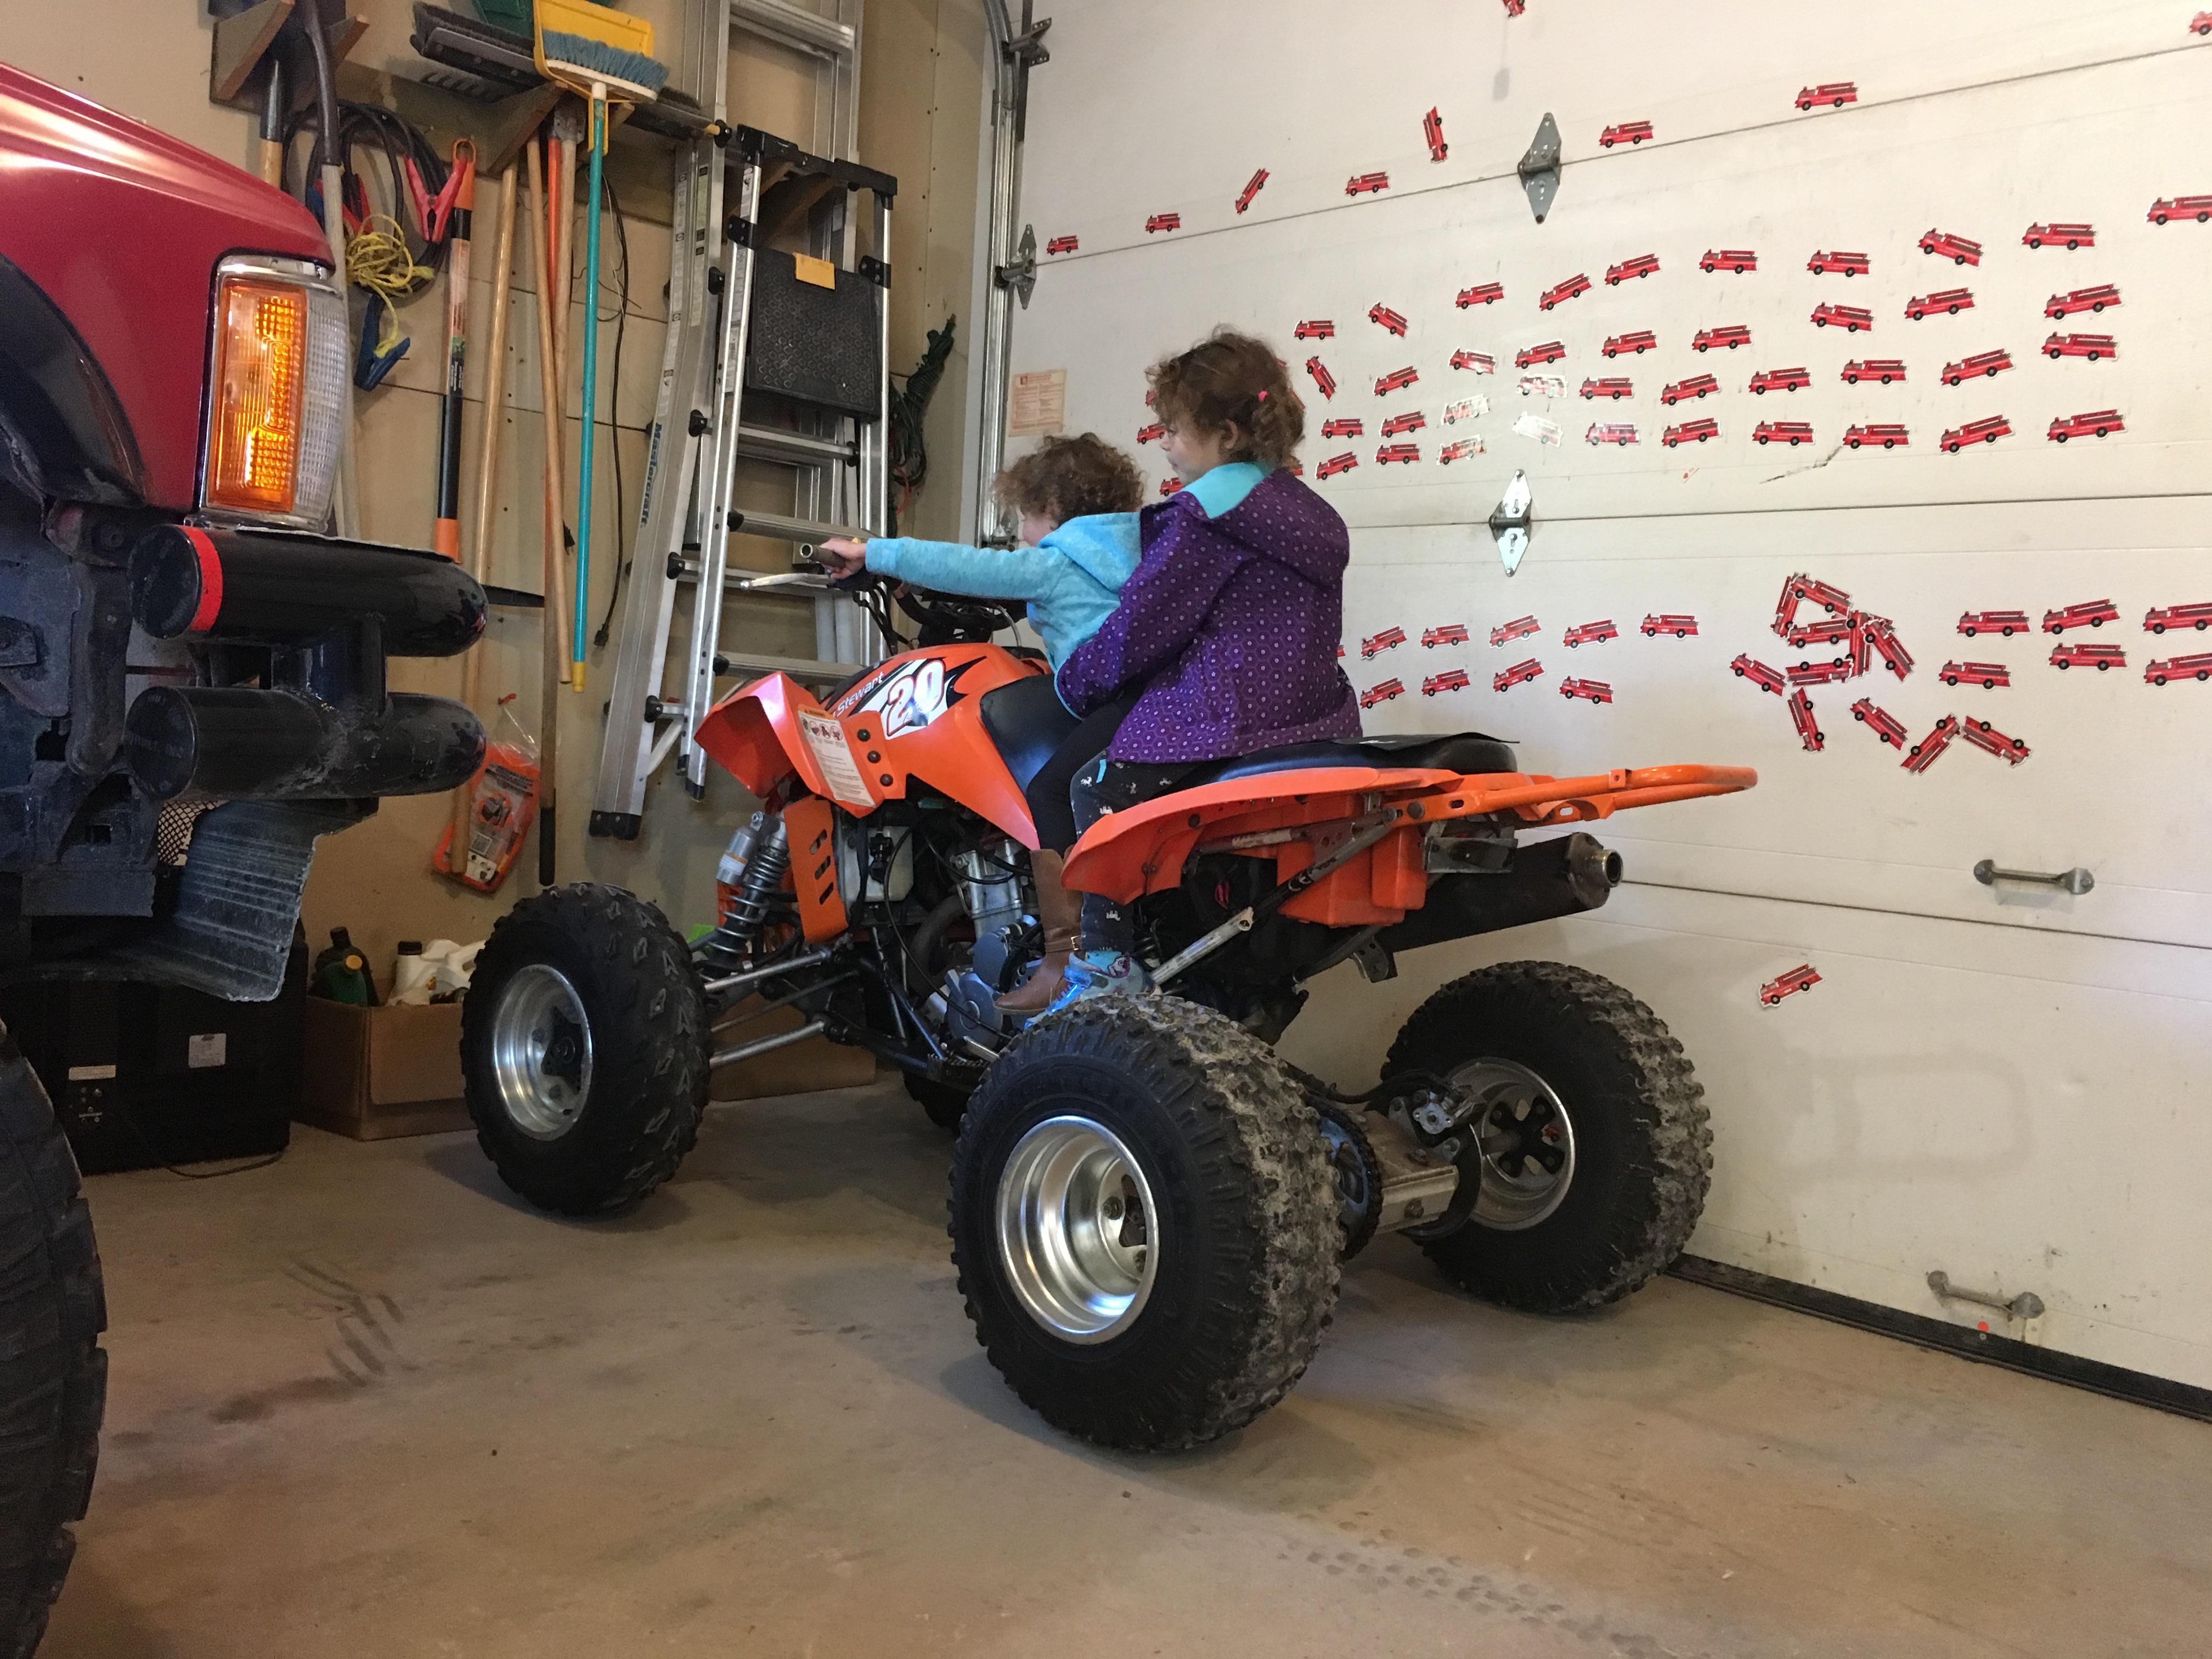
My garage is also heaps more organized, and ready for wrenching.
Ohh, my excuse. Redee is coming off the road in a couple weeks before the weather fouls for 6-months, will save my wrenching for November-April. This winter will be: Steering parts, ball joints, starter, alternator, some interior work, and try to locate and stop an oil leak on the Chevy. Of course it has to be something leaking on the firewall side of the motor, where nothing is visible or accessible.
October 12, 2019 at 5:55 pm #208538 toys-n-yotasKeymaster
My ratchet strap spare tire holder has been revised to a 2-strap setup. The section of tire that was touching the shackle has rubbed through a couple layers and some belts are showing. The sidewall that was resting on the underside of the frame has a cut in it too. Hoping ghetto version 2.0 will do less damage to the tire. Should I ever need to drop this tire, a knife will be used rather than contorting my body under Redee….again.
October 12, 2019 at 9:40 pm #208539 Toy-YotaParticipant
Sounds like you need a swing out tire carrier!
October 13, 2019 at 9:22 pm #208542 toys-n-yotasKeymaster
For sure! Hoping to find/fab a new rear bumper with a swingout. The SmittyBilt rear is not fastened well to the frame because it’s meant for the Pickup. The 2” receiver hitch is more for show than function. One quick Crawl under Redee and you’d see what I mean.
October 15, 2019 at 9:41 am #208544 toys-n-yotasKeymaster
I’ve found the source of the Castrol River!! The nylon tubing from my mechanical oil pressure gauge has a leak under the fitting. Took the girls on a big tour yesterday and the drips under Redee this morning were excessive.
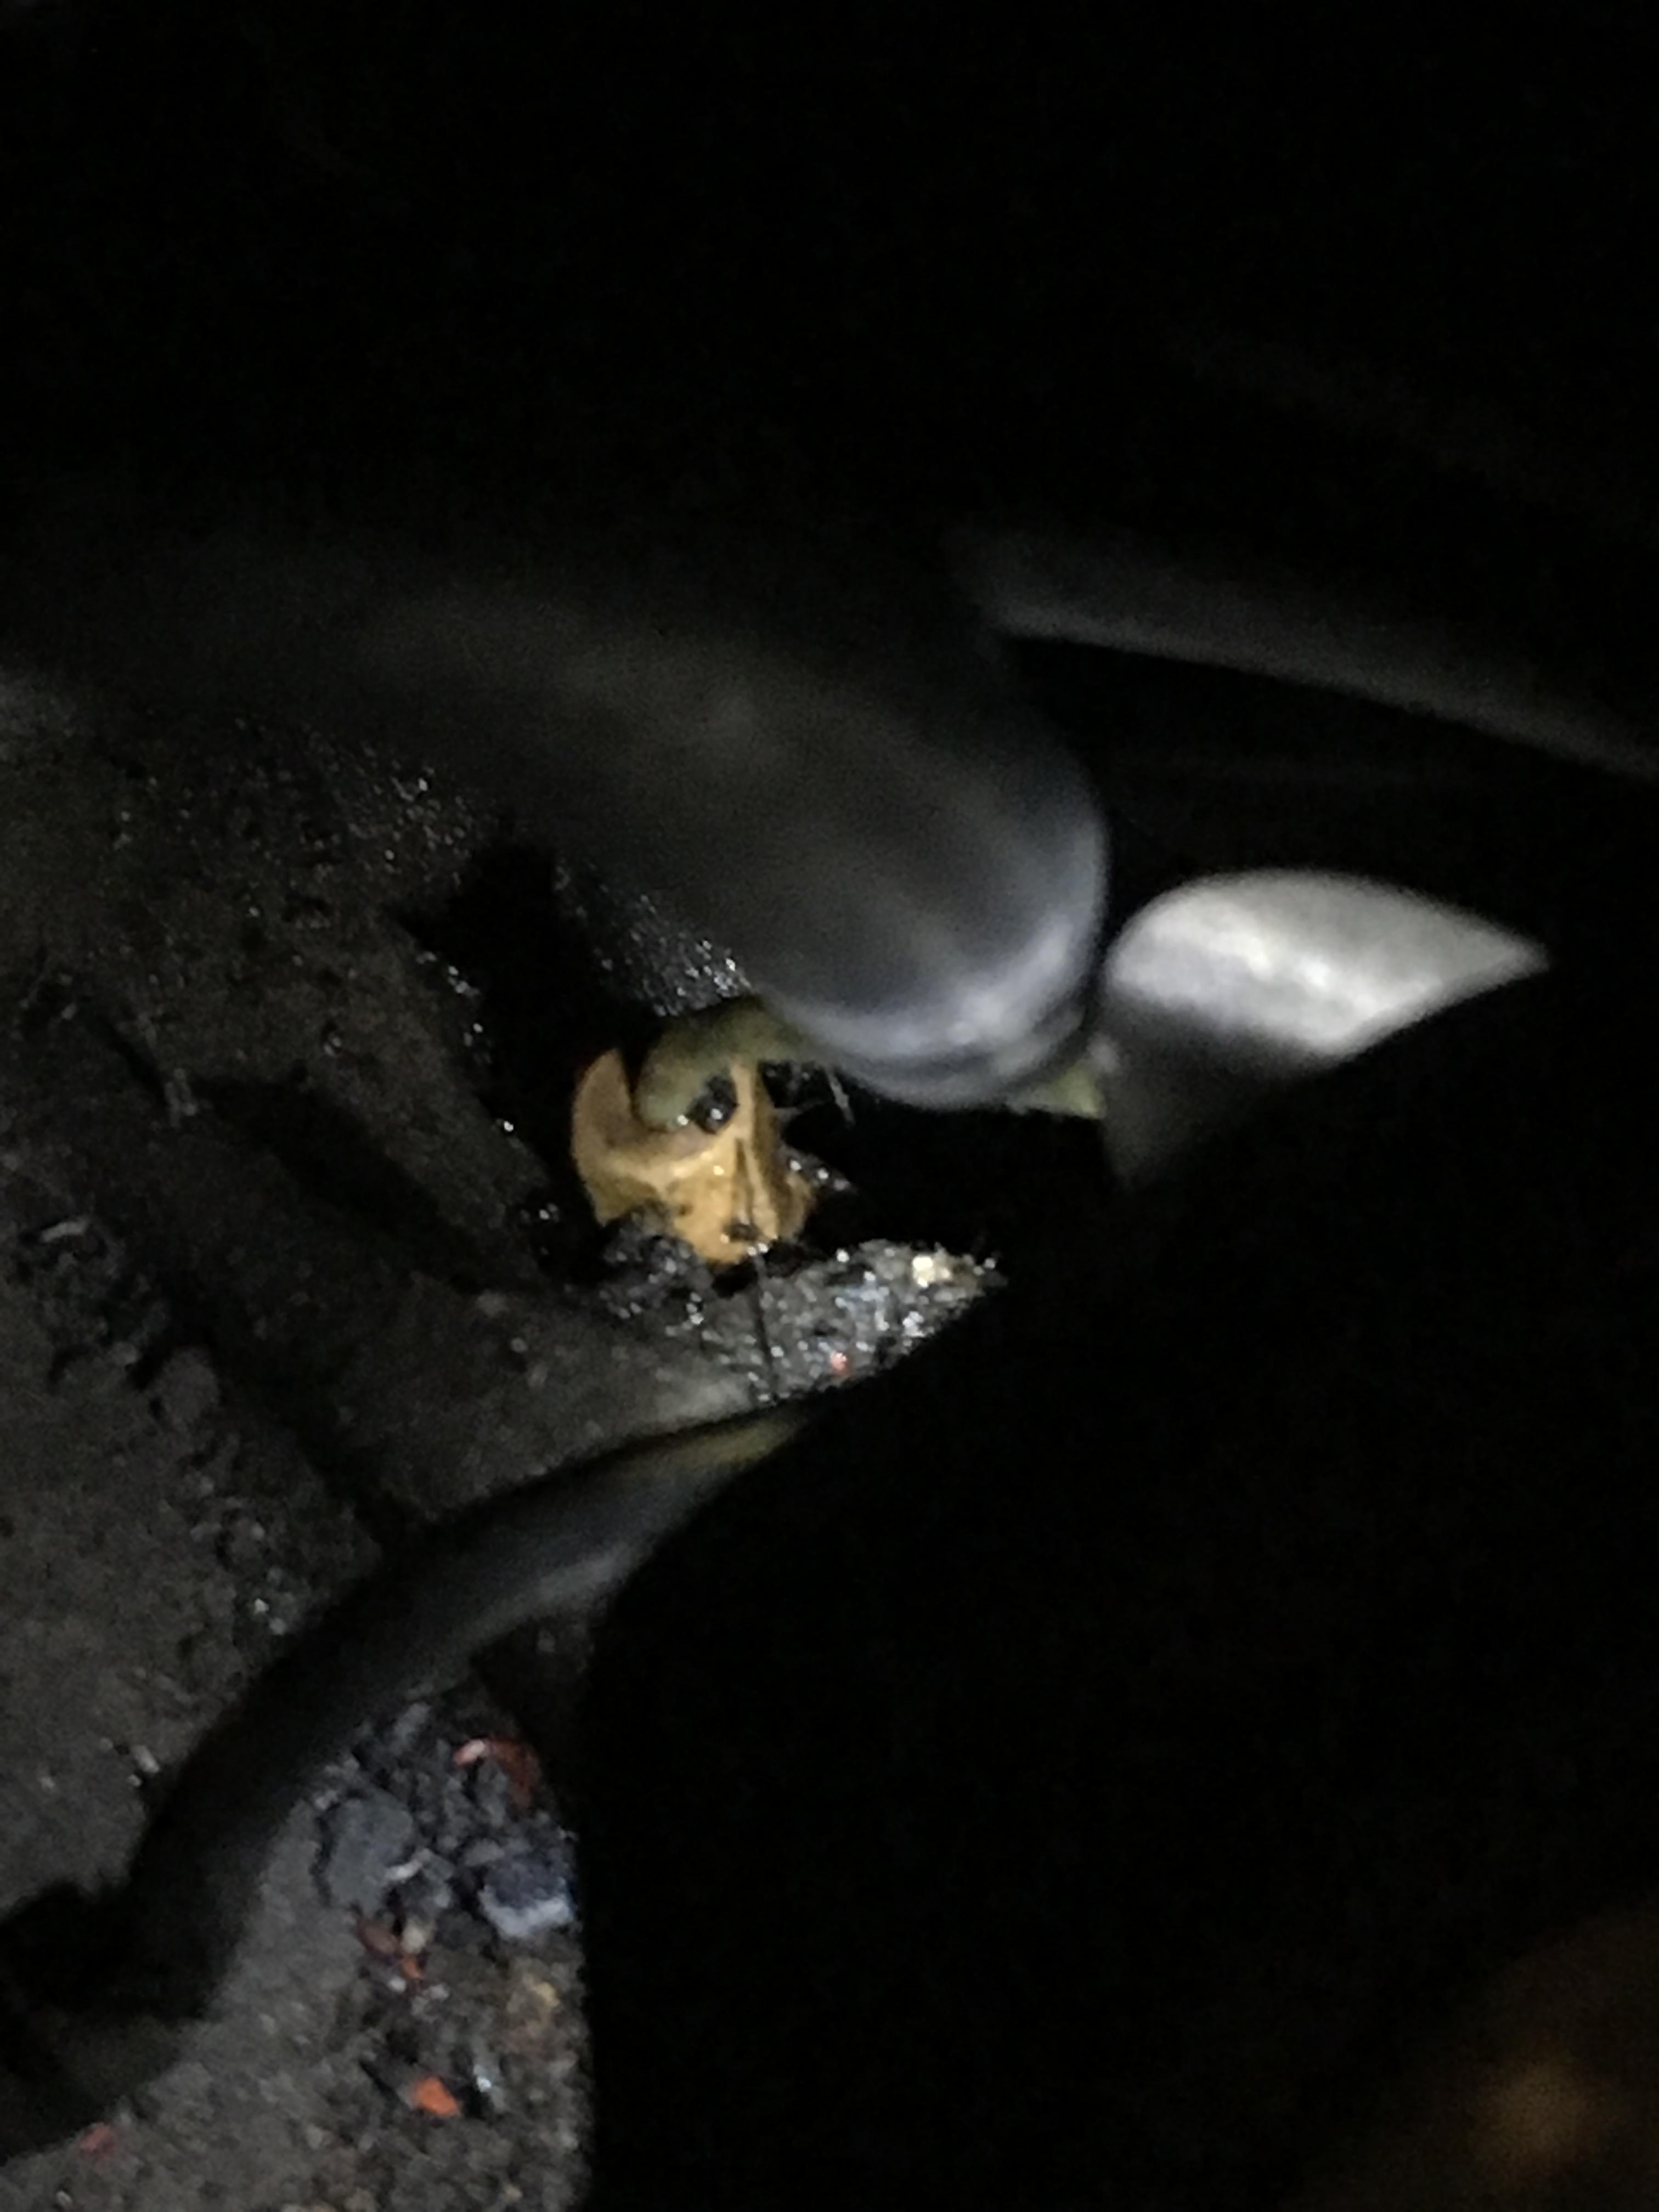
1/4 turn with a 3/8” wrench and the river has stopped flowing. Up next, power steering leak haha.
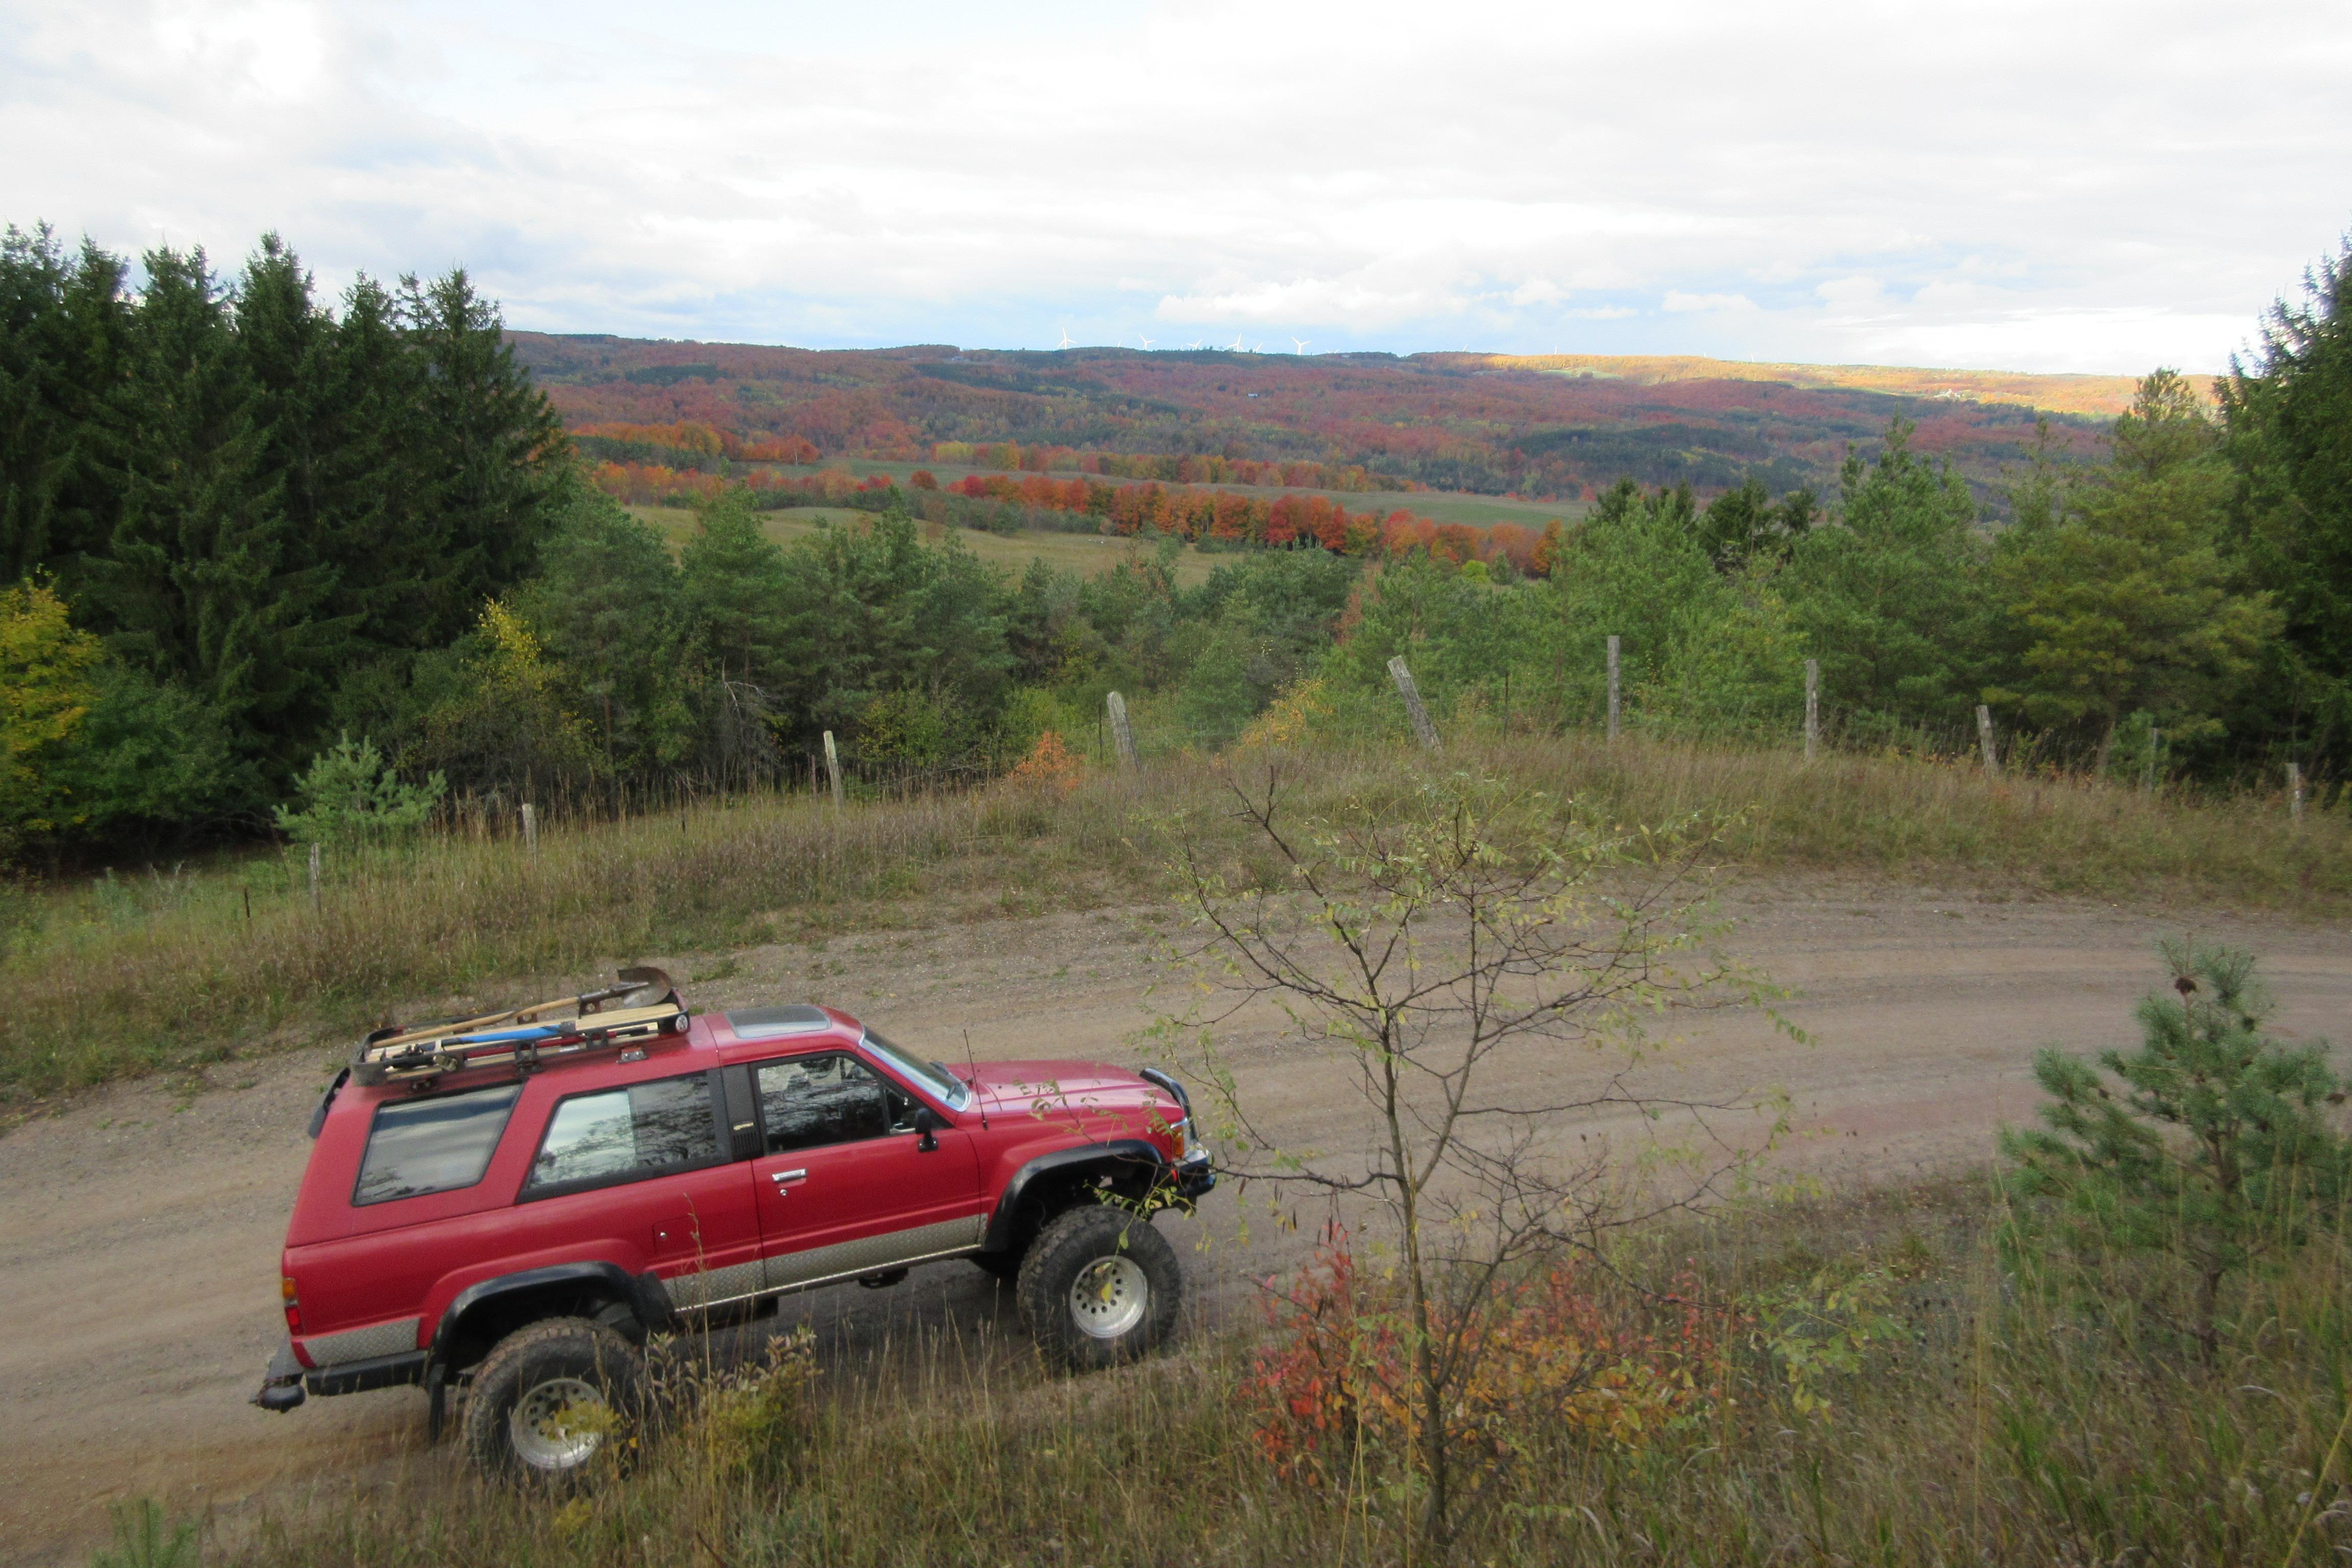
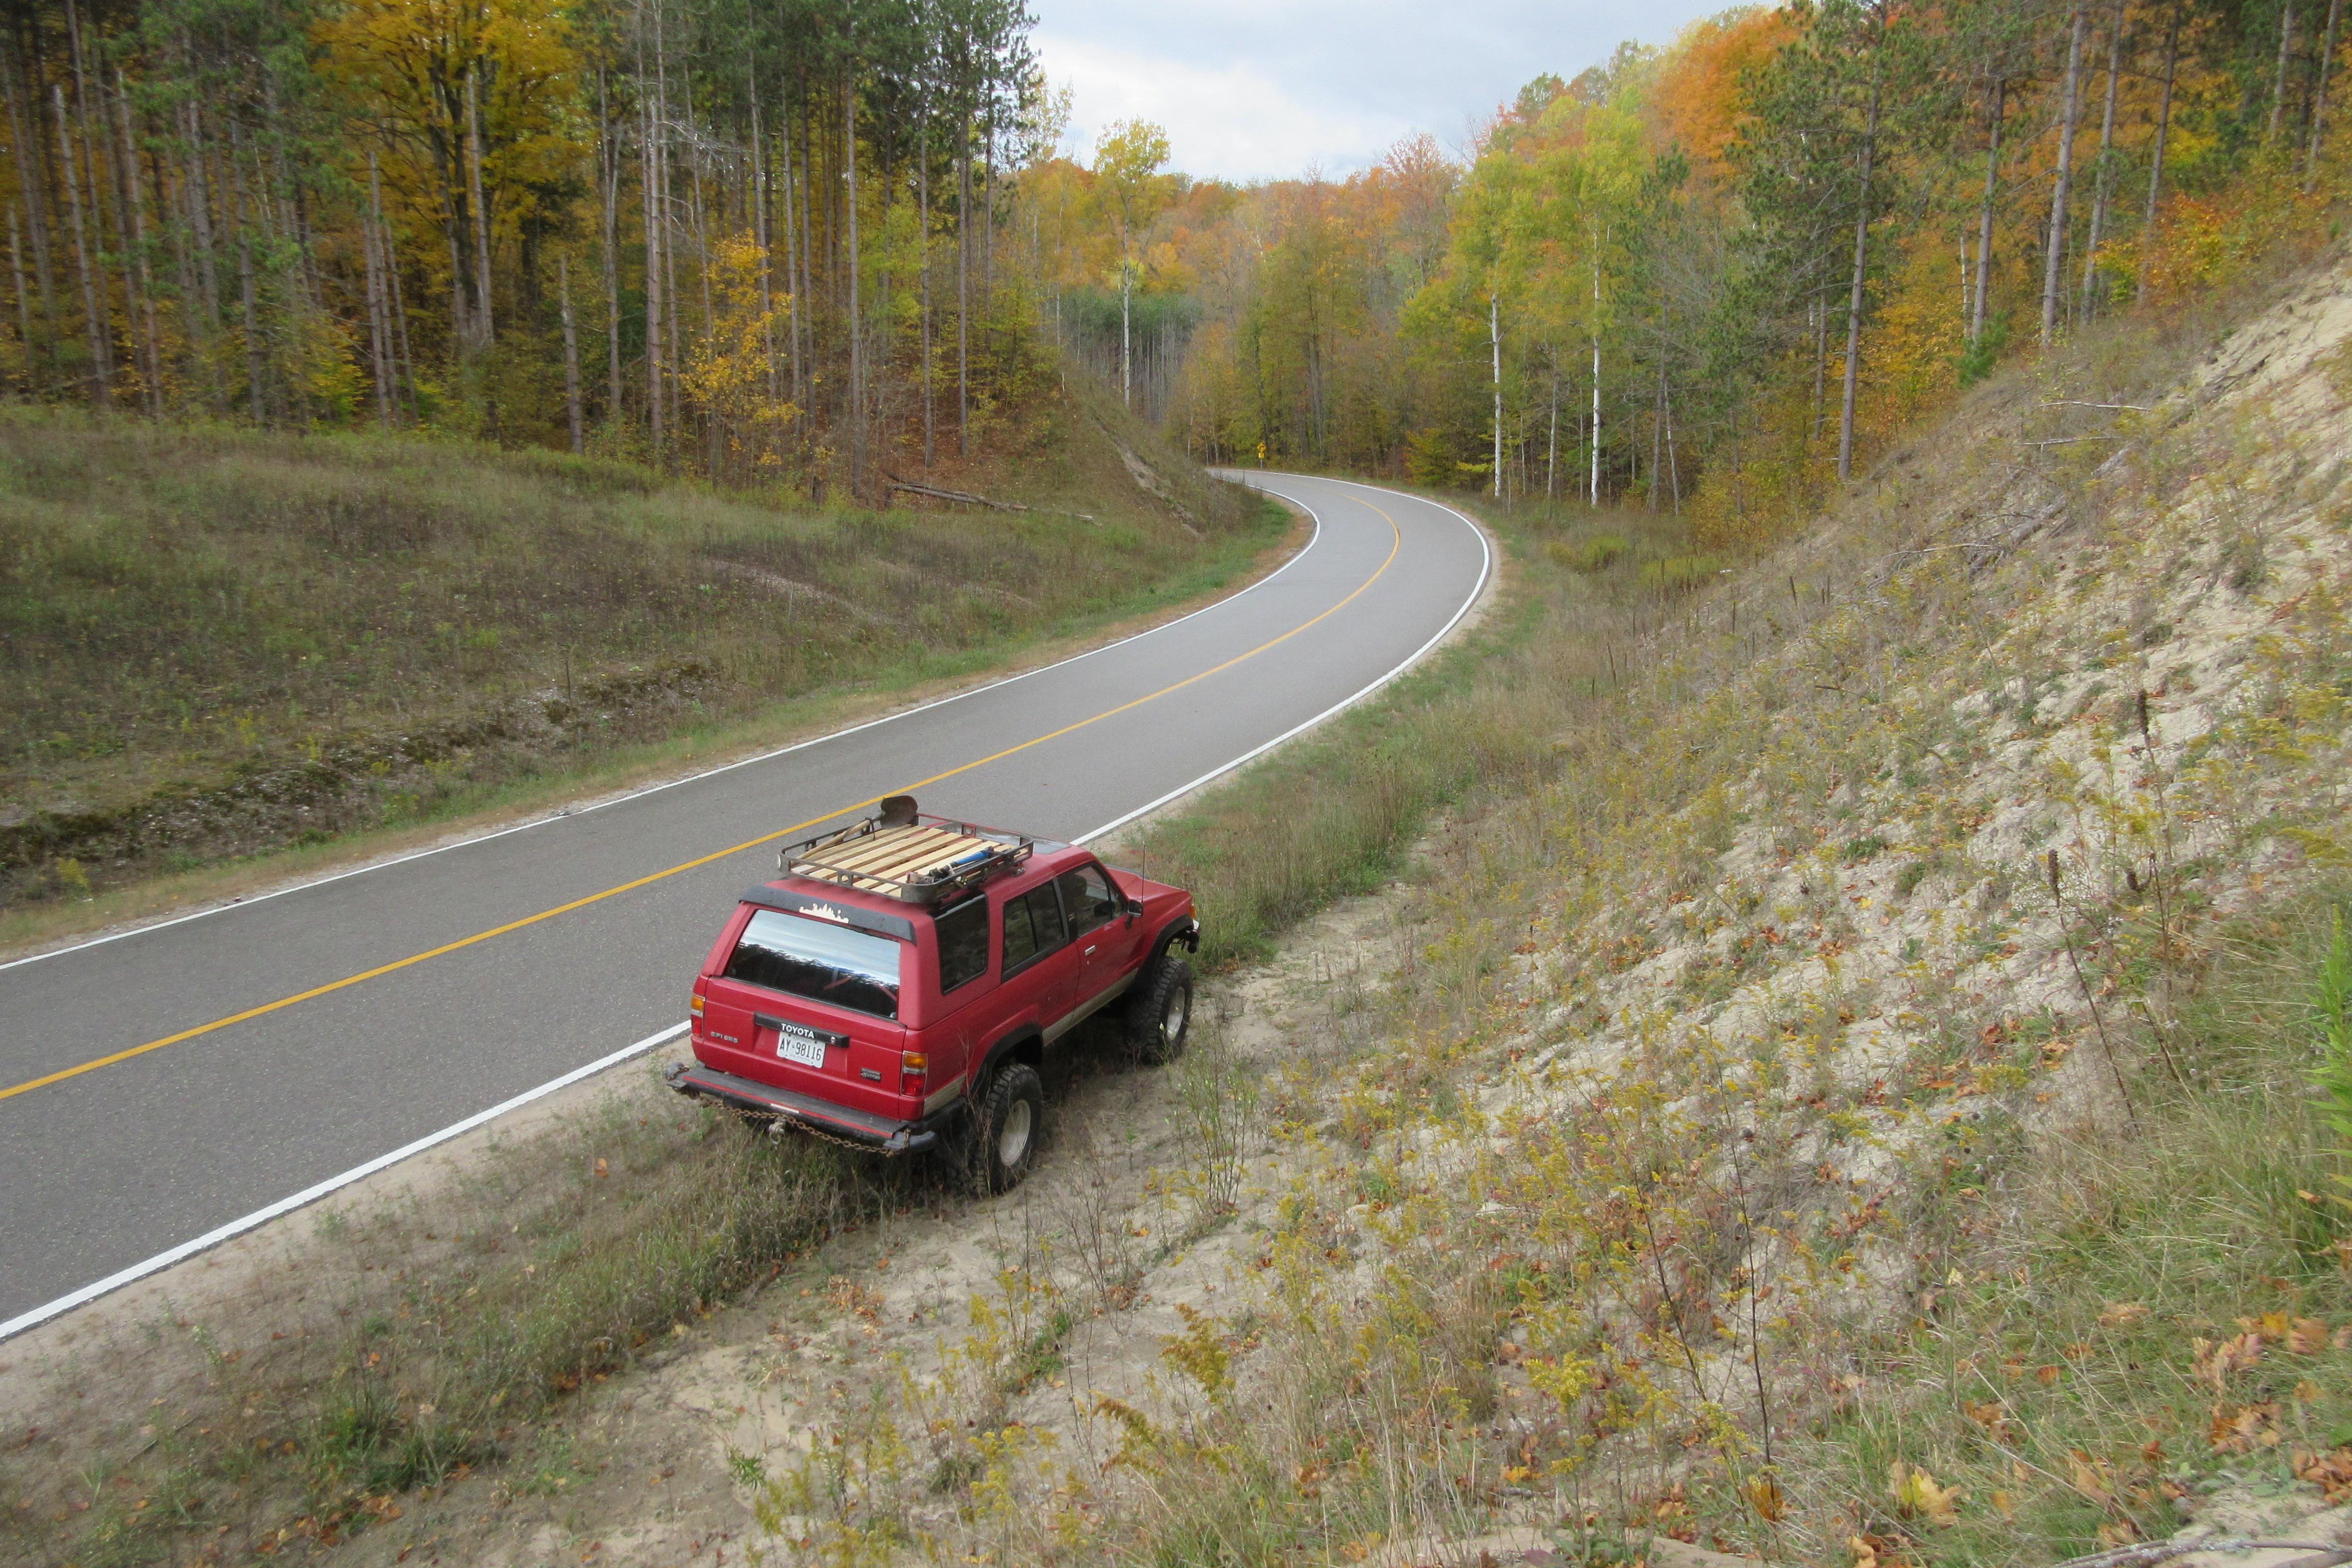
We pre-ran a couple sections of the No Exit tour, and the colours were popping! We had a blast cruising to a new spot, hiking till we were cold, warming up in Redee while we search for a new spot.
-
This reply was modified 6 years, 3 months ago by
 toys-n-yotas.
October 28, 2019 at 10:17 am #208586 Toyota TomParticipant
Finally made it threw the whole thread! Kudos for all the hard work man.. especially all the dash and hvac stuff. Makes you feel so good driving the truck you’ve been busting your ass on for so long!
Redee is a sweek looking 4runner! Loving the roof basket, might do one as well.
October 28, 2019 at 10:47 pm #208589 Toy-YotaParticipant
Yeah I love the basket too, looks awesome!
November 2, 2019 at 4:06 pm #208612 toys-n-yotasKeymaster
Thanks Tom, and you’re right about sense of satisfaction. I enjoy just about every cruise I have cause last winter was so busy. The HVAC was pretty nerve wracking, especially separating the plastic tabs/joints. It still isn’t perfect, but works well enough for now. The vent selector has lots of resistance, maybe needs some Jig-A-Loo, and the Hot/Cold temp slider isn’t attached to anything. I’ve got some parts laying around to rig up that cable.
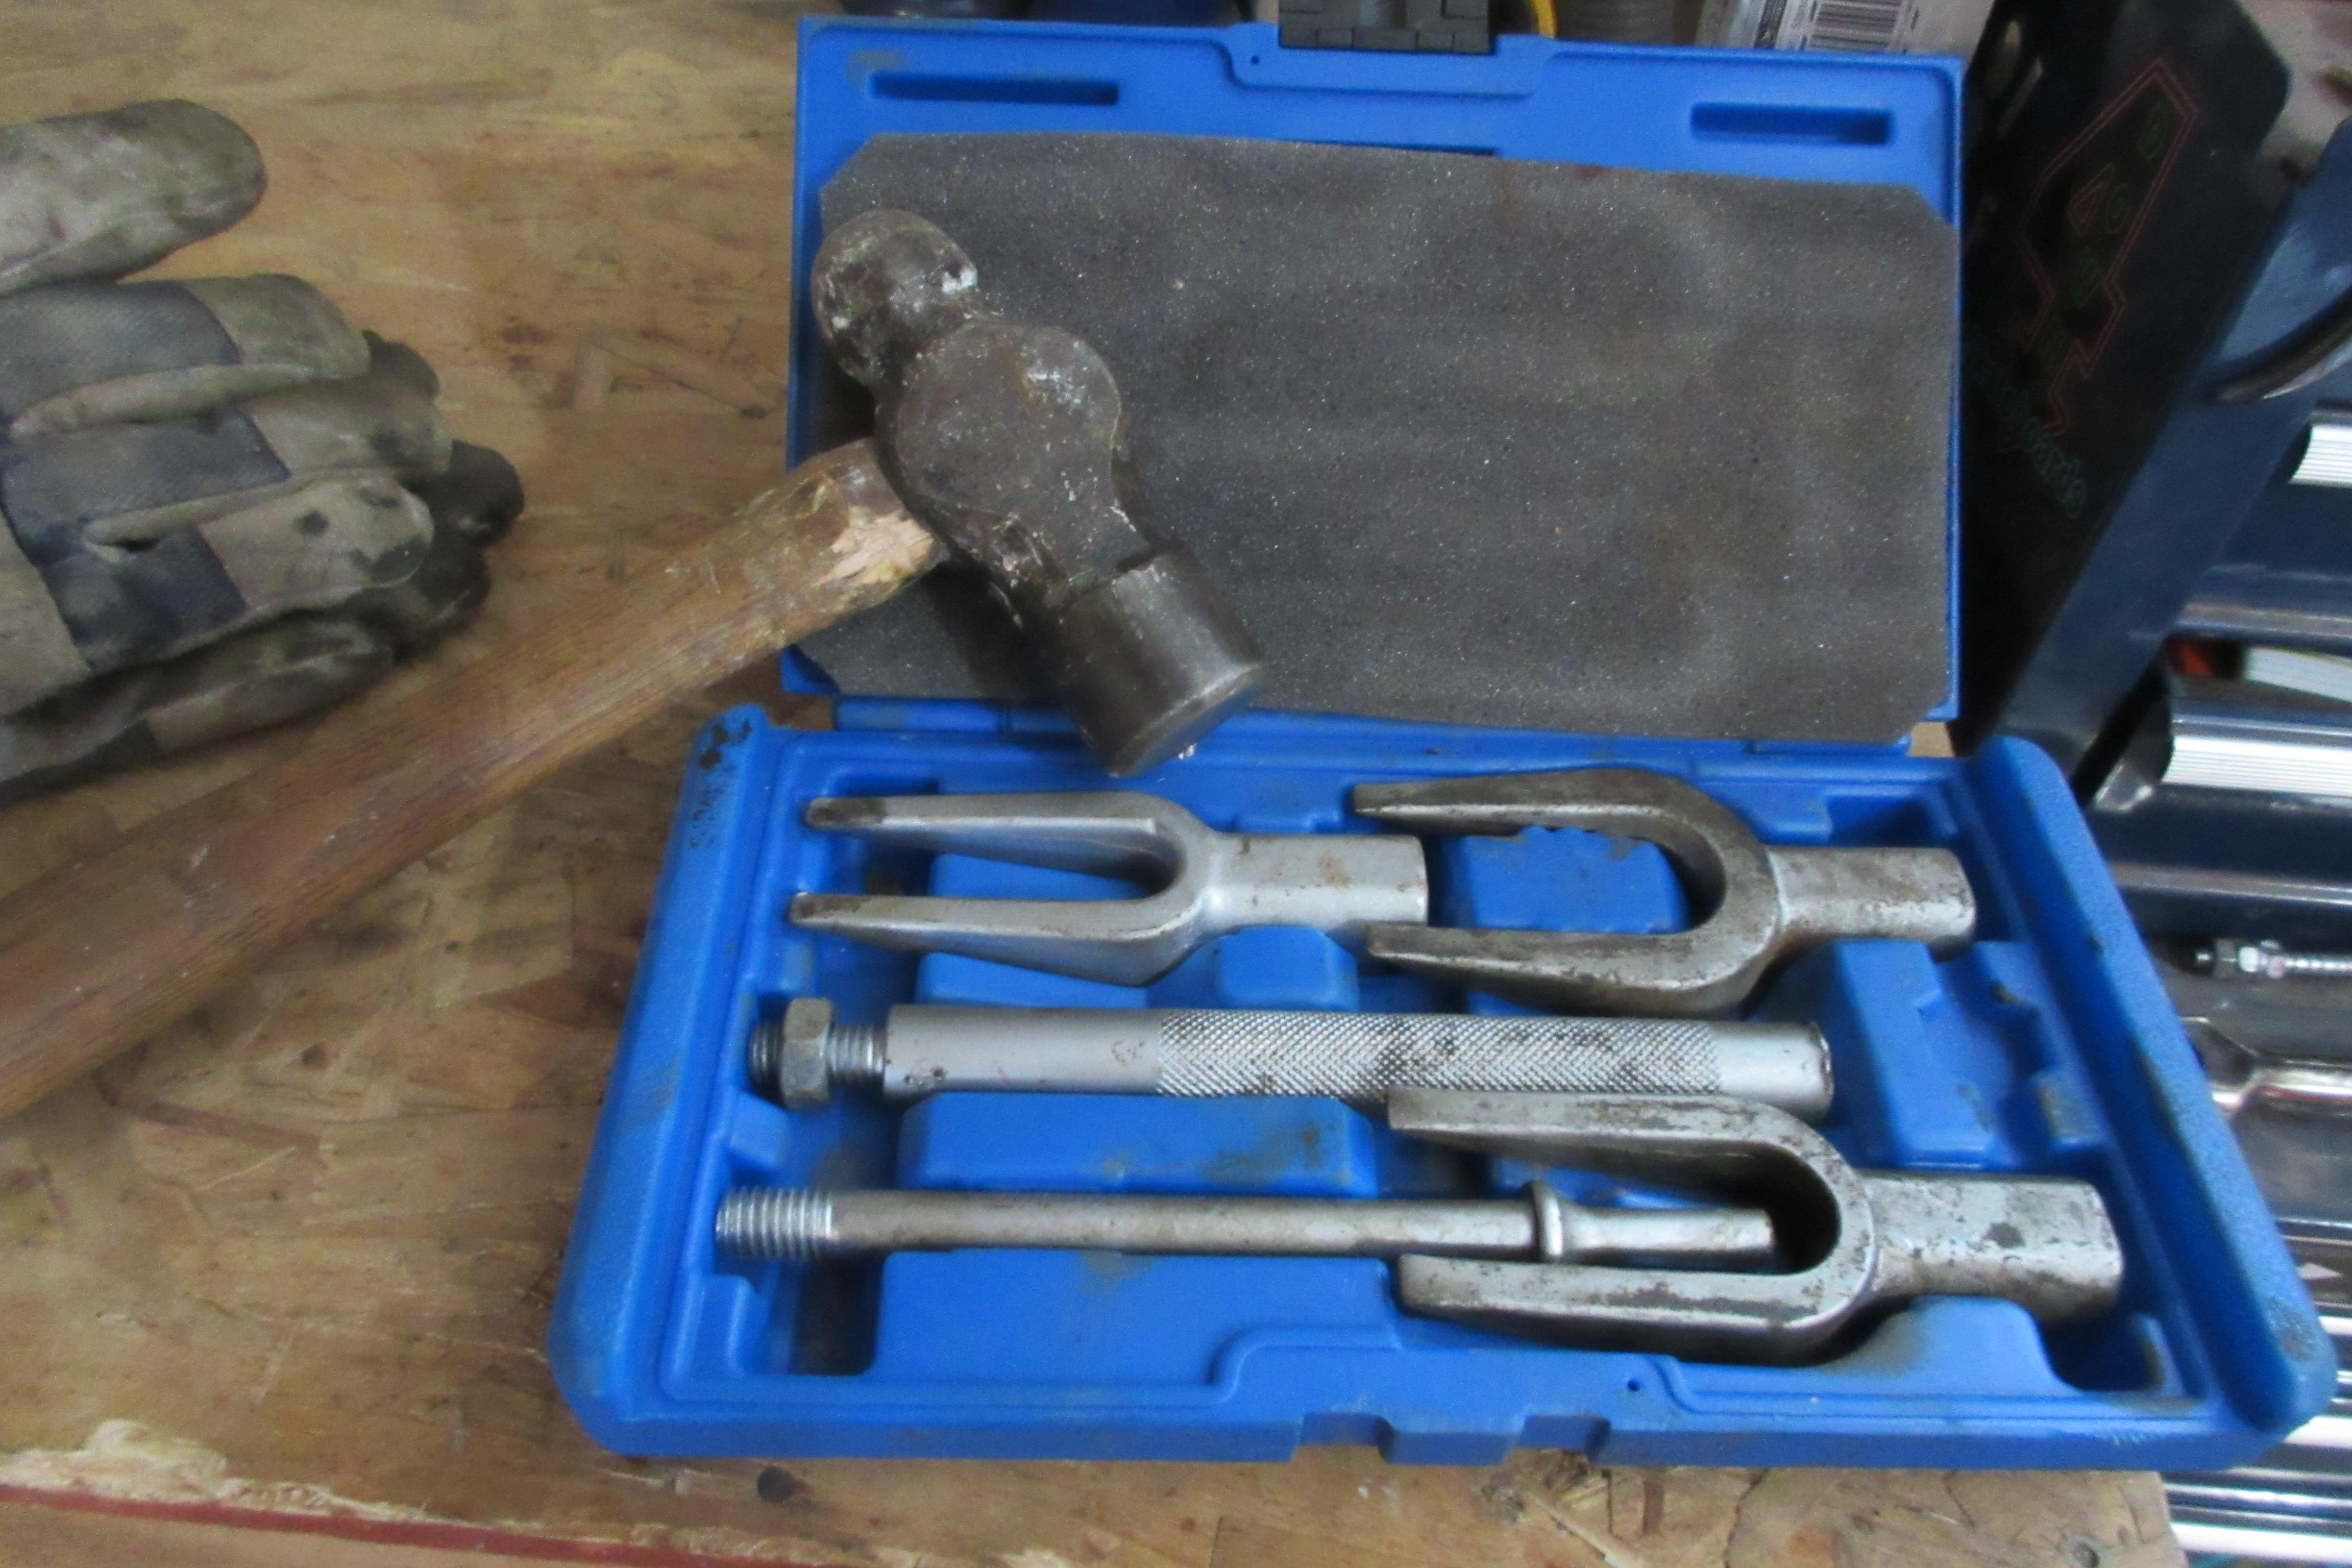
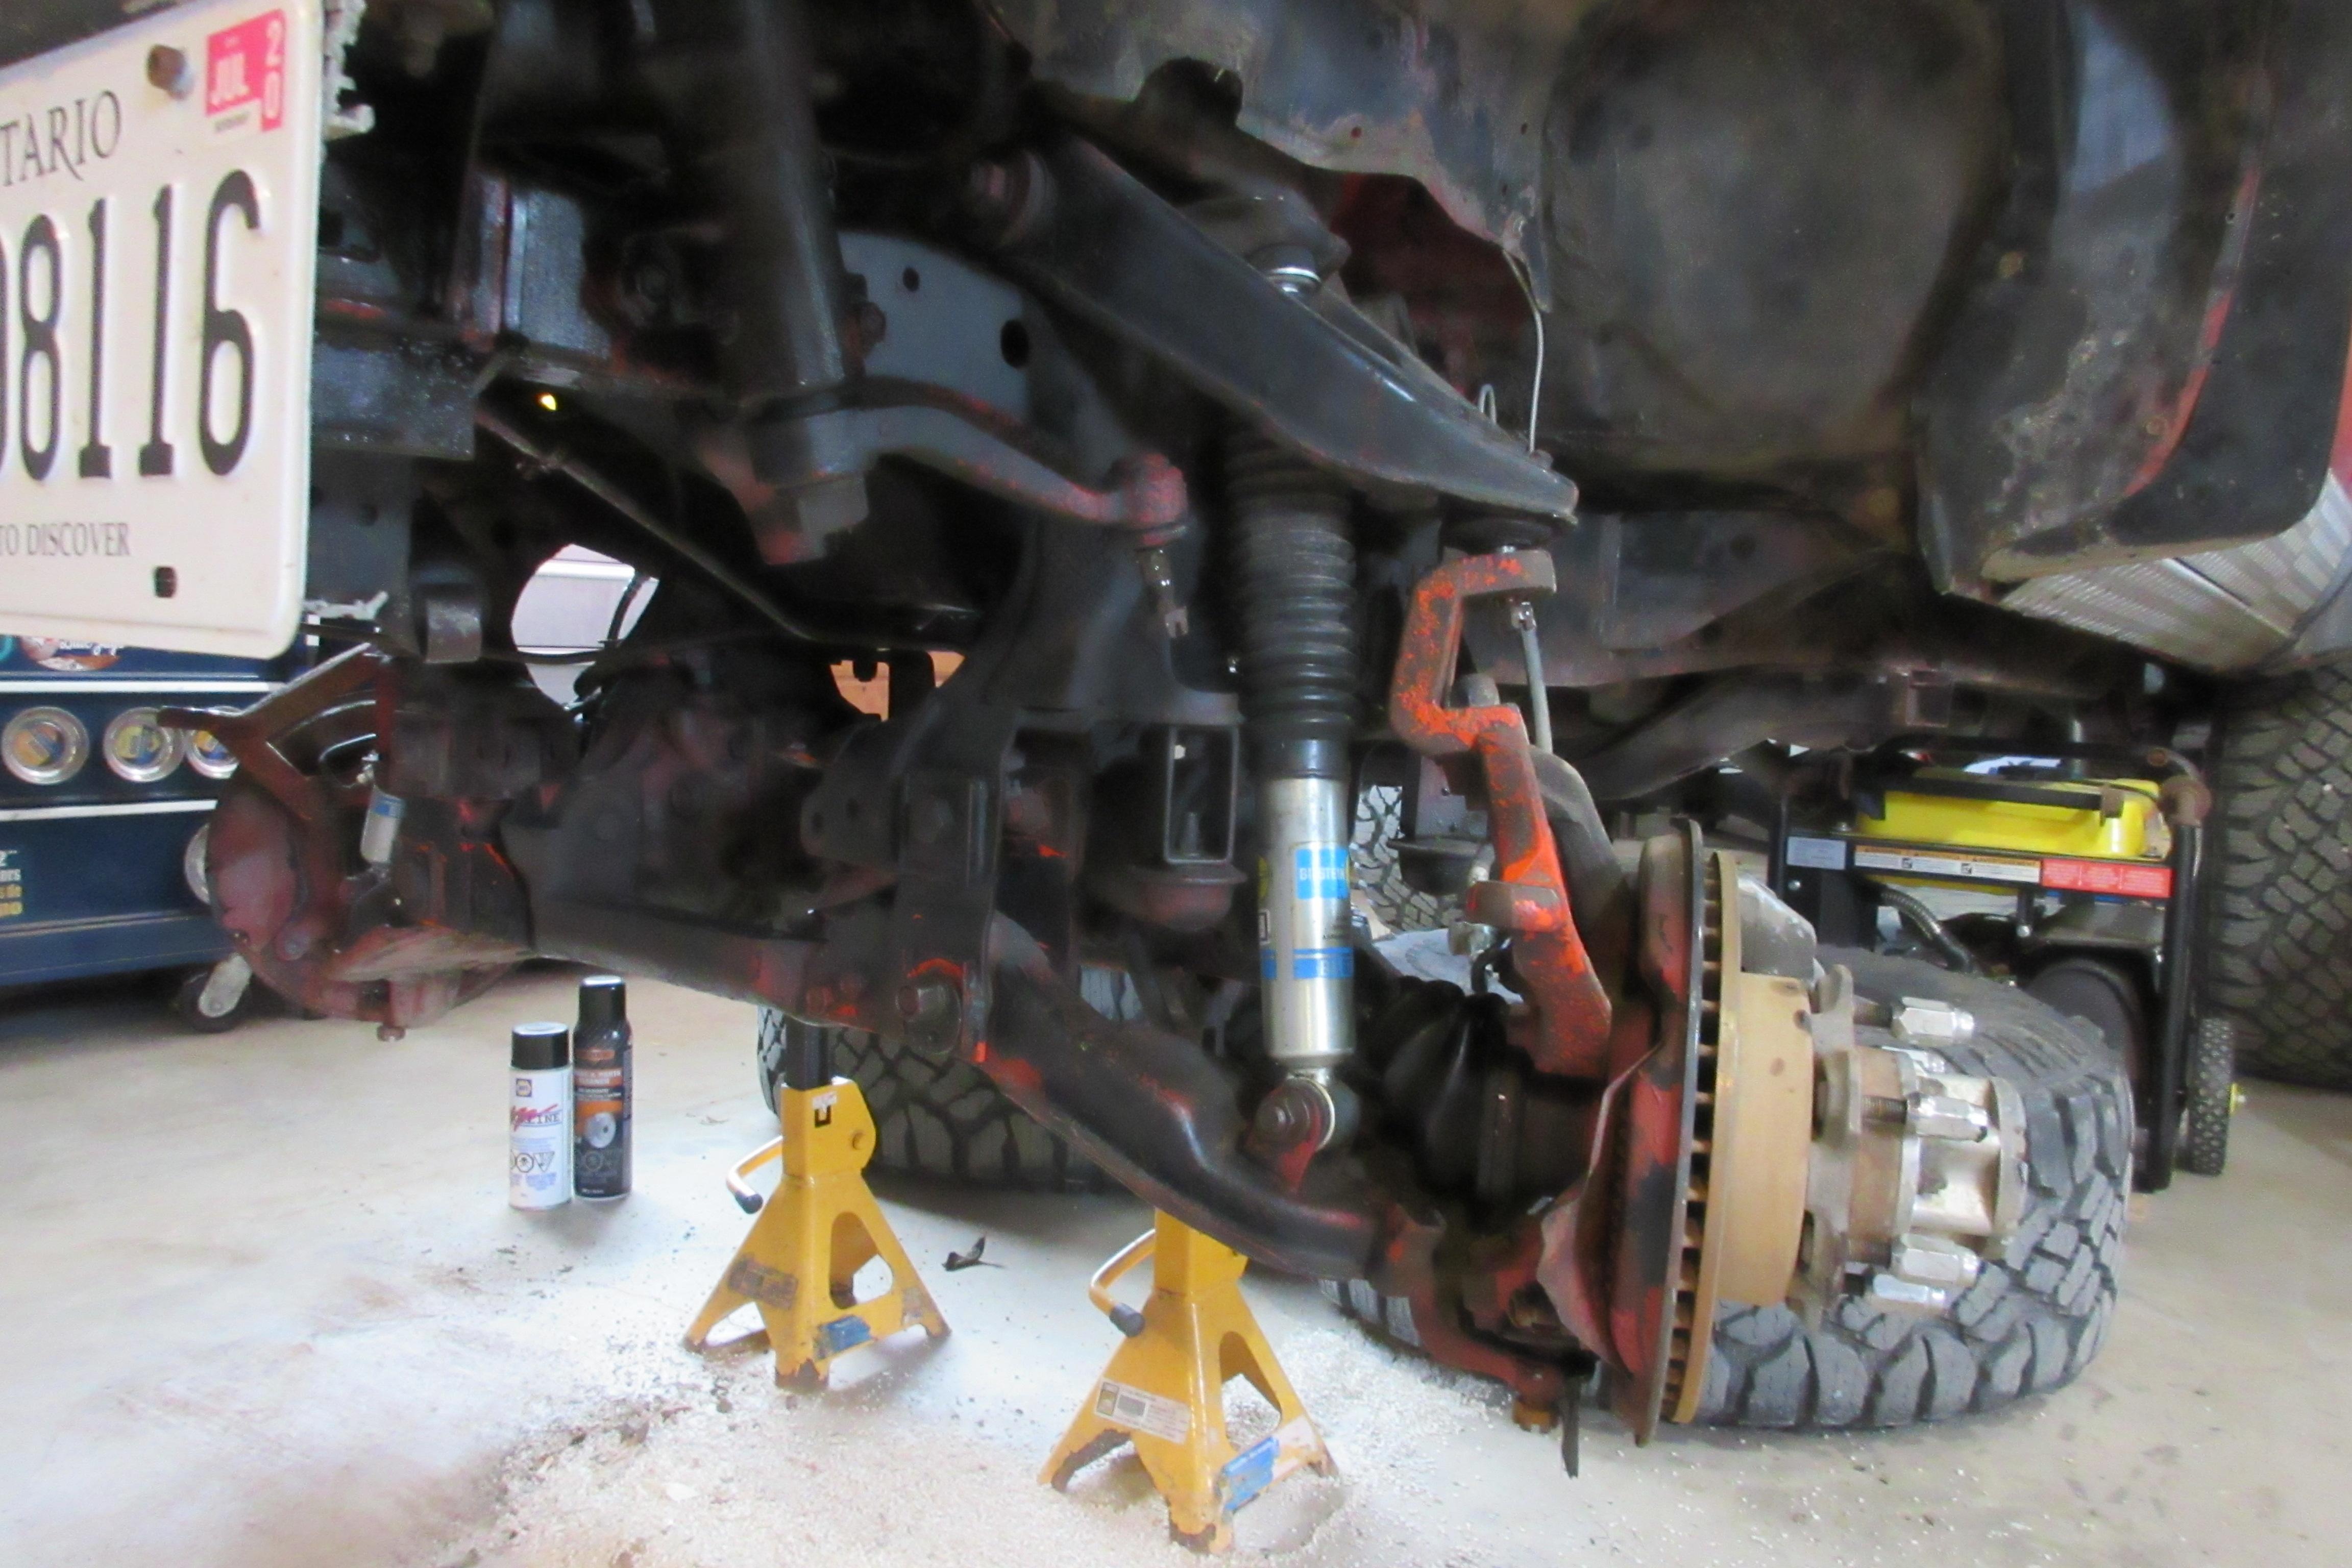
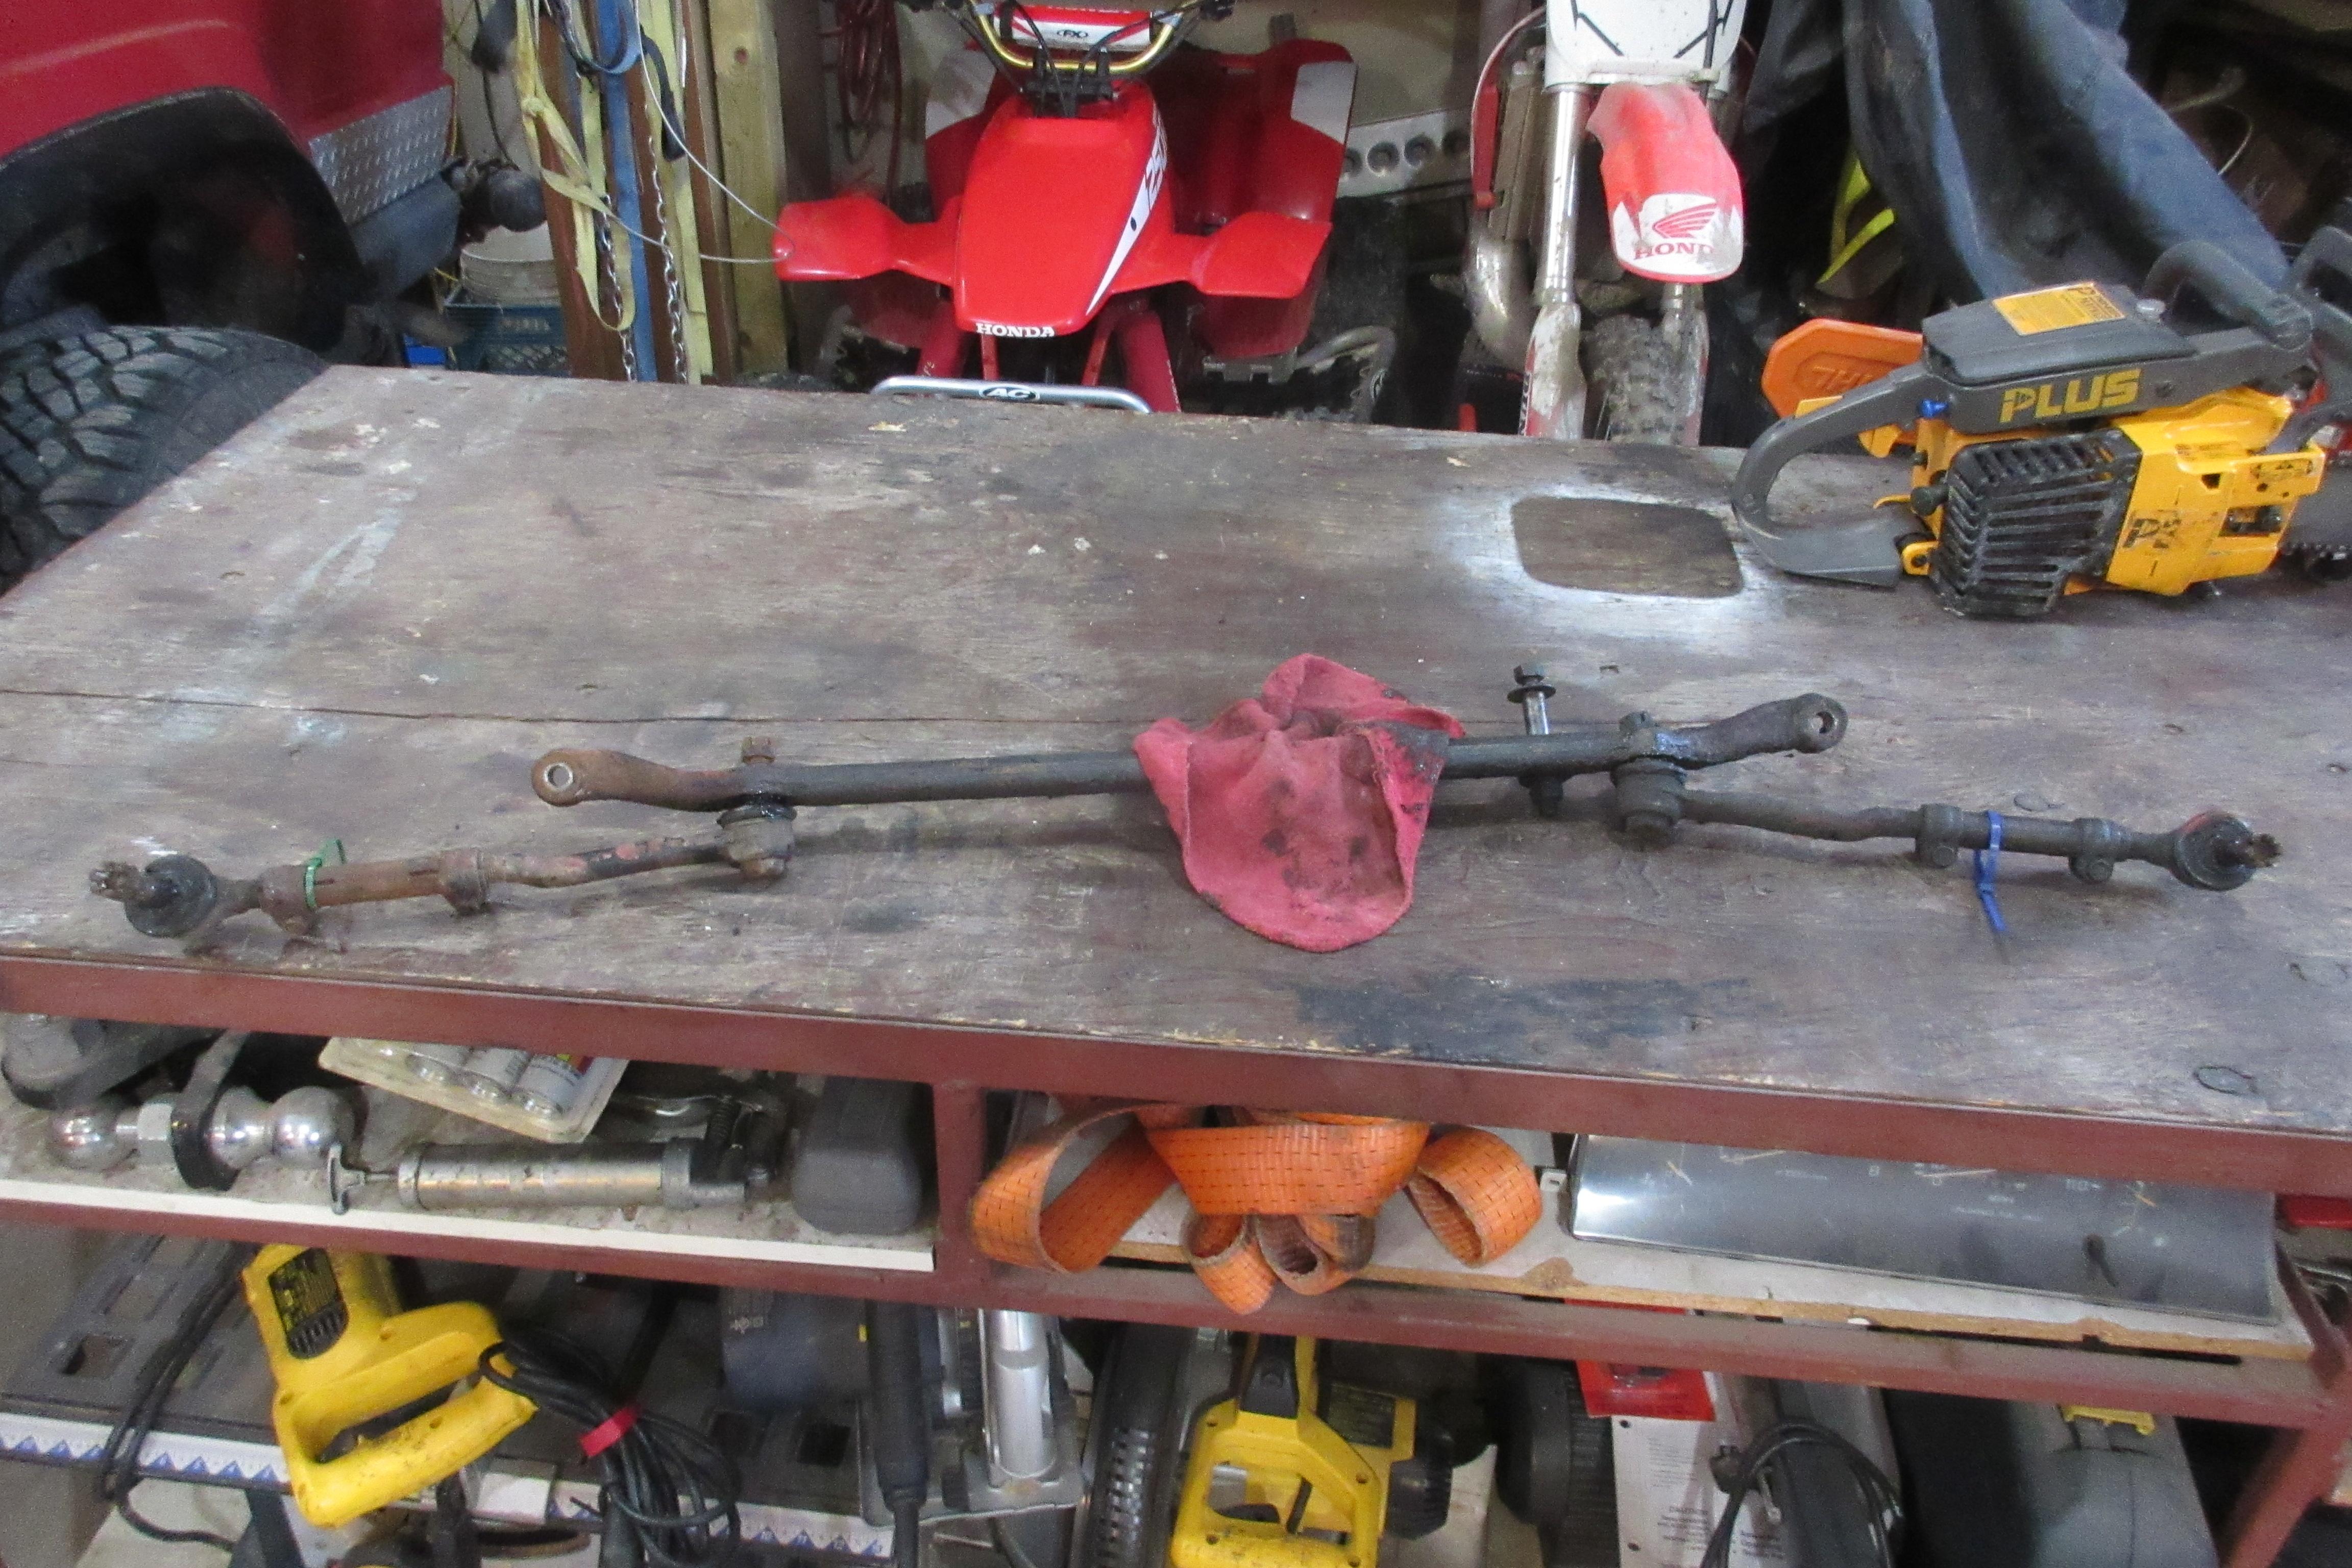
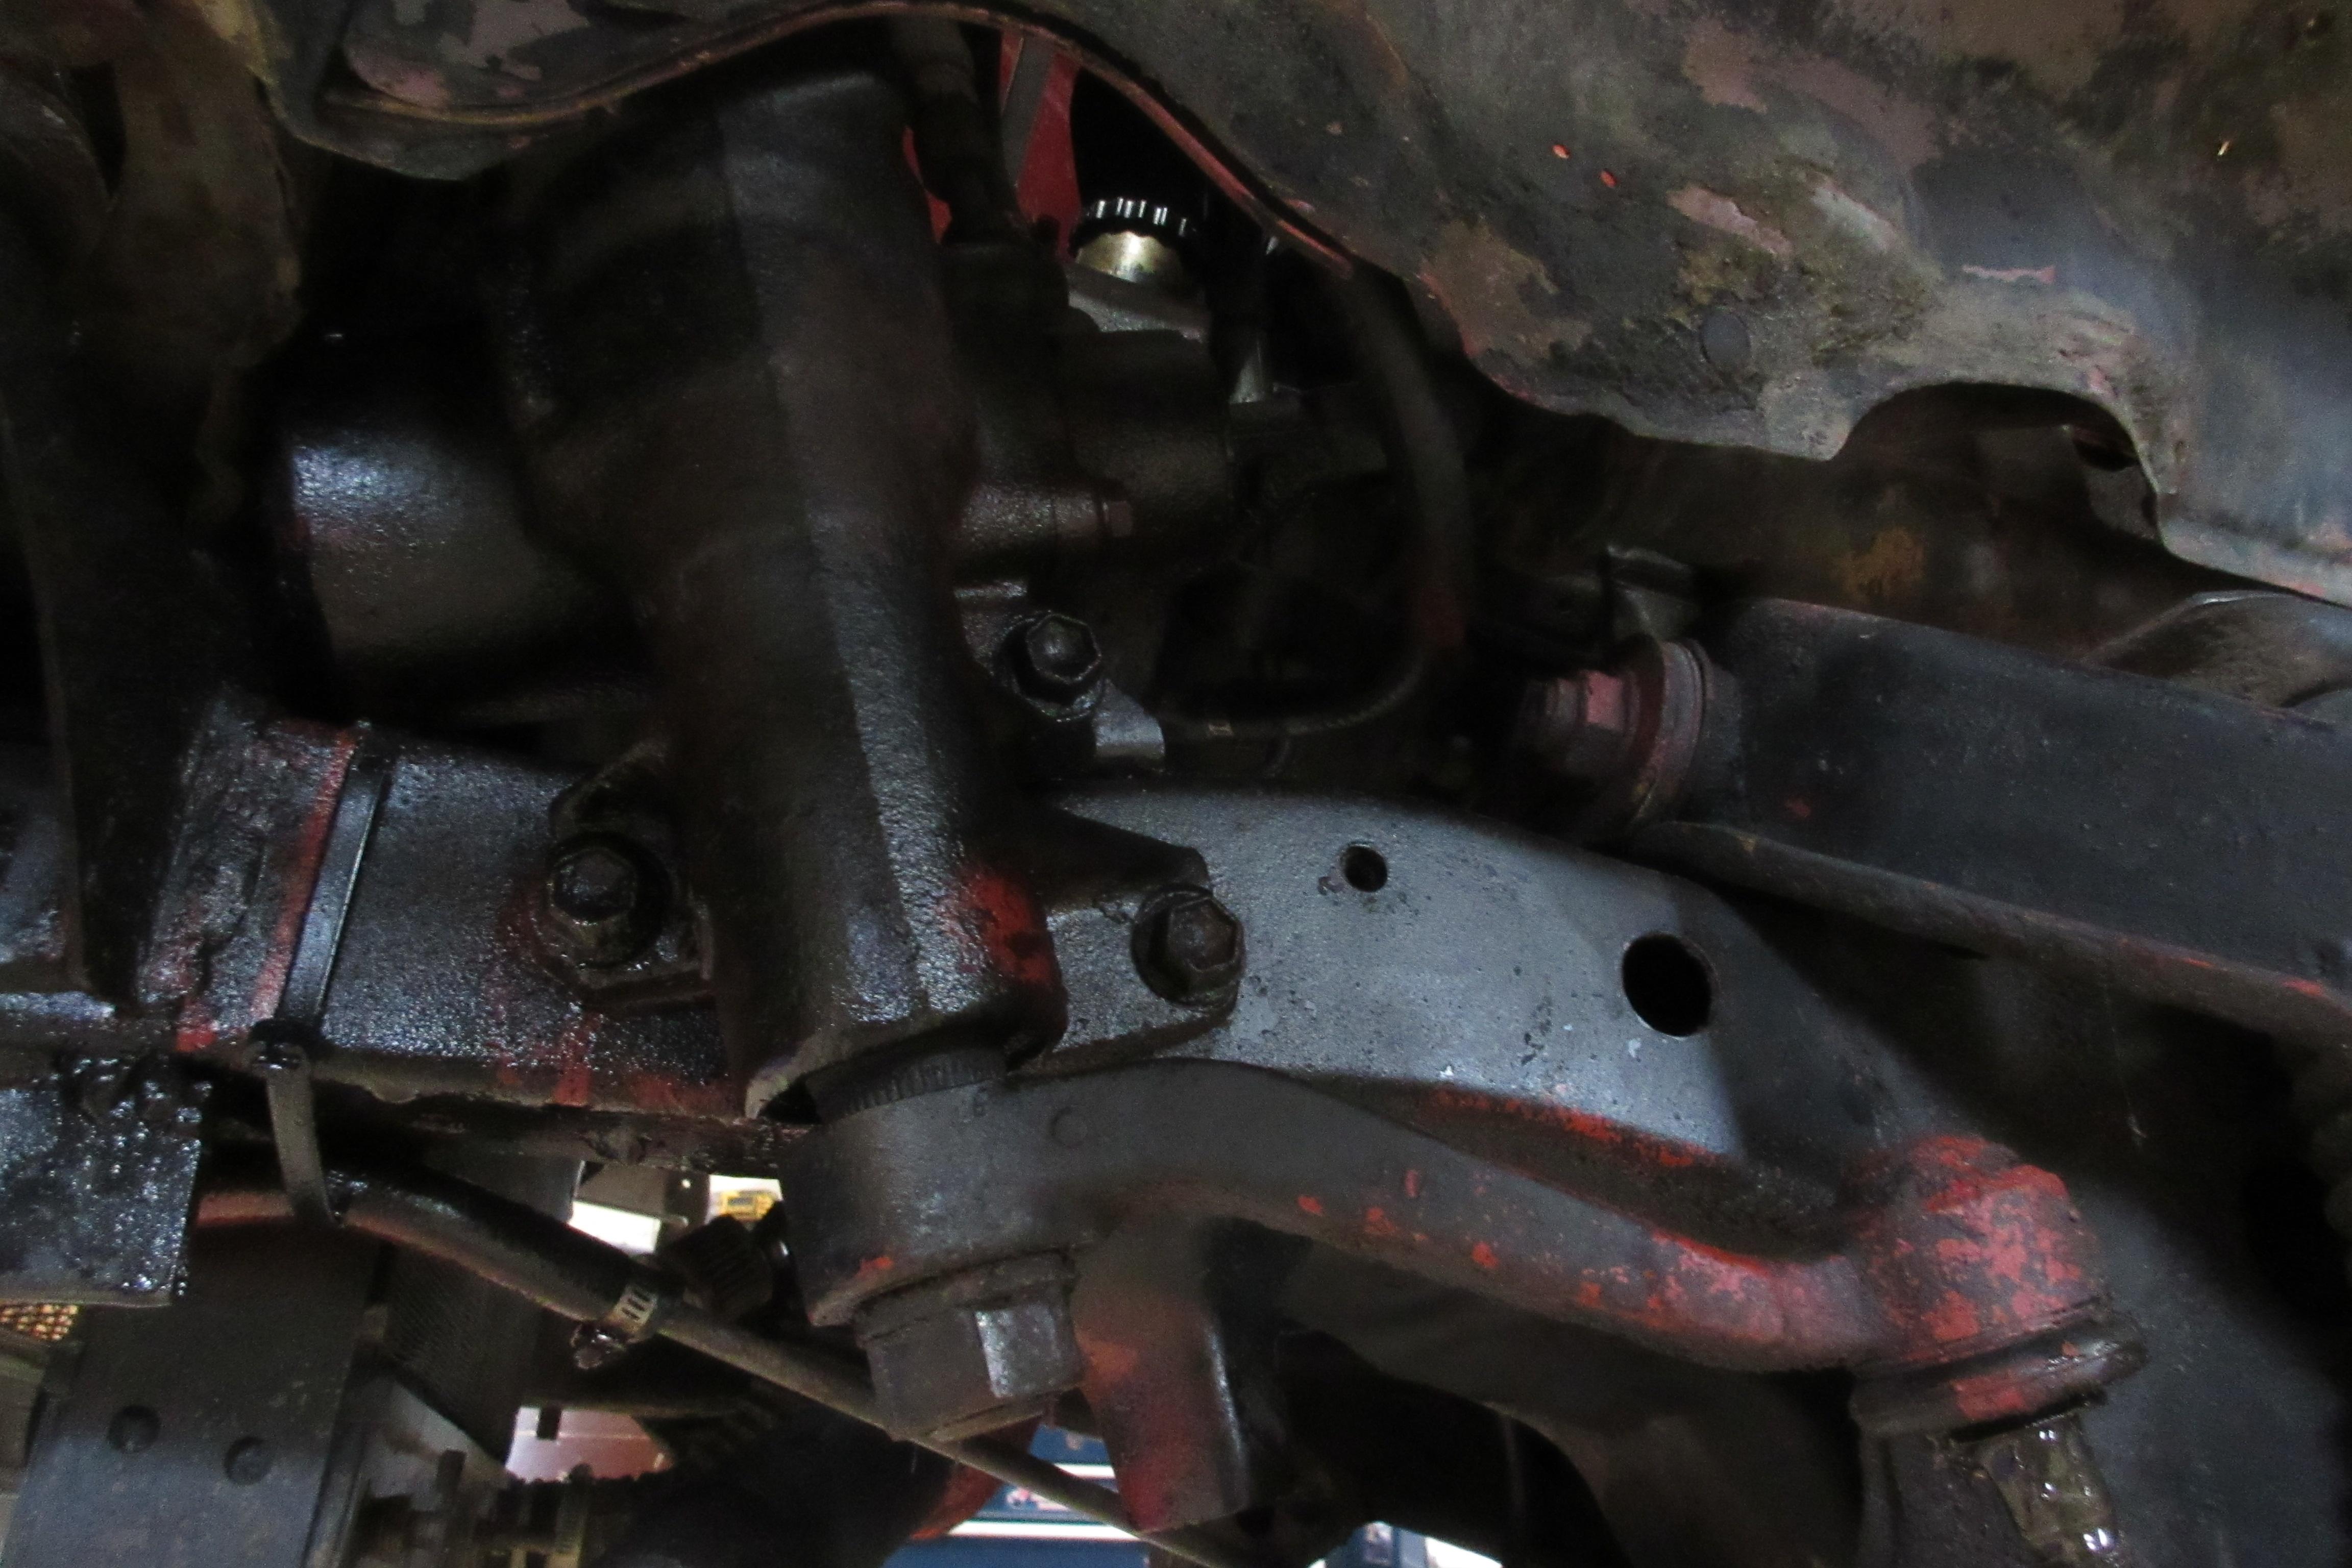
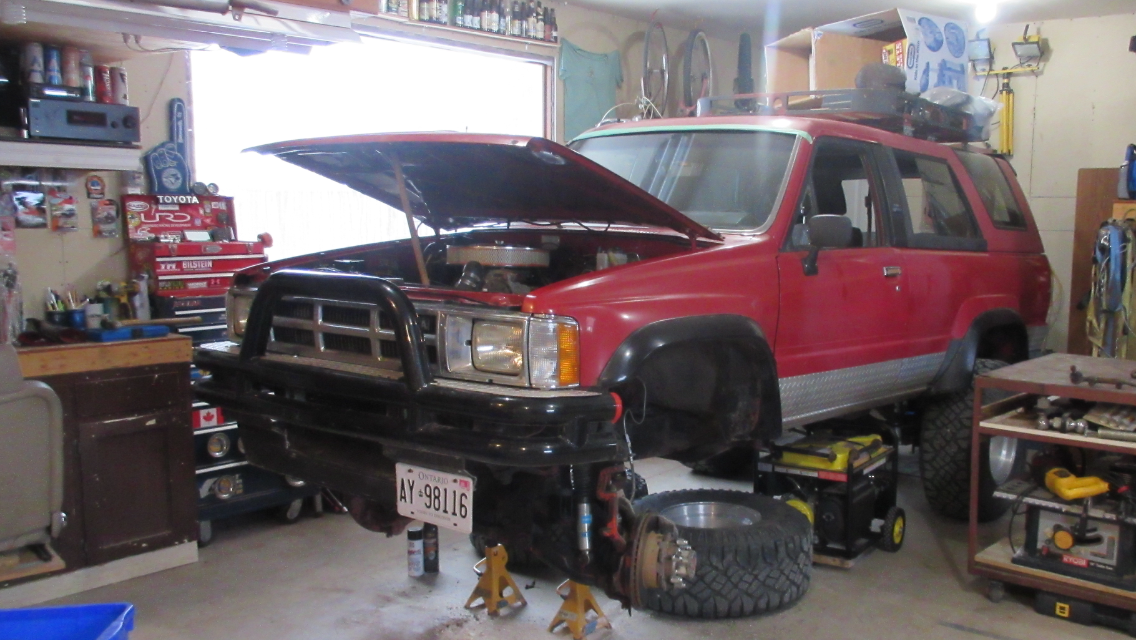
I may not enjoy eating pickles, but My pickle fork set sure got a workout yesterday. Split 4 ball joints, 4 tie rod ends, the pitman arm and idler arm. Well underway to replacing the entire front end steering system. I also found the steering gear seal kit that I bought 5-years ago for Purple-ee but never installed. Redee is leaking pretty good out the GM resevoir, the rigged high-pressure lines, and the bottom of steering box.
 November 2, 2019 at 11:11 pm #208613
 Toy-YotaParticipant
Always fun when you gotta busy out the old pickle fork. I gotta get me one of those kits.
November 7, 2019 at 7:37 pm #208628 toys-n-yotasKeymaster
Spent a couple hours researching through my Electrical Schematics, the interweb and Redee’s engine bay to figure out what I need to wire up the OEM gauge cluster. I’ve got 4 unresponsive gauges of interest in the SR5 cluster.
- Water temp
- Oil pressure
- 4WD indicator
- Tachometer
Turns out most of what I need I already have, and I think #4 is gonna give me the most grief.
1: Water temp. I bought an OEM sender off Rock Auto a few months back. The only wire I need to run is from the sender (one I thread it into the block) to Connector N3 in the passenger side footwell. I’ve actually located this connector, the other half was connected to the 22RE, but now it’s just a lonely female connector waiting to be tapped. Not worried about the “lesser gauge” in the cluster, the EFI has very accurate readout.
2: Oil pressure. I bought the OEM sender from RockAuto with the water temp. All I have to do is uninstall my mechanical gauge, and replace it with a thread adapter and run a wire back to my favourite lonely female connector N3, and tap that yo. I’ll actually run a tee off the block, and keep the mechanical gauge installed too.
3: 4wd indicator. I found the LG (light green) wire under the hood, just gotta connect it with N3, and tap that. Yea yo!! Three-peat!!
4: Tach. Crimp on an eye connector to one wire that I already ran to the negative side of the coil. Then pay my buddy James to solder in a resistor on the back of the gauge cluster that will 1/2 the signal voltage. RPM will read double because the coil puts out twice as many sparks per Rev. Hardest part of this job will be outsourced by my wiring buddy.
-
This reply was modified 6 years, 3 months ago by
 toys-n-yotas.
November 9, 2019 at 9:12 am #208632 toys-n-yotasKeymaster
Had a good night in the shop last night, made some progress on the gauge cluster…..didn’t feel like getting greasy and filthy working on steering.
I attached the tach signal wire, fired up Redee and got nothing on the cluster. I verified continuity in both ends of the signal wire, and under the dash, so the problem lies in the gauge. I swapped it with a spare I had lying around, and the Tach, backlight and Back Door warning light all came to life. I could have stopped here, but I did not want to lose Redee’s odometer reading, and the spare cluster was American MPH.
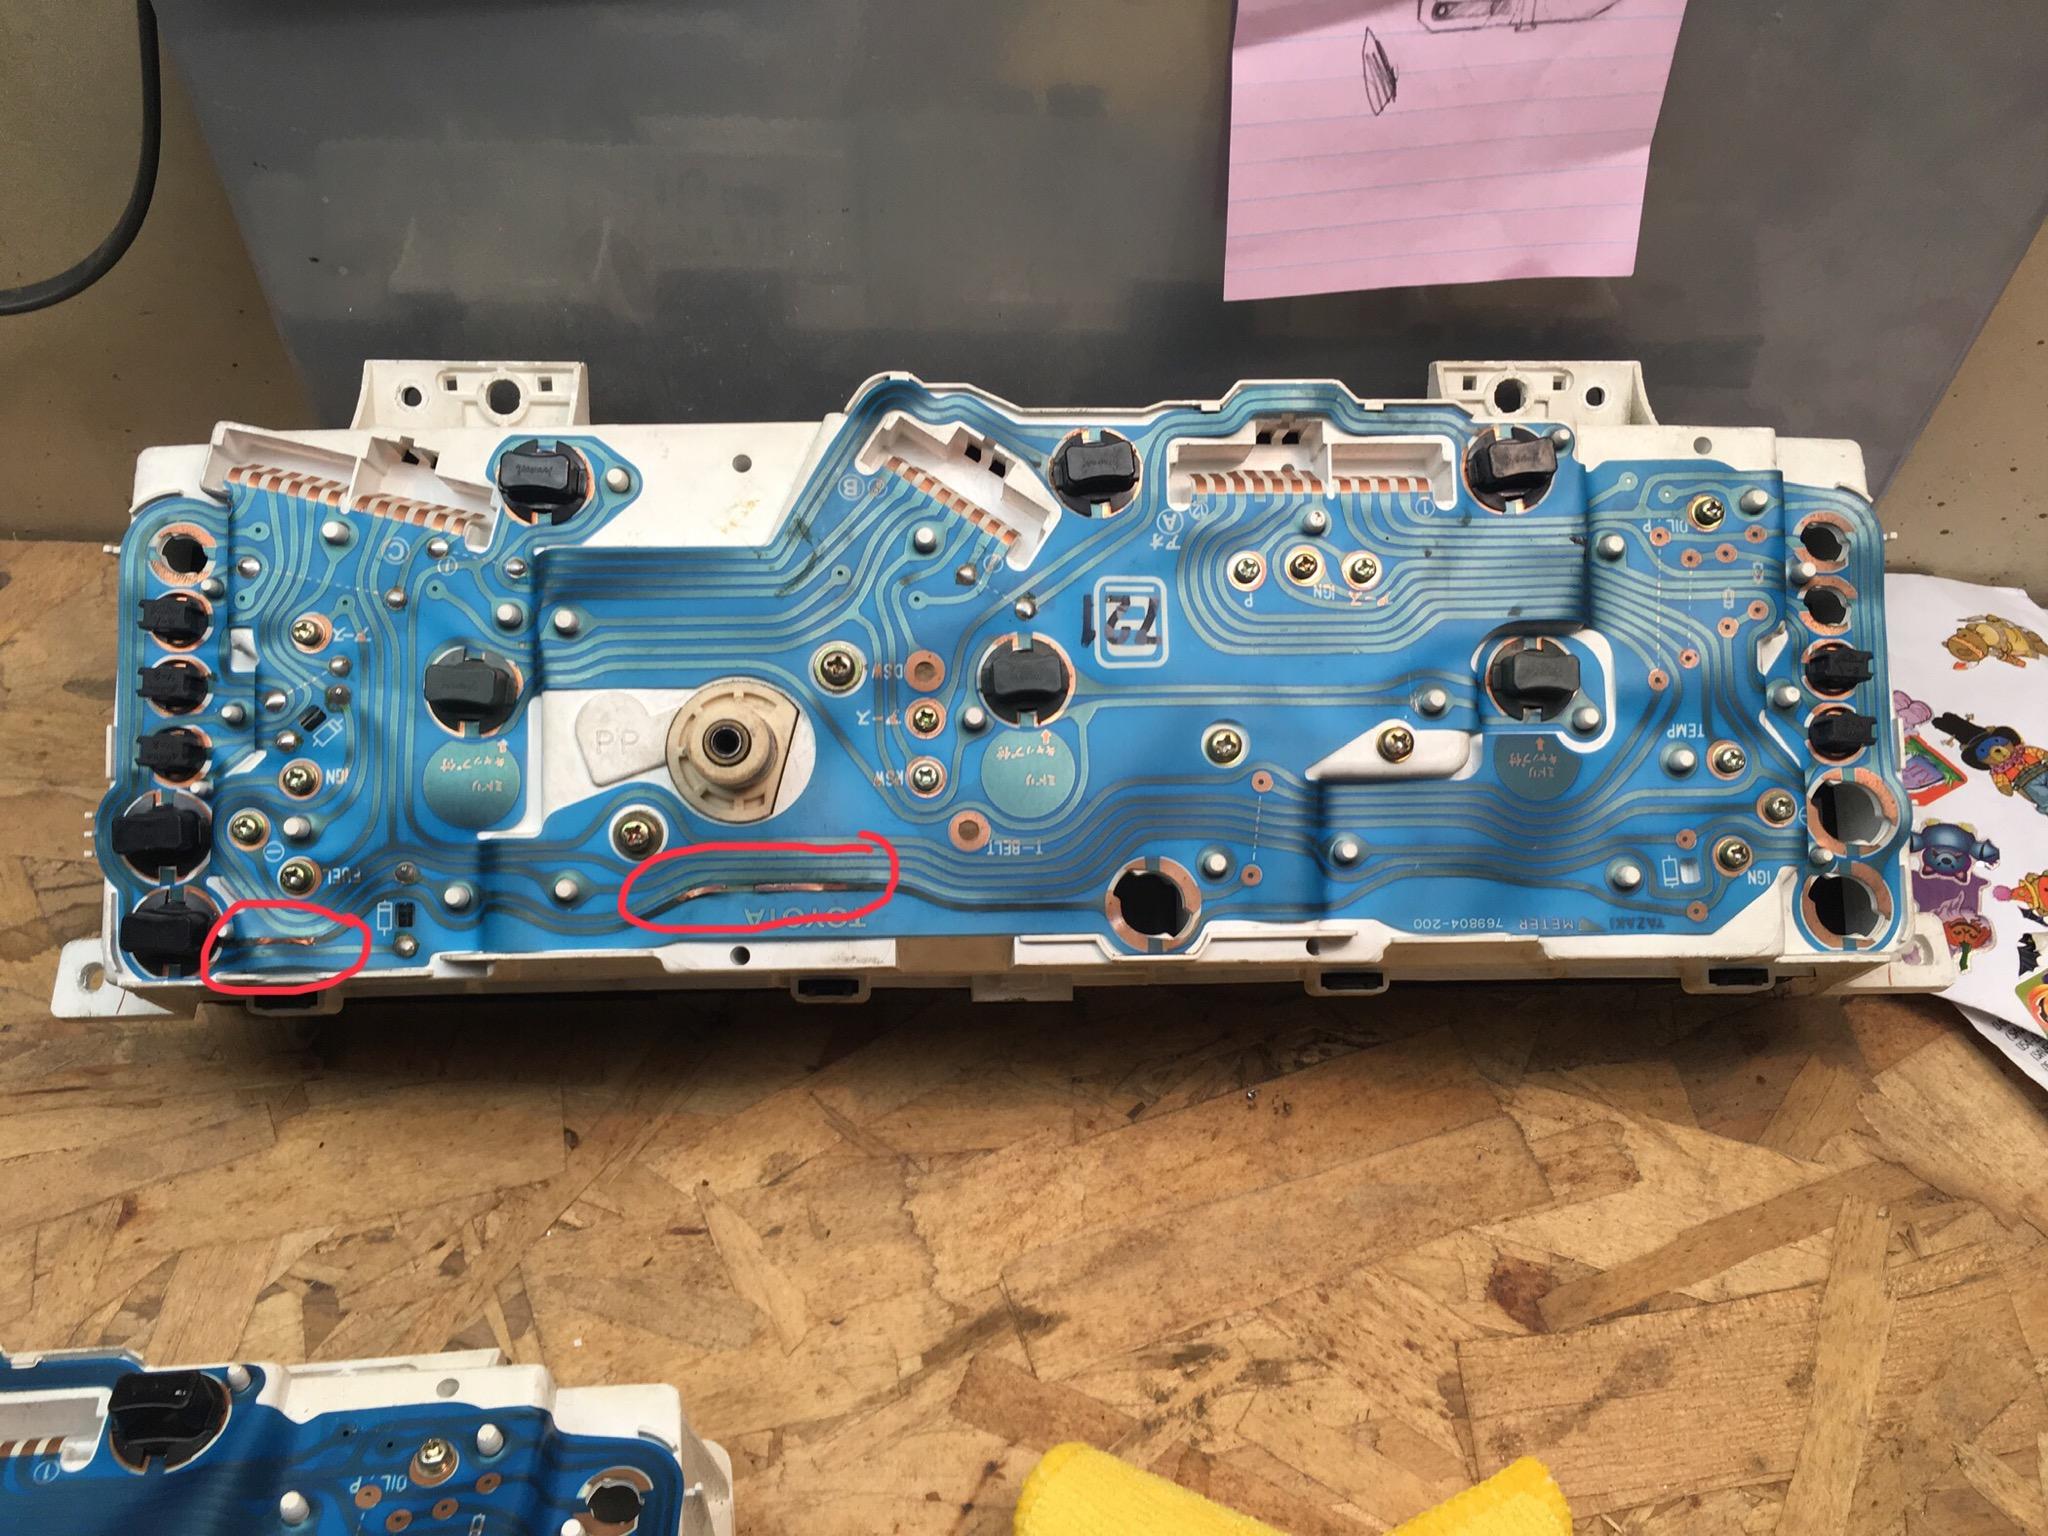
So more investigation of Redee’s cluster showed some signs of water damage on the printed circuit board. Makes sense with the windshield leaking directly above the steering wheel. (See damage in red).
I figured the least invasive surgery on the gauge cluster would be swapping circuit boards.
Step 1, remove all the bulbs
Step 2, remove 13 small phillips screws which connect circuit board to the gauges (yellow)
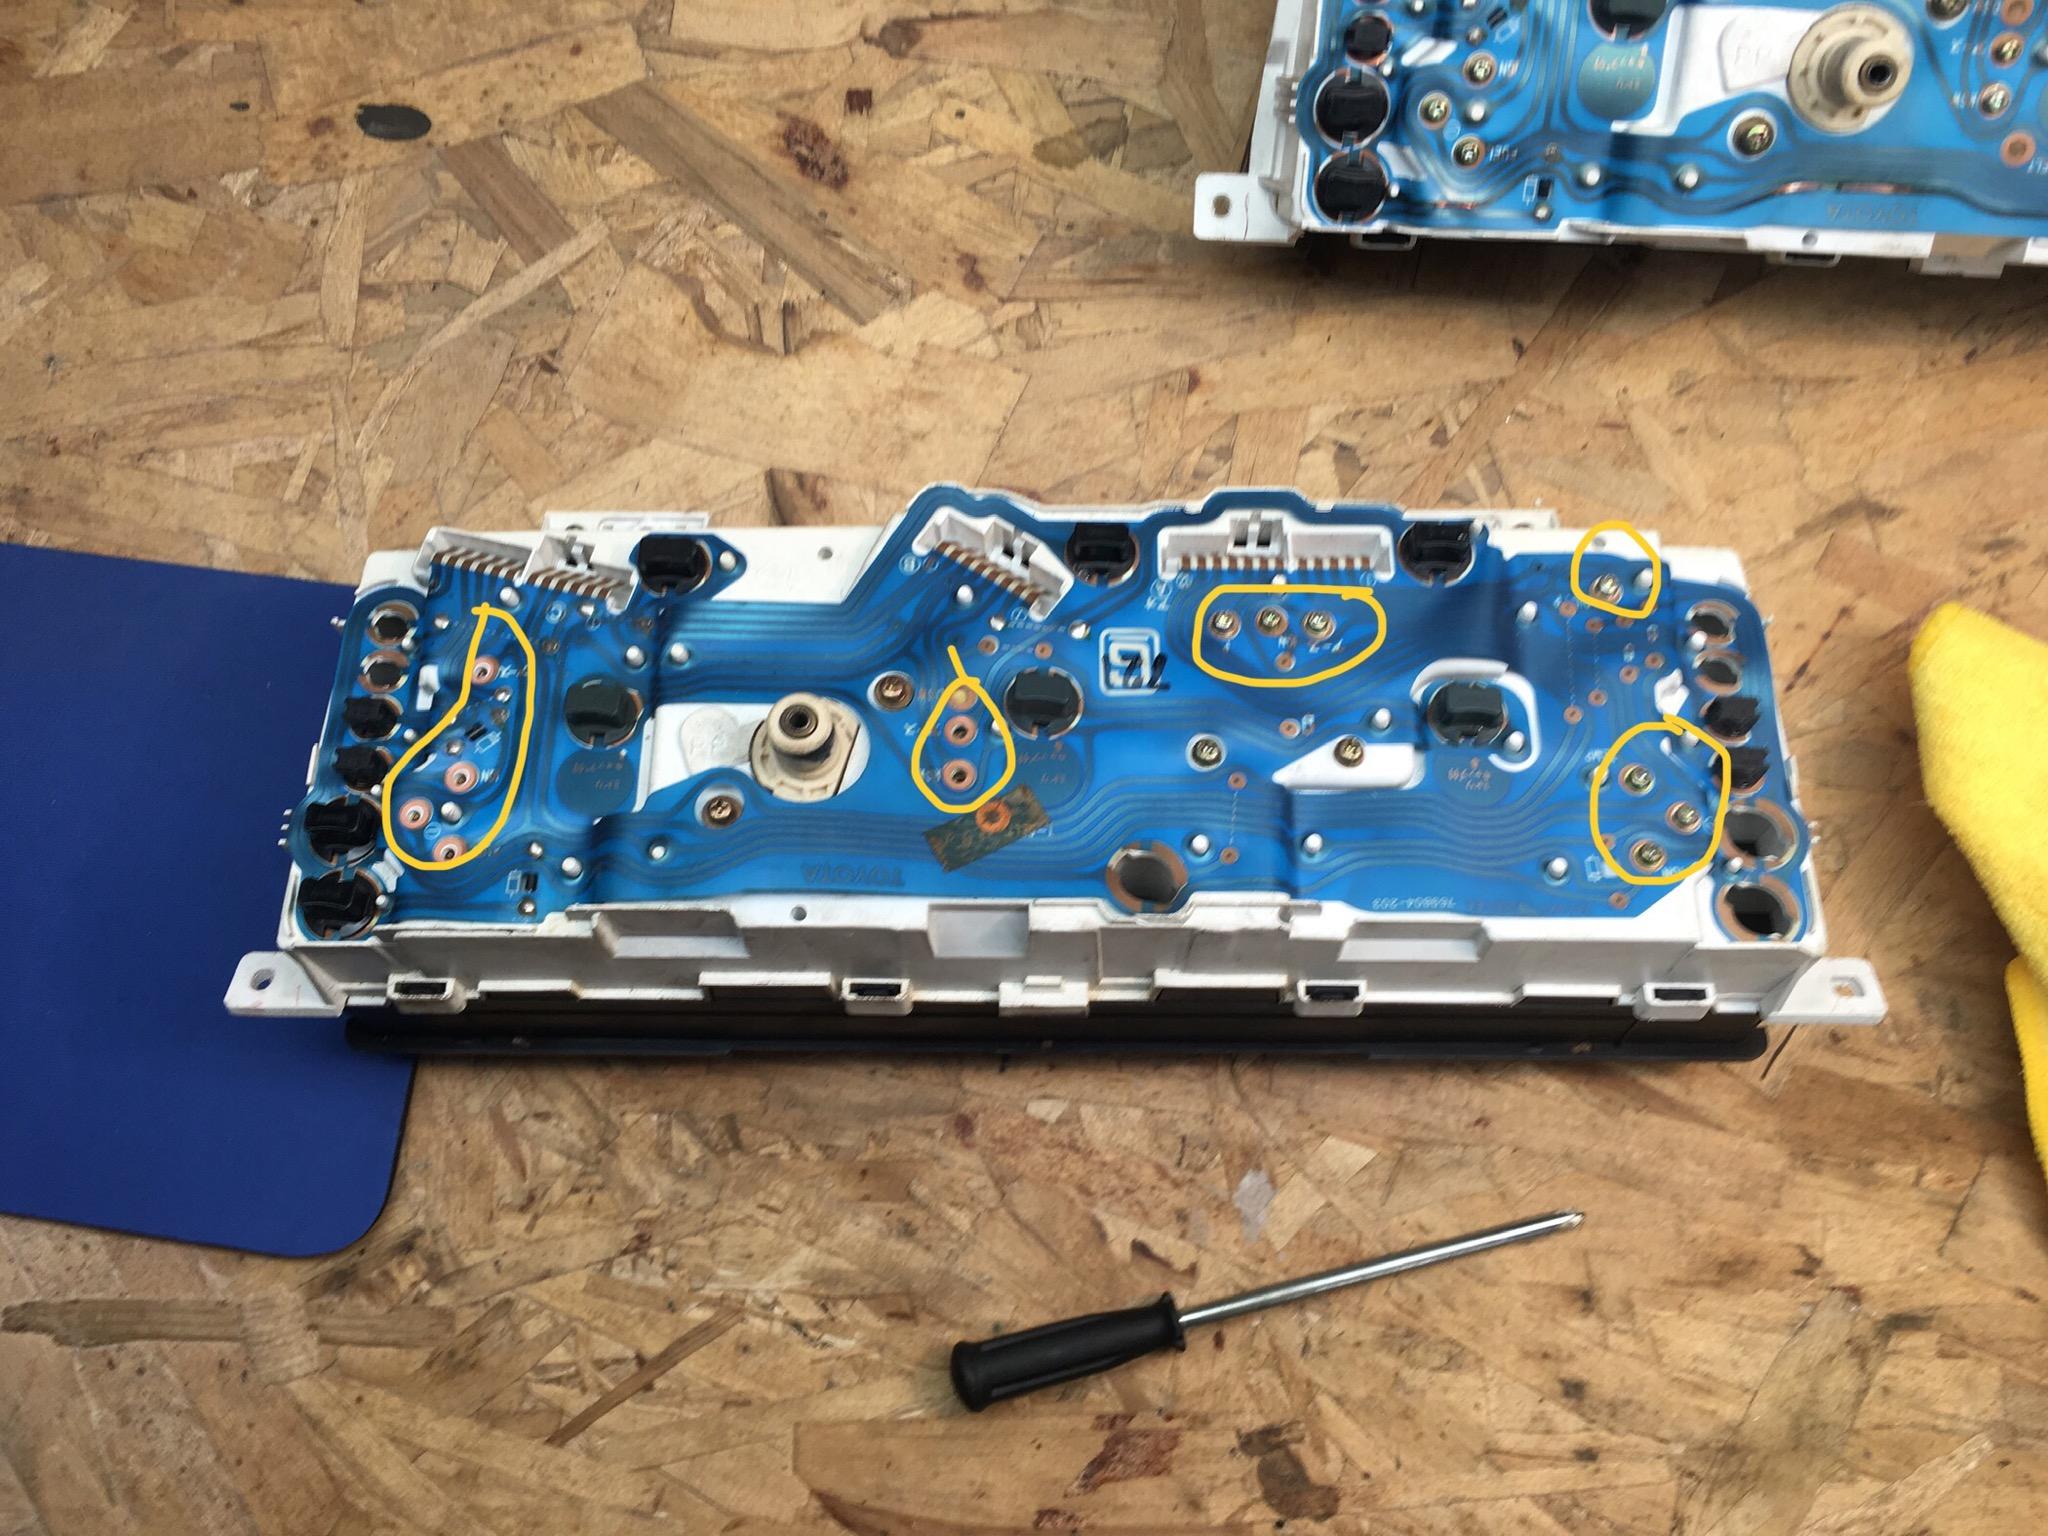
Step 3, carefully (VERY FRIGGEN CAREFULLY) pry up the circuit board around the alignment posts. It’ll lift off after, no tricks
Step 4, repeat for second gauge, swap and reinstall.
I tested Redee’s cluster, and it worked perfectly. The RPM reads double as it should, but I ordered an ebay resistor to correct the problem. See mod here —> http://www.mindspring.com/%7Ejayk3/toyota/tachmod.htm
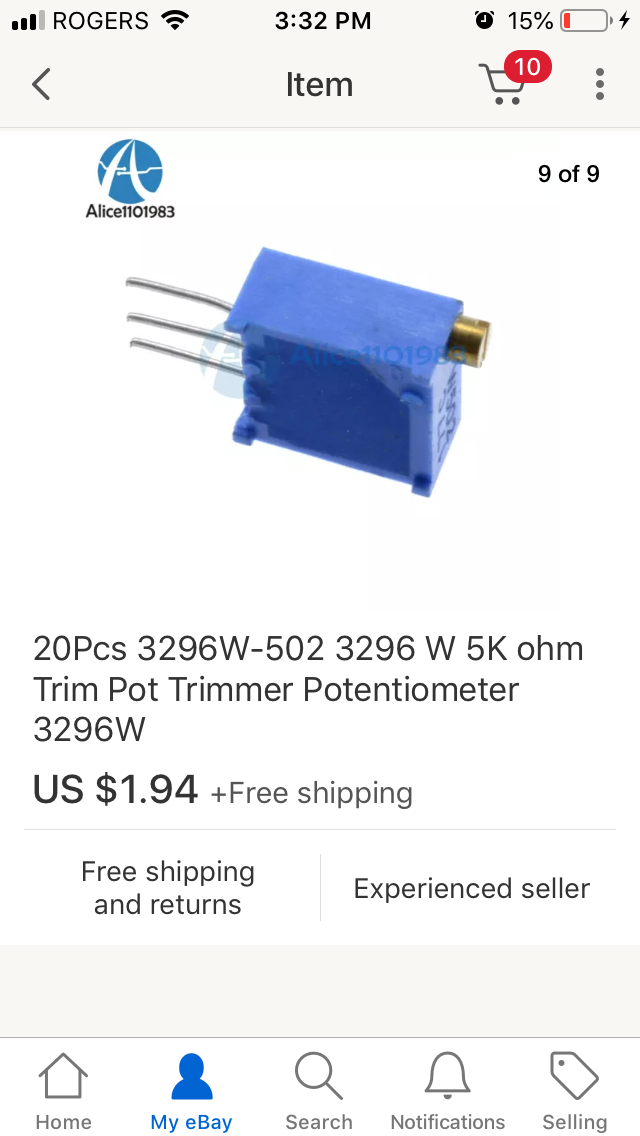
Somewhere between now and Mid January (when these arrive from China), I’ll finish up the Tach portion and put the dash back together.
The other 3 gauges of interest are still in the works.
Opionion Time. <b>Where should I put the stand-alone mechanical oil pressure gauge?</b> Currently it’s under the stereo in a triple set, but I don’t need it as accessible. With 3,500km this year, I had no oil concerns other than a leak. Thinking I’ll just put it under the hood on the firewall.
-
This reply was modified 6 years, 3 months ago by
 toys-n-yotas.
November 9, 2019 at 11:24 am #208635 finn the kareilian vikingKeymaster
wtf tom? they sending that resistor over by carrier pigeon?!? oh n speaking of tappin’, where is this lonely female? asking for a friend. oops, my bad, it’s just a connector
November 10, 2019 at 7:51 am #208636 Toy-YotaParticipant
Dude good for you for getting all that research done that’s half the battle. It is true though if you already have the oil pressure gauge from the factory cluster, it’s nice to have a backup but not totally necessary to have it take up space in the cab. Have you googled other locations? I know you gave me some advice when I had my water temp hacked in there.
November 11, 2019 at 7:41 am #208637 toys-n-yotasKeymaster
When it comes to International Economy shipping from China, I’m just glad when I get my item. 20 resistors to my door for $2.36….about $0.11 each and free shipping. It’s a long winter Mark, no need to rush things. Snowing here since Halloween.
Thanks Evan, I enjoy the research quite a bit, and it helps to keep my progress moving along. My wife works shifts, so I end up with a bunch of consequtive nights I can’t get into the shop cause I’m Daddy-On-Duty to sorta sleeping children. I can only tidy / straighten / watch crap on tv for so long till I feel the need to do something constructive…..or destructive like last night in the shop.
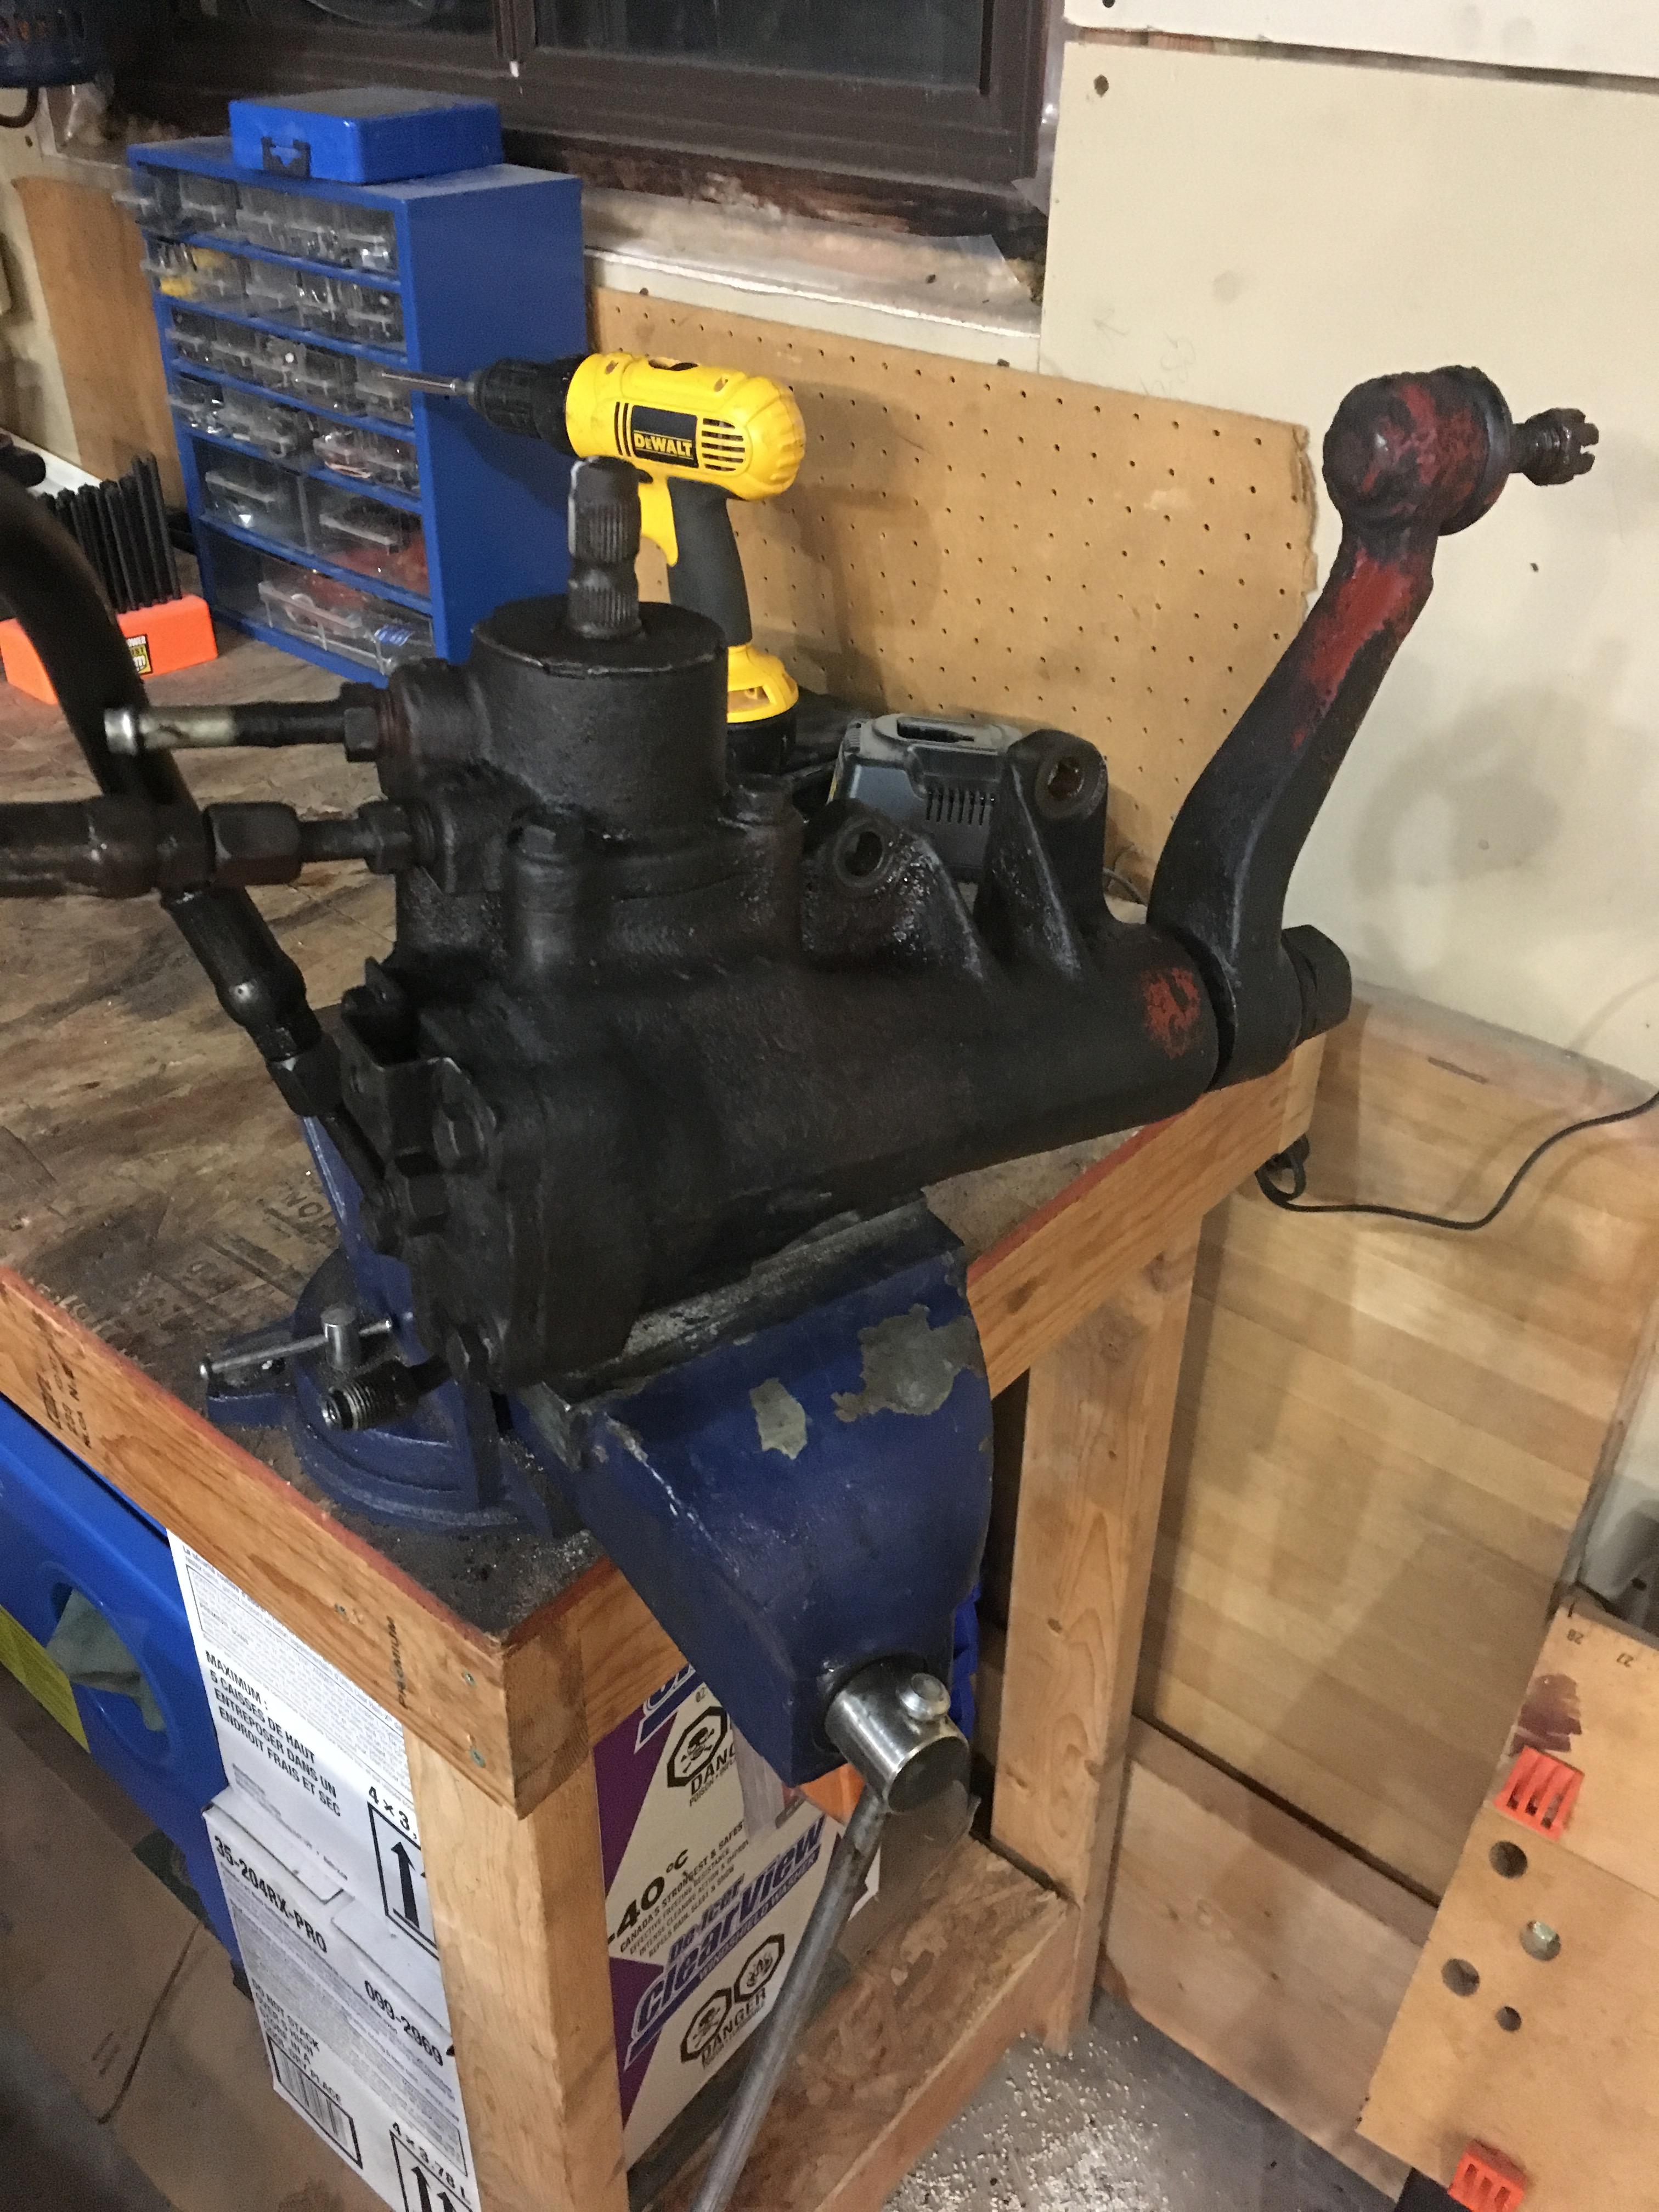
Getting that steering gear out took a lot more effort than I thought for two main reasons. It’s a much tighter squeeze between the inner fender and frame, secondly it’s way heavier than I thought it would be. Got it dripping dry in the vice so I can replace all the seals and O-rings in it another day. A refurbed steering gear is roughly $250 – 300 on RockAuto, but I have a rebuild kit in the parts bin from the days of Purple-ee. Worst case scenario I’ll have to buy a refurb. Either way I HAVE to get new High & Low pressure lines between the pump and steering gear, they were a contibutor to the leak, but not the only source.
I also stripped the remaining steering bits off the frame and the centre link. The centre link was covered in grime (power steering fluid & motor oil & mud sludge mix), so I scraped it clean then washed it in the varsol tank. Contemplating hitting it with some black paint, but I’d have to go buy some. In the meantime all the parts are loosely setup on the workbench.
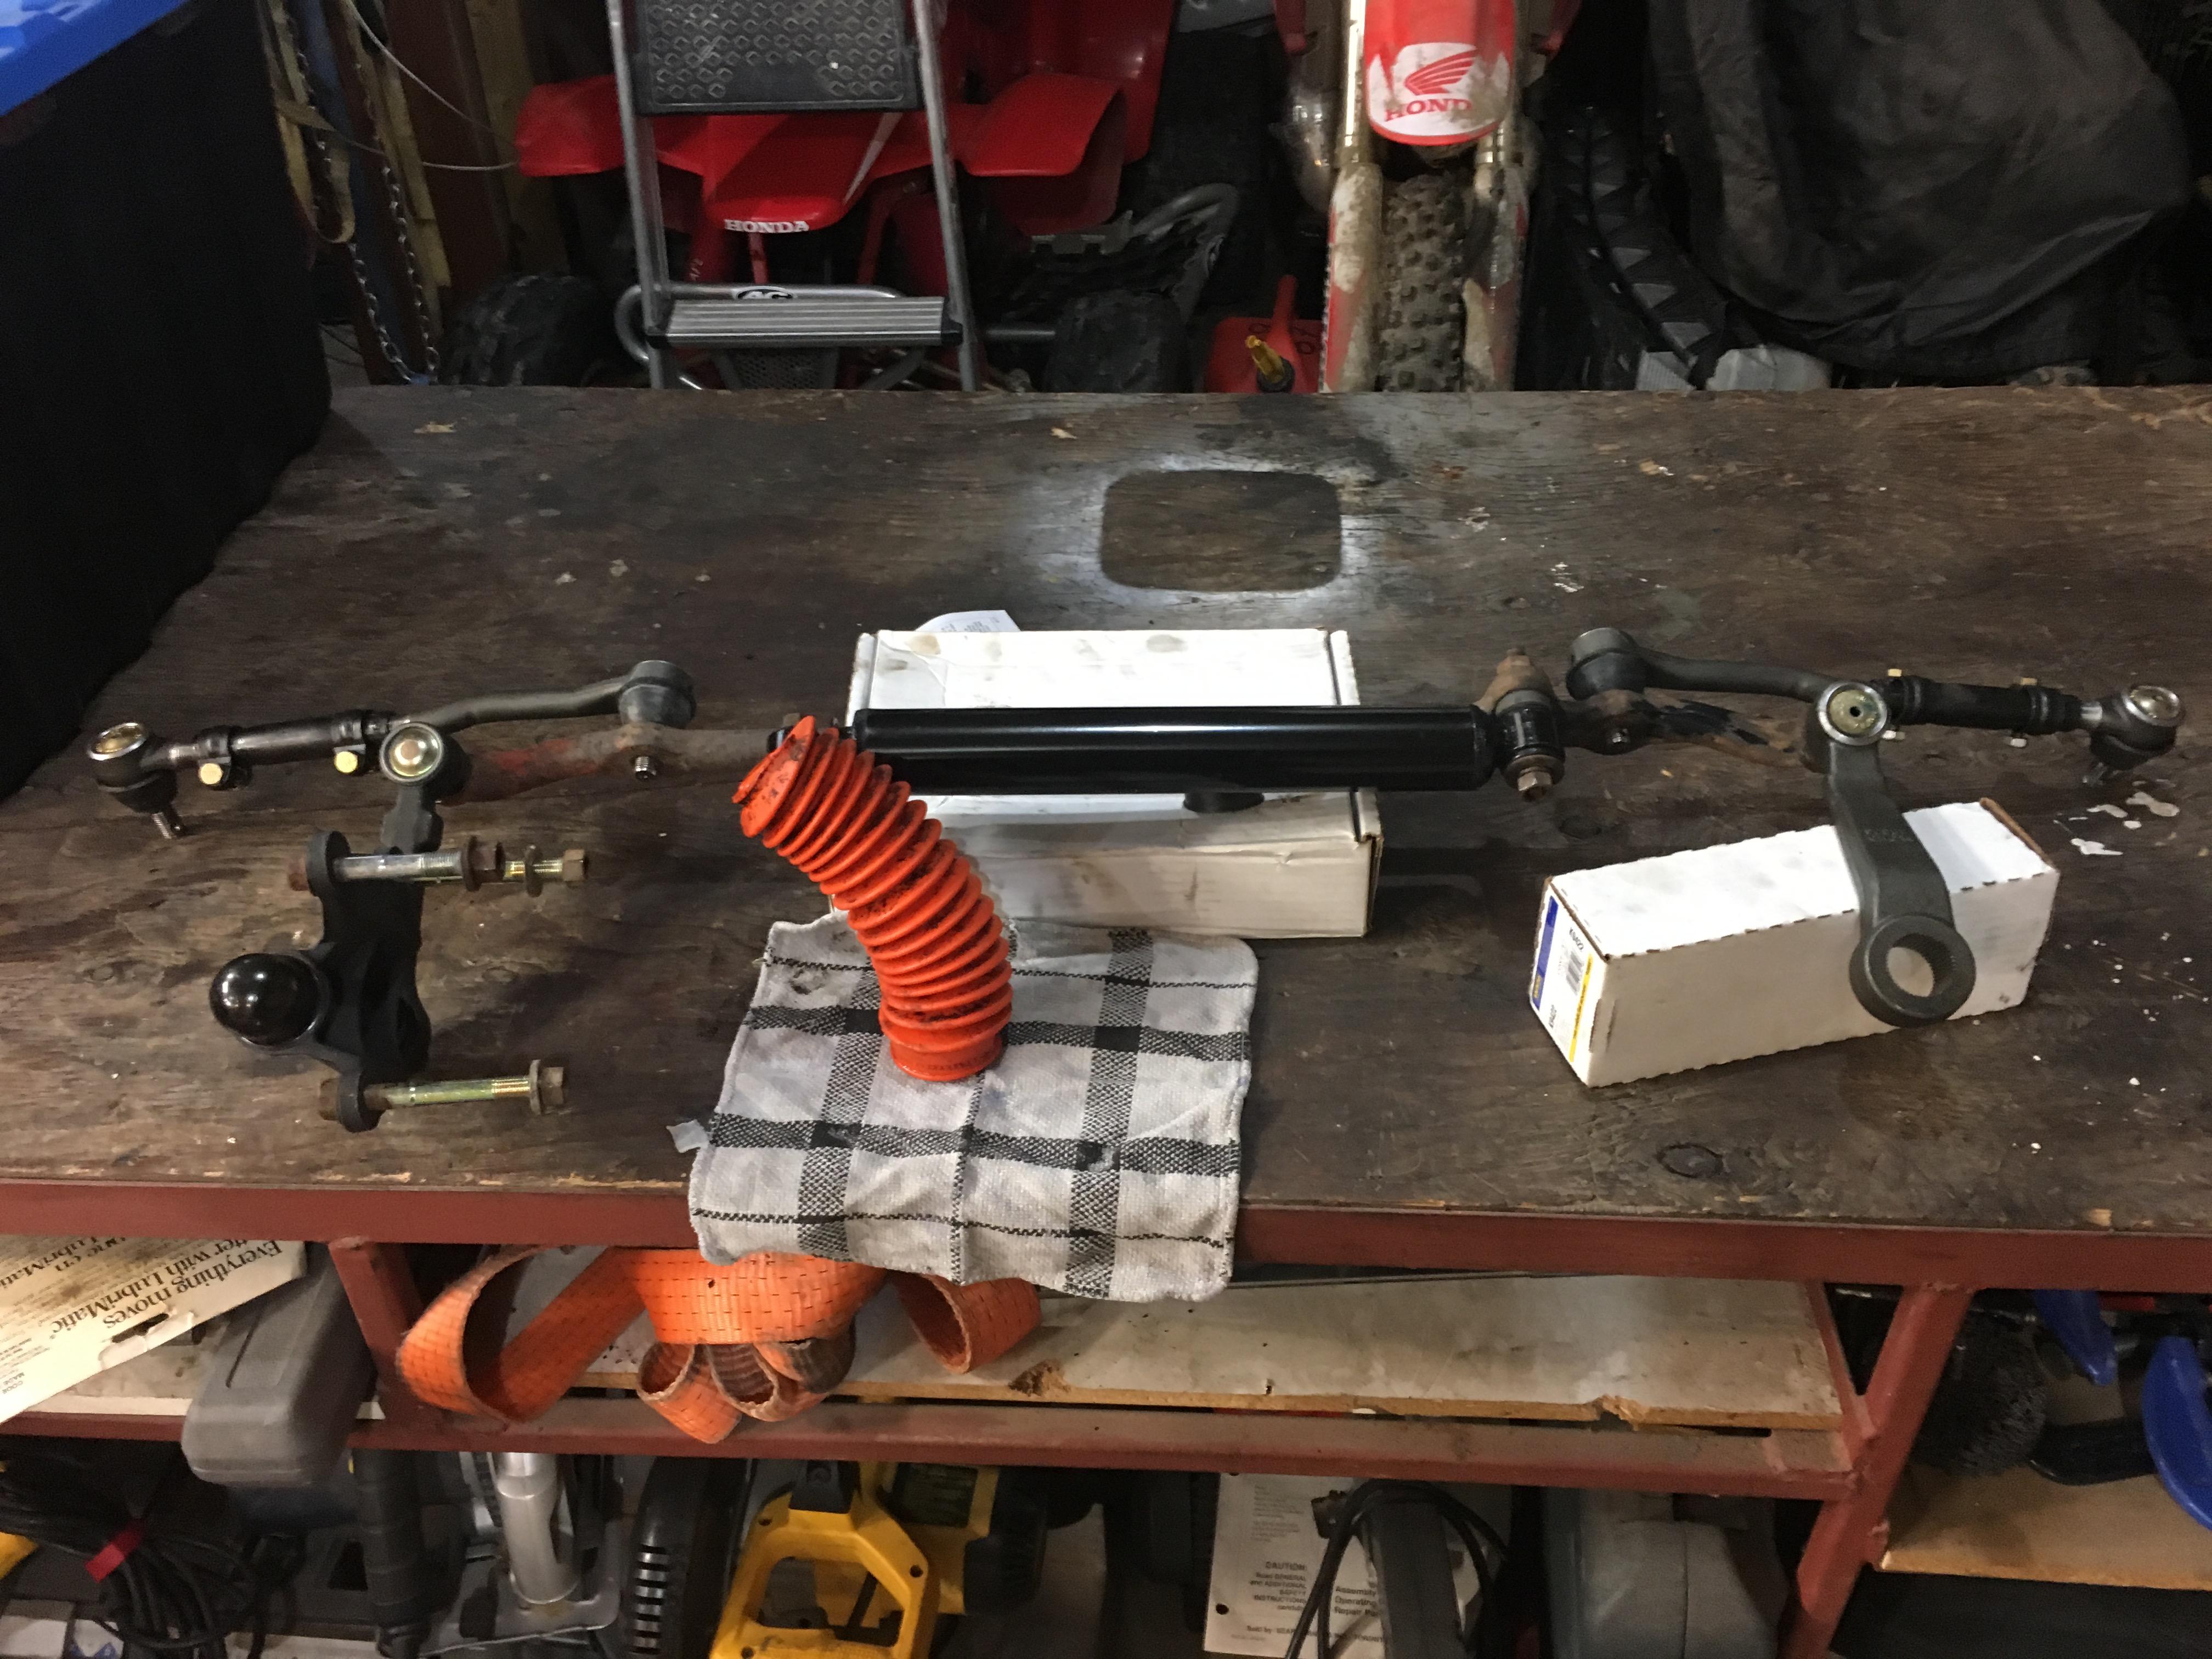
I’ll prolly replace the balljoints before I jump back into the steering.
Do you guys pull the knuckle off to do the balljoints? Or just support the knuckle and keep the CV & brakes attached? Figure it might just be easier to pull the whole knuckle out than keeping it supported and out of the way.
November 18, 2019 at 9:21 am #208643 toys-n-yotasKeymaster
Freakin’ pitman arm is mighty stuck to the steering box. I gotta buddy with the proper Puller to borrow, but he’s been on an afternoon shift for two weeks and we haven’t managed to complete the handoff. Once the pitman arm comes off, I’ll attempt the Steering box rebuild. Rebuild kit was $8, puller is $25….
Rock Auto carries the Powersteering high-pressure line for about $25, I’ll have have to cut the hardline shorter and re-flare the end. Correction, get the end re-flared. I’ll get the low pressure line (sold by the foot) and V-belts locally.
I’ve made my to-do list much longer, and made no progress crossing things off the list recently.
Maybe I’ll tackle balljoints today.
-
This reply was modified 6 years, 3 months ago by
-
AuthorPosts
- You must be logged in to reply to this topic.
