Home › Forums › TRUCK BUILDS › Redee – 1986 4Runner
- This topic has 697 replies, 9 voices, and was last updated 2 weeks, 6 days ago by
 toys-n-yotas.
-
AuthorPosts
-
April 7, 2019 at 1:48 am #208049
 toys-n-yotasKeymaster
My electrician buddy couldn’t make it out tonight, but anotber bud from work came over to socialize and help drink a couple beers.
Tonight I got a new horn wired in, traced a ground fault for it behind the steering wheel, and proved fully functional.
Replaced a broken side mirror with a cheap rockauto replacement.
Assembled the new fuel pump onto the pump hanger, and dropped it into the new tank.
After that milestone, beer and socials took over snd progress stopped. But a great night in the shop regardless as more items were crossed off the list than were added.
April 7, 2019 at 9:04 am #208050 Toy-YotaParticipant
The signal light combo is a great mod for a first gen. Just a suggestion which may already know: early toyota fuel tanks can be really hard to remove I’ve found. The top of the bolt I think had some kind of little retainer to stop it from spinning. I tacked the head of the bolt to the mounting surface so all I had to do was hit the nut with an impact and the whole bolt wouldn’t spin. May no be the worst idea since it’s out.
April 7, 2019 at 9:26 am #208051 toys-n-yotasKeymaster
Hey man, perfect timing for that tidbit of tank info. I had to make a new plate to replace those mounting nuts. I can put a tack wels on them now before the tank goes in just as you suggest. Thanks! I was going to anti-seize the crap out of them, and glob some grease on top to make a barrier of sorts for dirt / dust / debris. But a small tack is still one-step better yet.
The root cause of the problem you identified (in my viewpoint of course). The original nuts are M8 square nuts that are “projection welded” by 4 little feet to the top side of the crossmember. Trouble I found is that the crossmember fills with dirt and moisture, and the exposed threaded section of the bolts gets gunked up really bad. Trying to remove the bolt later, it’ll gunk up tbe nut, and break loose the projection weld. Lucky for me, I sheared off all three tank bolts trying to remove them before the projection weld failed. When the tank “fell out” I ground the rusted nuts off. You can see some of the rust/dirt/gunk in the right corner of the pocket there. I had already removed 3 lbs of crap from that pocket before the nuts were even visible for the photo op.
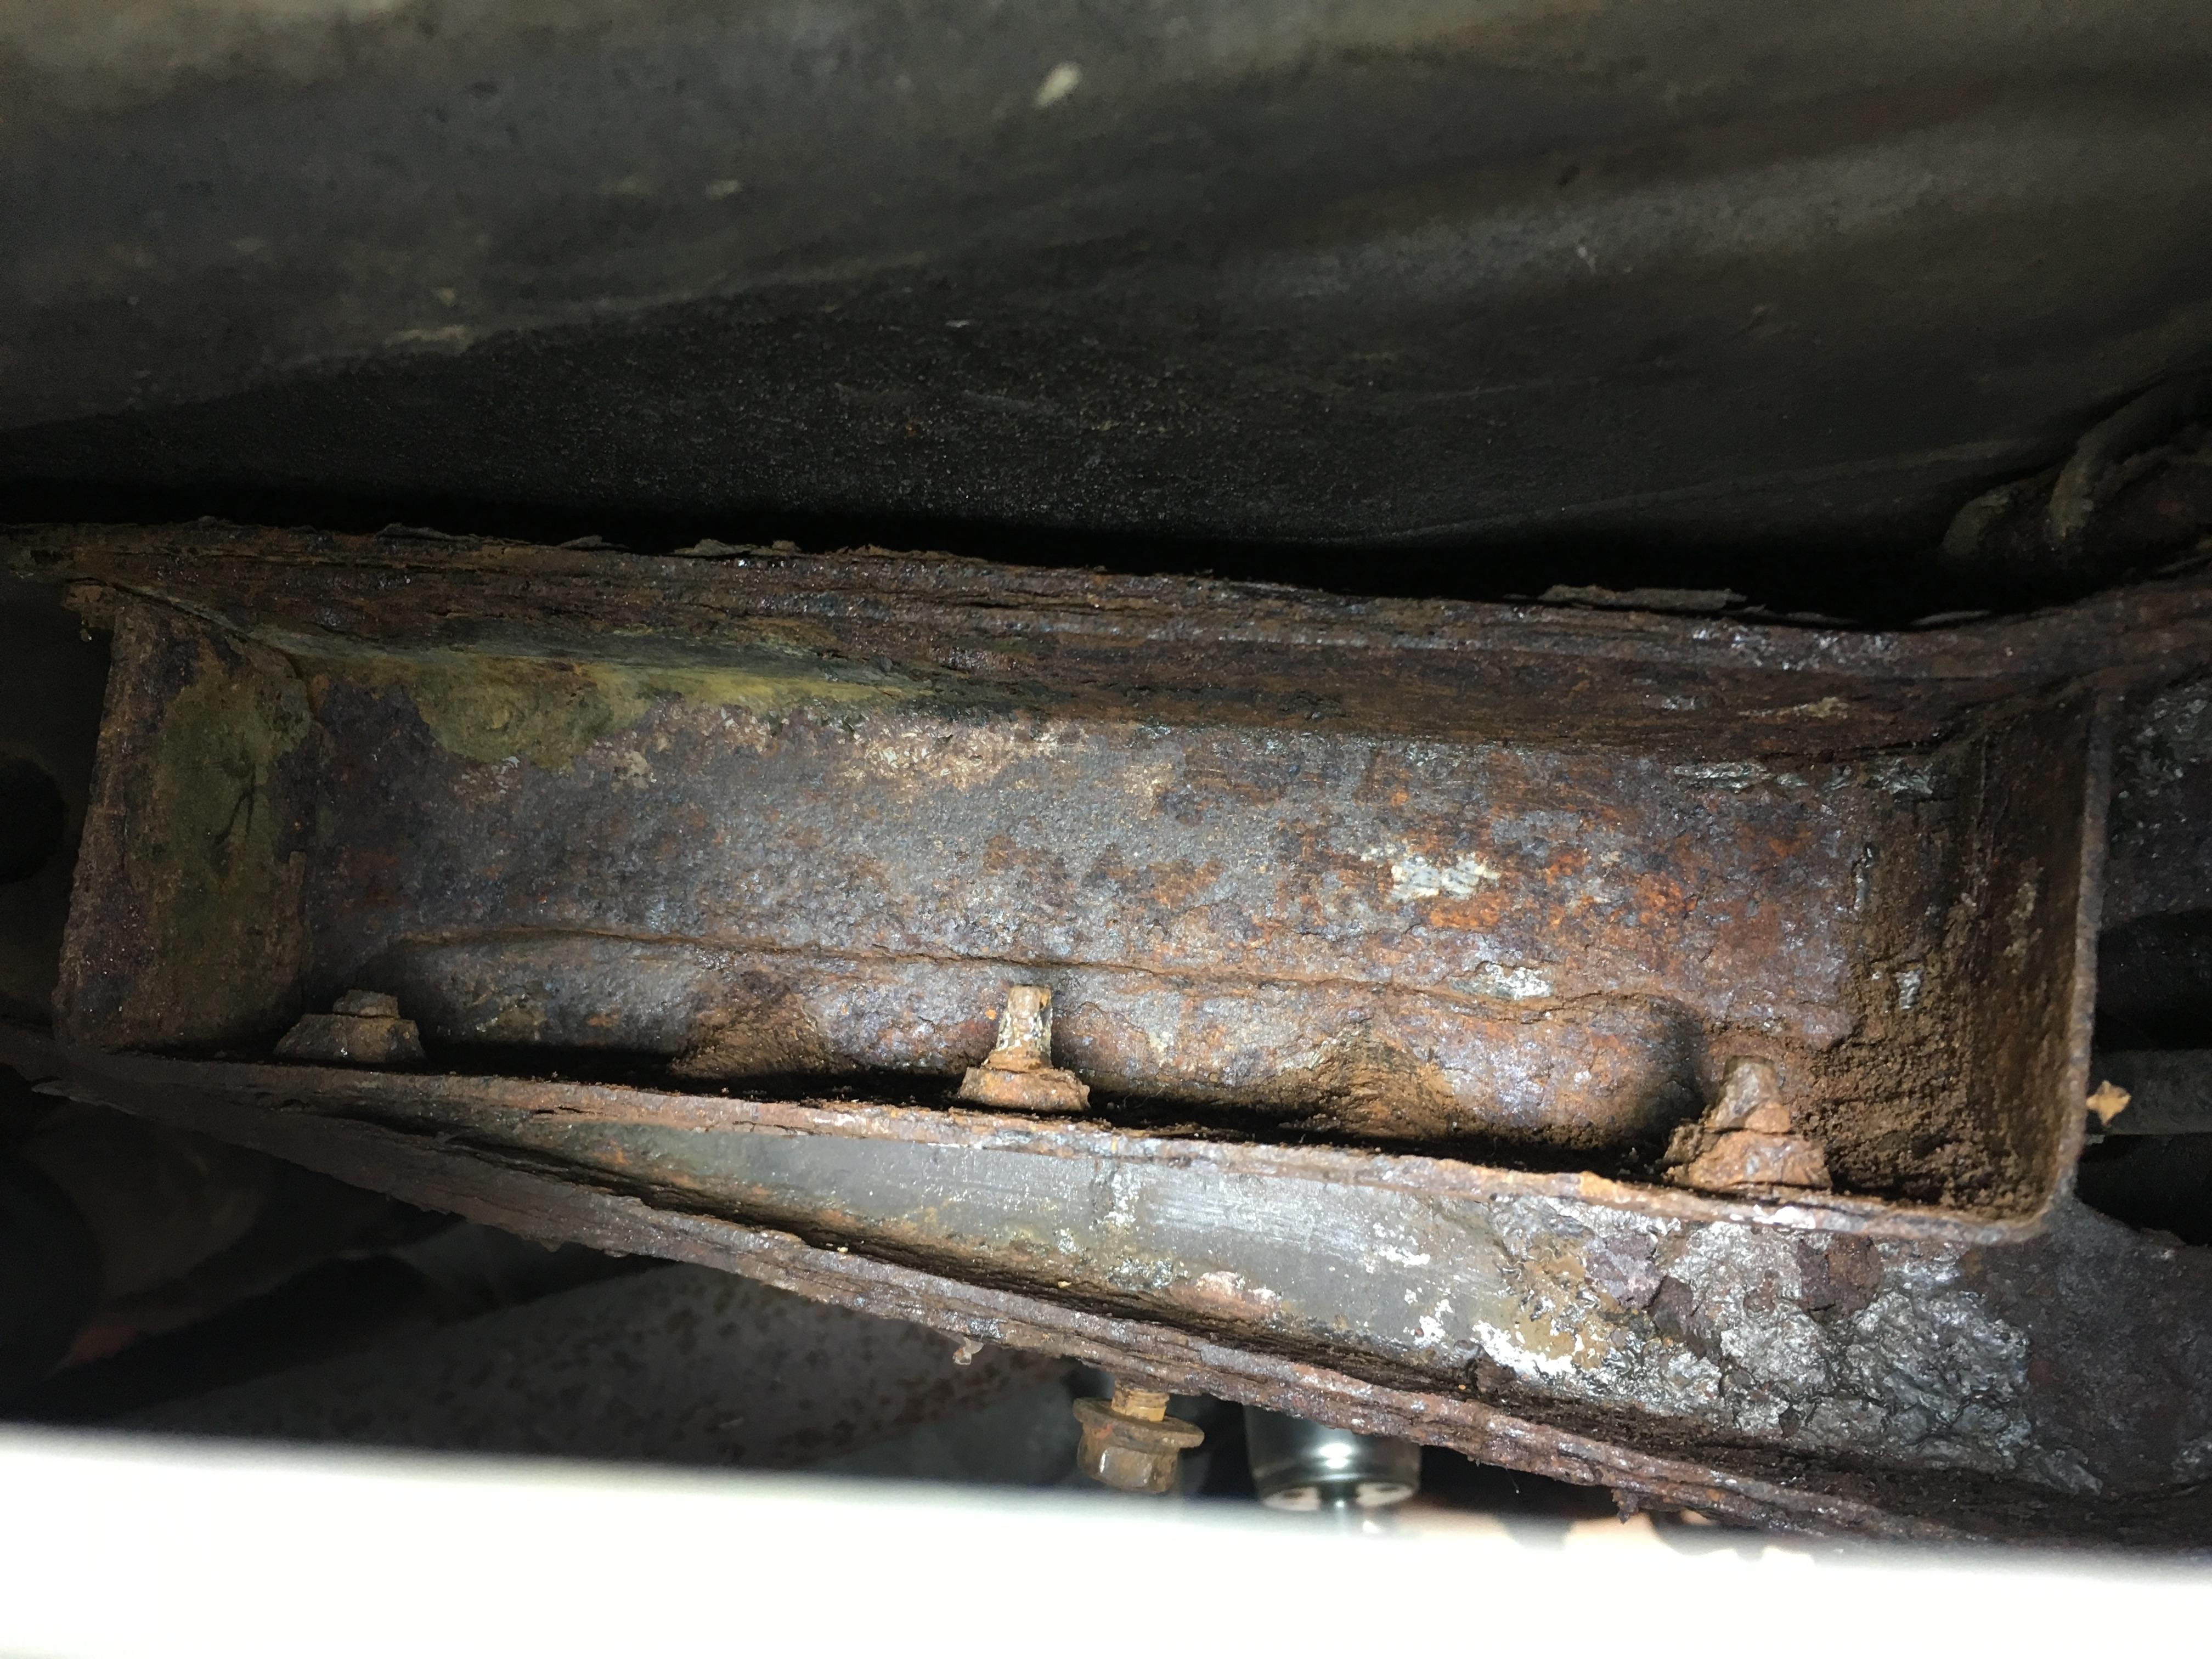
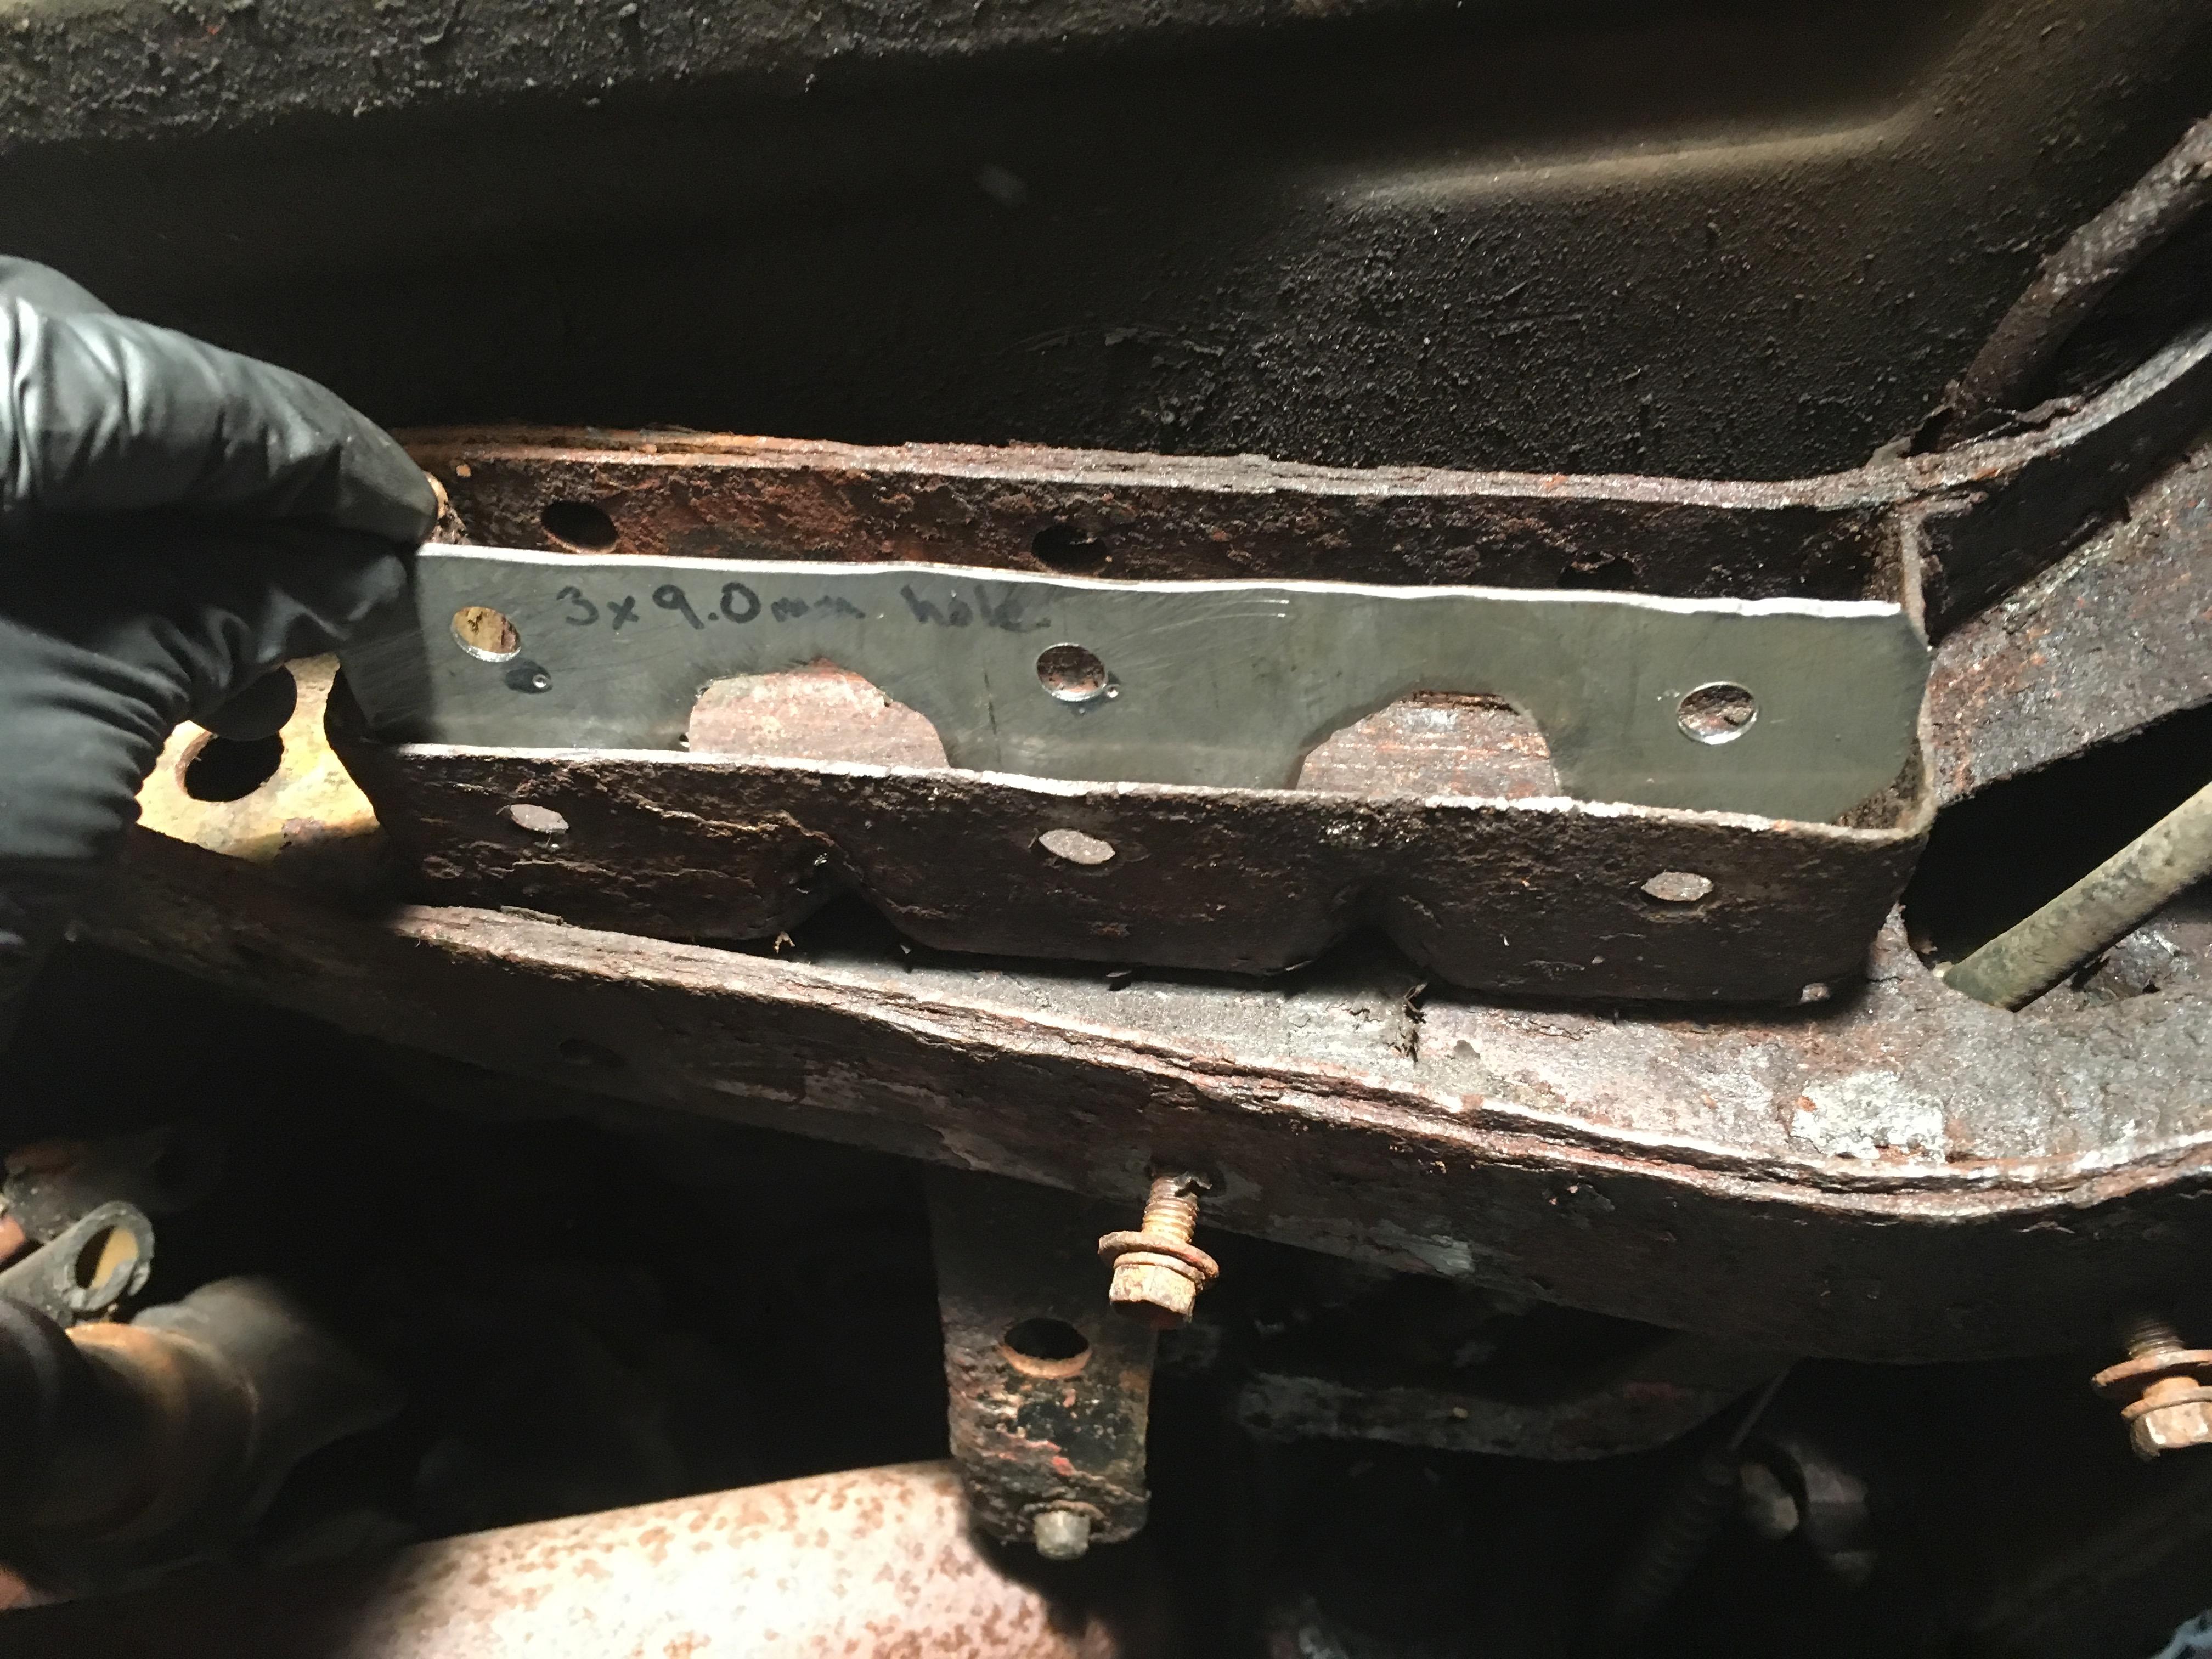
In the picture above, I added new M8 weld nuts to the top of the plate, but don’t have a finished product picture. Will bring it to work to put a little tack on.
-
This reply was modified 6 years, 10 months ago by
 toys-n-yotas.
April 9, 2019 at 9:40 am #208053 toys-n-yotasKeymaster
Second day in a row I forgot to bring my tank hanger nut plate to work for a little tack weld. Oh well, tomoorow.
Sunday night was a frustrating one. Successes, rigged up the rusted fuel sender to close the top of the tank, connected the last brake line, and removed some diamond plate from the front bumper.
Failures: Flare tool kept slipping on my fuel line, kinked the fuel line shut on the final bend, 5/16” rubber fuel line won’t fit all the way up the pump barbs, and finally the Holley fuel pump dripped gasoline all over me giving me an awful gasoline buzz and nausea.
Monday night I avoided gasoline and played with electrical. I traced tons of connectors behind the dash, and created functional Reverse lights off the shifter, and a Neutral safety switch off the shifter. Ready to put the dash in for good now!
April 10, 2019 at 12:10 pm #208054 toys-n-yotasKeymaster
More electrical work last night. I made the executive decision to pull the Holley ProJection EFI system from the engine bay, to redo the install. It’s a 12-wire hookup, but even easier since 2 are grounds, and 7 are a part of Male/Female connectors. My intention is to remove some of the splices and butt connectors, while re-routing the main feed through and existing grommet in the firewall. Hoping it’s cleaner when I’m all done. Hoping even more I don’t fudge something up and have a “No start” condition.
I also refurbed a door jamb courtesy light switch rather than replacing it for $42. Took me 10-mins to dismantle, sand blast, reassemble and install.
Hooked up the AutoMeter triple gauges to the dash illumination so I can read at night. Trimmed back the old stereo harness, adjusted the reverse light micro switch that was unintentionally “Always ON”, ran a couple wires for USB chargers, and ran the temp probe for my digital thermometer for outside temp display.
Will stop to buy a few more male flag connectors, and eye loops tonight, hopefully to get the holley harness back in.
April 11, 2019 at 4:26 pm #208055 toys-n-yotasKeymaster
A pretty successful day OUT of the shop while I do Daddy daycare today.
Duratracs, mounted balanced and paid for.
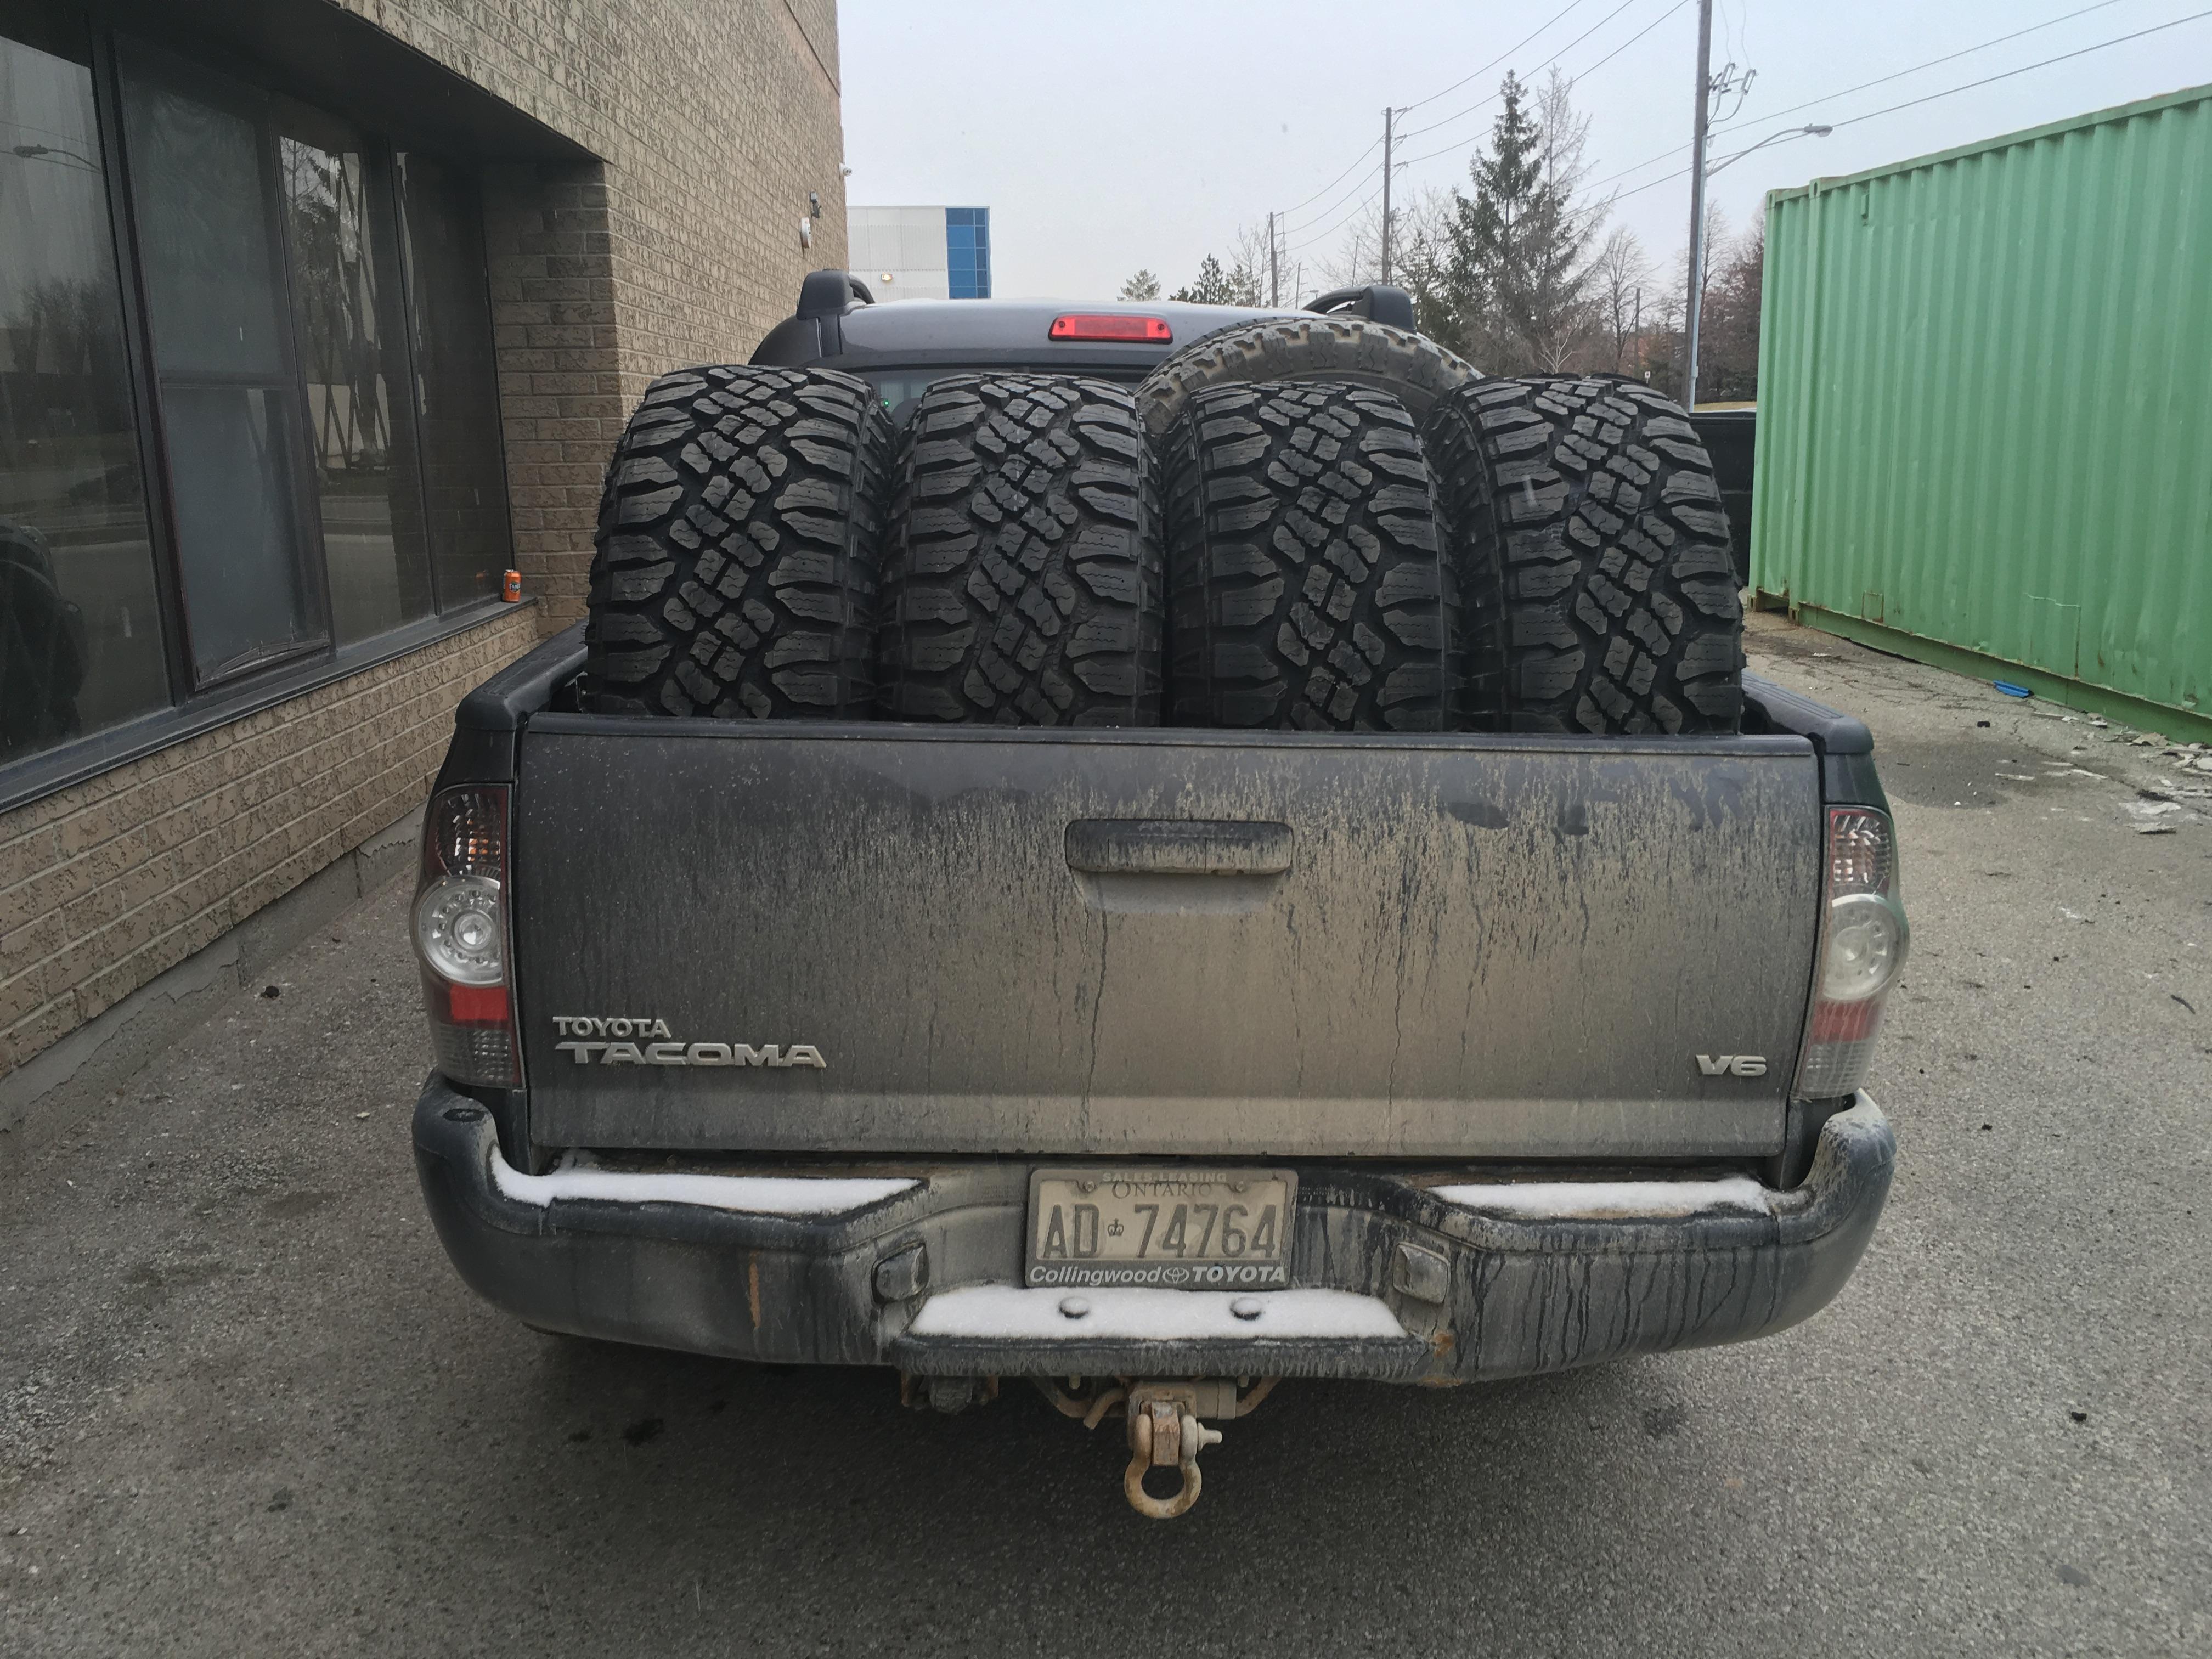
Appraisal, completed over the phone and in person verification of details.
Insurance, quote filled out, awaiting ownership transfer to finalize and start paying.
UPS guy arrived with some ARB parts from Marlin Crawler. Should have bought them elsewhere, $45 shipping didn’t include duty….a suprise $43 bill a week later. Crap.
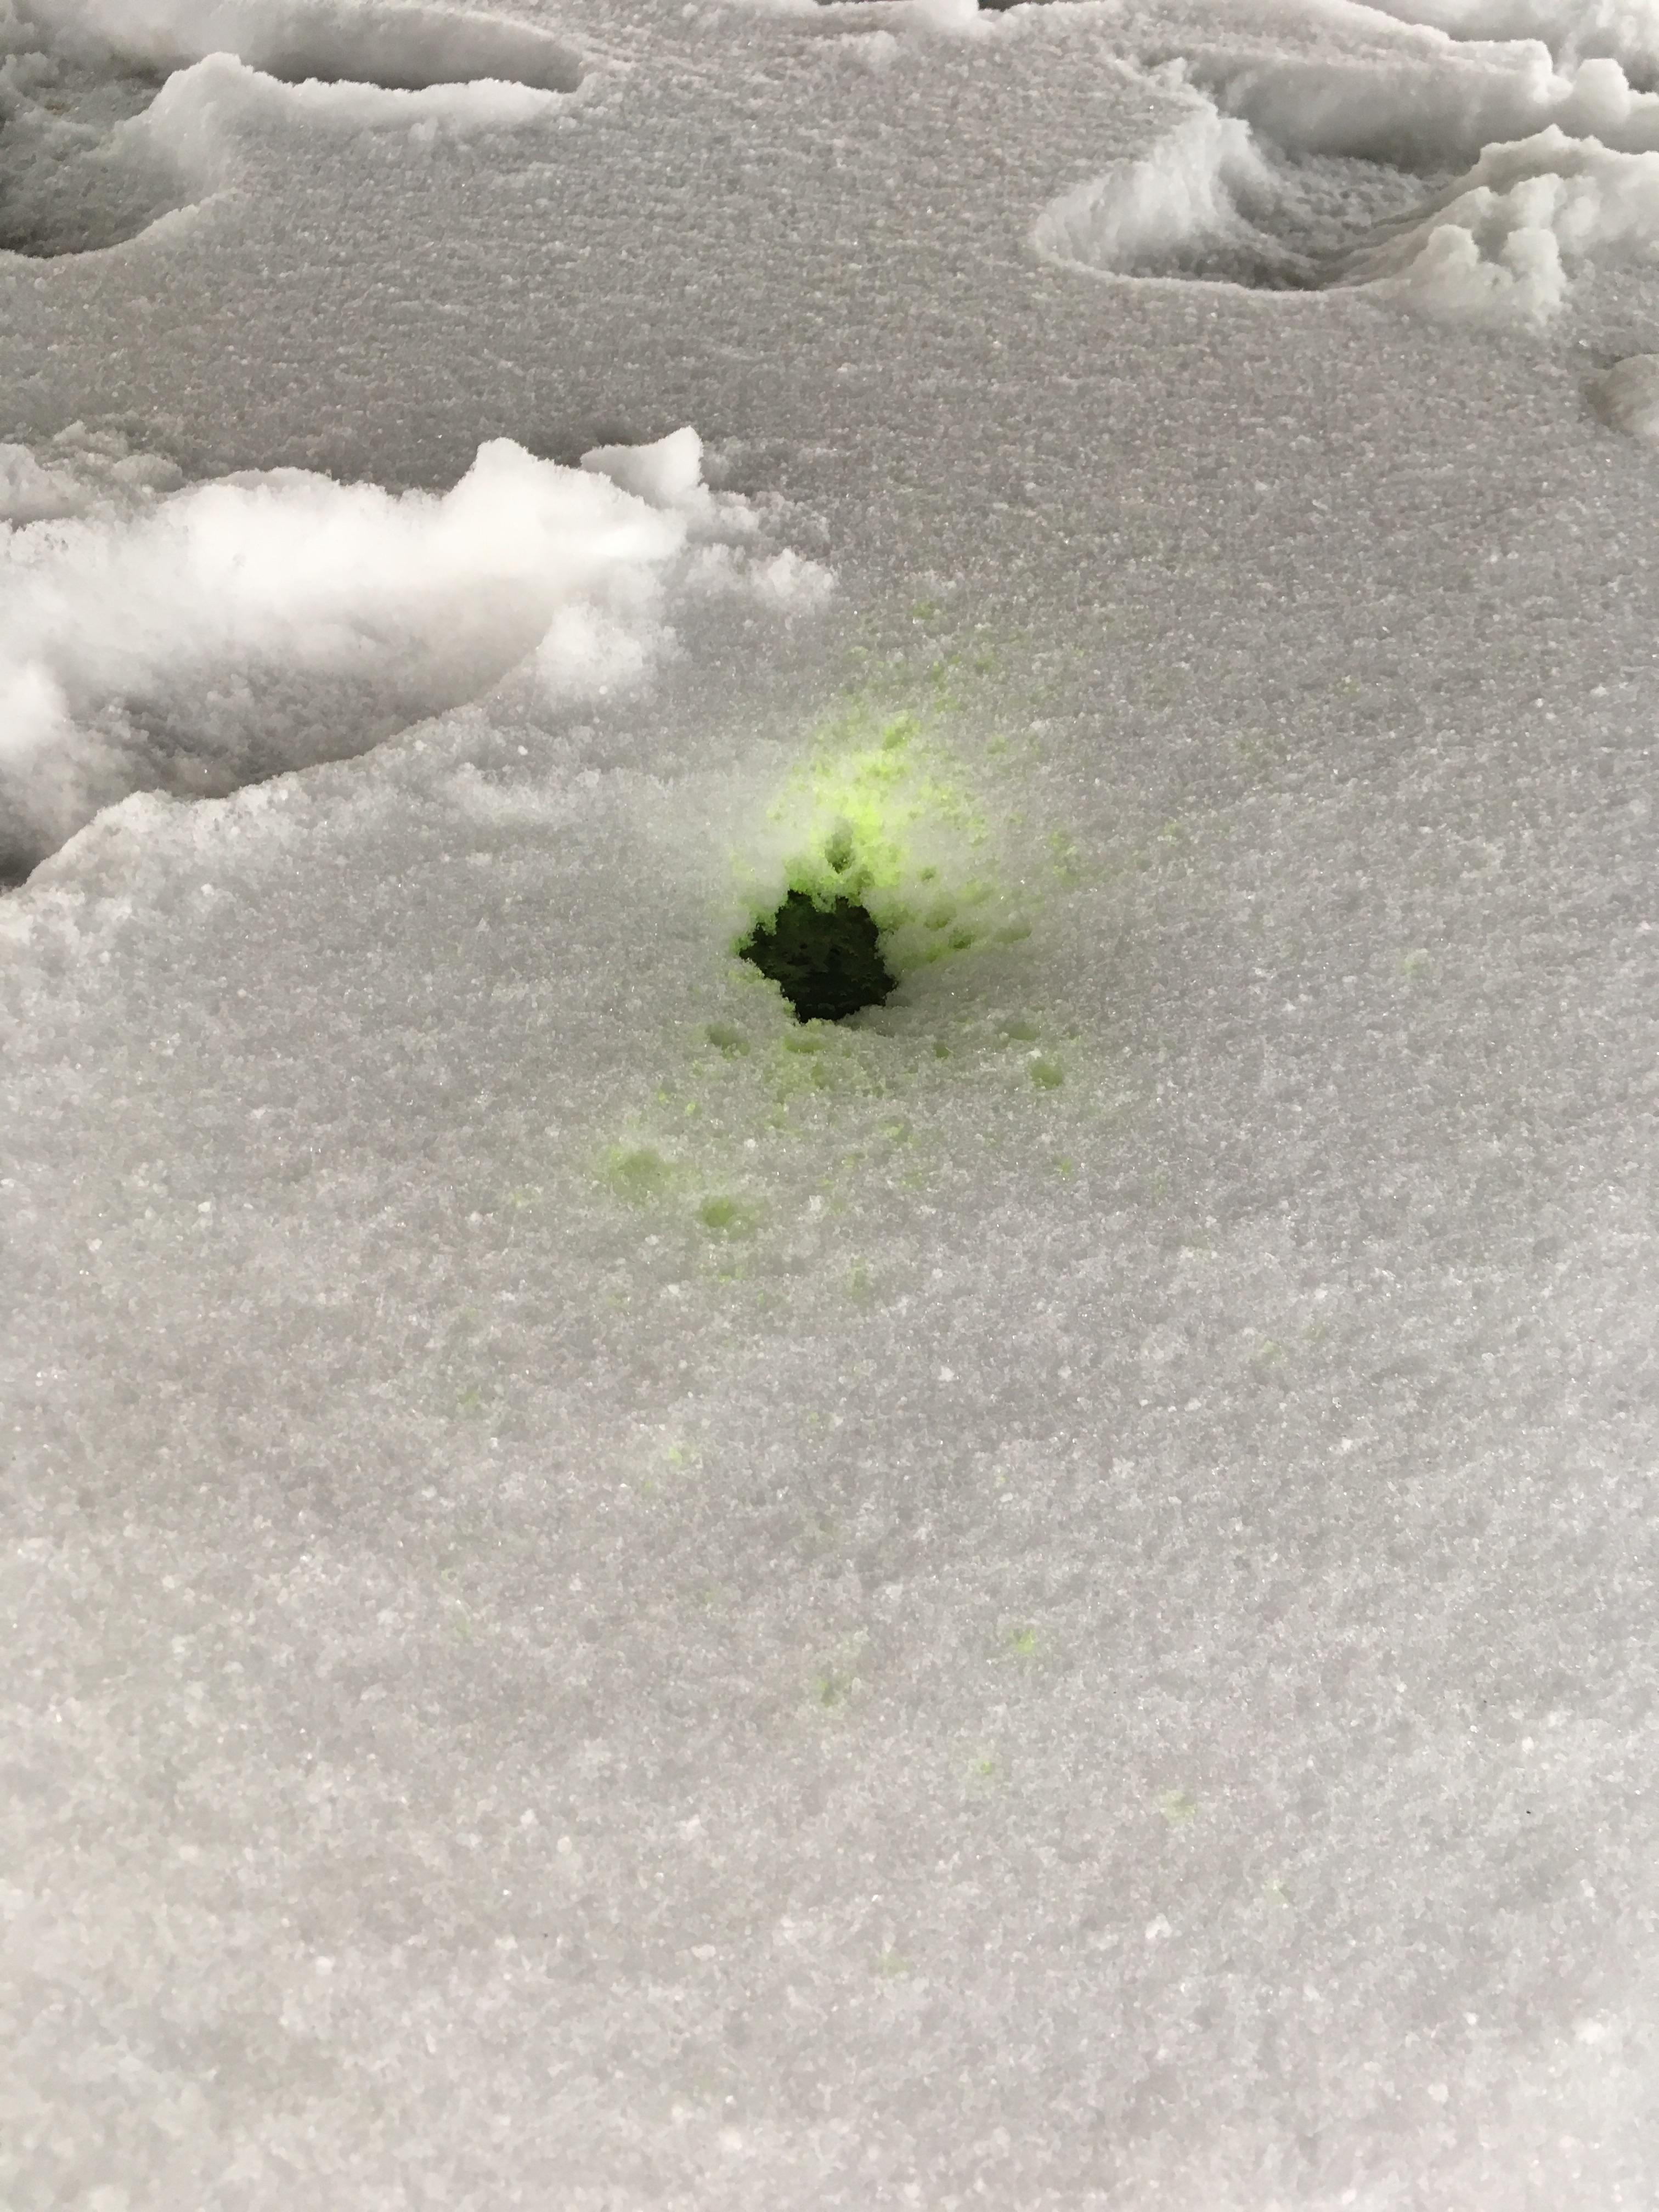
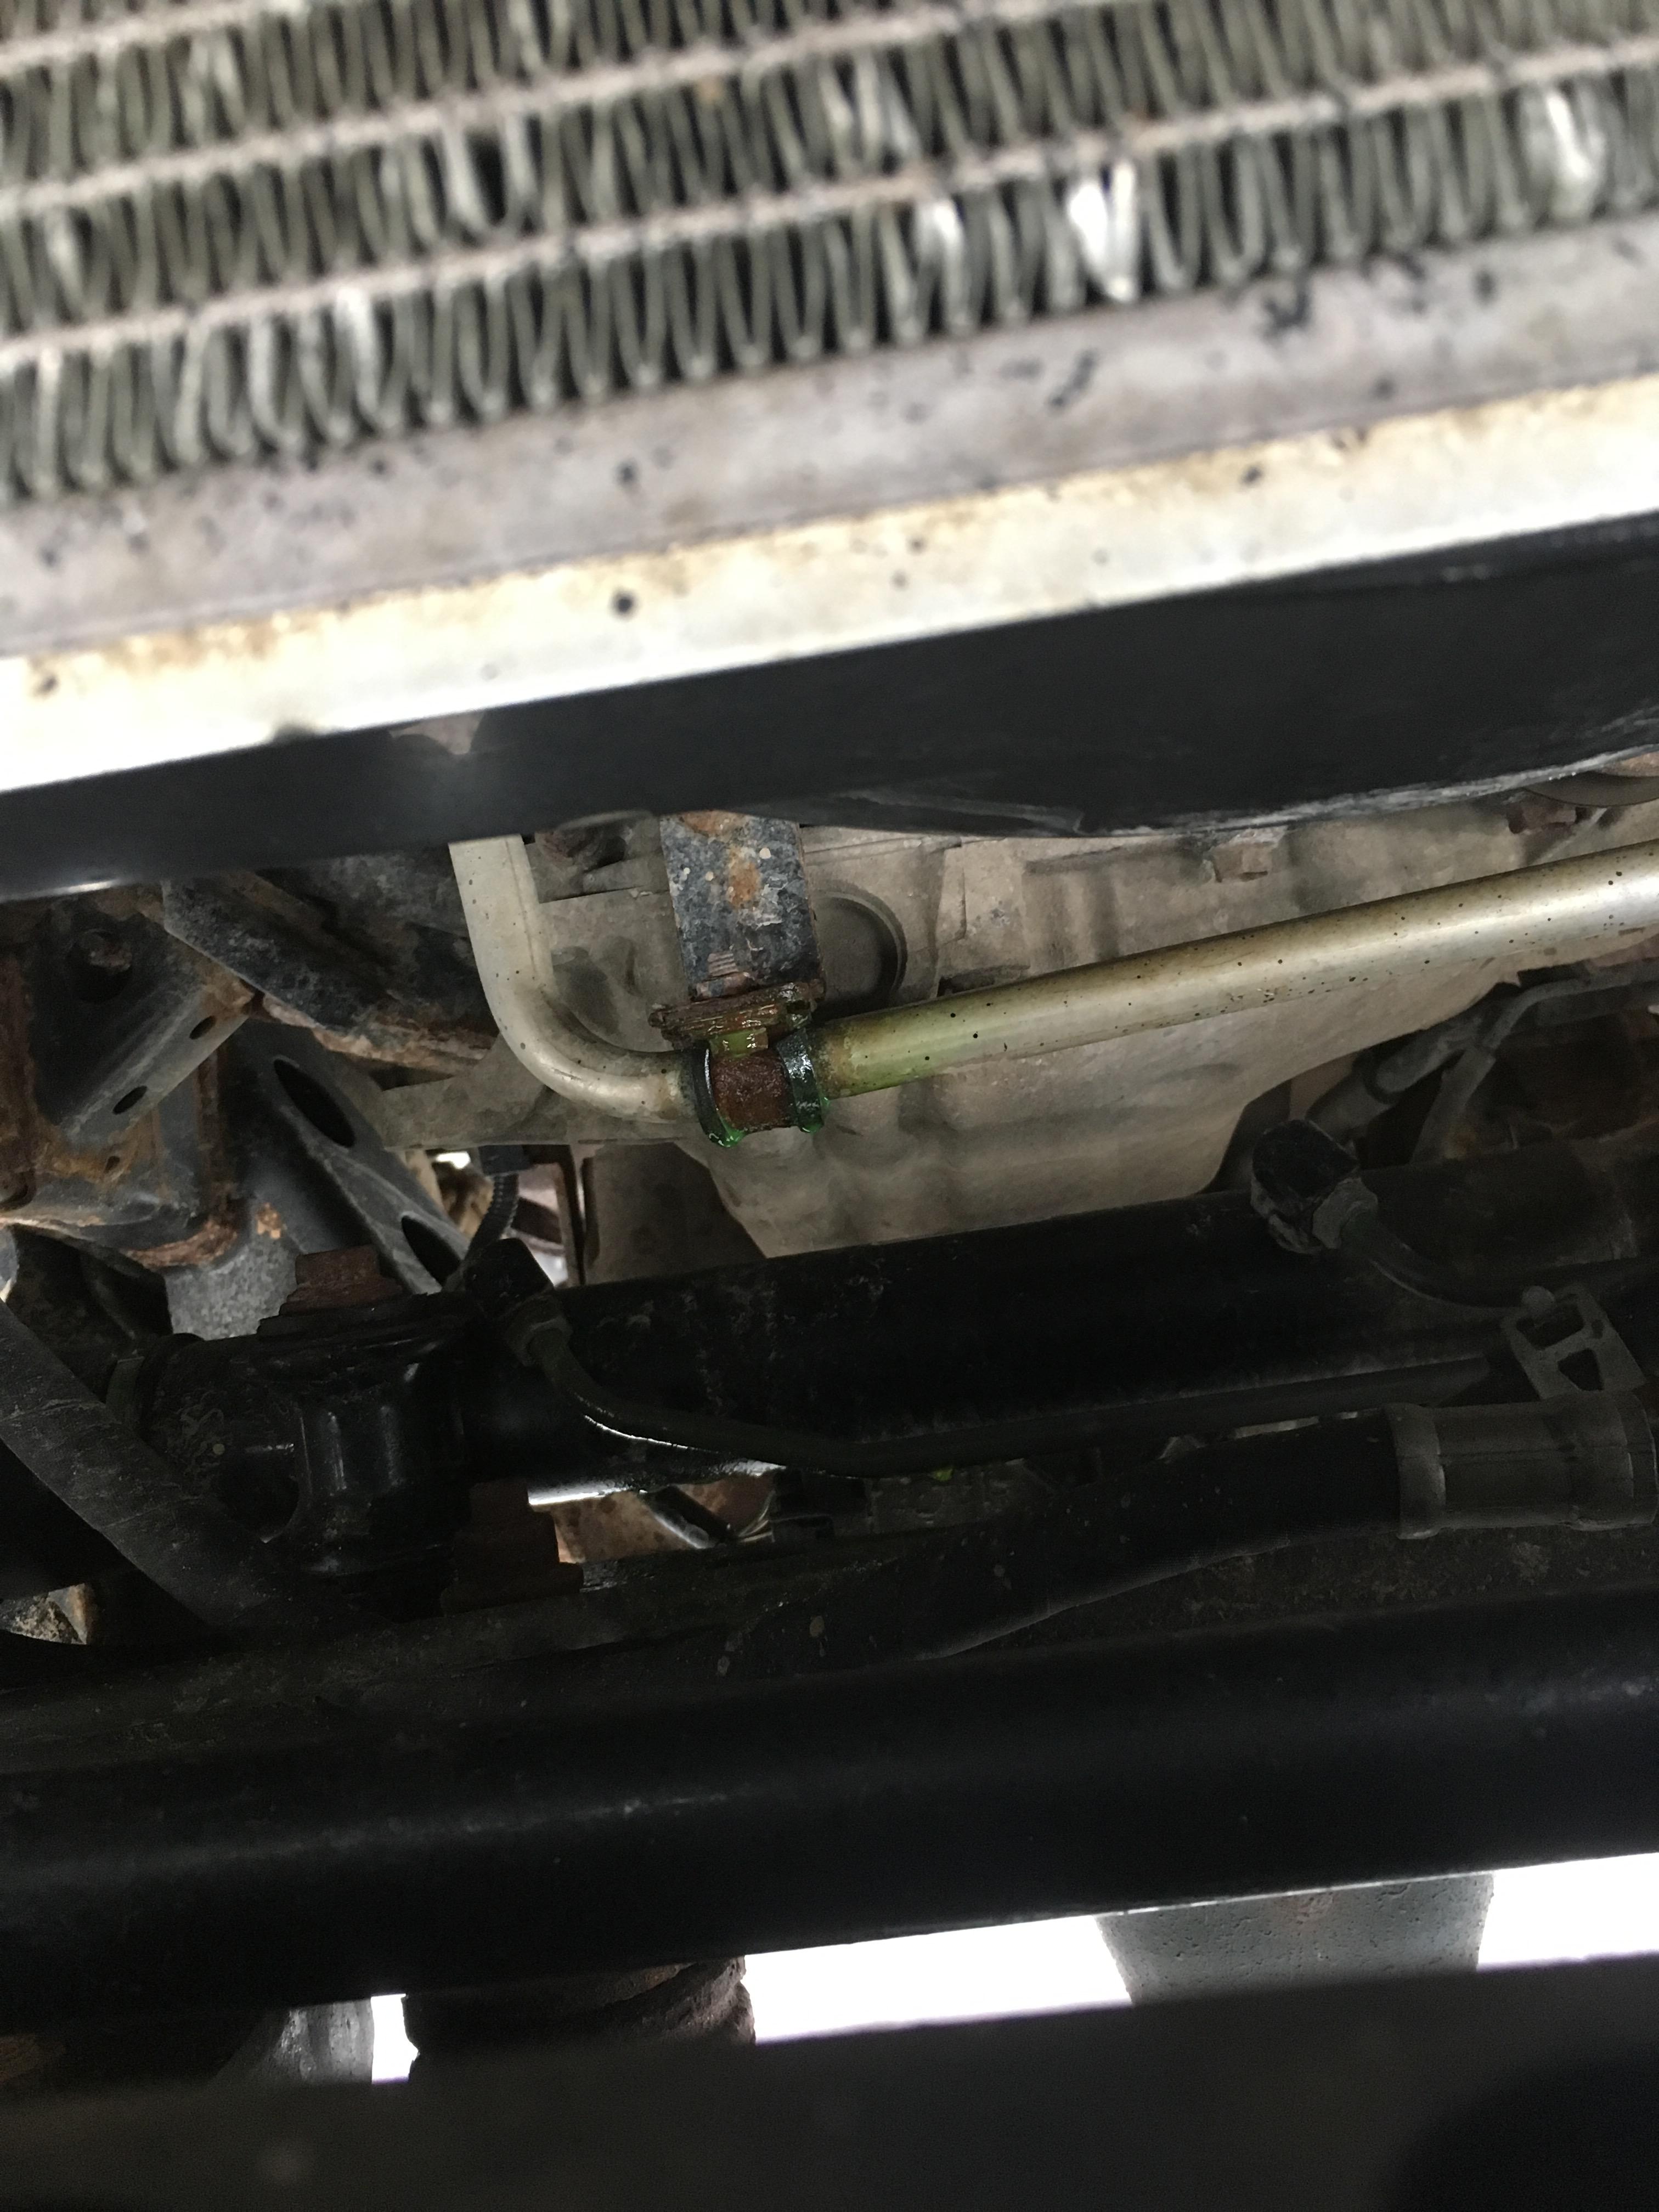
On a much less awesome note, a bright green puddle of A/C refrigerant was spotted in the fresh snow on my driveway. More warranty claims coming my way. Truckee (Tacoma) has had two issues in his life, both of them being failed steel hard lines (corrosion perforation) behind the front skid plate. I wonder what I’m doing wrong.
 April 12, 2019 at 10:46 pm #208061
 Toy-YotaParticipant
1) my power stroke dripped ATF right from that same spot. I think those lines are really impervious to road debris.
2) awesome progress really glad to see!
3) tires look sick
4) I’m glad You were proactive with the gas tank situation.
5) I ordered a chip for my 7.3 and it didn’t include the broker charges so I got d*cked by those crazy charges too.
April 13, 2019 at 1:49 pm #208064 toys-n-yotasKeymaster
Hey Evan, thanks for the encouragement. I still haven’t addressed item 4, but I have acknowleged it, so thats half the battle.
I did 80% of the rewiring of the Holley EFI and E-fan kit last.night. 2-wires left to connect and some looming to wrap everything up will cross it off the list
April 13, 2019 at 10:31 pm #208067 Slick_YotaKeymaster
I had to replace my condenser last year. Too many stones and crap from Ardbeg and such. the lines were ok though. I got the condenser from a mechanic buddy who gets parts wholesale – Toyota wanted an arm and a leg for it.
they’re not usually too bad for lines. Just be careful when you disconnect from your condenser – I broke both bolts off. Didn’t matter for me because I was replacing it anyway and had extra hardware…
April 15, 2019 at 2:23 pm #208072 toys-n-yotasKeymaster
I’m not too worried about breaking bokts on the hard lines, I’m still under warranty till December.
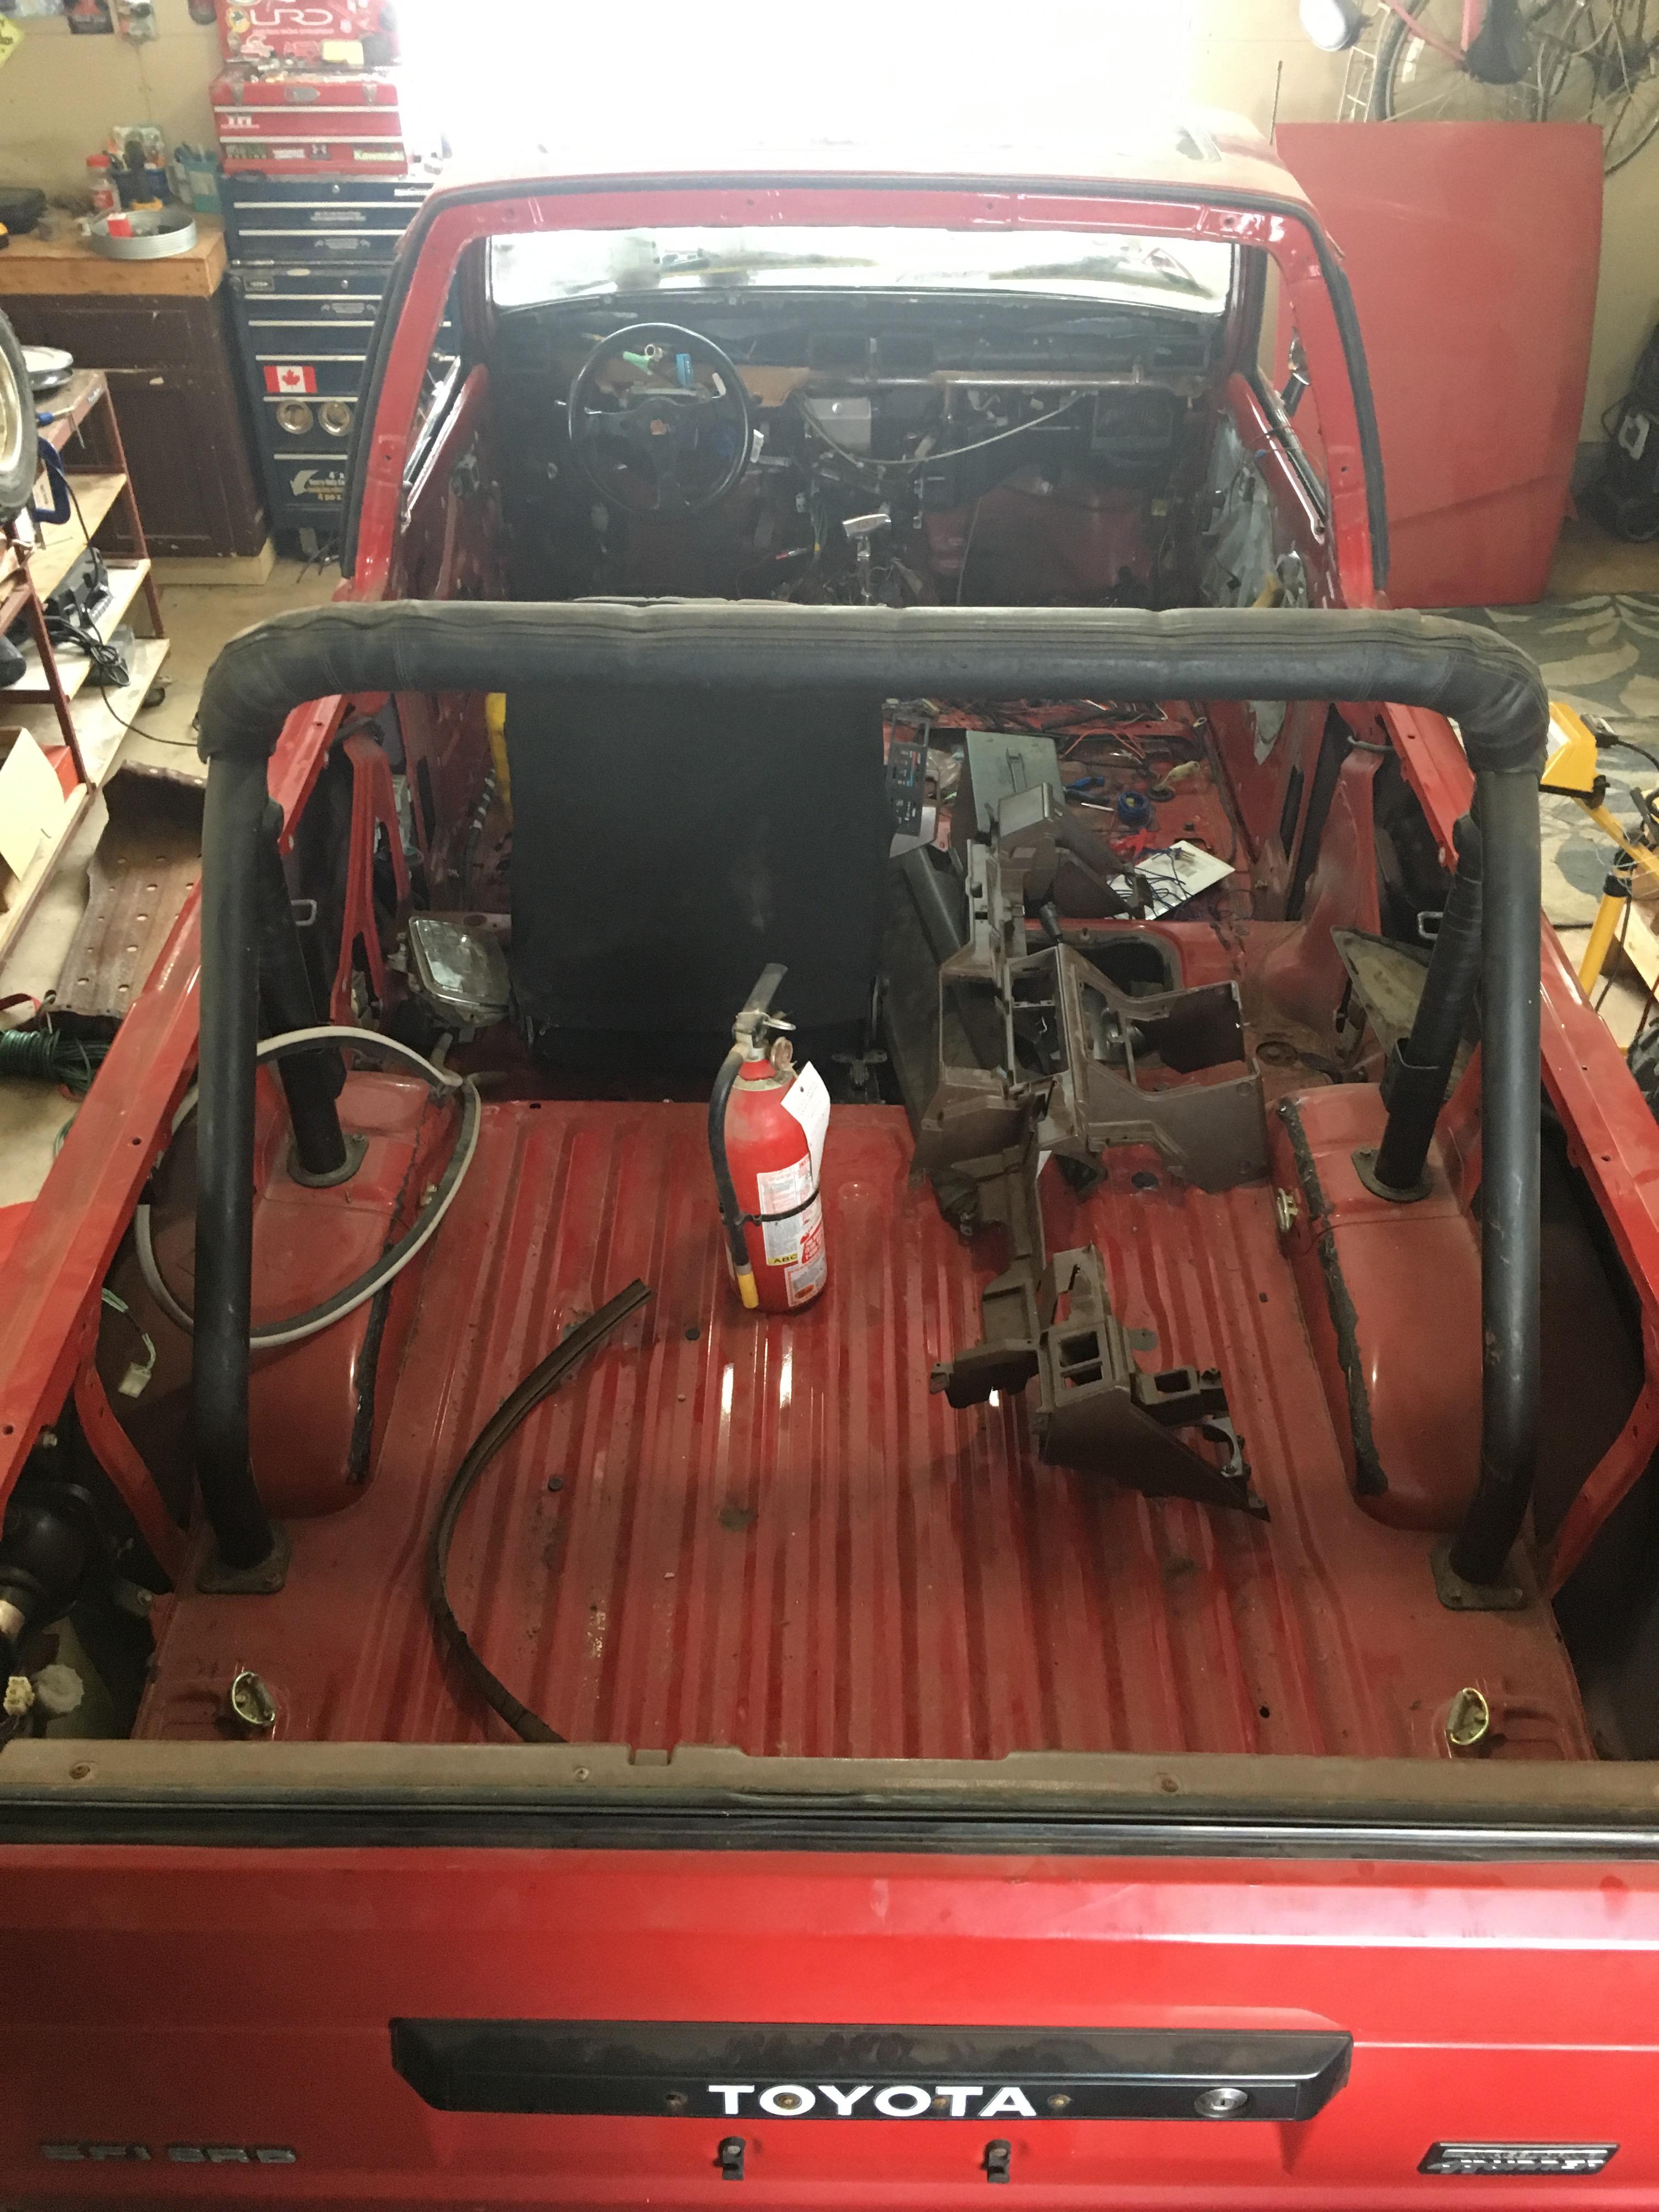
Had a big night of electrical in the shop last night.
- Finished rewiring the Holley kit. Wrapped in looming, tied up, and lookin’ pretty
- wired up the E-fan kit, just need to attach it to a switched IGN trigger wire
- Tested/verified Neutral safety interlock
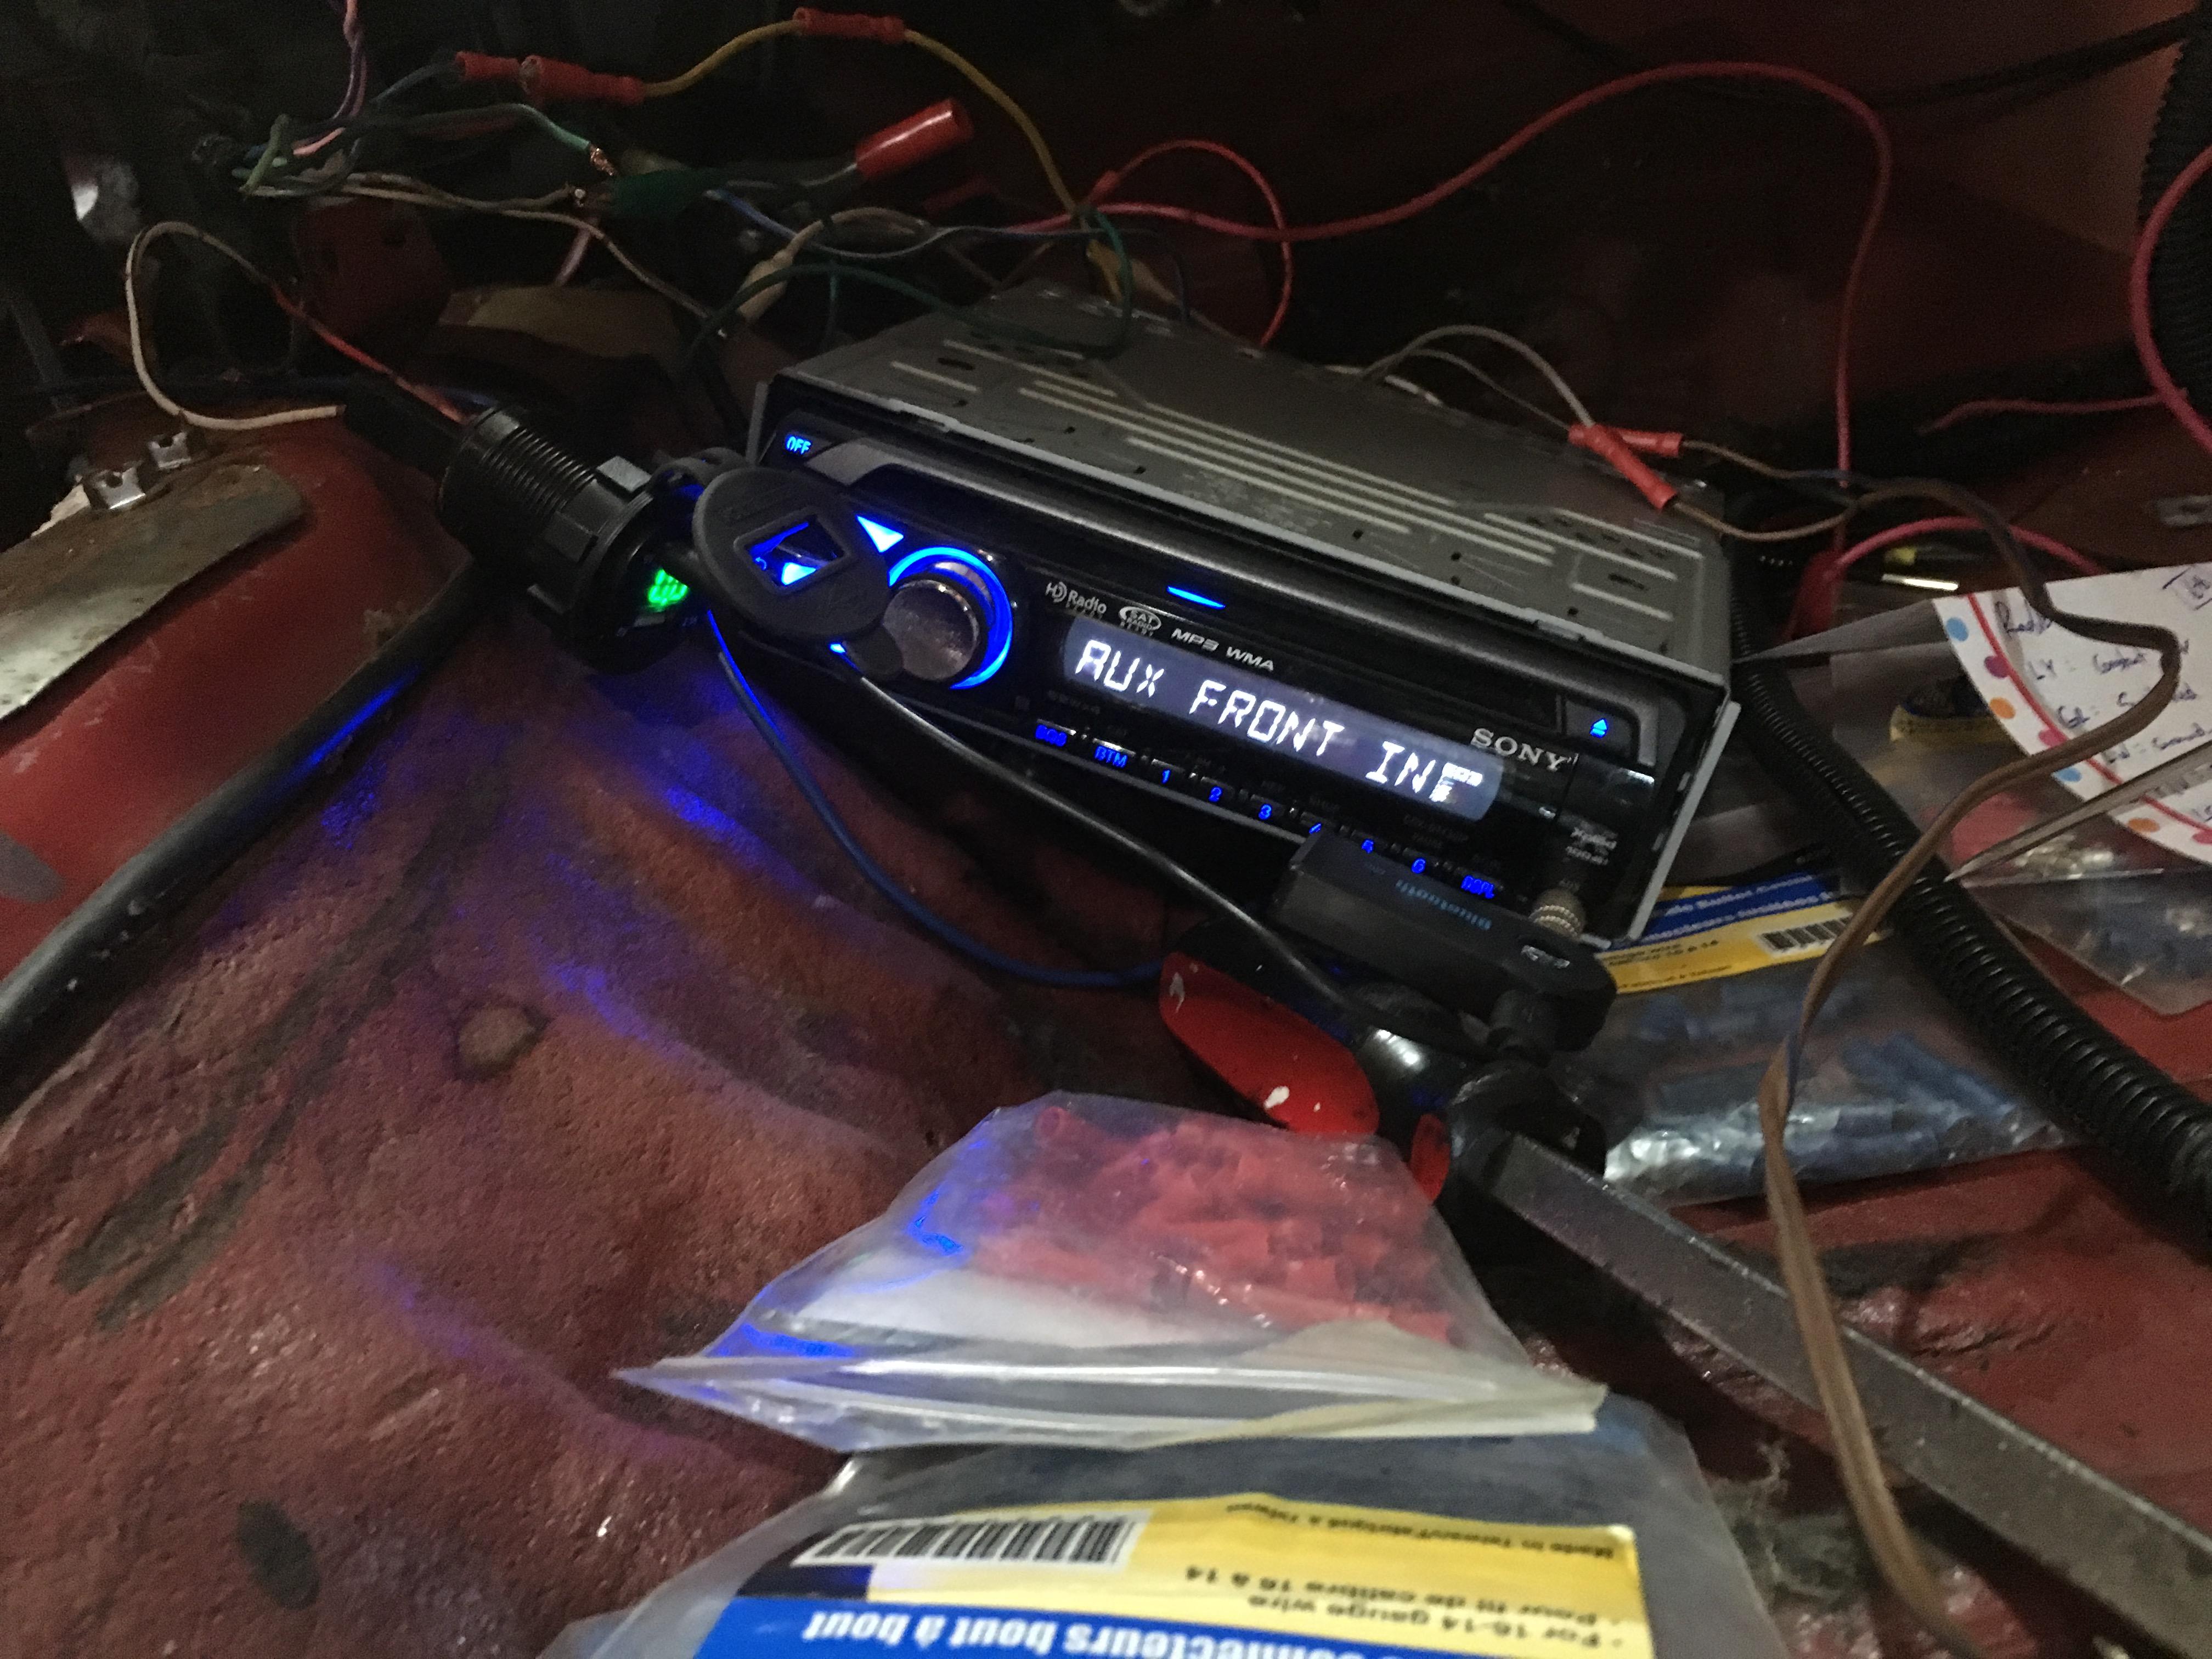
- temp install Sony head unit and one speaker. Free unit Works like a charm
- tidied up all wiring under the hood
I also completed a couple non-wiring tasks. I modified the Throttle cable linkage bracket to prevent it from rotating. An “anti-rotation” tab had fatigued and was creating significant slack in the cable. Prolly only about to hit 30% of WOT….not acceptable. Also tweaked the tranny kick-down cable to maintain alignment better.
With the throttle linkage cured, I topped the engine off with a new air filter.
I still must make 2 firewall fill plates before I put all the dash back in. 5 mins with tin snips and some sealant. Also gonna run speaker wires to the rear cargo area while everything is open and exposed.
 April 16, 2019 at 8:14 pm #208073
 toys-n-yotasKeymaster
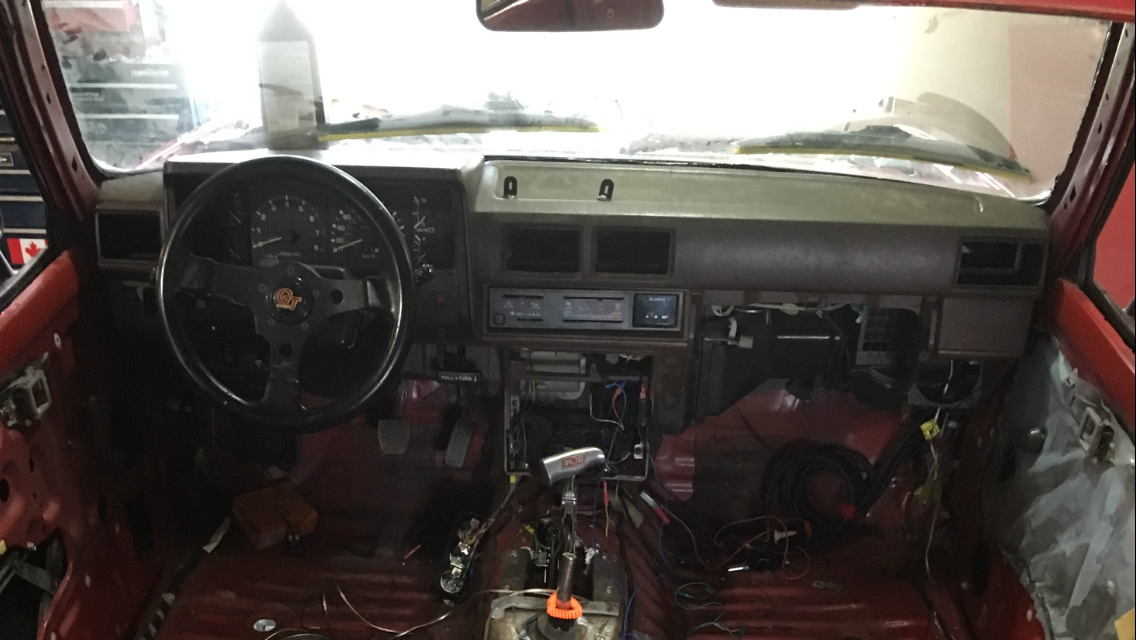
Good news, dashboard is mostly installed.
Bad news, brake lines are leaking at my flares. I should have paid for the service, rather than paying twice for the service and my failed attempt.
My current plan is to finish up the interior installation, then drag Redee down to my buddy Brian @ Lakeside Auto in Wasaga Beach to hook me up with fuel and brakes lines, then a safety inspection. Hopefully I can get Redee off to Brian by early next week.
April 16, 2019 at 9:25 pm #208075 Toy-YotaParticipant
That’s awesome, what happened with the flaring process?
April 16, 2019 at 10:00 pm #208076 toys-n-yotasKeymaster
No idea what went wrong with the flares. But I’ve got slow leaks at the distribution block under the master cylinder, and under the floor pans at a union.
That’s fine. Happy to Bring my buddy Brian some business. He runs a great shop, and I’ll feel better knowing my crappy flares won’t be my undoing.
April 17, 2019 at 4:24 pm #208078 toys-n-yotasKeymaster
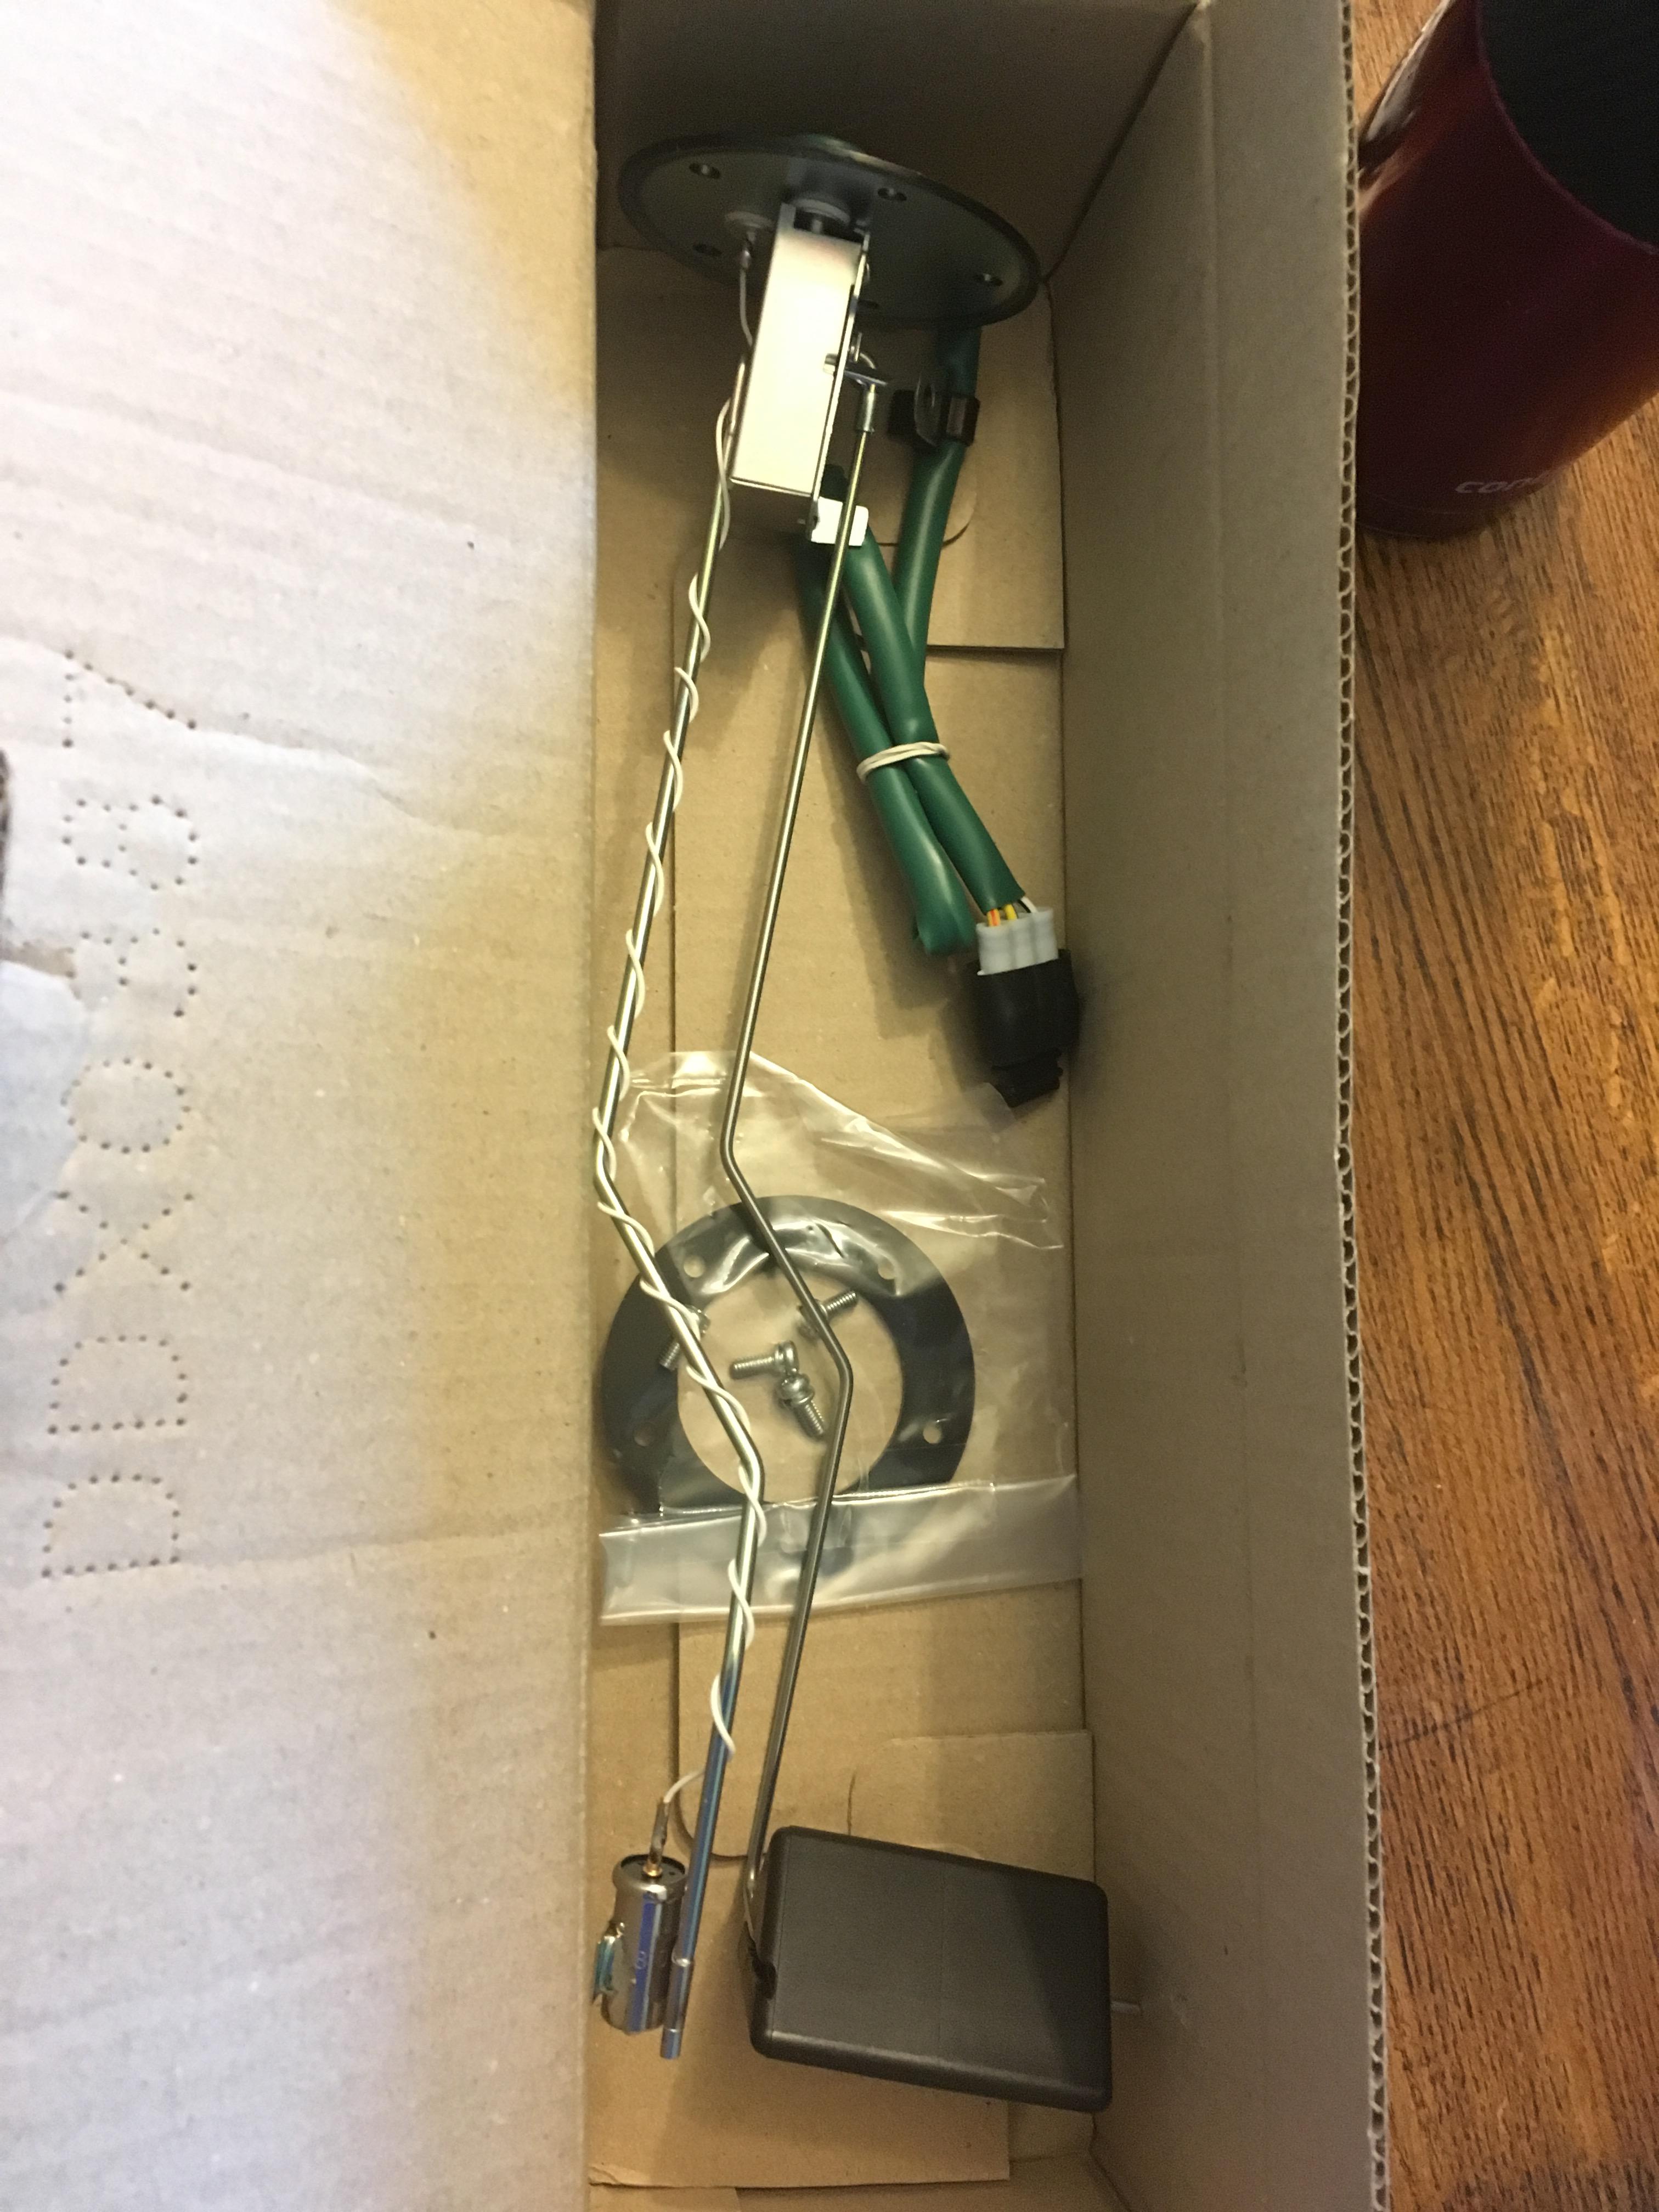
Brand new OEM Fuel Sending unit arrived in time from Japan, so I can install it before sending Redee out for some plumbing and Safety.
 April 17, 2019 at 7:24 pm #208079
 toys-n-yotasKeymaster
Secured the usage of my neighbours car trailer for next week, just gotta finish up the wiring and interior assembly. Hoping to put in a few solid hours Friday night and get most of the way done.
My girlies helped me bolt up the new Duratracs, which look awesome. Thanks for the help little ladies!
-
This reply was modified 6 years, 10 months ago by
-
AuthorPosts
- You must be logged in to reply to this topic.
