Home › Forums › TRUCK BUILDS › 03 Regular Cab V8
- This topic has 43 replies, 7 voices, and was last updated 4 years, 10 months ago by
 Slick_Yota.
-
AuthorPosts
-
February 5, 2018 at 7:02 pm #206039
 forestmanParticipant
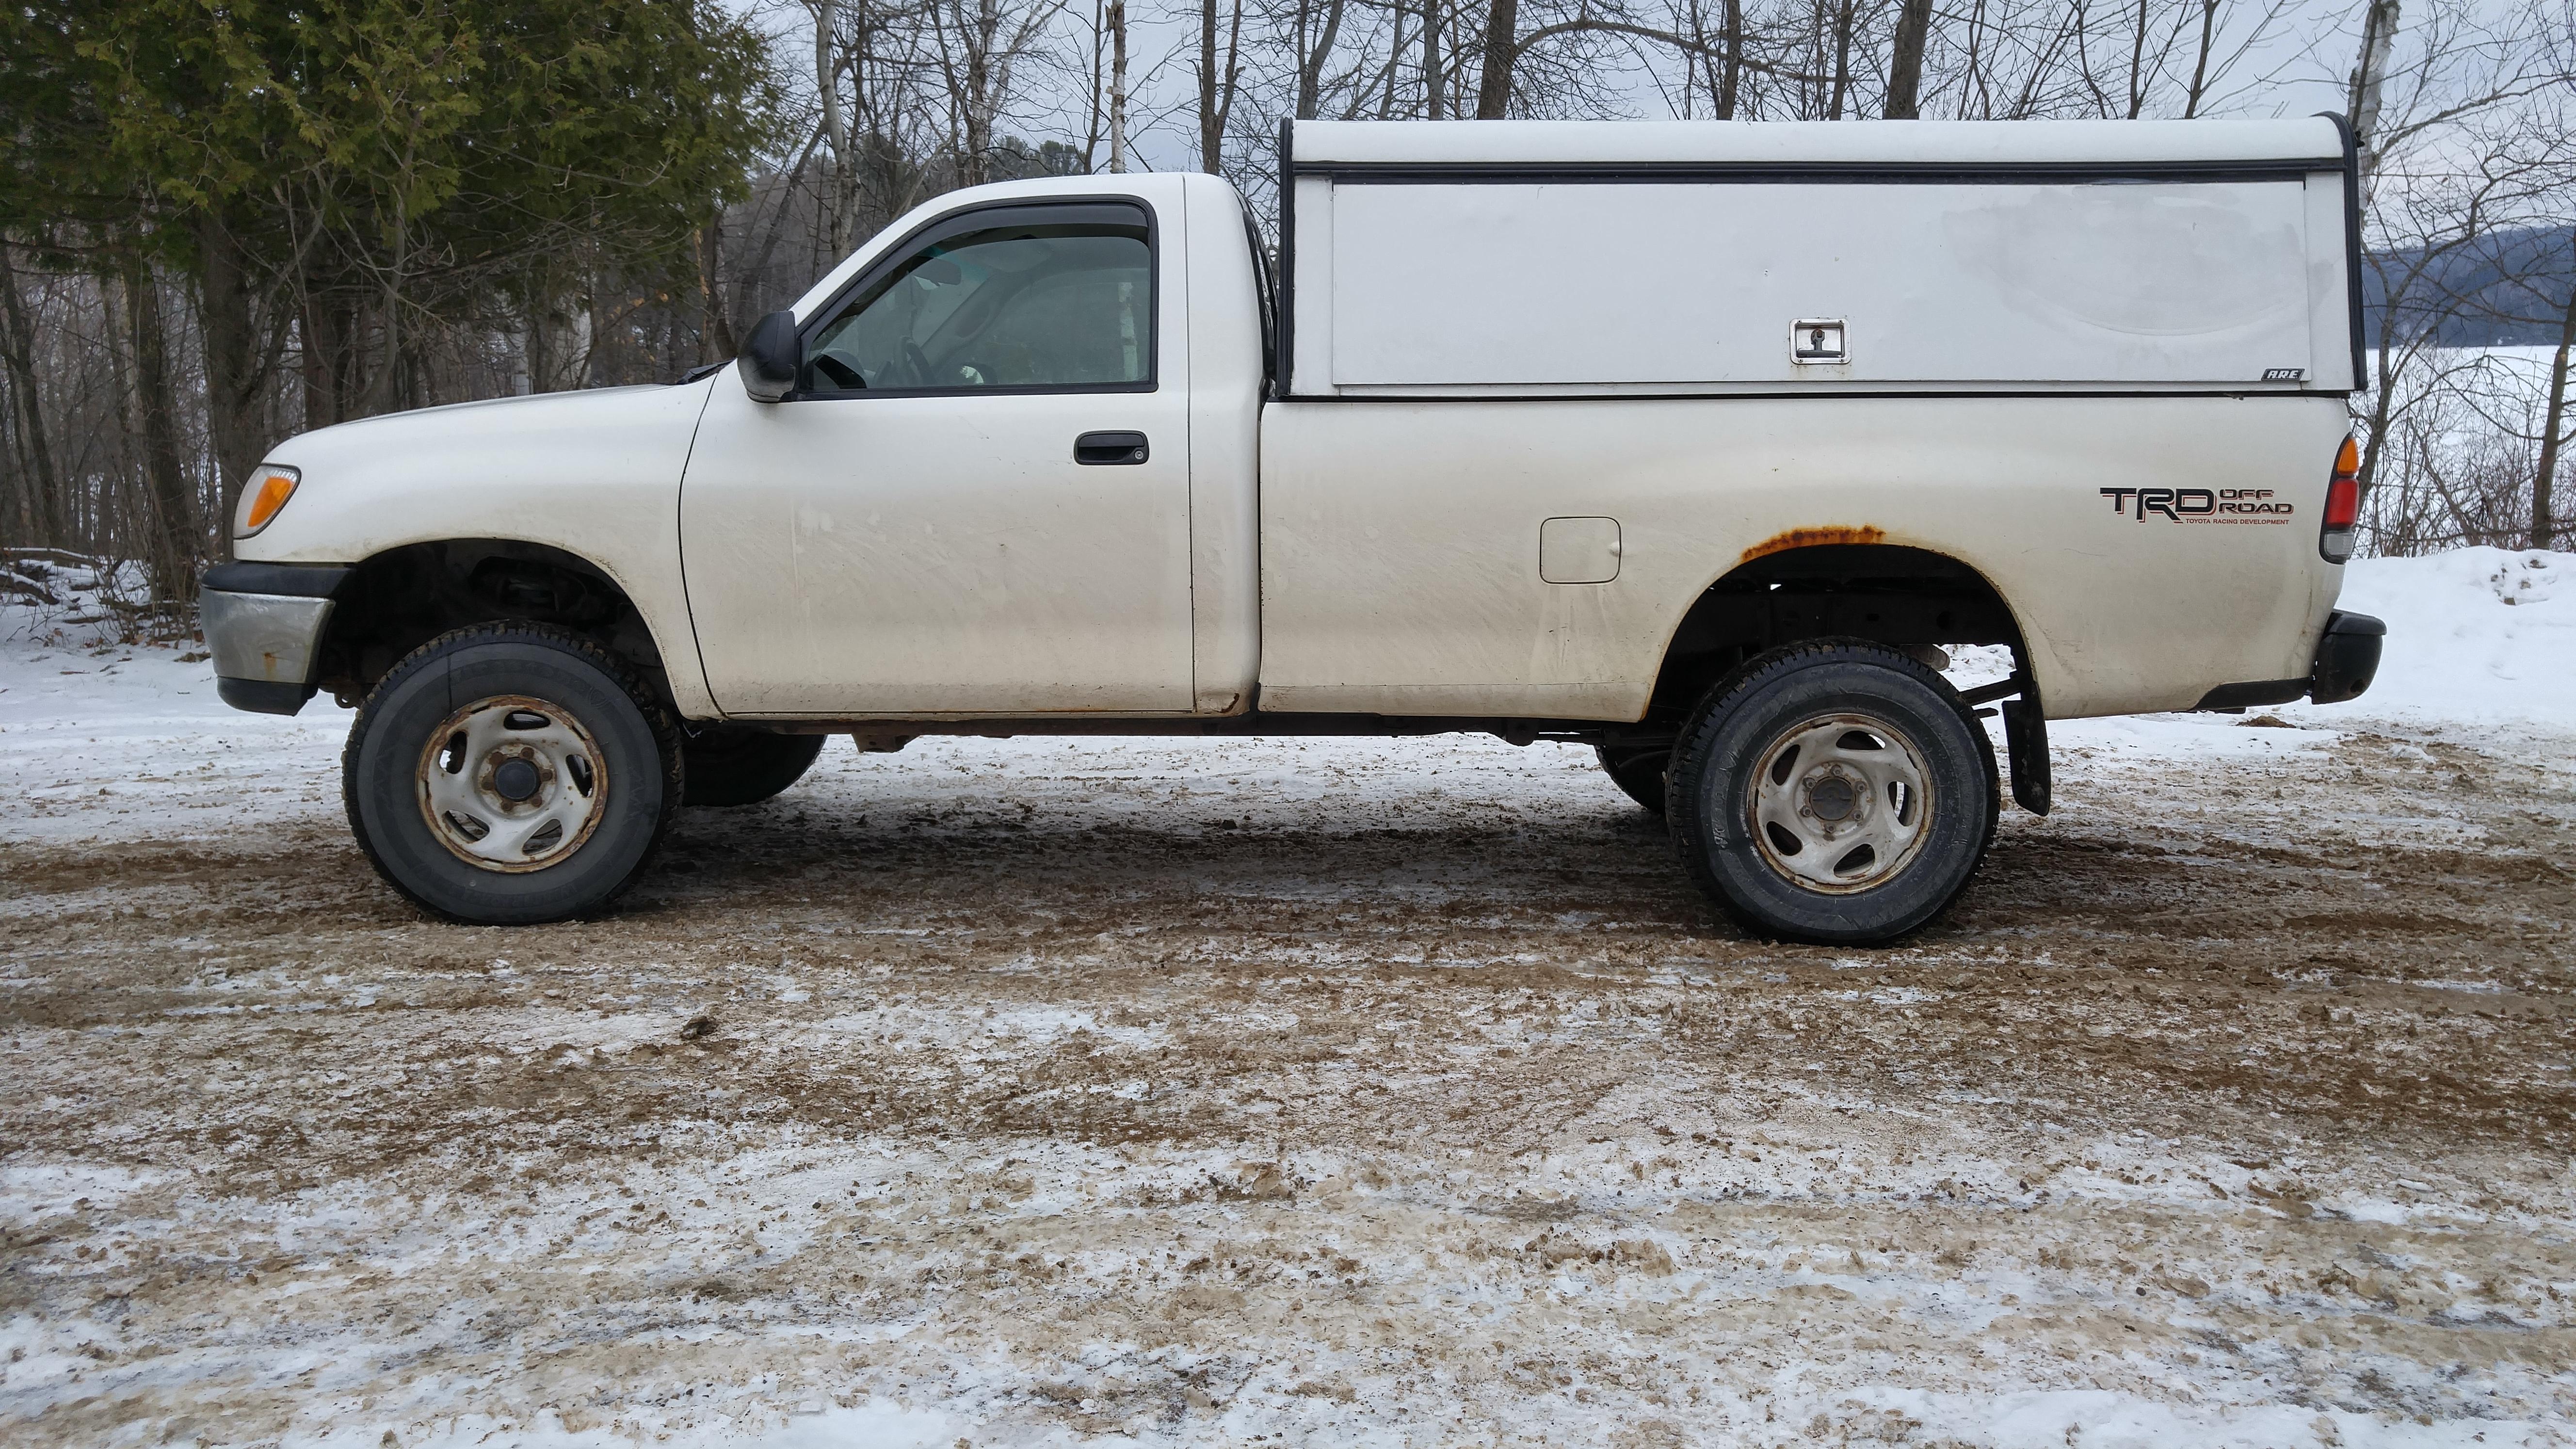
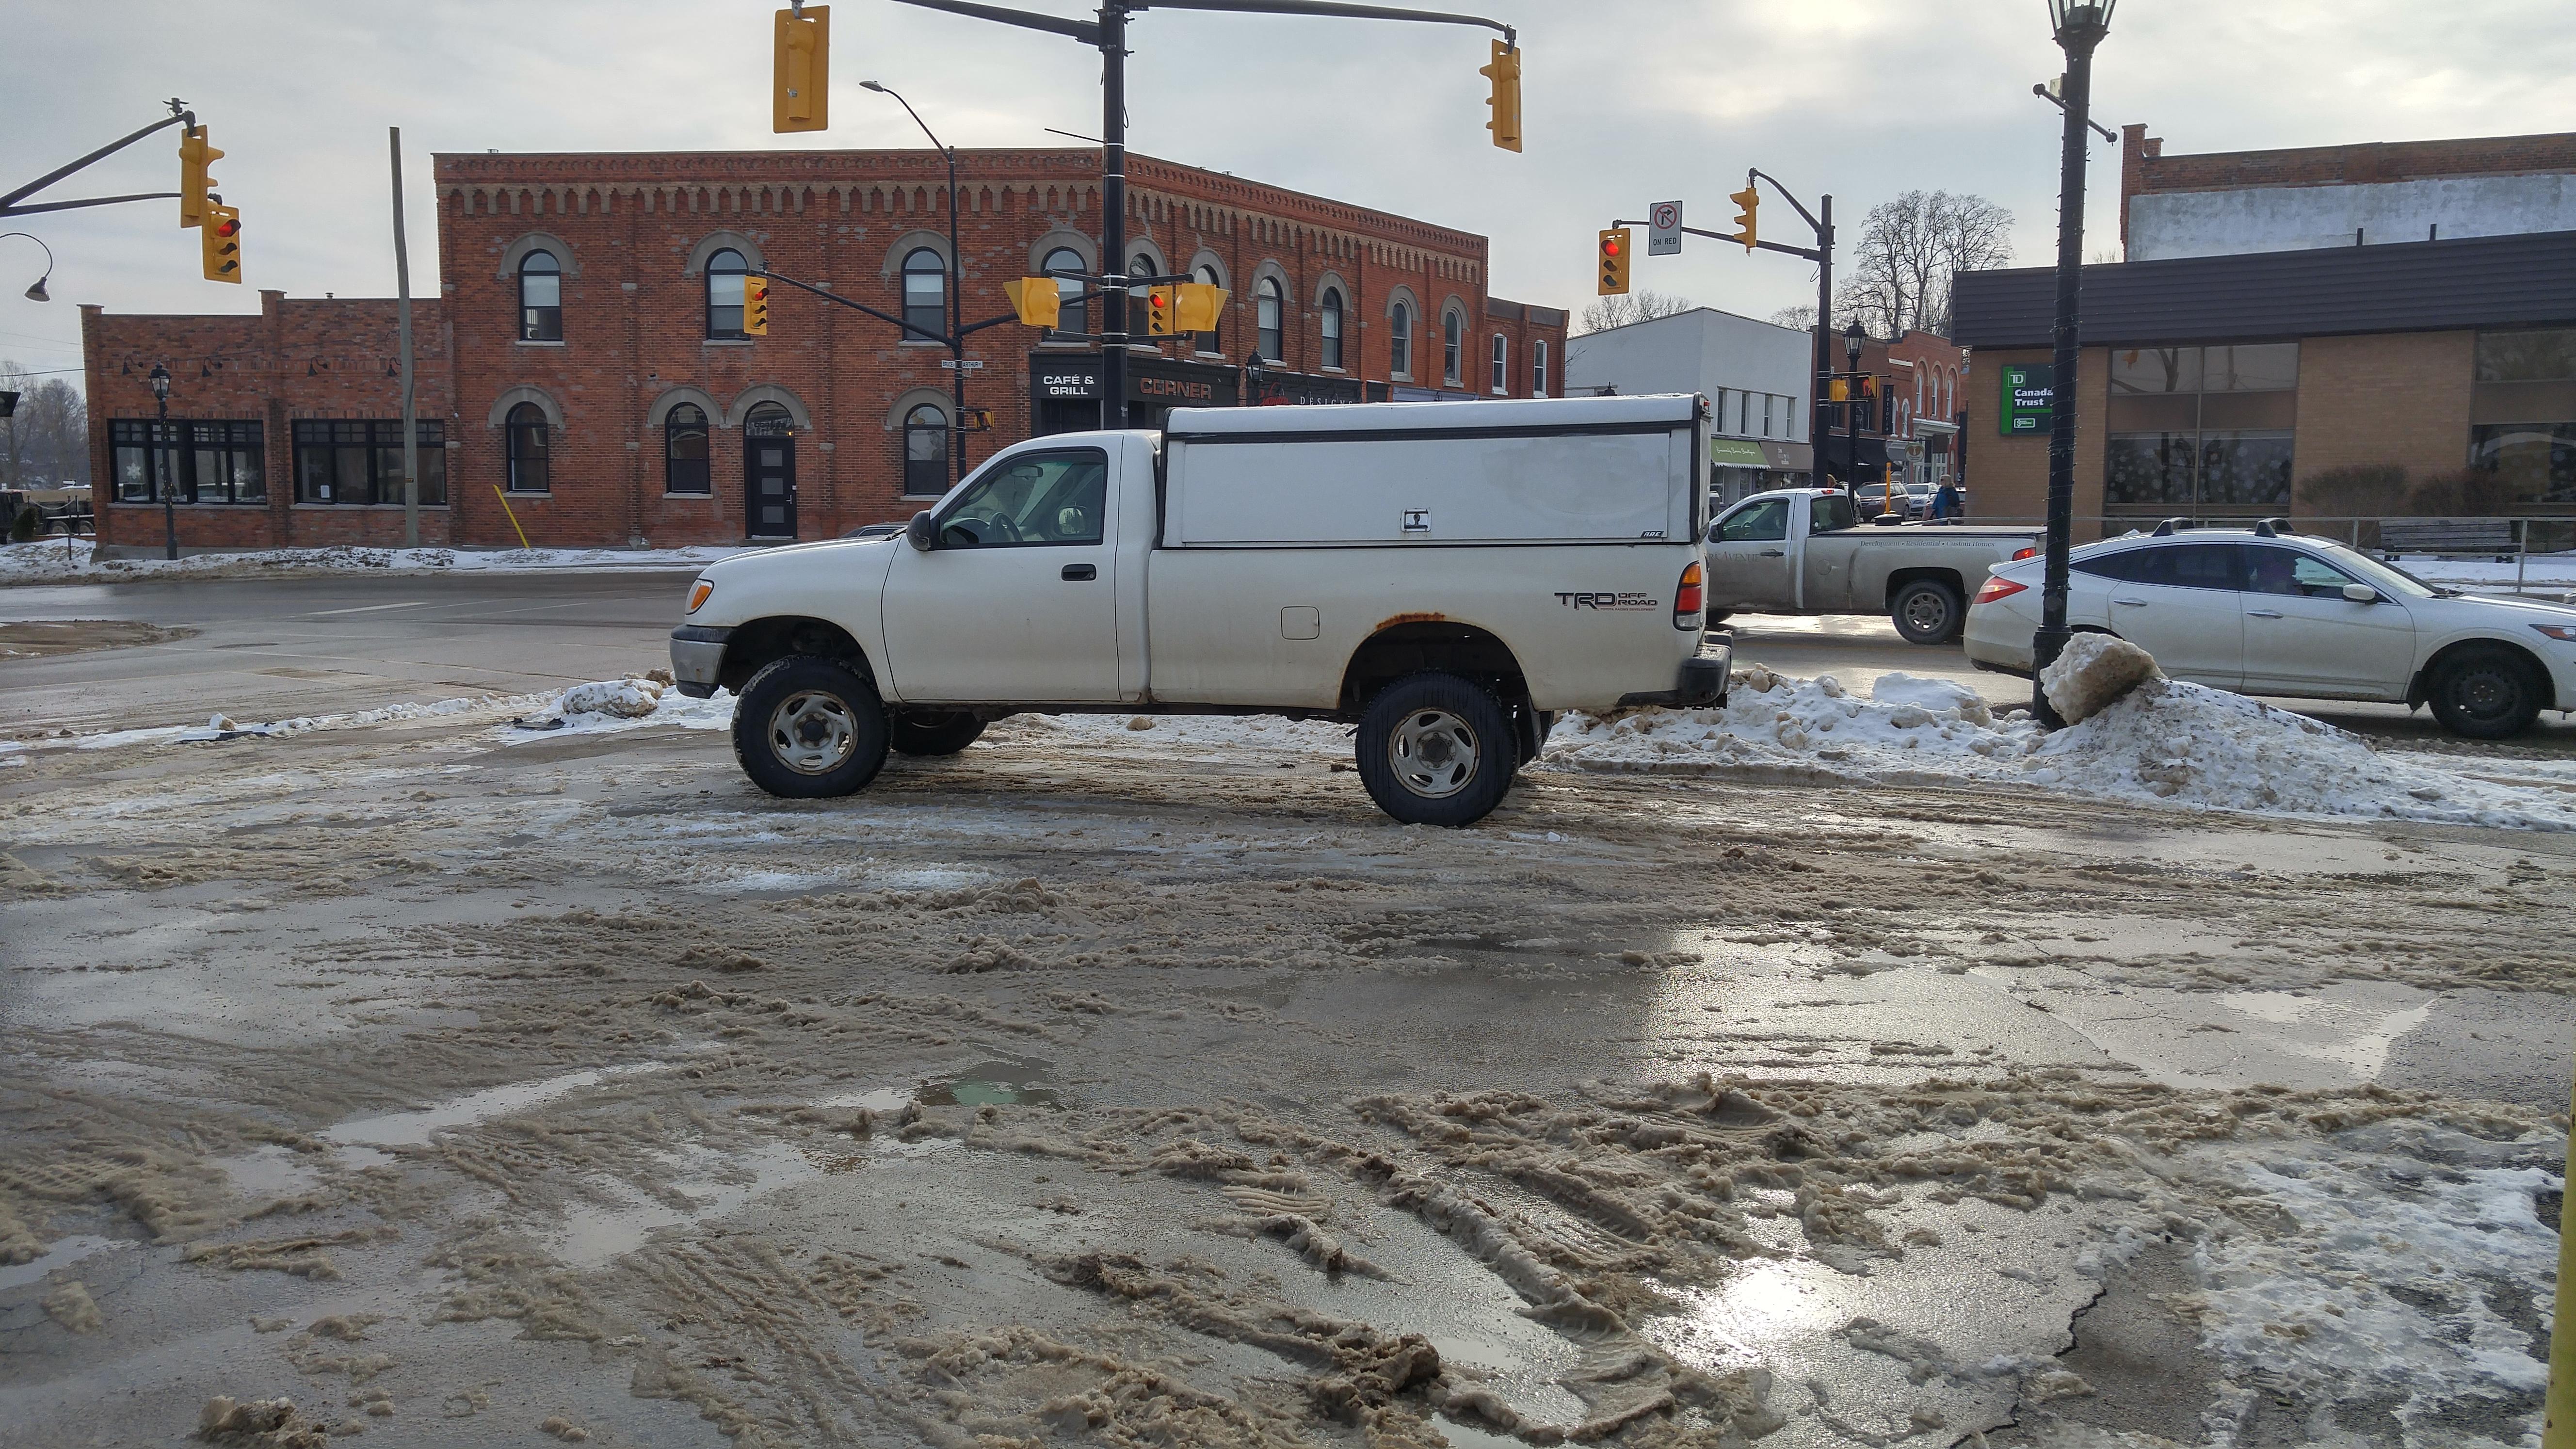
Acquired an ARE Topper, sort of going back to square one I guess, the truck came with a contractor cap, sold it and now I’ve bought another. The Leer that came with the truck was cab height, this one is a more spacious 26″. Not exactly what I had planned but it’ll do. What a difference not having rain, snow, and mud all over my gear, and most importantly after a day of wheeling, no more setting up tarps and tents in the pouring rain. I’ve already camped one night (only -5C) in it during an ice fishing trip and it was awesome.
Got some firestone winter tires 245/75/16 which are like glue compared to my half worn all terrains, plus I won’t ruin my nice aluminum wheels in the salt.
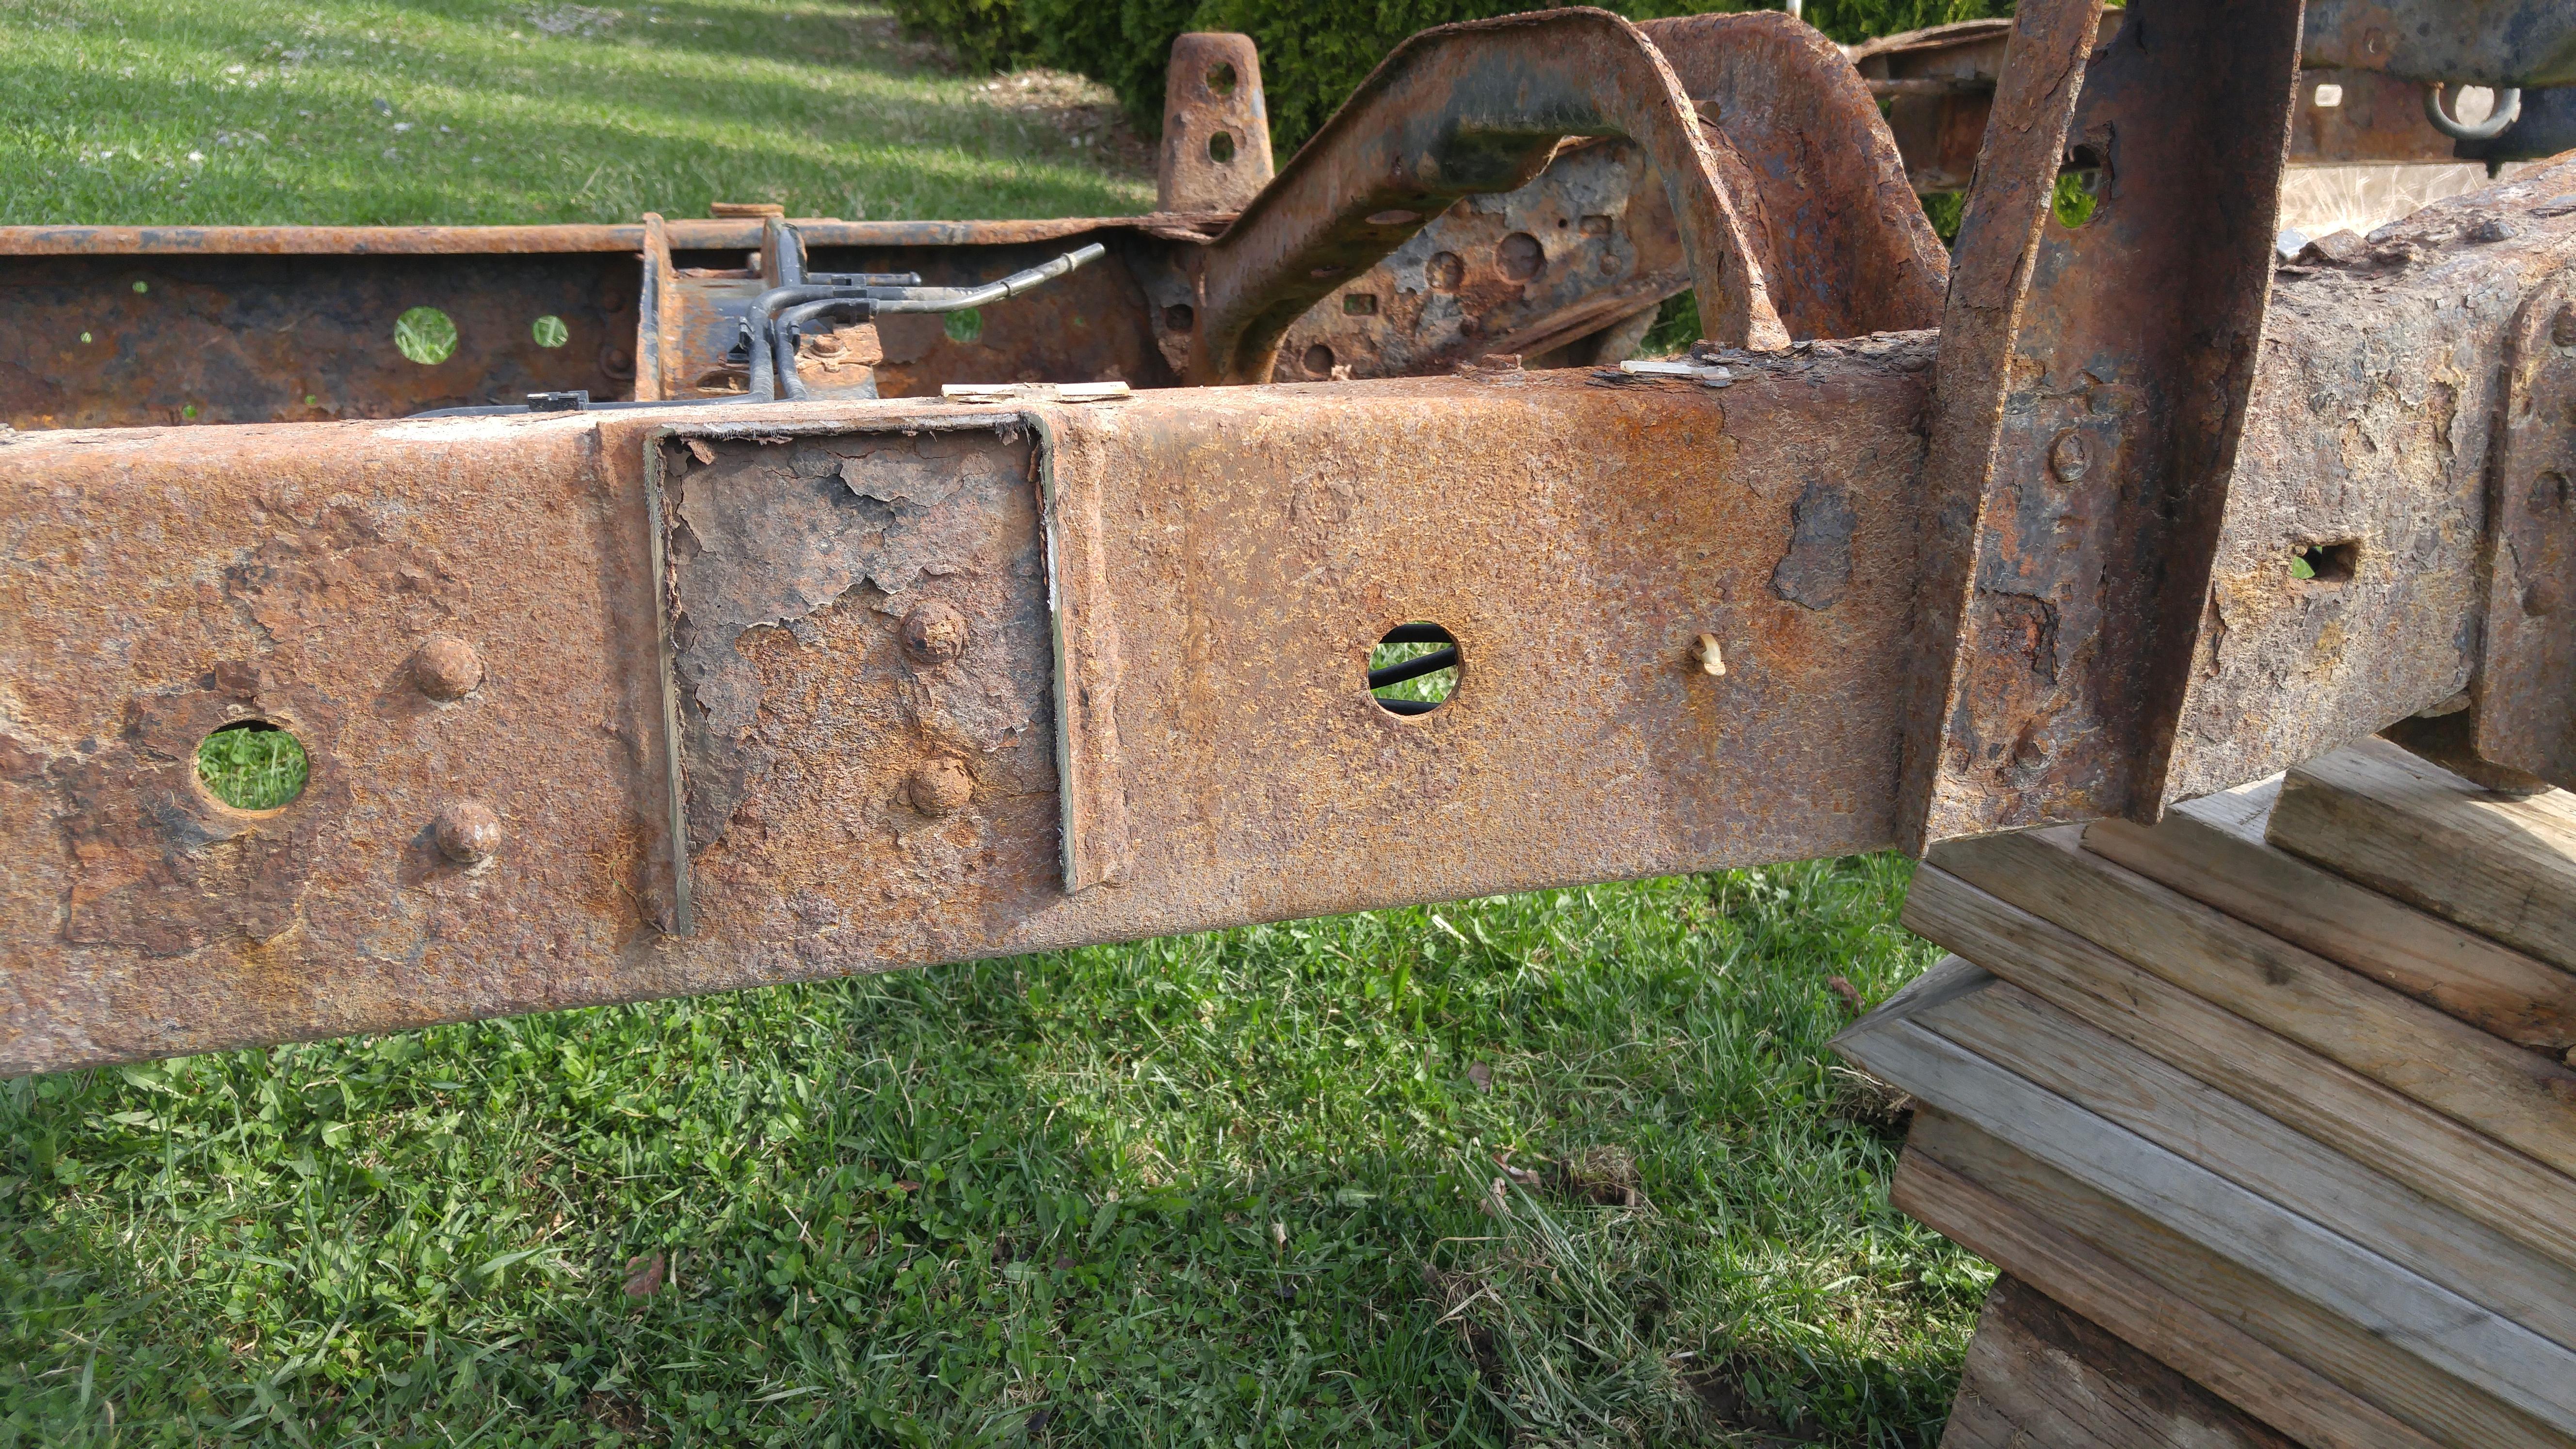
Got some big plans this spring, with my truck literally rusting apart my second truck that I was planning to have as a daily driver will be a frame donor. It has a new frame, new lower control arms, bushings, brake lines and proportioning valve. On top of the frame swap, I’m swapping in the rear diff which has a limited slip that isn’t worn out. I’ll be getting rid of the bench seat and solid mounting the captains chairs and centre console. Doing an abs delete as it never worked and is useless in these trucks. Planning to do an AC delete, looks like I just need a shorter serpentine belt.
Swapping all the good parts onto the new frame, new steering rack, custom axle housing, ome front coilovers, installing the relentless fab front bumper and engo 9000 winch. Doing the timing belt, water pump, new rad and hoses, ebay 100 series landcruiser snorkel, trans and transfercase breathers, extending the front diff and front diff actuator breathers. New transmission and engine mounts, new power steering pump which I already have just never installed and the driveshaft center bearing.
The frames are the same (I think) except for where the rear cab mounts are on the access cab, the single cab just has a different mount for the front of the 8 foot box which I can scavenge. I was thinking of going sas but with how bad my frame is I’d be better off just buying another truck to cut up. I’m planning on keeping this more of an expedition build for driving long distances and for slightly harder trails (3+) and keeping the tires to a maximum of 35″(315/75/16). I’m hoping I can get one or two more seasons out of the all terrains so that I’m not lugging around with 35s before I upgrade to 4.56 gears.
 February 5, 2018 at 7:15 pm #206042
 finn the kareilian vikingKeymaster
hey forestman , glad to see you found your way home. that sounds like quite the undertaking you’ve got in mind. may the truck build gods smile upon you.
welcome back man
February 5, 2018 at 7:40 pm #206044 forestmanParticipant
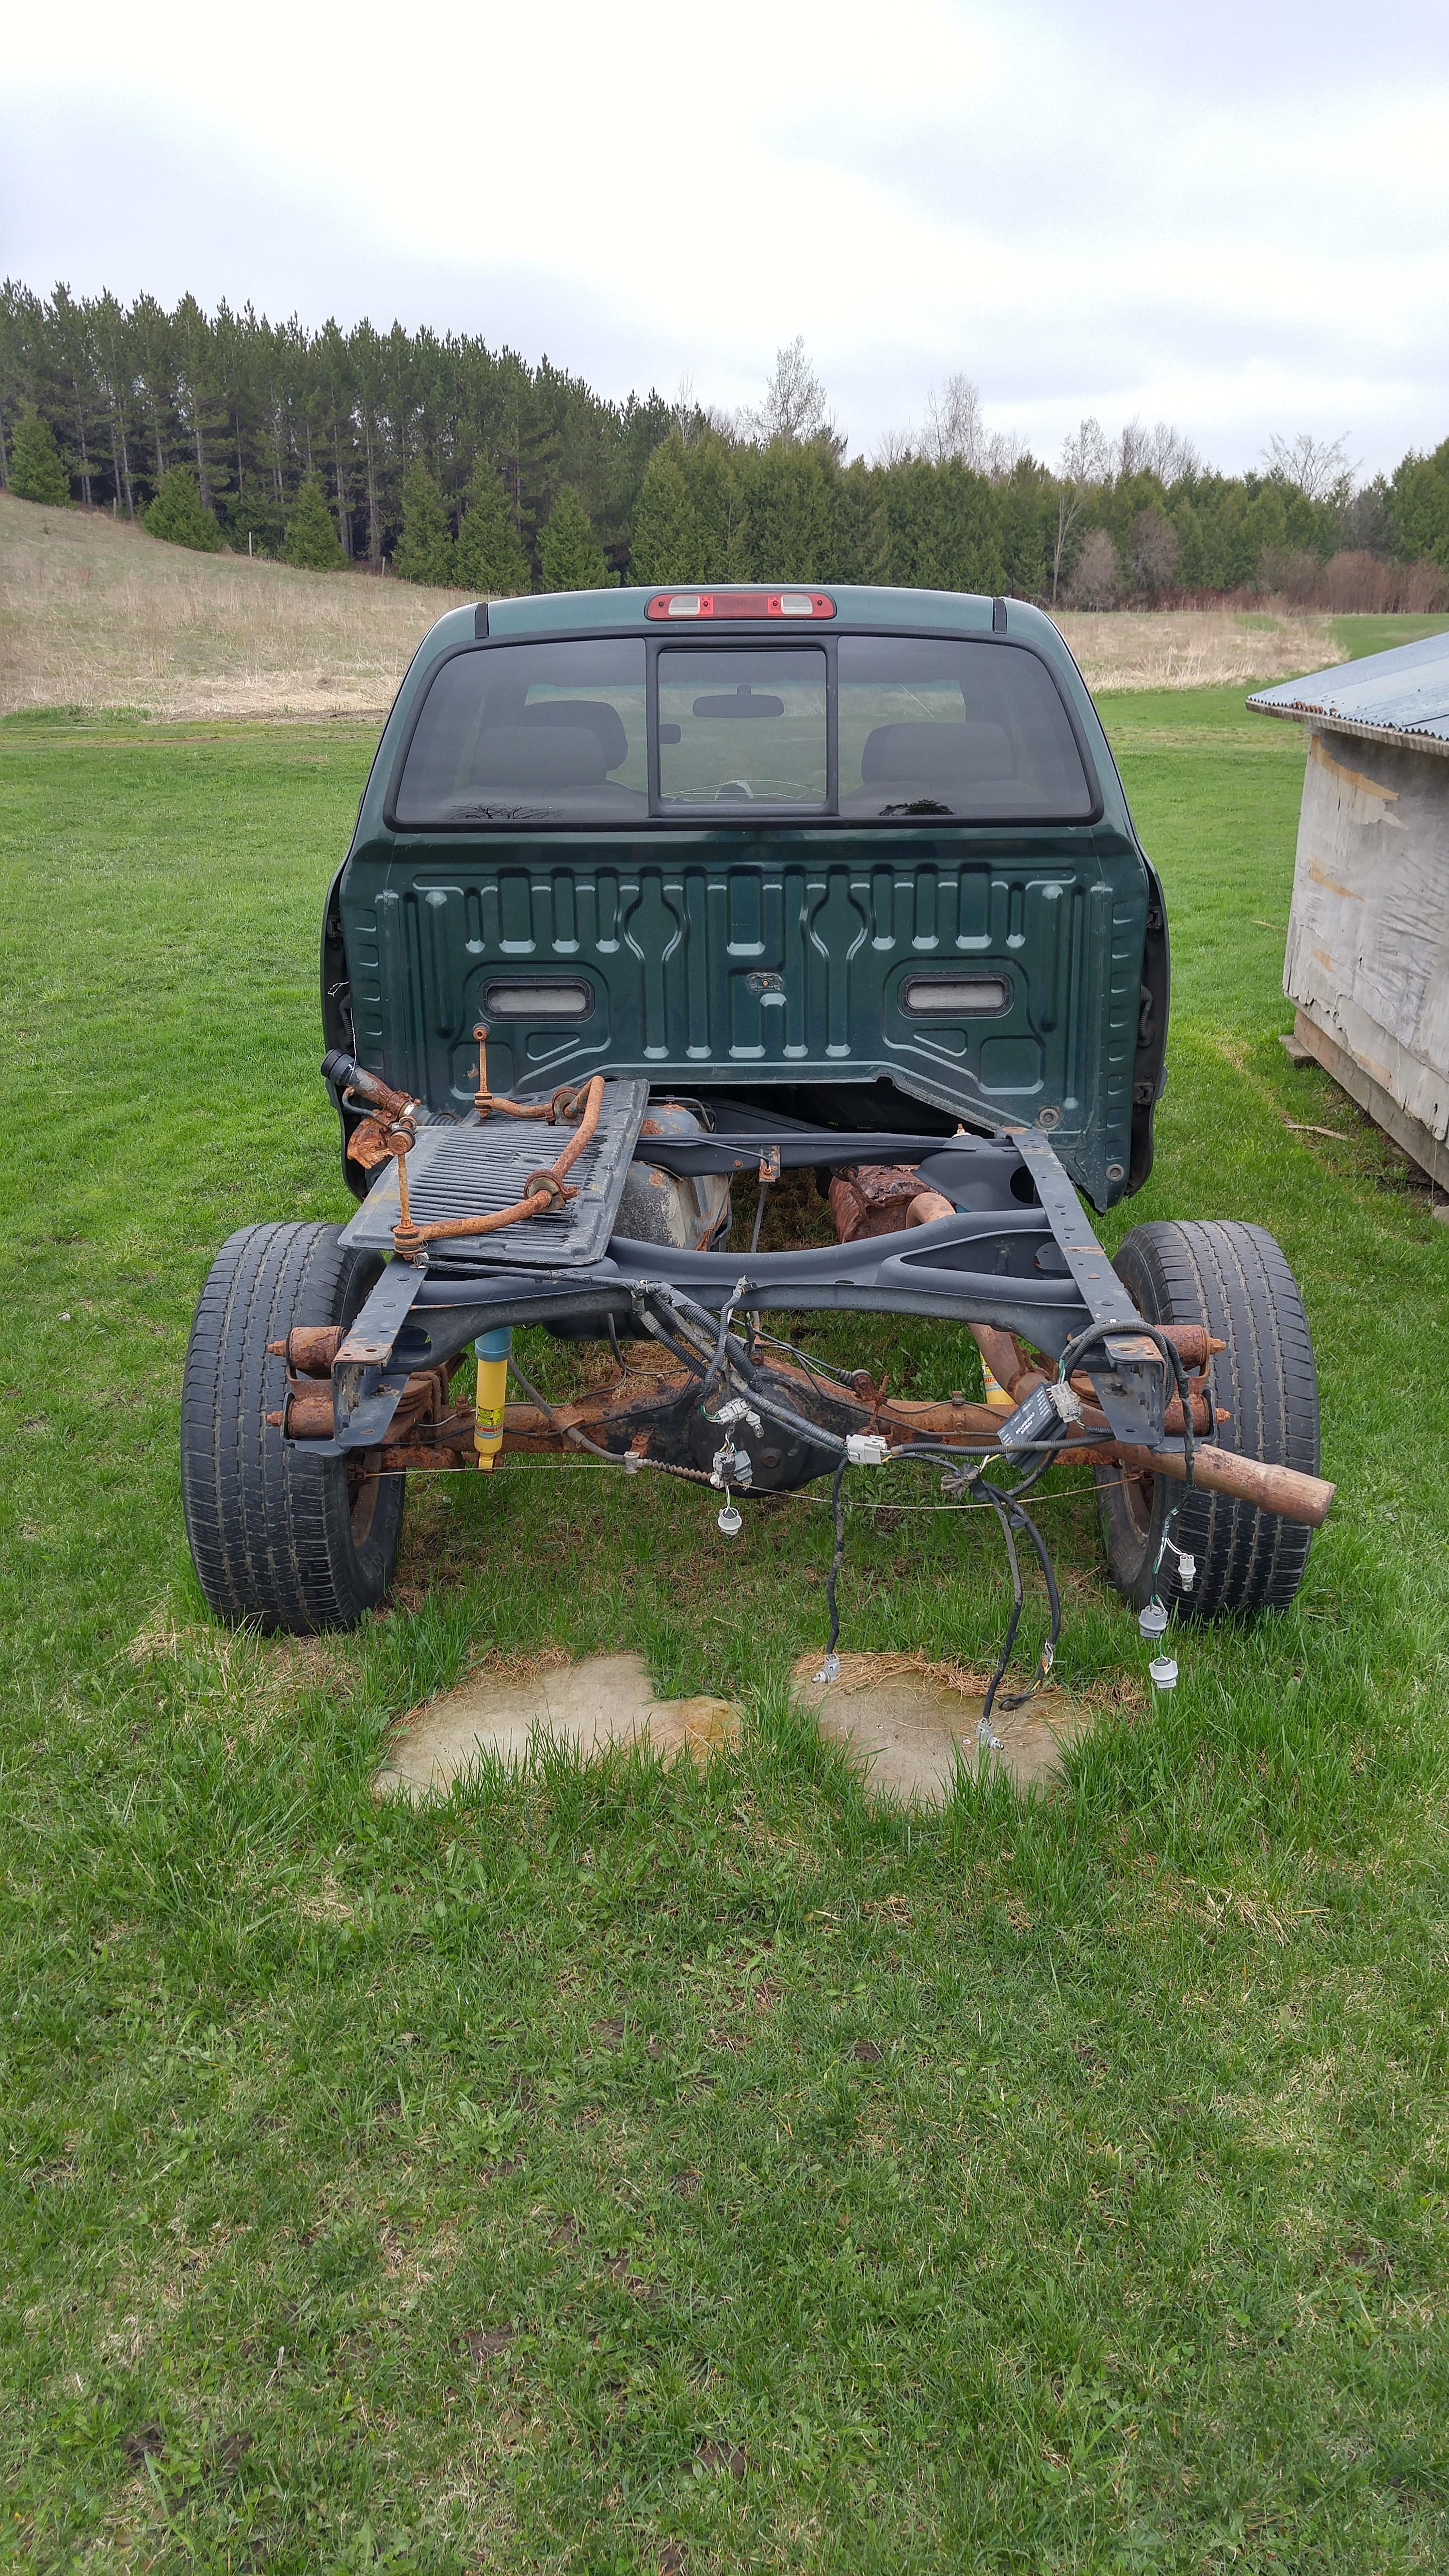
The donor vehicle all cleaned up
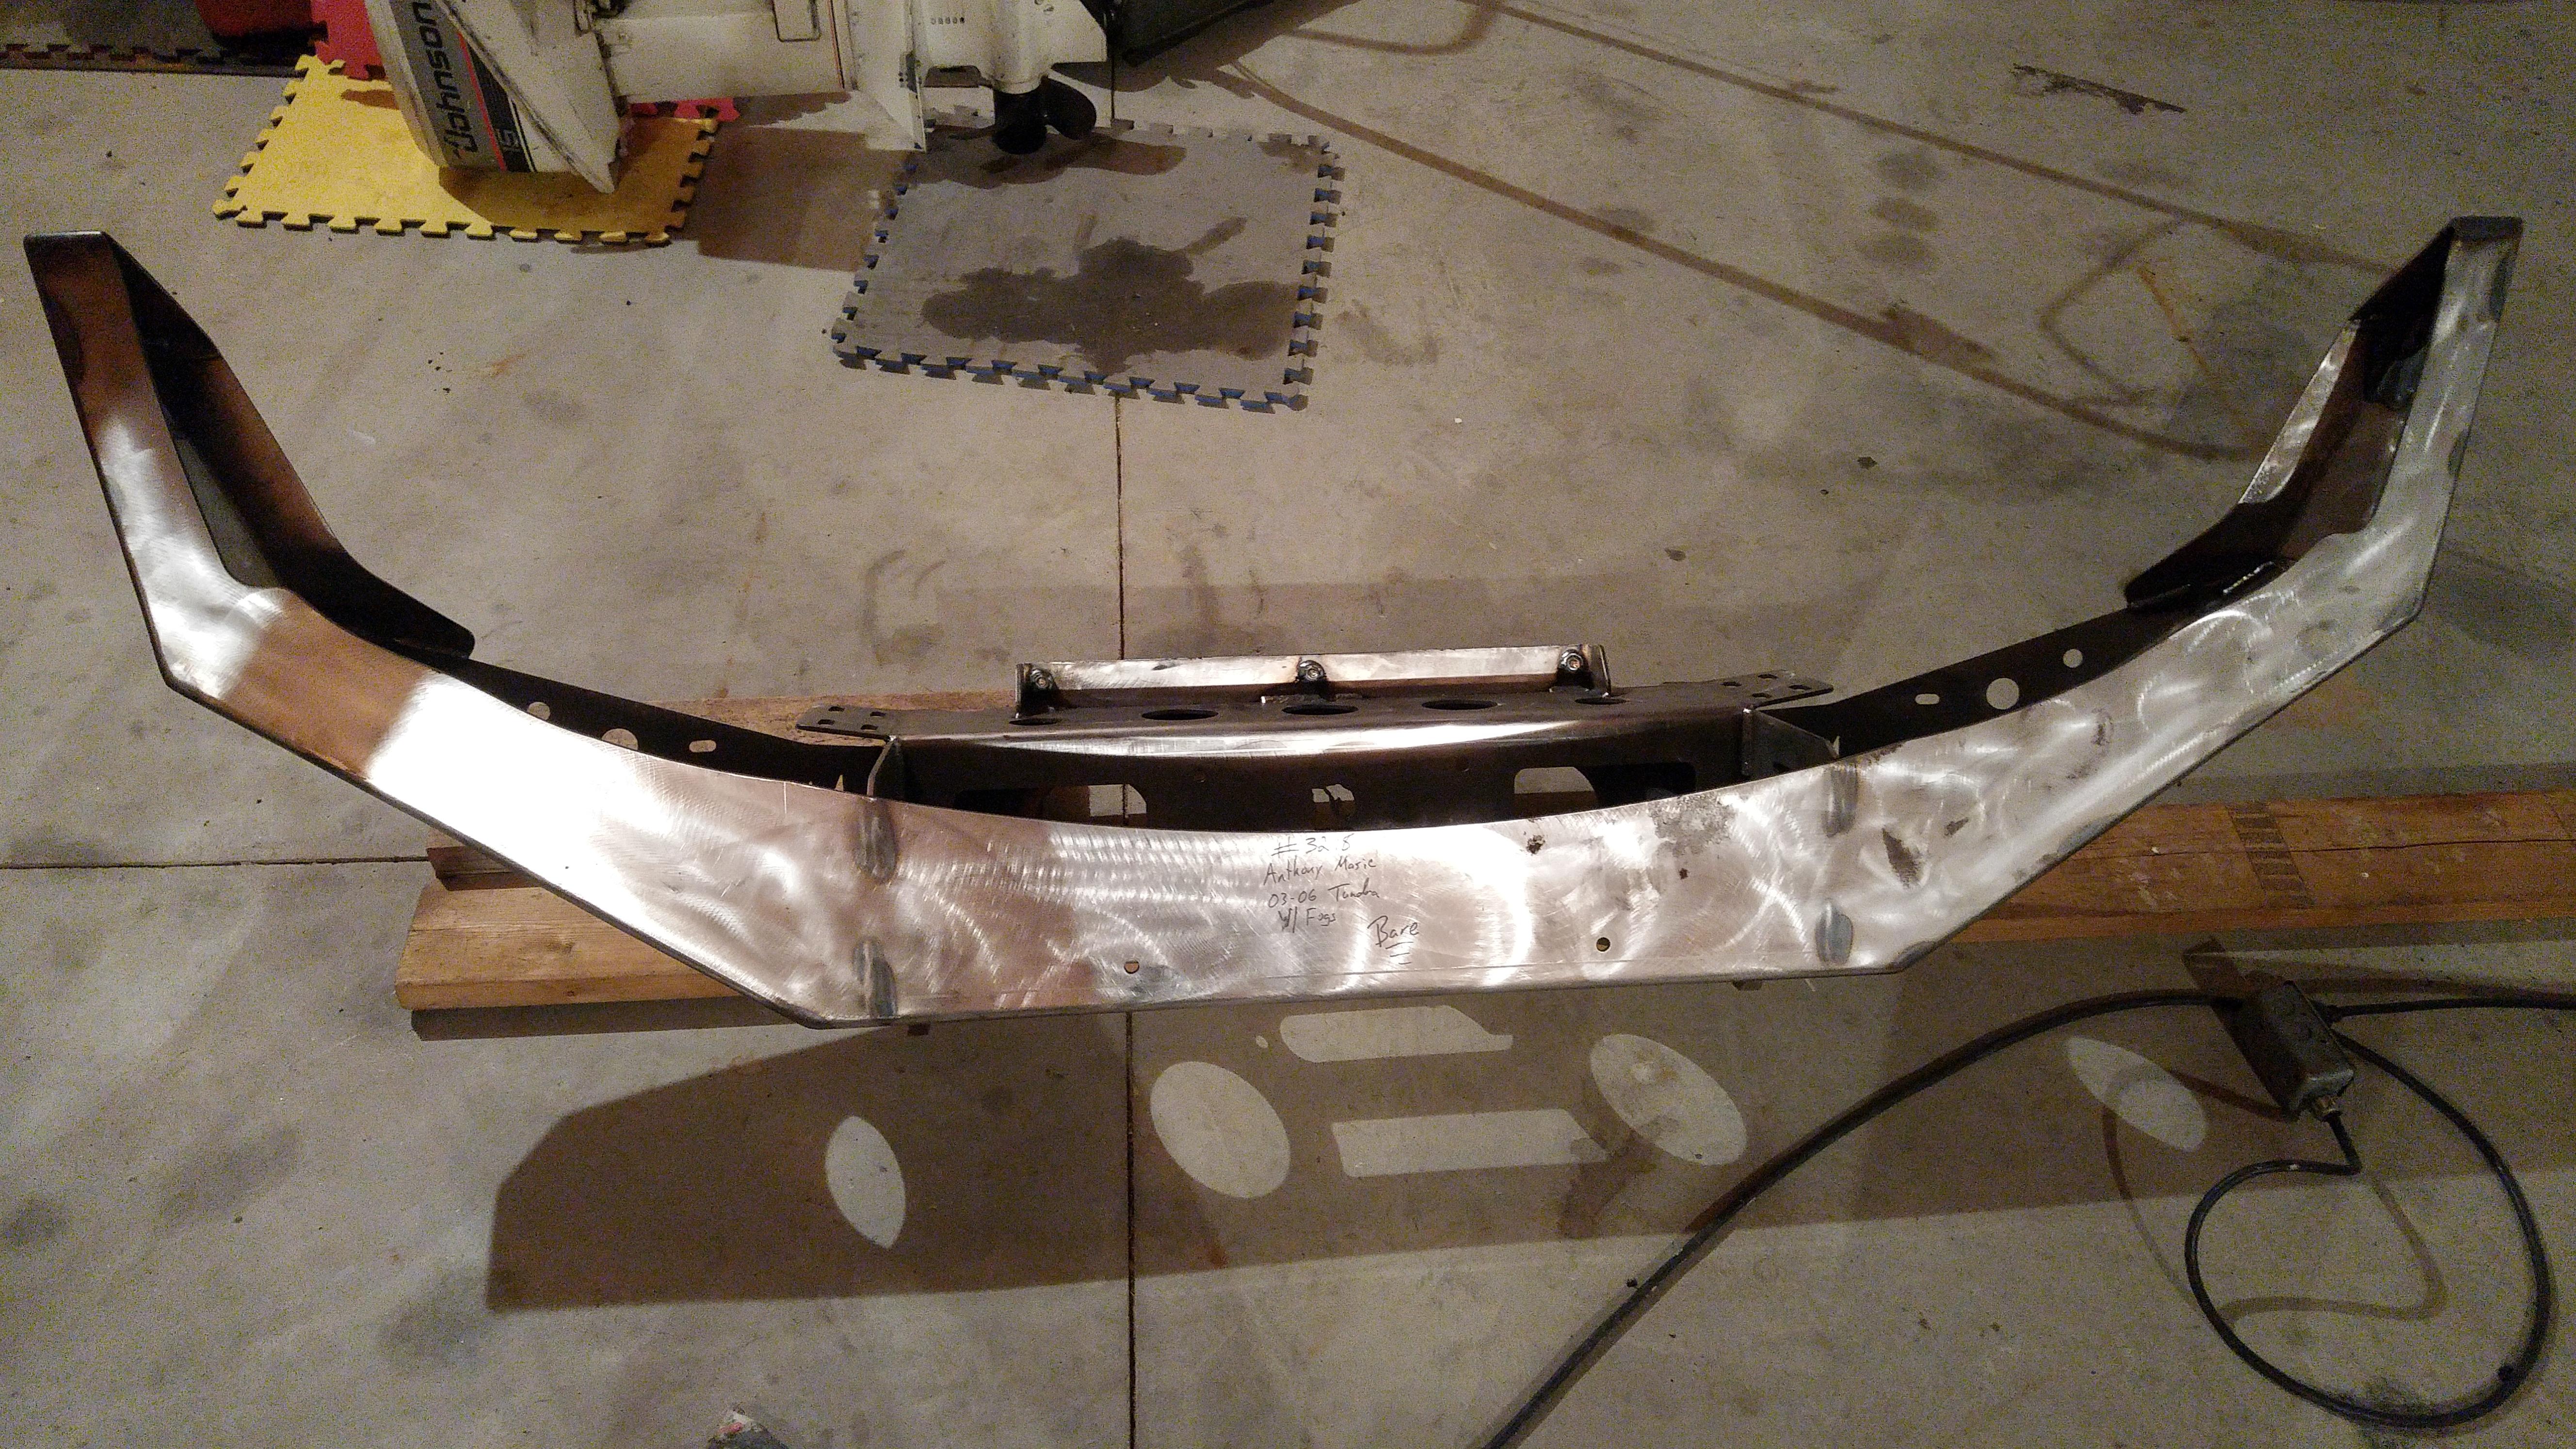
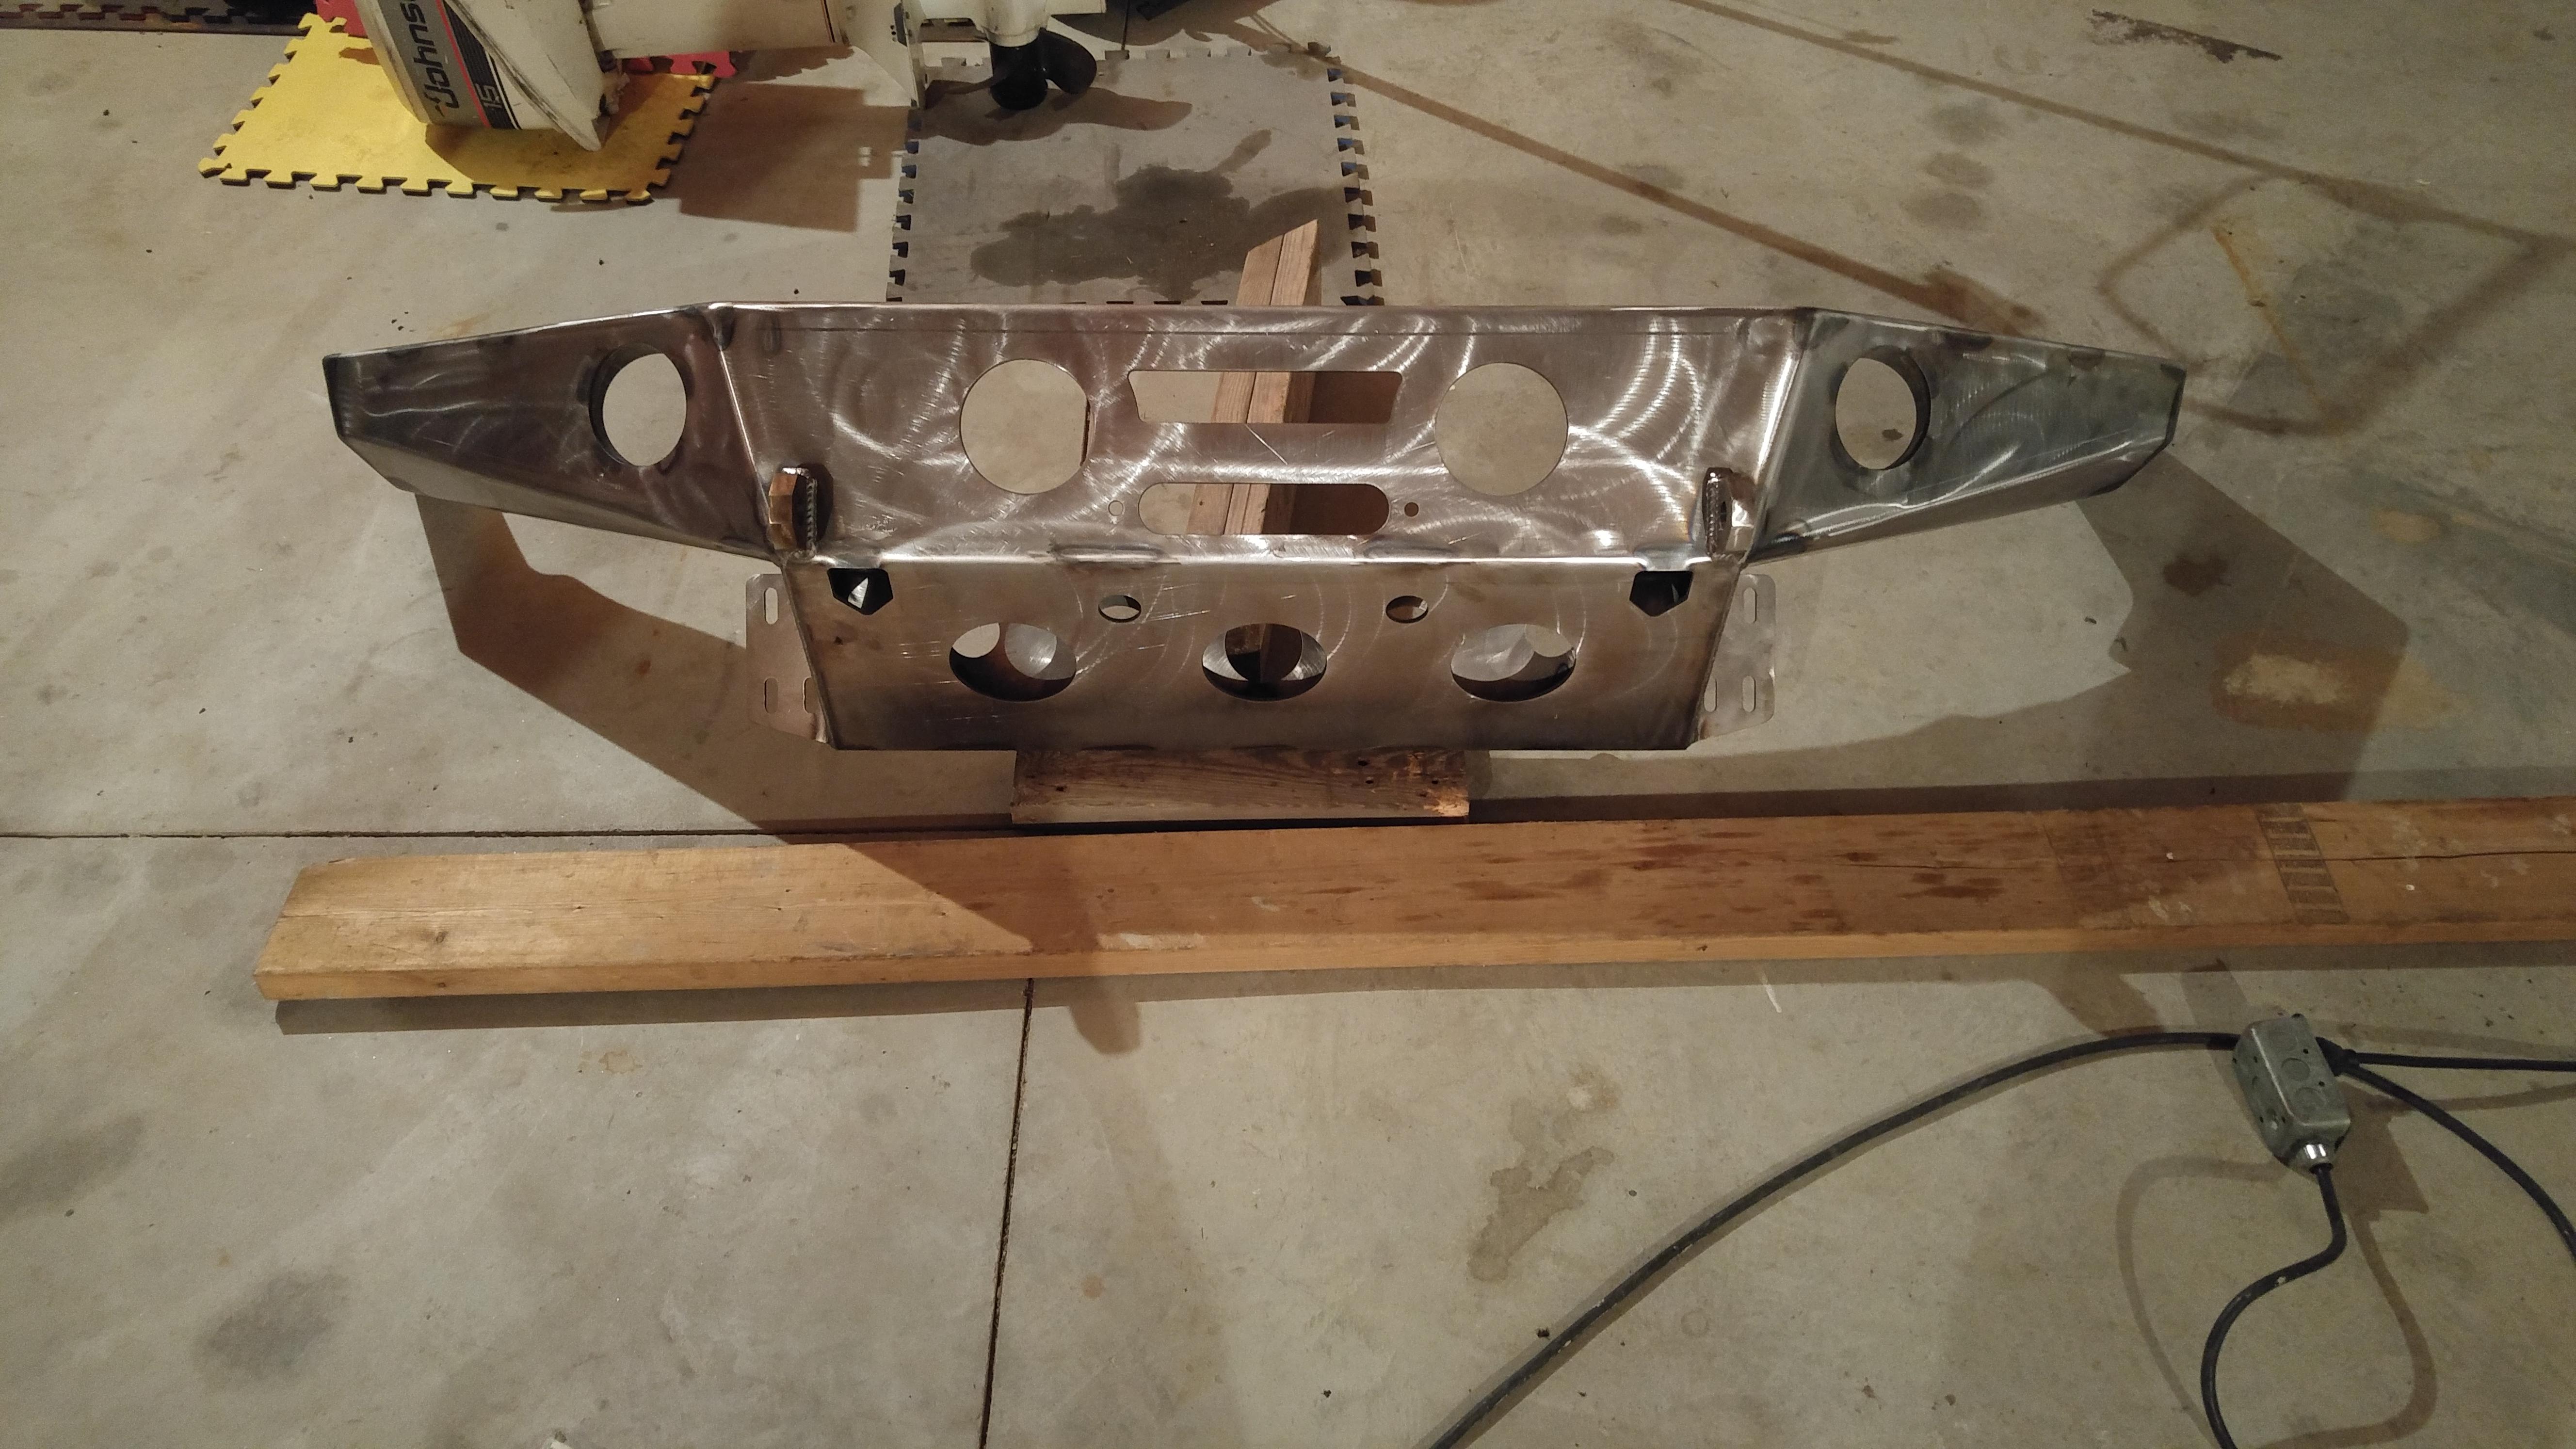
The bumper I decided not to install until the frame swap is complete
The OME coilovers are really nice, definitely ride harsher at slower speeds than the bilsteins when new but at higher speeds on rough roads and hard hits they are a dream.
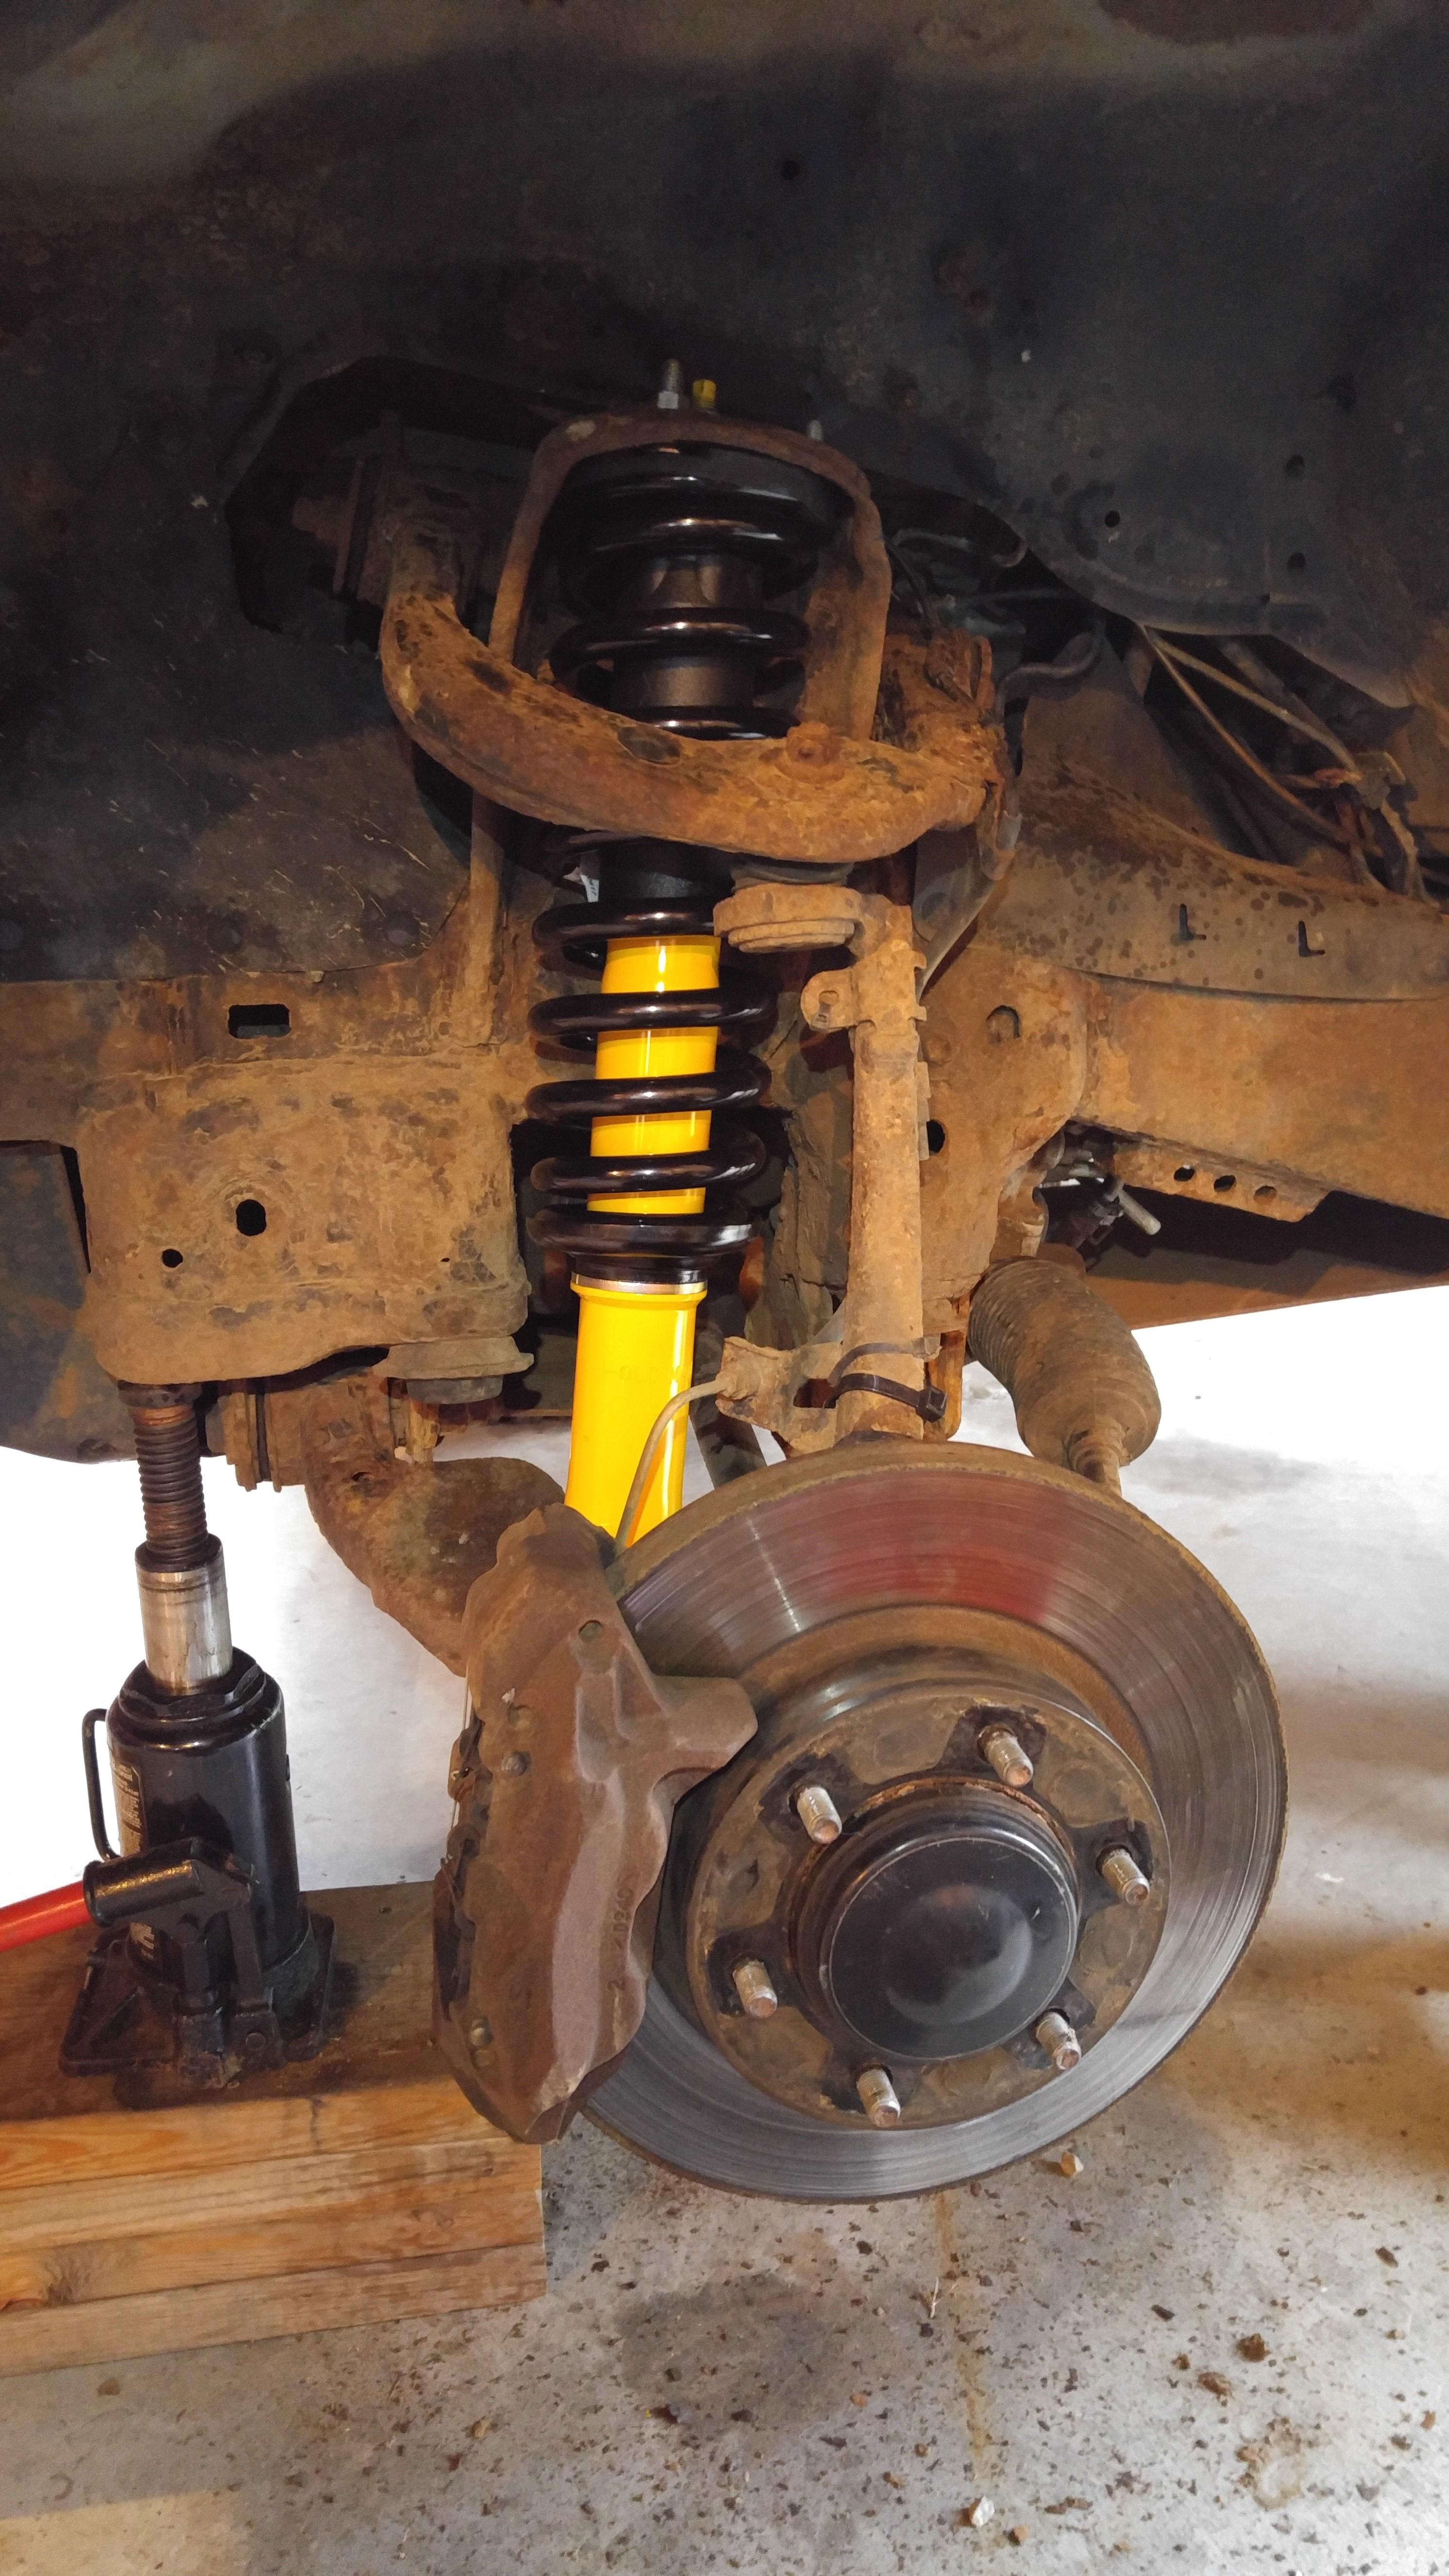
The stance after installing the ome coilovers last fall
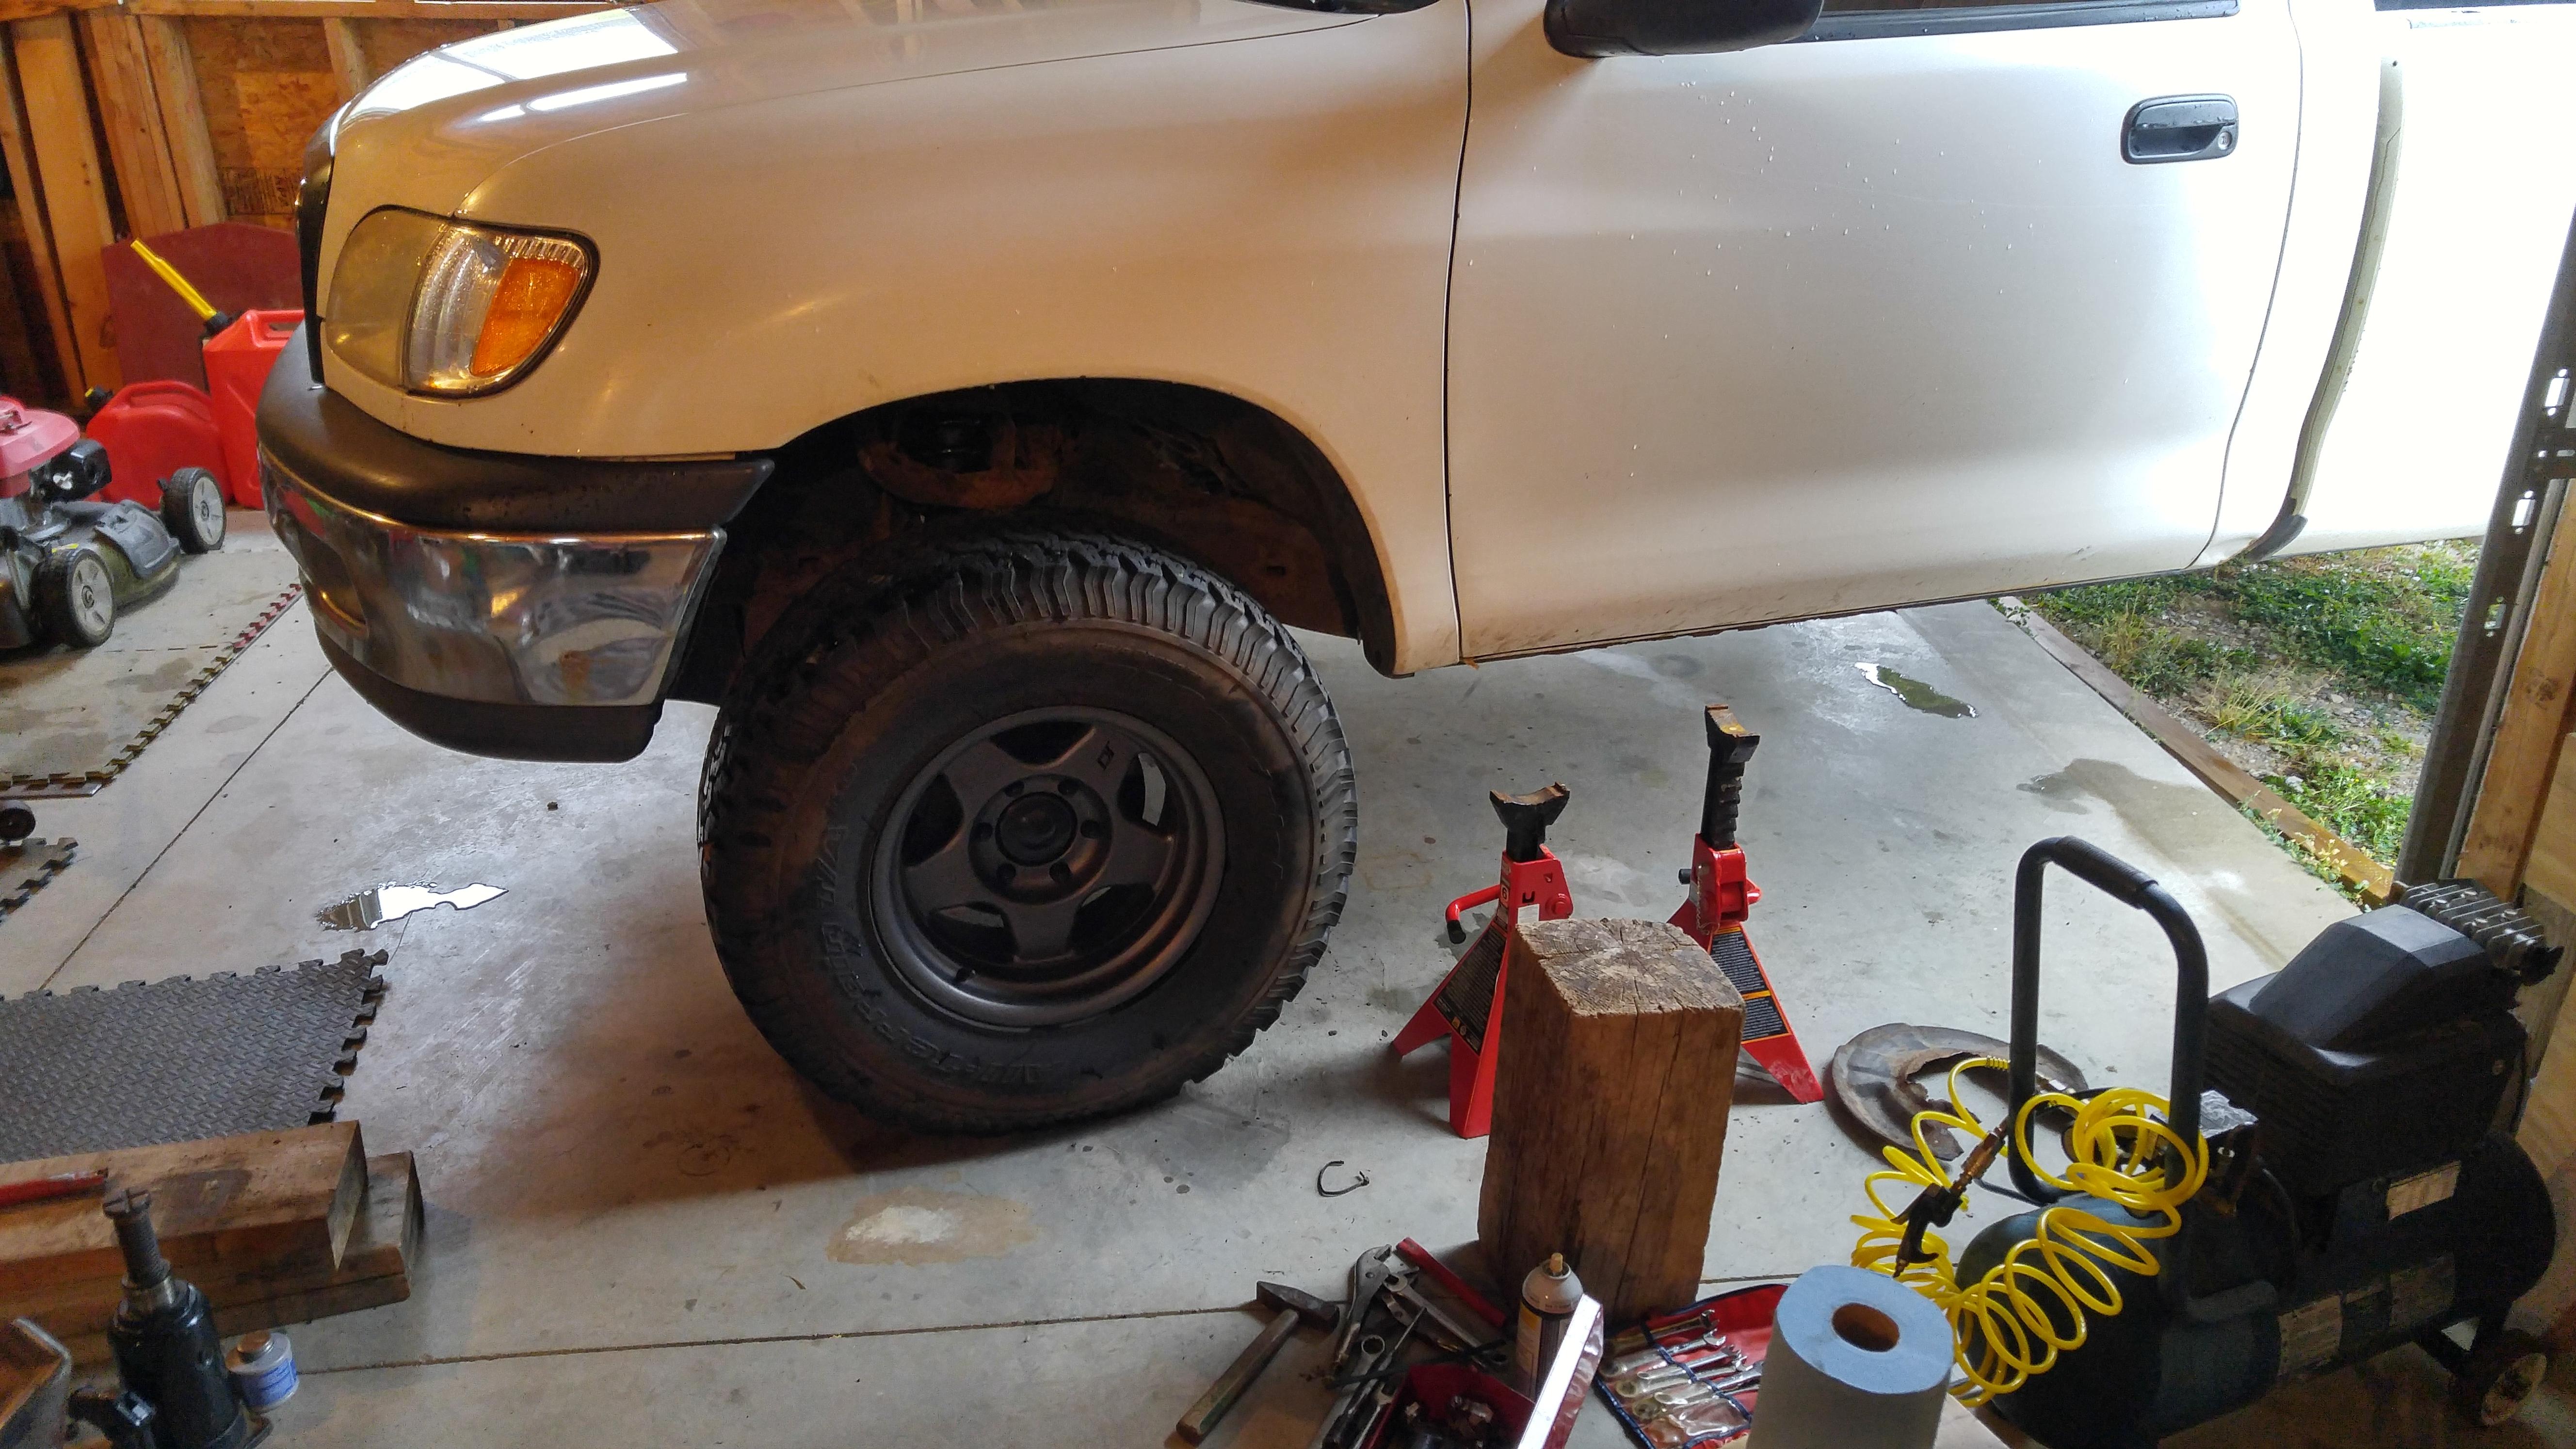
Since I didn’t install the winch bumper I rigged up the chrome one for better aesthetics, haha
Glad to be back!
-
This reply was modified 7 years, 4 months ago by
 forestman.
February 5, 2018 at 9:41 pm #206047 Toy-YotaParticipant
Love those rims! Awesome build really excited to see how it goes. I dont know much about the V8s but will 4.56 and 35s keep you in a good spot on the street?
February 6, 2018 at 2:41 am #206050 Slick_YotaKeymaster
welcome back!
February 6, 2018 at 5:42 pm #206053 forestmanParticipant
I’ve been debating 4.56 vs 4.88 for a long time. Doing every calculation possible from 1st-OD at different speeds, and comparing to stock 4.56 makes more sense. 35s are my max, I might go down to a 34 or back down to a 33. I prefer running smaller tires (245 or 265s) in the winter as well.
The ratios in the A340F trans are 2.804, 1.531, 1, and 0.705.
Stock gears are 3.909 with 265/70/16 (30.6), rpm at 100km/h = 1891 , at 120km/h = 2270
3rd gear at 120km/h 3219 rpm
4.56 gears 4.555 with 315/75/16 (34.6), rpm at 100km/h = 1949 , at 120 km/h = 2339
3rd gear at 120 km/h 3318 rpm
So even with 315s I’ll be slightly over geared
If I run 34s at 100km/h = 2019 rpm
4.88s are just too low in my opinion. If I was v6 4.88 100%, but with the shift kit/valve body mods I can climb hills at 85 km/h with 33s and stock gears at 1500rpm. Shift kit really changes the way your transmission responds, torque converter stays locked up longer, quicker firmer shifts, awesome downshifts, higher line pressure, just makes everything better and better fuel economy.
I also like the extra tooth on the pinion, 9 vs 8, so my mind is made up 4.56.
February 6, 2018 at 6:25 pm #206055 Toy-YotaParticipant
You’ve done your research, I think that makes sense. Especially if you’re going to vary your tire sizes between seasons. The strength of pinion and ring gear is always a factor too especially with 35s and a v8.
If you were going to be towing at all and running 35s constantly I would probably push to go for 4.88, but unloaded you want to be around 2k rpm at 100km/h
I have 4.88s with a 22re and 35 Mtrs for the street and 36″ Swamper TSLs for wheeling. I have yet to use it on the street so I dont know yet, interested in 5.29s still
March 6, 2018 at 5:01 pm #206275 forestmanParticipant
So after fiddling with a seized passenger side caliper twice, I gave up and made the trip to my grandparents where my parts truck is located.
Stole the caliper and rotor off the parts truck and got it fixed and checked the driver side as well. Inspected and brake cleaned the rear brakes which I had done last fall, everything was perfect.
I then realized how well matched my new to me topper is to the passenger side er.. patina
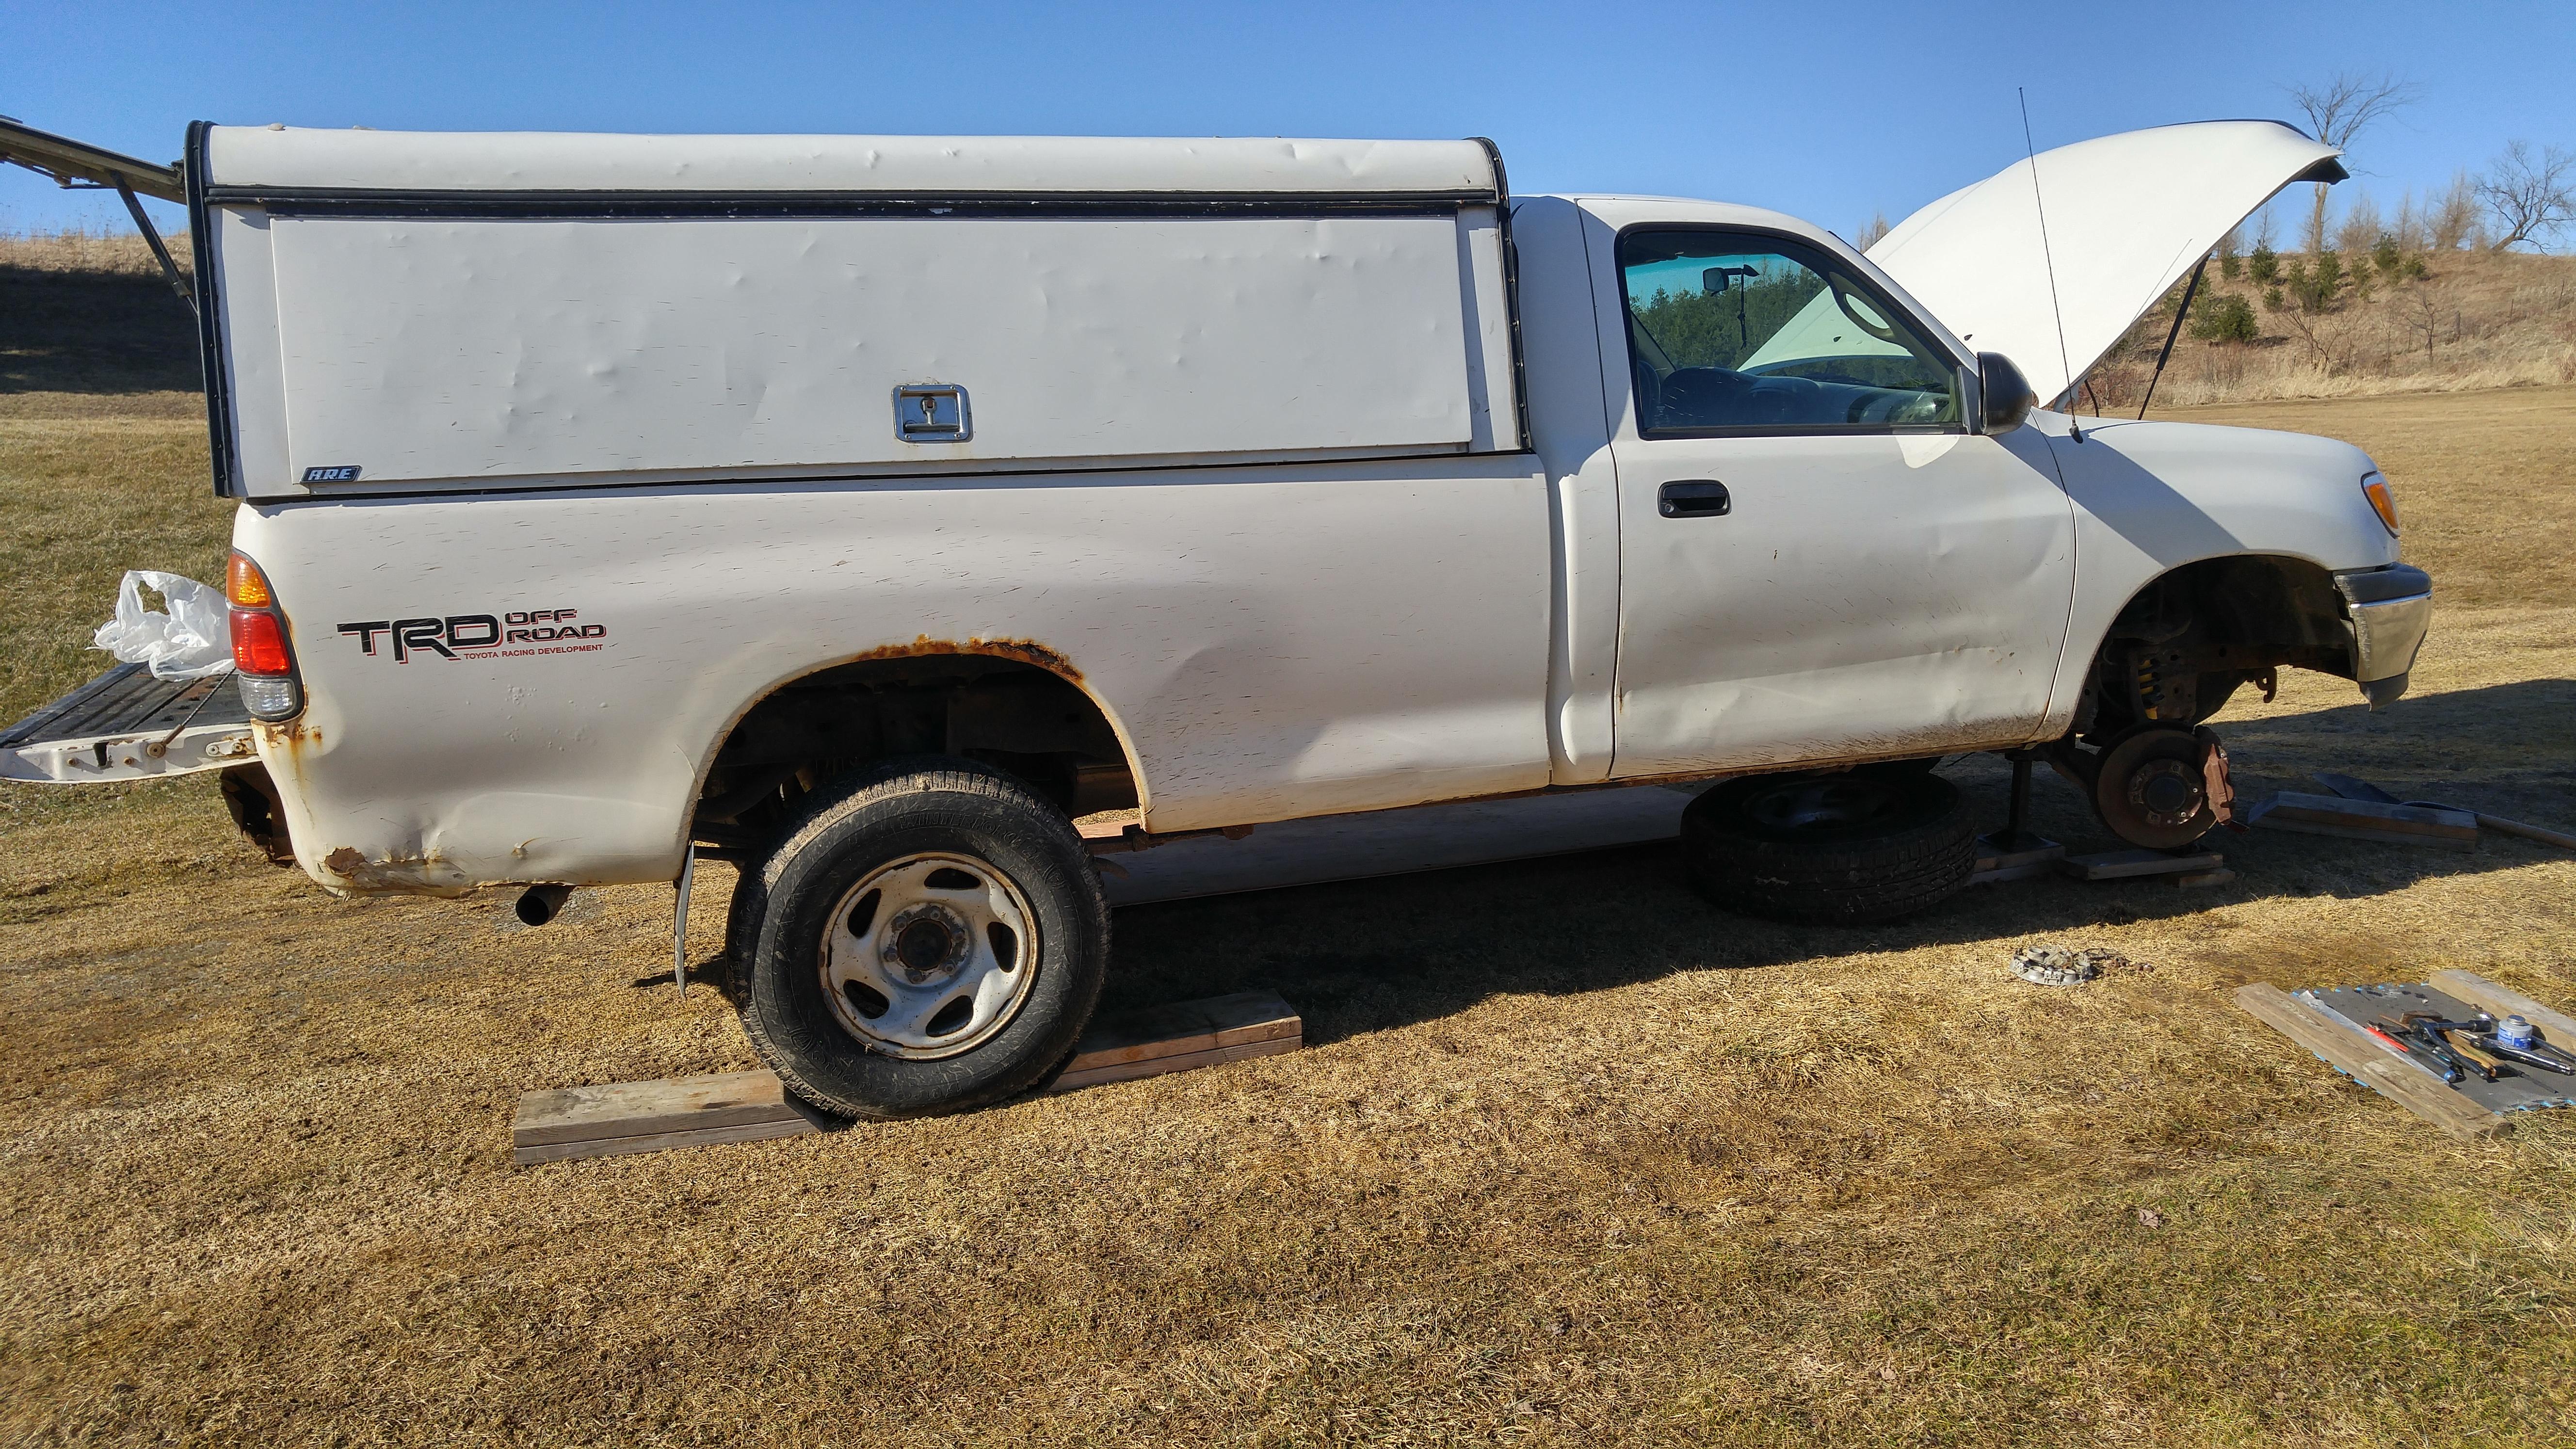
Since I got everything fixed in a couple of hours, I thought I’d get a head start on my frame/drivetrain/body swap.
So essentially I’m swapping my body and drivetrain into the new frame.
I parked the two trucks side by side and figured out the 6 bed mounts from the rear to the front are the same and the forward most bed mounts 2 rivets can be cut and directly bolted into existing holes in the access cab frame. The front body mounts and the mounts underneath the footwell are the same. The only mount that’s different is the rearmost body mount on the regular cab which can easily be cut flush with the frame and attached with 3/16 or 1/4 brackets.
I was thinking about just swapping the body but there are a few differences between 02 and 03 tundras, mainly transmission control and throttle body. The 02 has a weird combination cable/electronic throttle body, normal driving the electronic throttle body is used, and when you go maybe 70 to 100% throttle the throttle cable overrides the electronic throttle body to give you 100% throttle( which is more like 65%).
The 02 trans uses a kickdown cable for the trans vs full electronic control, also considering the guy that sold the truck to me said “this thing does wicked burnouts” I’m a little skeptical of its lifespan.
It could be done, pretty easily I guess by swapping ecu’s but my engine/trans, even at 455000km runs like a dream, oil pressure is perfect, doesn’t burn oil and my trans has the trick shift kit. So I’ll be running the same drivetrain at least for the next couple years, maybe I’ll disassemble the o2 engine and put it back together with some trick parts and install it at some point. either way I have a spare drivetrain ready to go if I need it.
So I started the disassembly of the engine bay, took the rad out, intake, ac components, everything to be able to lift the body off the frame, only thing left is the engine harness, fuel line, snip a couple brake lines, doors/seats, body mounts and that’s it.
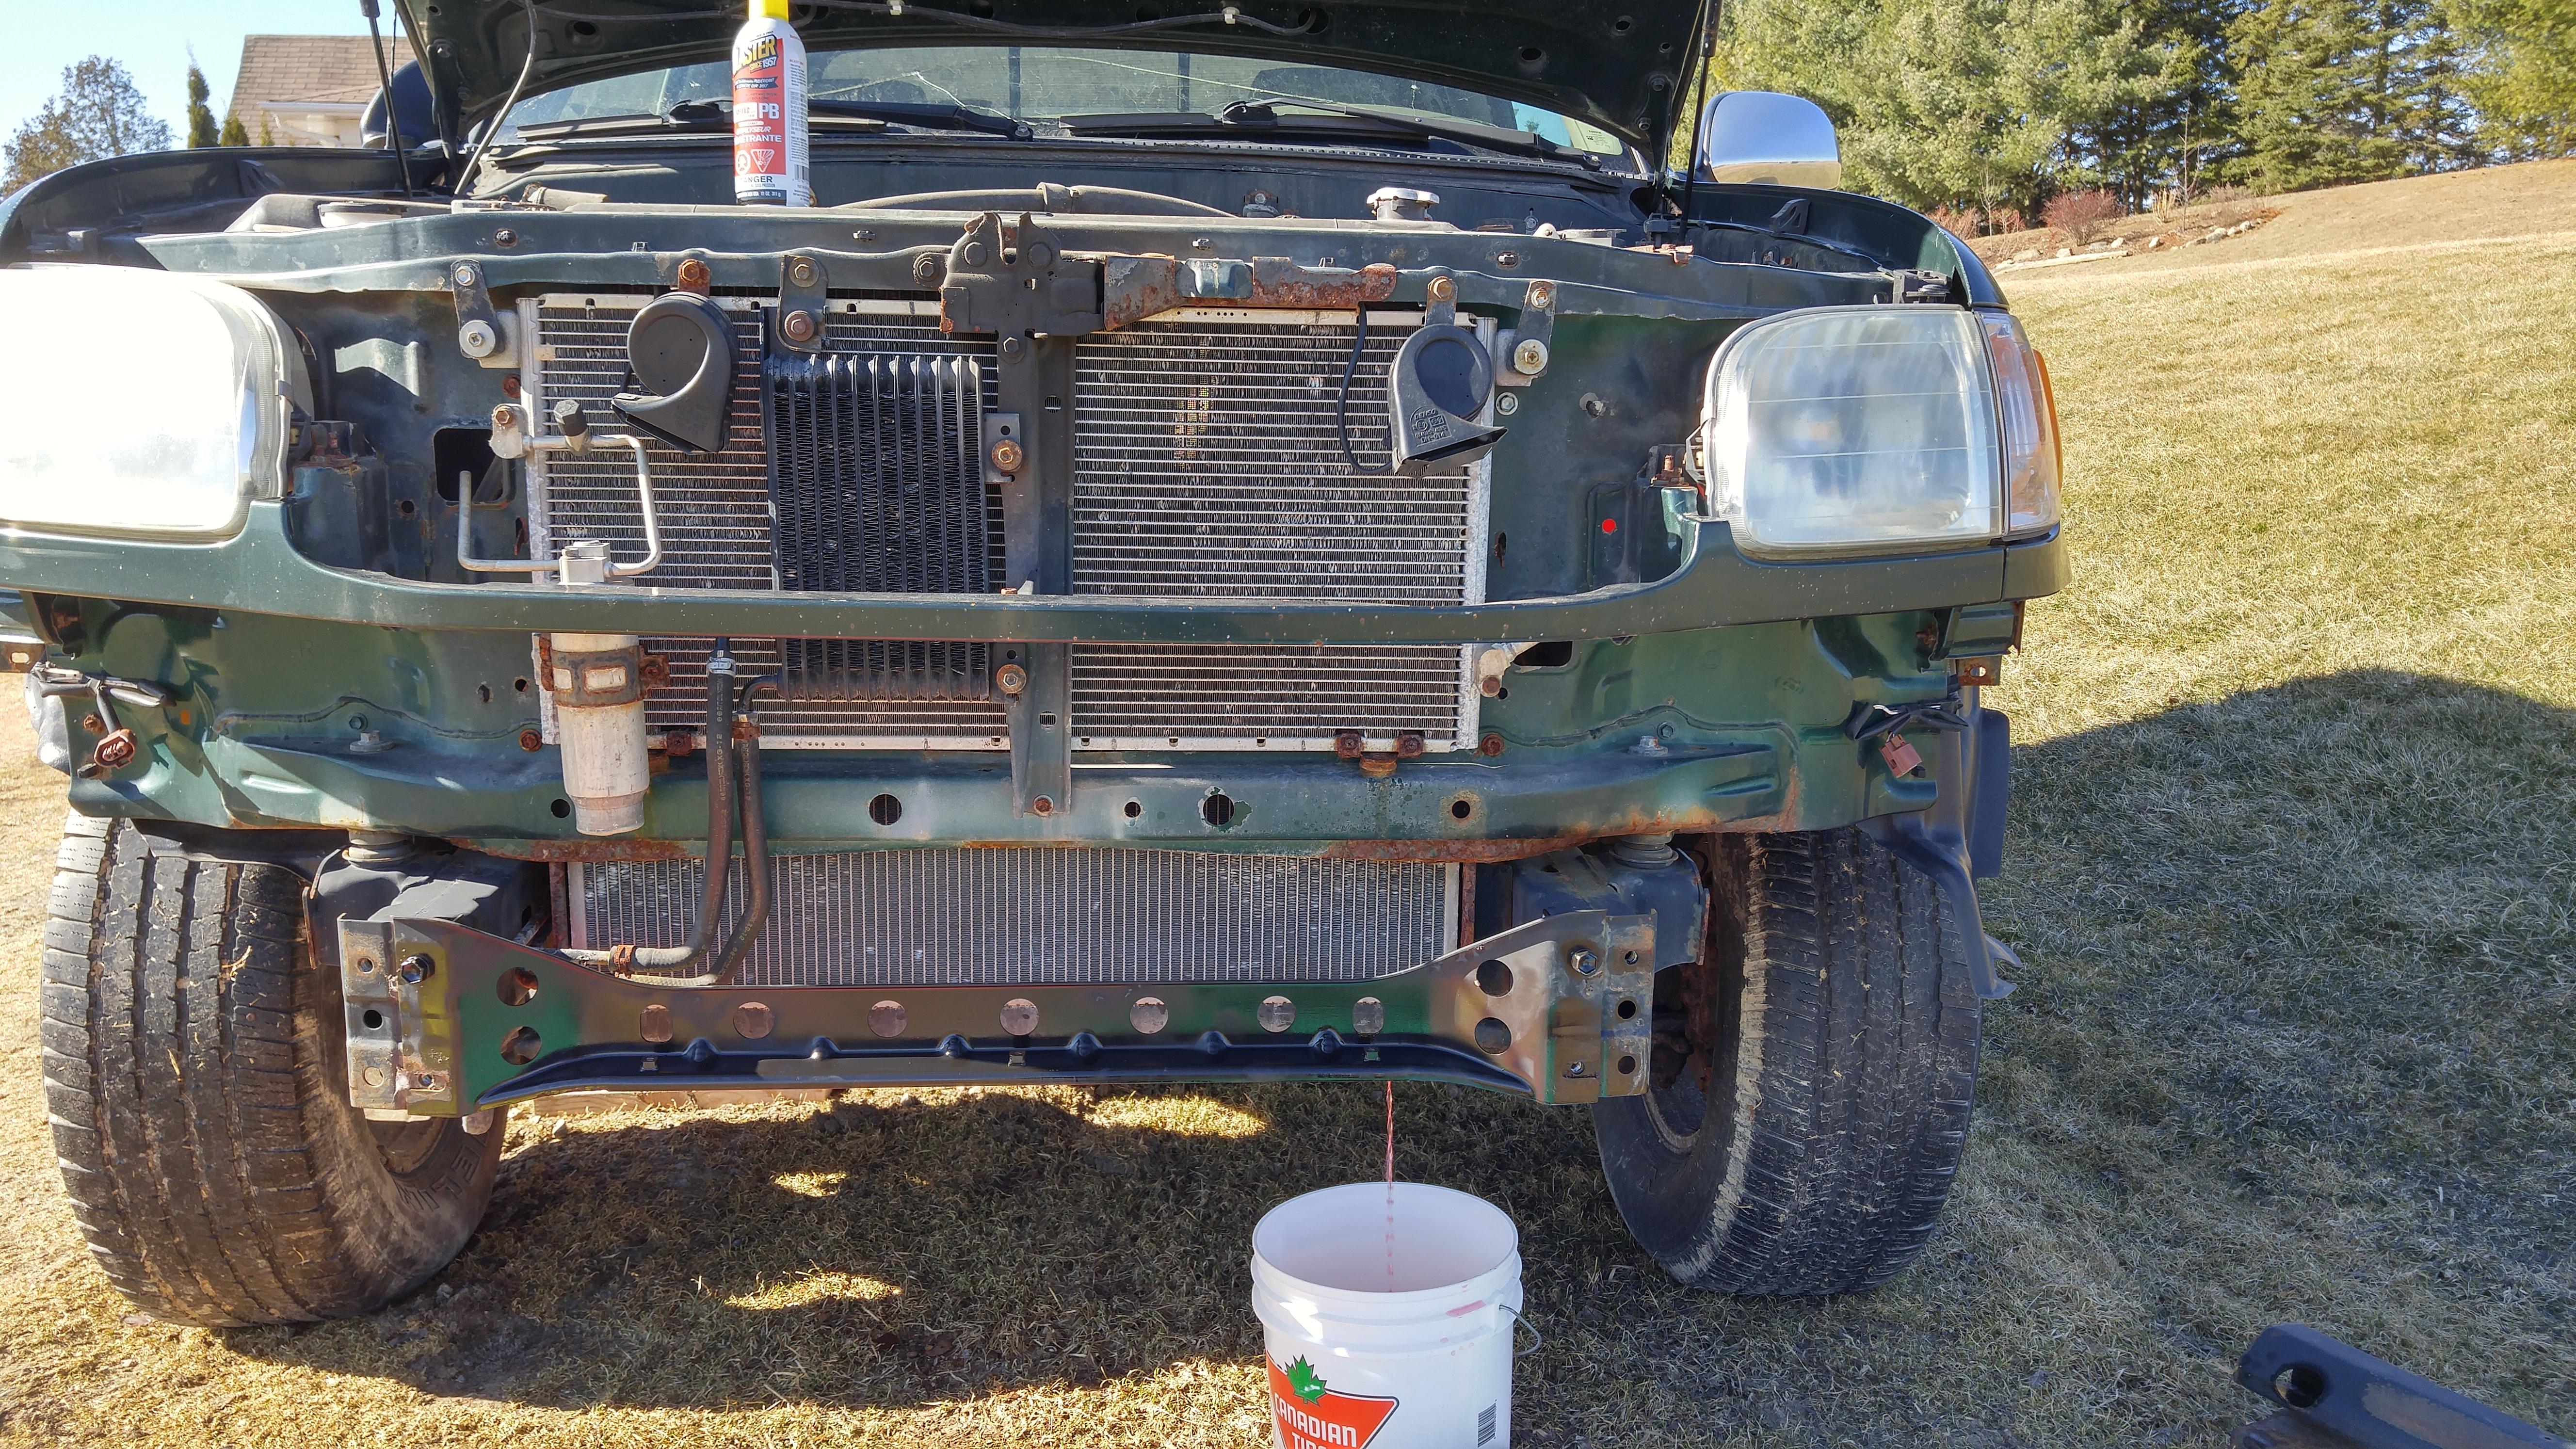
I then realized why the temp gauge on these trucks doesn’t budge
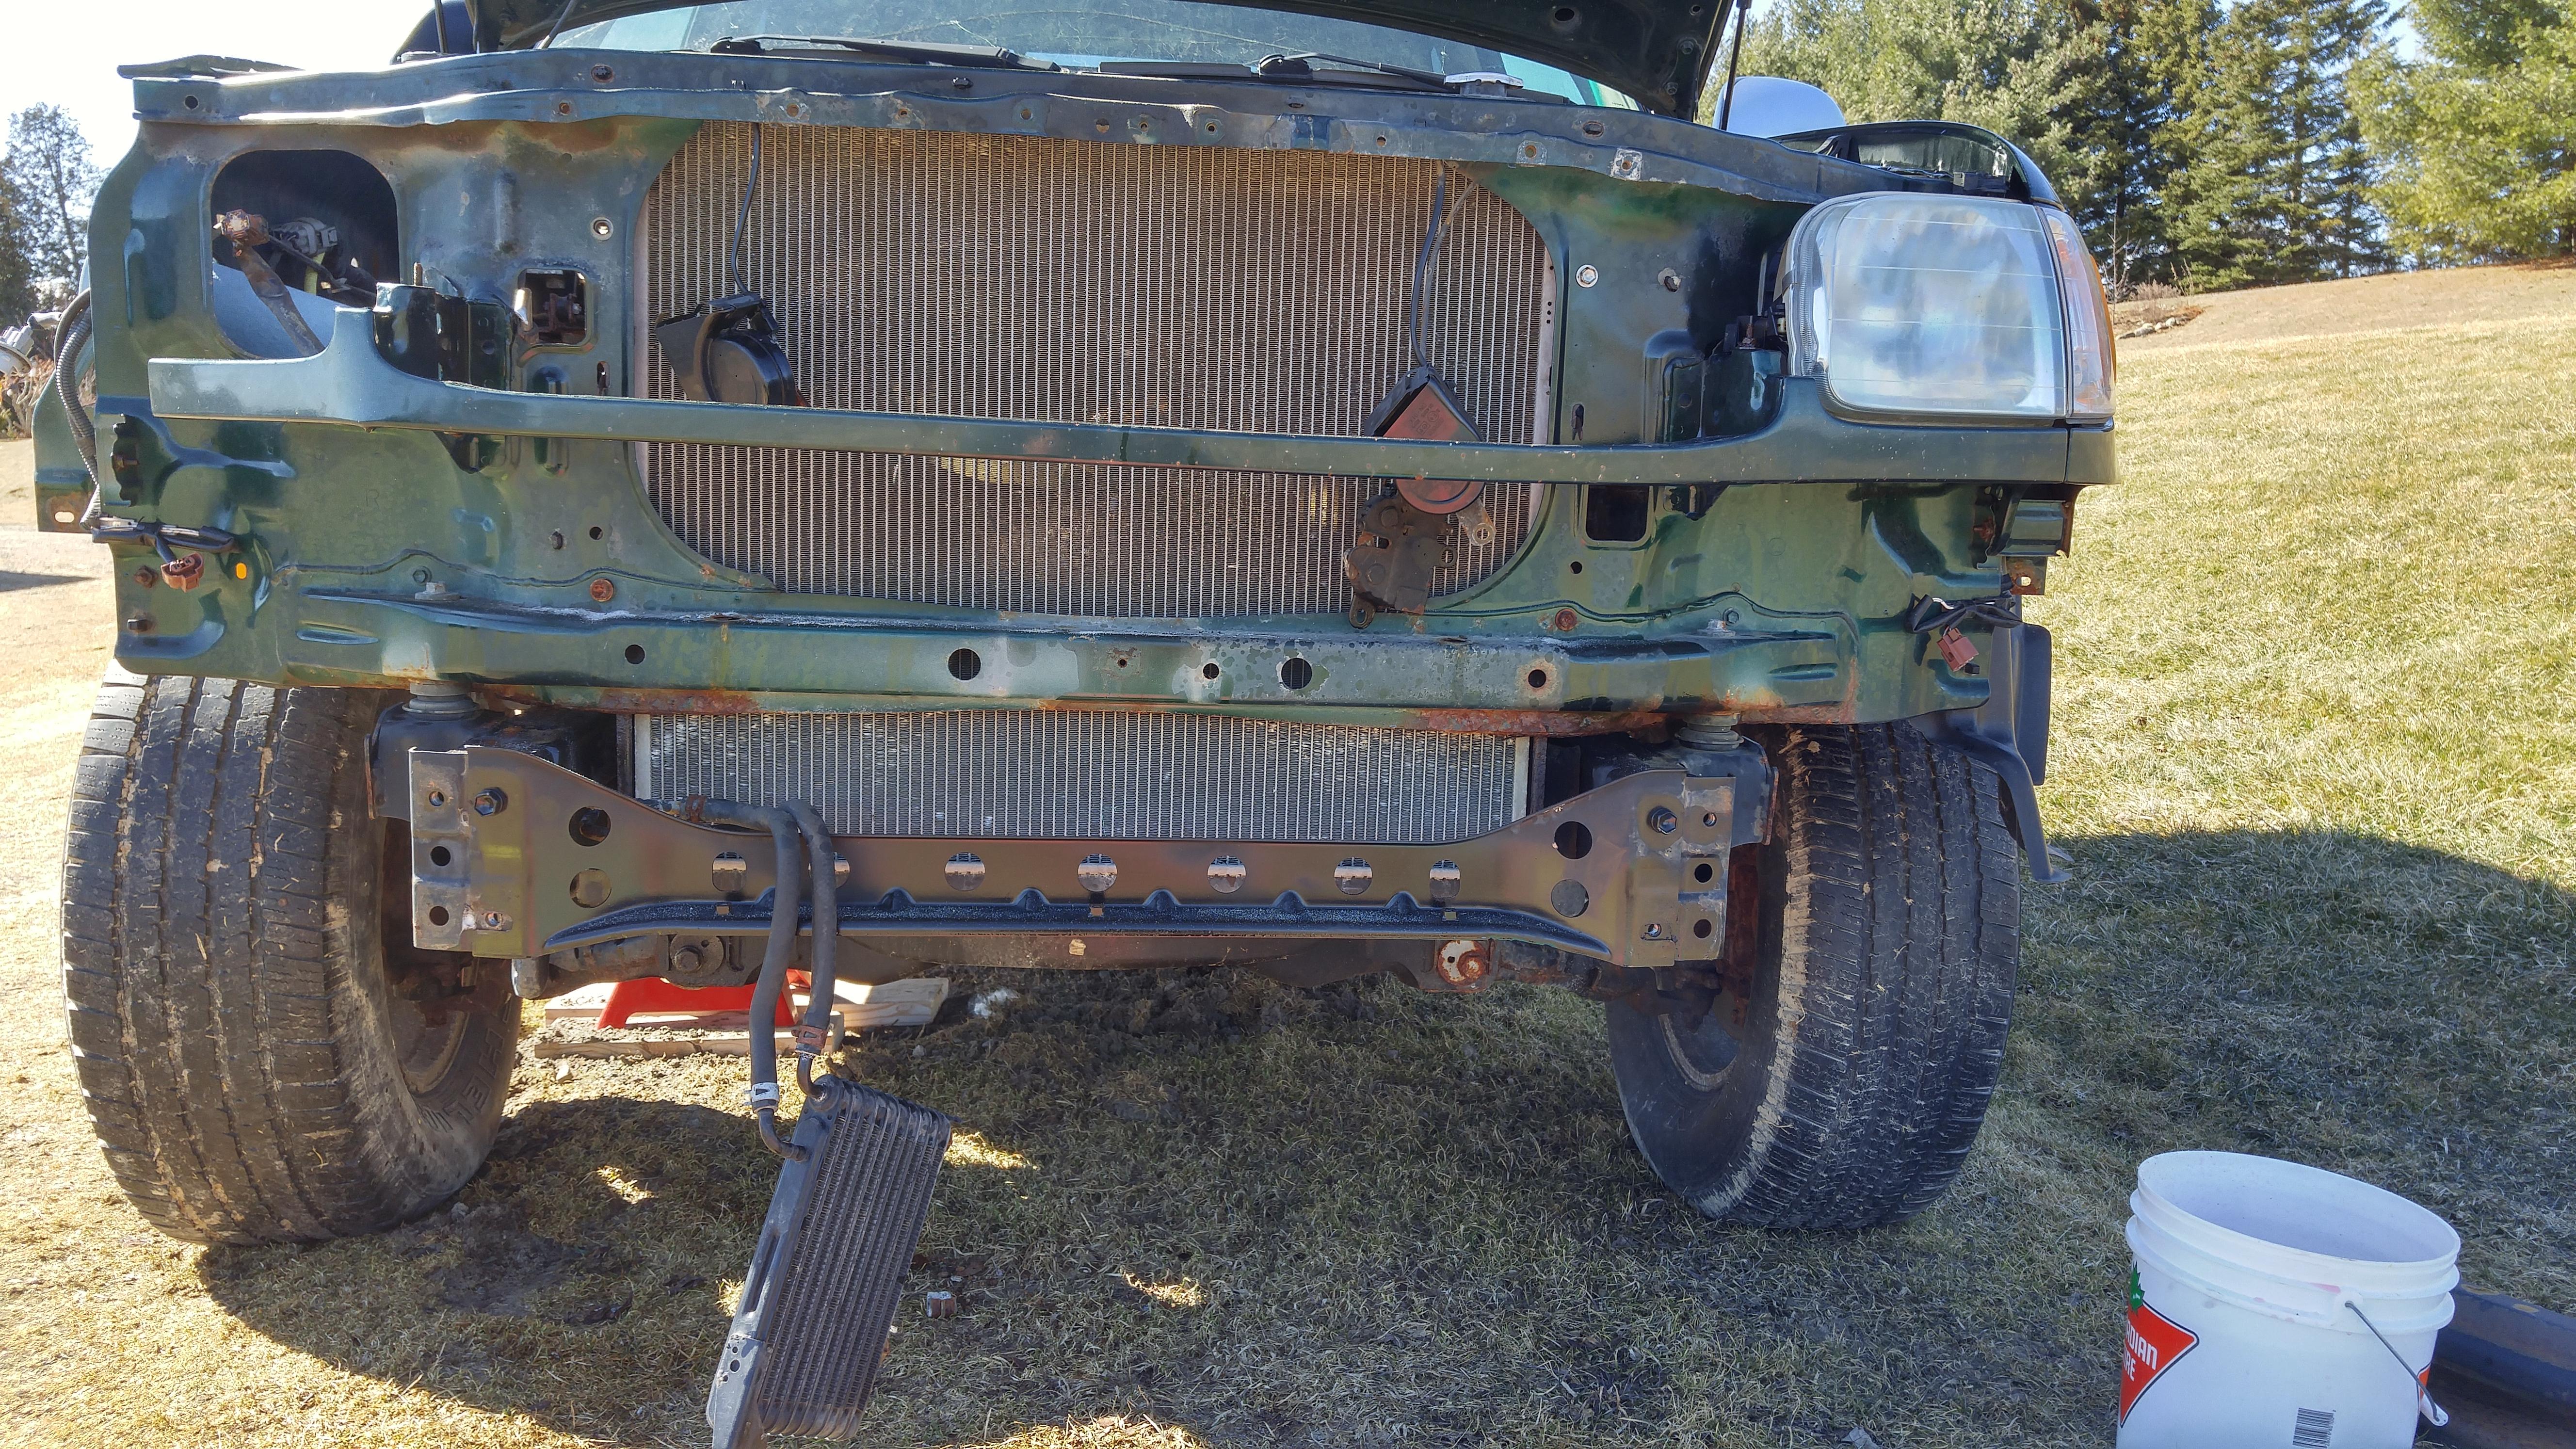
Hopefully resume the swap end of April.
March 11, 2018 at 10:18 am #206298 Toy-YotaParticipant
Cool project, “this thing does wicked burnouts” LOL
How are you planning to swap the body to the frame? Manpower or mechanical advantage?
March 17, 2018 at 8:49 pm #206332 forestmanParticipant
It shouldn’t be that hard, jack up the body, support it, roll the old pos rusted frame out, roll the new one in. Remember, I have 2 full rolling chassis and 2 sets of 31s and a set of 33s so I can play around with the wheels to make it a little easier. Lift the body with the 33s at 40 psi and then put on the 31s at 15 psi for a little extra room. I’ll be picking up a 2 ton engine crane at harbor freight on my way to pick up parts at CBI to swap the drivetrain in and out.
Good thing I’m only a month out from the swap, my rear cross member has cracked so there would be no wheeling, towing or hauling firewood this year.
March 18, 2018 at 12:45 am #206337 Toy-YotaParticipant
Ok cool, pickups are so much easier, 4runner bodies areheavy and awkward. I used an engine hoist and excavator to take my old body off. And the new body, I used engine hoist and some ceiling joists with a come along and ratchetstrap.
pumped to see some progress pics!
April 28, 2018 at 9:29 pm #206503 forestmanParticipant
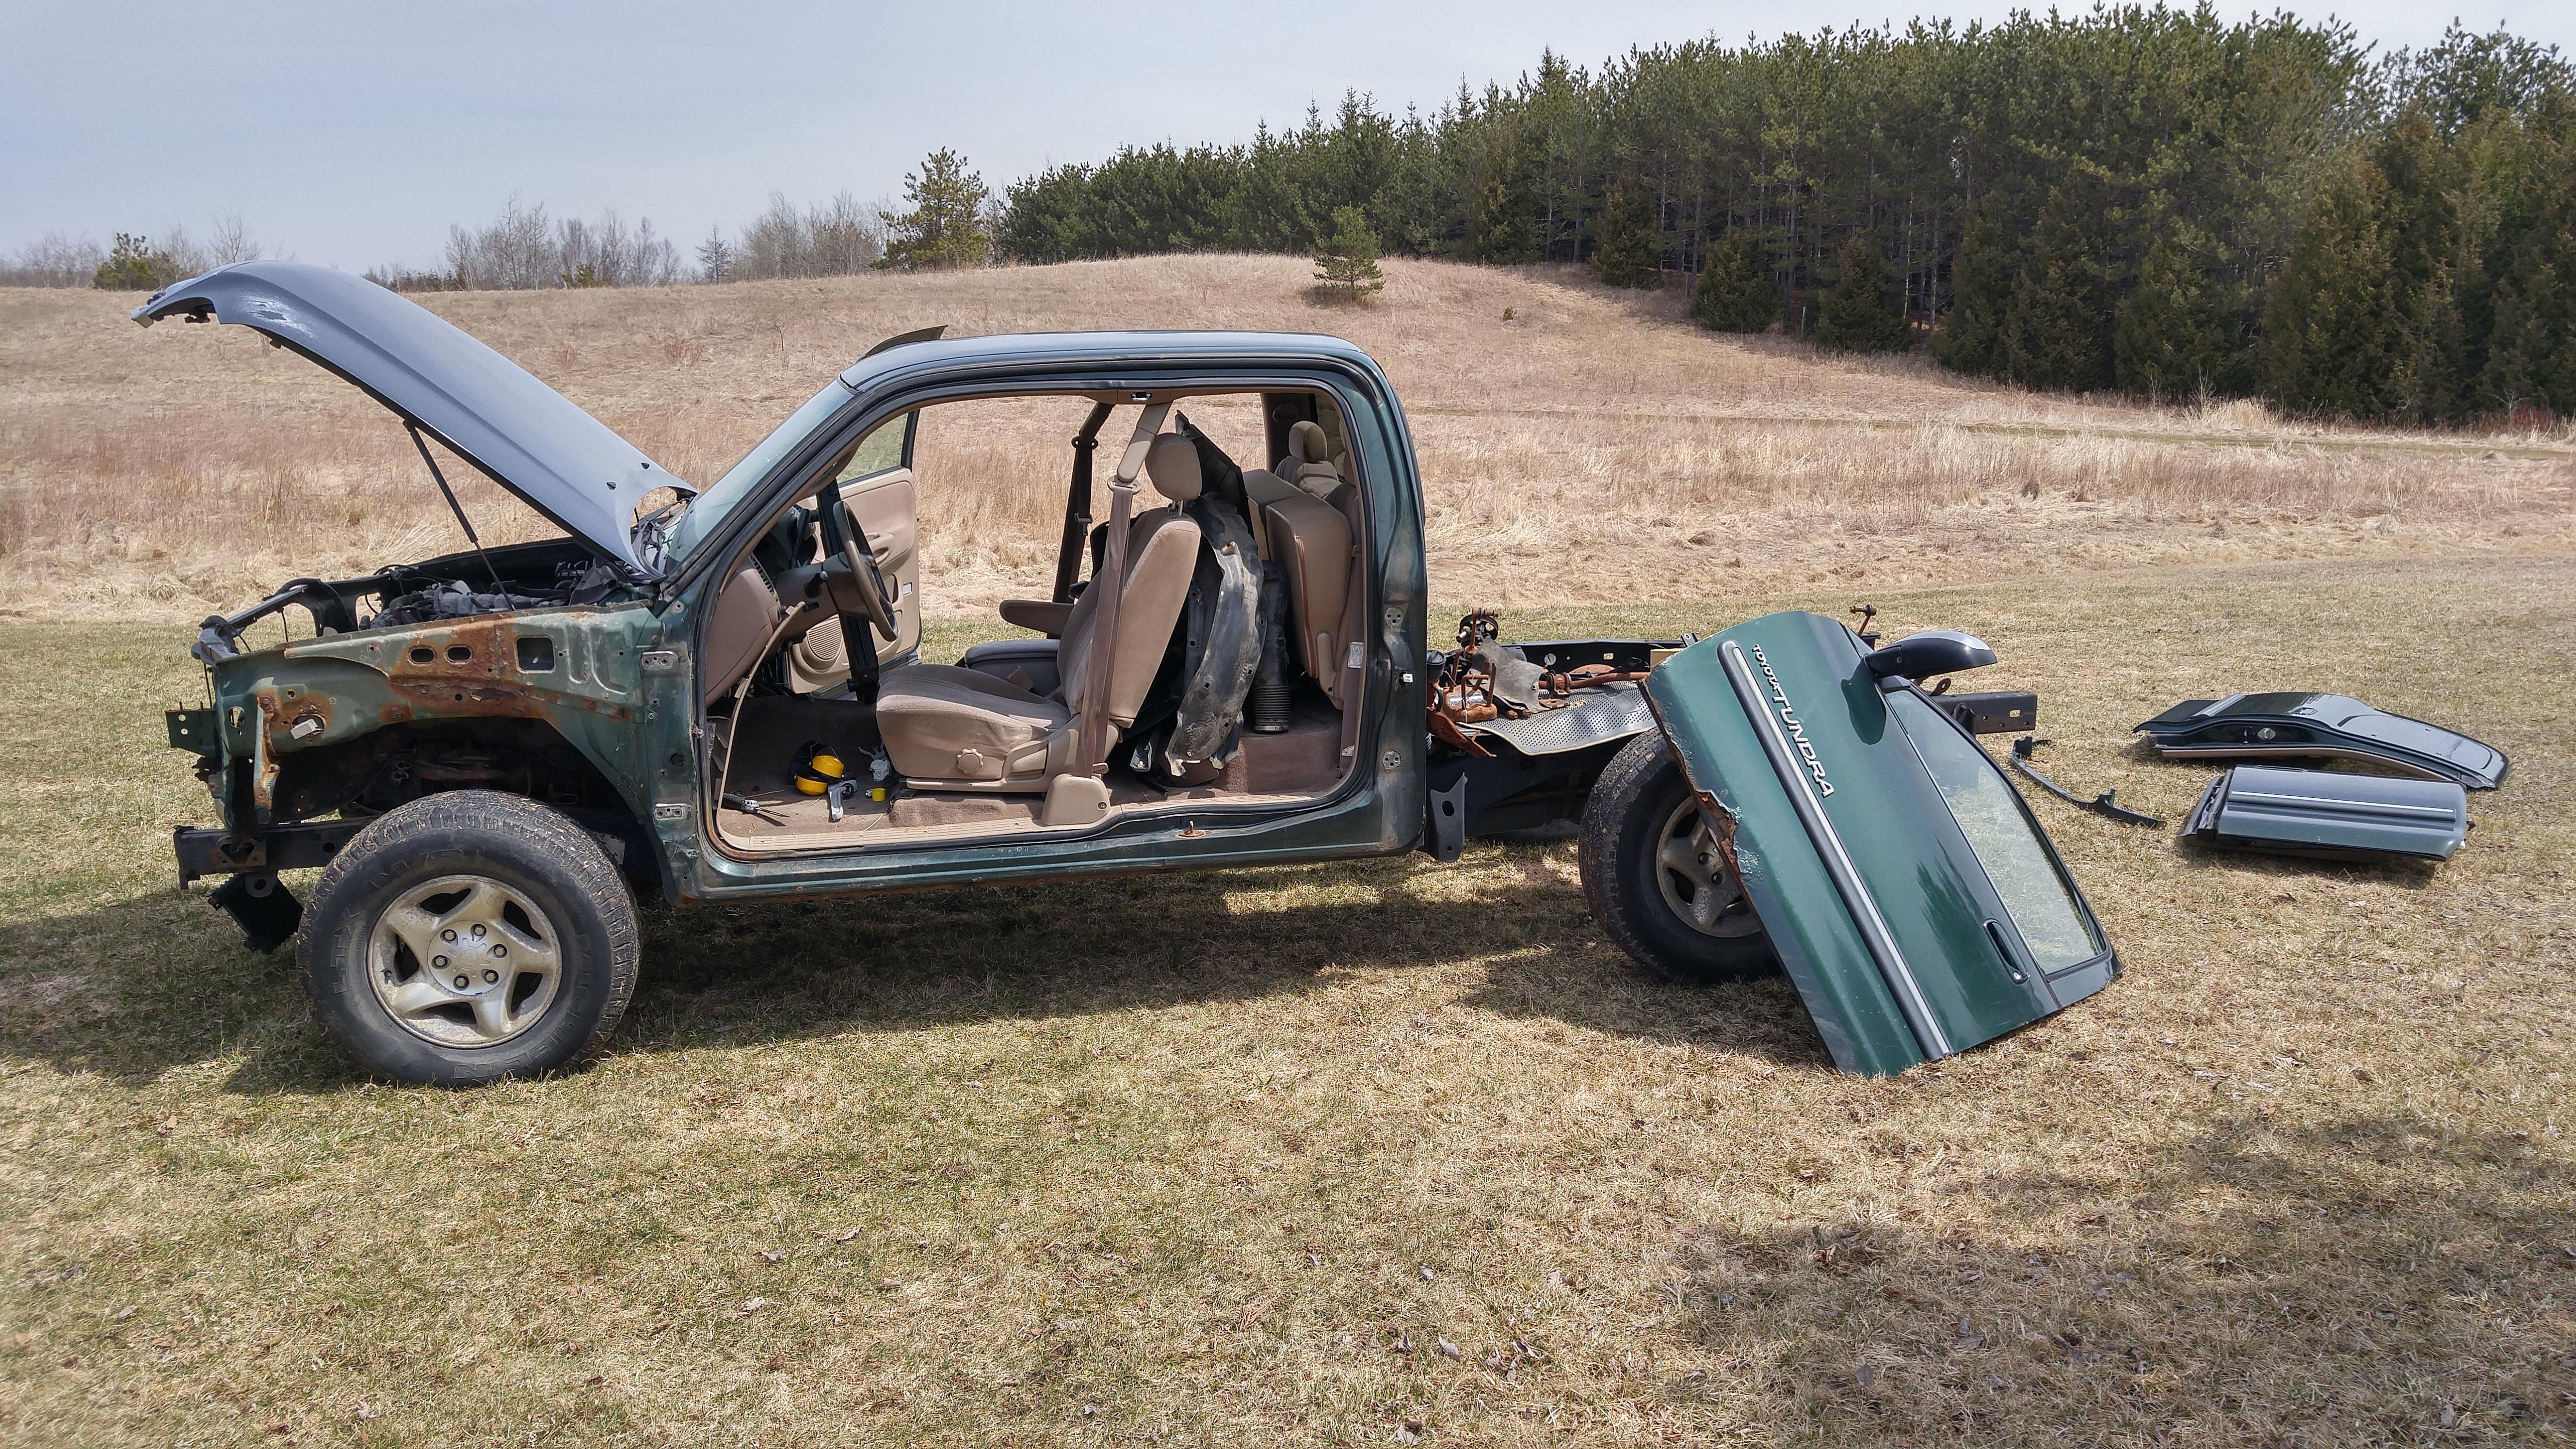
I’m back at it, got a full 6 hours in yesterday. Engine harness disconnected, doors removed, body mounts unbolted, front seats out. Just have a few more things to disconnect.
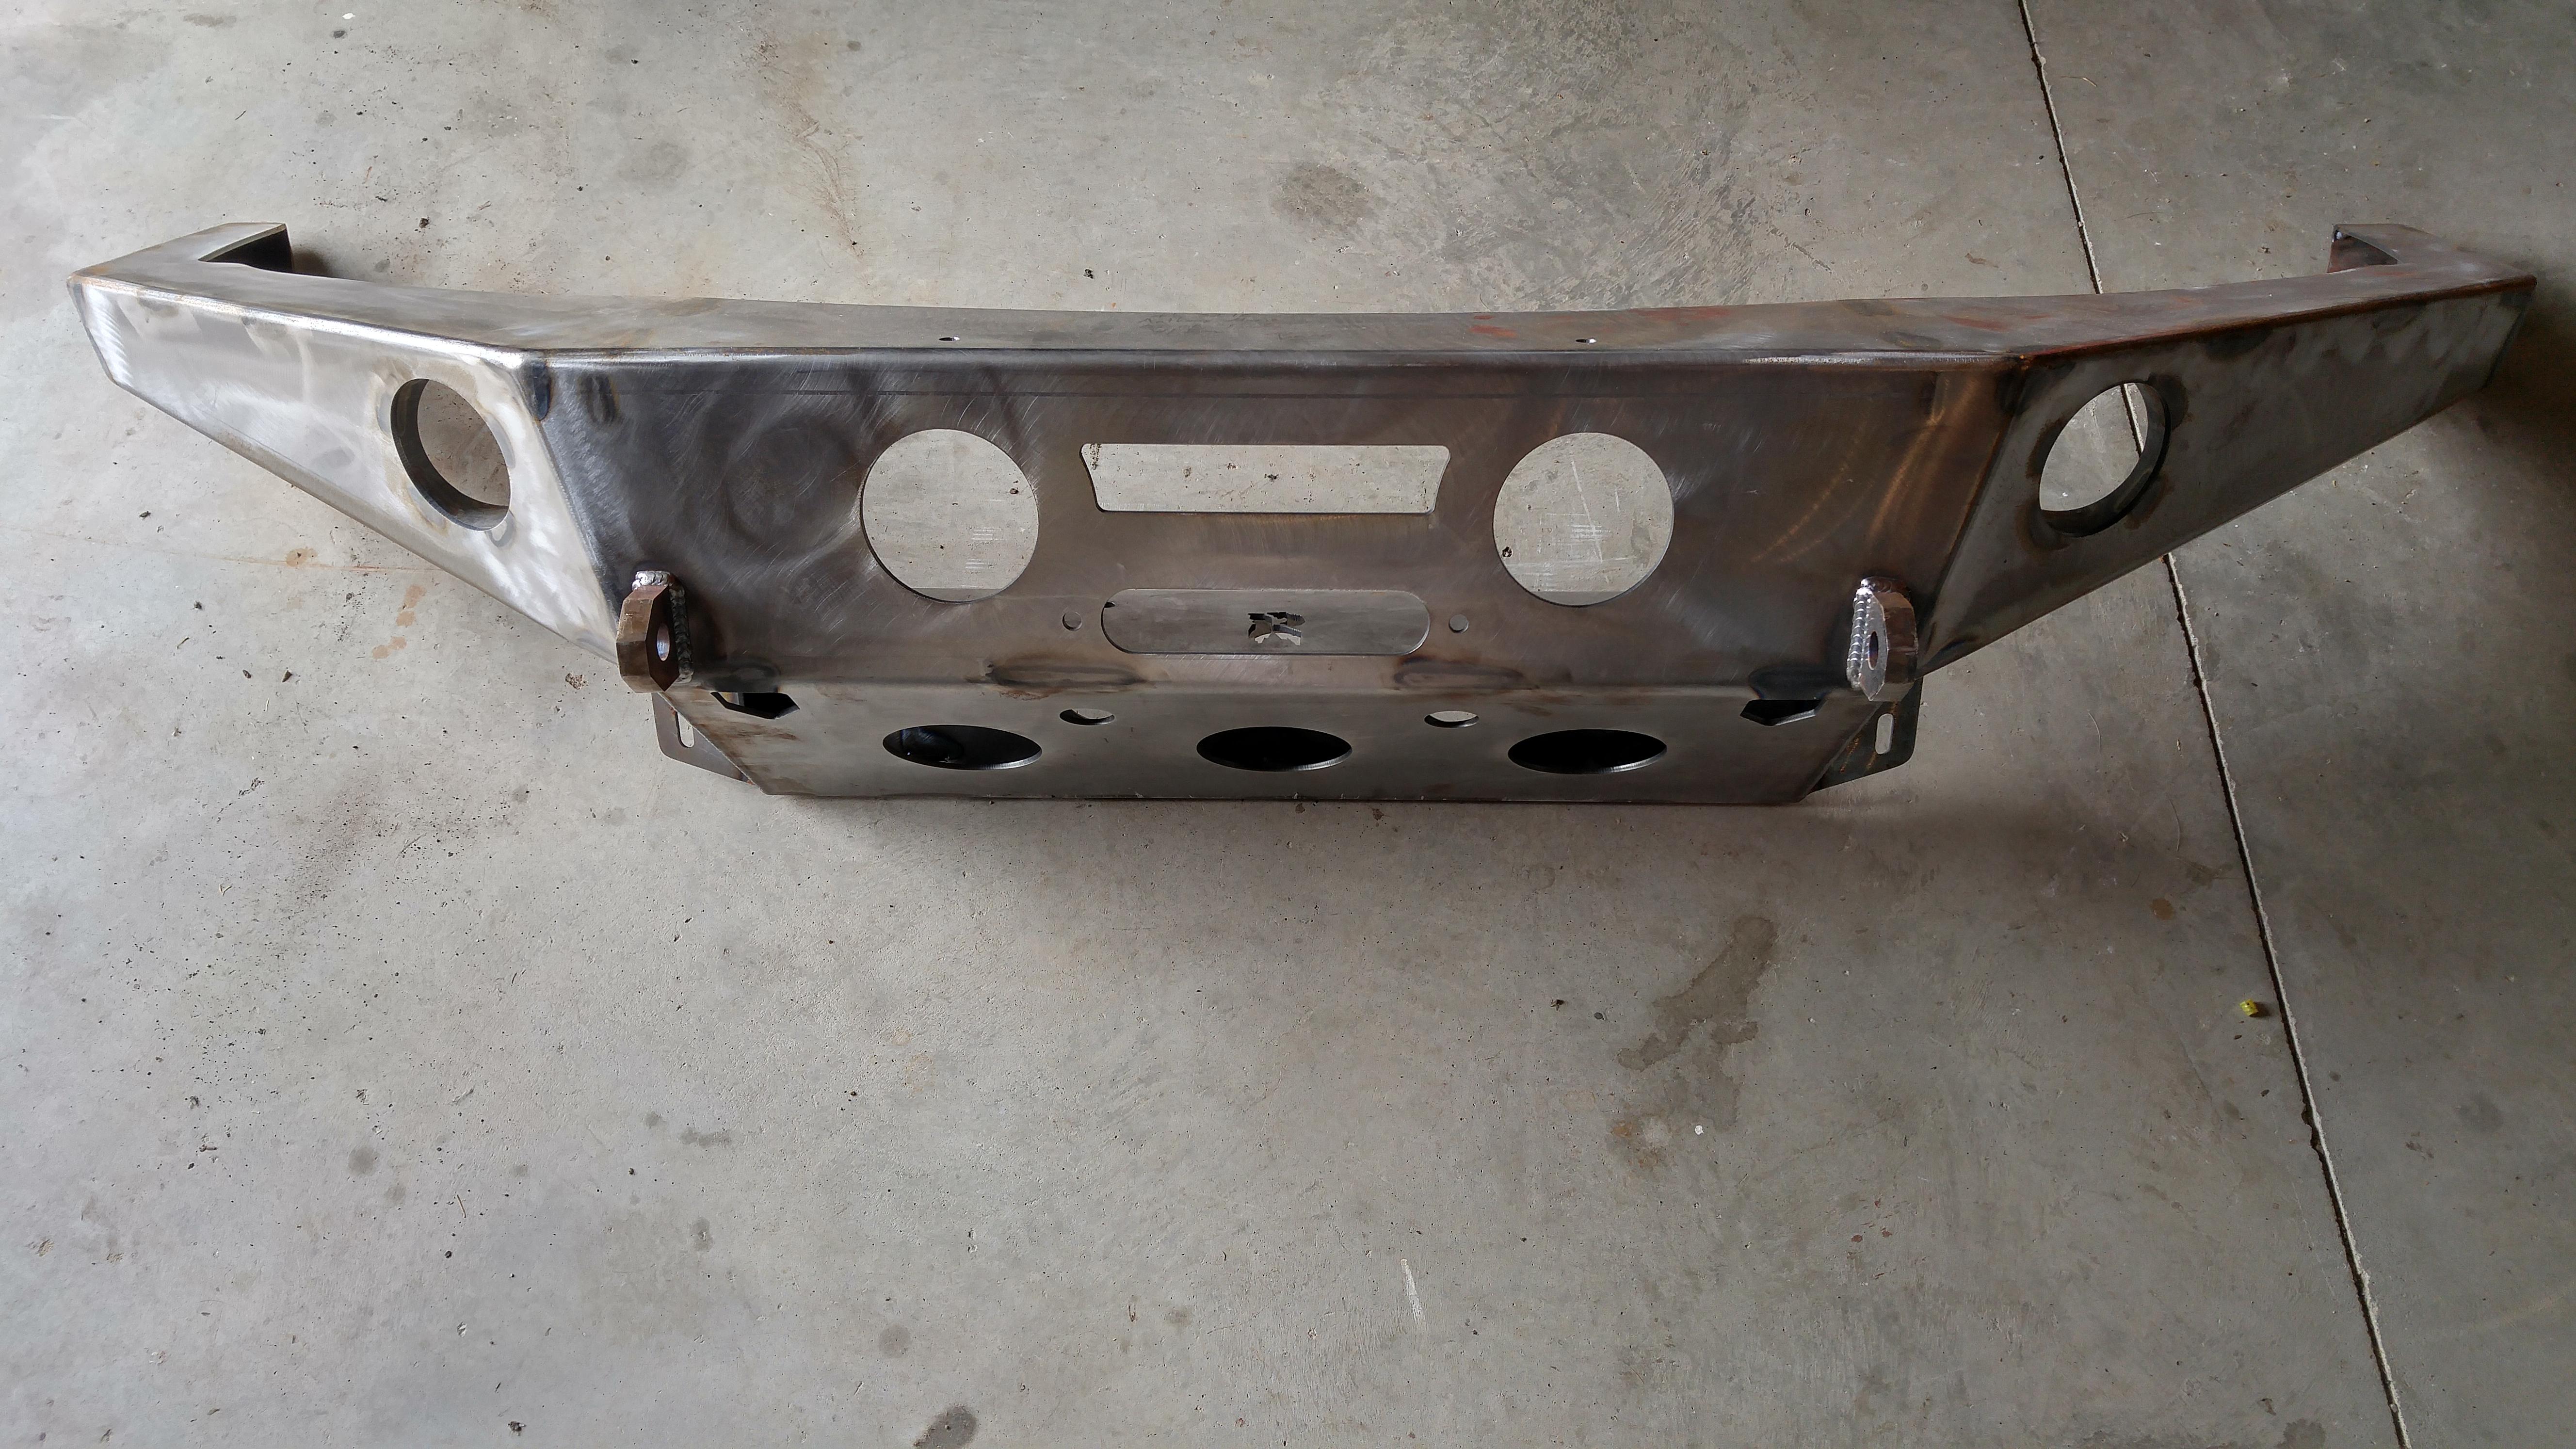
Checked the fitment of my winch into the bumper and what do you know the engage switch sticks up too far, took it out, bent it, filed it and now there’s plenty of clearance. No idea where I’m mounting the winch control box yet.
My 100 series Ebay snorkel showed up a few weeks ago but that’s furthest down the to-do list
Tomorrow I’m hoping I can have the body, drivetrain removed and clean the entire chassis and have it ready for the swap Monday.
A couple more trips to the parts store and then Monday the white truck’s being disassembled for the swap.
My plan for Monday is body off, drivetrain out, drivetrain in, timing belt, skid plates, body on(ish). I want to have the drivetrain swapped into the new chassis and then rolled partially into the garage for the timing belt/water pump service and remounting my skidplates better which will be super easy without a body in the way, during this time the single cab body will still be on blocks ready for the whole circus to roll back under its new home.
Then I have to swap the steering rack, spindles, ps pump, cv axles, rear axle housing, swap in the third that has a working lsd, install the snorkel, spark plugs, clean the throttle body, oil change, swap the coilovers, paint the bumper, mount the winch and bumper, extend the breathers optimally, and more probably.
Looking at the weather looks like I have until Thursday to get this all done
April 29, 2018 at 2:07 am #206505 Slick_YotaKeymaster
Sweet!!! 8)
May 7, 2018 at 10:46 pm #206562 forestmanParticipant
Update, swap has taken quite a few days longer than I had expected, then again looking back my timeline was really optimistic, however, 5 days on top of the original timeline and I’m pretty much done.
So, body is swapped, cab is mounted, timing belt water pump service complete, driveshafts are in, shifter cable and steering linkage hooked up electrical is all hooked up, coilovers are in. Started the truck and then I realized I put in the half burnt out power steering pump from the 02, but it worked fine, long enough to get the engine up to temp and check for leaks (there were none). Engine runs like a dream, super pleased that the timing belt went smoothly, I did spend a lot of time doing the service especially since it was raining that day and the engine and front part of the frame were in the garage without a body in the way, spent about 30 minutes cleaning out mud behind the timing cover.
Here are the rear cab mounts I cut off the frame, each mount is drilled and bolted to the frame with 8 bolts
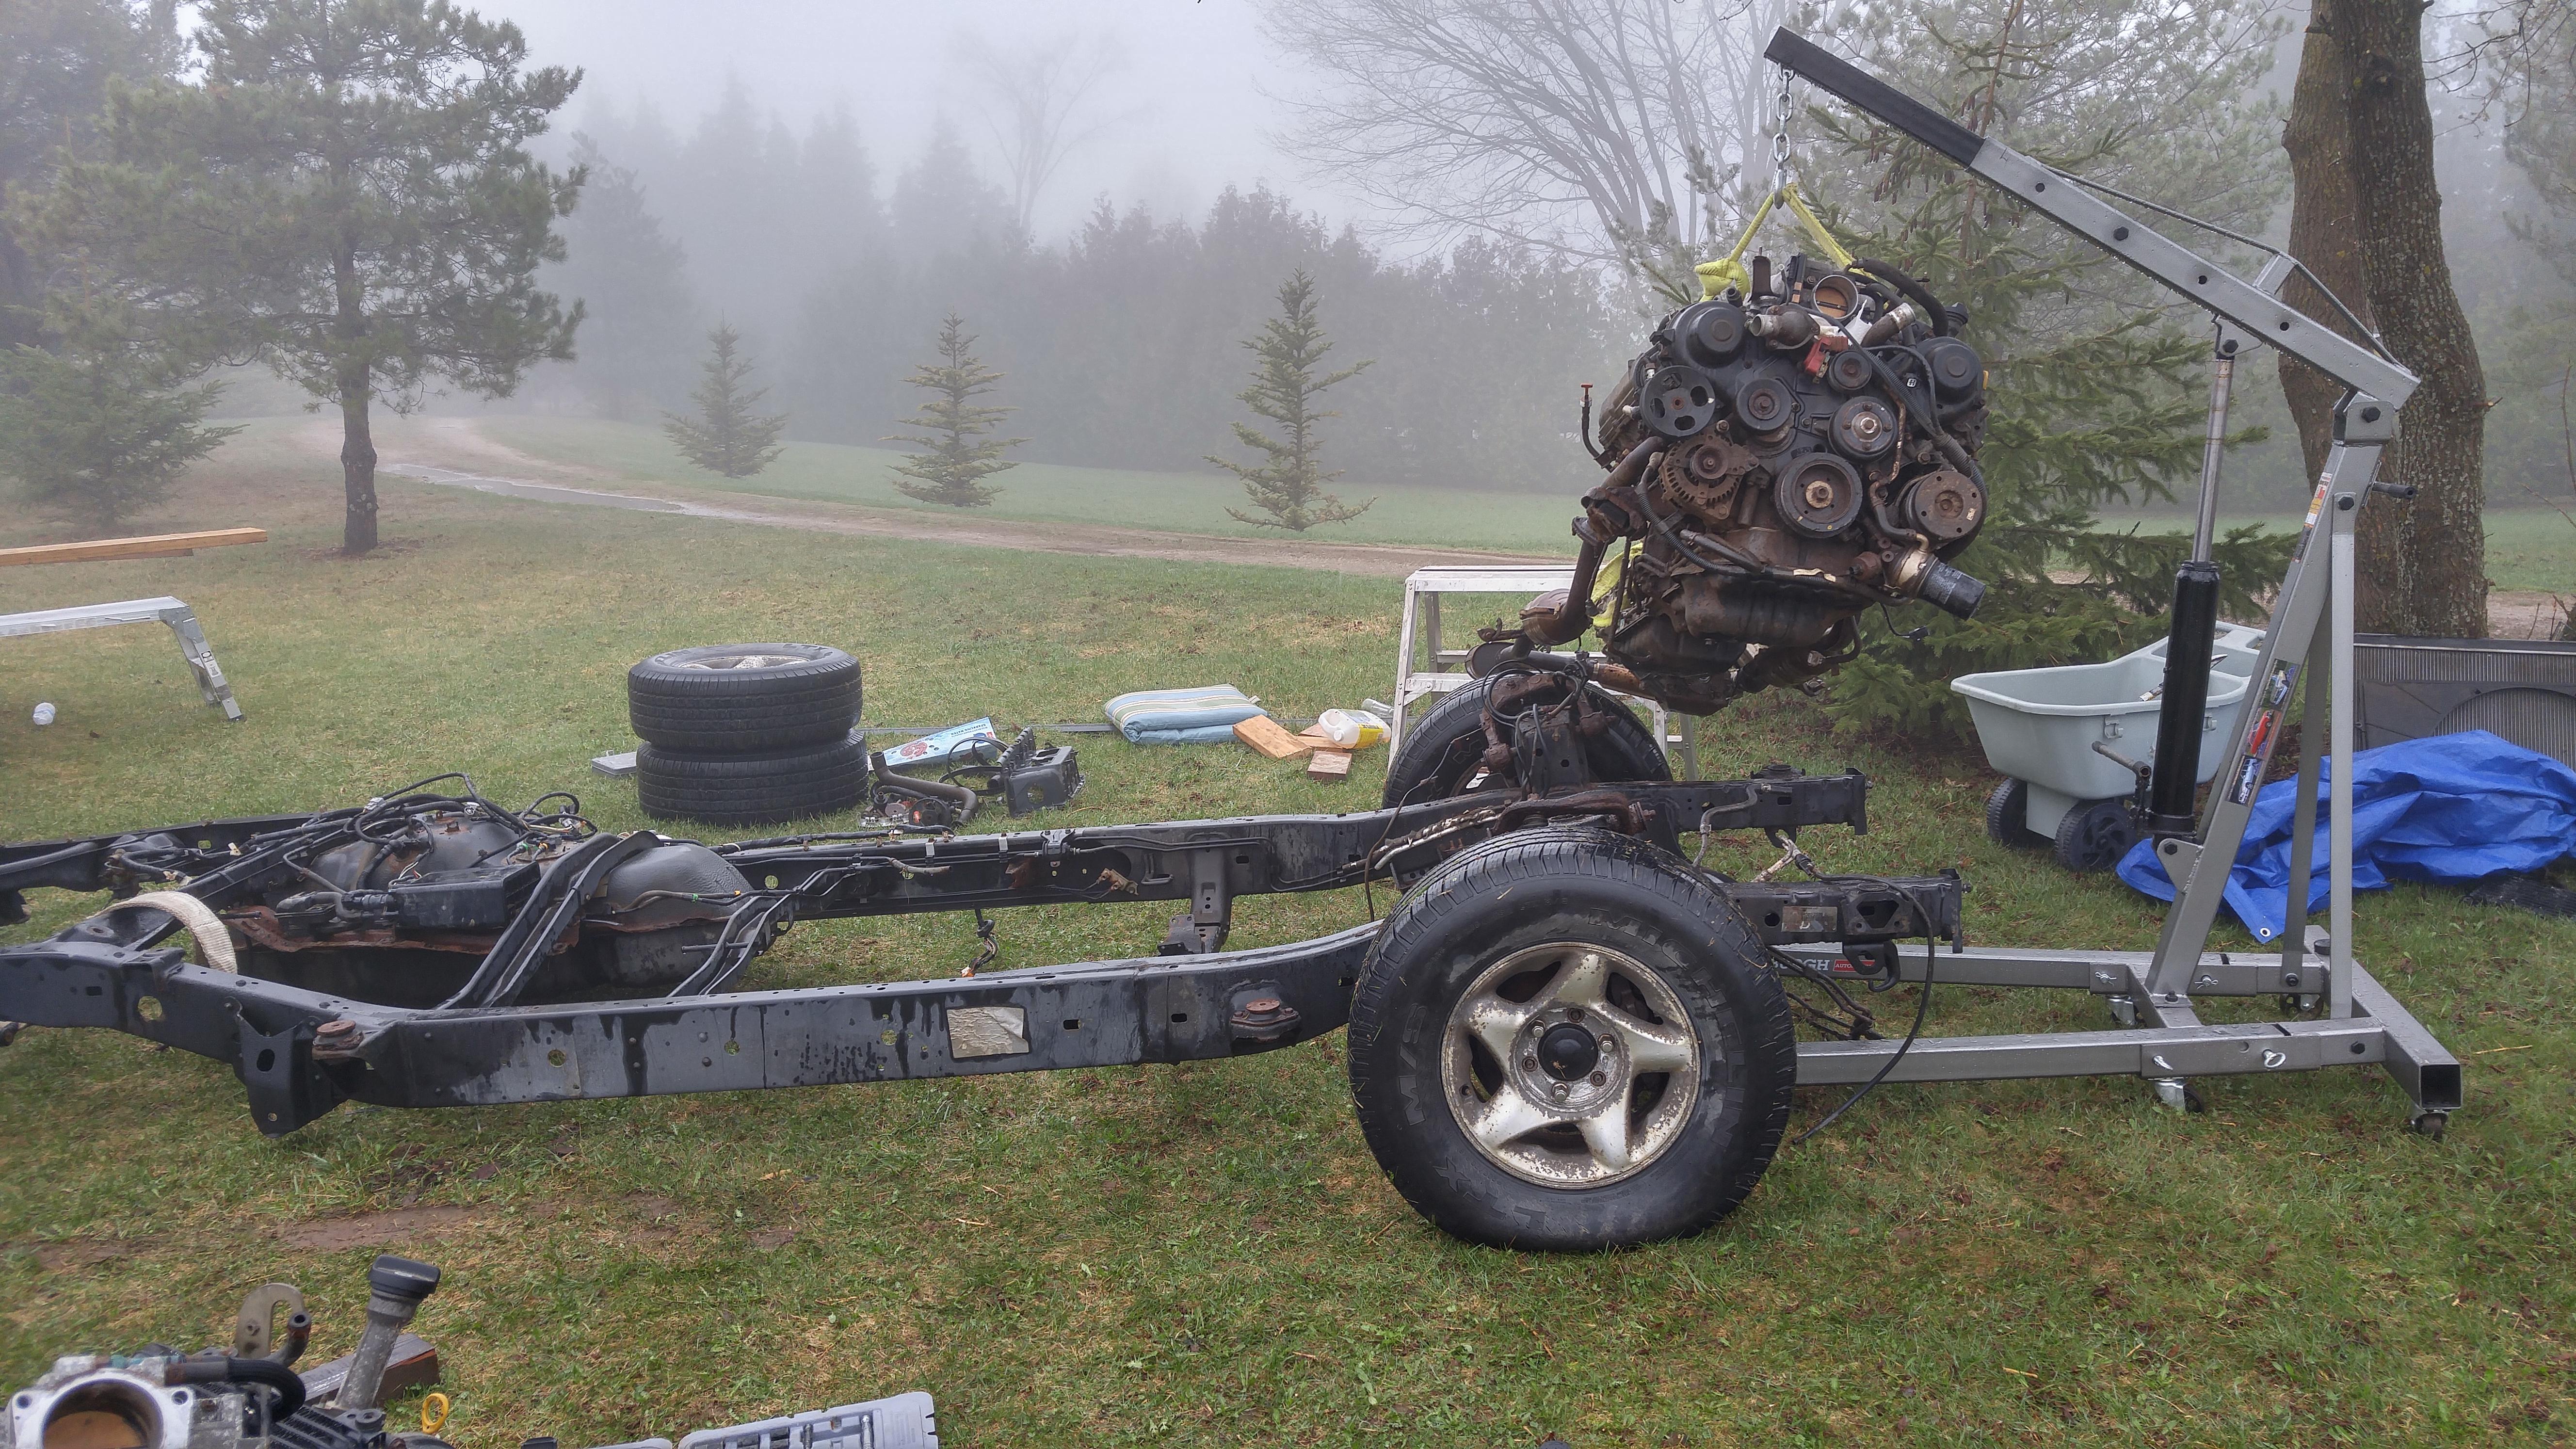
My new 2 ton engine crane putting in work, installing my 460,000km drivetrain into its new home, engine, trans, and tcase all connected
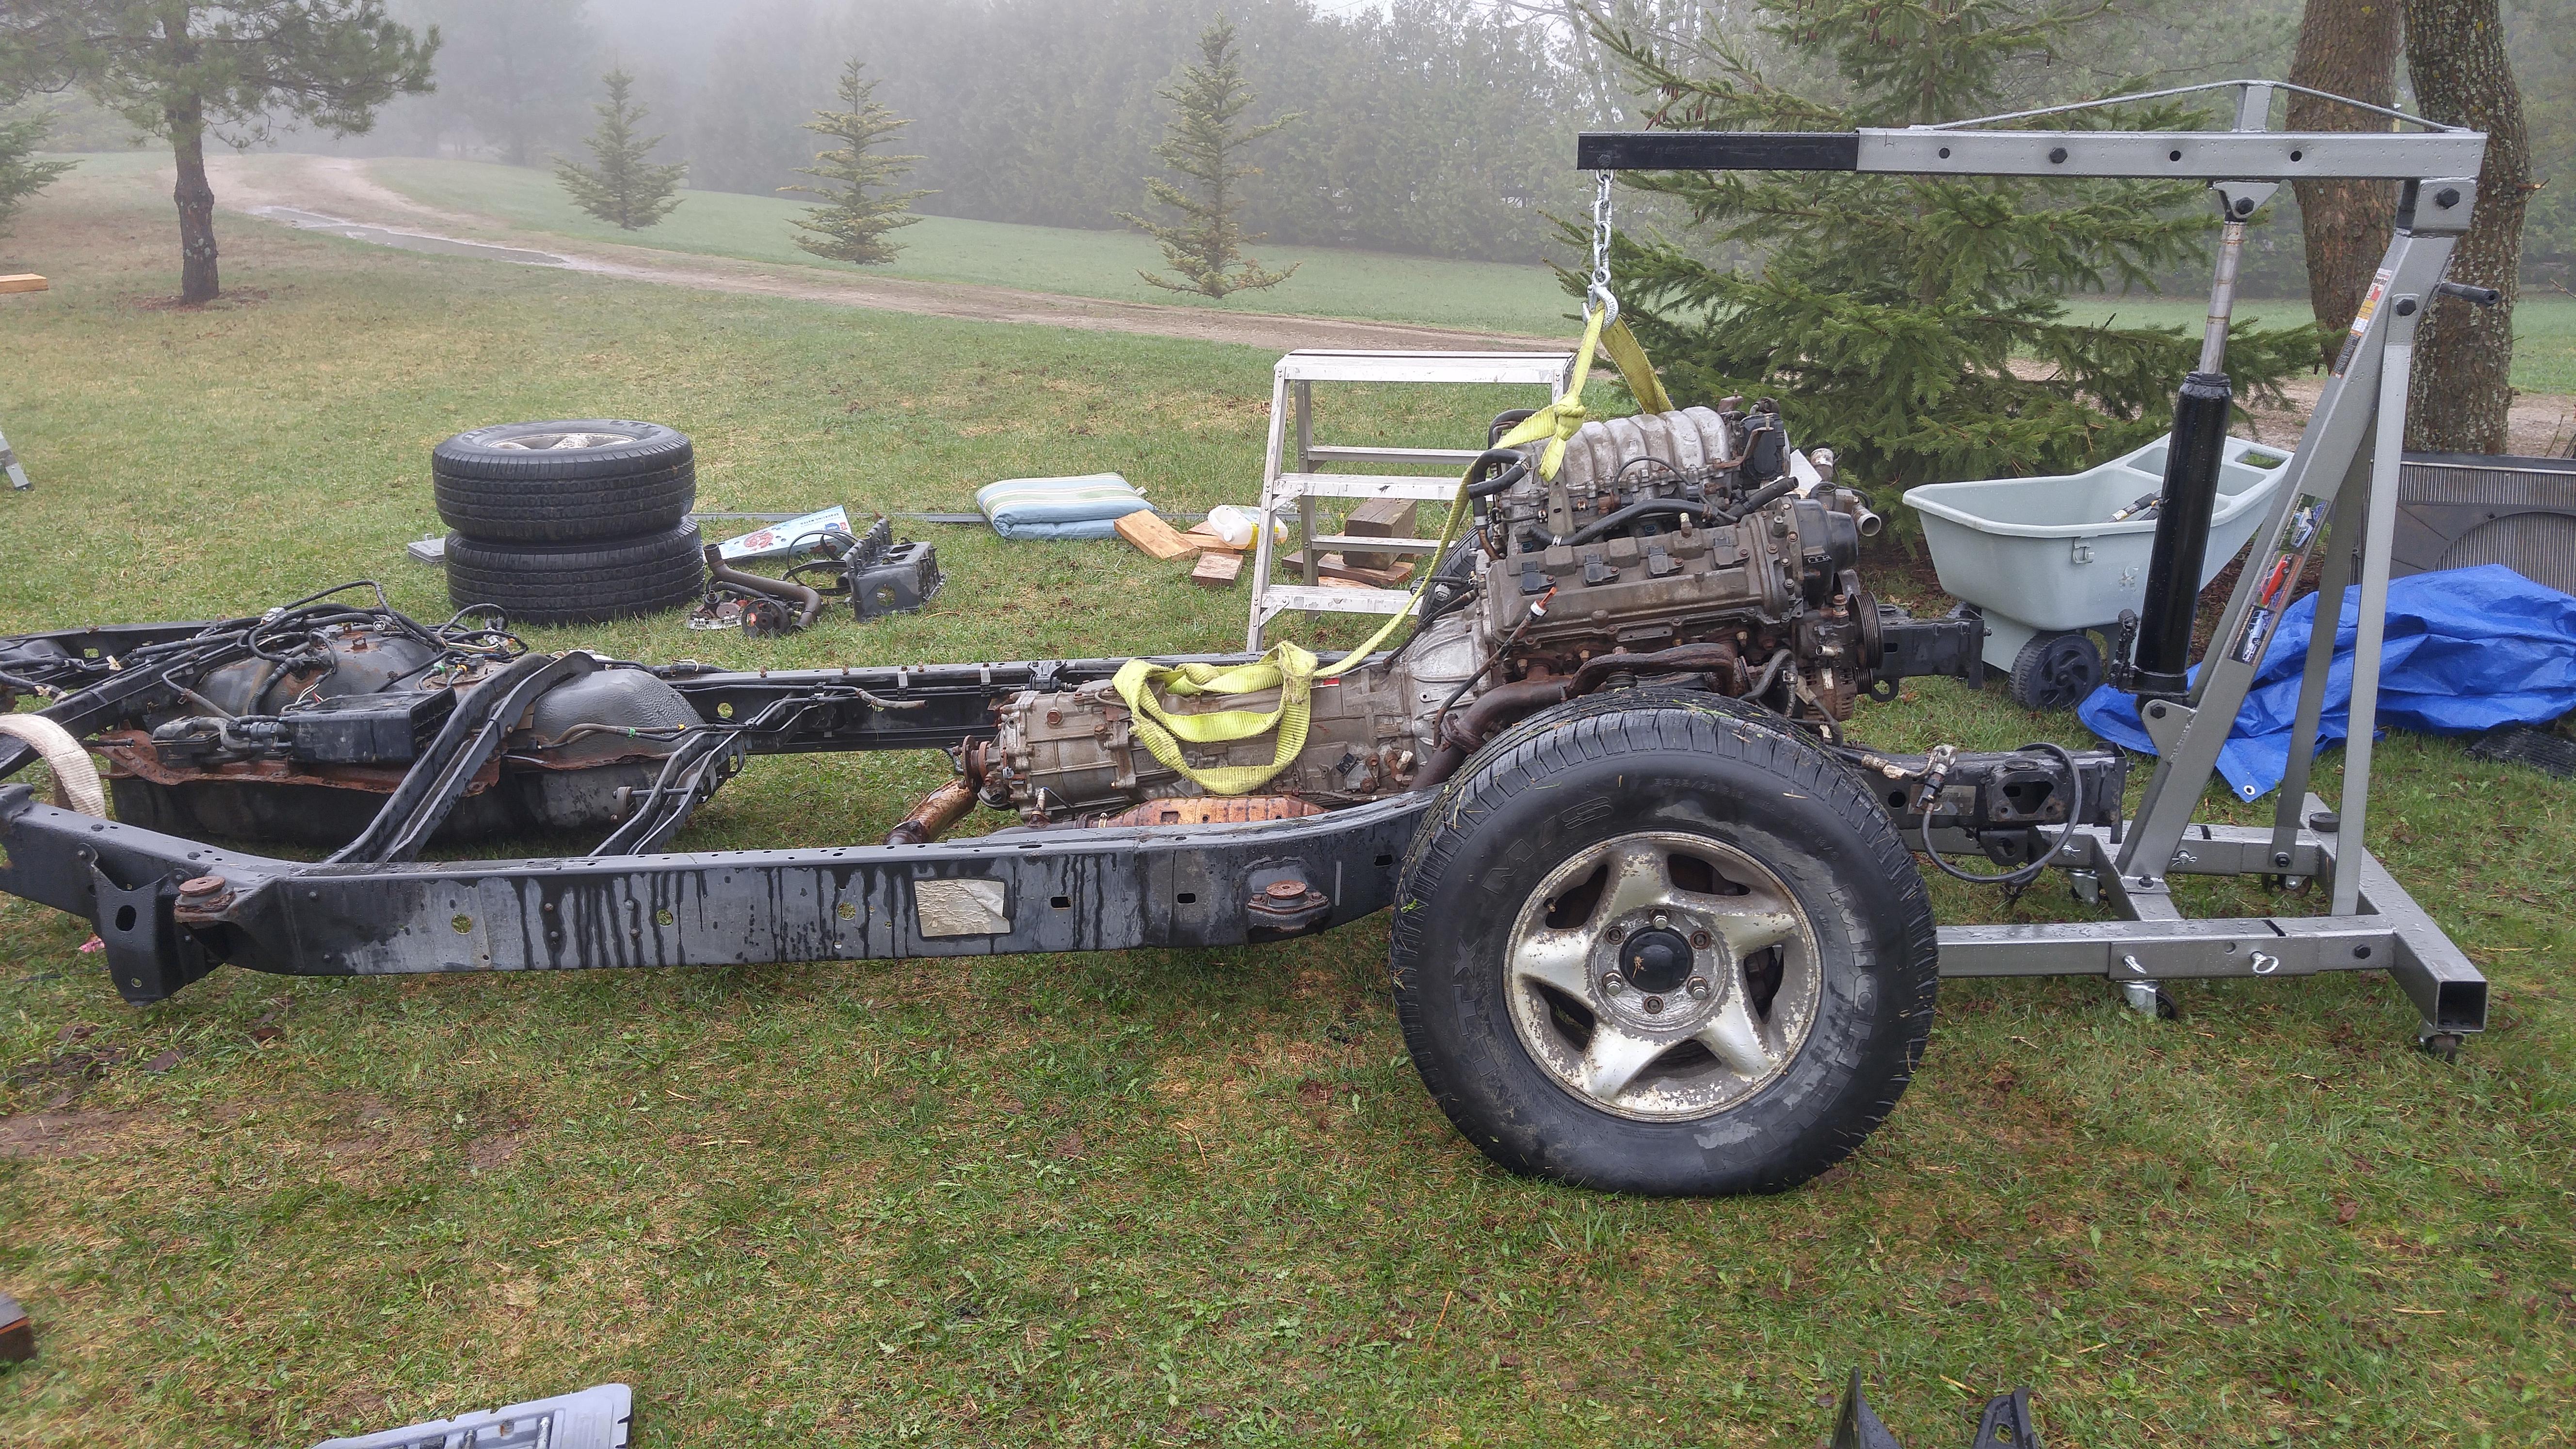
Drivetrain installed
After the drivetrain was installed I maneuvered the front end into the garage for the timing belt and water pump
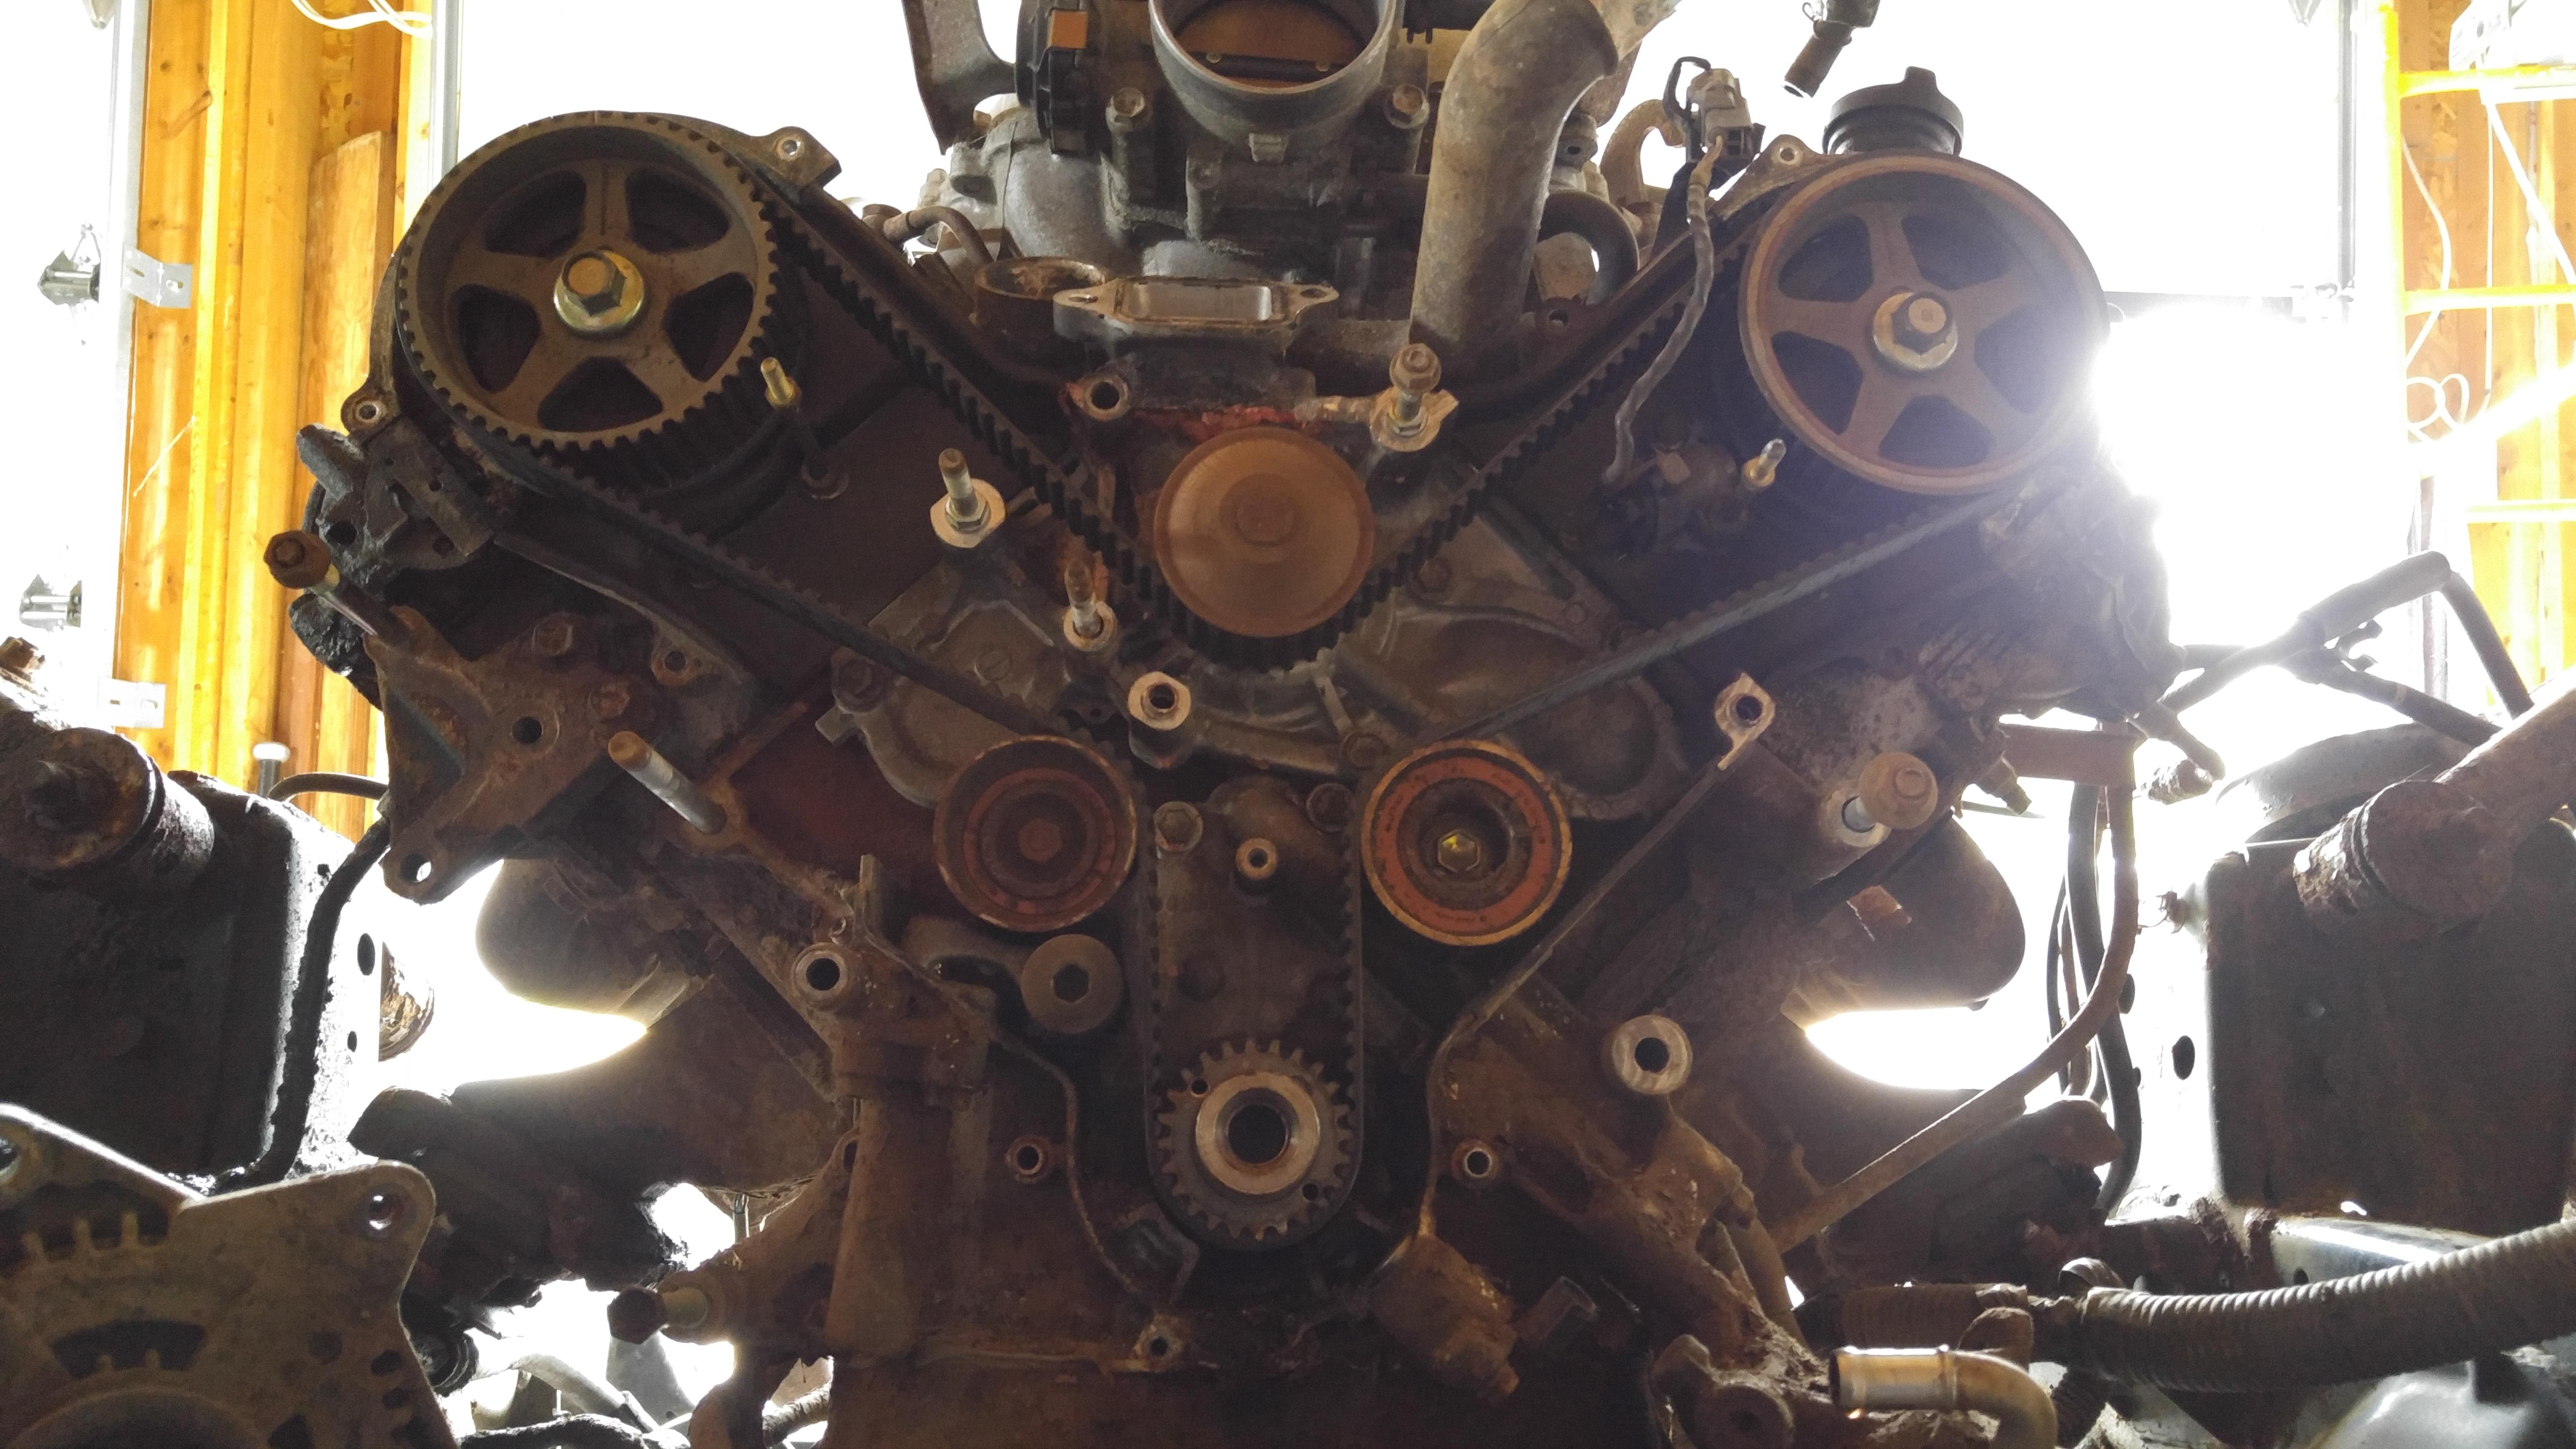
Water pump surfaces cleaned and new gasket installed
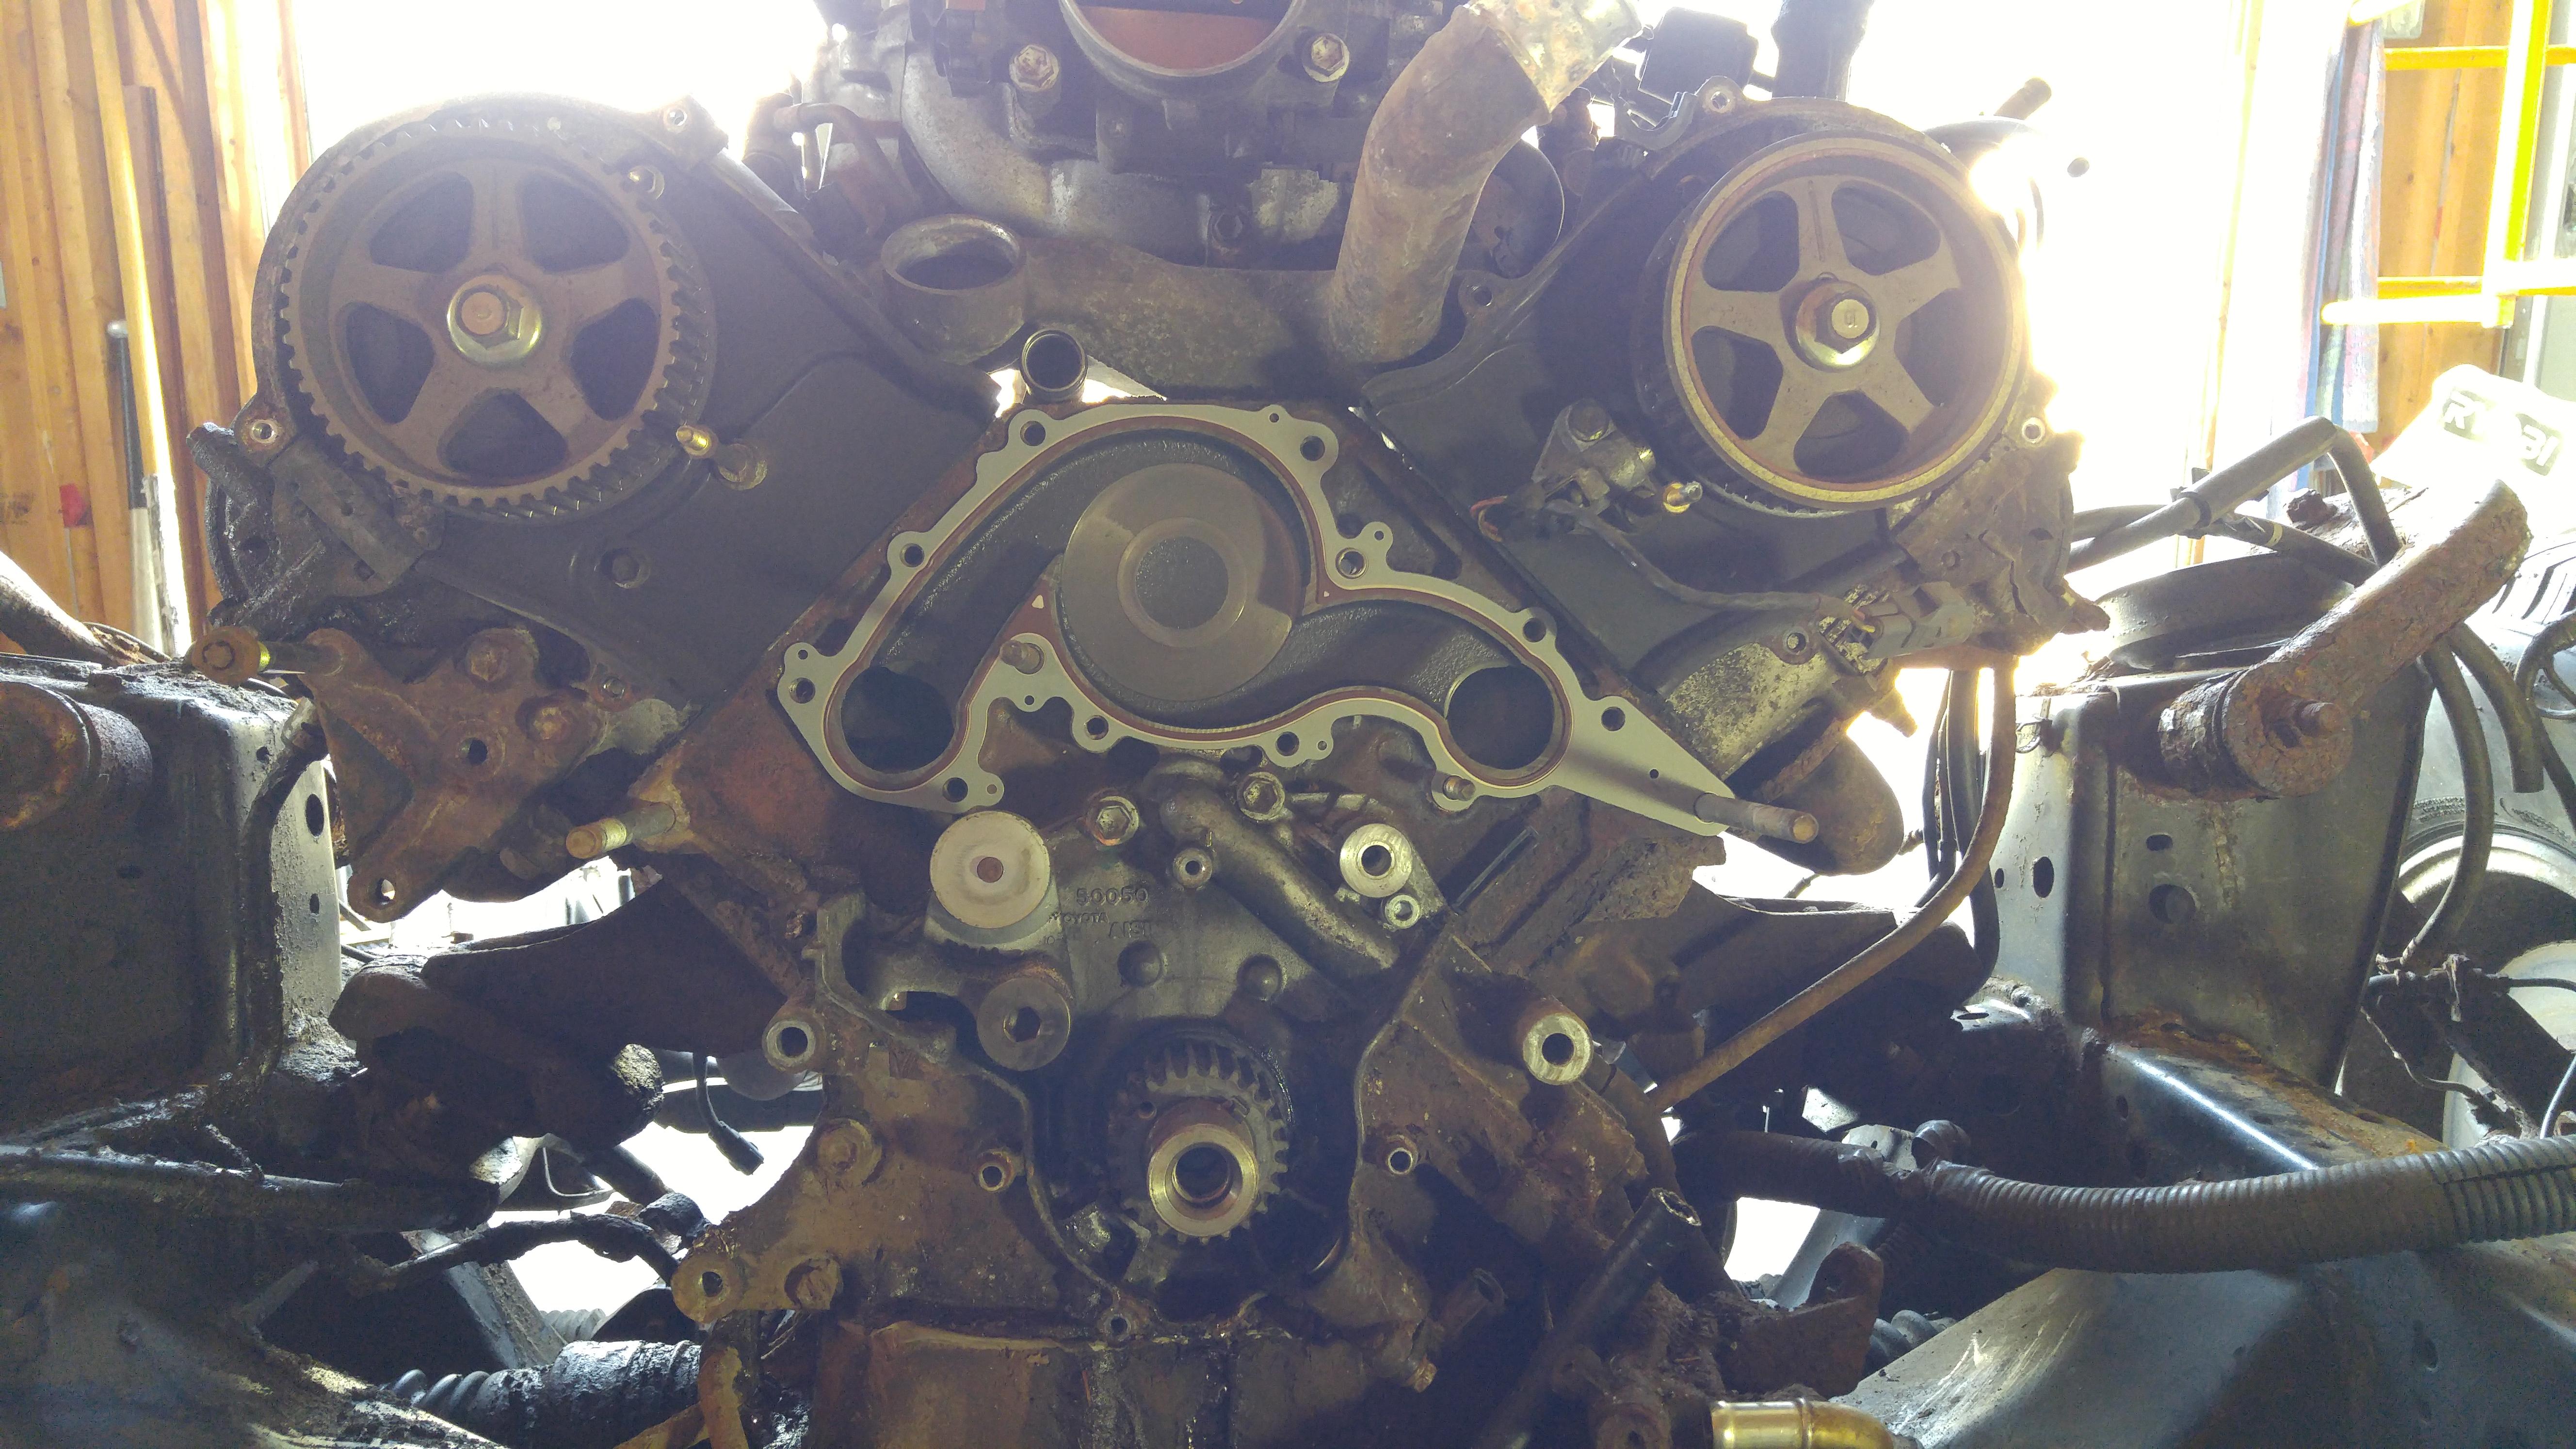
Figured out the easiest way to get the chassis and drivetrain under the cab, remove front struts, remove rear axle and leaf springs and use a farm jack to jack everything into place, then use the engine crane, lift the rear of the frame underneath the cab and reinstall the axle, then drop the cab onto the chassis
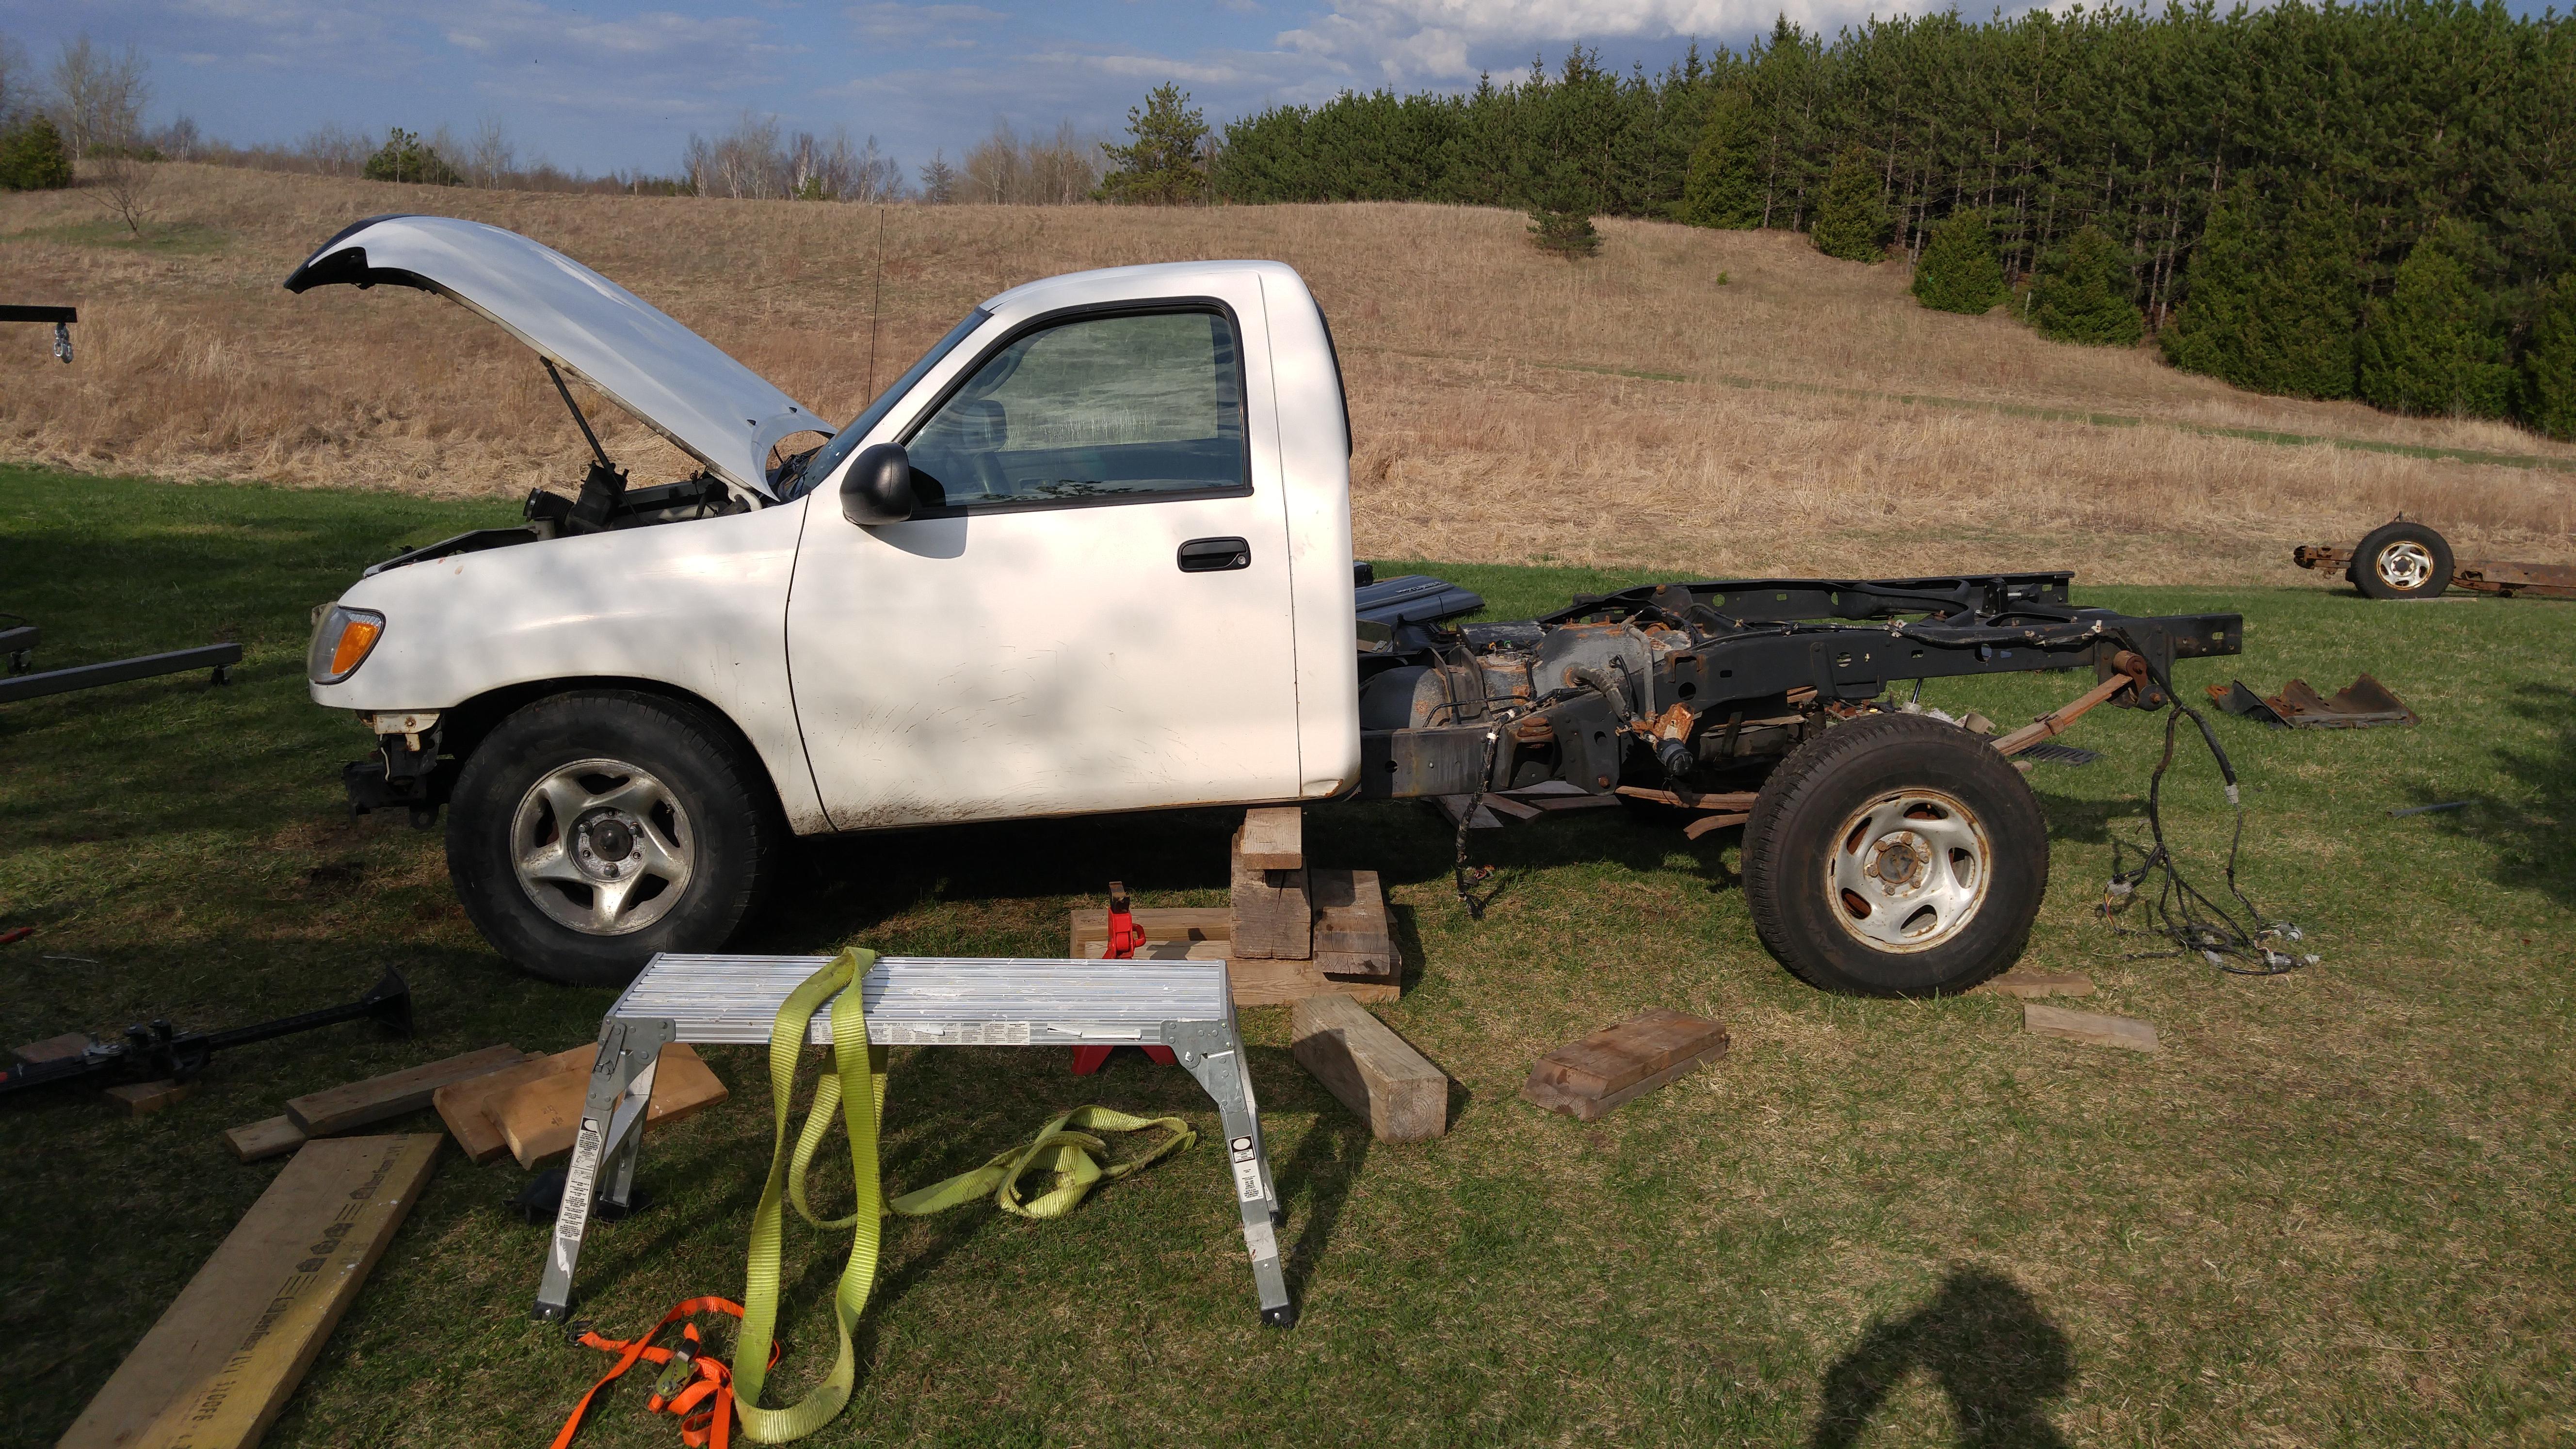
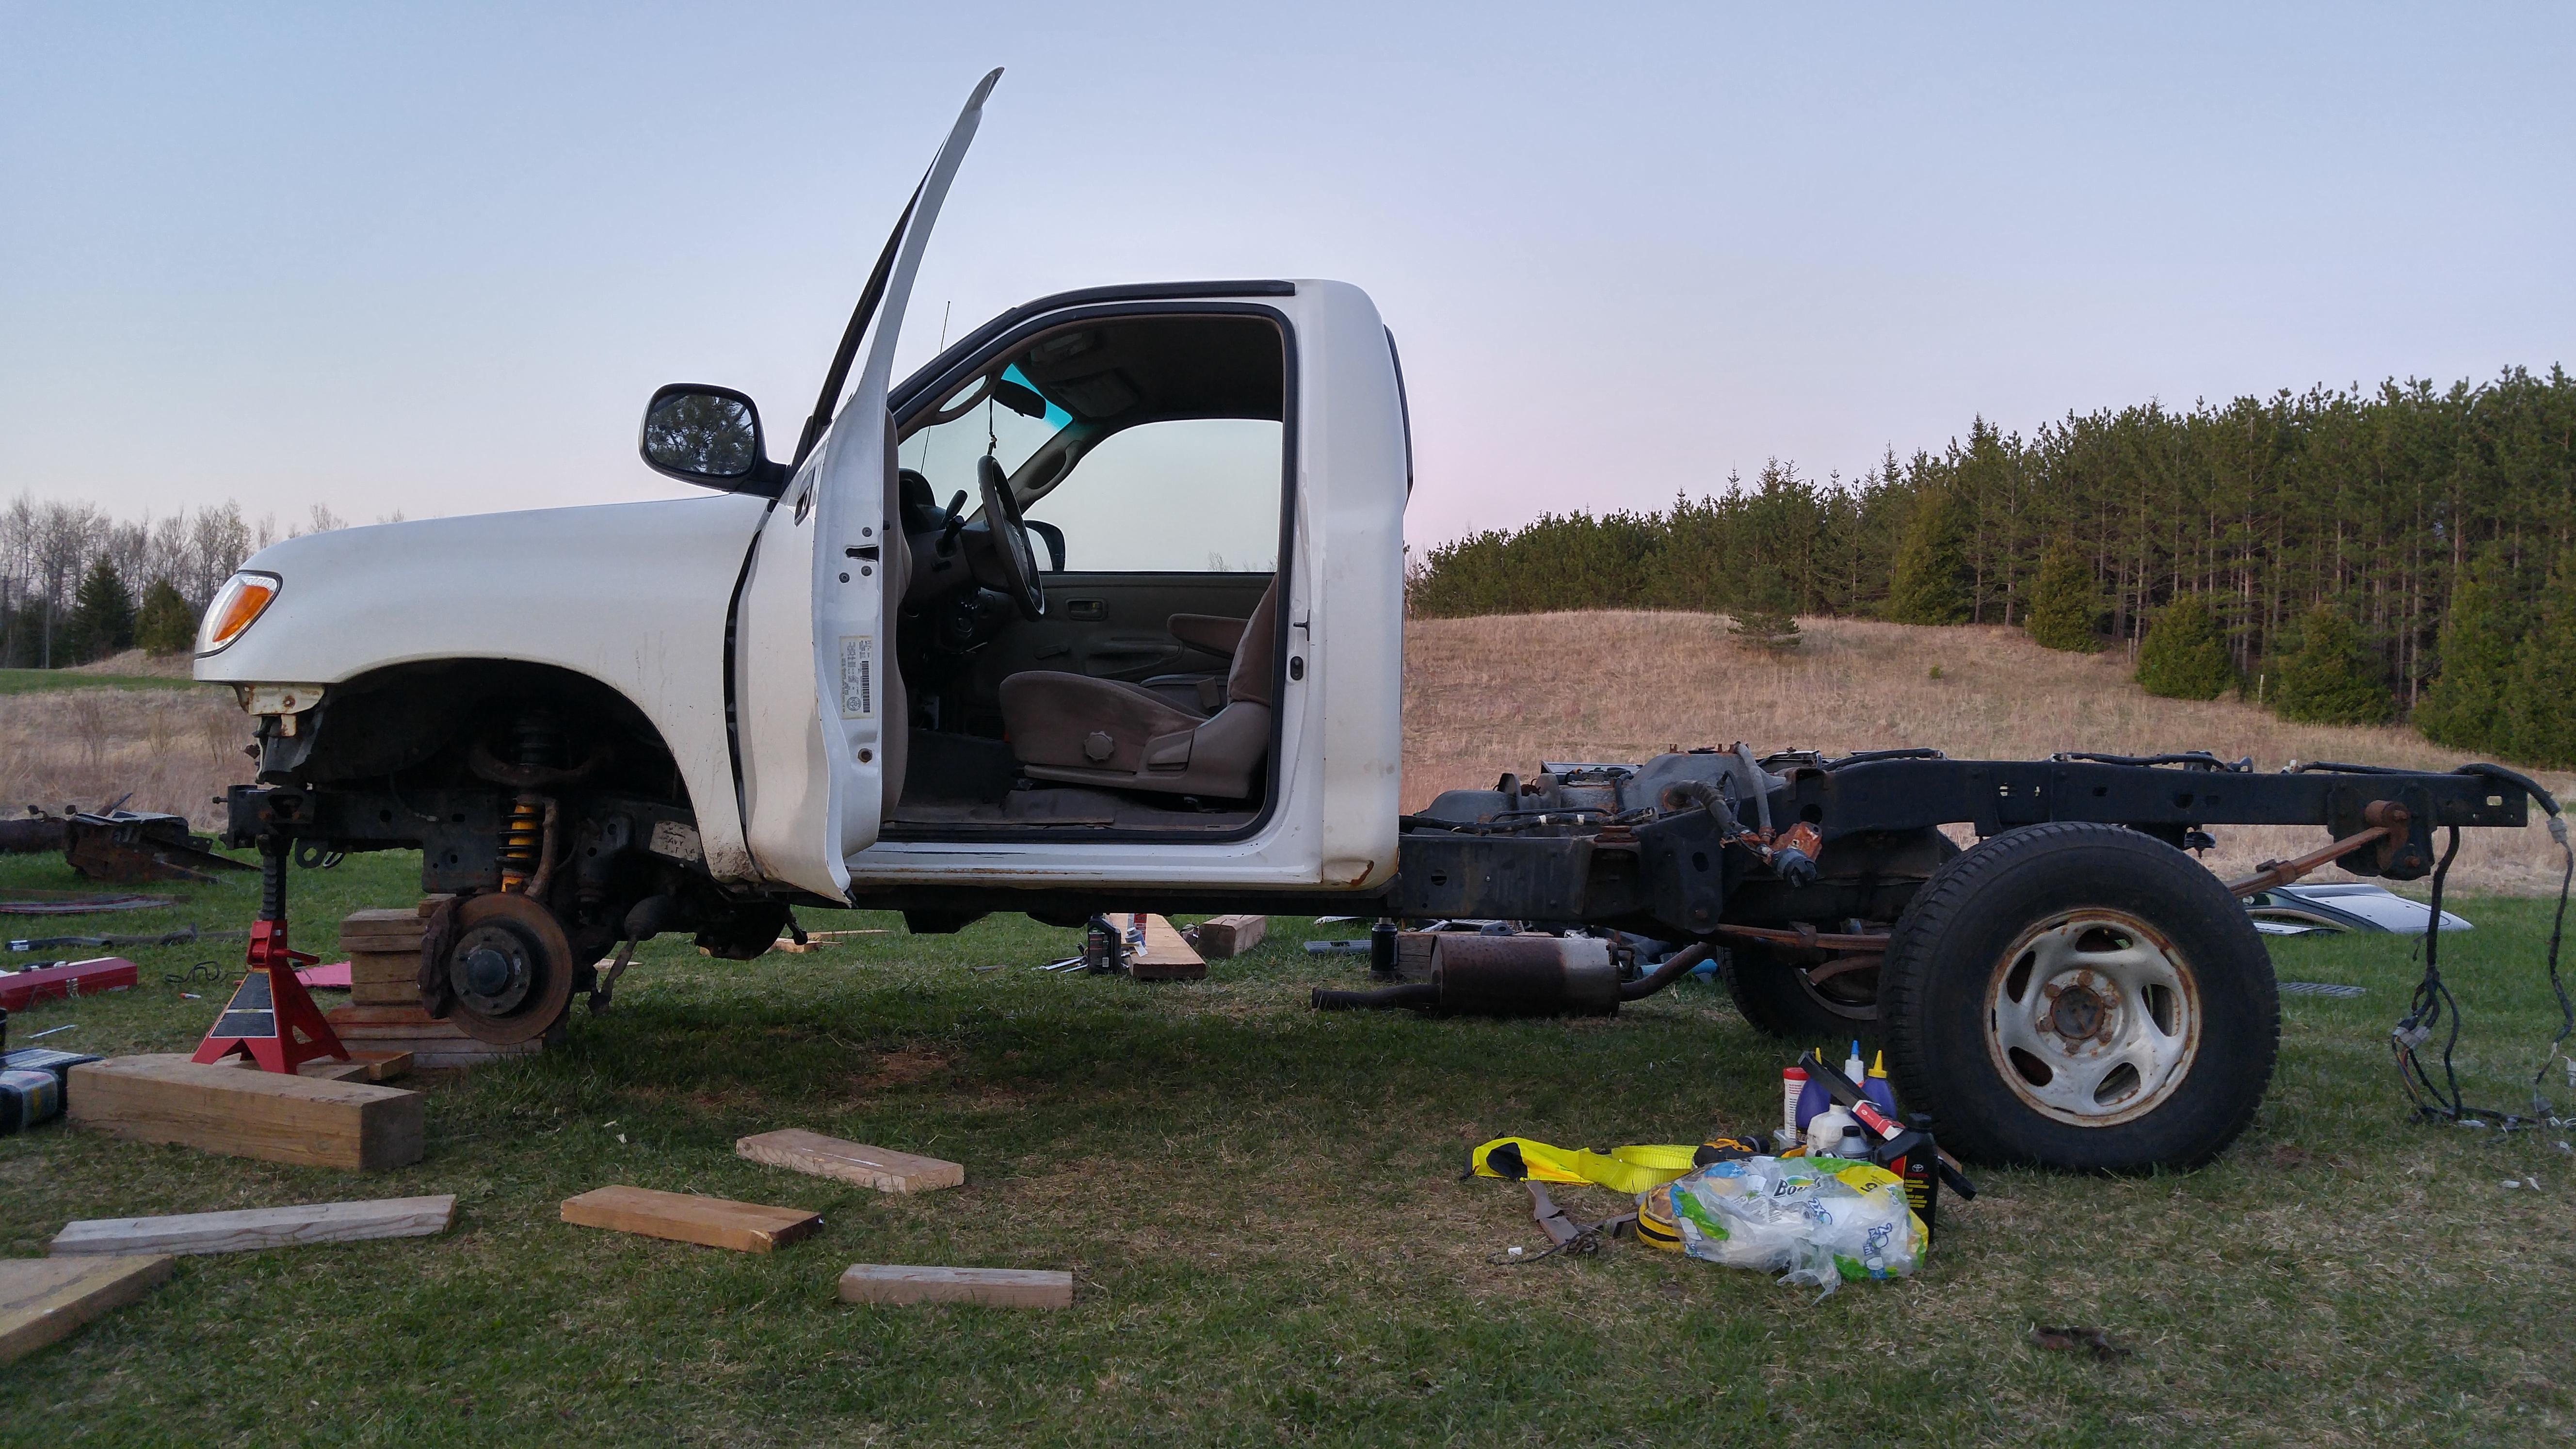
Here it is as it sits, tomorrow I’ll be finishing up the brake lines, swapping in the lower ball joints from the 03 as the 02 tundra lower ball joints use a smaller tie rod and won’t work with my pretty much brand new toyota outer tie rods for 03 and newer models, mounting the bed and painting my front bumper
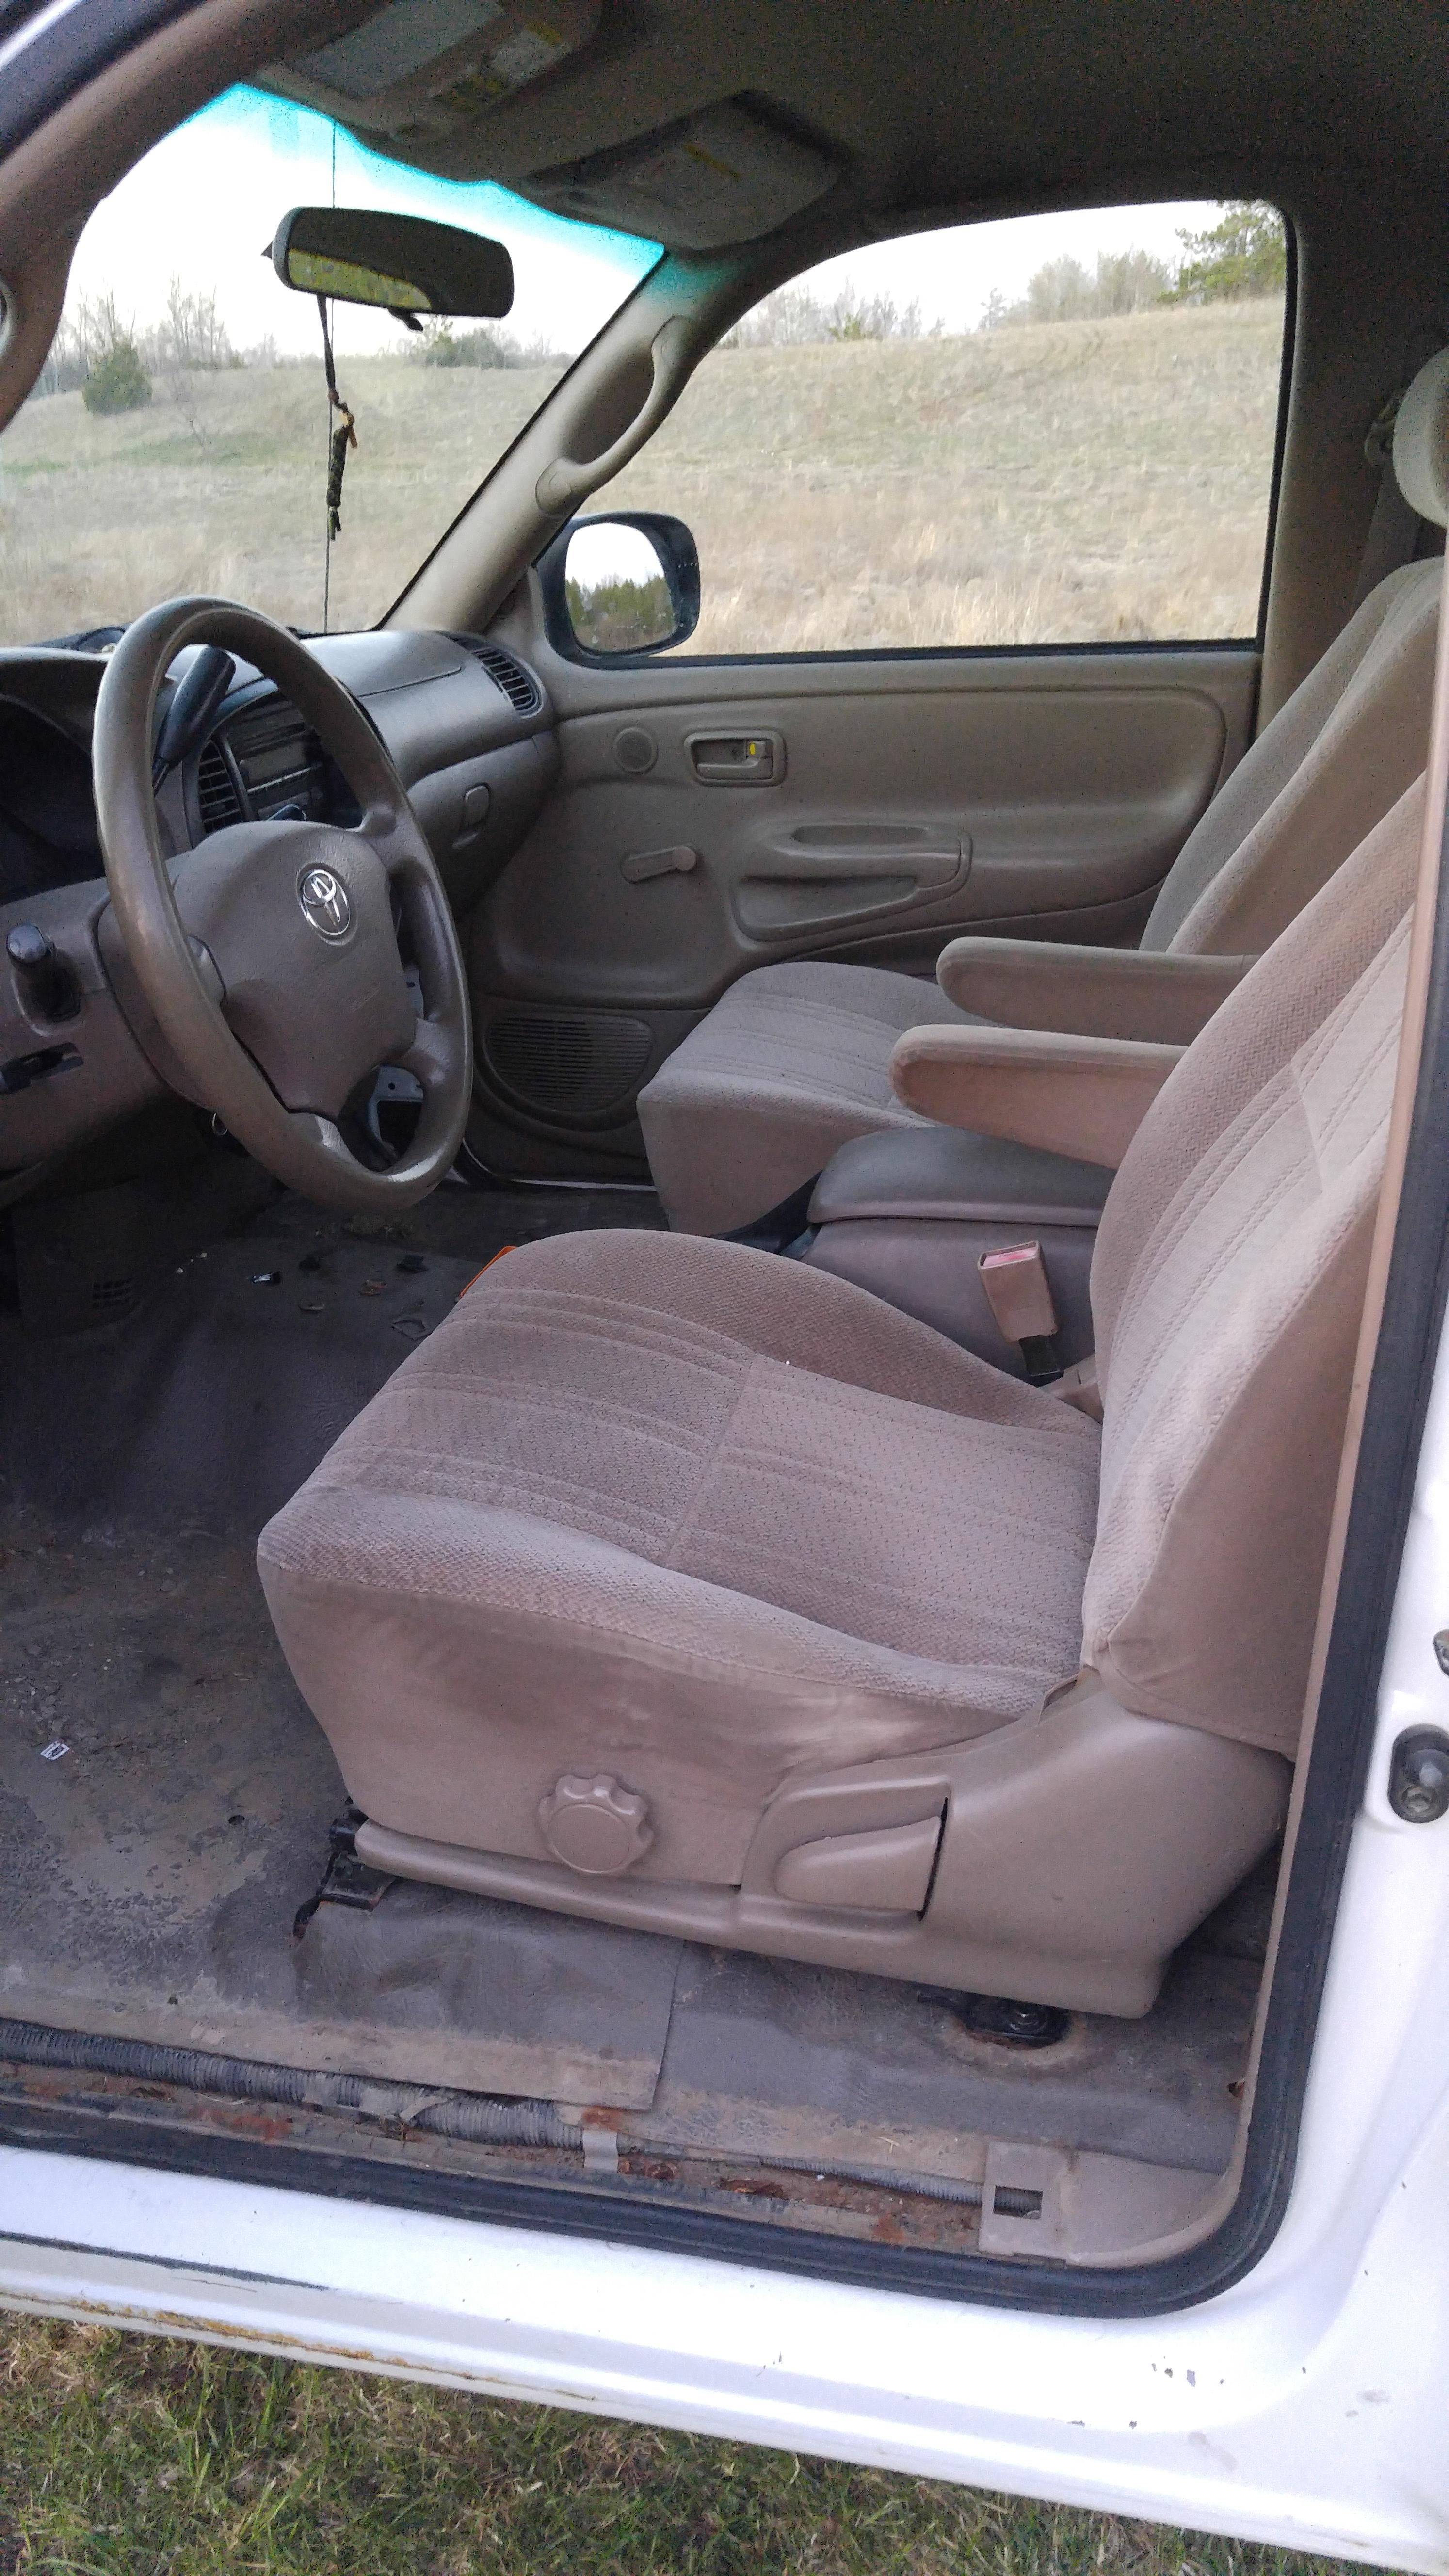
And the most important upgrade, the captains chairs from the 02 and center console
 May 7, 2018 at 10:49 pm #206563
 KrezzModerator
Amazing stuff in here.
-
This reply was modified 7 years, 4 months ago by
-
AuthorPosts
- You must be logged in to reply to this topic.
